
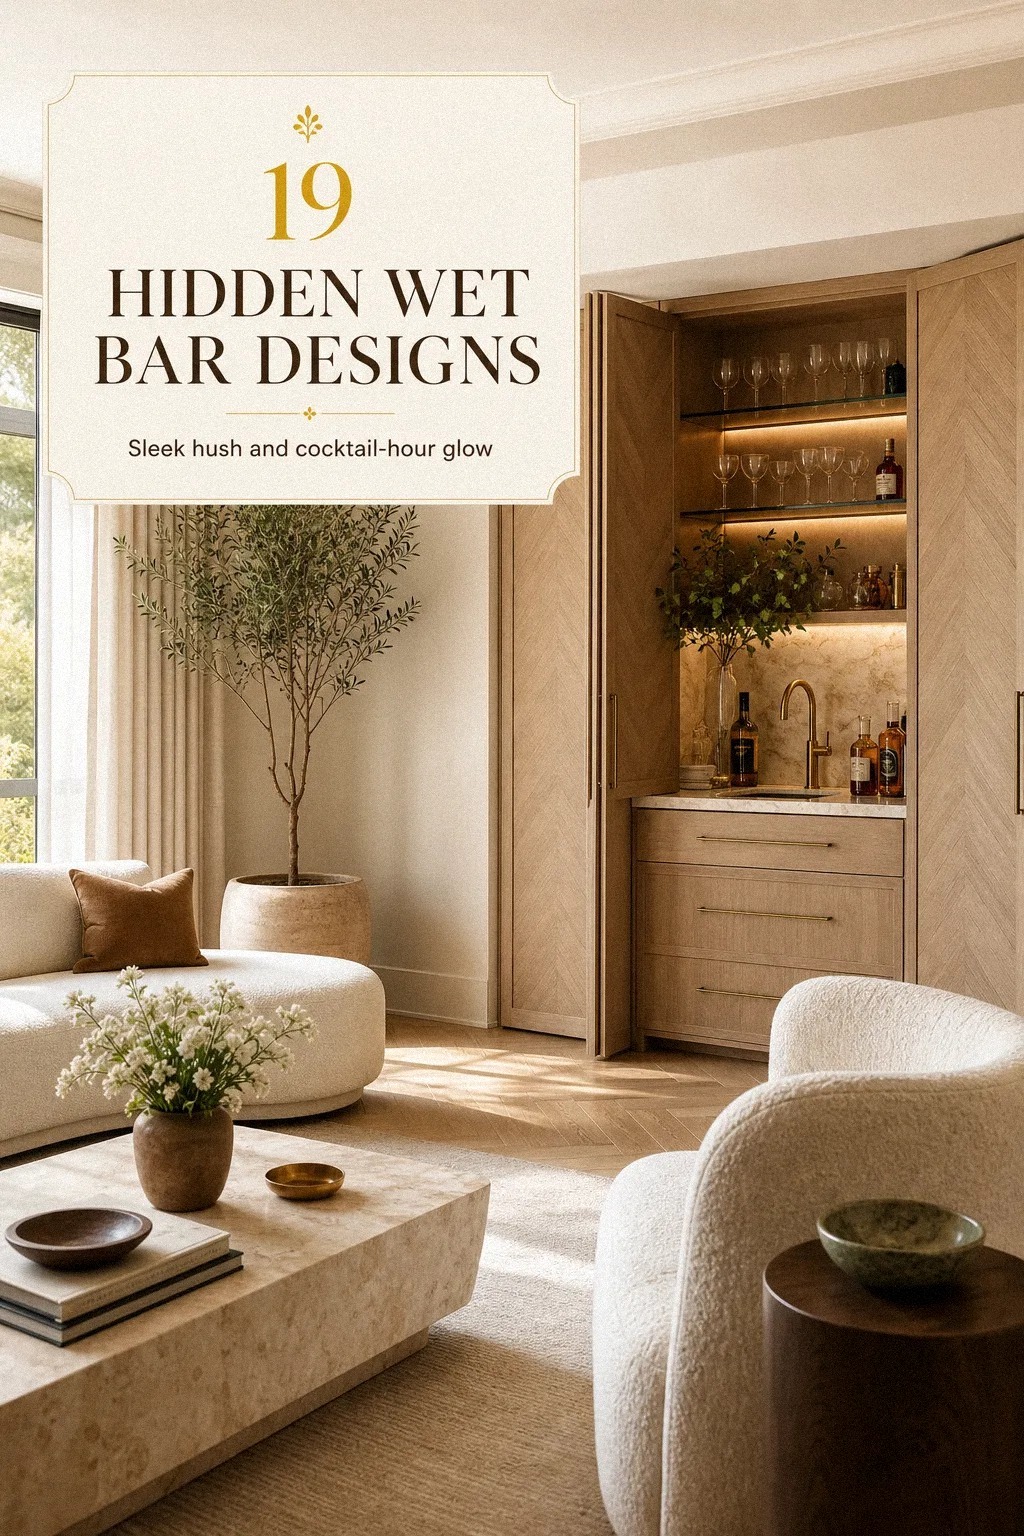
I‘ve designed a lot of bar areas in home setups over the years, and the ones that disappear into a room always share one move: a door, a hinge, and a single moment of reveal. That’s the whole magic! You’re not building a bar so much as designing a small private room you can close at the end of the night. And the build is more approachable than you’d think, even if you’re renting.
Here’s the playbook. Nineteen steps, in order, from picking the cavity to polishing the brass. Some cost almost nothing (a tension rod and a curtain).
Others run a few thousand dollars (custom millwork and a wine fridge). Pick the tier that fits your space, your lease, and your tolerance for power tools.
- Anchor your hidden bar to a real spot
- Measure the cavity, then measure the door swing
- Why a Murphy door beats a pocket door here
- Pick the door front: mirror, antiqued glass, or solid
- The Three-Layer Lighting Rule (and why it never fails)
- Pick a countertop that forgives fingerprints
- Use the Three-Tier Bar Shelf Rule
- Tuck a wine fridge into the lower zone
- Curate the glassware like a hotel bar
- Skip the sink, use a tray instead
- Paint the interior a deep, quiet color
- Style with the Bar Pyramid principle
- Pick hardware that ages well
- Stock the tools a real bartender reaches for
- Add a tray, a book, one piece of art
- Soft-close the door with felt bumpers
- Walk through the reveal ten times
- Refresh the glassware every season
- Maintain the magic, twenty minutes a month
1Anchor your hidden bar to a real spot

Pick the cavity first, then design. Closets, under-stair nooks, dead wall sections behind a sofa, even an unused pantry can become a modern built in bar.
Walk the room with fresh eyes and look for any zone that’s just storing junk. That’s your spot.
If you live in a small home, the under-stairs cavity is the classic answer. Our guide on under-stairs hidden bar ideas walks through framing it out from scratch.
A spare bedroom closet is the second-best starting point because the door already exists and you can keep the architecture intact (which your landlord will love, if you’re renting). If your cavity is even tighter, a closet conversion is honestly more forgiving than you’d think.
We walked through one in our turn-a-closet-into-a-hidden-speakeasy-bar guide and the bones were already there.
Measure the cavity height, depth, and width. Write those three numbers down. They’ll come back in three more steps, and you don’t want to guess later.
2Measure the cavity, then measure the door swing
The number one mistake I see (and I made it myself) is designing the bar before checking the door arc.
3Why a Murphy door beats a pocket door here
If you’re going to invest in one piece of hardware for this project, make it the Murphy door hardware kit. A pocket door eats wall space you don’t have, and a barn door exposes the bar whenever it’s open. A Murphy door hides everything.
The kit runs about $150 to $300 for the pivot hinge and the spring mechanism. You’ll add a slab door of your choice, ideally hollow-core for weight (a solid-core door fights the spring). You’ll also need basic carpentry tools: a drill, a level, a chisel for the hinge mortises, and about four hours of patience the first time.
Mount the hinge at the top of the frame, attach the spring to a header board, and test the swing before you do anything else. If the door drifts open or slams shut, the spring tension is wrong. Adjust it now while the door is light and empty.
4Pick the door front: mirror, antiqued glass, or solid
The door front is the design moment. It tells your guests what’s behind it before they touch the handle. Three honest options, no clear glass:
Mirror front. Doubles the visual size of the bar when it’s open, hides fingerprints better than you’d think (a quick glass wipe handles smudges). Runs $200 to $500 for a custom-cut panel on a slab door.
Antiqued or frosted glass. Gives that sultry speakeasy hush without showing the mess inside. About $150 to $400.
Solid painted front. The most forgiving option and the easiest DIY. Prime, sand, paint in Farrow & Ball Plummet (No.32) or Farrow & Ball Brassica (No.271), then add rose gold or aged brass hardware. About $80 to $200 all-in.
I’d skip clear glass entirely. You’ll spend more time cleaning it than enjoying the bar. Trust me on this one.
If you want to push the speakeasy feel even further, look at how we paired antiqued glass with a velvet drapery layer in the speakeasy curtain and drapery guide. The soft fabric is what sells the hush when the door is open.
5The Three-Layer Lighting Rule (and why it never fails)
Lighting is where most hidden bars fail. One overhead light reads drugstore.
Three layered heights reads cocktail lounge. That’s the rule, and it never breaks.
Top layer: LED strip tucked under the upper shelf, warm white 2700K, on a dimmer. Hides inside the cabinet and throws a soft glow onto the bottles.
Middle layer: Two or three battery-operated puck lights with a warm color temperature, mounted under each shelf. Battery versions mean no electrician, which matters if you’re renting.
Bottom layer: A small brass picture light or a plug-in sconce above the bar zone, switched separately. This is the warm ambient layer that makes the room feel like an evening, not an office.
Wire all three to separate switches (or pull chains if you’re going no-damage). Any single layer alone reads flat. The combination is the move.
If you want to go deeper on the bulb temperatures and dimmer choices, our speakeasy lighting guide covers the sultry-glow bulb math in detail.
6Pick a countertop that forgives fingerprints
Honed Verde Alpi marble is the magazine choice.
7Use the Three-Tier Bar Shelf Rule
Bottles, glassware, tools. That’s it. Don’t add a fourth category unless you reach for it daily.
Top shelf: Liqueurs and aperitifs you reach for once a month. Aperol, St-Germain, Campari, Averna. These stay because they’re pretty and they don’t get used up fast.
Middle shelf: Your workhorse spirits. Vodka, gin, whiskey, tequila, dark rum. Two bottles of each if you entertain, one if it’s just you and a partner.
Bottom shelf: Glassware. Upside down to keep dust out. Rocks glasses, coupes, highballs, and one set of wine glasses.
Don’t stock more than four of each type; you’ll never use them.
Wood shelves beat glass here. Wood absorbs sound, hides fingerprints, and reads warm.
Glass shelves photograph beautifully and clink every time you set a bottle down. Pick wood and move on.
If you want a deeper dive into the velvet-and-leather side of the shelf, our speakeasy seating and furniture guide has a section on bar stools that pair with this exact shelf height.
8Tuck a wine fridge into the lower zone
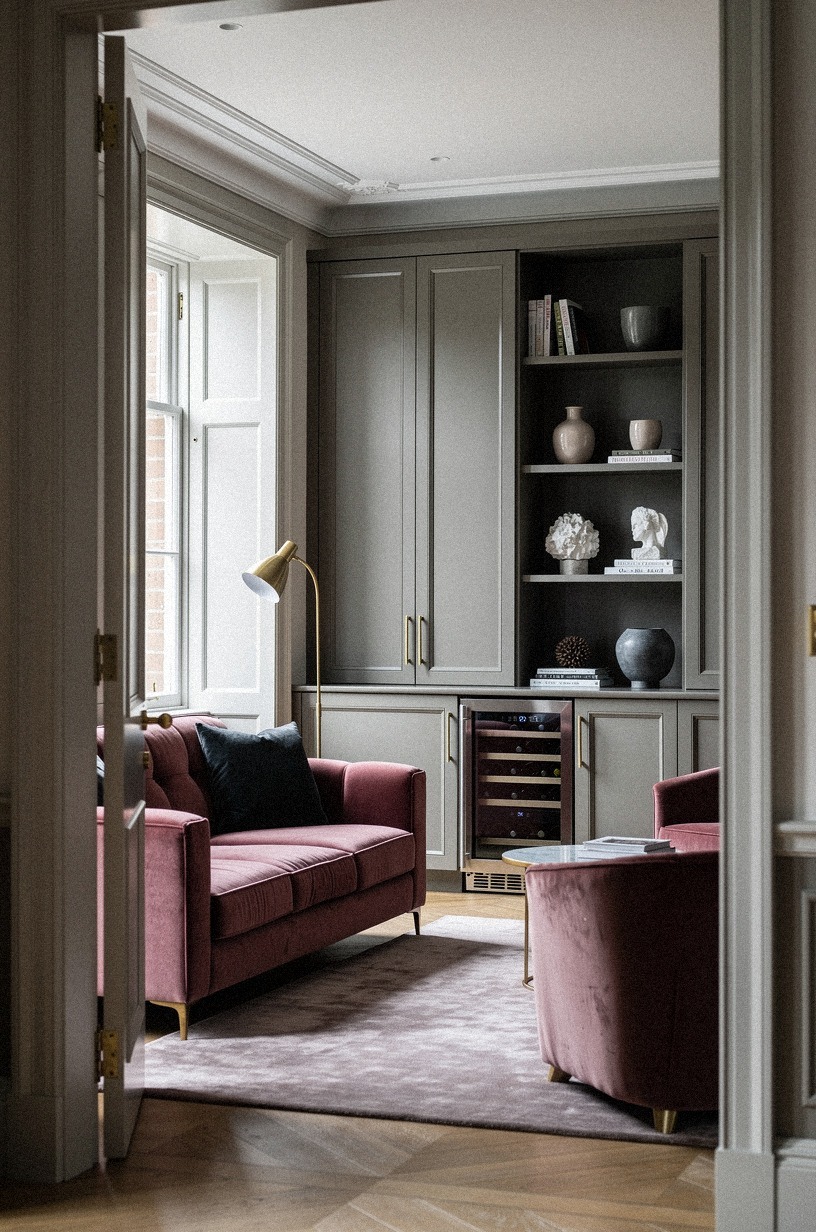
If you drink wine more than cocktails, the wine fridge is non-negotiable. Build it into the lower third of your bar and wine storage zone, under the counter, behind a vented cabinet door.
A 24-inch undercounter wine fridge holds about 40 bottles and runs $800 to $1,500. A 15-inch slim model holds 28 and runs $500 to $900. Measure your cavity depth before you buy (most need 24 to 25 inches of clear depth, not including plug clearance).
Ventilation matters. Wine fridges exhaust heat out the front grille, so leave two inches of clearance below the counter. If you seal the cabinet completely, the fridge will run hot and die young.
Skip the dual-zone fridge unless you collect reds. The single-zone 55°F is what most people drink at anyway! If you want a complete bar-and-wine-storage layout, our speakeasy home bar design guide covers the fridge-plus-shelving combo in a tighter footprint.
9Curate the glassware like a hotel bar
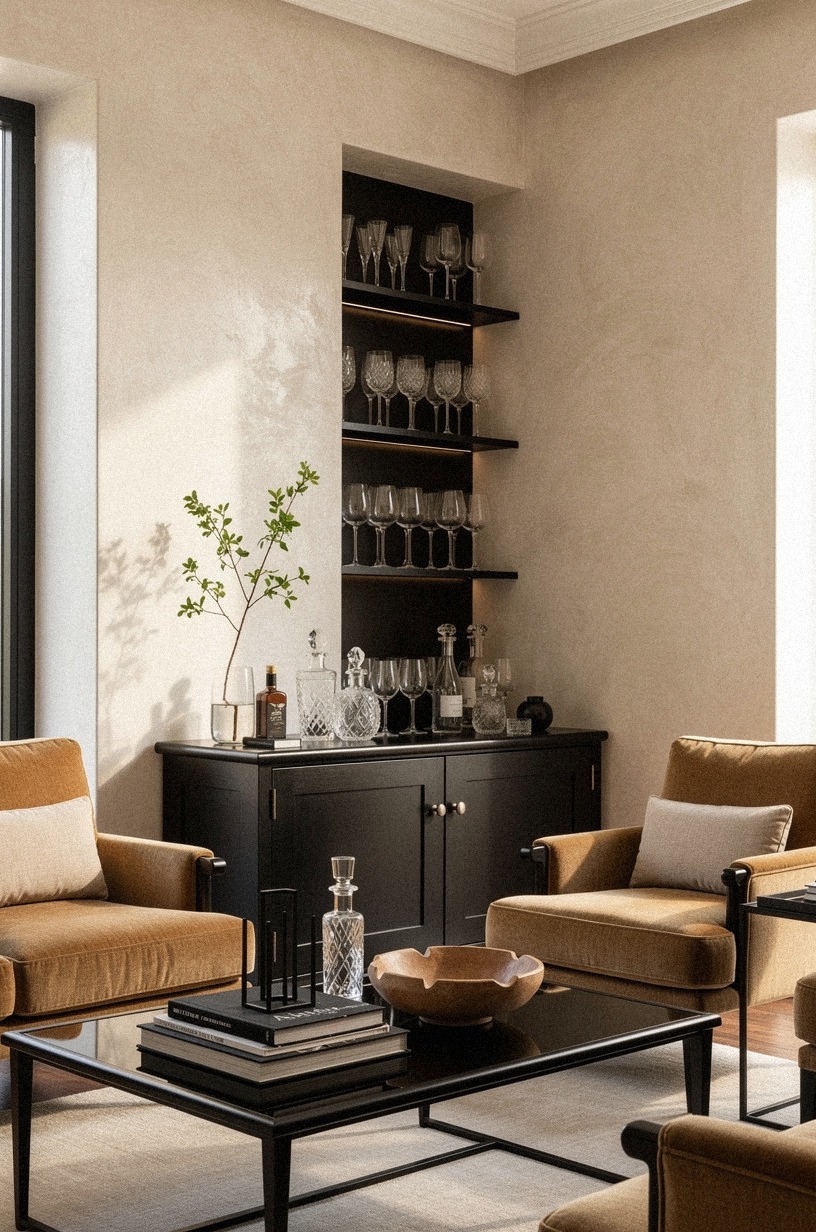
Most home bars fail because they stock every glass shape known to man. Pick four. Buy them in sets of four.
Done.
Rocks glass (lowball). For whiskey and spirit-forward cocktails. Clear, heavy-bottomed glass is the universal choice. IKEA 365+ runs about $15 for six and holds up beautifully.
Coupe. For Martinis and Manhattans. The stem keeps your hand off the bowl, which keeps the drink cold. CB2 has a vintage-style coupe for about $8 each.
Highball. For gin and tonic, Tom Collins, anything tall with ice. Target Threshold has a clean ribbed highball for $10 for four.
One wine glass (universal shape). For red, white, and bubbles. IKEA STORSINT runs about $25 for six. Don’t buy different shapes for red and white; the universal shape works for both.
Skip the martini glass with the long stem. But coupes are sturdier, prettier, and harder to knock over.
And they photograph better. That’s the move.
10Skip the sink, use a tray instead
I planned a sink first. Ran new plumbing for a wet bar in a closet that didn’t have a floor drain. Cost me $800 and a contractor visit before I realized I was overbuilding it.
A sink in a home bar interior is a luxury, not a necessity. You can rinse a shaker with a bottle of water and dry it with a bar towel.
You can dump ice in a bucket. The plumbing cost and the leak risk aren’t worth it unless you’re hosting 30 people twice a month.
If you do want a sink, a small bar sink (about 12 by 14 inches) with a single faucet will run $300 to $600 for the fixture plus $500 to $1,500 for plumbing if there’s no rough-in. Make sure you have a floor drain or a pan underneath, because leaks happen and water damage is forever.
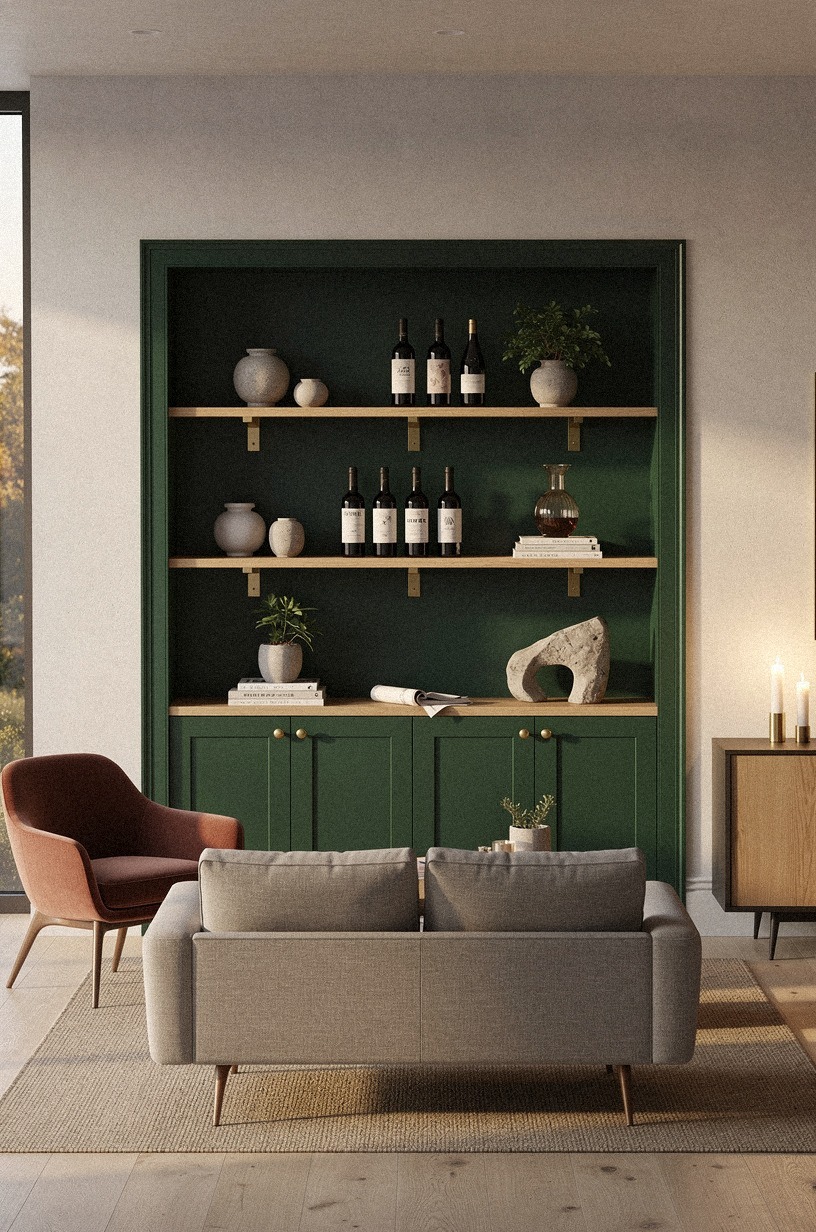
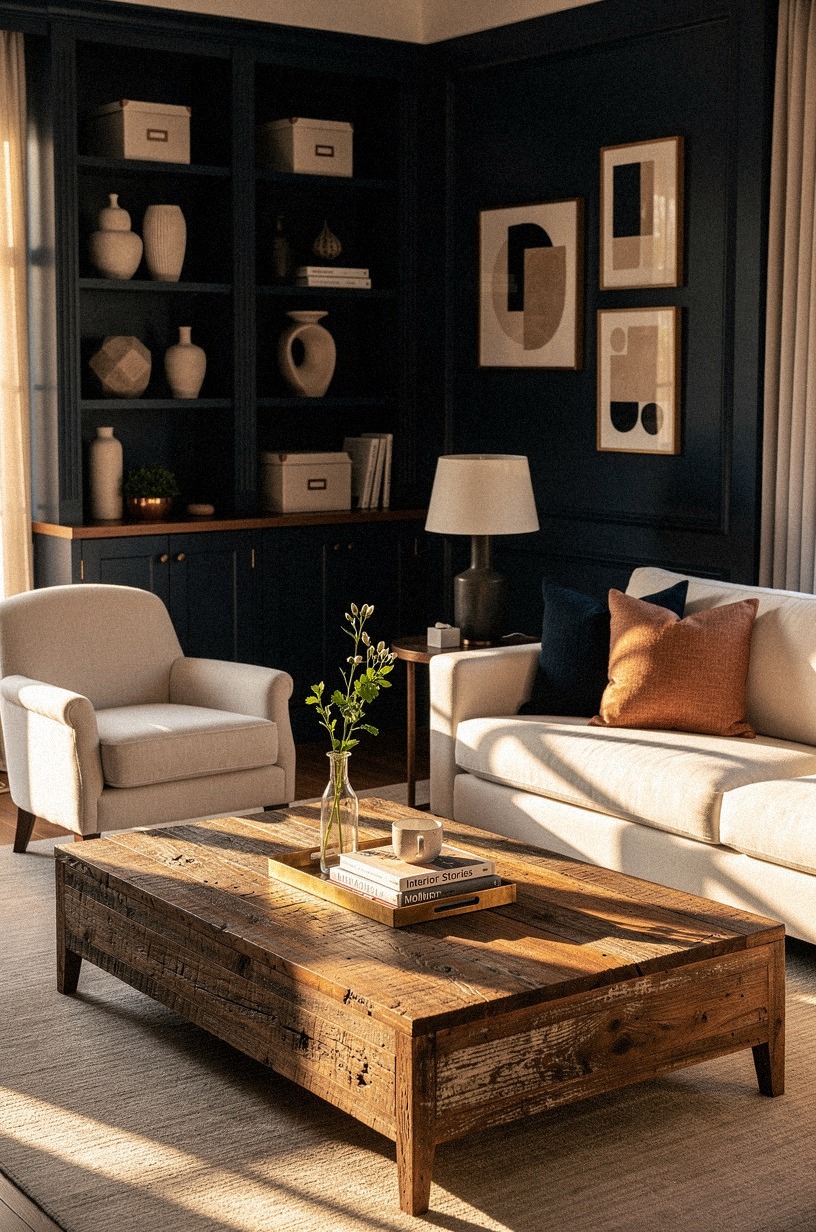
11Paint the interior a deep, quiet color
The interior of your modern built in bar deserves its own color moment. Don’t leave it builder-white or match it to the room. The whole point is the reveal, and the reveal only works if the inside feels like a different room.
Farrow & Ball Card Room Green (No.79) is the classic speakeasy color. Deep, quiet sage with grey undertones, makes brass hardware sing.
About $110 per gallon. If you want a deeper read on the speakeasy paint palette, our speakeasy paint colors guide ranks the moody favorites side by side.
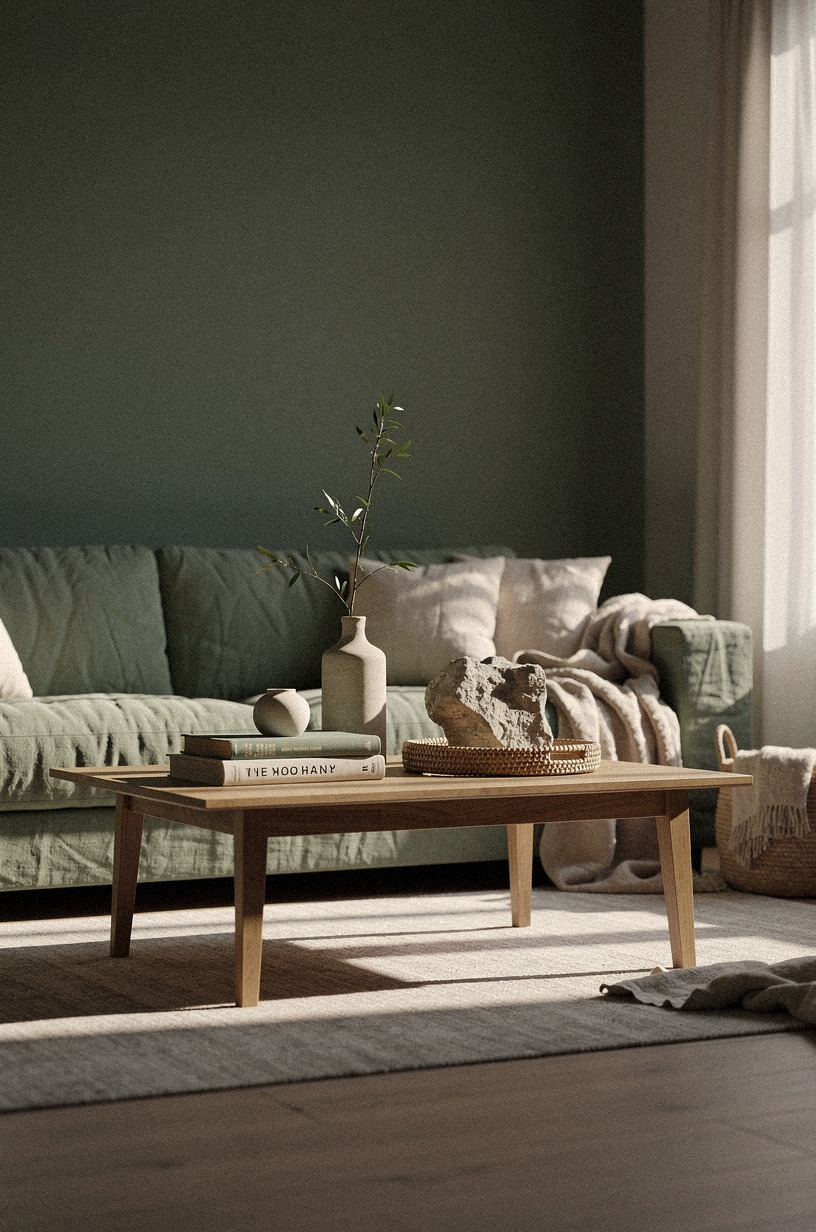
Sherwin-Williams Evergreen Fog (SW 9130) is the warmer, softer choice. Sage-green, works in any light. About $70 per gallon.
For a warmer cream reading on the same palette, look at Benjamin Moore Soft Fern (2144-40). It’s almost-sage with creamy warmth, and it makes brass hardware glow like a jeweler’s case.
About $85 per gallon.
Paint the ceiling the same color as the walls. It blurs the box edge and makes the cavity feel bigger. Skip the trim paint; let everything match.
If you want to take the green further into the room, our green speakeasy decor guide shows how a mossy palette reads at night.
12Style with the Bar Pyramid principle
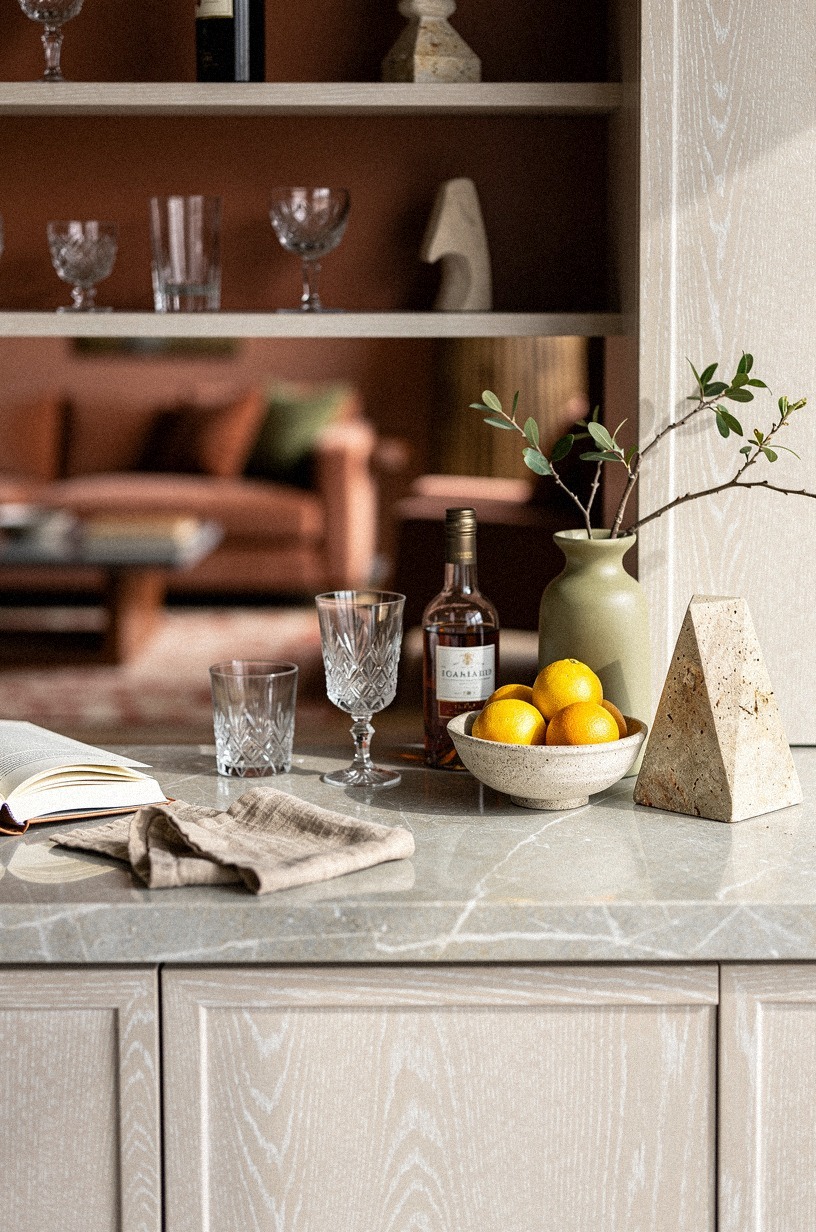
Styling matters. A perfectly stocked shelf with no styling reads like a liquor store.
A bar with no organization reads chaotic. The pyramid solves both.
Visualize a pyramid. Wide base, narrow top.
Base level (the bottom shelf and the counter): Your everyday glassware, a tray with the bar tools, one piece of small art or a candle. This anchors the eye.
Middle level (the workhorse shelf): Your most-used bottles, grouped by spirit type. Two of each, lined up label-out.
Top level (the decorative shelf): The pretty bottles, the aperitifs, one stack of bar books or a vintage cocktail book. This is the zone guests see first when the door opens.
The pyramid works because it gives the eye somewhere to land. A flat lineup reads like a warehouse shelf. A pyramid reads like a display.
To extend the decorative layer, our speakeasy wall art guide has a tight list of vintage prints that work above the bar without crowding the bottles.
13Pick hardware that ages well
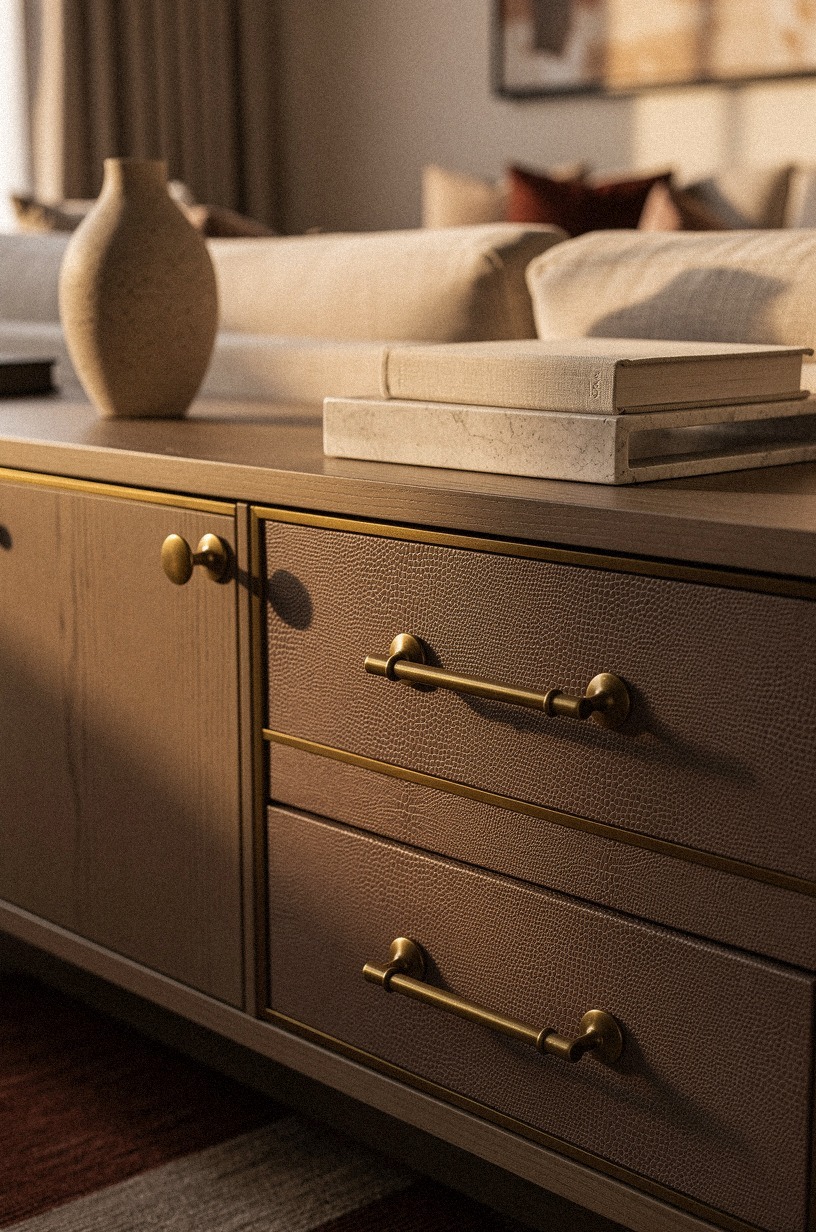
The hardware is the jewelry. Choose pieces you’ll want to look at for ten years.
Unlacquered brass is the move. It starts bright and develops a soft patina over time, the kind you can’t fake. About $15 to $40 per pull at Rejuvenation or Schoolhouse.
Aged bronze is the darker, more traditional choice. About $20 to $50 per pull. Works beautifully with deep sage walls.
Skip polished chrome. It shows fingerprints in two seconds and reads cold. Skip matte black unless the rest of your hardware is matte black; mismatched finishes always look like a mistake.
Buy all your hardware at once from the same line. Mixing vendors means slightly different brass tones, and you’ll notice it every time you open the door.
That’s a real thing. If you want to push the brass further into Gatsby territory, our speakeasy gold and brass accents guide walks through how to layer pulls, hinges, and stemware racks without going gaudy.
14Stock the tools a real bartender reaches for
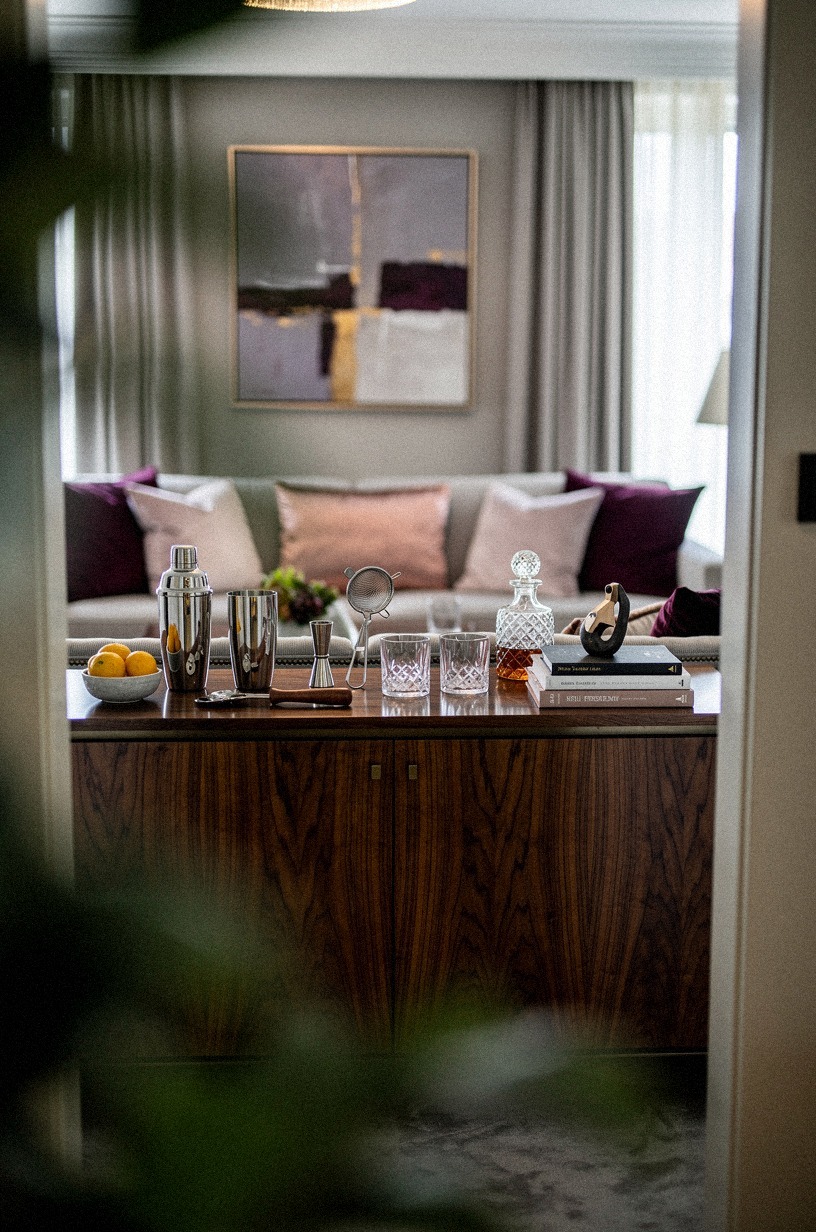
Five tools. That’s it.
Boston shaker (two-piece tin-on-tin or tin-on-glass). About $25 to $50. The workhorse.
Hawthorne strainer. About $12. Sits on top of the tin.
Fine mesh strainer. About $10. Catches the small bits after shaking.
Bar spoon. About $15. Long, twisted handle, for stirring.
Jigger (1 oz and 2 oz). About $12. For measuring.
Skip the muddler (you’ll muddle twice a year and a wooden spoon works). Skip the zester (use a microplane from your kitchen). Skip the cocktail picks (people don’t use them).
A Crate & Barrel or CB2 brass bar tool set covers all five for about $80 to $120. Worth buying once, in a finish that matches your cabinet hardware. If you want a deeper dive into the lounge side of the bar, our speakeasy lounge guide covers the seating-and-tools layer that makes the room feel like cocktail hour, every night.
15Add a tray, a book, one piece of art
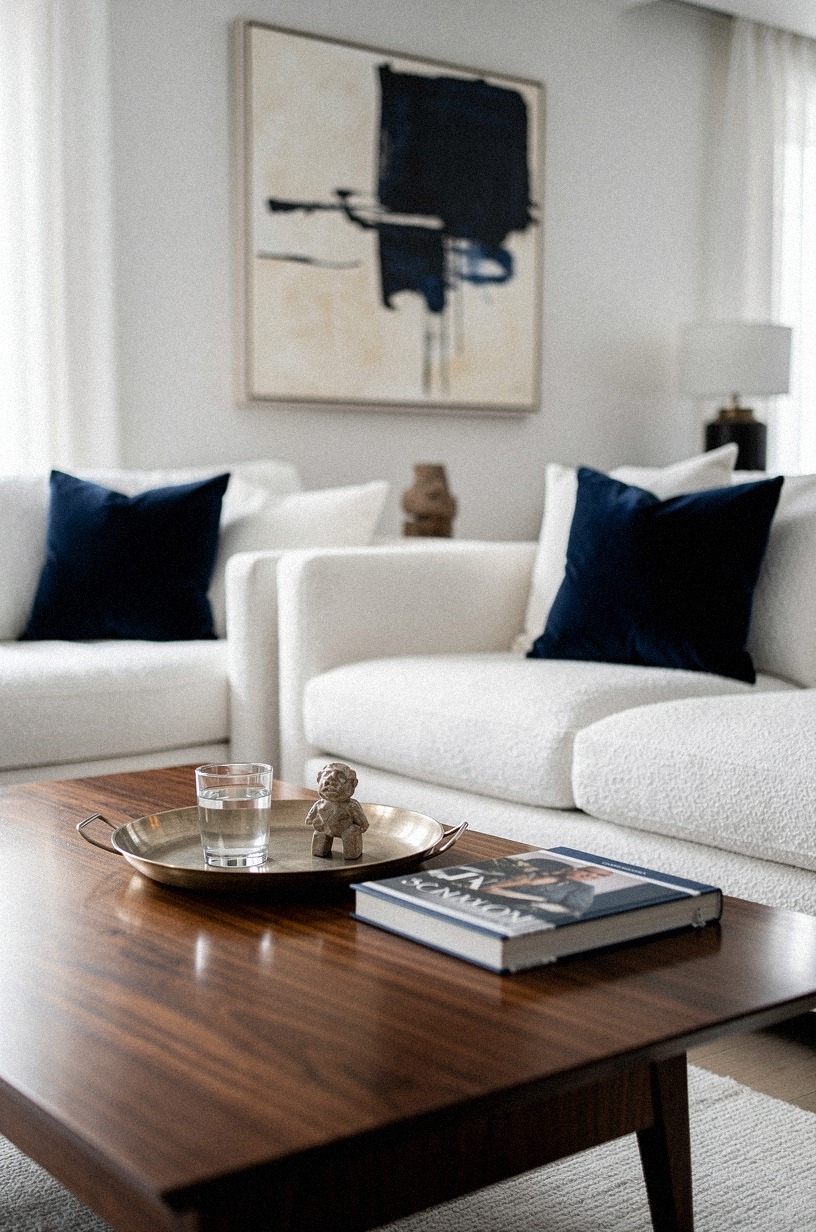
The styling layer is what separates a bar from a liquor cabinet. Three pieces, no more:
A tray. Leather, brass, or marble. About $40 to $150.
Holds the shaker and the jigger when not in use. Keeps the counter from looking like a desk.
One bar book. The Dead Rabbit cocktail manual or the Death & Co book are both beautiful and useful. About $30 to $50. Sets the tone that someone here knows how to make a Manhattan.
One small piece of art. A 5×7 framed cocktail print, a vintage matchbook collection, a small mirror. About $20 to $80. Anchors the back of the shelf and gives the eye somewhere to rest.
That’s it. Don’t add more.
Three is the limit. Four starts looking like a flea market.
If you want to push the wall behind the bar further, our speakeasy wallpaper guide shows a few dramatics that read well in a small reveal moment.
16Soft-close the door with felt bumpers
The close is half the magic. A door that slams is a bar that feels cheap. A door that whispers is a bar that feels expensive.
Soft-close cabinet hinges run about $8 to $15 each and install in 15 minutes. Add them to the door and the cabinet boxes inside. You’ll feel the difference the first time you close it.
Felt bumpers ($3 for a pack of 20) on the inside of the door and on every shelf stop the clinking when guests grab a glass. Tiny detail, huge impact!
If you went with the Murphy pivot hinge in step 3, the spring already does most of the close work. Add a felt bumper where the door meets the frame on the open side and you’re done.
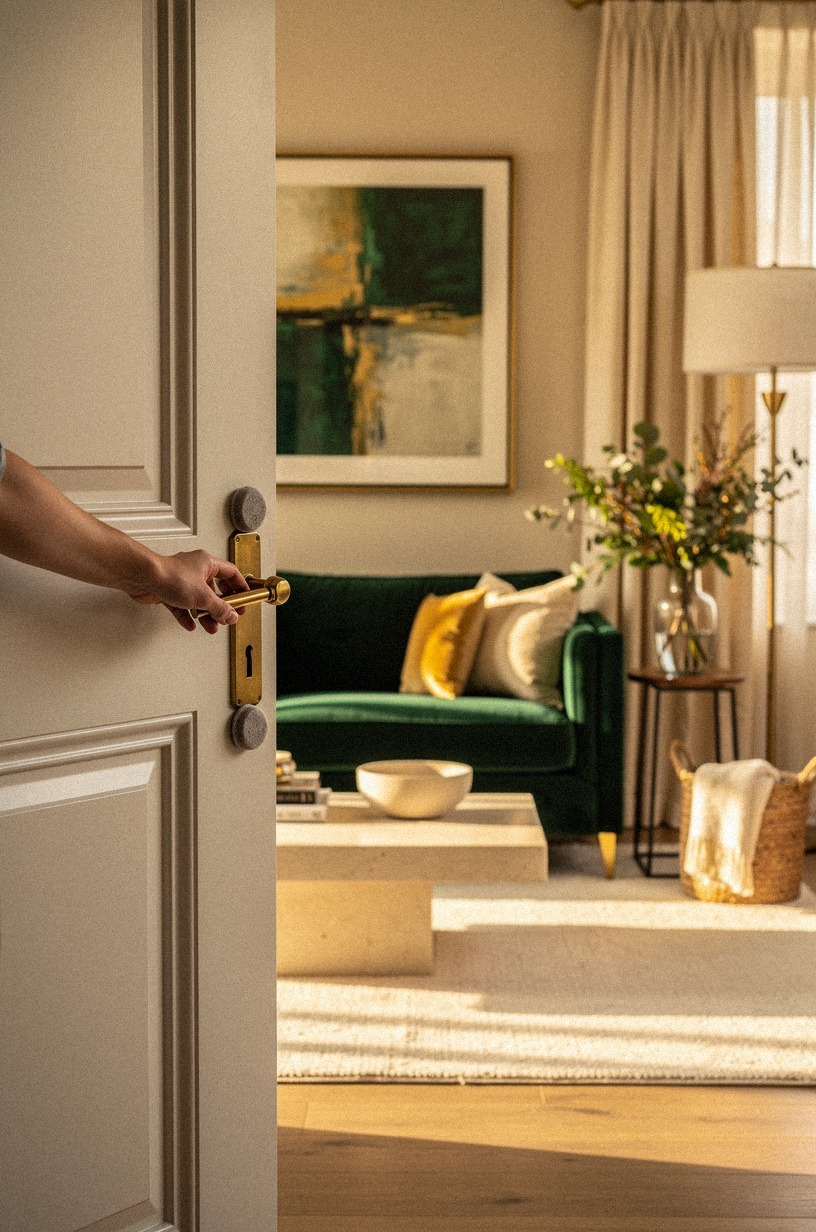
17Walk through the reveal ten times
Before you call it finished, open and close the bar ten times in a row. Time it.
Adjust the lighting. Grab a glass. Set it back.
You’re looking for three things: how the door moves (does it stick? does it slam?), how the lighting reads at night (this is when you’ll use the bar for real), and how the styling looks from 4 feet away (where guests will be standing).
If anything feels off, fix it now. Once you load it with bottles and glassware, you won’t want to take it all apart. That’s a real warning.
18Refresh the glassware every season

A bar that never changes goes stale fast. Rotate the glassware every three months.
Put the coupes away in summer, bring out the rocks glasses. Add a bottle of Aperol in May, swap it for Amaro Nonino in November.
This is the part nobody tells you about bar and wine storage. The bar is a room, and rooms breathe. If yours stops changing, you stop noticing it.
One swap per season. That’s the rule. The bar should feel slightly different every time you open the door, even if you can’t put your finger on why.
19Maintain the magic, twenty minutes a month
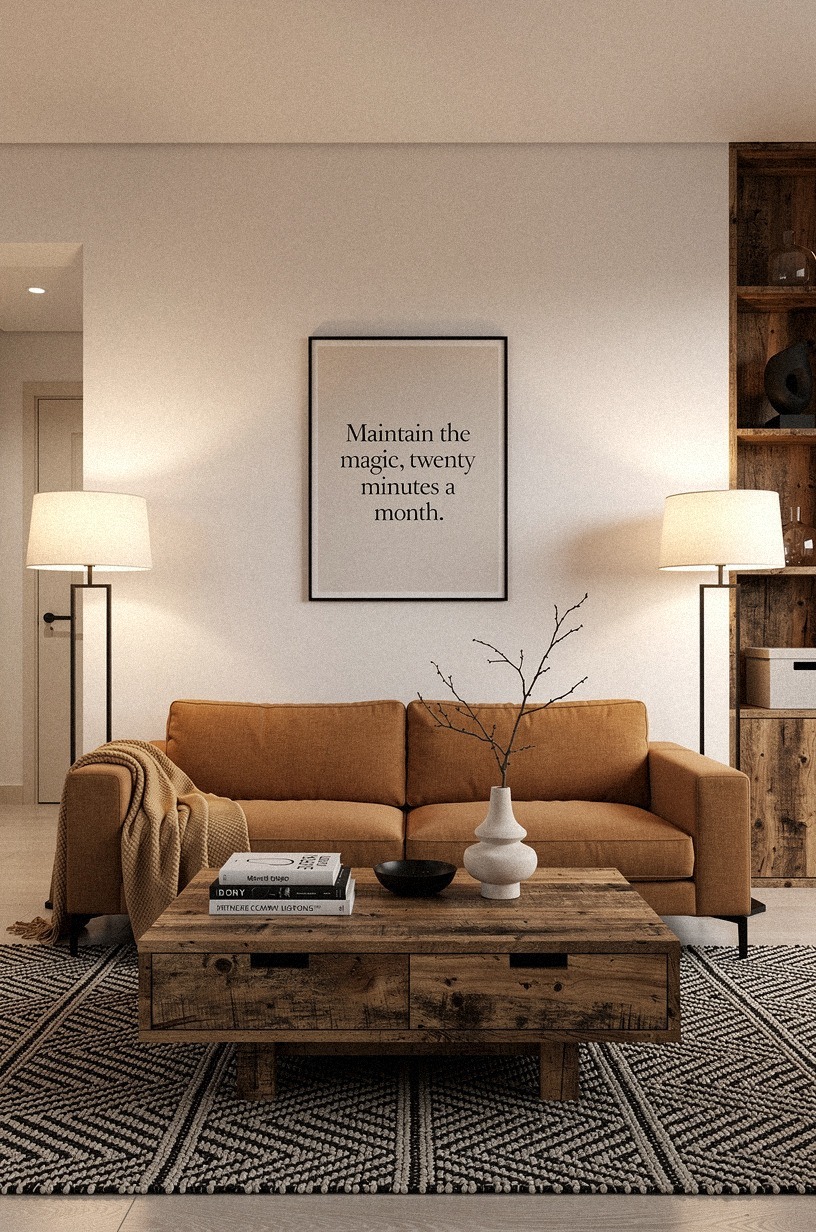
Once a month, spend twenty minutes on the bar.
What I’d Do Differently (Three Mistakes I Made So You Don’t Have To)
I’ve built three hidden bars over the years (mine, my sister’s, a friend’s rental). The first two had real problems I had to fix later. The third came out clean because I learned.
The sink mistake. I planned a sink first on the first one.
Ran new plumbing for a wet bar in a closet that didn’t have a floor drain. The plumber had to open the floor to add a pan underneath. Cost me $800 and a week of dust before I realized I was overbuilding it.
I use the sink maybe twice a year, and I rinse the shaker with a bottle of water the rest of the time. Skip the sink unless you really entertain, and even then, do the math first.
The mirror door mistake. I went full mirror on the second one.
Every fingerprint showed. Every water spot from a wet glass showed. Every sneeze from a guest showed.
The mirror looked perfect in the install photos and annoying in real life. If I were doing it again, I’d go antiqued glass or back-painted glass.
Both are more forgiving, both photograph beautifully, and both hide the mess inside when the door is closed.
The wine fridge depth mistake. I bought a wine fridge without measuring the door swing on the third one. The fridge stuck out 2 inches past the counter because the cabinet door couldn’t open a full 90 degrees.
I had to swap it for a slimmer 15-inch model. Measure the cavity, measure the door swing, measure the fridge depth with the plug in.
Then buy.
None of these are dealbreakers, but they’re avoidable. And the whole point of a hidden bar is that the reveal should feel effortless, not like a series of compromises you learned to live with.
Build it right the first time and you’ll open that door twice a week for the next decade. Promise.
A Few Things Worth Answering
What is the best hidden wet bar setup for a small living room?
A closet conversion is the strongest pick for a small living room because the door already exists, the cavity is the right depth, and the architecture stays intact. IKEA PAX frames or a Wayfair South Shore cabinet give you the interior structure for about $300 to $800, and you add the Murphy door hardware on top. Aim for a 36-inch wide cavity minimum.
Where can I buy hidden wet bar pieces on a budget?
IKEA for the interior frames and glassware, Target Threshold for the cocktail tools, Amazon for the lighting strips and puck lights (just the marketplace, no affiliate link), and Facebook Marketplace for the antique brass hardware and vintage bar tools. Second hand wins for the styling pieces because new brass looks too bright and shiny.
How much does a hidden wet bar makeover cost?
A basic build runs $300 to $1,200 for the closet conversion, paint, lighting, and styling. A mid-range version with custom cabinetry, a Murphy door, and a wine fridge lands $2,500 to $8,000.
A high-end version with millwork, a sink, and a sub-zero wine column starts near $12,000. Most people land in the basic-to-mid range, and the result feels just as finished.
What does each piece of a hidden wet bar cost?
These are typical US costs as of 2026. The Murphy door is the single best dollar-for-dollar upgrade. Skip the marble if you’re a real user; butcher block or soapstone will save you $400 to $1,000 on a typical bar.
Can I create a hidden wet bar on a budget?
Yes, and the cheapest version is honestly the most charming. A tension-rod curtain across a closet opening, a small bar cart inside, and two battery-operated puck lights cost about $150 total.
Skip the door, skip the millwork, skip the wine fridge. You lose the “reveal” moment, but you keep 80% of the function for almost nothing.
Is a hidden wet bar worth it in a small space?
Yes, more than almost any other upgrade. Small spaces benefit more because the bar doesn’t have to compete with a dining room or a kitchen island.
It becomes a self-contained cocktail corner that disappears when you’re not using it. The catch: don’t build it bigger than your cavity.
A 24-inch deep bar is plenty for two people. If you want a deeper read on the small-space layout, our small speakeasy room guide walks through a few 5-by-7-foot builds that punch way above their weight.
Is a hidden wet bar a good idea for a rental?
Yes, with two no-damage swaps. Use a tension rod and a curtain instead of a Murphy door (zero holes in the frame).
Use peel-and-stick grasscloth wallpaper (about $30 a roll) on the interior instead of paint. Use battery-operated puck lights instead of hardwired strips. Your landlord gets their walls back when you leave, and you take the styling with you.
Where I’d Start First
If I had to pick one step, I’d start with the cavity. You can’t design a hidden bar until you know the height, depth, and door swing. Grab a tape measure this afternoon and write down three numbers.
Everything else waits. Build it right, then pour something.