
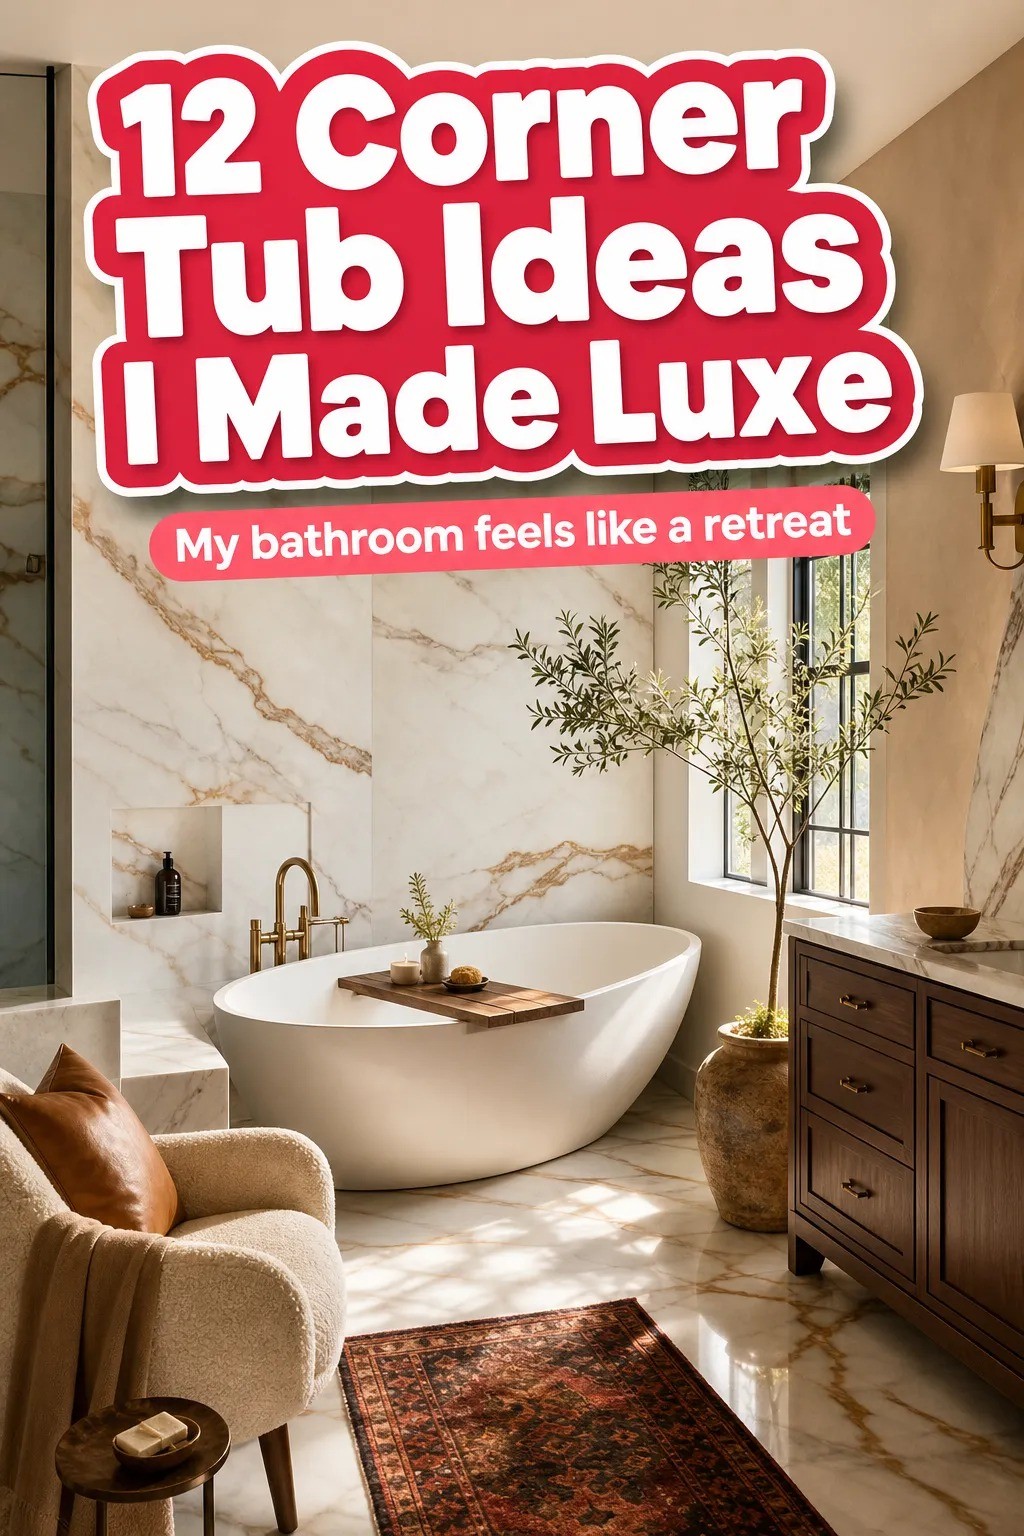
A freestanding tub in a corner can work in a small bathroom if you protect the walking path and let the plumbing dictate the layout. I did this makeover while trying to keep one awkward bath from feeling pinched. It ended up feeling far more restful!
Don’t overthink: Build the Two-Wall Bath Nook.
Here’s what it looked like before
Before, it was the full 2005 starter-home package: a bulky alcove tub, beige floor tile, one glaring ceiling light, and a corner nobody used except to stack laundry. I couldn’t open the vanity drawer without bumping the tub apron. You could feel the room arguing with itself.
I kept the existing drain location because moving it would’ve eaten the budget. Instead, I removed the visual bulk around it, chose a slimmer 60×30-inch acrylic tub, and treated the corner as a deliberate bath nook.
Not glamorous work at first. But you need that boring layout decision before your bathroom can breathe.
- Float the tub on the drain-wall diagonal
- Build the Two-Wall Bath Nook
- Hang a curtain high, not wide
- Choose tile behind the tub over a busy floor
- Use the Three-Height Light Stack
- Paint the ceiling to close the awkward gap
- Can a bath nook borrow space from the vanity?
- Frame the faucet with a real side table
- Put a freestanding tub surround around the plumbing only
- Swap a bulky shower plan for a glass edge
- Anchor the corner with a washable runner
- Protect the toilet path before styling anything
1Float the tub on the drain-wall diagonal
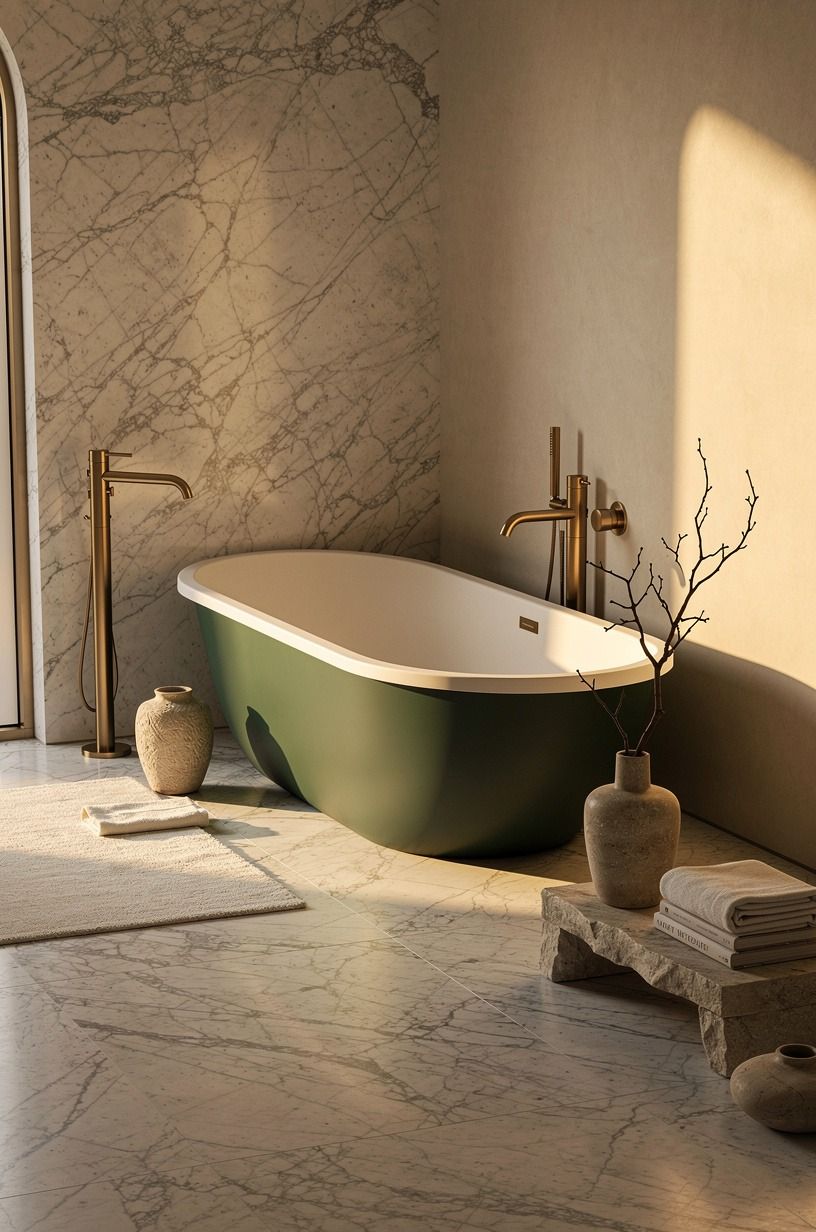
I angled the tub just enough to follow the existing drain wall, rather than forcing it into a square corner. You get a softer approach path, and your eye reads the tub as furniture instead of plumbing. I used a Ferguson acrylic soaking tub with a clean oval rim because the boxier versions made my corner look like a dental office.
Leave enough room for your hand to clean behind it. I learned that after placing mine too close to the wall, then trying to mop in a space barely wider than a paperback. If you’re planning a similar footprint, this guide on fitting a freestanding tub in a small bathroom helps you think through the clearance first.
2Build the Two-Wall Bath Nook
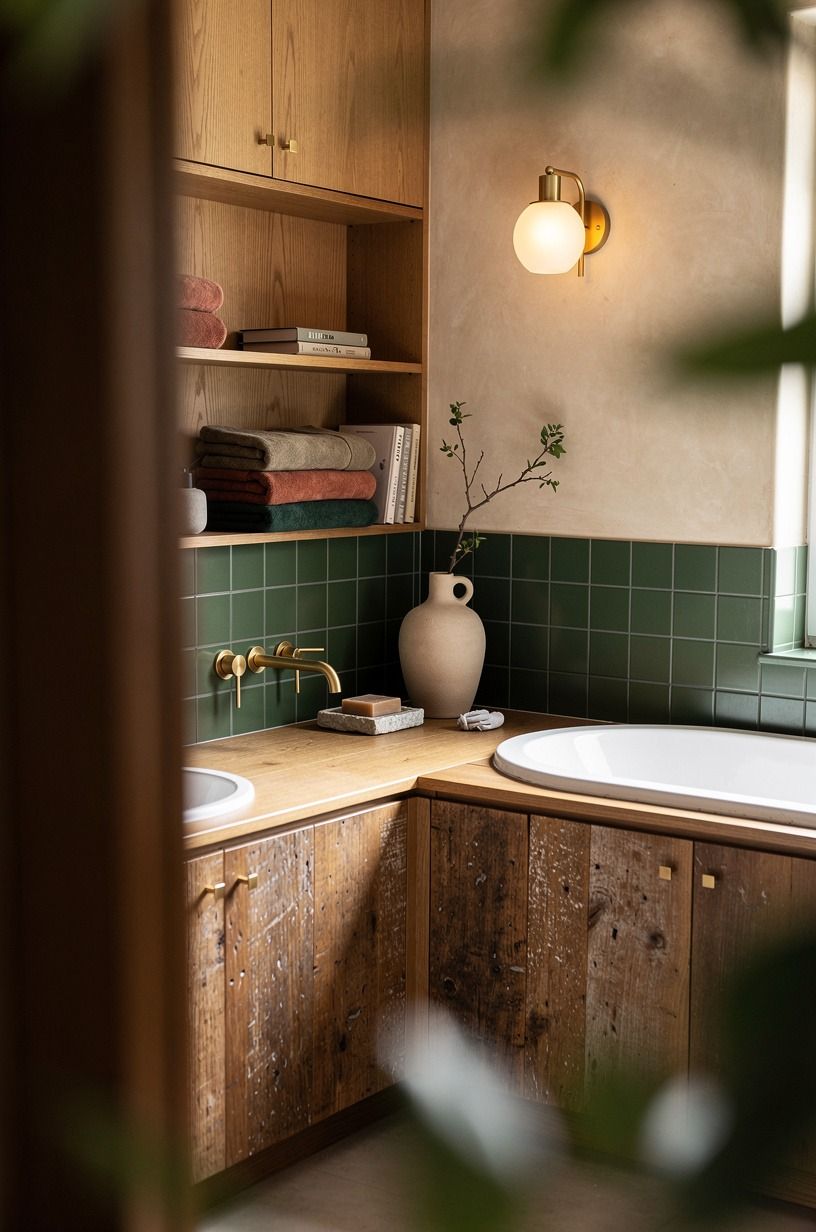
My best decision was giving the corner two jobs: backdrop and storage edge. One wall got Farrow & Ball Studio Green, while the adjacent wall took on a muted rust note. You don’t need four dark walls to make a room feel moody; you need one place for the eye to land.
I added a narrow reclaimed weathered teak ledge, sealed in a satin finish, on the longer wall. It holds a glass of water, bath salts, and the book you’re pretending you’ll read.
Your tub needs a landing spot, or you’ll end up balancing everything on the floor. That gets old fast.
3Hang a curtain high, not wide
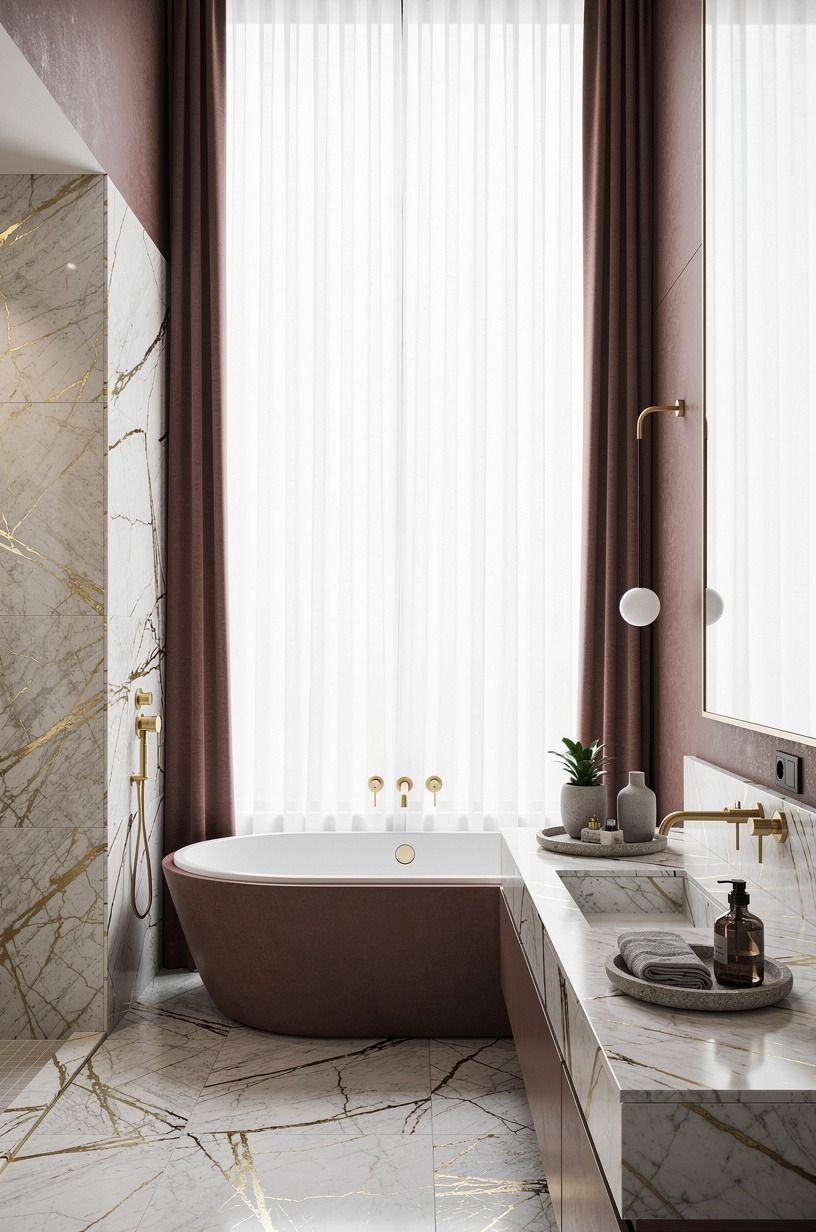
A curtain can make a bathroom with alcove geometry look intentional, especially if your window sits beside the tub instead of above it. I hung Belgian flax linen panels close to the ceiling and let them touch the floor. The fabric softens the hard tile edges and gives you a little privacy without another permanent wall.
But don’t use a short café curtain here. It cuts the room in half and makes your ceiling feel lower.
Your rod should sit wide enough that the panel clears the glass when open, and your tub still catches that gentle morning light. A little theatrical?
Yes. Worth it!
4Choose tile behind the tub over a busy floor
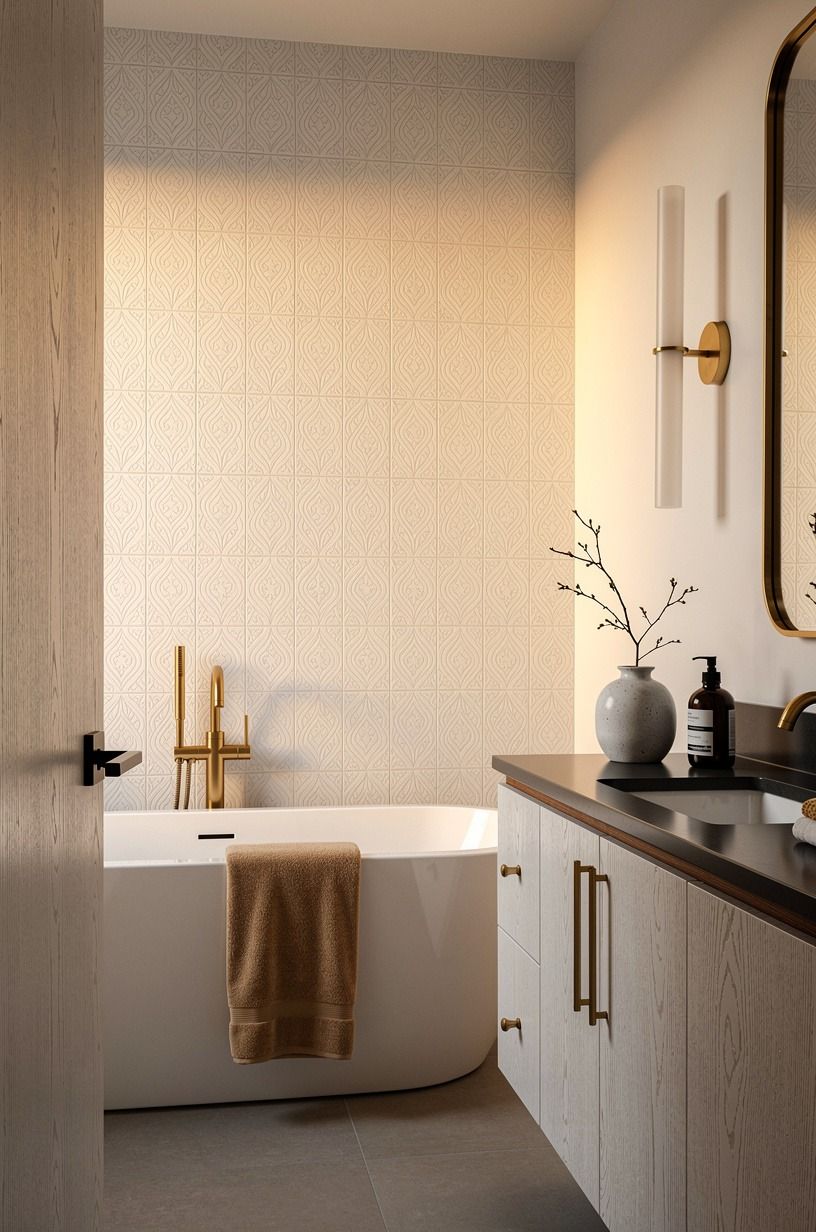
I skipped a patterned floor and put the drama behind the tub instead. A vertical field of warm white tile with camel variation and slim black accents catches light unevenly, which is exactly why it feels alive beside smooth porcelain. Your eye goes up, so the corner feels taller than it is.
For my layout, that wall did more work than any oversized mirror could. I’d choose a tub backdrop over a loud floor every time, because you see it while soaking and not only while standing at the sink. See more options in tile behind a freestanding tub before committing to a finish.
5Use the Three-Height Light Stack
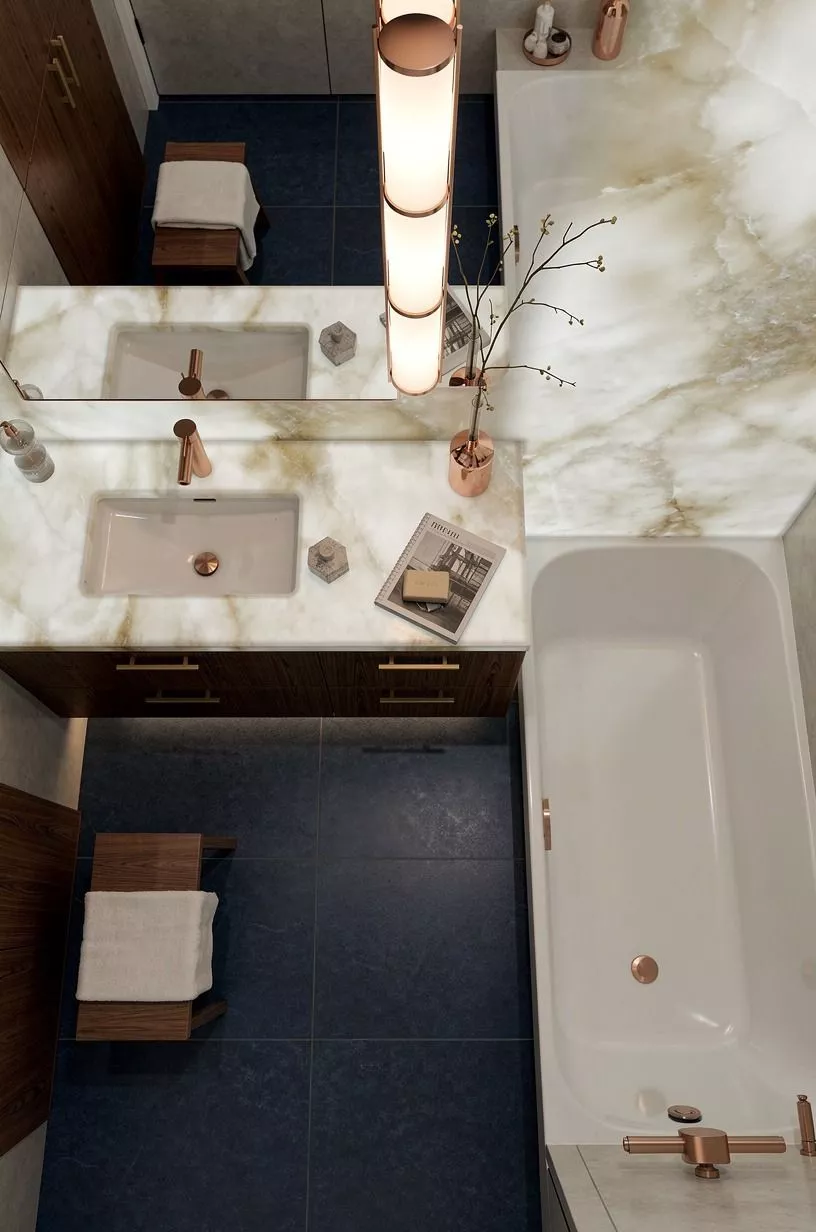
A single ceiling fixture made my tub corner feel clinical. I replaced that flat light with three heights: a ceiling fixture, a pair of wall lights, and one small portable lamp on the ledge.
Your bathroom doesn’t need to be bright from every direction. It needs layers.
I chose copper sconces with warm bulbs, then added a tiny Pooky rechargeable lamp near the faucet. At night, the lamp throws an amber pool across the tub rim and stops at the rug’s edge.
That’s the moment the room became calming instead of merely functional. And yes, I leave it on during baths.
6Paint the ceiling to close the awkward gap
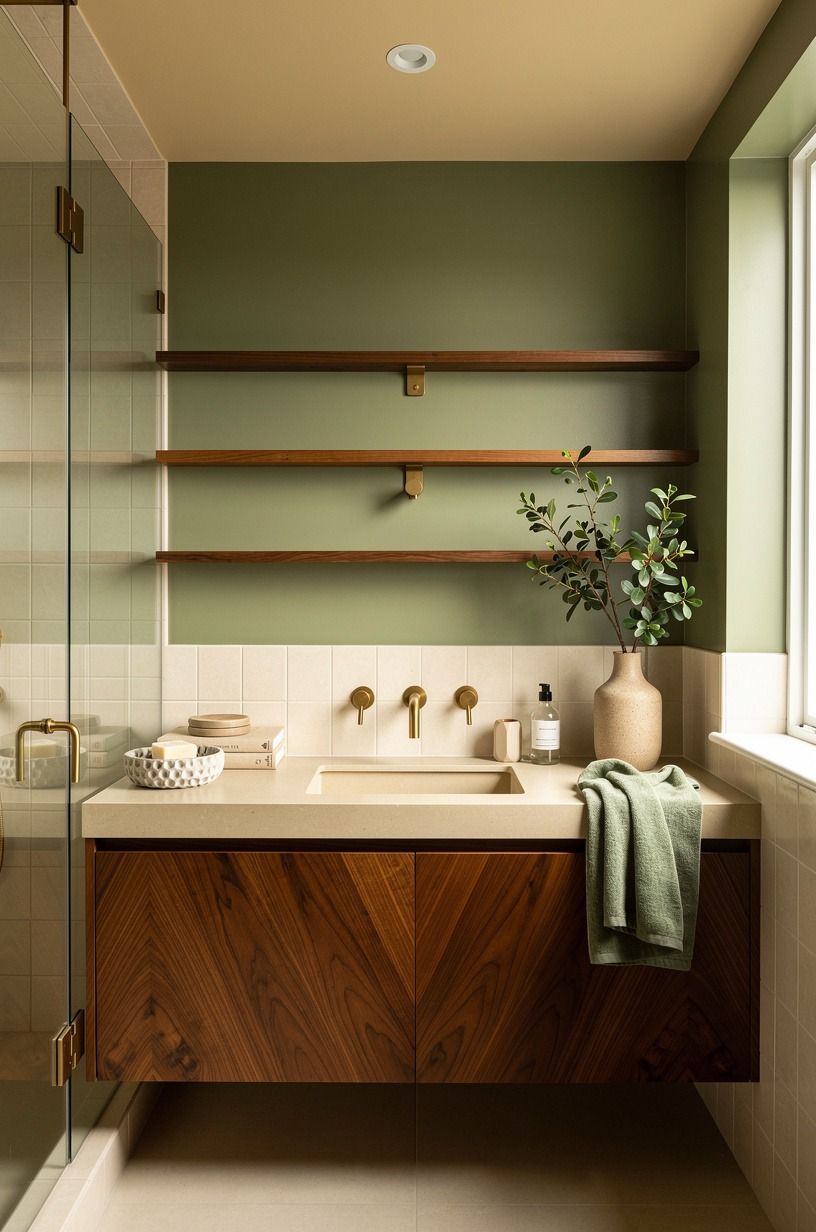
The ceiling was the part I nearly ignored.
7Can a bath nook borrow space from the vanity?
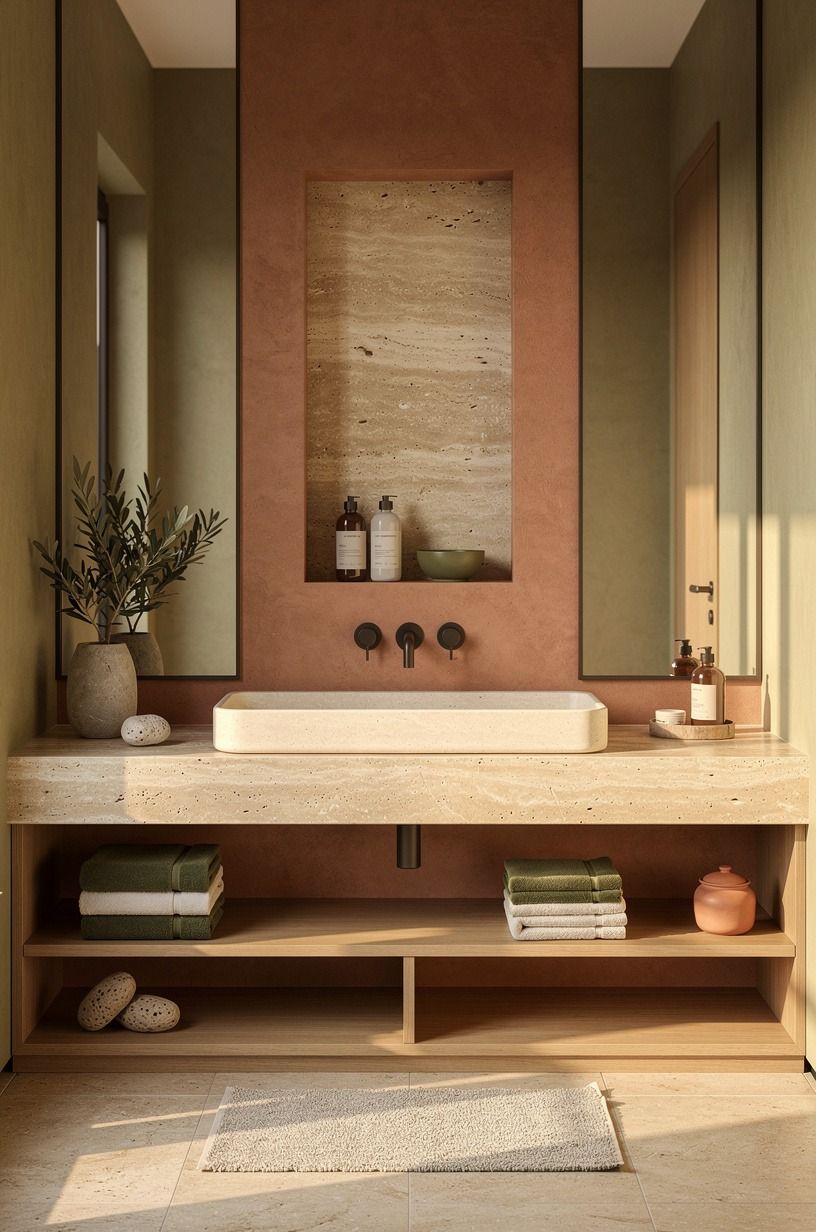
Yes, if you protect the vanity zone first. My vanity landed at 34 inches high, inside the standard 32 to 36 inch range, and I kept its drawers facing away from the tub. Your morning routine shouldn’t require a sideways shuffle with a wet towel.
I chose an IKEA HAVBÄCK oak-effect vanity because its quieter grain didn’t fight the terracotta and olive walls. A floating vanity is better than a chunky cabinet here; you see more floor, and your corner feels airy. If your room is narrow in the same frustrating way, borrow the circulation thinking from these awkward long-room layouts, even though the examples are bedrooms.
8Frame the faucet with a real side table
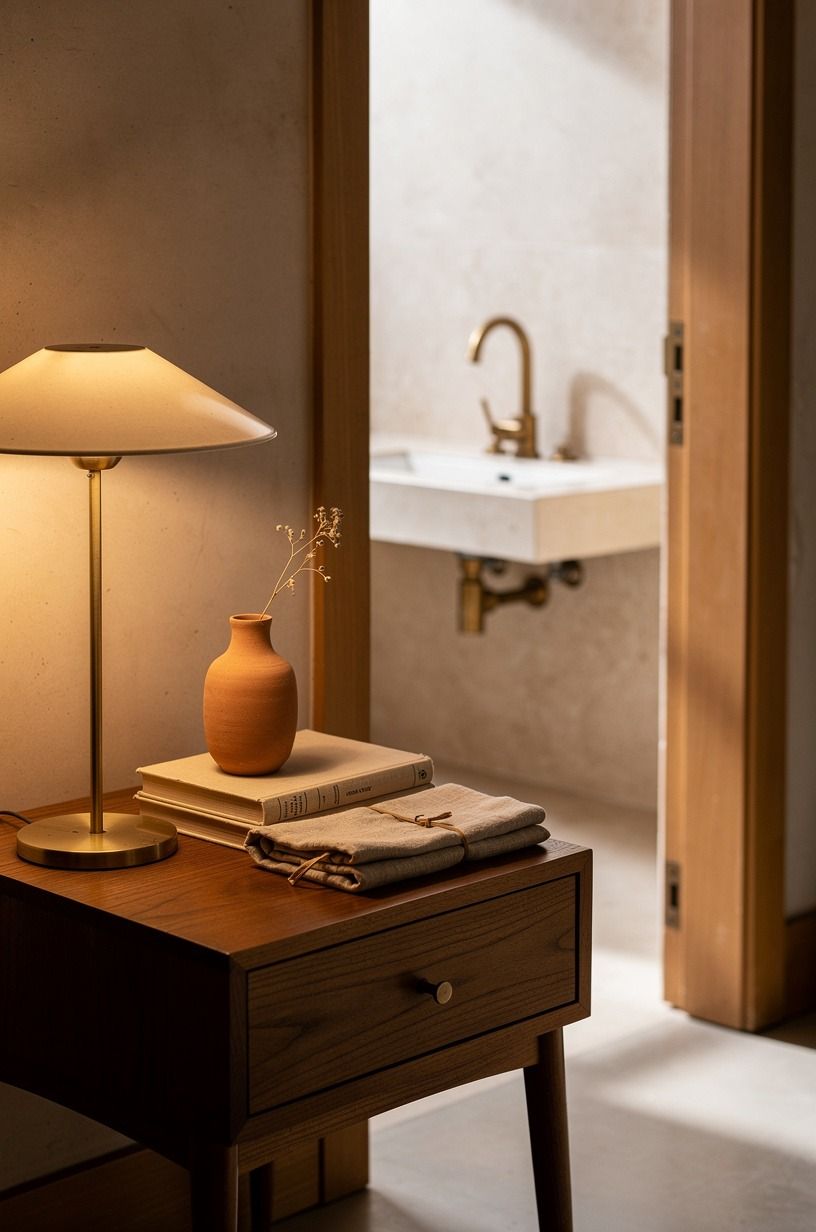
I didn’t want a bathtub caddy permanently stretched across the rim. They look useful in photos, then collect damp bottles and hair ties in real life. A small movable table gives you the same function without making the tub look staged.
Mine is an unlacquered brass side table set beside the tub, not directly in front of it. Your knees need the open side when you climb in, and your towels need a dry place that isn’t the toilet lid.
A round table is the better call than a sharp square one because there’s no corner waiting to bruise your shin. Small thing, huge relief.
9Put a freestanding tub surround around the plumbing only
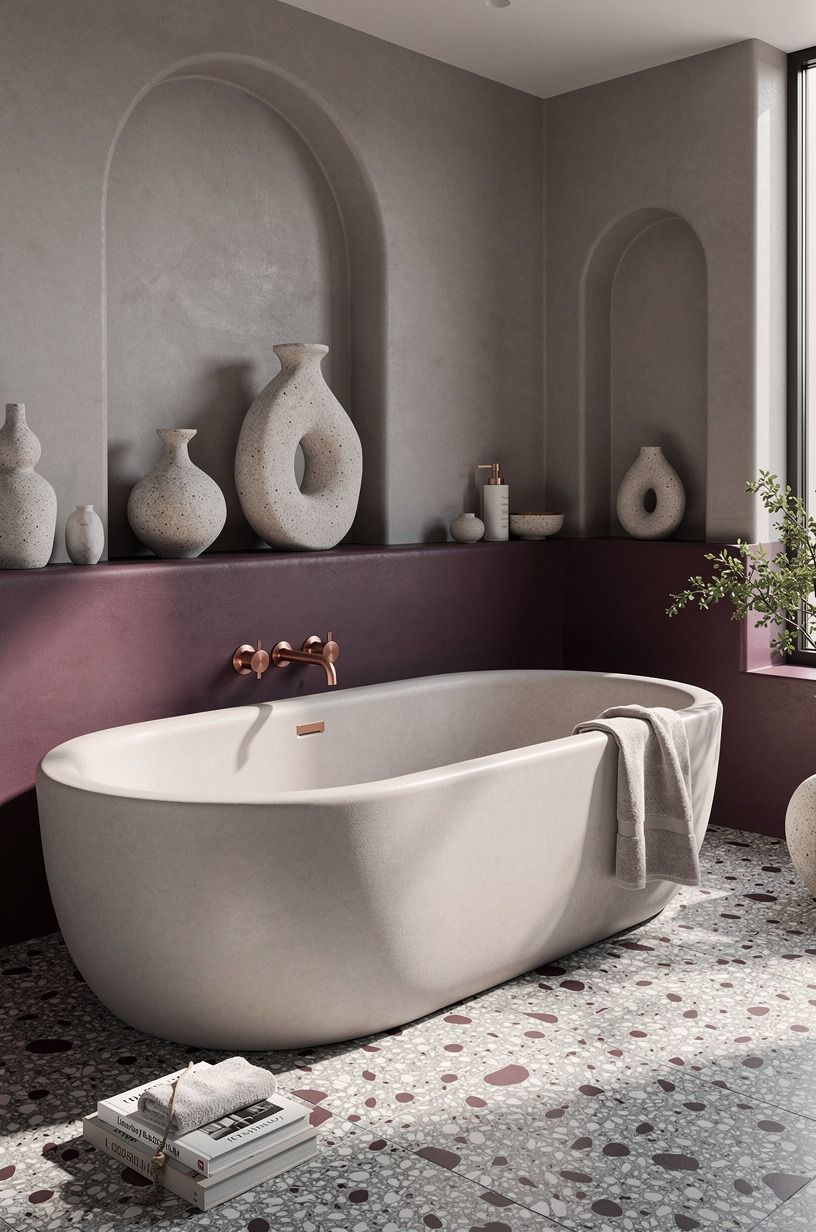
I avoided building a full surround, which would’ve made the freestanding tub feel like another alcove tub wearing a costume. Instead, I made a low plumbing screen behind one end with oversized-chip terrazzo and removable access panels. Your pipes disappear, but the tub still reads as freestanding.
The screen also solved the oddest gap in the room, where the faucet lines met the corner. I brought in plum and soft rose-gold notes to keep it gentle against the grey terrazzo. For more finished versions, browse these freestanding tub tile surround ideas.
You don’t need to tile every surface.
10Swap a bulky shower plan for a glass edge
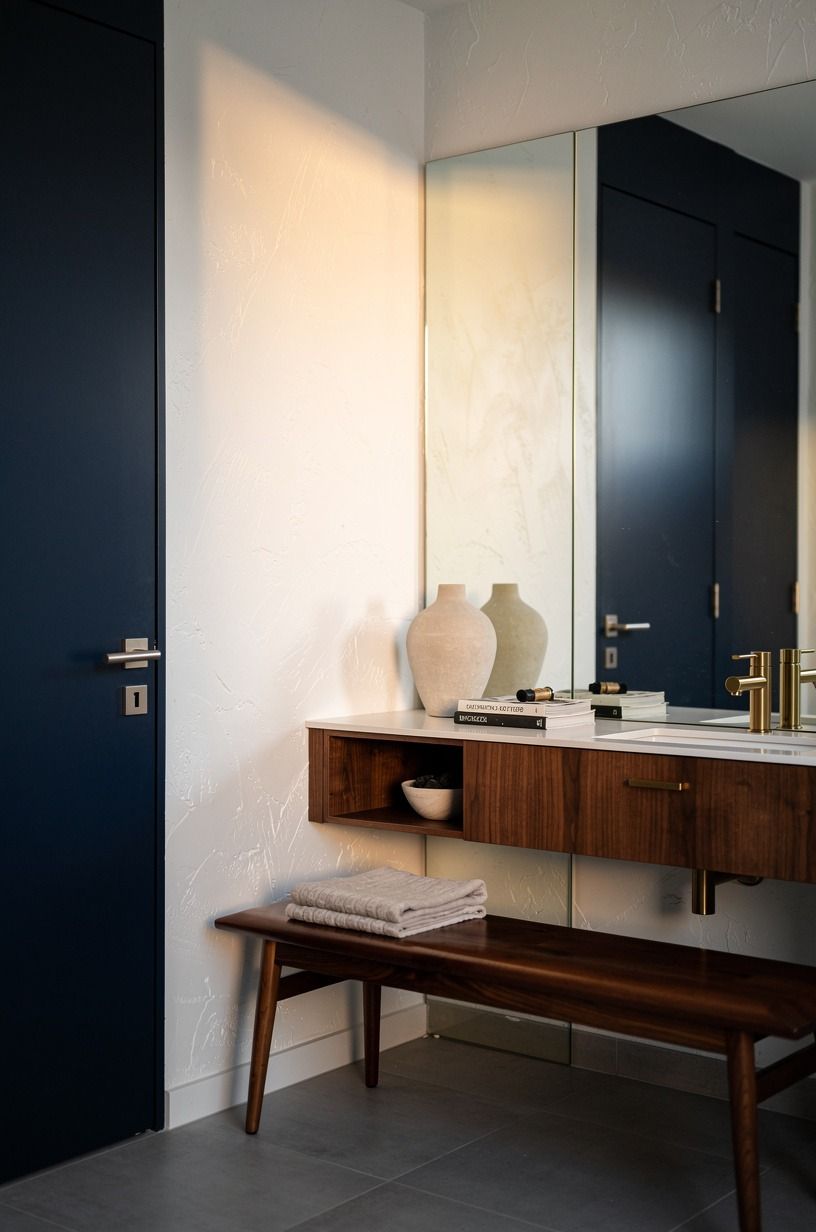
I kept the shower separate, with a 36×36-inch shower as the minimum comfortable footprint, rather than trying to turn the tub corner into a shower combo. A curtain around a freestanding tub can work, but it wasn’t right for this bathroom. Your room needs either a true wet-room plan or a clean division.
A single fixed glass panel gives the shower a refined edge without blocking the tub view. But skip dark grid glass in a small bath nook unless you want the room to feel busier.
I wanted peaceful, not industrial. If you’re weighing the two layouts, these freestanding tub and shower combo ideas show where the combo earns its footprint.
11Anchor the corner with a washable runner
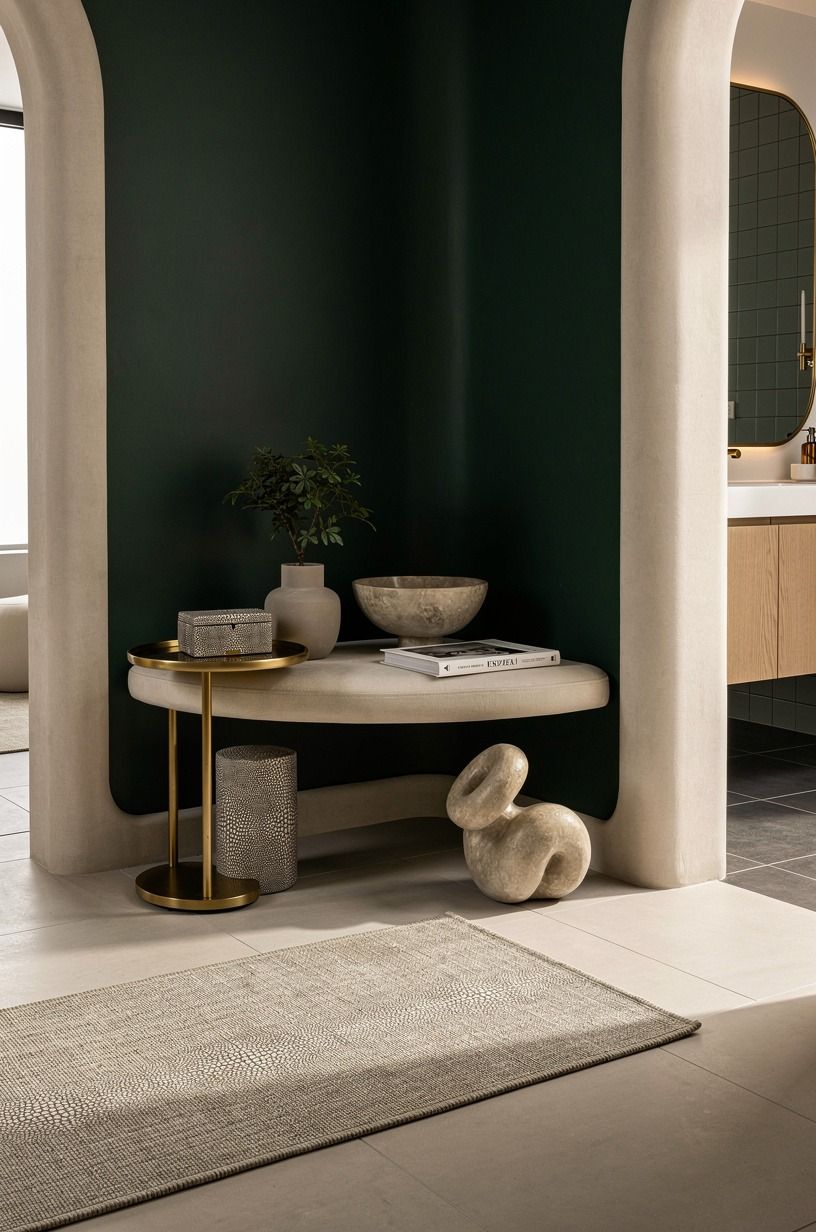
The bare tile around my tub looked cold even after everything else was done. I brought in a long Ruggable Kamran runner in emerald and cream, keeping its edge outside the tub’s splash zone. Your feet get something soft under them, and the room gains a horizontal line that pulls the corner into the rest of the bath.
Don’t buy a tiny round mat just because the corner is small. It makes the tub look stranded.
A runner gives the layout purpose, especially with a small shagreen tray on the nearby ledge. Warm gold near the floor is what stops all that ceramic from feeling chilly.
12Protect the toilet path before styling anything
This is the least Pinterest-friendly choice and the one that saved the whole room. I kept 21 inches of clearance in front of the toilet before choosing the table, rug, or plant. Your gorgeous bath nook isn’t worth much if the daily path feels like an obstacle course.
I used a slim Belgian linen stool rather than a deep storage bench, then added one woven basket beneath the vanity. You can always add another candle later.
You can’t easily take back six inches once tile and plumbing are set. But that restraint gave me a bathroom that feels welcoming every single day!
How much it cost
My makeover wasn’t a full gut renovation. I kept the drain, shower position, and toilet where they were, then spent on the surfaces your eye touches first. Your cost will shift with labor and local plumbing, but these are typical US bathroom ranges.
My own spending sat in the mid-range because the freestanding acrylic tub, tile wall, lighting, and vanity all mattered more to me than replacing every floor tile. I’d spend on plumbing access and lighting again. I wouldn’t pay extra for a giant tub in a room where you can’t walk around it.
Why I think the corner layout is worth defending
People treat a corner tub like a compromise, and sometimes it is. A centered tub in a big master bath has a grand, hotel-like feeling that a corner layout can’t imitate.
But I don’t think imitation is the goal. In a smaller bathroom, a tub set into a corner can feel more private, more practical, and oddly more romantic because the room has to make a choice.
I made the common mistake of trying to make every wall equally important. That gave me matching art, matching sconces, matching storage, and a room that felt like it was waiting for permission to have a point of view.
Once I accepted that the tub corner was the main event, the rest got easier. The tile could be more bold. The vanity could be quieter.
The shower glass could disappear. Your bathroom doesn’t need more objects; it needs one visual argument that holds.
There’s also an honest comfort issue. A freestanding tub in the center may photograph well, but it can leave you carrying towels, candles, and a glass of water across open floor.
In my bath nook, everything sits within reach. The wall holds warmth after a long bath, the linen curtain filters the late light, and the stool is right there. I’m not saying every corner deserves a tub.
A cramped corner with no clearance is still a bad plan. But if you can protect circulation and give the tub a real backdrop, the corner stops looking like the leftover spot.
It becomes the reason the room feels gathered.
The Questions Worth Answering First
What is the best freestanding tub in a corner for a small bathroom?
A slim oval acrylic tub is usually the best choice because it keeps your floor path open. Look for a 60×30-inch acrylic tub and pair it with a narrow IKEA HAVBÄCK vanity. Your benefit is more usable circulation without losing the soaking ritual.
Where can I buy freestanding tub in a corner pieces on a budget?
Start with IKEA, Wayfair, and Target for vanities, stools, mirrors, and textiles. Facebook Marketplace can turn up solid wood side tables for very little. Your best budget win is buying the small furniture secondhand, then spending on the faucet where you touch it daily.
How much does a freestanding tub in a corner makeover cost?
A cosmetic corner-tub makeover can cost about $200 to $1,200, while new tile and plumbing push it higher. Paint and rearranging what you own are free. Your clearest saving is keeping the drain where it is, because plumbing changes add up quickly.
Can I create a freestanding tub in a corner on a budget?
Yes, and you don’t need a full renovation. Paint one wall, add a washable runner, and use a removable side table. Your low-cost route is texture before construction: linen, lighting, and a better bath ledge make a bigger difference than extra décor.
Is a freestanding tub in a corner worth it in a small space?
Yes, if you keep the walking path clear and use the walls as a backdrop. A small room can make the tub feel intimate rather than isolated. Your layout should preserve 21 inches in front of the toilet before you add any stool or storage.
Is a freestanding tub in a corner a good idea for a rental?
Yes, if you avoid permanent plumbing or tile changes. Use peel-and-stick wall covering, a tension rod with linen-look curtains, and removable lighting.
Your rental-friendly route is reversible softness, not construction. For more inspiration, see these master bath freestanding tub ideas.
Where I’d Start First
If I had to pick one, I’d start with the tub backdrop. You can’t make a corner feel intentional with accessories while the wall behind it still looks accidental. Pin the tile idea for later and let your layout choose the rest.