
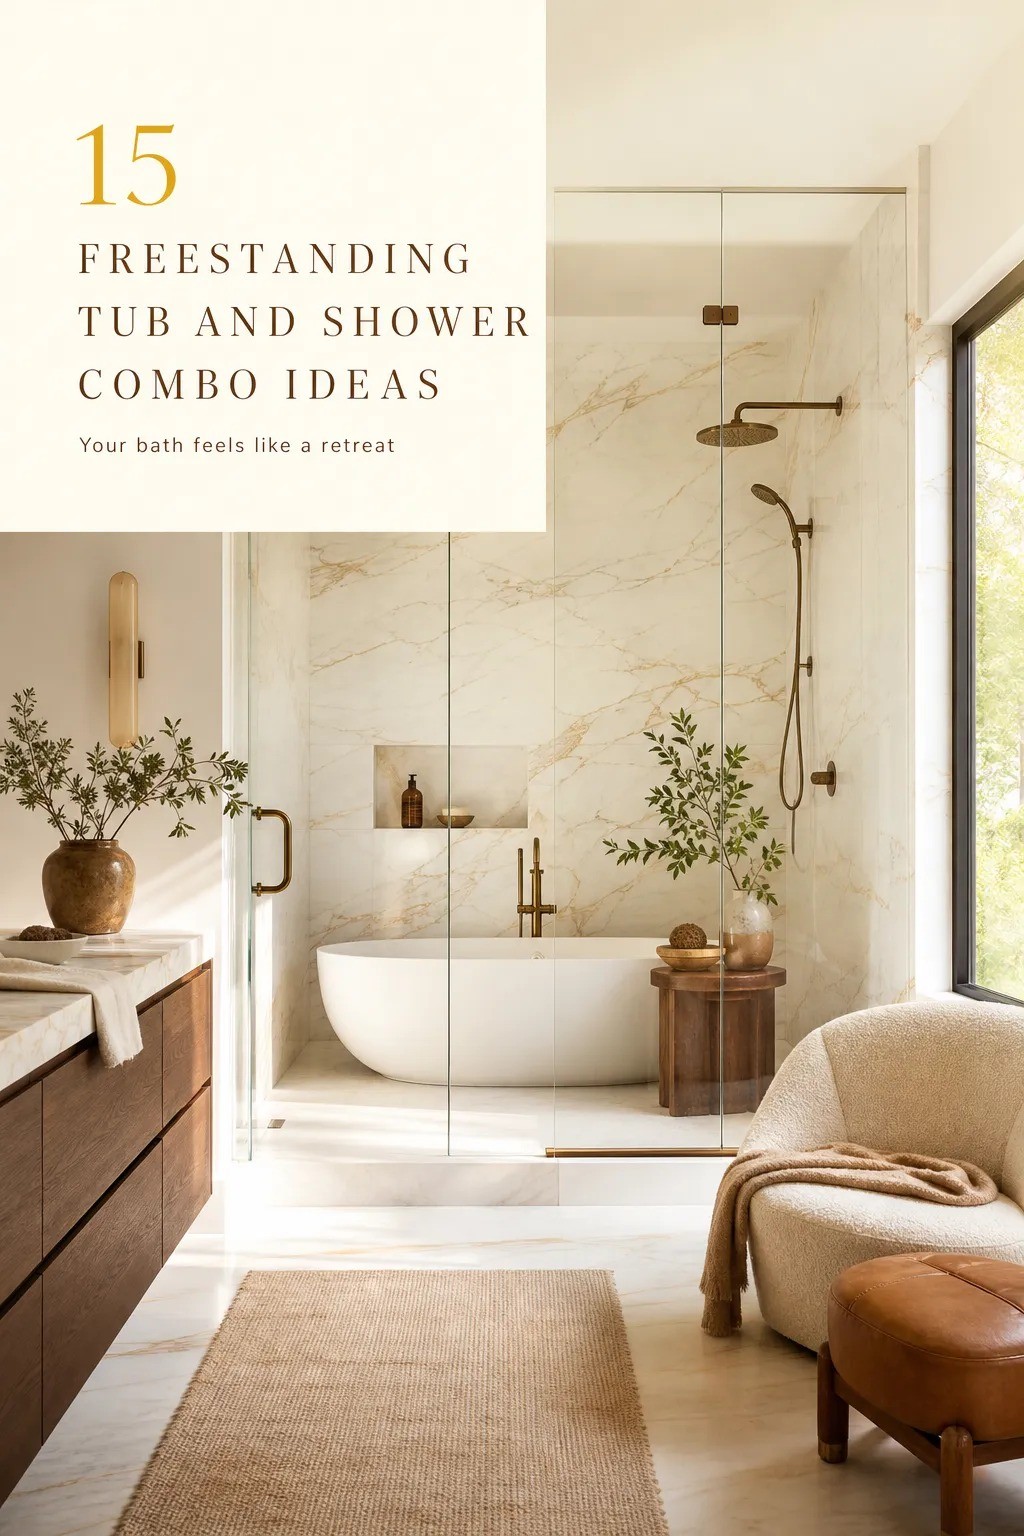
Freestanding tub and shower combo ideas work best when you plan them like one wet zone, not two competing fixtures. I learned that after squeezing a tub into a corner and leaving the shower to fend for itself, and the whole room felt chopped up. Once you treat the layout as a single composition, your bathroom starts reading like a spa instead of a plumbing puzzle. That is the part most people miss!
- Place the tub inside a glass shower room
- Run one wet-room floor under both fixtures
- Frame the tub with a half-height pony wall
- Tuck the shower behind the freestanding tub
- Set a floor-mounted filler between tub and shower
- Wrap both zones in large marble slabs
- Float a bench beside the tub edge
- Why curved glass changes the whole room
- Anchor the combo with black grid glass
- Raise the tub on a tiled platform
- Center the tub under a rainfall shower line
- Divide the combo with a fluted glass panel
- What does a niche wall behind both fixtures actually buy you?
- Use brass fixtures to unify the wet zone
- Nestle the tub beside a curb-free shower
1Place the tub inside a glass shower room
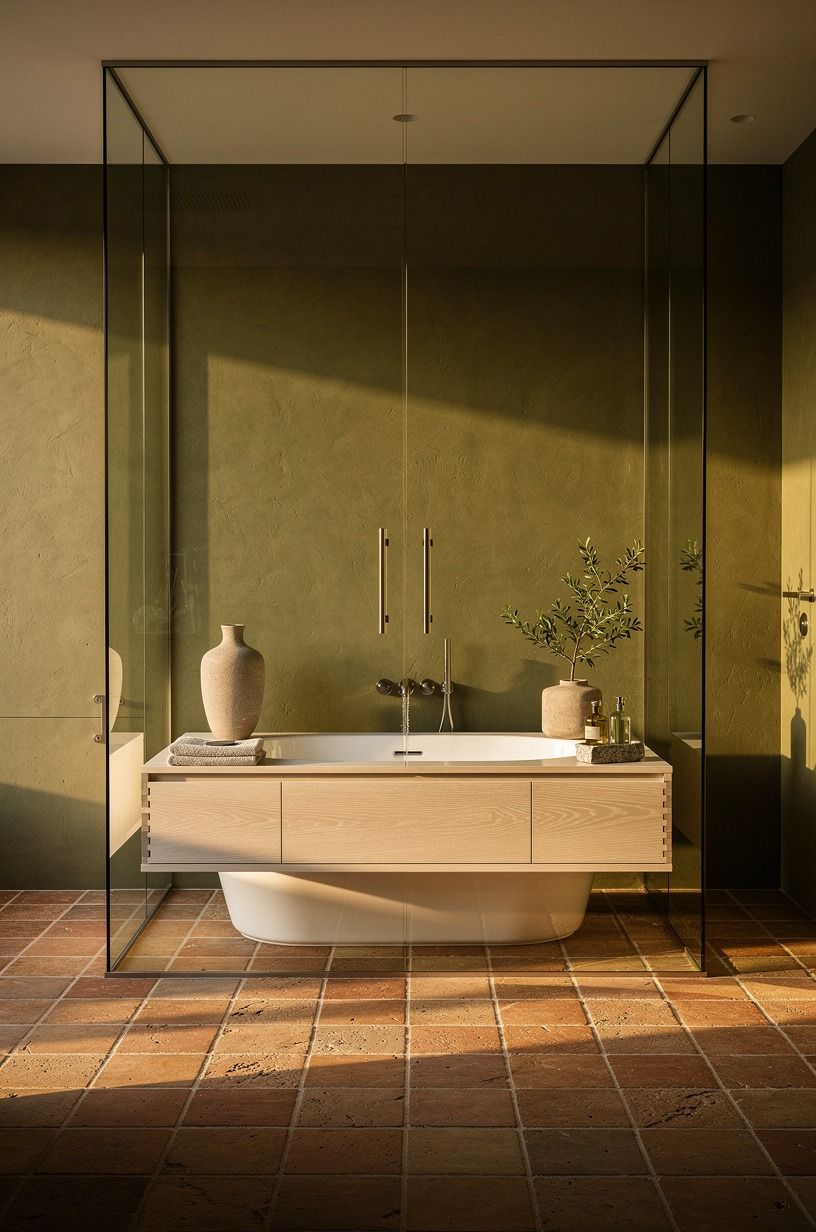
Build the tub in front of shower glass only if the shower envelope clearly reads as one room within the room. You want the freestanding acrylic tub centered inside 10mm tempered glass so your eye catches the symmetry first, not the plumbing. I like this move when you’ve got enough width to give the tub breathing room and still hold a comfortable shower zone behind it.
Keep the floor, drain line, and wall finish continuous so you don’t break the spell. Sherwin-Williams Sea Salt SW 6204 on the upper wall keeps the glass from feeling clinical, and a slim brushed brass rain head warms up the reflections. If you’re planning a stand up shower and tub ideas layout with no visual clutter, look at this doorless walk in shower guide for more envelope details.
I’d skip frosted glass here, because the whole point is to let the tub stay sculptural from every angle. For the wider layout conversation, the boutique spa bathroom guide is my other reliable reference.
2Run one wet-room floor under both fixtures
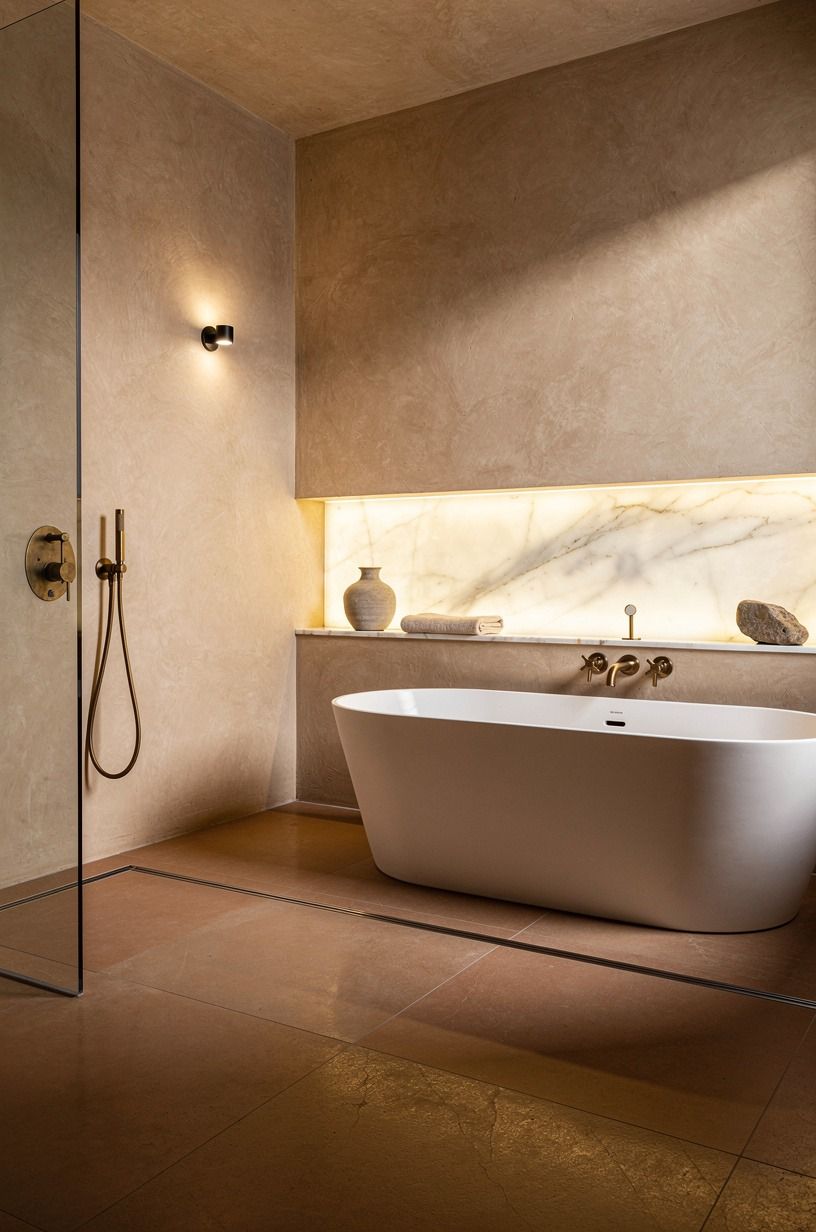
Let one wet-room floor run under the stand alone tub next to shower setup, and suddenly the room feels wider.
3Frame the tub with a half-height pony wall
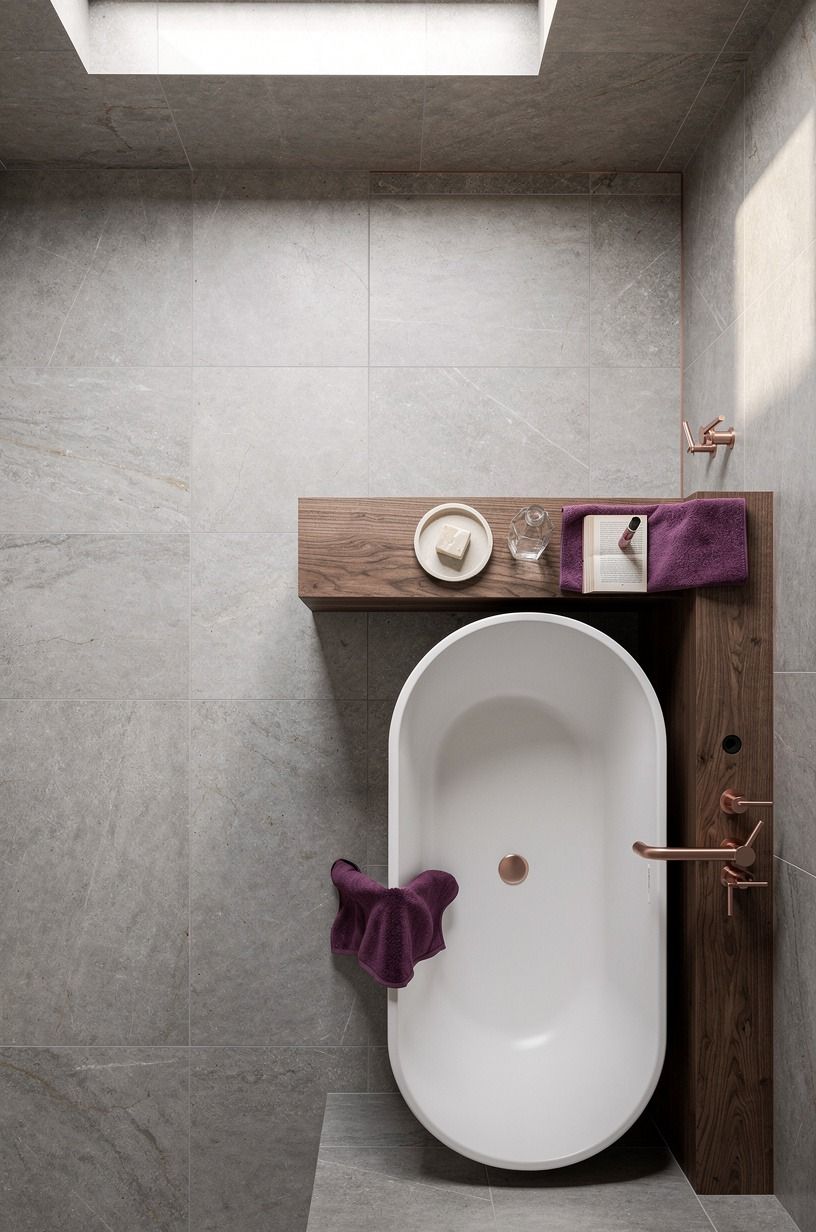
A half-height wall gives you structure without turning the tub zone into a box. In a compact shower next to bathtub master bath, a tiled pony wall can hide bottles, catch spray, and still leave the upper half open so light keeps moving. That’s a lot of function from one low divider.
Tile the cap in honed travertine or a marble-look porcelain with a soft eased edge, then keep the wall height low enough that the tub still shows from the doorway. Around 32 to 36 in usually feels right because it relates nicely to vanity height and doesn’t crowd the room. But here’s the thing: if you build it too chunky, your freestanding tub starts looking shoved in rather than framed.
For more backdrop ideas, I keep coming back to this article on tile behind a freestanding tub, because the wall treatment matters almost as much as the wall itself. Related inspiration comes from these walk in shower no door designs, which show how a half-wall can quietly replace a full glass enclosure.
4Tuck the shower behind the freestanding tub
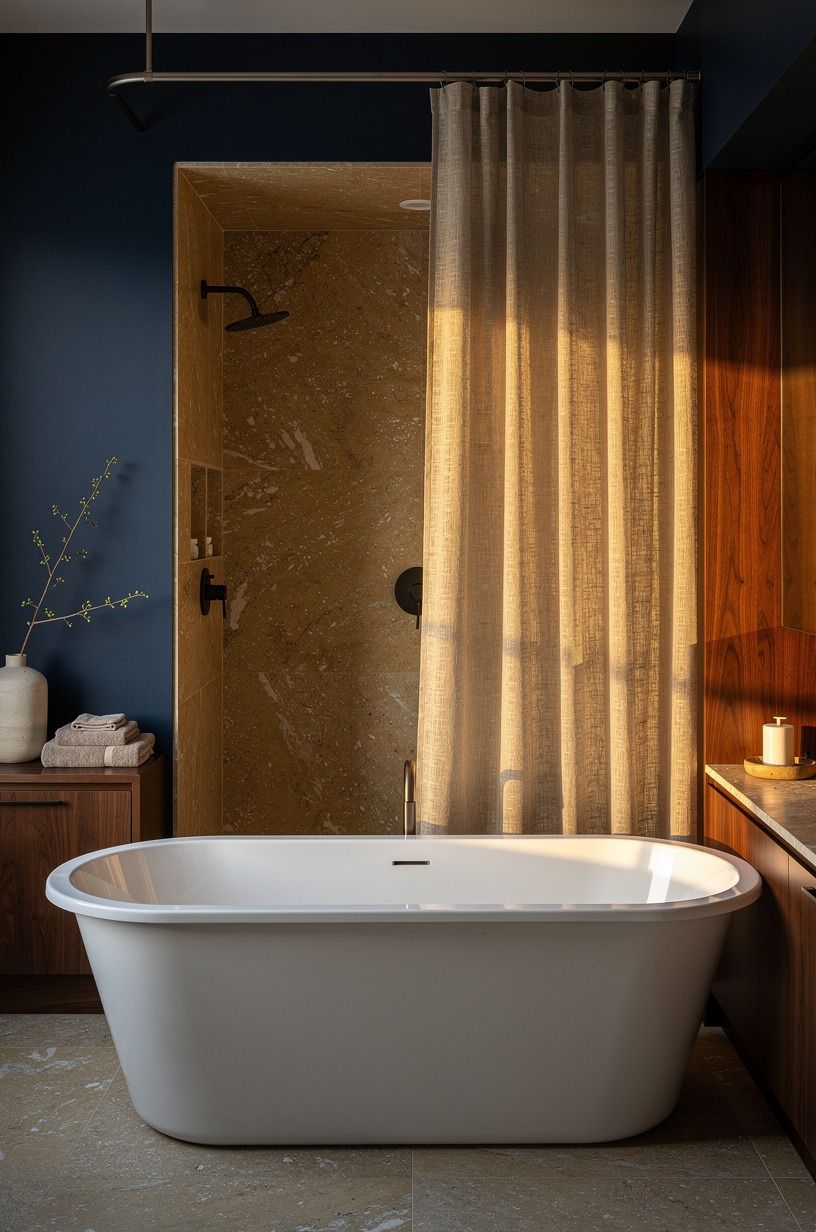
Push the shower directly behind the tub when you want the tub to do all the visual heavy lifting.
5Set a floor-mounted filler between tub and shower
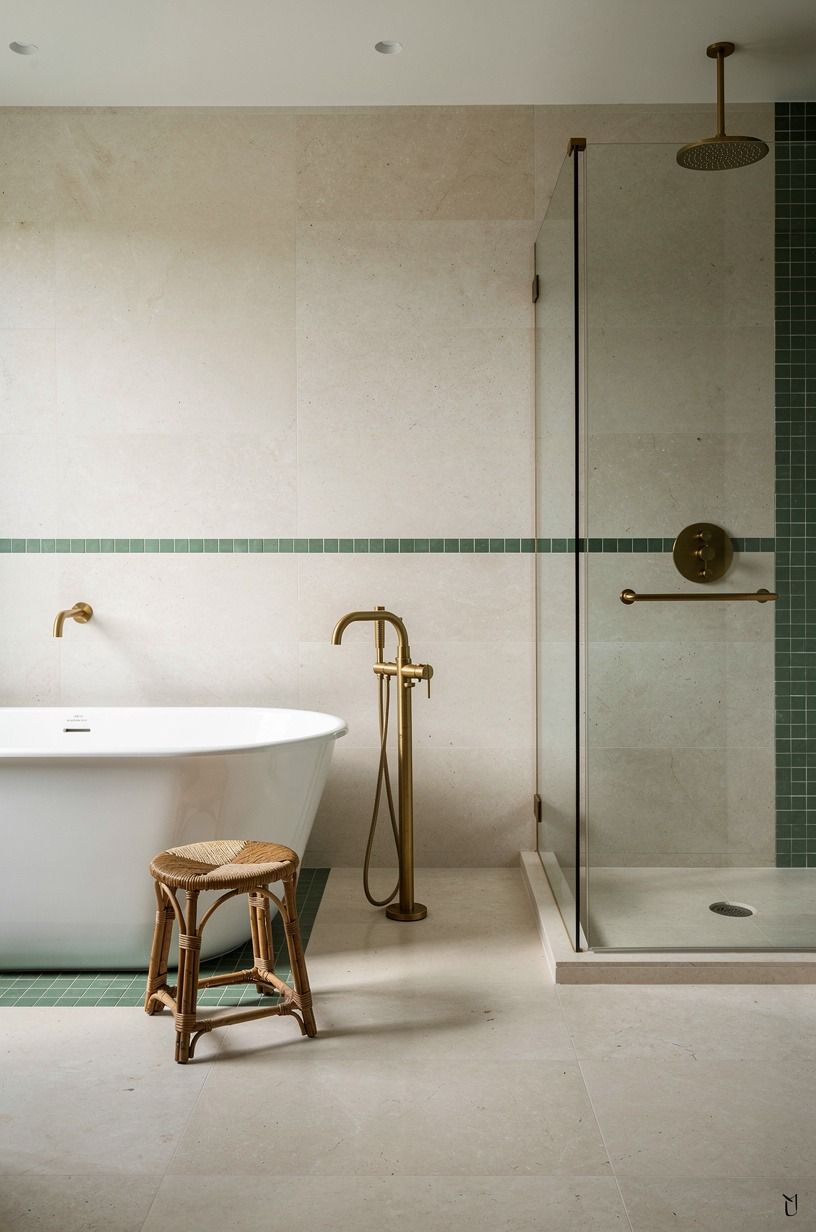
Put the filler between the two fixtures when you want the layout to feel intentionally linked. A floor-mounted tub filler becomes the bridge line in the middle, especially in a symmetrical room where the tub and glass shower face each other like a matched pair.
You don’t need a flashy shape. You need placement that makes sense.
I like unlacquered brass here because it ages softly and ties into shower trim without feeling showroom-new forever. Keep enough walking space around the filler so you aren’t sidestepping metal every morning, and make sure the base lands where splashing won’t constantly pool around it.
Would I use black here? Only if the rest of the room already has enough contrast to support it. If you’re chasing a hotel-bath feeling, this boutique spa bathroom guide shows why warm metals usually win.
6Wrap both zones in large marble slabs
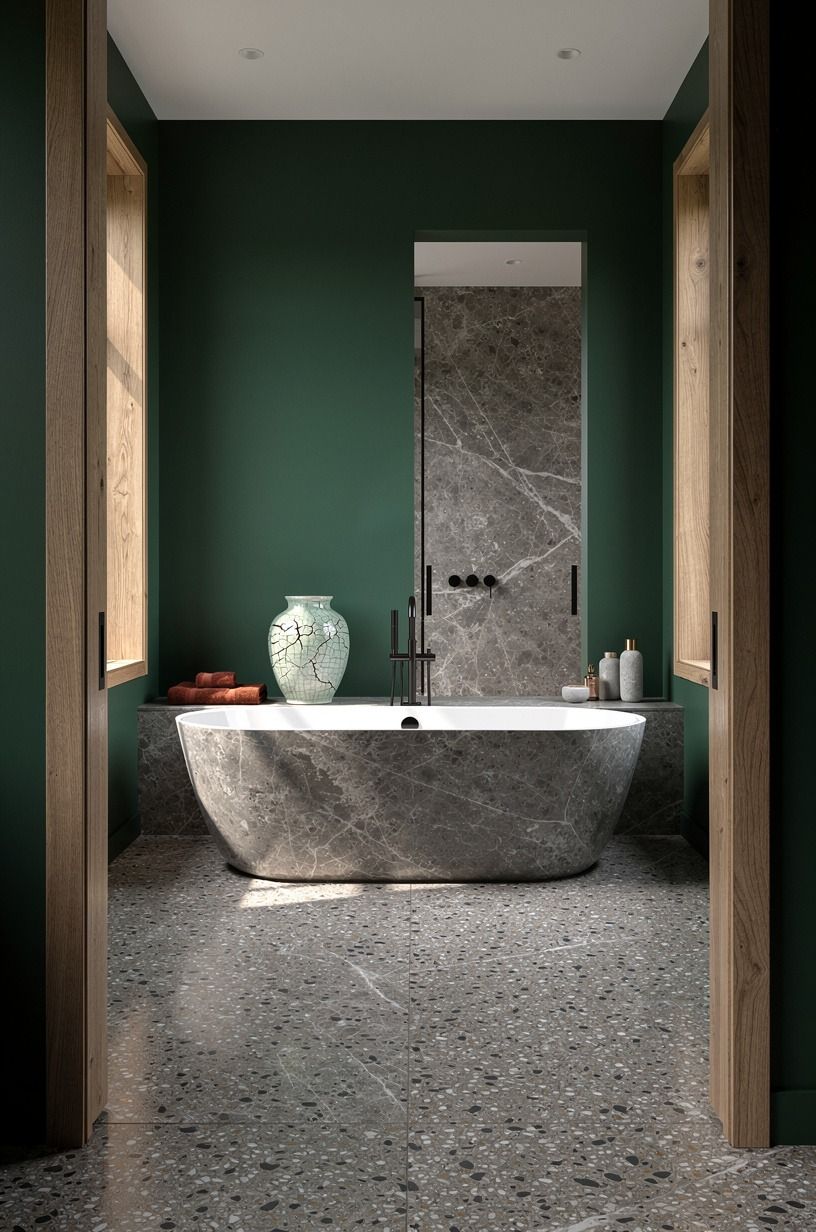
Large slabs calm everything down fast. When the tub and shower share Calacatta Gold marble with amber veining, the room starts reading as architecture instead of a list of parts. That’s why this idea lands so hard in photos and in real life.
Use the same slab or large-format porcelain on the back wall and continue it through the shower so your sightline doesn’t get interrupted. A real marble top or slab can run about $50-$100/sq ft, so this is where you decide whether the statement is worth paying for or whether a porcelain lookalike gets you close enough.
I go back and forth on real stone in busy family baths, because it’s gorgeous but fussier than people admit. If you want the same grounded feel with less maintenance, the travertine bathroom ideas here are a strong detour.
7Float a bench beside the tub edge
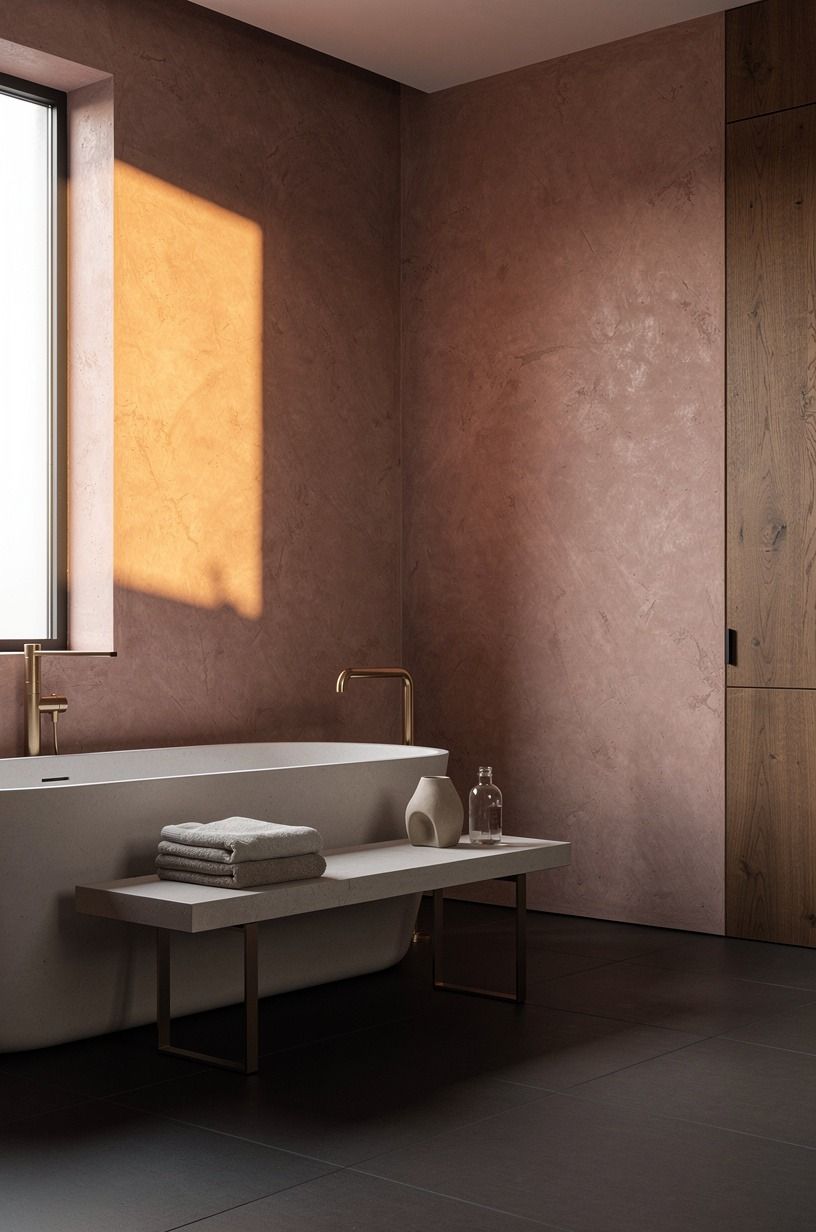
A floating bench beside the tub makes the combo more usable, not just prettier. You get a landing spot for a folded 600gsm Turkish cotton towel, bath salts, or the dry clothes you don’t want on the floor. In an open stand up shower and tub ideas plan, that bench also keeps the empty space from feeling accidental.
Make it in 3/4-inch solid white oak sealed for humidity, or tile it to match the wall if you want it to disappear. The best versions sit right at tub-edge height so you can reach them while soaking, but they don’t crowd your step into the shower.
And please keep it thin. A heavy bench can make the whole room feel lower and clumsier than it is.
If you want a styling layer that stays alive in steam, these bathroom plants that absorb humidity pair really well with a bench moment.
8Why curved glass changes the whole room
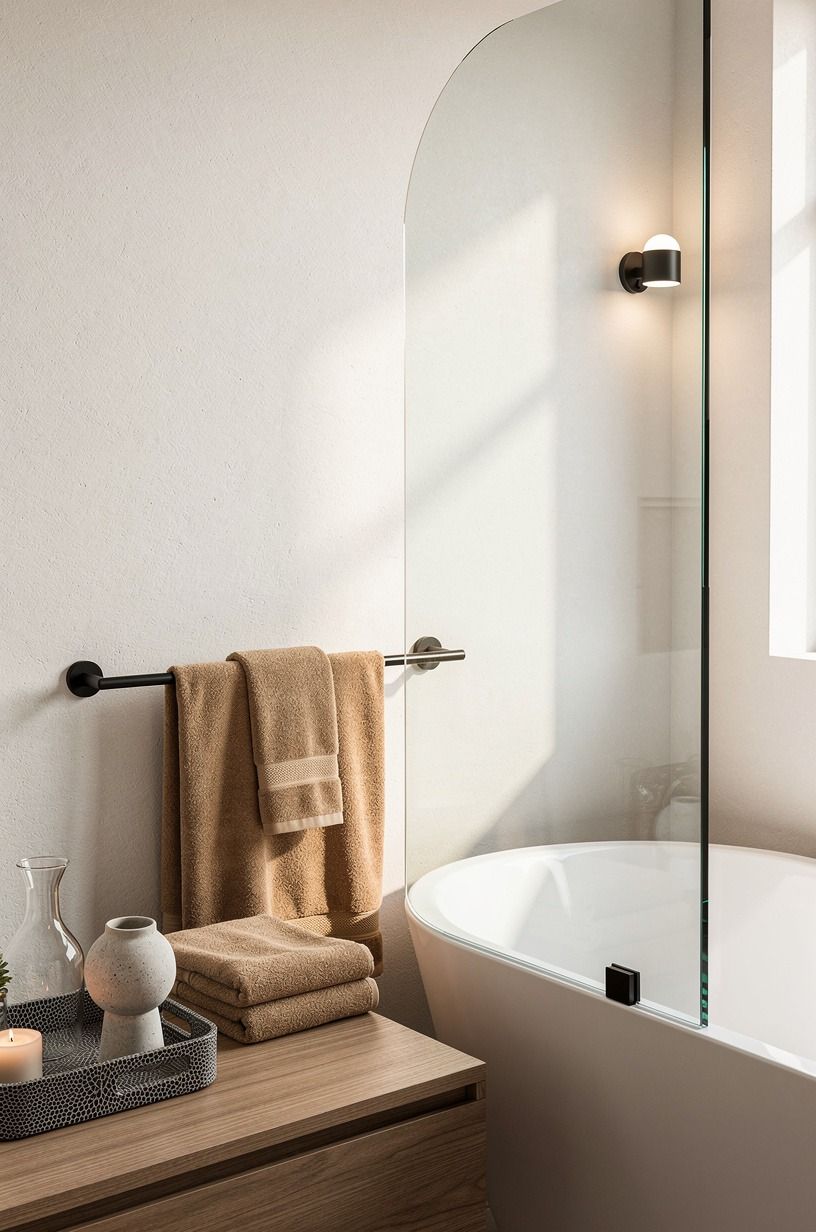
Curved glass softens a hard-working layout in a way straight panels can’t.
9Anchor the combo with black grid glass
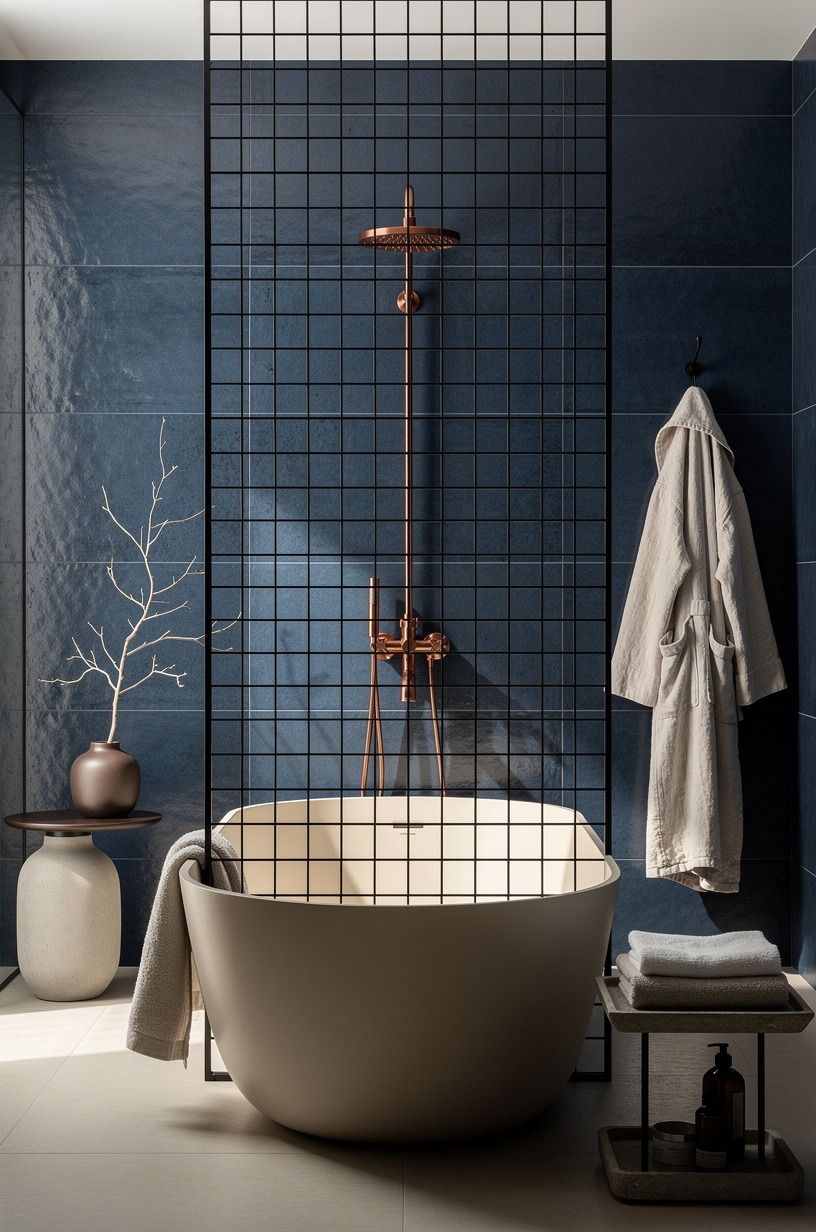
Black grid glass gives a freestanding tub and shower combo instant definition. In a perfectly balanced room, those dark lines act like a frame around the wet zone and stop the pale finishes from drifting into sameness. The Black Grid Rule is simple: if the room feels a little too soft, add structure you can see from across the floor.
Pair the grid with a tub that has real shape, not a flat-sided one that disappears. Matte black steel-style glazing, warm ivory walls, and one brushed brass faucet can coexist if the lines stay disciplined.
I wouldn’t pile on extra black elsewhere. One framed shower enclosure usually does enough.
If you like contrast but still want the airiness of an open plan, compare it with these doorless walk in shower ideas before committing.
10Raise the tub on a tiled platform
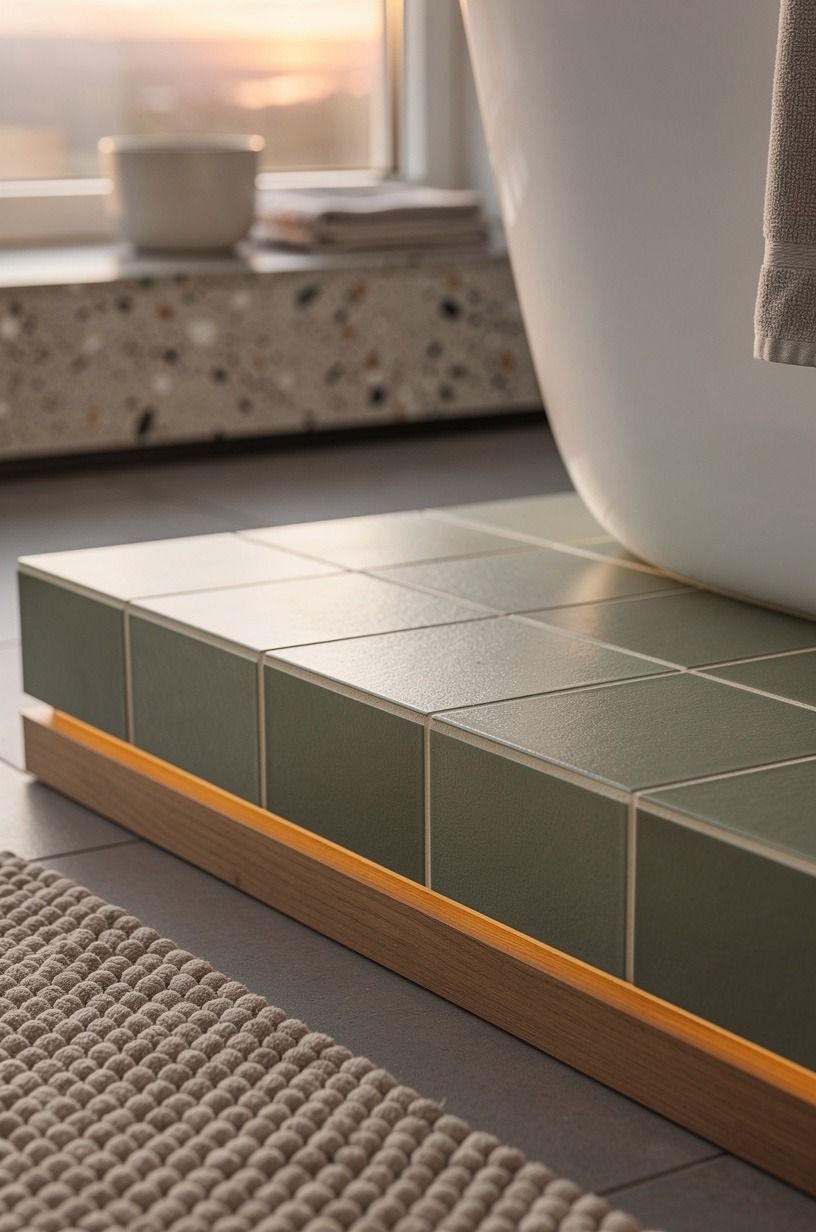
Raising the tub on a tiled platform changes the whole posture of the room. Suddenly the tub is not just sitting there. It is staged.
That works best when the platform edge is crisp and intentional, with tile wrapping tightly around the base so the detail looks built, not boxed in.
Use the platform when you need to visually separate the soaking zone from the shower threshold without adding another wall. Hand-glazed zellige tile or clean stacked porcelain can both work, but keep the rise modest so stepping in still feels natural.
And watch the edge detail closely. A sloppy trim line ruins this move every single time!
If your budget is tighter, save the platform for the tub only and keep the rest of the floor simpler. The luxury comes from the silhouette, not from overdoing every surface.
For a deeper read on the wall behind the platform, the tile behind a freestanding tub guide is the companion piece I’d bookmark.
11Center the tub under a rainfall shower line
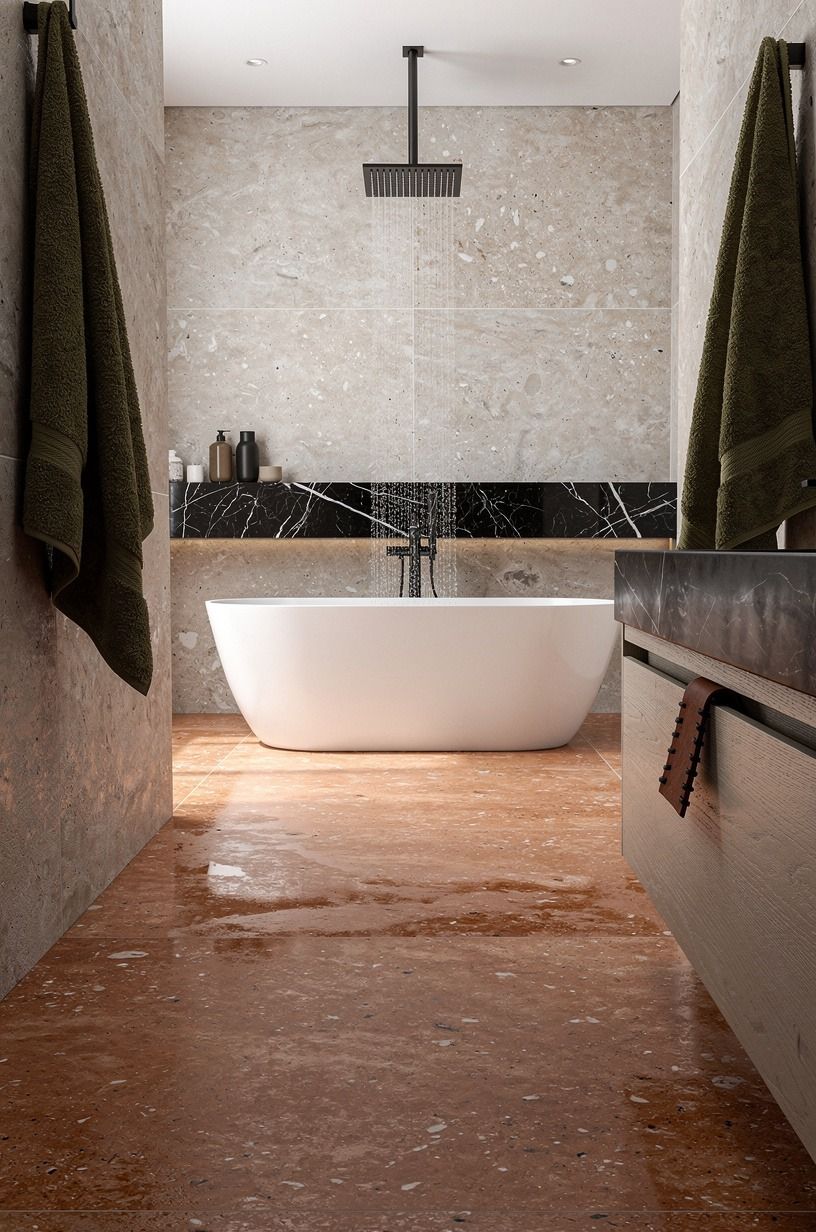
Centering the tub under the shower line sounds risky, but it can look incredibly calm when the whole wet-room floor is built for it.
12Divide the combo with a fluted glass panel
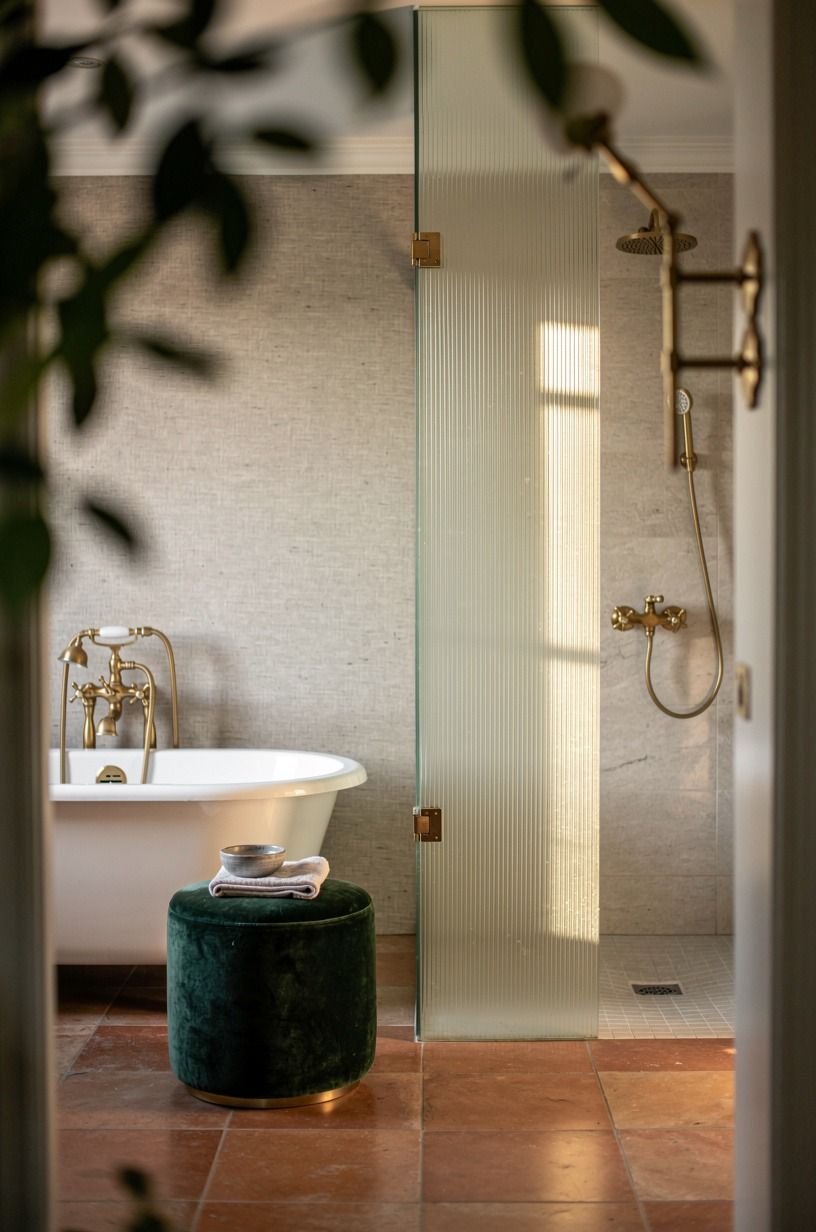
Fluted glass is great when you want separation without losing light. It blurs the shower behind the tub just enough that bottles and hardware don’t shout at you, yet you still get that soft glow passing through the panel. For a tub in front of shower plan, that little bit of privacy can make the front view look far more polished.
I especially like reeded glass with warmer finishes because the texture catches steam and light in a softer way than clear panels do. Pair it with brushed brass hinges or a slim channel, then keep the tile beyond it simple so the ribbed pattern stays special.
But don’t use heavily patterned wall tile and fluted glass together unless you love visual noise. One texture is elegant.
Two start arguing.
13What does a niche wall behind both fixtures actually buy you?
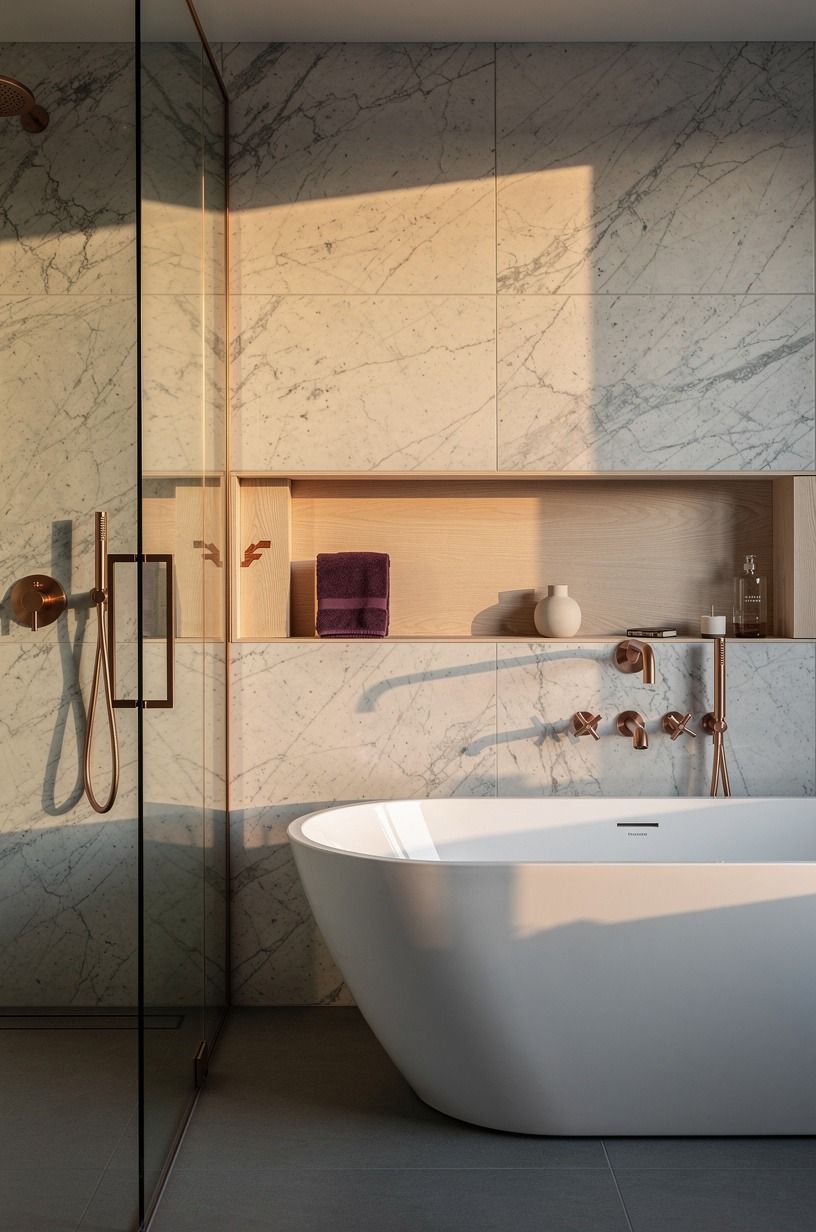
A niche wall behind both fixtures gives you one backdrop and one storage story. Instead of scattering little shelves everywhere, you build a single tiled wall that serves the tub and the shower at once.
That’s cleaner to look at, and it’s easier for you to keep tidy when real life shows up. Honestly, it’s the storage upgrade I wish more bathrooms tried.
Run the niches in the same finish as the wall so they feel carved out rather than stuck on. Subway tile can cost around $2-$10/sq ft, while zellige tile usually lands closer to $15-$35/sq ft, so this is a good place to spend only where your eye lands.
I like a niche wall in Benjamin Moore Chestertown Buff HC-9 with one inset lined in stone for contrast. For more wall-treatment inspiration, this guide to tile behind a freestanding tub shows how much one vertical surface can carry. For overall feel, the travertine bathroom tour lines up with the same warm-stone thinking.
14Use brass fixtures to unify the wet zone
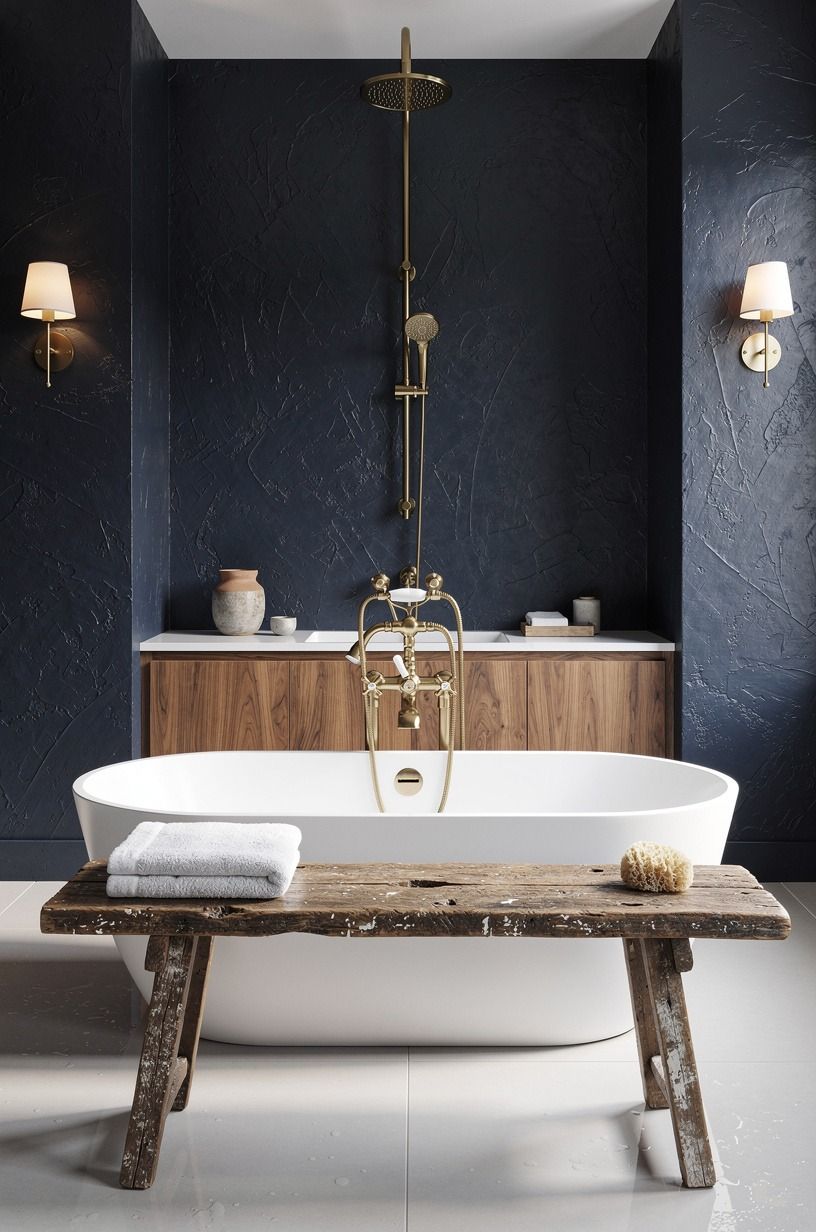
Use one brass finish across the tub filler, shower trim, hooks, and mirror if you want the room to feel instantly cohesive. The best brass bathrooms don’t scream for attention.
They repeat the same warm note until the whole wet zone feels calm and expensive. That’s the Two-Zone, One-Metal Rule, and yes, it works.
Choose brushed brass if you want something easier to live with, or unlacquered brass if you like a softer, aging patina. A quality brass faucet typically runs about $120-$450, so I usually spend here before I splurge on decorative extras. But skip mixing polished nickel into the same sightline unless there’s a real reason.
You don’t need two metal stories in one shower next to bathtub master bath. One is stronger.
15Nestle the tub beside a curb-free shower
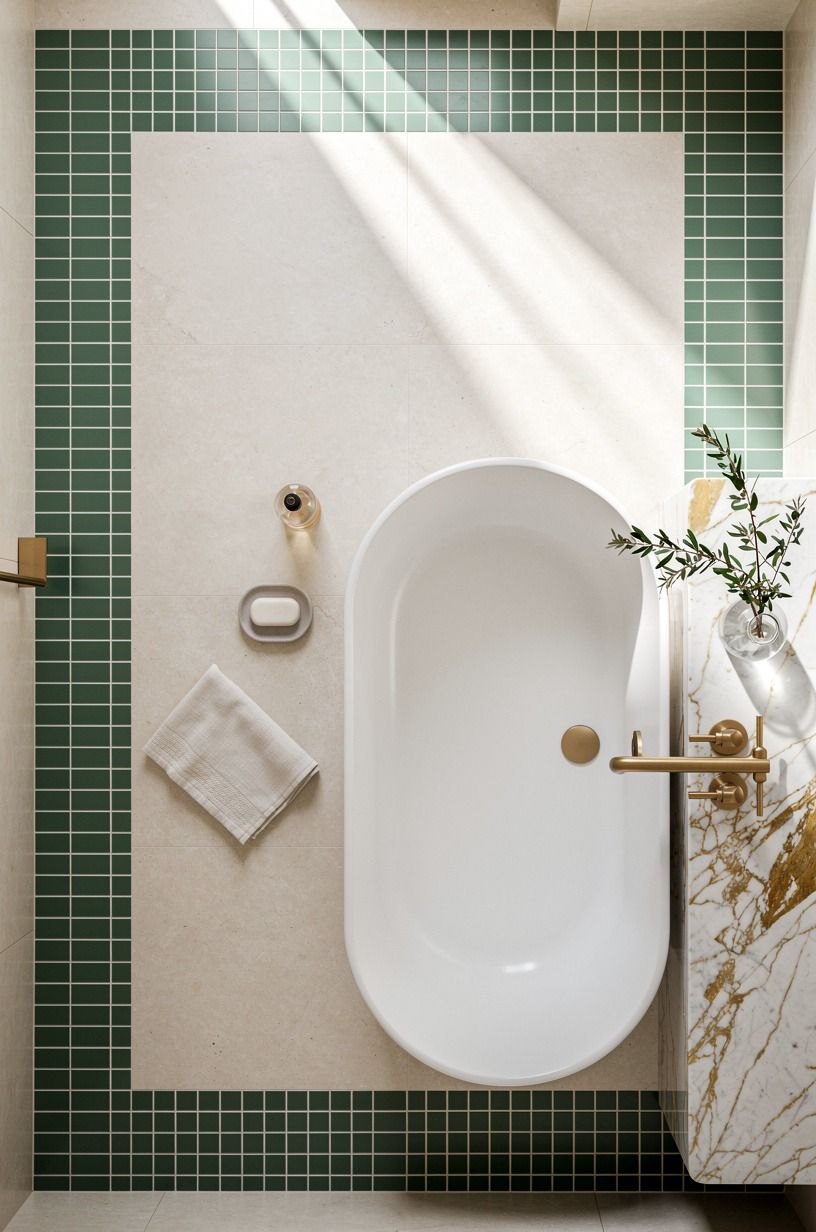
A curb-free shower beside a freestanding tub is one of the smartest small-space moves because nothing interrupts the footprint. Your eye slides from tub to drain to wall without bumping into a threshold, and that makes the room feel more generous than it measures. In a compact stand alone tub next to shower layout, that matters a lot.
Make sure the slope is correct, the drain placement is deliberate, and the walkway still feels dry where it should. You also need proper clearance in front of the toilet, at least 21 in, so the open wet zone doesn’t steal comfort from the rest of the room.
And if you keep one thing in mind, let it be this: a curb-free plan only feels luxurious when the detailing is sharp. Messy edges kill the whole mood fast.
Is Sherwin-Williams Sea Salt the right paint for a tub surround?
Yes, Sherwin-Williams Sea Salt SW 6204 is one of the safe picks for a tub surround because it leans green-gray without going bold. It holds up against warm brass and reads as quiet instead of clinical, which is what you want around a wet room. If your tub alcove gets low natural light, I’d push one notch warmer toward Benjamin Moore White Dove OC-17 on the ceiling so the room doesn’t feel chilly under lamplight.
What the smartest upgrades usually cost
You do not need a full gut renovation to make this layout work, but you do need to know where the money goes. I use these ranges as reality checks before choosing tile, plumbing, or whether the room really needs wall changes.
For a calmer read on stone pricing, the travertine bathroom roundup gives you a feel for what a real stone wet-room floor runs, and the boutique spa bathroom guide lines up the hardware tier where most of the cost actually lives.
Why this layout keeps working in real homes
I’ve seen freestanding tub and shower combos go wrong in the same boring way: people shop for a tub first, then try to force the shower into the leftover space. That’s backwards. The layouts that last are the ones where your body can move easily, the floor reads as one calm surface, and the tub feels earned instead of dropped in like a prop.
What changed my mind was living with a bathroom that photographed fine but annoyed me every morning. The filler was in the wrong spot, the towel had nowhere to land, and the floor broke in three places for no reason.
I kept thinking I needed prettier fixtures, but I really needed fewer interruptions. Once I started planning the room in zones, not objects, everything got better. Your eye relaxed.
So did the room.
And that’s why I push people to decide on the path before they decide on the finishes. If you walk in and immediately know where to step, where to set a towel, and where the splash will land, the bathroom already feels more expensive.
A glass wall can help. Calacatta Gold marble with amber veining can help.
Brushed brass can help. But none of those choices rescue a layout that makes you sidestep a filler at 6 a.m.
But I don’t think every bathroom needs the same answer. In a tighter room, the continuous floor and curb-free shower usually do more than a statement tub ever will. In a wider primary bath, symmetry is worth paying for because the view carries across the whole room.
And if your budget only stretches to one move, spend it where your daily routine feels friction now (for me, it was always the landing spot for towels and dry clothes). Pretty matters, obviously.
But ease matters more. That’s what makes the space feel spa-like after the photo is gone.
And yes, you’ll notice it every single day!
The Questions Worth Answering First
What is the best Freestanding Tub and Shower Combo Ideas for a Smart, Spa-Like Layout for a small bathroom?
A curb-free side-by-side layout is usually the best call in a small bathroom because it keeps the footprint open. More visible floor makes the room feel bigger. I like pairing it with a slim tub and ideas from these walk in shower no door designs when you need every inch to count.
Where can I buy Freestanding Tub and Shower Combo Ideas for a Smart, Spa-Like Layout pieces on a budget?
Start with IKEA, Target Threshold, and Wayfair for mirrors, stools, and simple storage that won’t wreck your budget. Facebook Marketplace is great for vintage benches and frames.
And if you’re patient, one secondhand brass mirror can make the whole room feel more layered. For inspiration pieces specifically, this boutique spa bathroom guide shows how a few warm details change the whole feel.
How much does a Freestanding Tub and Shower Combo Ideas for a Smart, Spa-Like Layout makeover cost?
Most cosmetic makeovers land around $200 to $1,200, while a more involved refresh can run $3,000 to $9,000. Paint is the cheapest visual change if your tile is staying. Plumbing moves and full shower retiling are what push the bill up fast.
Can I create a Freestanding Tub and Shower Combo Ideas for a Smart, Spa-Like Layout on a budget?
Yes, and you do not need to do everything at once. Start with the surfaces you see first.
Paint the walls, swap the mirror, bring in better towels, and reglaze tired tile before you touch plumbing. That’s usually the smarter order.
Is a Freestanding Tub and Shower Combo Ideas for a Smart, Spa-Like Layout worth it in a small space?
Yes, especially if the room already feels boxed in. One shared wet zone can make a small bathroom read bigger than it is. Keep the shower at or above 36×36 in, use clear or fluted glass, and don’t clutter the tub edge with too many accessories.
Is Freestanding Tub and Shower Combo Ideas for a Smart, Spa-Like Layout a good idea for a rental?
Yes, if you focus on reversible upgrades. Removable warmth still counts. Try a better shower head, peel-and-stick floor runners outside the wet zone, a stool, upgraded towels, and renter-safe styling from this boutique spa bathroom guide.
Where I’d Start First
If I had to pick one, I’d start with the continuous wet-room floor. You can’t fake calm when the ground plane keeps stopping under your feet. Pin that move for later and then steal a few more cues from this doorless walk in shower guide.