A basement music room and jam room makeover doesn’t need a full renovation to feel warm, playable, and intentional. I learned that after fighting cold concrete, tangled cables, and one very loud sectional. The result is a calming room with better sound, clearer storage, and enough breathing space for real sessions. I’d do it again!
Here’s what it looked like before:
My basement had a gray slab, one tired ceiling fixture, unfinished-looking corners, and instruments leaning wherever they’d fit. The room wasn’t unusable, but it felt temporary. Builder-grade lighting made every surface look flat, and the furniture swallowed the area where we needed to play.
I kept thinking I needed more square footage. I didn’t.
I needed a better path through the room, warmer surfaces, and a place for every cable. A clay-toned, hand-applied Venetian plaster finish, linen accents, and aged brass details eventually gave the room a softer starting point.
The ceiling also mattered. If you’re planning a finished basement, remember that a finished ceiling should reach at least 7 ft, while a bedroom needs an egress window. Those practical limits shaped my plan more than any mood board did.
I also measured the door swing, outlet locations, and the distance between the seating and playing areas. That small bit of planning kept the room from becoming a collection of attractive obstacles. For a similar starting point, the 36 inch walkway rule for a basement family room helped me think about circulation first.
- Clear the slab before adding anything
- Benjamin Moore Hale Navy gave the basement a warmer hand
- Build the Two-Wood Rule around the instruments
- Where should the seating zone go?
- Build the Three-Height Light Stack
- Let acoustic panels become a warm composition
- Frame the instruments instead of hiding them
- Open shelving or bulky cabinets?
- Make the recording corner disappear
- Hard equipment needs soft layers
- Make the basement band room feel personal
1Clear the slab before adding anything
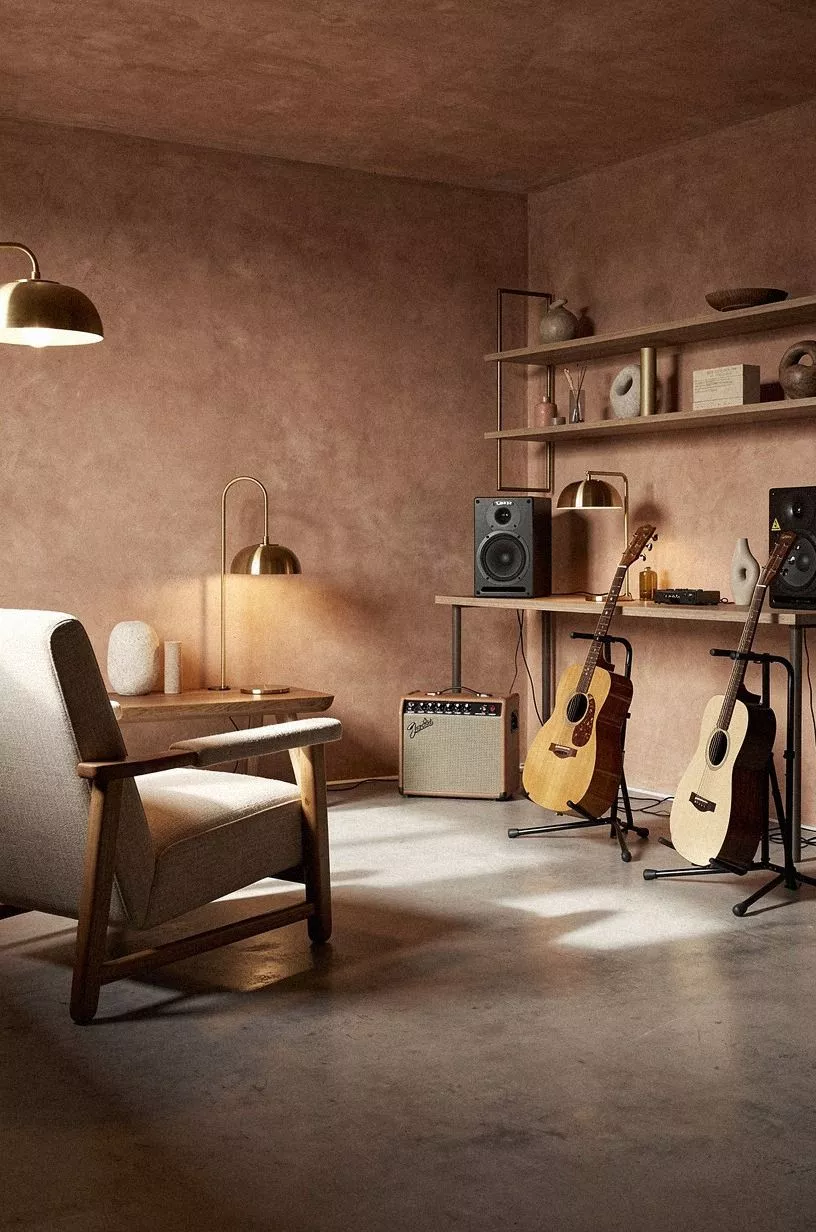
I started by pulling every chair, amp, basket, and abandoned case out of the room. You can’t judge a basement music room while furniture is hiding the floor. Once the slab was visible, I marked the seating area and kept a clear route between the door, instruments, and electrical outlets.
That simple reset made the space feel airy before I bought a single thing.
The flooring decision came next. I chose LVP flooring with underlayment over the slab because bare concrete made the room feel damp and harsh underfoot.
I’d skip a thin floating rug as the main solution. It slides, bunches under a stand, and doesn’t soften the room enough. A layer of foam underlayment gave me a warmer, more inviting surface, and you’ll notice the difference every time you sit down to play.
For more layout guidance, I used the 36 inch walkway rule for a basement family room before placing anything permanent. I also saved small music room ideas for big sound because the best small-room layouts protect movement before decoration.
2Benjamin Moore Hale Navy gave the basement a warmer hand
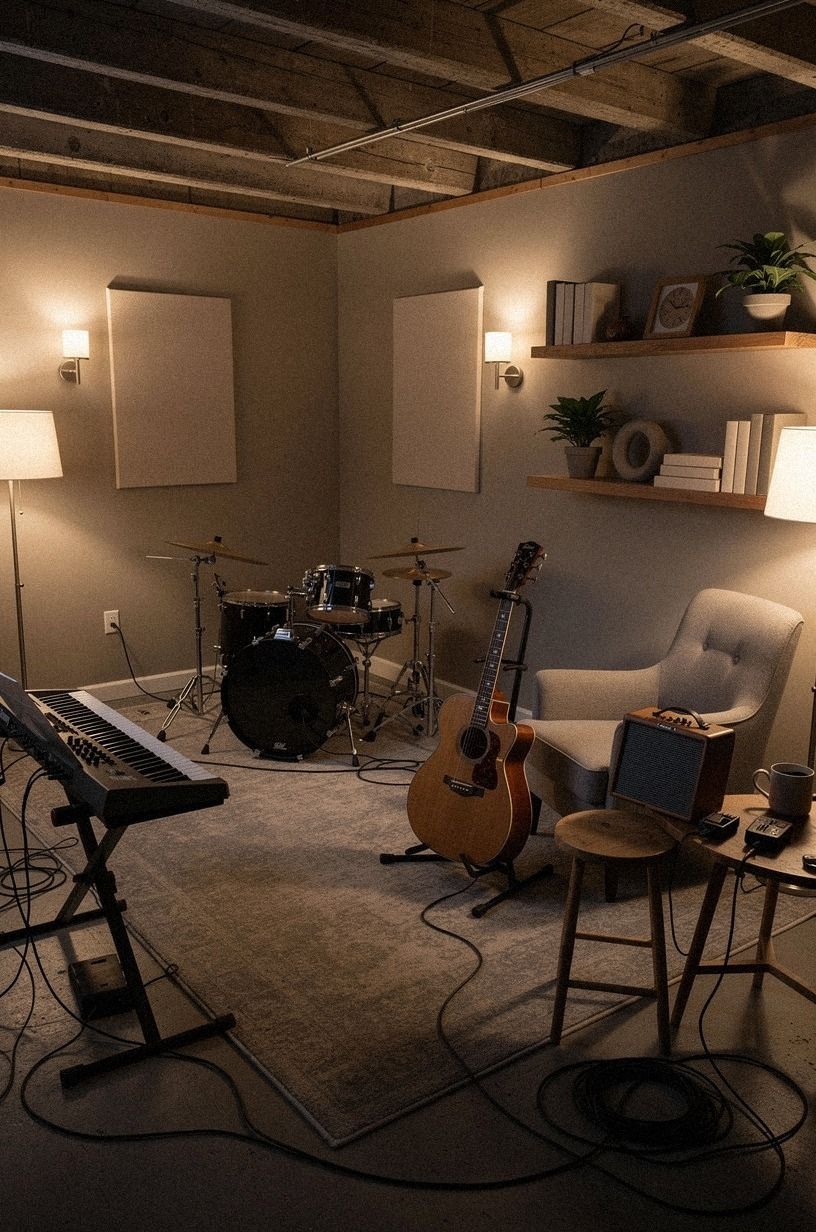
I wanted a moody room, but I didn’t want the basement to feel like a sealed box. I kept the inky depth of Benjamin Moore Hale Navy HC-154 as a reference, then shifted the wall toward a warmer plum tone. You’ll want to test paint at different hours because basement light can make a color behave like a completely different shade.
I used the deeper plum behind the main seating and kept the other walls in a calm grey. Rose-gold details and subtle shagreen accents added softness without making the room feel ornate.
I’d avoid painting every surface dark unless you’ve got strong natural light. It can feel dramatic in a sample and gloomy by late afternoon.
And I left the trim simple. Bright white trim would’ve looked too sharp, so I used soft warm white and let the plum carry the personality. If you’re working with a rental, removable wall panels and framed fabric can create the same comforting effect without a permanent paint job.
A darker wall also helped the instruments look intentional instead of scattered. I’d repeat the paint test before buying gallons, especially if your basement has small windows or north-facing light.
3Build the Two-Wood Rule around the instruments
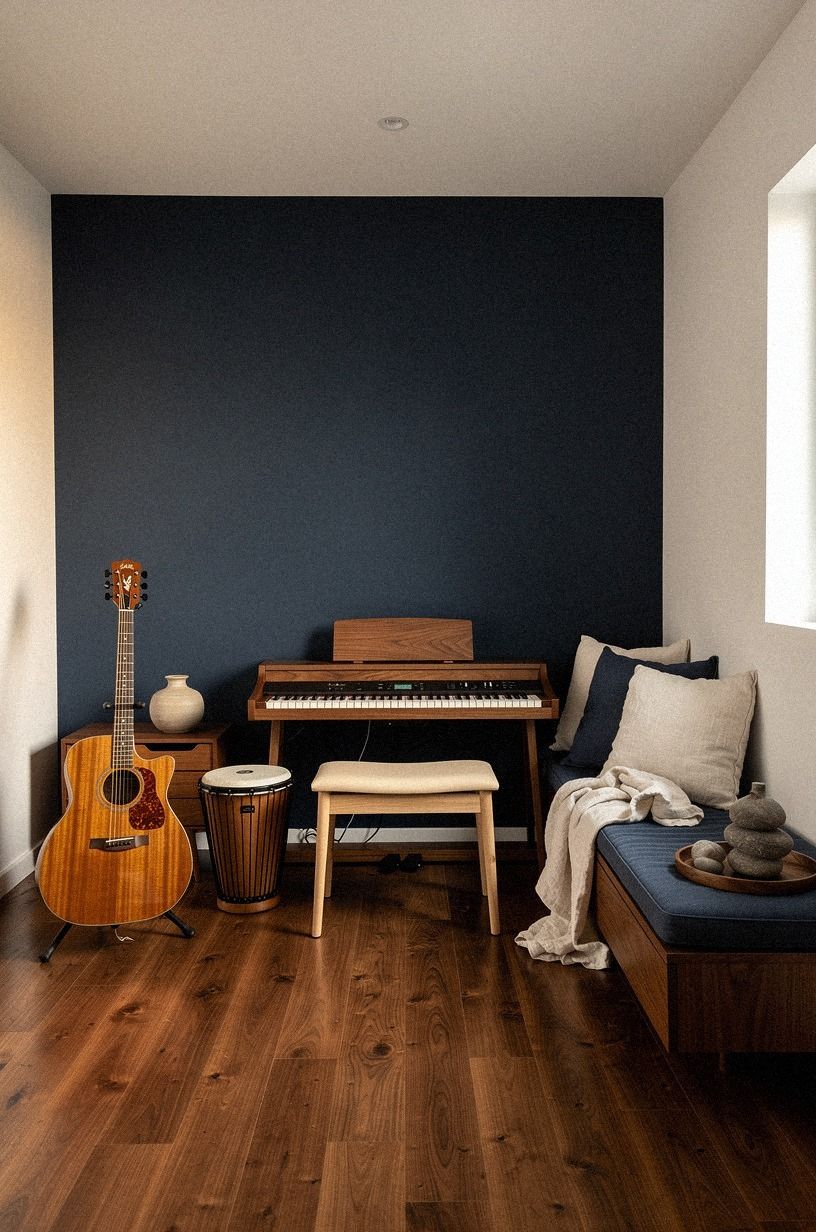
The room started looking busy once I brought in the guitars, keyboard, and drum hardware. I kept the palette to navy, white, and walnut, then used washed Belgian linen to soften the seating and keep the two wood tones from feeling severe.
4Where should the seating zone go?
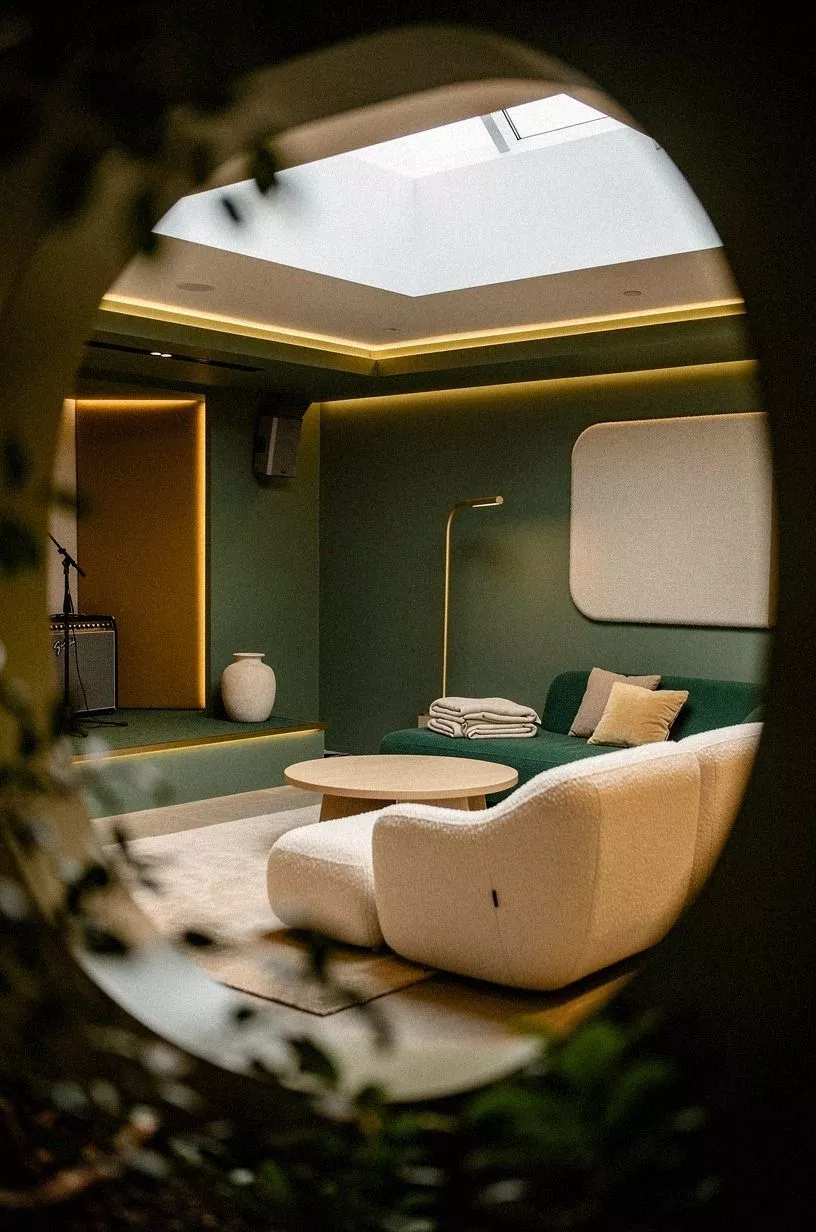
The seating zone became the emotional center of the basement. I kept at least 100+ square feet open for chairs, stands, and instruments, instead of pushing every piece against a wall.
You’ll want room to turn, reach, and set something down without stepping over a cable. That sounds obvious, but it’s easy to forget when you’re chasing extra storage.
I chose a compact Article Sven emerald organic bouclé sofa because its arms were slim and the seat didn’t sink like a lounge chair. The cream texture softened the room, while small gold details kept the palette from feeling flat.
I’d skip an oversized sectional unless your room can absorb it. Ours made the first version of the space feel smaller and made moving a keyboard needlessly awkward.
And I kept two lightweight chairs nearby. They’re easy to pull into the circle when friends arrive and easy to move out when you need to record.
Much better! For smaller rooms, small music room ideas for big sound helped me think about movement before decoration.
I placed the sofa so it faced the playing area without blocking the shortest route to the door. A small gold-toned side table holds drinks and picks without taking over the floor. That one adjustment made the room feel social instead of divided into a lounge and a separate equipment zone.
5Build the Three-Height Light Stack
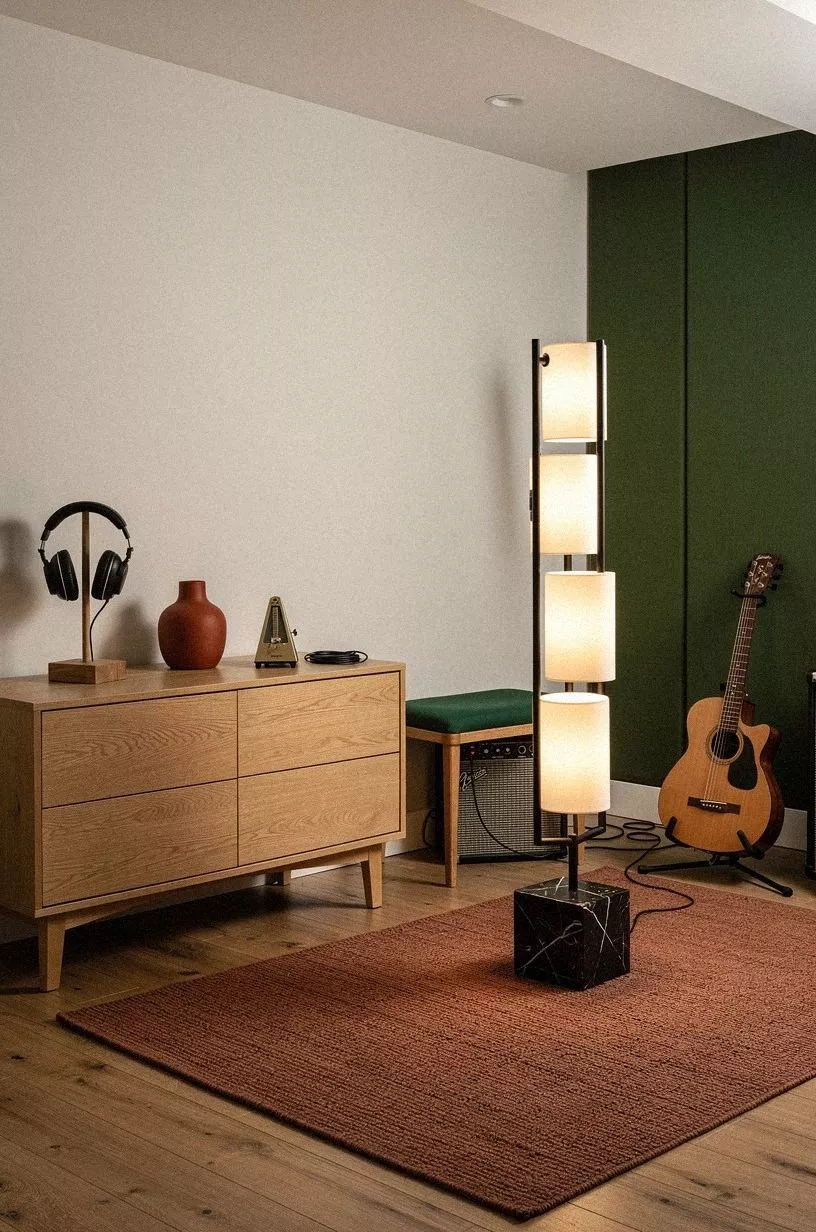
The original ceiling fixture was bright, flat, and unforgiving. It made every rehearsal feel like a garage sale.
I replaced that single glare with the Three-Height Light Stack: one ceiling source, one standing lamp, and one low glow near the seating. You’ll get a softer room when light arrives from different levels.
My standing lamp uses a warm 2700K LED bulb beside the sofa, while a small lamp with a Nero Marquina black marble base sits near the keyboard. The natural oak nearby and the rust-toned shade keep the forest-green walls from feeling too cool.
I’d avoid blue-white bulbs. They make green walls look chalky and turn a relaxed session into office lighting.
The recessed lights budget can vary from $20-$100 each, so I didn’t install a ceiling full of them. I used fewer fixtures and placed them where the room needed visibility, not where the original wiring happened to land. But I kept the low lamp on during most evenings.
It’s the difference between a functional basement and an intimate one.
A dimmable switch also made the transition easier. Bright overhead light helps with packing up, while the lower lamps let people keep talking. For additional planning ideas, home music studio room ideas for serious sound helped me think about task light and atmosphere separately.
6Let acoustic panels become a warm composition
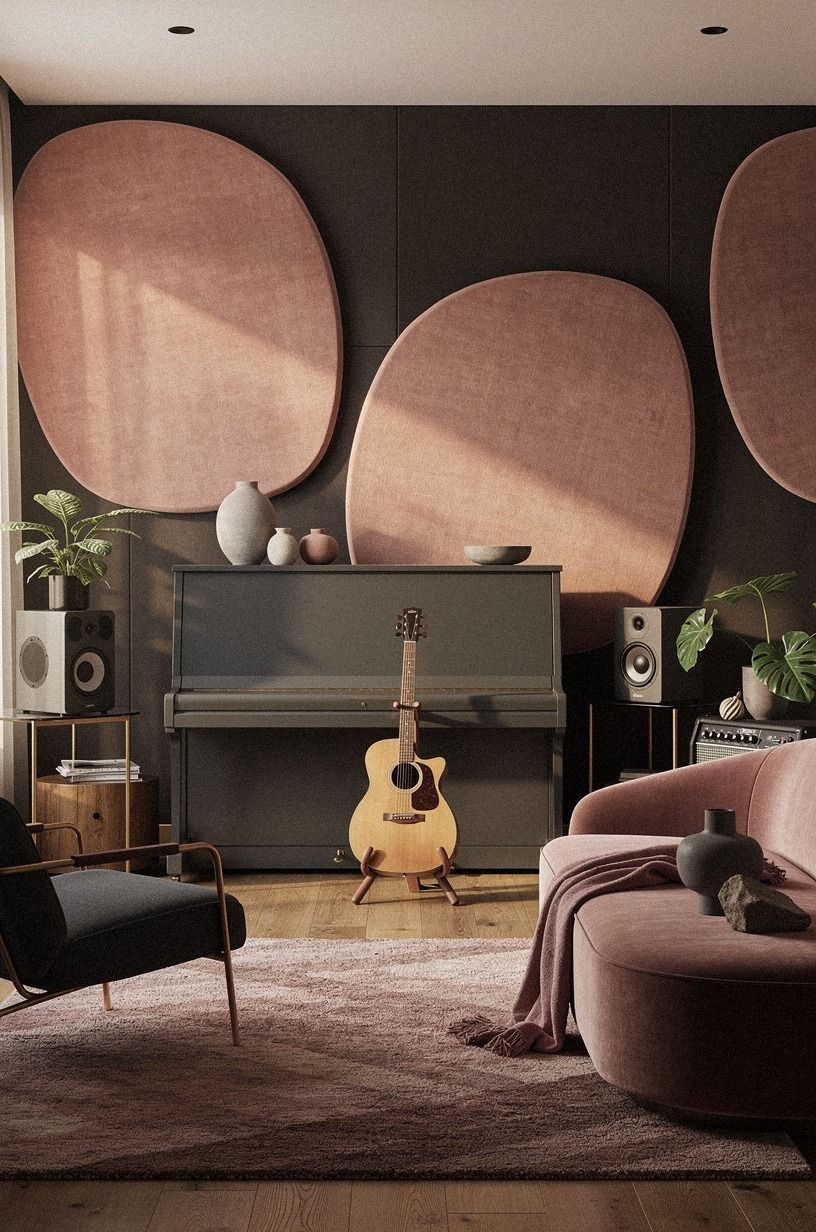
Sound was the part I underestimated. The concrete and drywall bounced every note around the room, and conversations became tiring after a while.
I added fabric-wrapped acoustic panels behind the main playing area and treated them like wall art instead of technical equipment. You’ll get better results when the panels are placed where sound hits, not scattered randomly for decoration.
I chose dusty rose deep-pile mohair velvet with a soft texture, then spaced the panels between framed prints. A slim brass detail gave the wall a little glow, while the charcoal background kept the palette grounded.
I’d skip bare black foam squares unless you’re building a dedicated studio. They can absorb sound, but they often make a home room feel unfinished.
One panel sits near the vocal microphone, while another breaks up the wall opposite the instruments. If you’re unsure where to begin, clap from the center of the room and listen for the sharpest vocal reflection point.
It isn’t a laboratory test, but you’ll hear the problem immediately. For a more technical plan, I borrowed ideas from music studio room design and layout guidance.
I didn’t try to make the room acoustically dead. A little mineral wool behind the fabric helped control the harshness without flattening every sound.
The goal was fewer sharp reflections and a conversation that didn’t require shouting. That balance felt more useful than covering every wall with treatment.
7Frame the instruments instead of hiding them
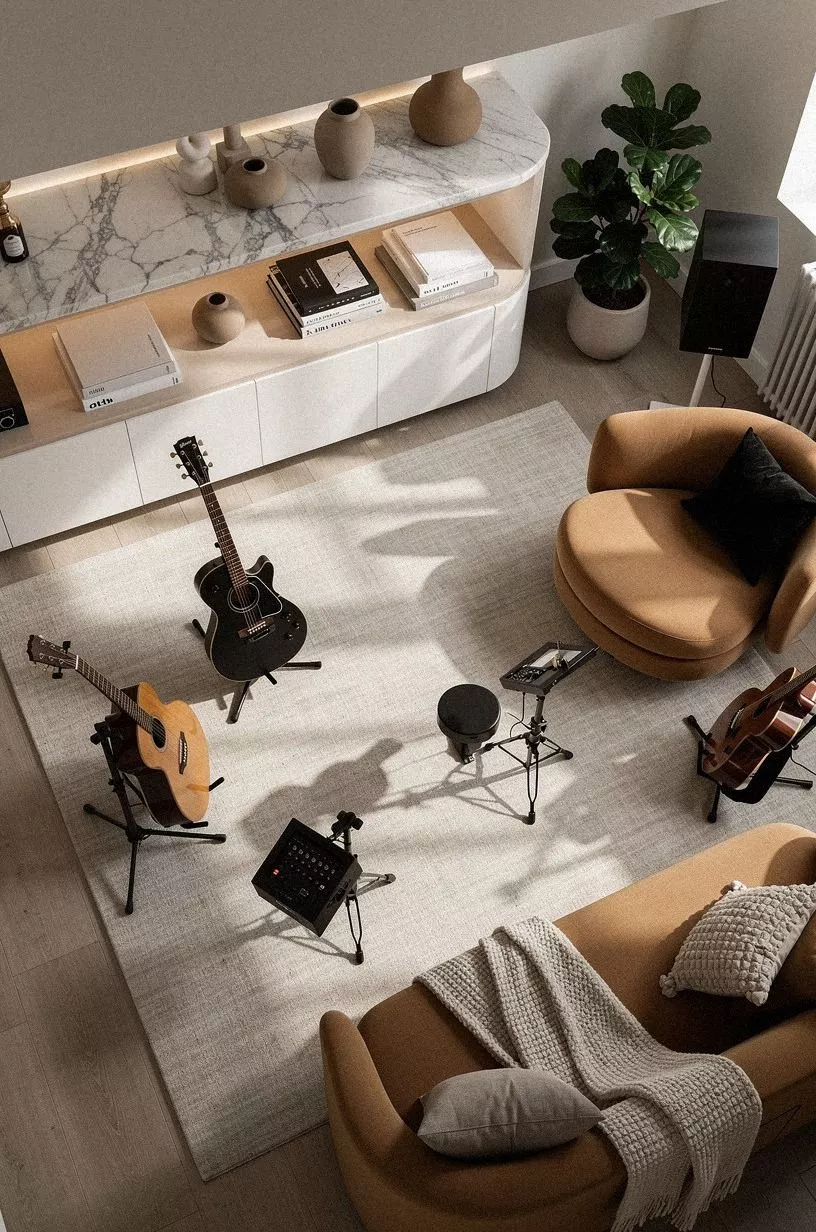
I stopped treating the instruments like clutter and gave them a proper visual home. A guitar on a secure wall hanger became part of the room’s composition, while the cases moved into a single storage zone. You’ll want the pieces you play most often within reach, but you don’t need every instrument on display at once.
The wall behind the sofa now holds matte black guitar hangers between two framed music prints. I kept the spacing generous, because a row of instruments packed too tightly looks anxious.
I’d avoid hanging anything above a place where people sit unless it’s properly anchored and easy to inspect. Safety beats a clever arrangement every time.
And I left one stand open near the keyboard. That small visual invitation matters.
When your instrument is ready, you’re more likely to play for ten minutes instead of deciding the setup is too much work. A slim warm-white music stand beside a Carrara marble-topped cabinet added enough texture to feel intentional without turning the room into a display case.
If you’re short on space, music corner ideas for a living room gave me useful ideas for vertical placement. I also revisited small music room ideas for big sound before deciding which pieces deserved wall space.
The arrangement now tells you what the room is for without resorting to novelty signs. A low instrument stand near the door keeps the next session from feeling like a production. That feels more personal.
8Open shelving or bulky cabinets?
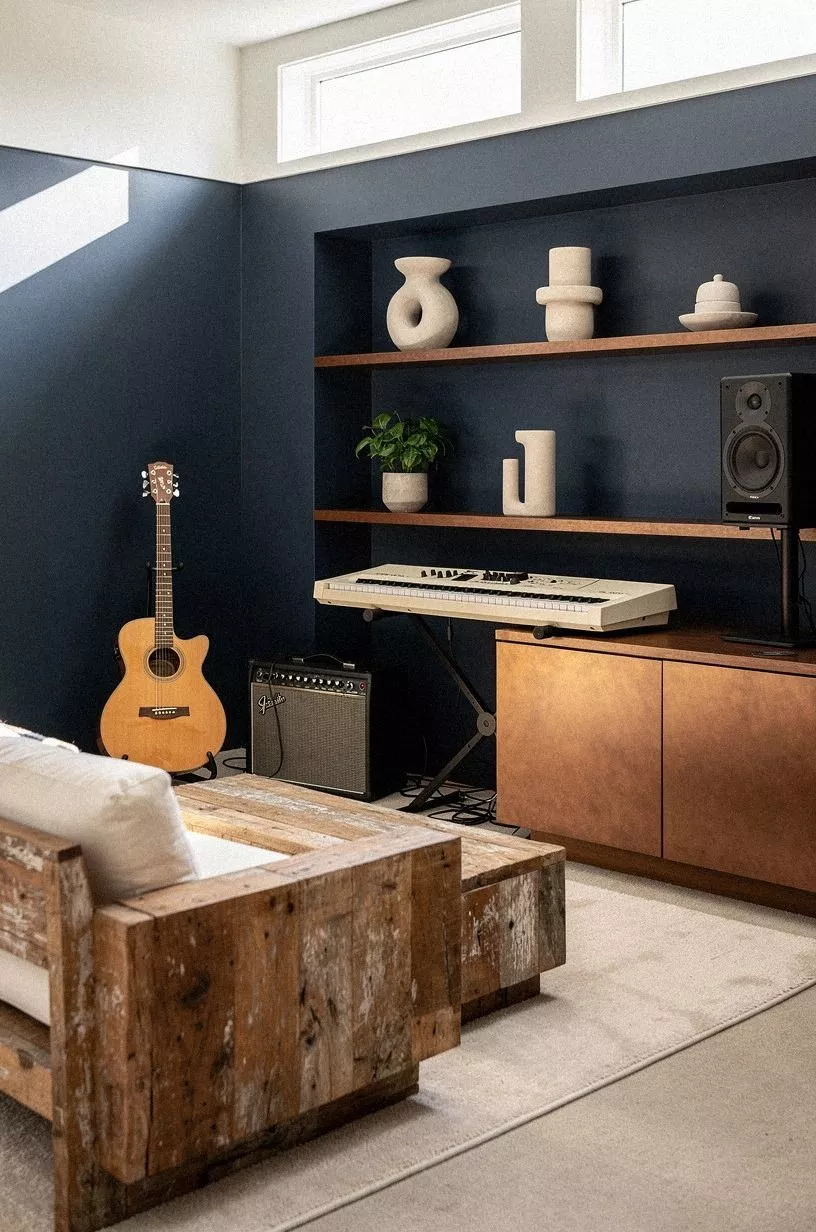
Closed cabinets sounded sensible until I realized how often I needed cables, picks, notebooks, and small percussion pieces. Open shelving in reclaimed weathered teak made the room faster to use, especially against the midnight blue wall. Ivory containers and copper-toned trays kept the arrangement warm without adding visual noise.
I used ivory woven baskets for cables and soft accessories, shallow copper trays for picks, and one labeled box for adapters. The baskets brought in an organic texture that kept the shelving from looking too modern.
I’d skip deep bins for anything you use weekly. You’ll forget what’s inside and buy a duplicate before you remember.
The upper shelves hold framed records and a few books, while the lower shelves carry the heavy items. If you’re using an IKEA KALLAX, anchor it and keep the weight low. A tall, unsecured unit can shift when someone leans on it, and a jam room should feel welcoming, not precarious.
The arrangement also keeps the floor clearer, which gave me space for a second chair and a small amp. That was a better use of the room than another cabinet. For compact storage inspiration, music corner ideas for a living room showed me how much could move upward.
I also kept one basket empty. It sounds minor, but an empty basket gives the room somewhere to put things during a busy evening. No drama, just less clutter.
9Make the recording corner disappear
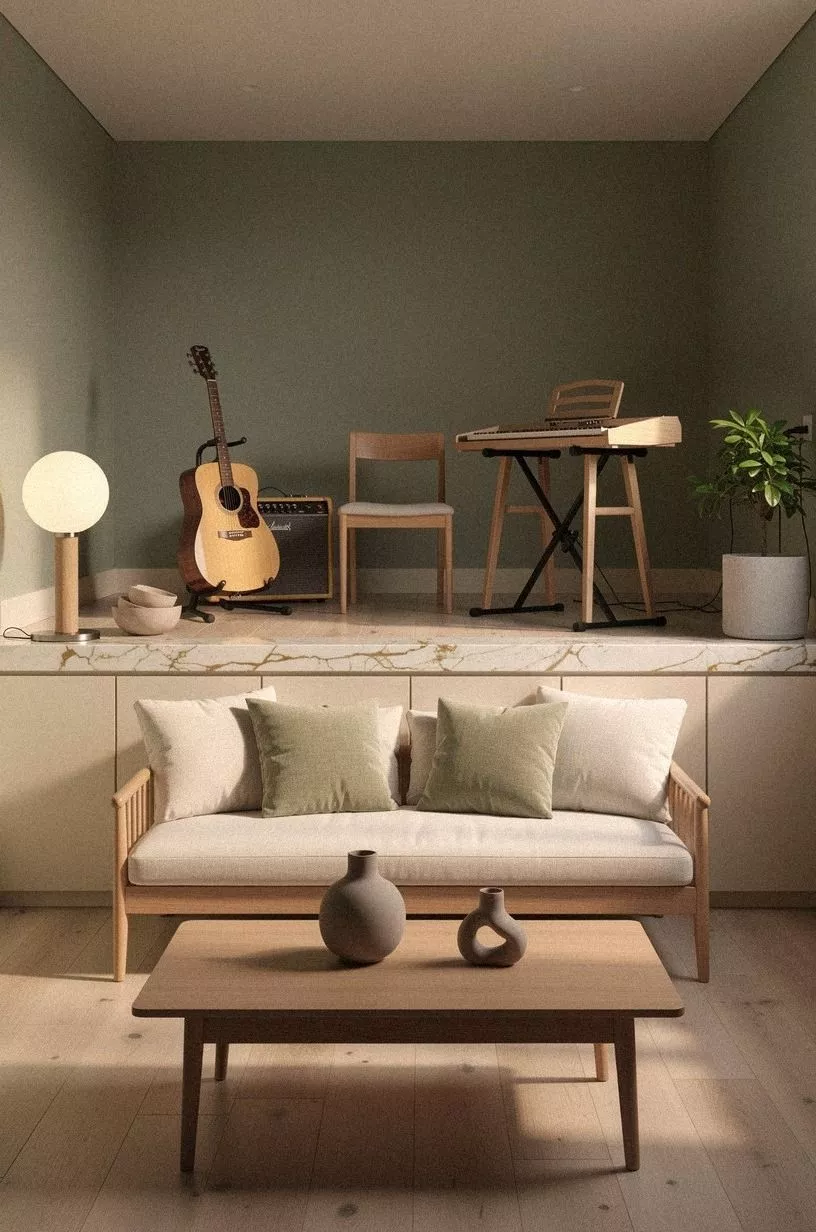
I wanted a recording spot, but I didn’t want the whole basement to look like a commercial studio. I placed a compact desk along the quietest wall and kept the equipment shallow. You’ll want enough surface for a laptop, interface, and notebook, but you don’t need a giant workstation if the room’s main purpose is playing together.
The desk uses natural wood with a small Calacatta marble surface marked by subtle gold veining, and a fabric curtain hides the cables beneath it. I chose a soft sage green color for the curtain because it felt calm against the warm cream wall and didn’t reflect much light.
I’d skip glossy white desks here. They bounce light into your eyes and make every cable more noticeable.
When the session ends, the microphone stand folds beside the desk and the chair slides under it. That disappearing quality changed the mood of the room. It can be a recording corner in the afternoon and a relaxed gathering place at night.
But I didn’t chase perfect sound. I wanted sound that felt controlled enough to enjoy.
A compact audio interface was enough for our needs. For a more serious setup, home music studio room ideas for serious sound helped me separate a home jam room from a dedicated production space.
I kept only the equipment we use regularly within reach. Everything else goes into labeled storage, which means the desk can return to being a writing surface when nobody is recording.
10Hard equipment needs soft layers
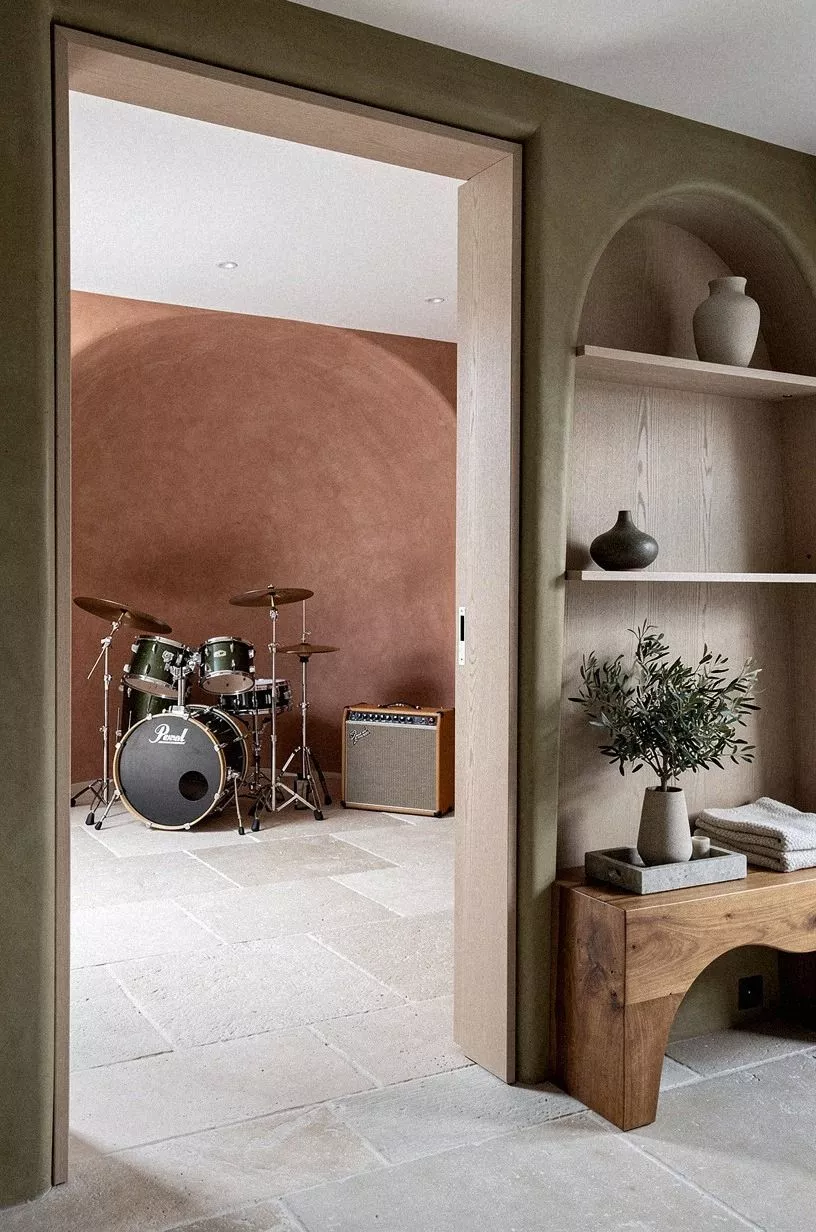
The basement had too many hard edges: concrete, metal stands, instrument bodies, and the old laminate door. I softened them with terracotta textiles, stone-colored upholstery, olive accents, and cerused white oak on the storage pieces. The mix made the equipment feel less severe without hiding what the room was built to do.
11Make the basement band room feel personal
The last step wasn’t another product. It was deciding what the room was for.
I wanted a place where someone could walk in, pick up a guitar, and start without asking where everything belonged. You’ll feel the difference when the room supports the habit instead of requiring a setup ritual.
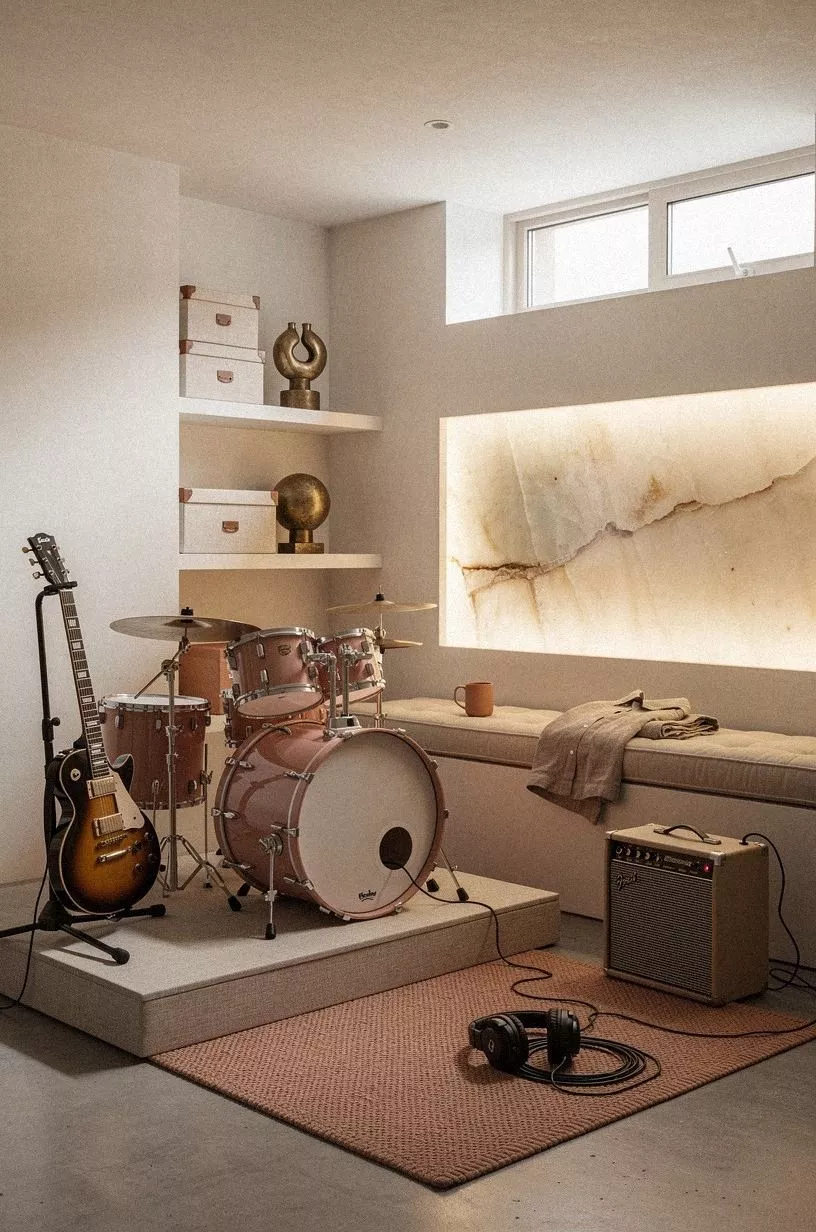
I added a framed set list, a small linen-covered pinboard, and one vintage aged brass record frame above the desk. A backlit translucent onyx panel added a gentle glow behind the seating area, while clay-colored details kept the room from feeling too polished.
I’d skip generic music signs. They announce the purpose, but they don’t tell your story.
The room now has a clear path, a warm light stack, soft surfaces, visible instruments, and storage that doesn’t fight the way we use the space. If you’re planning a basement band room, start with the moment you want to happen there. Is it a quiet practice session, a loud weekend jam, or a place for friends to linger after dinner?
That answer will tell you where the sofa goes, how much floor to save, and which equipment deserves to stay visible. A room with a purpose feels more charming than one filled with expensive objects.
I also kept one small area deliberately unfinished. It can hold a new instrument, a temporary recording setup, or whatever the room needs next. A music room should have room to evolve, and that unfinished corner keeps the space from feeling overly resolved.
The layout test I kept using
Before I committed to any furniture placement, I used a tape measure and marked the sofa, keyboard, and main microphone position with painter’s tape. Then I walked the route several times with a guitar case in hand. If the path felt awkward empty, it would feel worse once people and cables were added.
I checked the door clearance, chair pullout, and distance between the seating and the nearest outlet. Those measurements mattered more than the exact shape of the rug. You’ll save yourself a lot of rearranging if the room works in motion, not only from the doorway.
I also left space for a person to stand beside each instrument. That small allowance made playing together feel natural instead of crowded. It’s one of the simplest tests I’d repeat.
A reset that keeps the room ready
A good music room shouldn’t require a full cleanup before every session. I kept a cable basket near the desk, a hook for headphones, and one shallow tray for picks and tuners. Those three landing spots keep small items from migrating across the floor.
At the end of the night, I return the microphone stand, close the laptop, and switch on the warm lamp for a minute while I put things away. The reset takes less than five minutes. You’ll be more likely to use the room tomorrow when tonight’s cleanup doesn’t feel like another project.
I also leave one chair slightly pulled out and one instrument ready. That visual cue makes the room feel active rather than precious. It’s a small habit, but it keeps the space connected to the reason I made it.
How much it cost
I planned the makeover in layers instead of pretending every basement project fits one neat receipt. The furniture and styling changes stayed within the budget tier, while flooring, lighting, and built-ins can move a room into a much larger renovation range. You’ll want to decide whether you’re refreshing a finished room or finishing the basement itself.
For individual materials, LVP flooring typically runs $2-$7/sq ft, recessed lights run $20-$100 each, a sectional can cost $800-$3,000, and a wet bar can land around $2,000-$8,000. Those numbers changed how I prioritized the work. I spent first on the floor, lighting, and seating because those altered how the room felt every day.
The wet bar was never part of my plan. I’d skip it for a music room unless you genuinely need one. A better chair, safer storage, or stronger lighting will serve the room more often.
The 36 inch walkway rule for a basement family room was more useful to my budget than another decorative purchase.
The design decision I’d defend
I went back and forth on whether the basement should look like a studio look or a living room. A studio has a clear purpose, but it can make guests feel like they’re entering someone else’s workplace.
A living room feels easy, but it can hide the reason the space exists. I landed between the two, and that middle ground is what made the room work.
The instruments remain visible, but they aren’t lined up like showroom inventory. The desk is ready, but it can disappear.
The acoustic panels do a real job, yet the dusty rose mohair velvet makes them feel like part of the room. That balance is more sophisticated than forcing every detail into one style.
I’ve also learned that comfort matters more than visual drama. The floor needs to feel good under your feet.
The chair needs to support a long conversation. The light needs to stay gentle when you’re tired. A floor cushion near the keyboard added comfort without crowding the path.
If a basement room only looks good when nobody uses it, you’ll stop using it.
My favorite choice was leaving open floor around the seating. It made the basement feel larger without changing the walls. The room can shift from practice space to gathering place in minutes, and that flexibility is what gives it an inviting, lived-in quality.
If I changed anything, I’d install the storage system earlier. That would’ve saved me from moving the same cables and cases three times. The rest of the process became easier once the room had a clear purpose.
What People Always Want to Know
What is the best Basement Music Room & Jam Room Ideas for a small basement music room jam?
The best approach is a compact sofa, vertical storage, and a clear 100+ square foot playing zone. An IKEA KALLAX can hold small gear without taking much floor space, while a lighter chair keeps your layout flexible. You’ll want every daily instrument within reach.
Where can I buy Basement Music Room & Jam Room Ideas pieces on a budget?
IKEA, Wayfair, and Target are useful starting points for shelves, rugs, and lighting. You can also check Facebook Marketplace or a thrift store for solid wood pieces. Secondhand furniture often gives your basement more character for less money, and you don’t need matching sets.
How much does a Basement Music Room & Jam Room Ideas makeover cost?
A refresh can fit within the typical $500-$2,500 budget tier for paint, rugs, lighting, and furniture. Free changes include rearranging the room, grouping instruments, and clearing walkways. You’ll spend more if you add new flooring or built-ins.
Can I create a Basement Music Room & Jam Room Ideas on a budget?
Yes, and you can start without construction. Reuse furniture, paint one focal wall, and make a cable basket from storage you already own. A warm floor lamp can change the mood more cheaply than new ceiling wiring, while open shelving keeps gear visible.
Is a Basement Music Room & Jam Room Ideas worth it in a small space?
Yes, because a small room can make playing together feel more intimate and focused. Keep a 100+ square foot seating zone when possible, use vertical storage, and protect a clear walkway.
You’ll gain more from flexible furniture than from squeezing in another large cabinet. Small music room ideas for big sound can help you plan around the floor you actually have.
Is Basement Music Room & Jam Room Ideas a good idea for a rental?
Yes, especially with no-damage changes. Try removable wallpaper or peel-and-stick panels, a tension rod with fabric curtains, and removable hooks for lighter art. Renter-friendly lighting can provide warmth without rewiring, and you can take the entire look with you later.
Where I’d Start First
If I had to pick one, I’d start with the seating zone. A 100+ square foot patch gives every instrument room to breathe, while a crowded sofa turns every session into furniture Tetris. Pin the small music room layout for later, and let the first chord decide what stays.