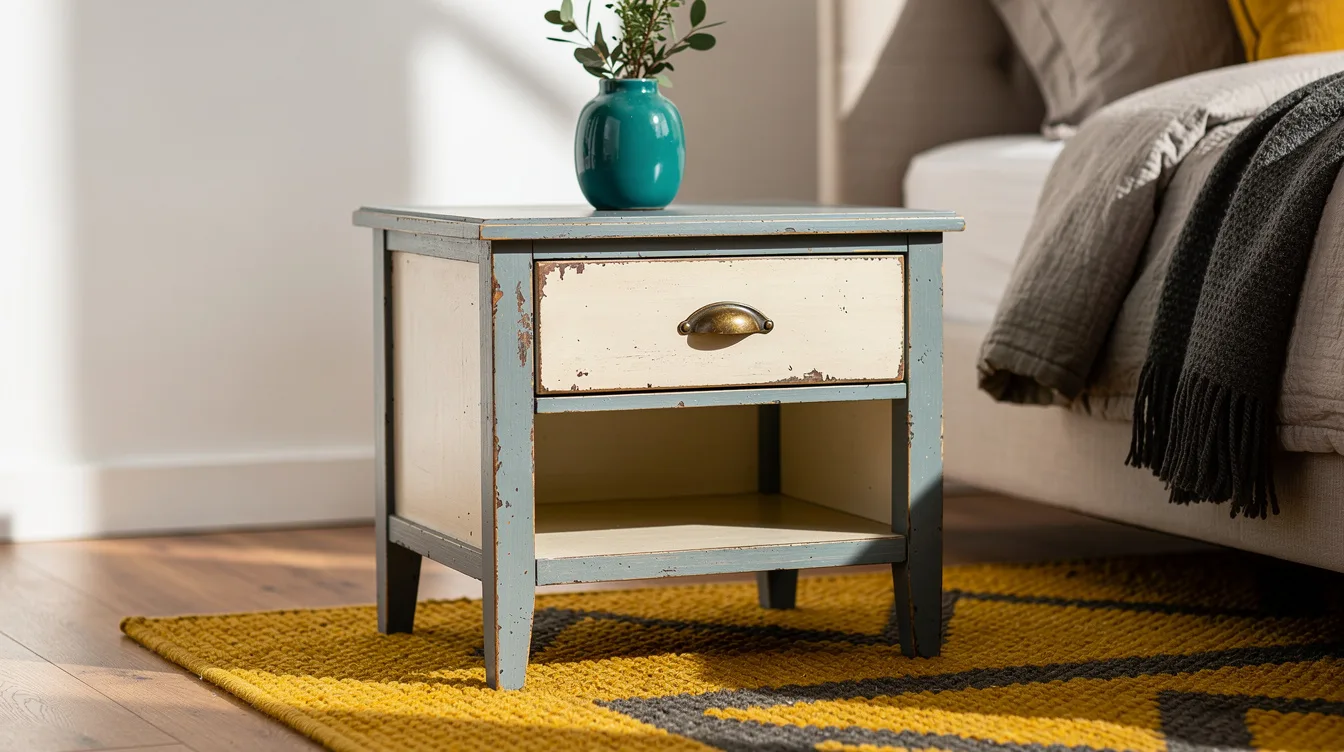
I learned the hard way that a distressed finish can look fake within minutes when every edge gets sanded the same way. On a 24-inch-wide nightstand, I got the most believable wear by treating the drawer pull and front corners as the only spots that had earned it.
The goal is controlled age, not random damage. Two thin colors, a light hand, and a finish that can handle actual use made the difference.
Start With a Piece That Has Real Edges
I’d begin with a small table, stool, chair, or one-drawer nightstand rather than a huge dresser. A piece around 18 to 30 inches wide lets you practice on corners and raised trim without committing to a week of work.
Look for solid wood or sturdy veneer with a flat, intact surface. I skip swollen particleboard because sanding can expose fuzzy material that no coat of paint can make convincing.
Clean the furniture with mild soap and let it dry fully before doing anything else. A quick scuff with a fine sanding sponge gives the new finish enough grip, especially on glossy old surfaces.
Build a Base Color Worth Revealing
The lower color matters more than people think because it becomes the story underneath the topcoat. I like muted blue under warm cream, or deep charcoal under an aged off-white for a quieter, older look.
Apply the first coat thinly with a quality angled brush from Lowe’s. Thin coats leave crisp details visible and dry more evenly than one heavy, opaque layer.
Let that base dry completely before painting over it. Rushing here causes the upper layer to drag, and dragged paint reads as a mistake instead of years of gentle wear.
Layer the Topcoat With Restraint
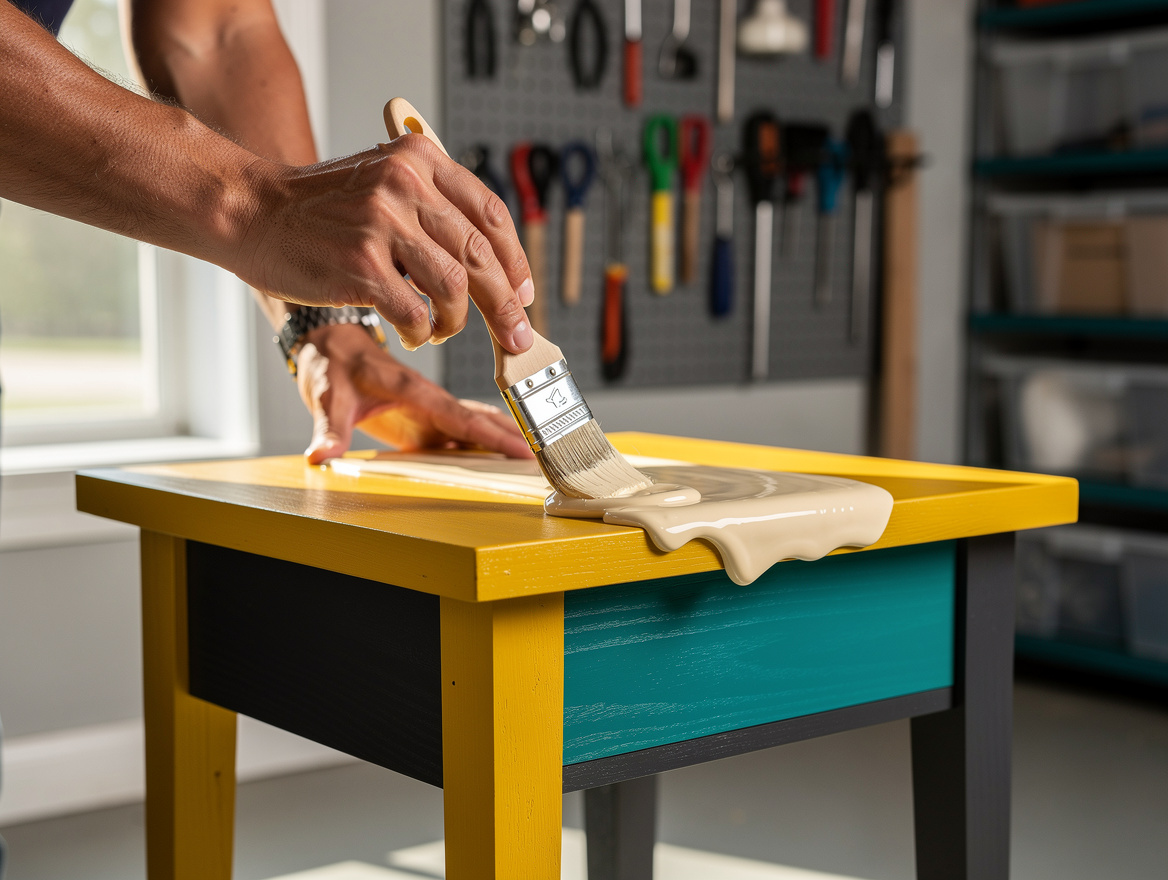
My favorite top layer is a soft cream, pale gray, or faded sage, brushed on in an intentionally light coat. The woodwork should still look like furniture, not like it was dipped in frosting.
A typical 30-ounce can of chalk-style furniture paint costs about $27 at Home Depot, and it will usually handle a small-to-medium piece in one or two thin coats. Coverage changes with porous wood, dark colors, and how much paint your brush holds.
Keep a wet edge as you work across each panel. I use longer strokes on broad drawer fronts, then a smaller brush around trim so the top color stays even before I disturb it.
Sand Only the Places Hands Would Touch
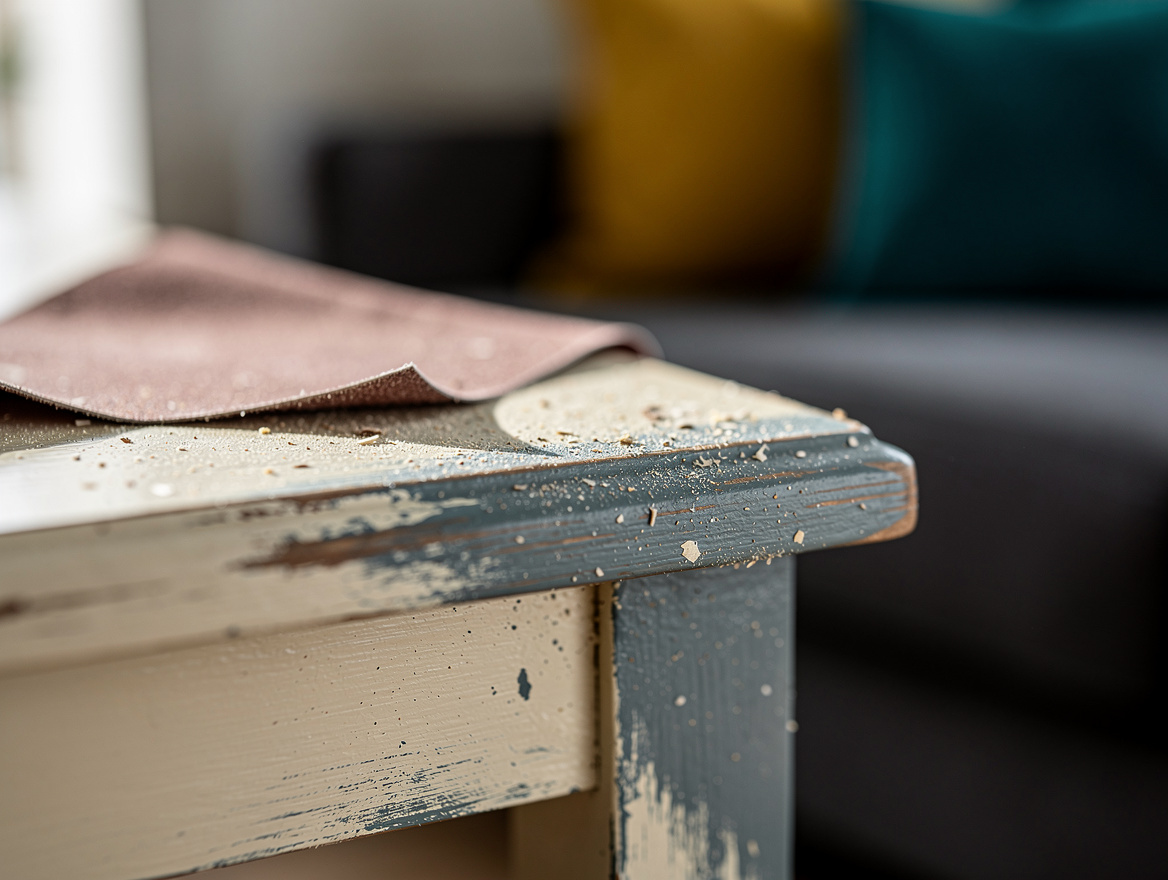
This is where the finish either becomes persuasive or turns into a costume. Use 180-grit sandpaper on the front corners, drawer edges, feet, raised molding, and the area around pulls.
I sand a few passes, step back, then stop before the pattern becomes symmetrical. The middle of a drawer front rarely gets worn through first, so I leave broad flat areas mostly painted.
Let the base color appear in small, irregular flashes. A single softened edge, one rubbed handle, and a lightly worn corner often look more credible than sanding every inch.
Use Resist Methods for Intentional Chipping
For stronger chips, rub a little candle wax onto selected corners before the topcoat goes on. Paint will resist those spots, allowing you to wipe or sand back the upper layer once it dries.
Petroleum jelly works too, though it can spread farther than you expect. I prefer wax because I can place it precisely along a lip, knob surround, or carved detail.
Choose crackle medium only when you want visible age lines across a surface. A crackled finish is a bold decorative choice, while sand-through wear feels more natural on an everyday side table.
Seal the Surface Before Calling It Done
A distressed tabletop still needs protection from mugs, fingerprints, and cleaning cloths. Clear paste wax gives chalk-style paint a soft hand-rubbed look, while a darker wax settles into grooves for deeper contrast.
A one-pound can of finishing wax is typically about $16.99 at Walmart. Apply a very thin coat with a lint-free cloth, work it into the details, and buff after it has set according to the label.
I avoid dark wax on every inch of a pale piece because it can turn muddy fast. Keep it near carved lines, recessed panels, and the worn areas where shadow would naturally collect.
Start with the least visible corner and make three gentle sanding passes before touching the front. You can always add wear, but repainting a convincingly aged finish is the expensive part.
Mia Carter writes about small-space living and budget home makeovers. She has restyled three rentals and tests most ideas in her own 45 sqm flat.