
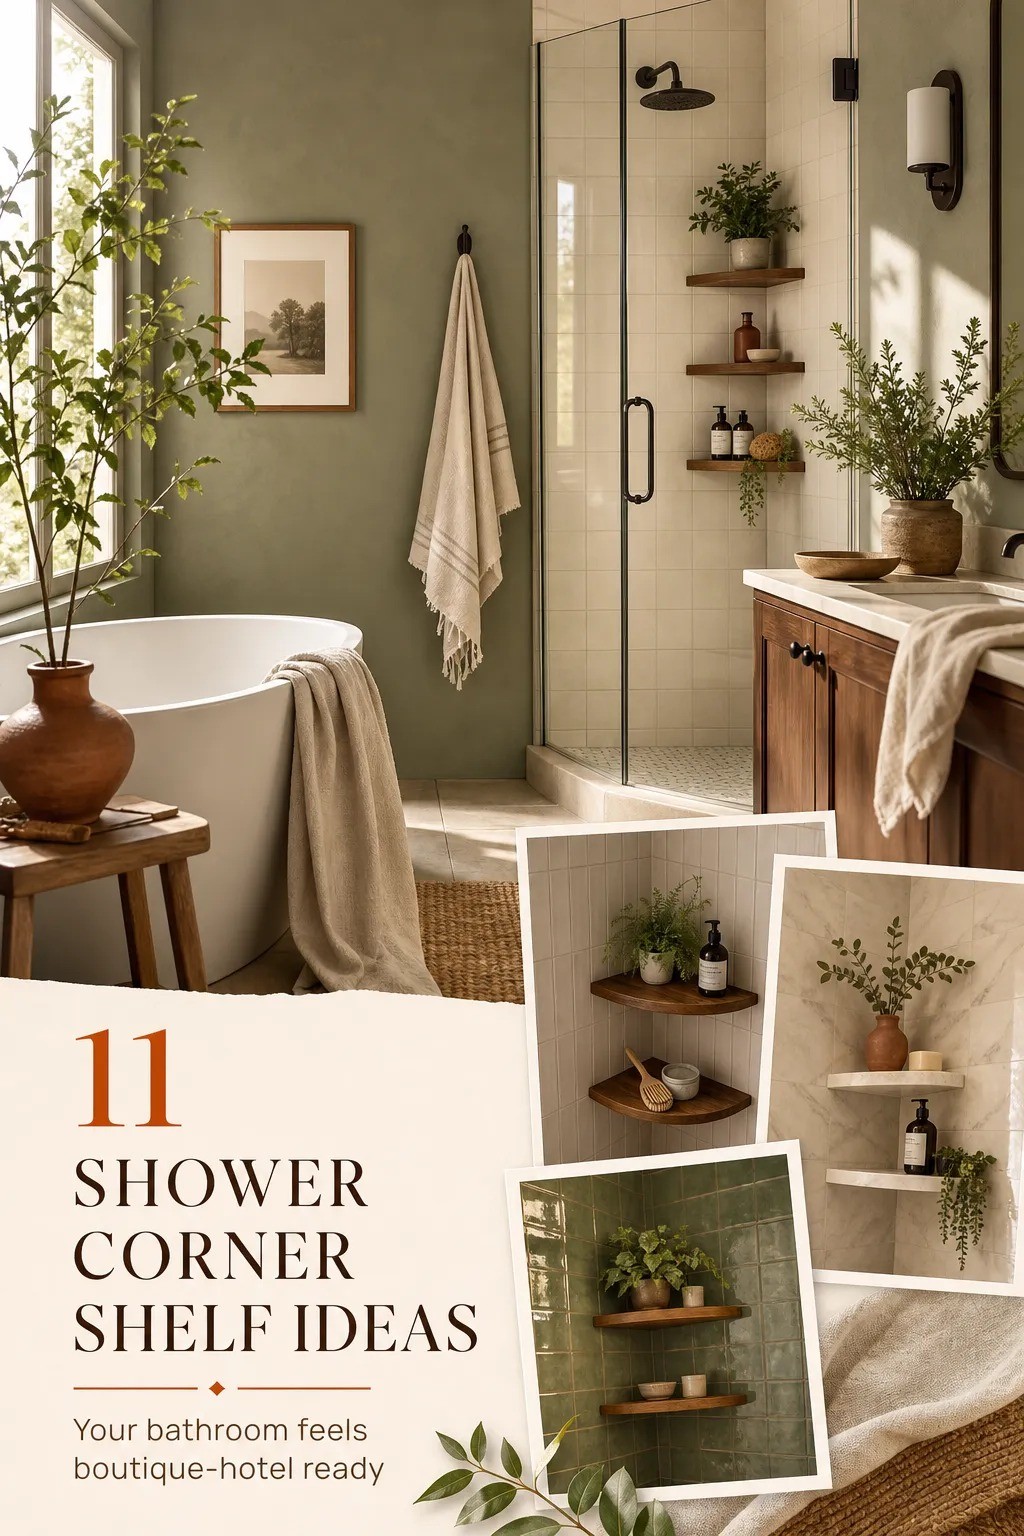
The short answer: you can add a full shower corner shelf setup without drilling a single hole, and most of it costs under $60. I’ve lived with a 36×36 inch stall shower for four years, and the corner was a graveyard of bottles sitting on the floor. Shampoo tipping over. Razors rusting on the ledge. You know the scene. These 11 steps fixed it, and they’ll work in a rental, a dorm, or a tile job you don’t want to touch.
Before You Start: What You’ll Need and What It Costs
Gather everything before you’re standing in a wet shower with adhesive strips in your hand. You don’t need much, and you probably own half of it already.
– A tape measure (your corner’s real dimensions decide everything) – Rubbing alcohol for prep, about $3 – A tension pole caddy or adhesive shelves, depending on your route – A level app on your phone
Here’s the honest budget picture, using typical US bathroom costs as your reference points:
Your corner shelf project sits comfortably at the bottom of that Budget tier. We’re talking $25 to $90 total, which is less than a nice dinner out!
- Measure the Corner Before You Buy Anything
- Start With the Tension Pole Foundation
- Anchor Adhesive Shelves With the 48-Hour Rule
- Is a Suction Shelf Worth Trying?
- Float a Corner Triangle Shelf for the Built-In Look
- Should You Pick Metal Over Plastic?
- Layer Your Heights With the Three-Tier Stack
- Hang a Caddy From the Showerhead Arm
- Swap Bottles to Decant and Declutter
- Frame the Corner With What’s Already There
- Seal the Deal With a Weekly Two-Minute Reset
1Measure the Corner Before You Buy Anything
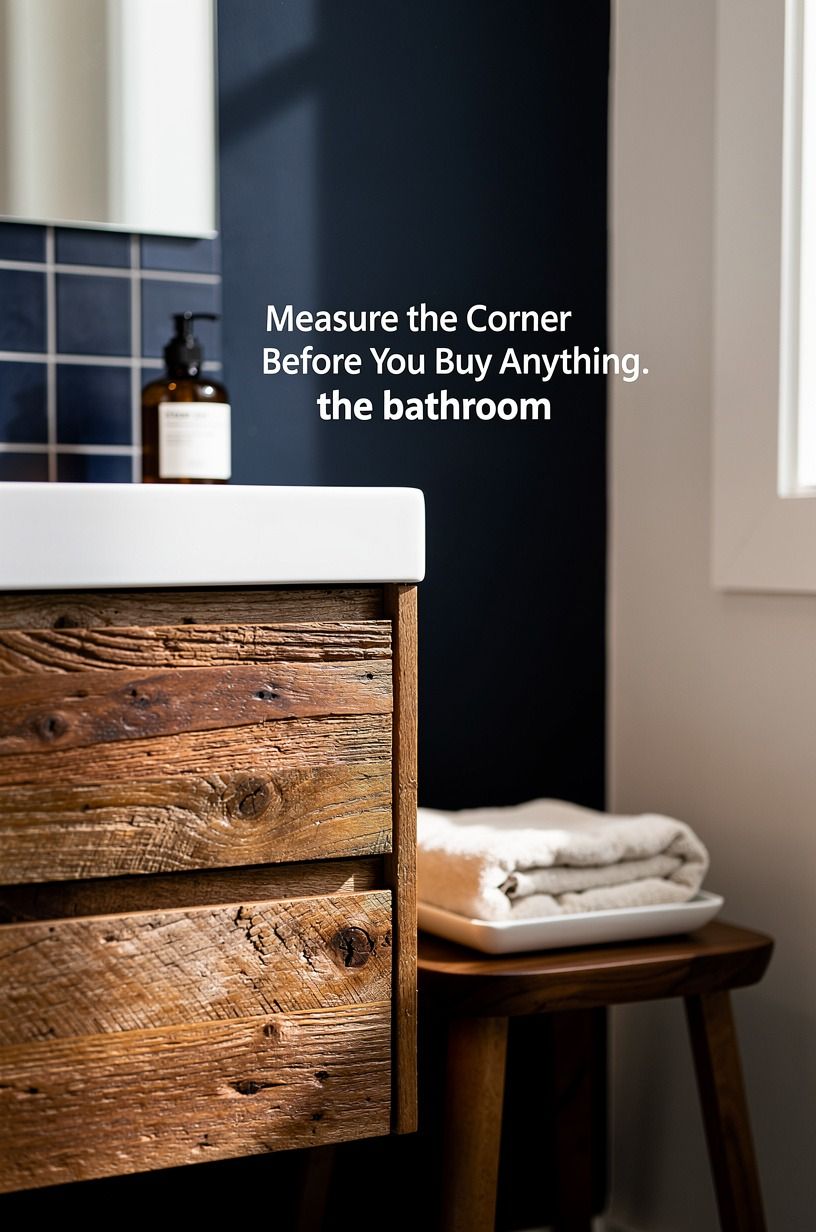
Every failed shower shelf I’ve seen started with someone guessing. A comfortable shower runs 36×36 inches minimum, but plenty of stalls are tighter, and a shelf that sticks out 9 inches into a 34-inch stall will catch your elbow every single morning. So measure three things: the width you can spare, the height between your shoulder and the ceiling, and the gap between the corner and your showerhead arm.
Write the numbers down. You’ll use them in every step after this.
And if your corner feels cramped beyond saving, read about why your Pinterest corner fails because furniture is too big for the space, because the same sizing logic applies in a shower. Two inches of clearance around bottles is the minimum that still feels easy to grab.
2Start With the Tension Pole Foundation
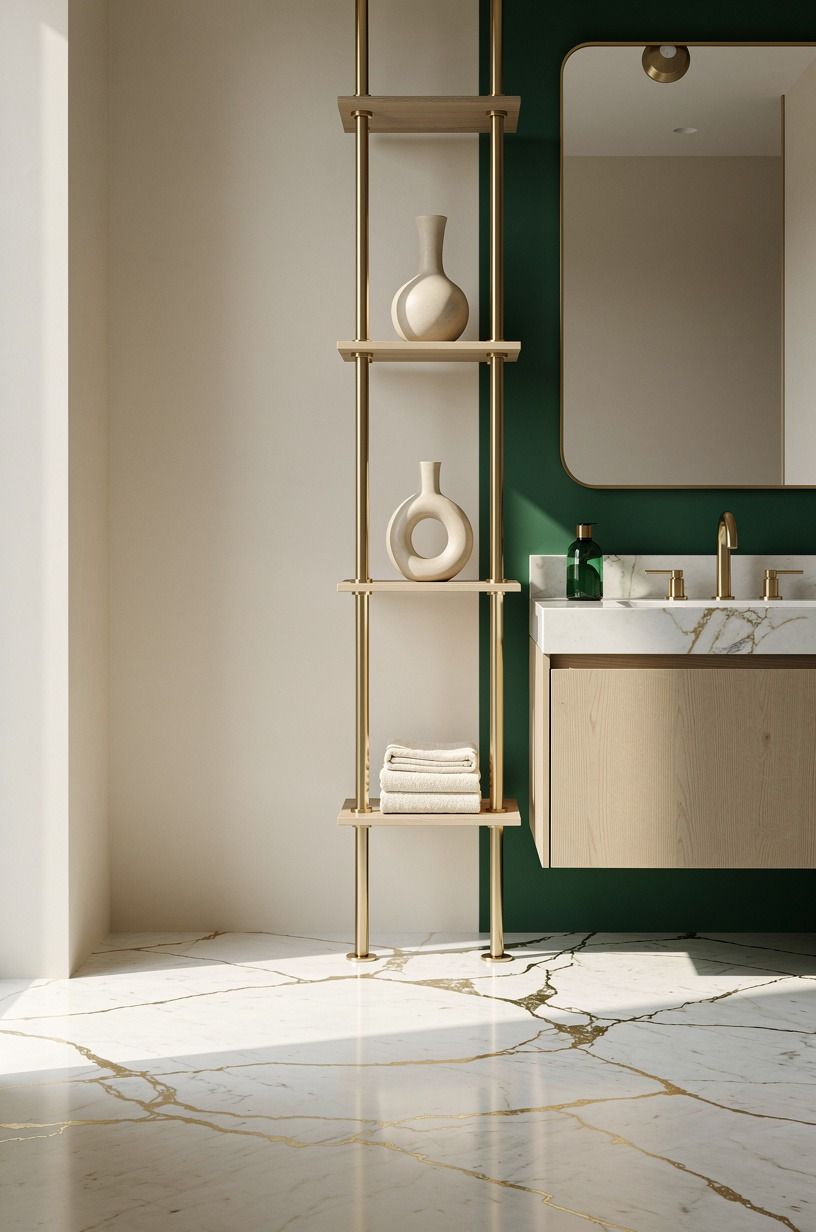
The tension pole caddy is the workhorse of no-drill shower storage, and it’s where I’d put your first dollar.
3Anchor Adhesive Shelves With the 48-Hour Rule
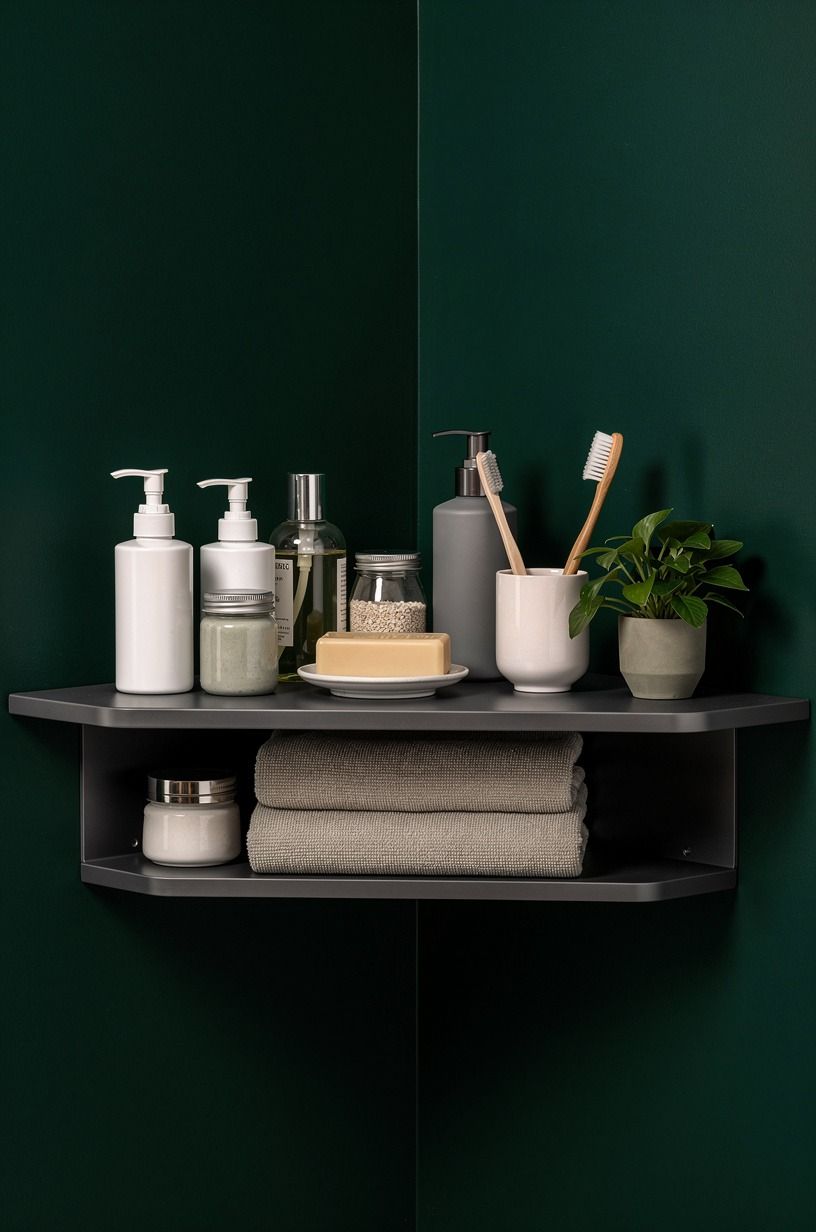
Adhesive corner shelves have gotten genuinely good, but they fail for one reason: impatience. You stick them up, you load them the same night, and by Friday there’s a crash at 2am. The fix is what I call The 48-Hour Rule.
Mount the shelf, press it hard for 60 seconds, then walk away for two full days before a single bottle touches it. Every adhesive brand says some version of this.
Nobody does it. Do it!
Prep matters just as much as patience. Wipe the tile with rubbing alcohol, let it dry completely, and never mount over grout lines, because adhesive needs full flat contact to grip.
A cerused white oak corner shelf in the $25 to $45 range will hold 20 to 40 pounds when it’s prepped right. That’s every bottle you own, twice.
4Is a Suction Shelf Worth Trying?
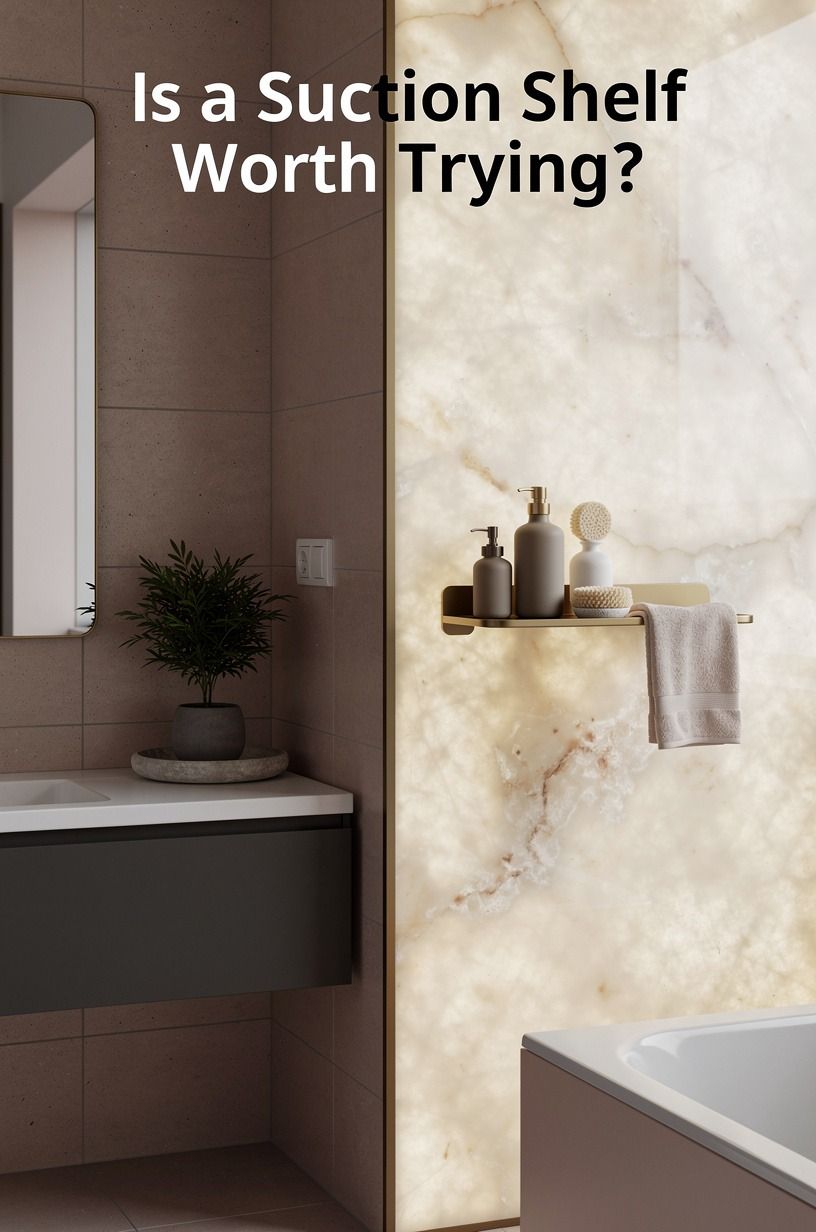
Sometimes, but only the right kind. Cheap suction cups on textured tile are a waste of your money, full stop.
The versions that hold use a twist-lock vacuum mechanism, and they need smooth glazed tile or glass to seal against. Run your finger across your wall first.
If you feel any texture or pitting, skip suction entirely and go back to adhesive.
Where suction shines is flexibility. You can move it whenever you want, which makes it the renter’s best friend for a corner shelf bathroom setup that leaves zero trace.
I keep one small suction basket just for my razor and face wash, at exactly chin height. Everything heavier lives on adhesive or the pole.
Suction is a sprint, not a marathon, so treat it as your light-duty layer and you’ll never come home to a pile of fallen bottles.
5Float a Corner Triangle Shelf for the Built-In Look
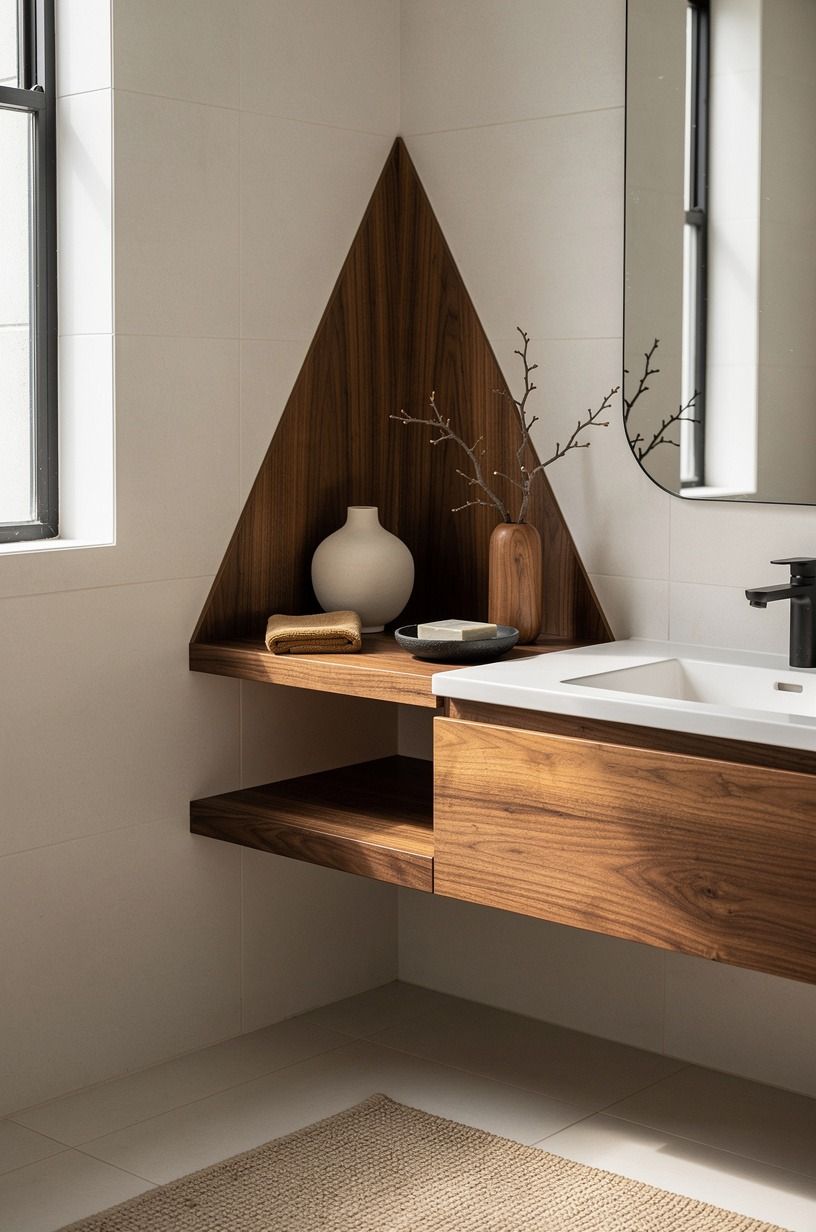
Want something that reads custom without a contractor? A floating wood corner triangle is your move.
The book-matched walnut triangle shelf, usually 10 to 12 inches per side, mounts on adhesive brackets and brings a warmth that makes the whole corner feel finished. It’s the closest you’ll get to a remodel feel for under $50.
Mount yours at chest height, around 48 to 54 inches from the floor, because that’s where your hand naturally reaches mid-shower. The measurement obsession is worth it here (a shelf 6 inches too low becomes a shin hazard in a small stall). For the truly committed, our guide to recessed shower niche shelf ideas covers the built-in version, but that one needs a drill and a permit-free weekend you may not have.
6Should You Pick Metal Over Plastic?
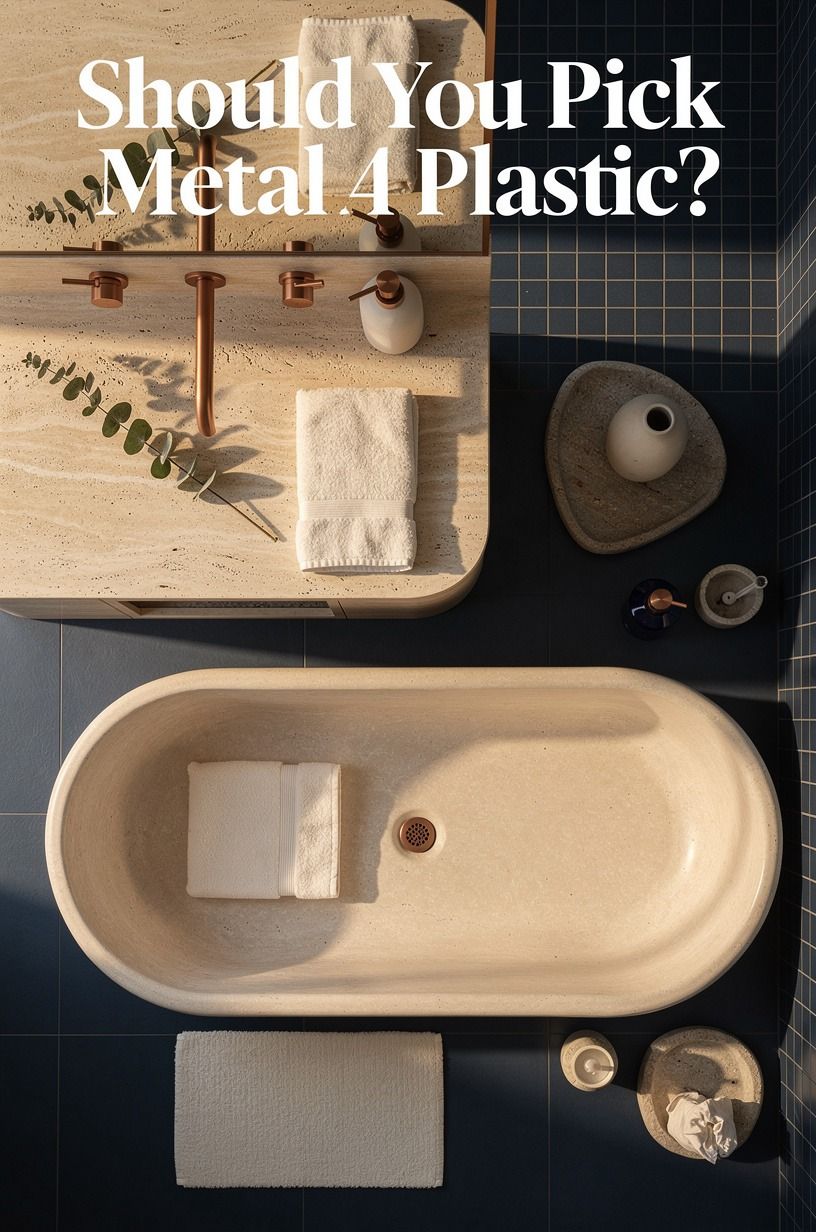
Yes, and it’s not close. Plastic corner caddies cost less up front, but they yellow within a year, the drainage slots clog, and the whole thing reads temporary no matter how you style it.
Powder-coated aluminum in a copper or bronze finish costs maybe $15 more and looks the same in year three as day one. In a wet environment, material is the whole decision.
The one exception: if you’re testing a layout before committing, a $12 plastic caddy is a fine placeholder. I ran one for two months while I figured out my heights, then swapped it for metal once I knew where everything lived. Think of plastic as your rough draft.
Just don’t let the rough draft become the final, because you’ll feel it every morning.
7Layer Your Heights With the Three-Tier Stack
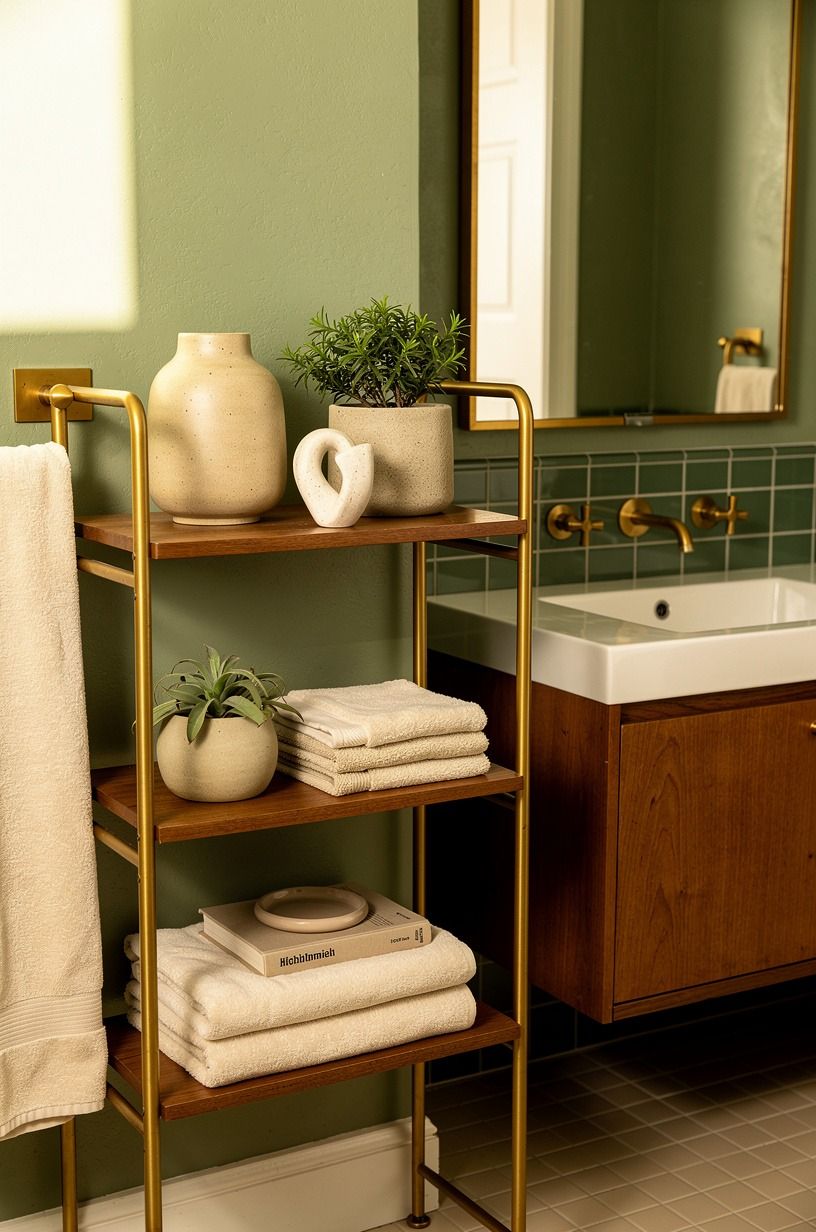
Random shelf placement is how corners end up cluttered again. The Three-Tier Stack gives every shelf a job: daily bottles at chest height, weekly stuff like masks and scrubs one tier up, and backups or guest items at the very top. Your most-used product should never require a bend or a stretch.
Spacing between tiers wants 12 to 14 inches, enough for tall pump bottles to stand upright. And here’s a small opinion I’ll defend: keep the middle shelf for your heaviest items, not the bottom, because a low shelf loaded with weight is the first one to sag on adhesive mounts. This zoning logic isn’t far from the 18-inch rule designers use to zone studios, just turned vertical.
Give each tier a category and your corner stays organized on autopilot.
8Hang a Caddy From the Showerhead Arm
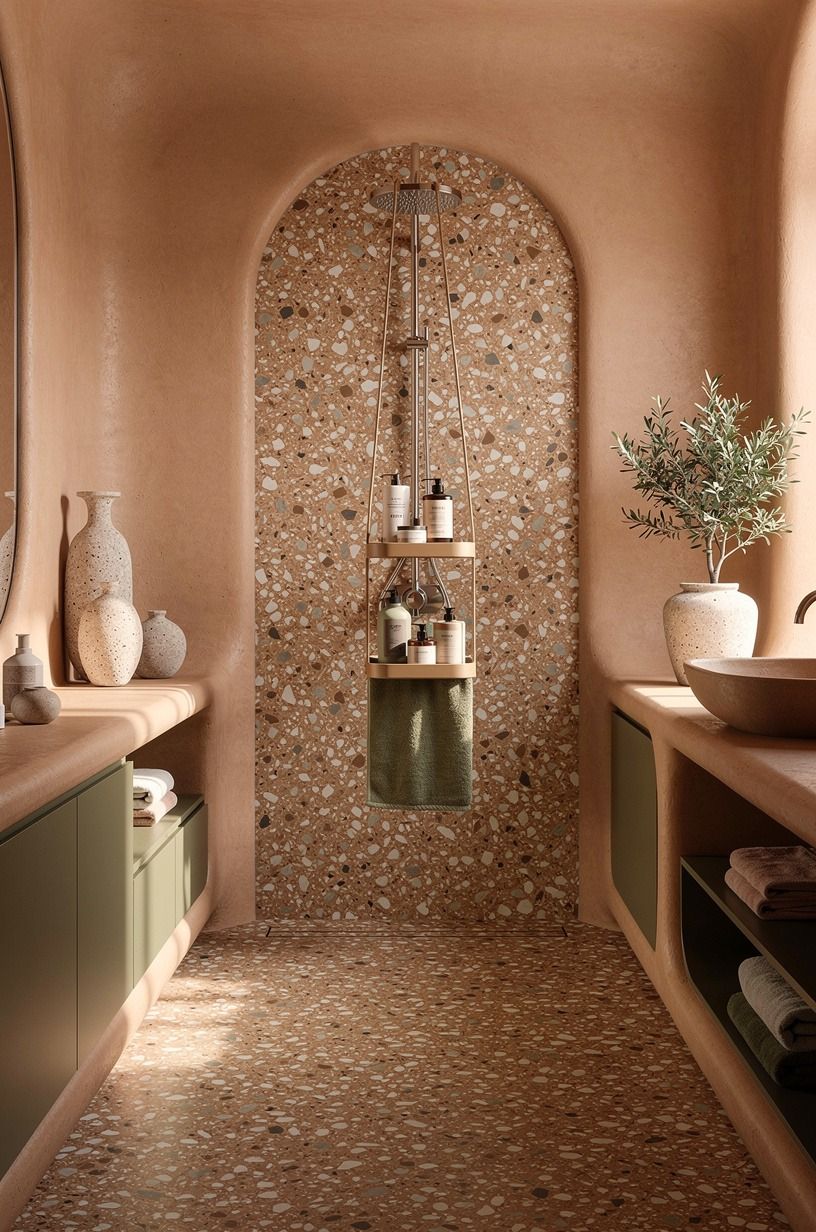
The over-the-showerhead caddy is the oldest move in the book, and it still earns its place as a supplement, not a star. Hook one on for overflow, loofahs, and the kids’ bottles, but don’t make it your main storage, because a loaded caddy pulls down on the shower arm over time. A rubber-gripped hanging caddy with a suction stabilizer at the bottom solves the swinging problem that drives everyone crazy.
One sizing note that saves grief: measure your showerhead arm’s diameter before buying, since rainfall-style arms are often too thick for standard hooks. If yours doesn’t fit, adhesive hooks on the wall beside the head do the same job. These in-shower shelves work best as your second layer, the supporting actor to your tension pole or adhesive corner units.
9Swap Bottles to Decant and Declutter
Storage isn’t only about shelves. It’s about what you put on them.
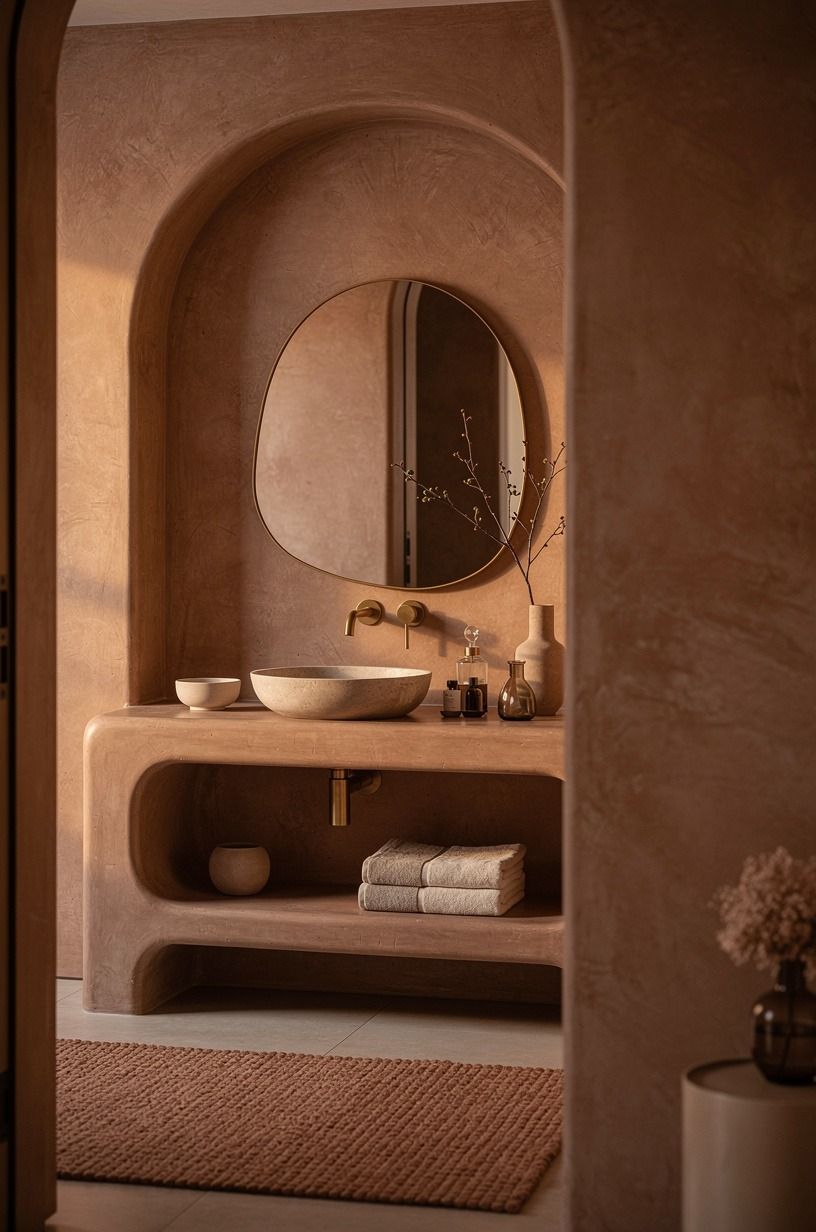
Matching amber pump bottles with brass pumps turn a chaotic corner into something that looks intentional, and they take up less room than the mismatched packaging everything comes in. A set of three runs about $15, and the visual payoff is absurd for the price.
Decant your shampoo, conditioner, and body wash, then recycle the originals. Keep labels minimal or skip them (you know which one is shampoo).
I resisted this for a year because it felt fussy, and then I did it in twenty minutes on a Sunday. The corner looked like a boutique hotel by Sunday night.
Small shower shelf ideas live or die on this step, because even a $200 shelf looks messy under eight clashing bottles.
10Frame the Corner With What’s Already There
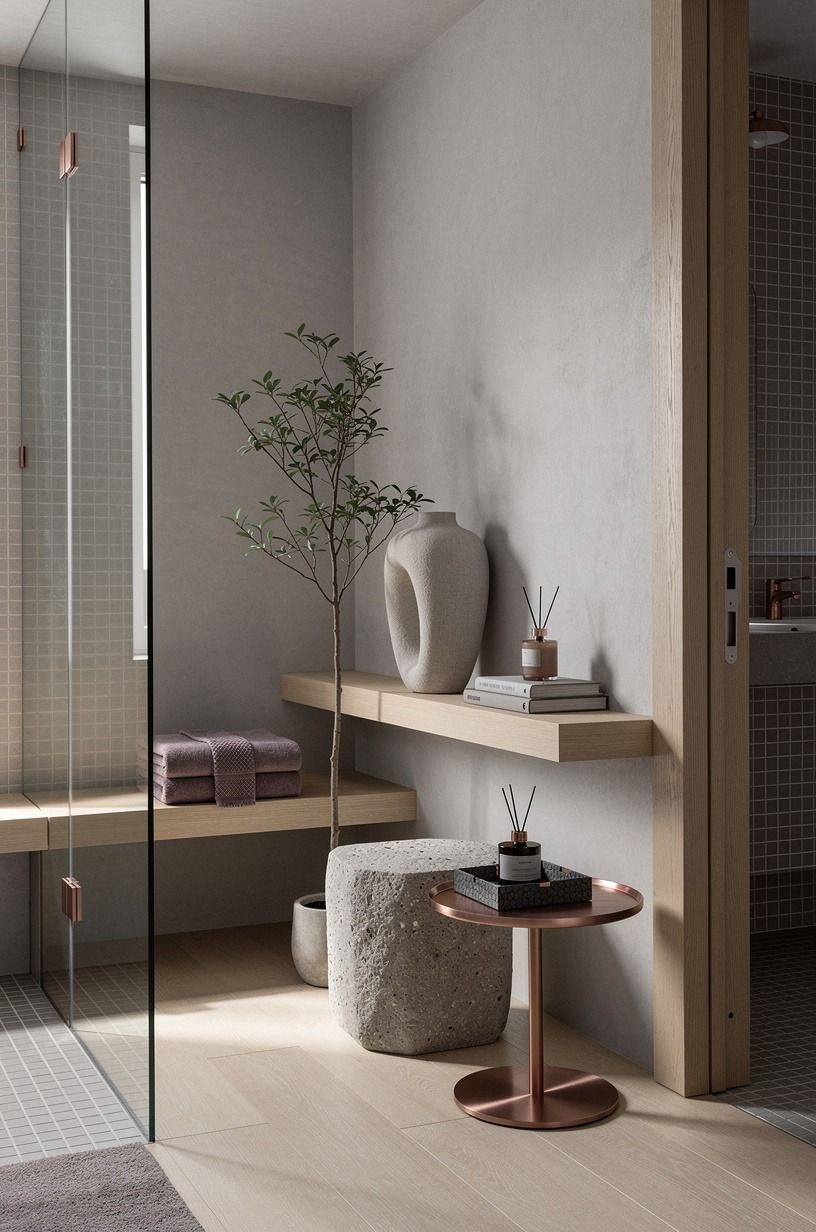
Your corner doesn’t exist in isolation. The grout color, the tile finish, even your shower curtain change how the shelves read. If your bathroom walls need a refresh before the shelves go up, something like Farrow & Ball Brassica No. 271 on the walls outside the shower makes metal shelves look deliberate instead of utilitarian.
Deep plum and soft rose gold tones are a pairing that never misses.
Trim details help too. The approach in why designers skip full-wall lacquer and use only 4-inch millwork trim applies here: one crisp edge detail does more than a full overhaul. And if you’re planning a wider bathroom refresh, the 48-inch corner rule that stops chairs from blocking your hallway is the same clearance thinking, just outside the shower door.
11Seal the Deal With a Weekly Two-Minute Reset
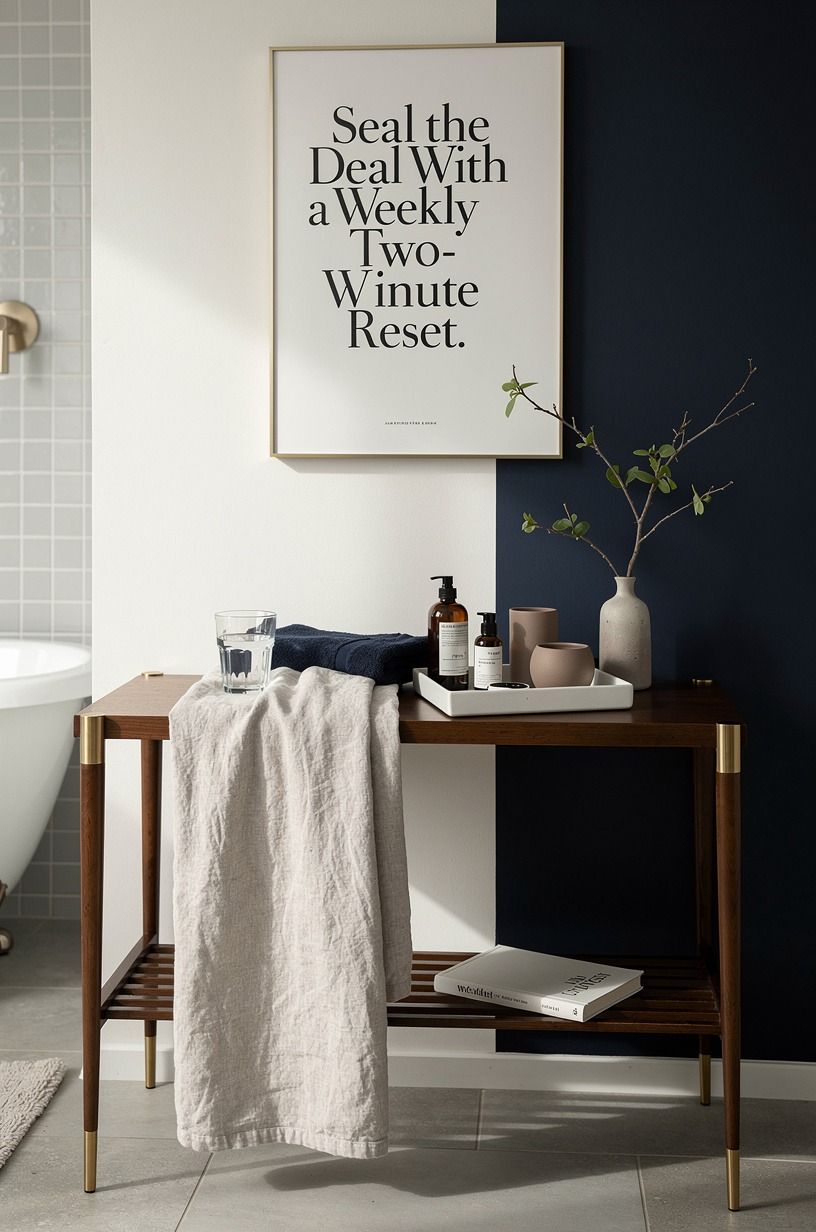
The best shelf system fails without maintenance, and in a shower that means mildew. Once a week, squeegee the shelves, pull the bottles, and wipe the drainage holes with an old toothbrush.
Two minutes, done. Adhesive mounts last noticeably longer when soap scum isn’t eating the bond line, and wood and metal keep their finish when they aren’t sitting in standing water.
Check the tension pole monthly too, because springs relax over time and a quick quarter turn keeps it solid. If you’re also rethinking the rest of the bathroom while you’re at it, the precision mindset behind the 2-inch nightstand rule designers use is exactly the energy to bring. Small clearances, respected consistently, are what keep a tiny bathroom feeling calm instead of cramped.
What Nobody Tells You About Shower Corners
I’ve redone my shower corner three times now, and the lesson that took the longest to learn has nothing to do with shelves. It’s this: the corner is a system, not a spot. You can’t buy one good product and expect the chaos to end, because the chaos was never about storage space.
It was about the fact that everything you owned had no assigned place, so everything lived everywhere.
My first attempt was a single tension pole, overloaded within a week, leaning by week two. My second was a gorgeous adhesive shelf I mounted over a grout line because I didn’t want to wait to re-measure.
It held for eleven days. The crash woke my dog, who barked for ten minutes, and I stood there at 2am holding a shelf and a broken bottle of conditioner, laughing at myself.
You don’t need to repeat my tuition.
What changed on the third try was treating the corner like a tiny kitchen. Zones.
Categories. A place for the daily stuff within arm’s reach and a place for everything else slightly further away. Once I thought of it that way, the products almost didn’t matter.
A $30 pole with a real system beats a $150 shelf with no plan, every single time.
There’s also a bigger shift happening in 2026 that’s worth naming. Bathrooms are getting the design attention kitchens got a decade ago, and renters are leading it, because no-drill hardware finally got good enough to look permanent.
Five years ago, adhesive meant flimsy. Now it means 40 pounds of hold and finishes that match real fixtures. That’s why this topic is everywhere on Pinterest right now: the barrier was never money or skill.
It was that the products weren’t ready. They are now.
So when you’re standing in your shower tonight looking at that dead corner, don’t think of it as a storage problem. Think of it as a 36-inch system waiting for zones. The shelves are just how you draw the lines.
A Few Things Worth Answering
What is the best corner shelf setup for a small bathroom?
A tension pole caddy plus one adhesive shelf handles 90% of small stalls. The pole takes daily bottles, the shelf holds overflow, and neither touches your tile.
In a 36×36 inch shower, that’s the whole system. IKEA and Target both carry solid starter options under $40.
Where can I buy shower corner shelf pieces on a budget?
Target, IKEA, and Wayfair all carry rust-proof options in the $15 to $50 range, and the stainless versions at Target’s Threshold line punch above their price. For barely-used caddies, Facebook Marketplace is quietly excellent. People move and leave entire bathroom setups behind for almost nothing.
How much does a shower corner shelf makeover cost?
Most people land between $30 and $90 total: a pole or two adhesive shelves, plus decanting bottles if you want the styled look. That’s a rounding error next to the $200-plus entry point of any real bathroom tier. The measuring, planning, and weekly reset are all free.
Can I create a shower corner shelf on a tight budget?
Yes, and honestly the cheap version works fine. A $12 plastic caddy as a rough draft, free decluttering of half-used bottles, and a $3 bottle of rubbing alcohol for prep gets you 80% of the result. Spend your small budget on one rust-proof stainless shelf rather than three flimsy ones.
Is a corner shelf worth it in a small shower?
Absolutely, and the small space is the reason it’s worth it. In a tight stall, floor bottles steal standing room you don’t have, so going vertical gives you the shower floor back. Keep shelves under 9 inches deep so they never catch an elbow mid-lather.
Are shower corner shelves a good idea for a rental?
They’re the perfect rental project, because the whole point is zero damage. Tension poles, twist-lock suction, and quality adhesive all remove cleanly with no holes and no lost deposit. Just follow the 48-Hour Rule on adhesive and document your tile before and after if your landlord is the difficult type.
The One I’d Do Tonight
If I had to pick one, I’d start with the tension pole. It’s up in ten minutes, holds the most, and forgives every measuring mistake you’ll make. You’ll feel the difference tomorrow morning.
Pin this for your weekend list.