
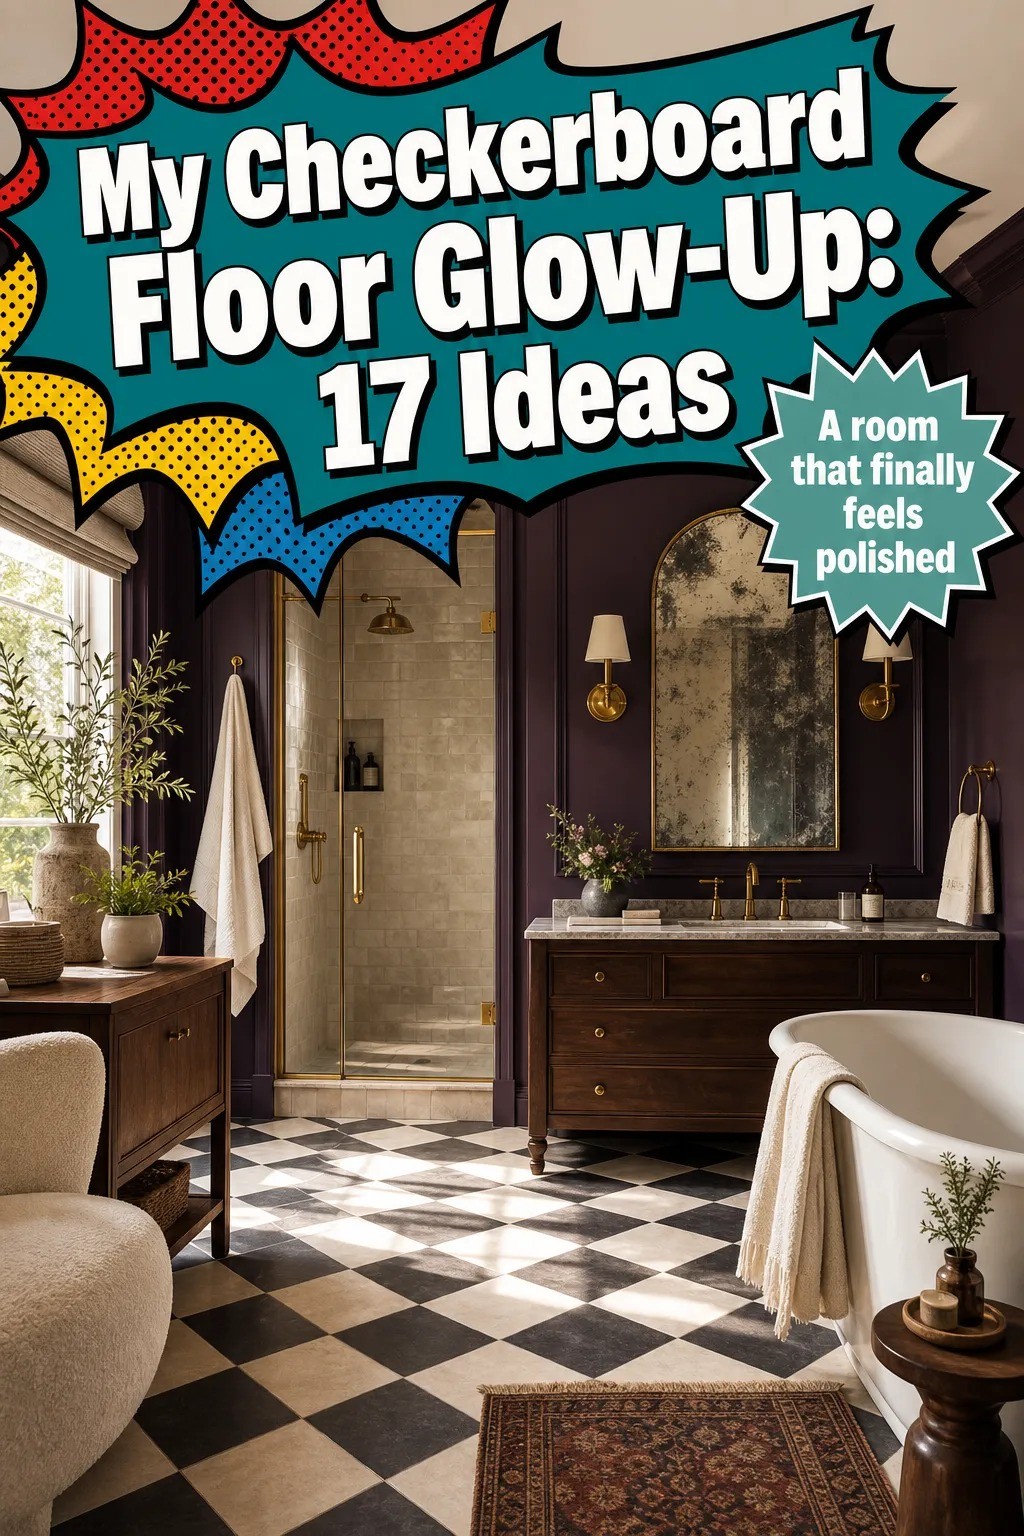
The short answer: yes, a checkerboard floor makes a small black and white bathroom read bigger, because the repeating grid pulls your eye across the whole floor instead of stopping it at the walls. I laid ours at 34 weeks pregnant, on my knees, swearing at grout lines. We’d lived with builder beige for six years! One weekend and about $340 later, the room I used to avoid is the first one I show people.
Here’s what it looked like before
Picture the full 2007 starter-home package. Speckled tan floor tile, a cultured-marble vanity top going yellow at the edges, and a mirror glued flat to the wall with no frame. The lighting was one boob light over the sink, so everything read gray.
There was nothing wrong with it, exactly. It just had no opinion.
I’d stand in there brushing my teeth and feel like I was standing in a rental I hadn’t chosen. That’s the part that finally got me.
So I stopped waiting for a full gut job and worked with what a checkerboard floor could carry on its own.
- Lay the checkerboard on the diagonal, not straight
- Why did the small tiles win over the big ones?
- Anchor the room with matte black grout
- Warm the white with the Warm-White Rule
- Float a wall-hung vanity over an uninterrupted floor
- Paint the walls, don’t tile them all
- Hang an oversized mirror to double the checker
- Swap builder brass for unlacquered brass
- Zellige over subway on the shower wall
- Keep every metal in one finish with the One-Finish Rule
- Build a slim niche instead of hanging a cabinet
- Bring in one warm wood note with the Single-Wood Rule
- Frame the window in unbleached linen, nothing heavy
- Add a runner to soften the grid underfoot
- Light it in three places with the Three-Source Rule
- Is peel-and-stick checkerboard worth it for a rental?
- Style the counter like you mean it
1Lay the checkerboard on the diagonal, not straight
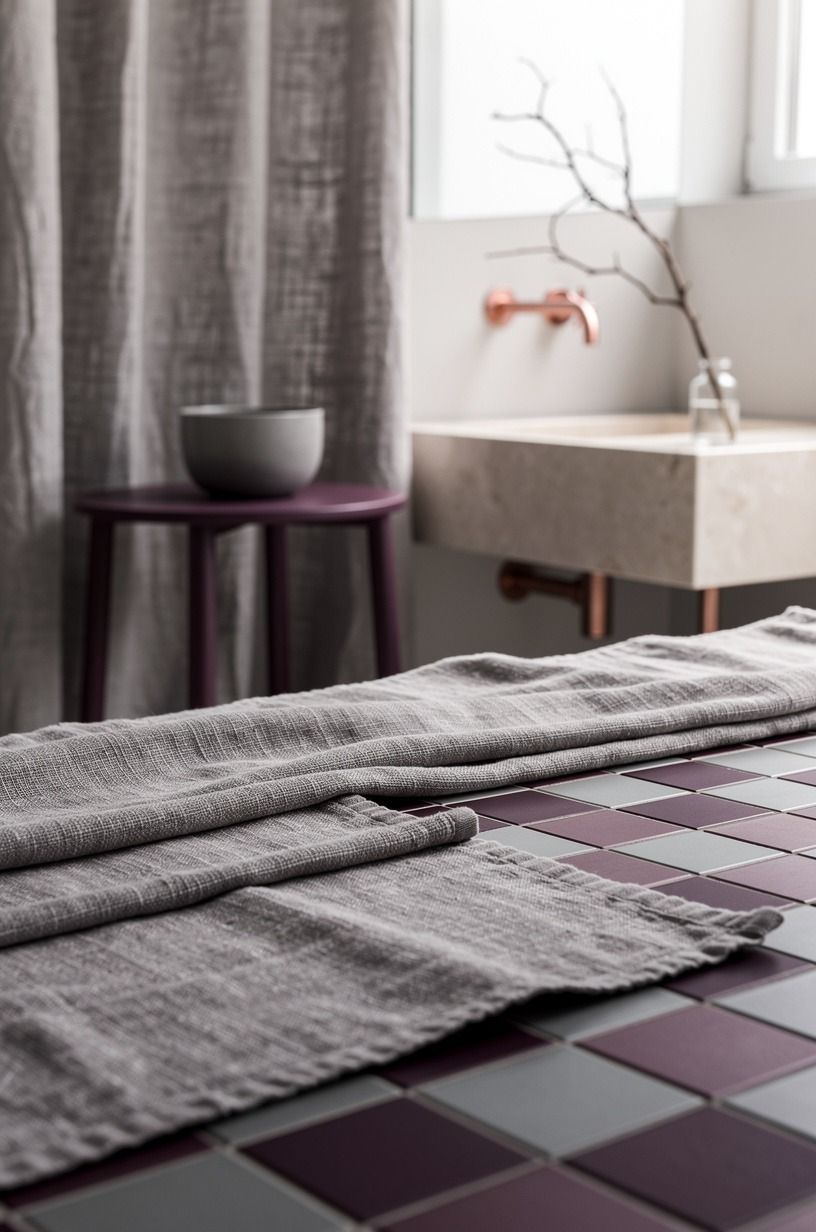
Here’s the thing nobody tells you about small full bathroom ideas in black and white: the direction of the tile matters more than the tile. I ran ours on a 45-degree diagonal instead of square to the walls, and the room instantly felt wider than its 40 square feet. Your eye follows the longest line it can find, and a diagonal gives it the diagonal of the room, which is always the longest measurement you’ve got.
I used 8-inch honed marble squares in true white and near-black, matte so they don’t turn into a skating rink when wet. The diagonal costs you more in cuts and waste (budget an extra 10 percent), but it’s the single move that did the most.
If you want the classic square version instead, this roundup of black and white tile bathroom ideas from classic to bold shows both. I’d still go diagonal every time.
2Why did the small tiles win over the big ones?
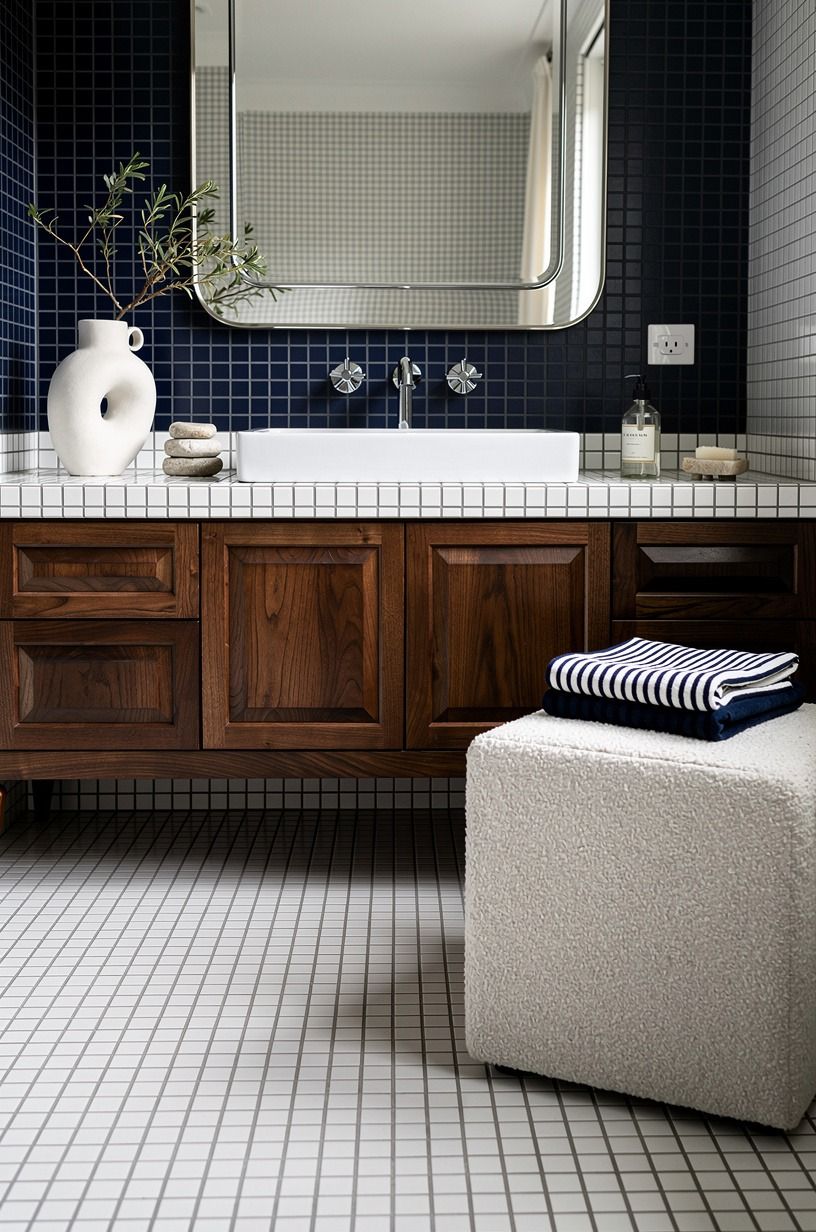
I went back and forth on this for two weeks.
3Anchor the room with matte black grout
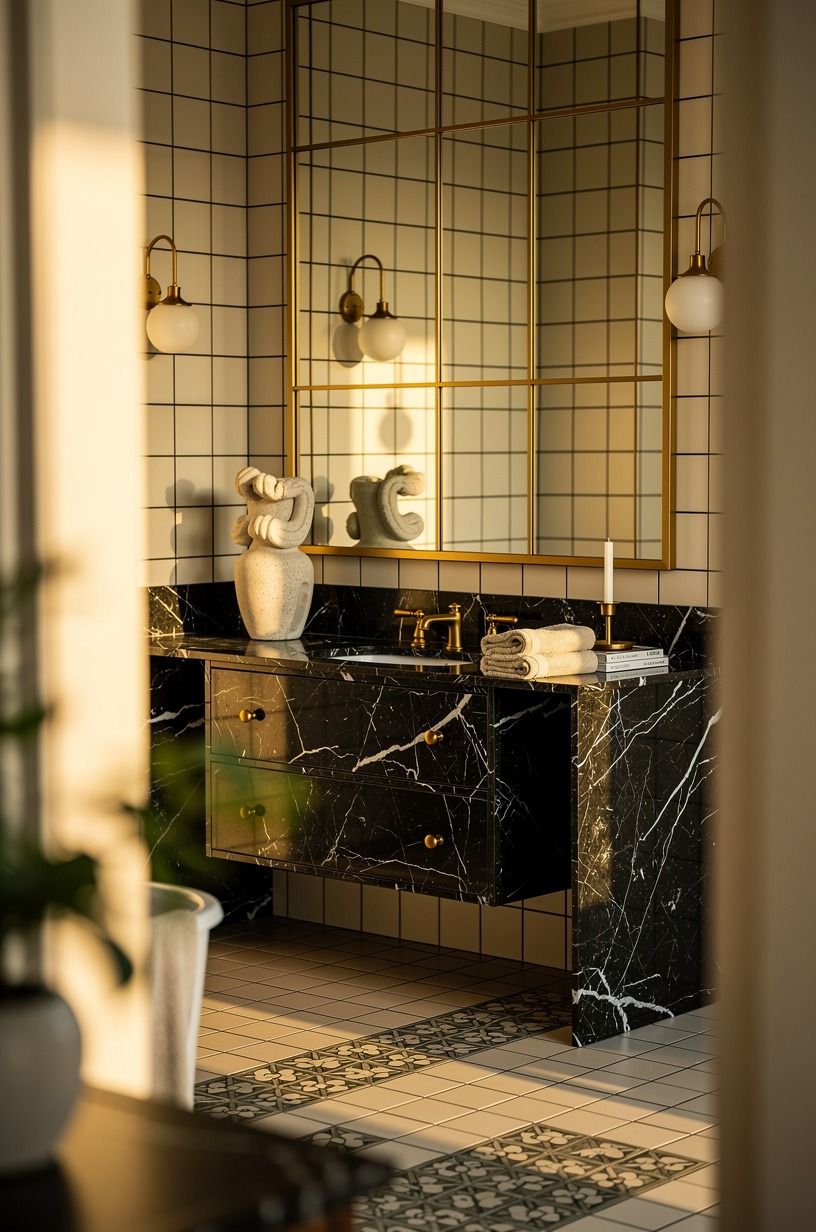
Grout color is where most people quietly ruin a good black white restroom. White grout on a checkerboard floor turns every square into an outline, and within a month the white lines go gray anyway. So I used charcoal grout across the whole floor, black and white squares alike.
It does two things. The dark grout hides the dirt that a bathroom floor collects (real talk: you mop less and it still looks clean), and it lets the two colors sit as flat planes instead of a busy grid of borders.
The pattern reads softer and more expensive. One bag of unsanded charcoal grout ran me about $18.
Cheapest high-impact decision in the whole room, and the one people never think to make.
4Warm the white with the Warm-White Rule
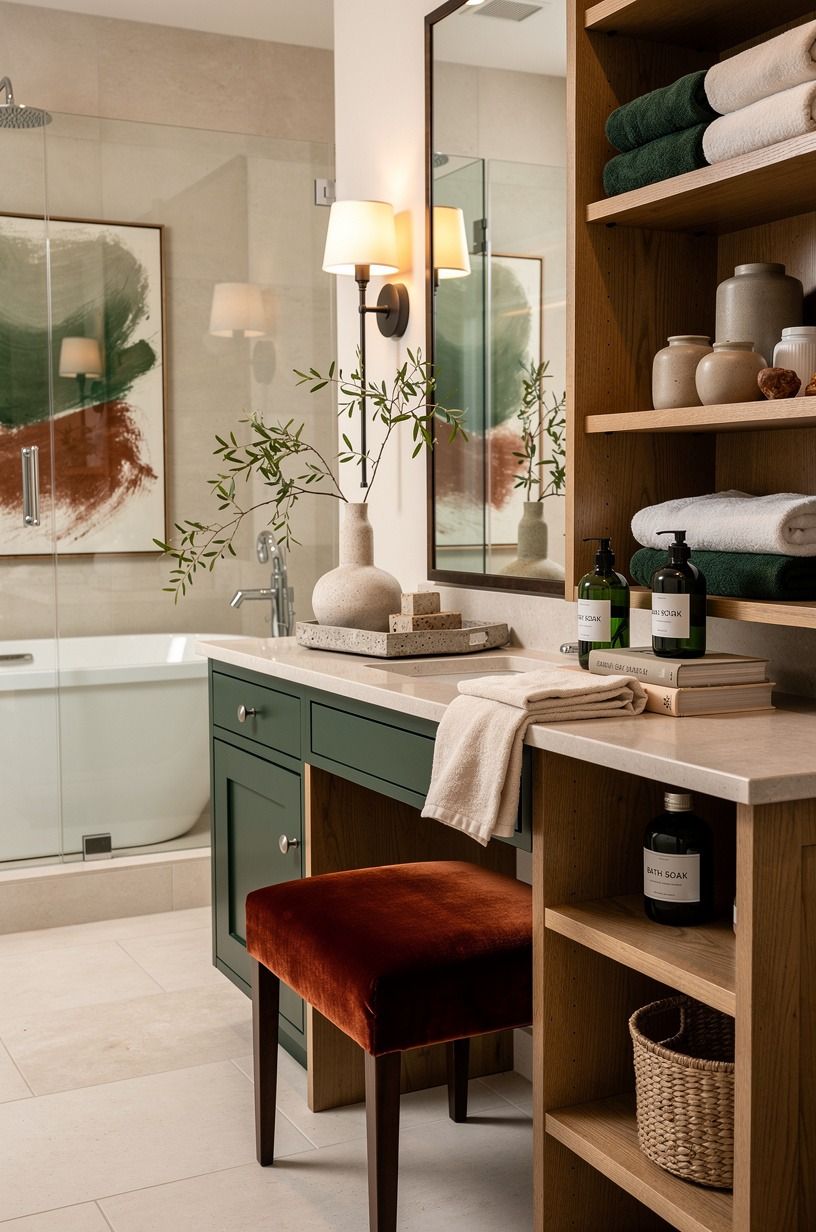
Pure bright white next to true black is where black and white bathrooms go cold and clinical. My fix has a name in my head: the Warm-White Rule.
Never use a stark white for the walls when your floor already carries the crisp white. You want the walls a half-step warmer so the room feels lived-in, not like a lab.
I painted ours in Benjamin Moore Chestertown Buff HC-9, a soft putty that reads almost white in daylight and goes honey at night. If you want proof this works, the whole argument lives in the soft neutral bedroom that makes stark white look cold.
One gallon covered a bathroom this size with paint left over, roughly $70. Skip the true white here. It fights the floor.
5Float a wall-hung vanity over an uninterrupted floor
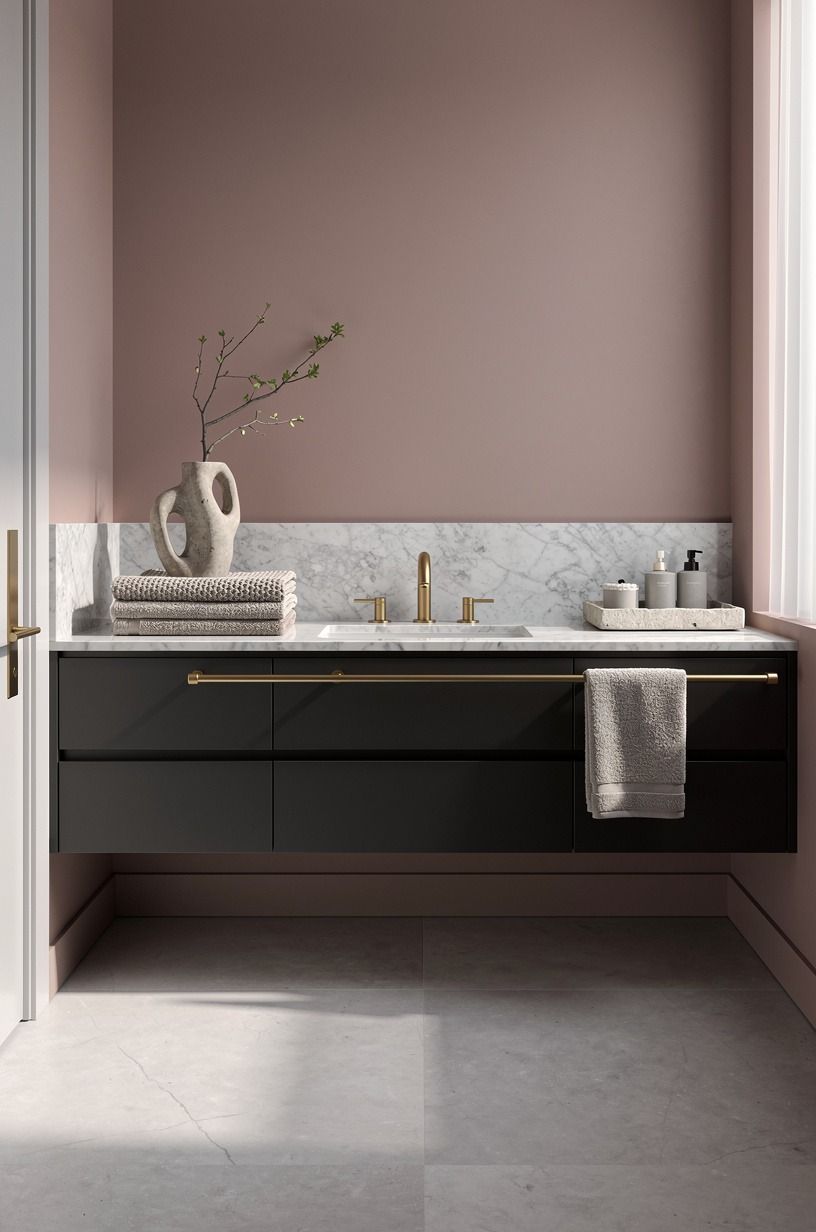
This is the Uninterrupted-Floor Rule, and it’s the reason the room feels bigger than it is.
6Paint the walls, don’t tile them all
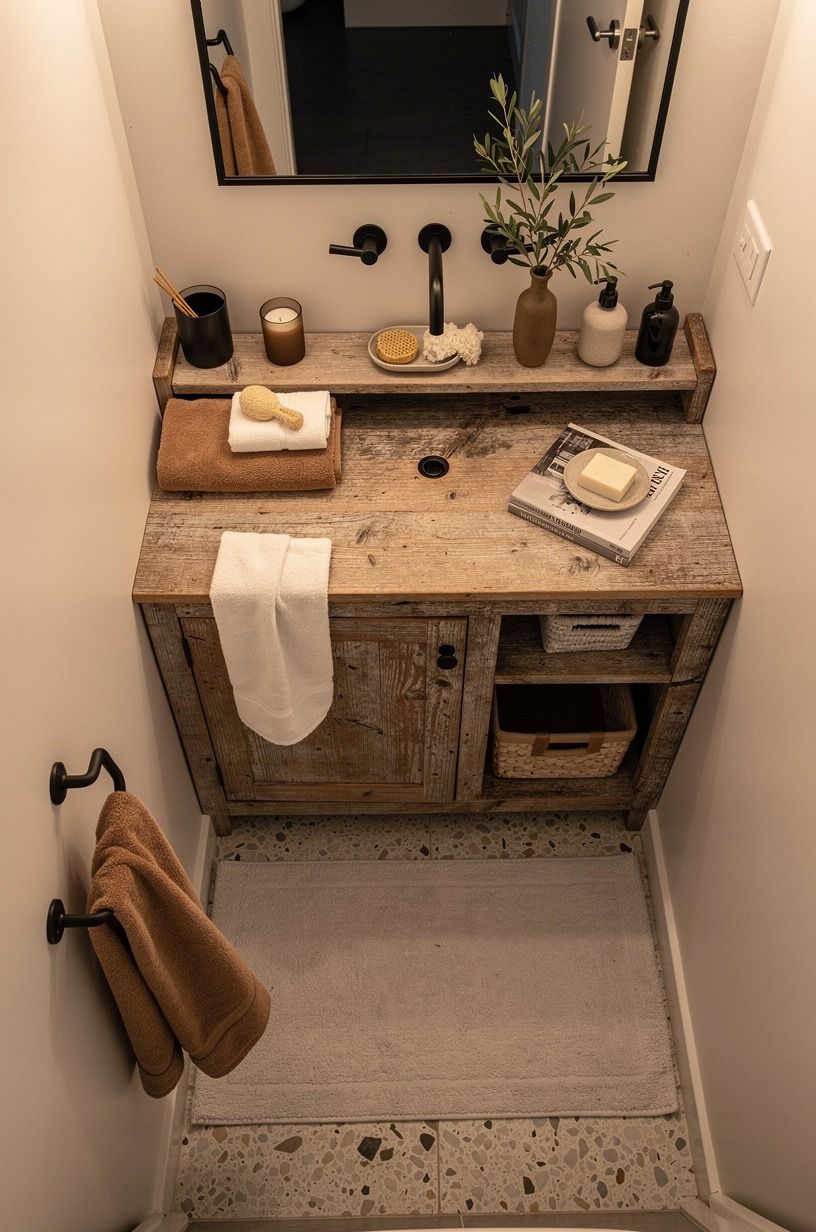
Tiling every wall in a small black and white bathroom is how you spend $6,000 and end up feeling like you’re inside a subway station. I tiled one wall (the wet wall behind the tub) and painted the other three. The contrast between hard tile and soft paint is what keeps the room from feeling like a box.
So the shower wall got glossy white subway tile at about $4 a square foot, and everything else got paint. That single decision cut my tile budget by more than half.
If you’re renting or nervous about commitment, paint carries most of the load anyway. You can always add more bathroom black tile later.
Nobody ever regretted keeping a small room a little softer.
7Hang an oversized mirror to double the checker
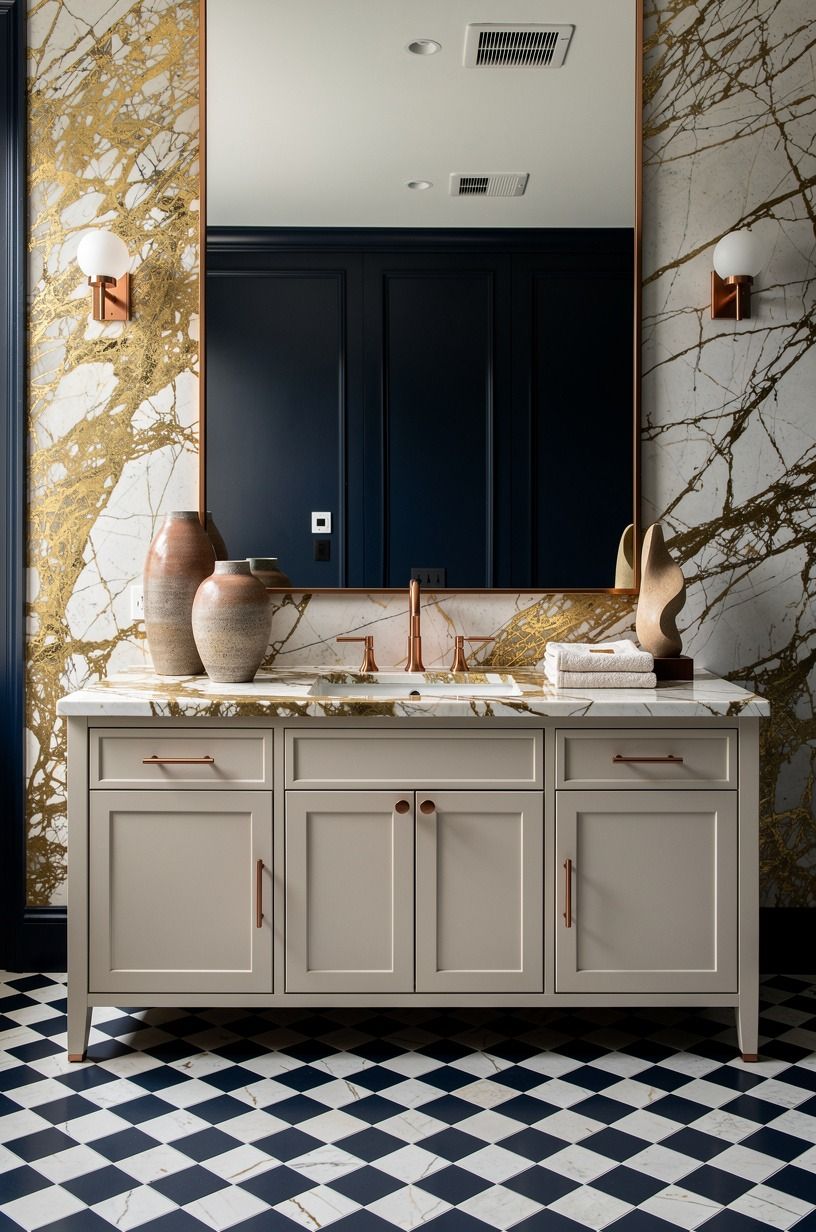
A small framed mirror over a sink is a missed opportunity, and here’s the fix in the same breath: go bigger than feels reasonable and let it reflect the floor. I hung a 30-by-40-inch arched brass mirror that catches the checkerboard below it, so the pattern reads twice.
The reflection is doing free work. It bounces the one window’s light around a windowless-feeling room and repeats the floor pattern up the wall, which makes the whole space feel taller.
Mine came from CB2 at $199, and it’s the piece everyone comments on. Go as wide as your sink, minimum.
A skinny mirror on a wide wall always looks like an accident.
8Swap builder brass for unlacquered brass
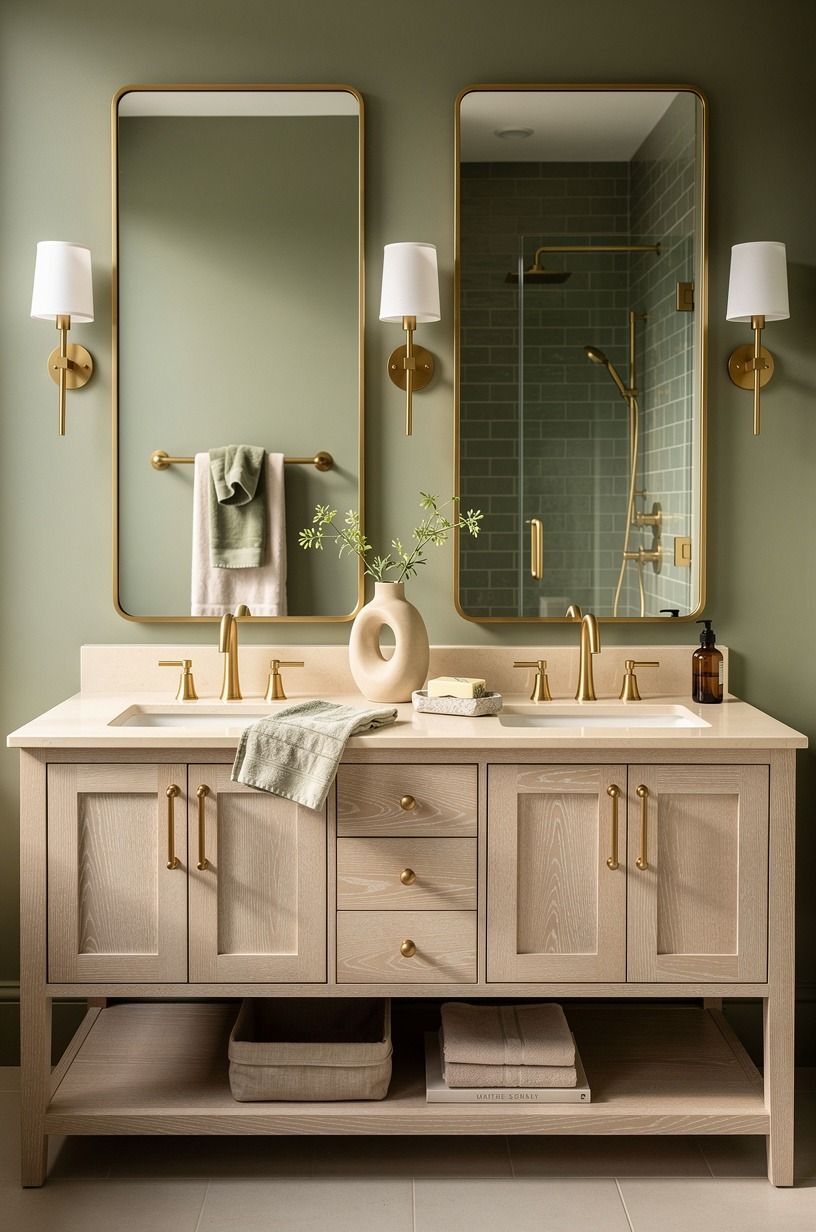
The shiny gold builder faucet was the first thing I ripped out, and I’d tell you to do the same. Shiny brass reads cheap the second it catches light.
Unlacquered brass does the opposite. It comes bright, then it ages, and by year two it’s got a soft patina no finish can fake.
I put in an unlacquered brass faucet (around $260, mid-range for the category) plus matching drain and towel bar. Living metal against a black and white floor is the warmth the palette needs.
Yes, it fingerprints. That’s the point, it’s supposed to change. If you want one metal to carry the whole room, this is the one worth paying for.
9Zellige over subway on the shower wall
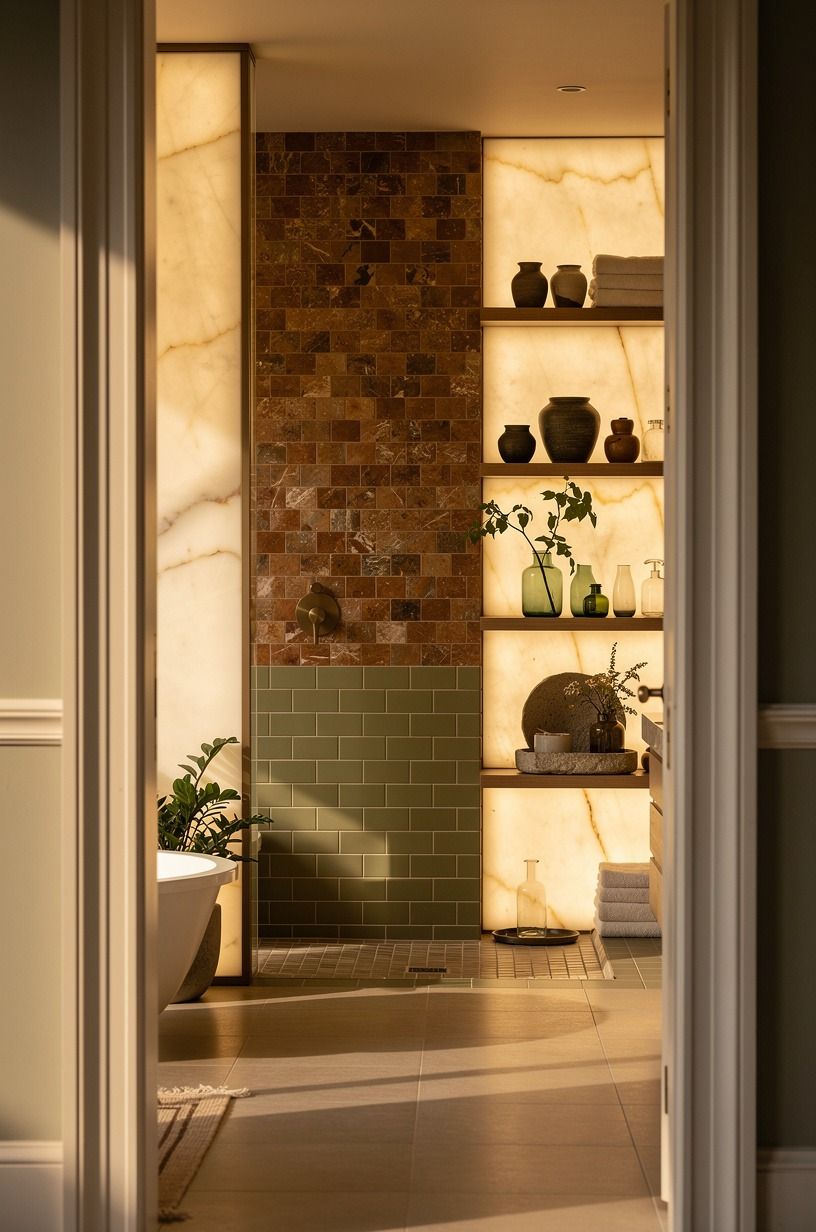
I almost defaulted to plain subway, and I’m glad I didn’t.
10Keep every metal in one finish with the One-Finish Rule
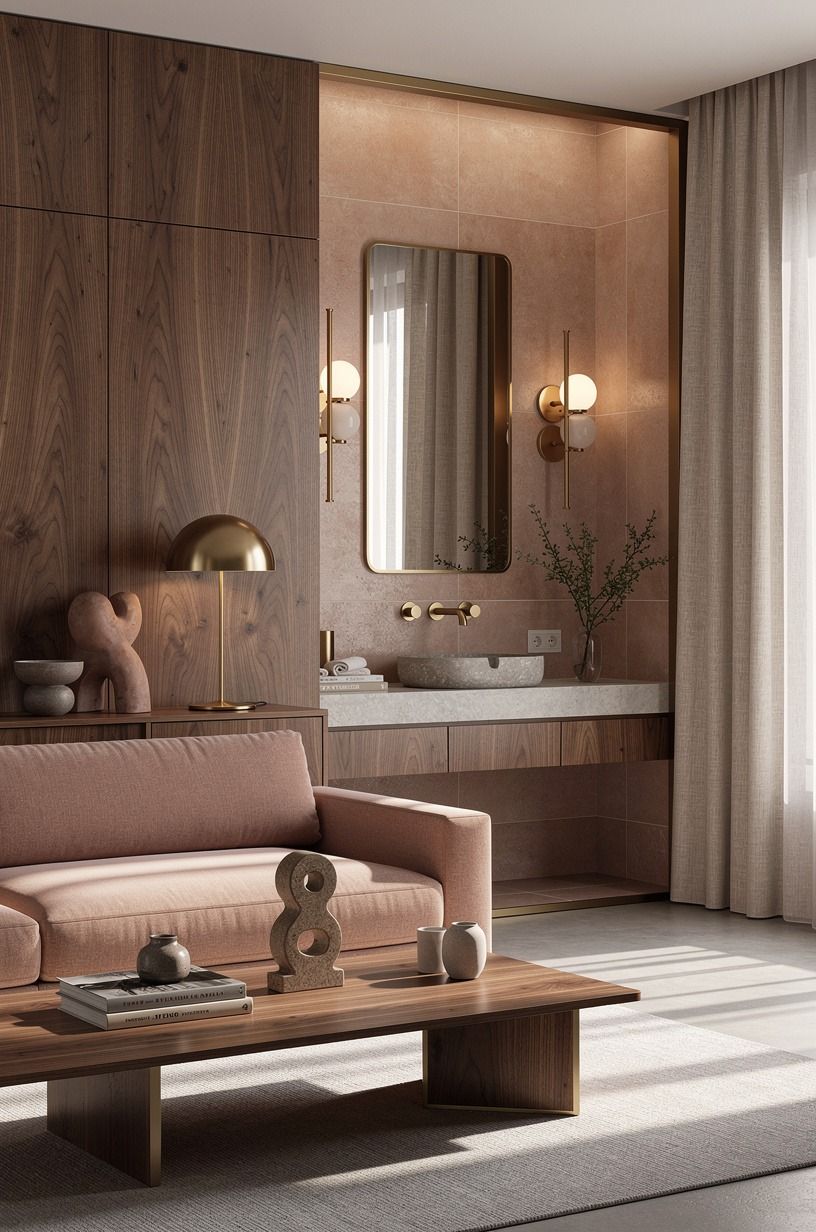
Mixed metals get sold as sophisticated. In a room this small, they just look like you couldn’t decide.
The One-Finish Rule is simple: pick one metal and repeat it on every piece of hardware, no exceptions. I chose brass and carried it across the faucet, the mirror frame, the towel ring, the light, and the cabinet pull.
The repetition is what makes a $340 makeover look considered. Your eye reads the consistency as intent. Matte black works just as well if that’s your lean, and it plays beautifully against a checkerboard.
Just don’t do half brass, half chrome, half black in 40 square feet. One finish, everywhere.
That’s the whole move, and it’s free once you commit.
11Build a slim niche instead of hanging a cabinet
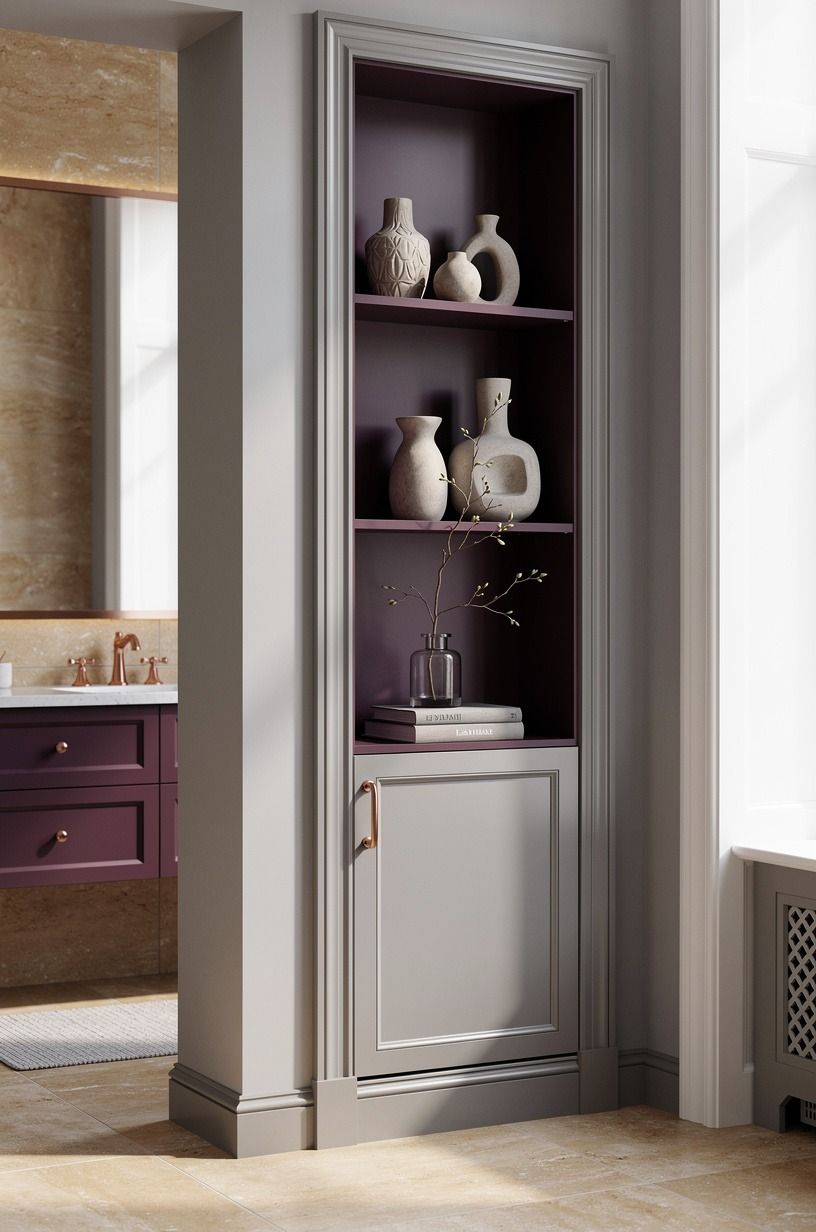
Bulky medicine cabinets eat visual space in a small bathroom, and there’s a leaner answer: a recessed niche or a single slim shelf. I skipped the cabinet entirely and had a 4-inch-deep niche framed into the shower wall while the tile was open, then lined it in the same zellige as the wall.
It holds everything a cabinet would (soap, a plant, a folded washcloth) without a single box protruding into the room. If you can’t open a wall, a narrow floating oak shelf does most of the job for $30.
The point is depth: anything that sticks out makes a small room feel smaller, the same way white trim makes your small living room feel smaller when it’s too heavy. Go recessed where you can.
12Bring in one warm wood note with the Single-Wood Rule
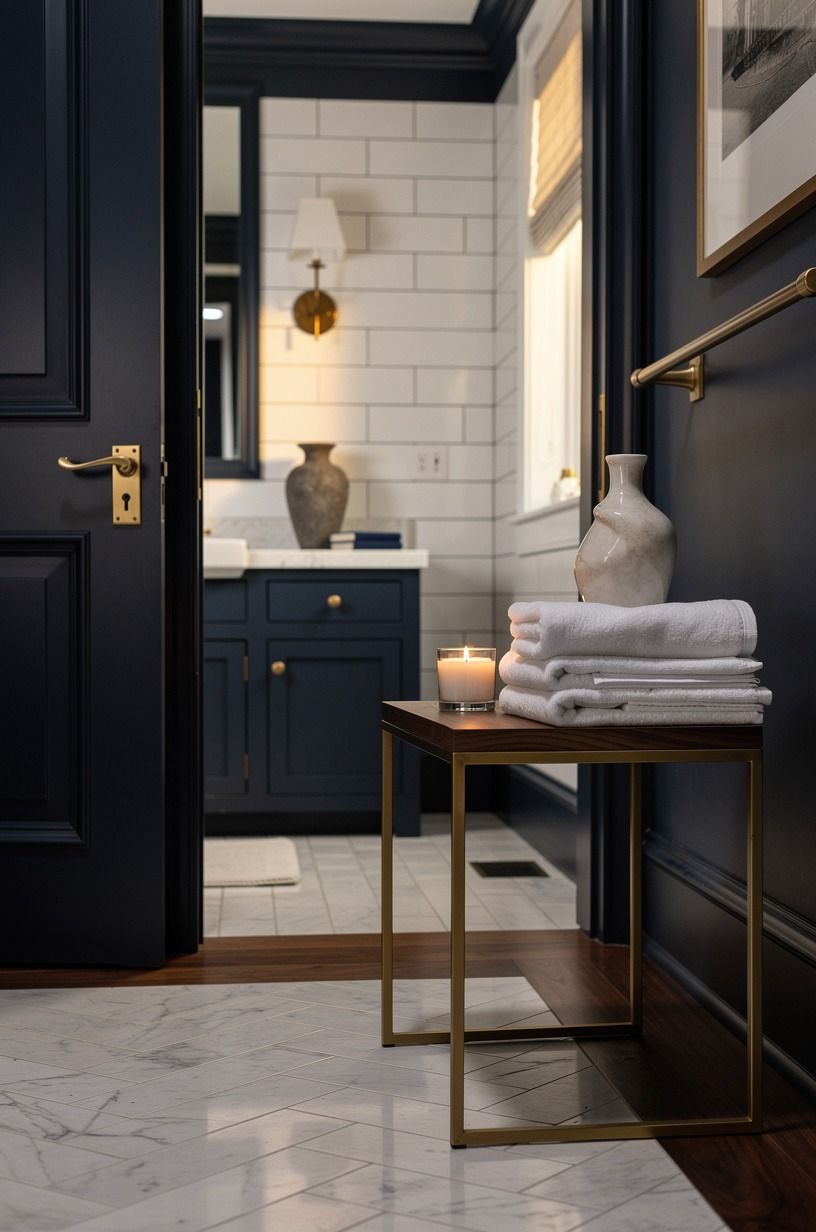
Black, white, and brass can still tip cold without something organic, so I follow the Single-Wood Rule: introduce exactly one warm wood, and repeat it, but never mix wood tones. Two competing woods in a small bath looks like a moving sale.
Mine is cerused white oak, showing up in the floating shelf and a little stool by the tub. The grain reads warm against all that black tile, and it’s the note that keeps the room from feeling like a photo shoot.
One tone, a couple of touchpoints, done. If you already have a wood vanity, match your accents to it and stop there. Wood is seasoning, not the main dish.
A little goes a long way in here.
13Frame the window in unbleached linen, nothing heavy
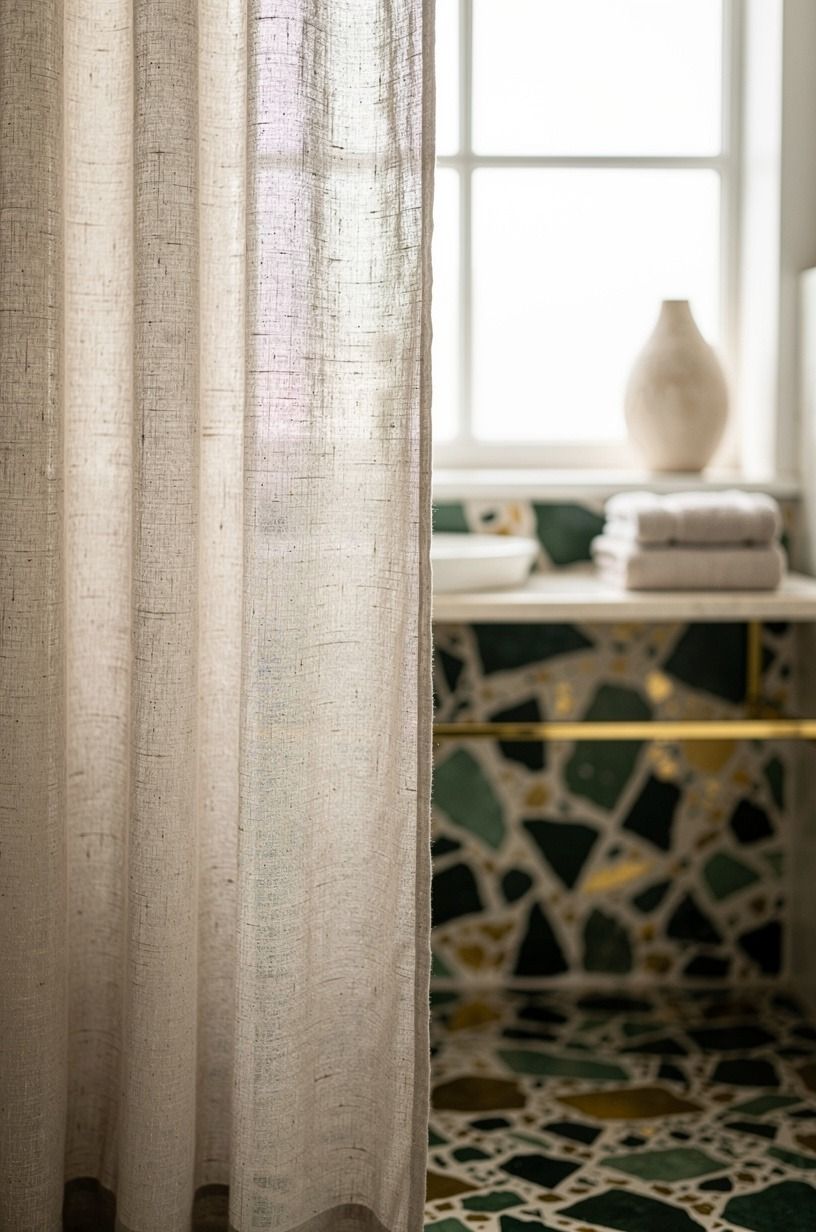
The old vinyl blind was the last cheap thing standing, and swapping it changed the whole mood.
14Add a runner to soften the grid underfoot
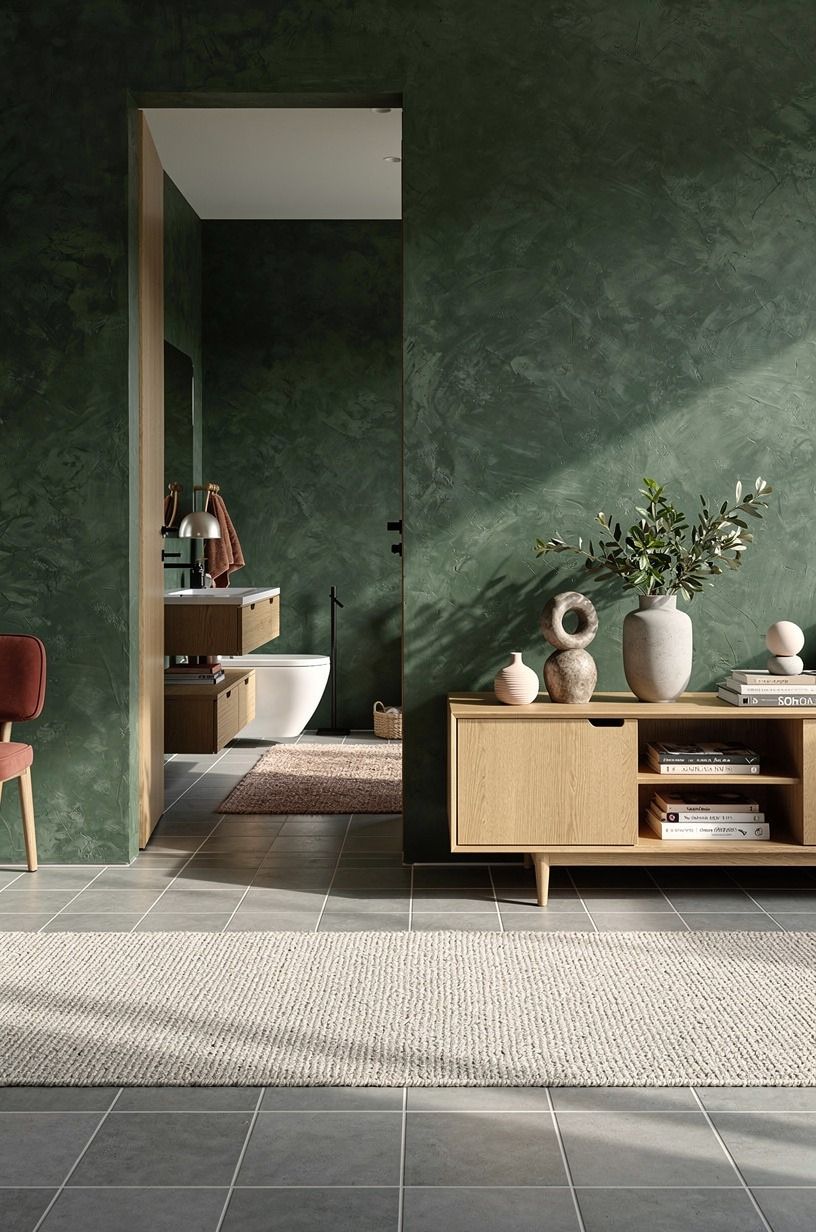
All that hard checkerboard needs one soft landing, and a runner is it. A washable cotton runner breaks up the pattern, warms your feet on a cold morning, and gives the eye a place to rest. I resisted this at first (felt like covering the floor I’d worked so hard for), but the room needed the softness.
I chose a low-pile black and white stripe in Turkish cotton, machine washable, around $38 from IKEA. The stripe echoes the geometry without competing with it.
Keep it thin so the door still clears, and keep it washable, because it’s a bathroom and things happen. A runner is the cheapest way to make a tiled room feel finished.
You’ll feel the difference the first cold morning!
15Light it in three places with the Three-Source Rule
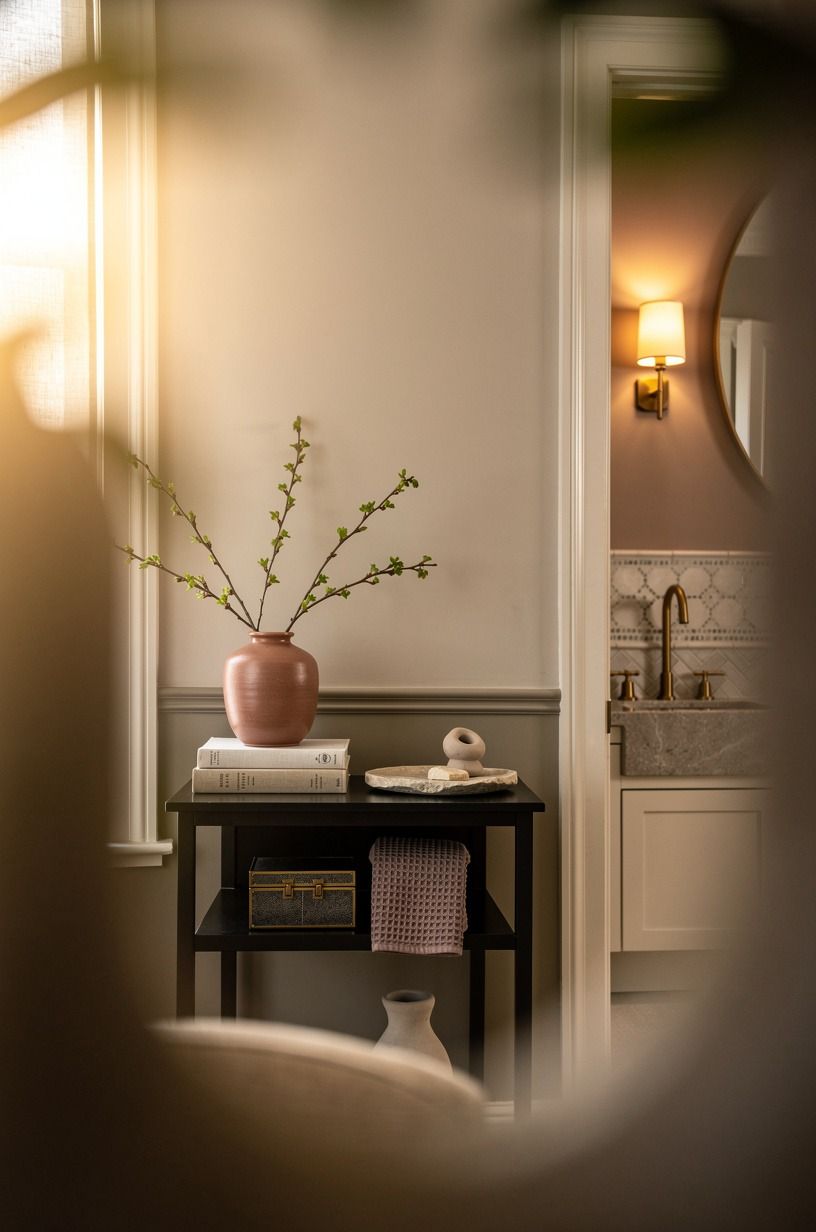
One ceiling fixture is why your bathroom photos look gray. The Three-Source Rule fixes it: light a room from three heights, never one. I killed the single boob light and layered in an overhead, a pair of sconces, and one small plug-in for a low warm glow at night.
The sconces flank the mirror at eye level (that’s the light that actually makes your face look human), the overhead handles the room, and a little brass picture light over the shelf adds the low note. All warm bulbs, 2700K, nothing blue.
Total for the three fixtures ran about $220. The layering is what turns a bathroom from an office into an evening.
This is the rule I’d fight for hardest.
16Is peel-and-stick checkerboard worth it for a rental?
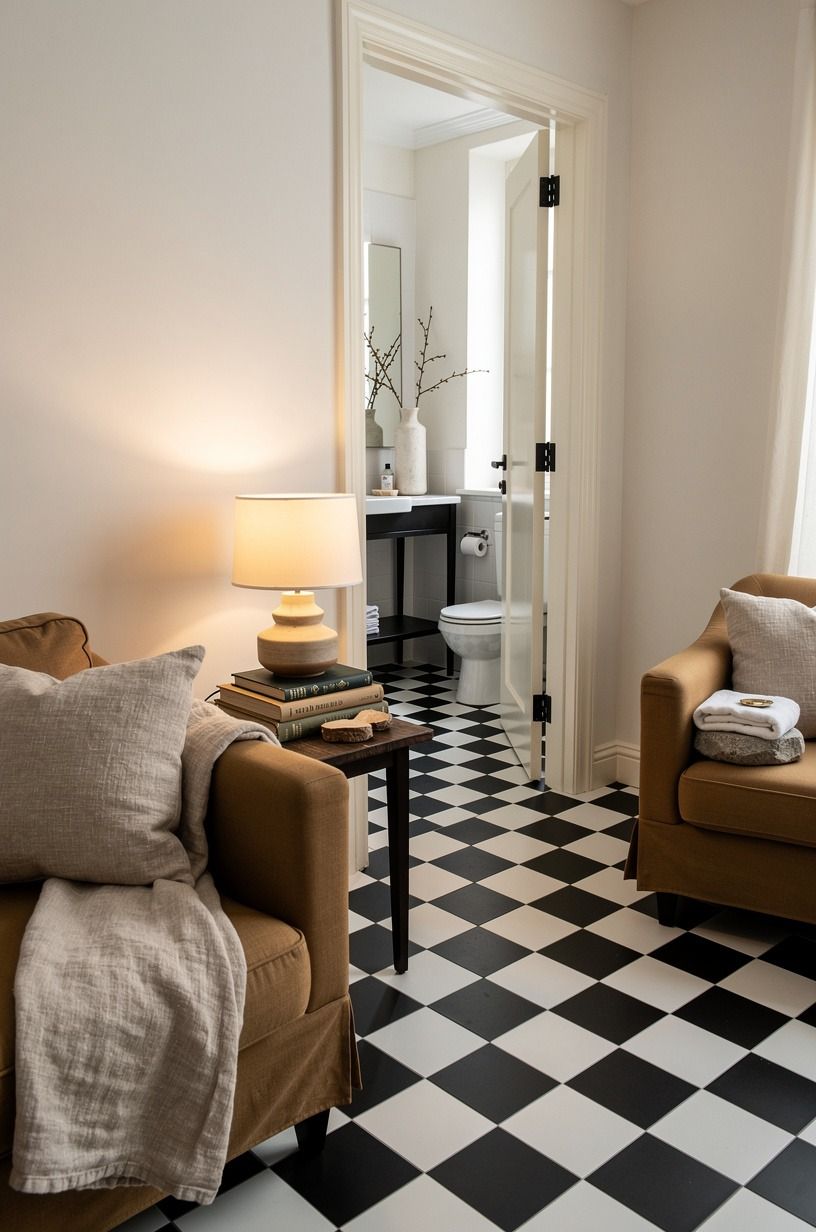
Yes, more than almost any other rental swap, and I’m surprised how good it’s gotten.
17Style the counter like you mean it
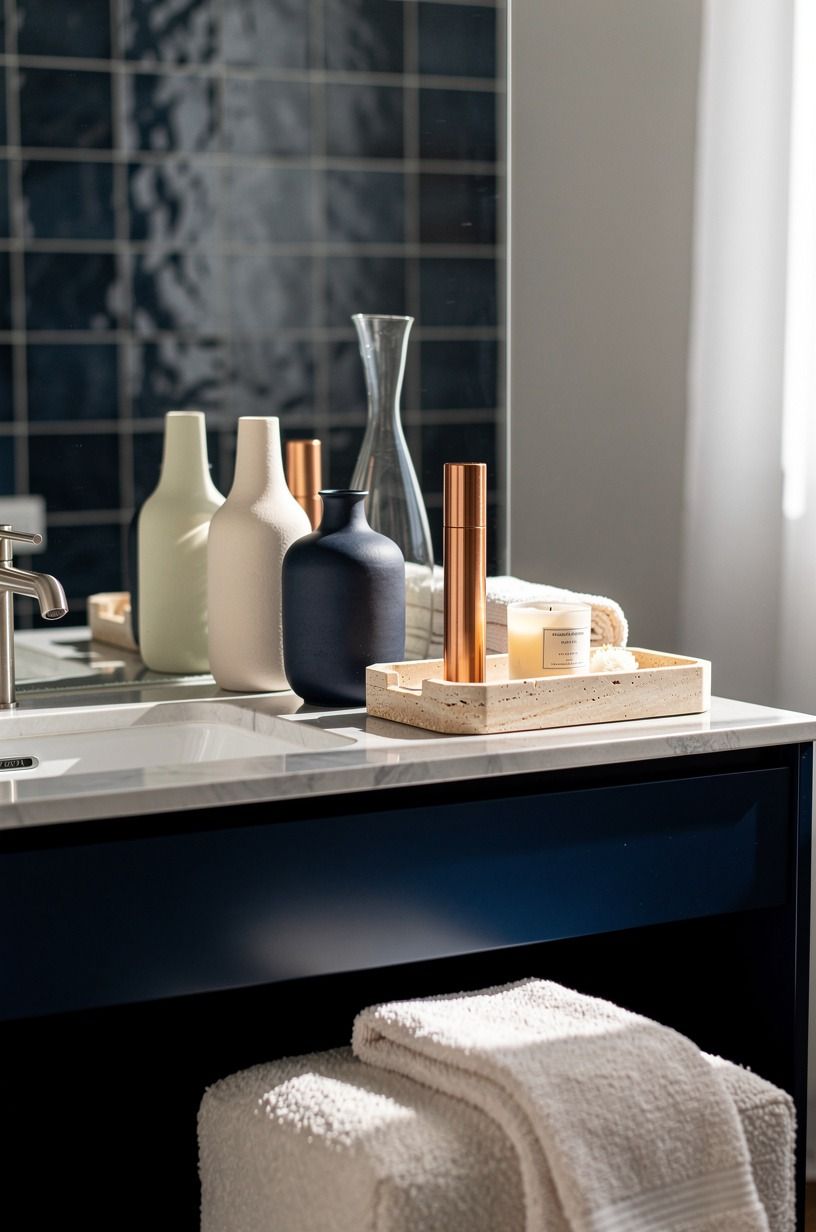
The last five percent is styling, and it’s where a lot of makeovers quit too early. A bare counter reads unfinished; an over-cluttered one reads chaotic.
You want three things that earn their spot. A small stack of folded washcloths.
One trailing plant in a terracotta pot. A single amber glass bottle of soap.
Keep the palette tight (black, white, brass, one green) and let the checkerboard floor be the loud one. I pull mine together in nominal little groupings, nothing matchy.
Been getting compliments for weeks, and it costs almost nothing because most of it I already owned. Style in threes, edit hard, and stop before it feels staged.
The floor’s the star. Everything up top just needs to not argue with it.
How much it cost, to the dollar
I kept every receipt, because I knew I’d want to prove it stayed under $400. Here’s the real breakdown, plus the wider ranges a typical US bathroom refresh runs so you can see where a diagonal-tile weekend lands against a full remodel.
And here’s my actual weekend, poste by poste: marble checkerboard tile and charcoal grout, $150. Paint, $70.
Floating vanity, $410 (my one splurge, so my total ran to about $340 on everything else after I sold the old vanity for $60). Faucet and brass hardware, $260.
Sconces and bulbs, $220. Runner, mirror, linen shade, and plant, roughly $280.
I did all the labor myself, which is where the real savings hid. Materials like zellige at $15 to $35 a square foot add up fast, so keeping it to one wall mattered.
What six years of avoiding this room actually taught me
I’ll be honest about why this took me six years, because I think it’s the most useful thing I can tell you. I kept waiting for the budget to gut the whole bathroom. New tub, moved plumbing, the works.
That day was never coming, and I finally understood that the thing stopping me wasn’t money. It was the belief that a real makeover meant tearing everything out.
It doesn’t. The floor is the bones of a small bathroom, and once I fixed the floor and the light, everything else was just decoration I could layer over years.
I made mistakes doing it. I bought white grout first, watched it gray within a month, and re-grouted the whole thing in charcoal on a second miserable weekend.
Seal your natural stone before you grout, too. I didn’t, and I spent an evening scrubbing haze off marble that a $12 sealer would’ve prevented. Learn from that one.
The other thing I got wrong for years was thinking black and white would feel cold. It only feels cold when you use a stark white and a single overhead light. Warm the white a half-step, add brass, add one wood, light it from three heights, and the same palette feels like an old European hotel.
The warmth was never about adding color. It was about adding temperature, which is a different thing entirely, and it’s the same principle behind the warm neutral rule that makes 180 sq ft feel like 240.
If I could go back and tell myself one thing at the start of those six years, it’d be this: your bathroom doesn’t need permission or a contractor. It needs a floor with a point of view and a Saturday. Mine took one weekend, and I still catch myself smiling in there.
The Questions Worth Answering First
What’s the best checkerboard floor for a small bathroom?
An 8-inch honed marble square on the diagonal is the best-looking option, and it makes the room read bigger. If your budget’s tight, a commercial-grade peel-and-stick vinyl from IKEA or a tile shop delivers 90 percent of the look for a fraction. Small tiles, dark grout, diagonal layout.
Where can I buy black and white bathroom pieces on a budget?
Start with IKEA for hardware and textiles, Wayfair for the floating vanity, and Target for the mirror and shades. For fixtures at a discount, check Facebook Marketplace, where renovators offload brand-new leftovers cheap. Thrift stores are gold for brass accents.
No commission here, just where I actually shopped.
How much does a checkerboard bathroom makeover cost?
Roughly $200 to $1,200 for a budget refresh if you do the labor yourself, like I did around $340 plus the vanity. A mid-range redo with a new vanity and partial tile runs $3,000 to $9,000. Paint, styling, and de-cluttering are basically free.
Can I create this look on a budget?
Yes, and it’s easier than you’d think. Peel-and-stick checkerboard over the existing floor, one wall of paint instead of tile, and a thrifted mirror you spray in matte black.
Skip the new vanity, keep your old one, and just swap the faucet. Under $250 is genuinely doable.
Is a checkerboard floor worth it in a small space?
Yes, and the small space actually helps. Fewer square feet means less tile to buy, and the repeating grid does more work in a tight room than a big one.
Run it on the diagonal so your eye follows the longest line. That’s the whole move to feeling bigger.
Is this a good idea for a rental?
Yes, and you’ve got real no-damage options. Peel-and-stick vinyl checkerboard lifts clean, a tension rod holds a linen shade with no drilling, and a leaning or command-strip mirror skips the wall anchors. You’ll get the black and white look back at move-out with your deposit intact.
The One Change I’d Make First
If I had to pick one, I’d lay the floor on the diagonal. You can’t warm your way out of a floor that stops your eye at the walls, and every soft thing you add after fights a room that already feels boxed in.
Get the grid right first. The rest lands.