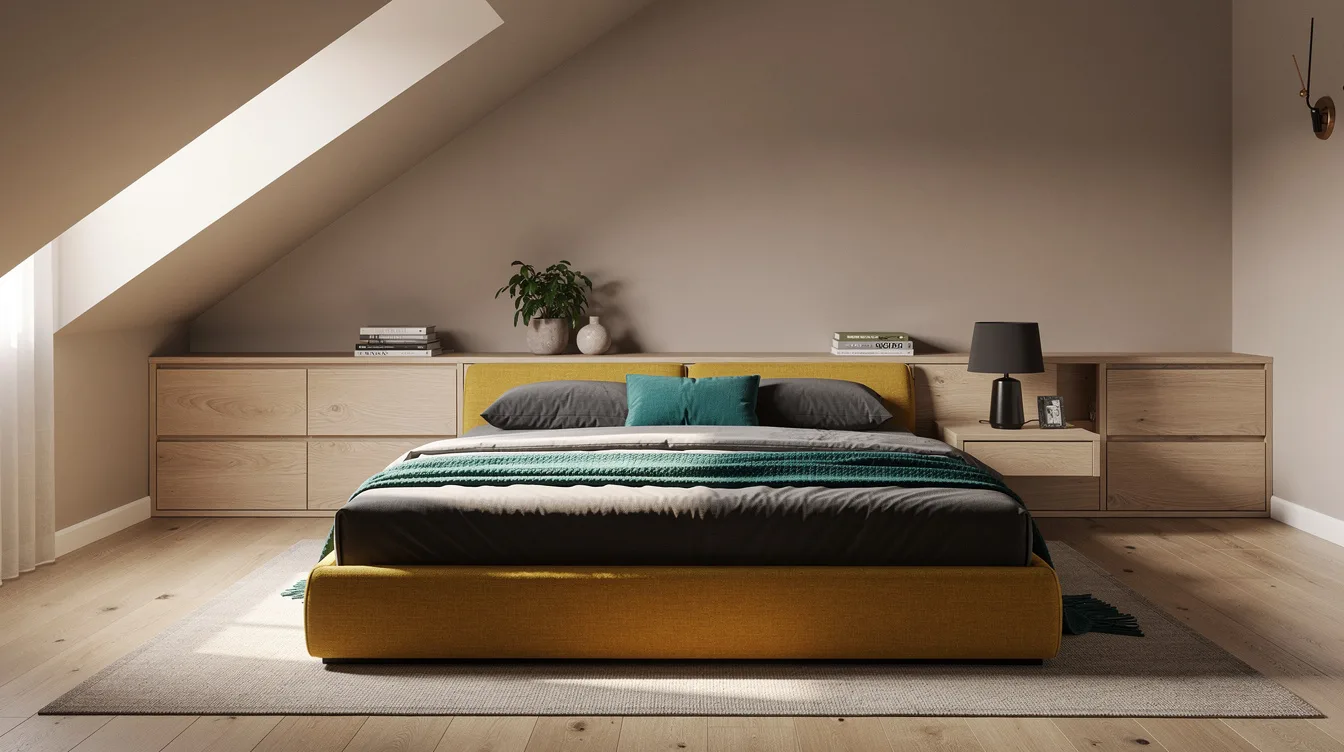
A sloped bedroom ceiling can leave a frustrating strip of low, unusable wall beside the bed. Three 80 cm-wide drawer modules create roughly 240 cm of storage, but only if the boxes stay square and the fronts are fitted around the roof angle.
The most practical approach is a run of rectangular drawers facing into the room, topped and trimmed so the separate units read as one built-in. Start with the clearance you need to walk and open drawers, then choose the cabinet depth.
Map the Knee Wall Before Ordering Cabinets
Start by measuring the usable wall at several points, from the floor to the roof slope, then record the bed clearance in front. A laser measure makes this faster, but a level and long straightedge still matter because attic walls rarely behave like perfect rectangles.
Mark the cabinet footprint with blue painter’s tape and leave enough room to open every drawer fully. A storage run that technically fits but blocks the bed or doorway will feel wrong every morning.
Measure the roof angle, floor slope and wall depth separately. Home Depot carries shims, levels and trim for this kind of fitting work, but the critical decision is made before shopping: determine whether the available height supports standard cabinets or requires shorter boxes.
Choose Shallow Boxes for Bedside Clearance
When circulation is tight, begin with the shallow IKEA METOD/MAXIMERA configuration rather than forcing standard kitchen depth into the room. The supplied listing shows an 80 cm-wide, 37 cm-deep, three-drawer unit at about €251, with the price covering the listed drawers and fronts.
Three units create roughly 240 cm of cabinet width and a cabinet subtotal of about €753. The finished depth will be closer to 40 cm after fronts and a top, so confirm the final measurement against the bed before committing.
This arrangement gives up drawer depth while preserving floor space, which is usually the smarter trade in a small bedroom. Use the upper drawers for socks, accessories and folded T-shirts, then keep bulkier bedding elsewhere.
Build a Continuous Low Dresser
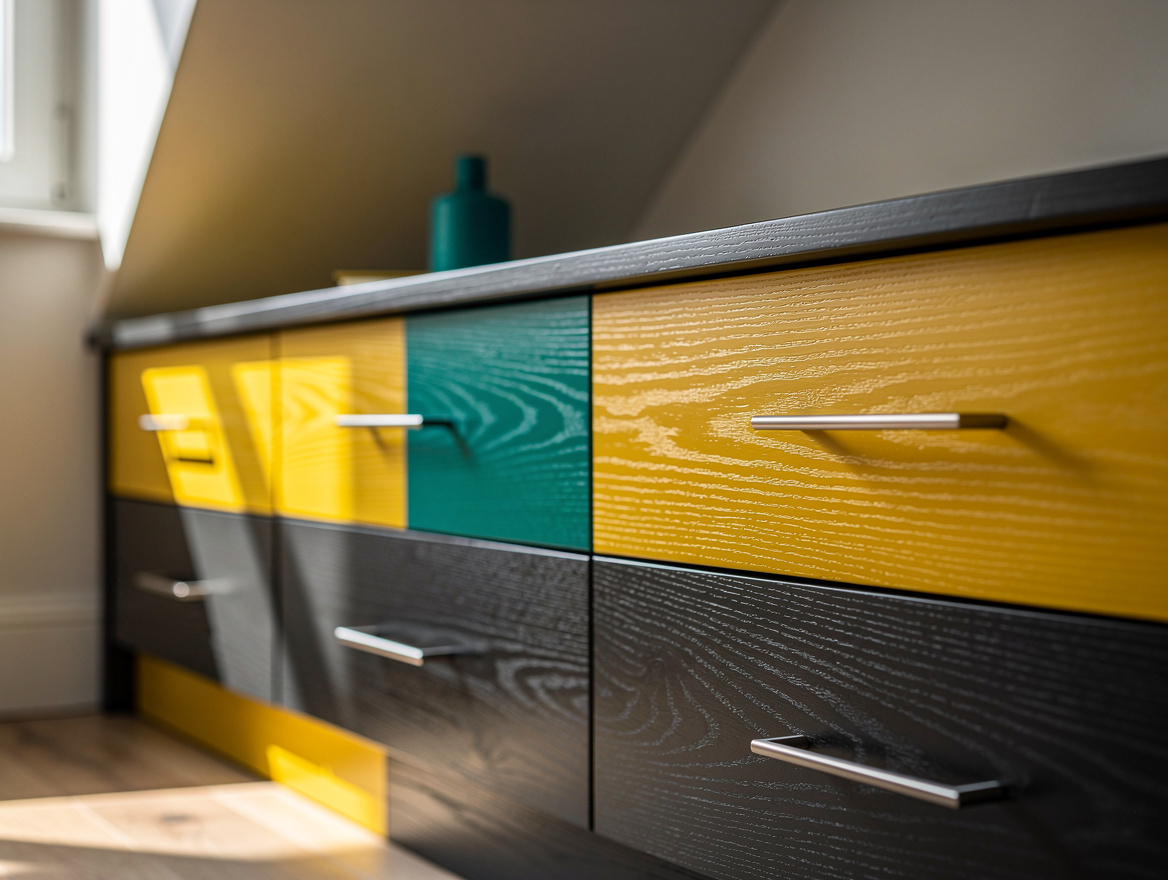
For a taller knee wall, combine separate cabinets beneath one long birch plywood or painted wood top. The continuous surface makes the run read as built-in furniture, while end panels and a recessed plinth hide the modular origin.
The deeper IKEA options include approximately 40, 60 and 80 cm-wide three-drawer cabinets, listed at about €187, €228 and €270 respectively. Three 80 cm modules would total roughly €810 before the top, support rail, handles, fillers and installation.
Those figures are cabinet-only planning references in euros, not a complete installed bedroom-storage quote. My preference is the 60 cm-wide module when the room allows it because the proportions feel substantial without turning the wall into a heavy block.
Keep Drawer Boxes Square Behind Angled Fronts
The drawer boxes should remain rectangular and level, even where the ceiling slopes sharply above them. Fit a stepped or angled upper panel around the furniture, but don’t ask the drawer hardware to follow the roof angle.
Use reliable soft-close slides rated for the loaded drawer weight, then align every front with consistent gaps. The fitted face can be cut to follow the slope, but the moving parts need a simple path that stays easy to repair.
A square cabinet body also makes future changes less painful. If a drawer fails, a standard replacement is far easier to source than a custom box built to an unusual roof angle.
Finish Uneven Walls With Scribed Panels
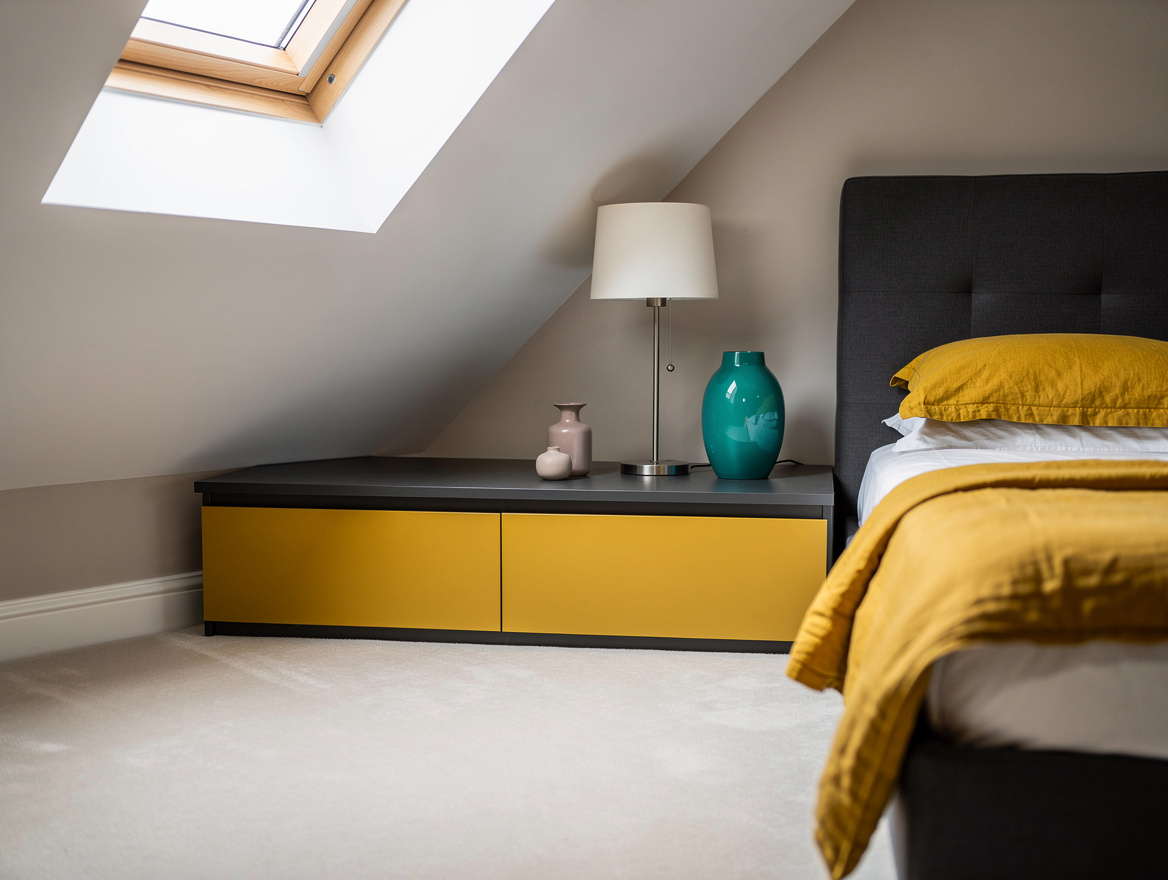
Old attic walls often bow, so leave a small fitting gap and close it with scribed fillers rather than forcing cabinets against plaster. A filler can be trimmed to the wall while the drawer fronts stay aligned in one clean grid.
Use matching side panels, a recessed baseboard and a top with a slight overhang to connect the modules visually. Keep the trim restrained, because extra molding can make a low ceiling feel crowded.
For a calm bedroom, paint the cabinet faces and surrounding trim in one low-sheen color. Matte cabinet paint hides small surface variations better than a bright gloss and keeps the storage from becoming the first thing you notice.
Plan Handles and Lighting Around Daily Use
Choose slim IKEA handles or simple recessed pulls before fixing the fronts, then check that they won’t catch on bedding or clothing. Place the pulls consistently across every drawer bank, even when the roof line changes above it.
Add a concealed LED strip beneath the top if the drawers sit in a dim corner. Warm-white light makes it easier to find small items without turning on the main bedroom fixture, and a motion sensor can keep the installation practical.
Use strong wall anchors and appropriate screws from Ace Hardware where the cabinet run meets studs or masonry. The storage should feel fixed to the room, especially when several drawers are open at once.
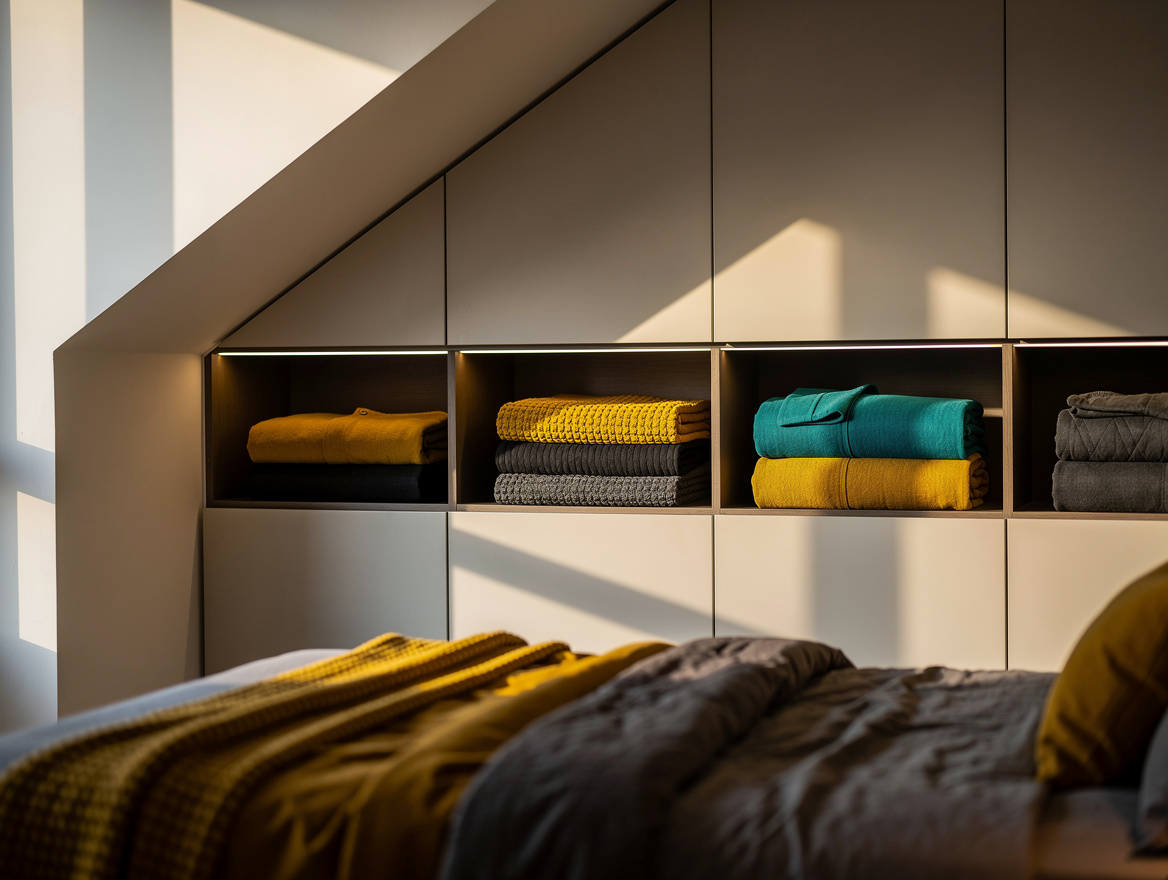
Begin with painter’s tape, a full-height measurement and the bed in its final position. Once the circulation works, order the shallowest square drawer boxes that meet your storage needs, then spend the remaining budget on the top, fillers and careful alignment.
Mia Carter writes about small-space living and budget home makeovers. She has restyled three rentals and tests most ideas in her own 45 sqm flat.