
Floor-mount vs. wall-mount tub fillers usually comes down to one question: can your plumbing reach the tub without fighting the room’s layout? I once chose the prettier fixture first and paid for it with awkward pipe placement. Your tub, wall depth, and floor structure matter more than the finish. Start there.
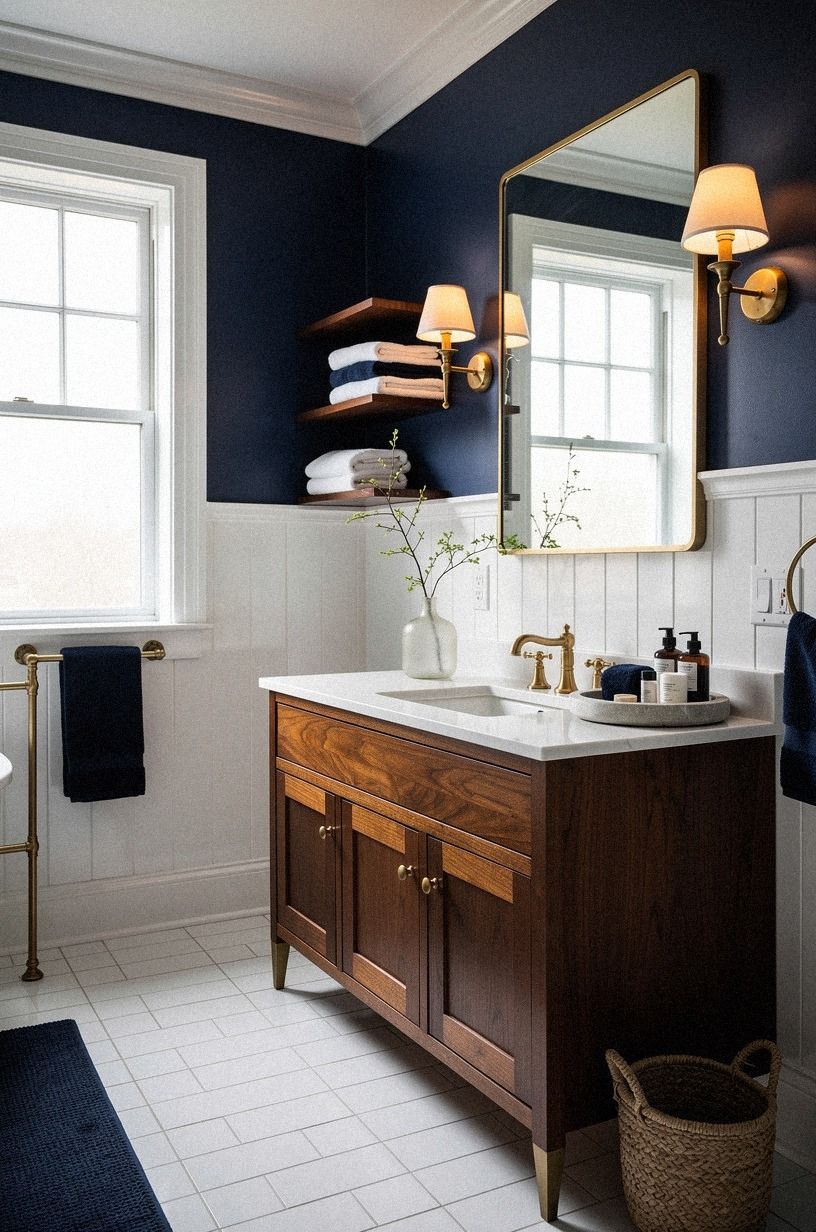
- Measure the Tub Before You Choose the Finish
- The Three-Inch Breathing Rule
- When Does Floor-Mount Make More Sense?
- Mount to the Wall When You Want More Floor Space
- The Offset Filler Plan
- Compare the Plumbing Cost Before You Buy
- The Three-Height Light Stack Around the Tub
- Frame a Wall-Mount With a Narrow Tile Field
- The Wet-Zone Triangle
- Which Mount Handles Your Renovation Timeline?
- Wall-Mount Minimalism vs. Floor-Mount Drama
- Build the Small-Bath Clearance Plan
- What Finish Can You Actually Maintain?
- Paint the Backdrop Before Installing the Fixture
- The Freestanding Tub Sets the Visual Hierarchy
- Add a Hand Shower Without Crowding the Wall
- Open Layout, Tall Drama
- Test the Reach Before Your Plumber Arrives
- The Three-Point Balance Check
1Measure the Tub Before You Choose the Finish
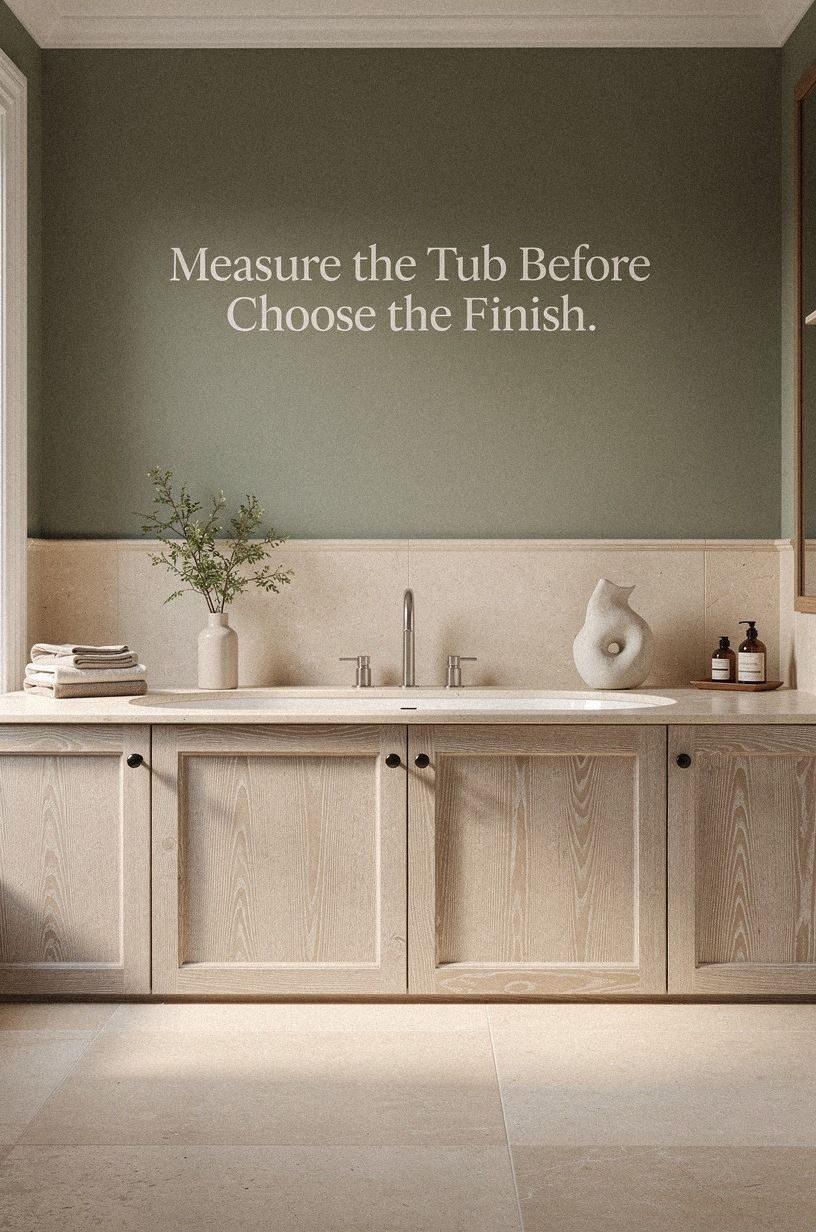
Measure your tub footprint before you fall for a faucet shape. A standard tub is 60×30 in, and your filler needs enough reach to clear the rim without splashing the floor. If you’re working with a compact freestanding tub, a wall-mount often keeps the floor visually open and gives you a calmer, more inviting layout.
For a floor-mount filler, mark the tub centerline with painter’s tape. You don’t want the spout landing beside the drain or too close to the overflow. I prefer the filler slightly toward the bathing side, because you’ll reach the handle without leaning across hot water.
Your eye should see a clean gap between the fixture and the tub. Benjamin Moore White Dove on the walls helps that gap read bright, while a bulky pedestal can feel heavy against darker paint. If you’re still mapping the wall behind the tub, these wainscoting ideas behind a freestanding tub are worth saving.
For a second opinion on proportions, compare the tub wall with this freestanding tub and wainscoting layout guide. It helps you judge the fixture against the whole room, not just the faucet.
2The Three-Inch Breathing Rule
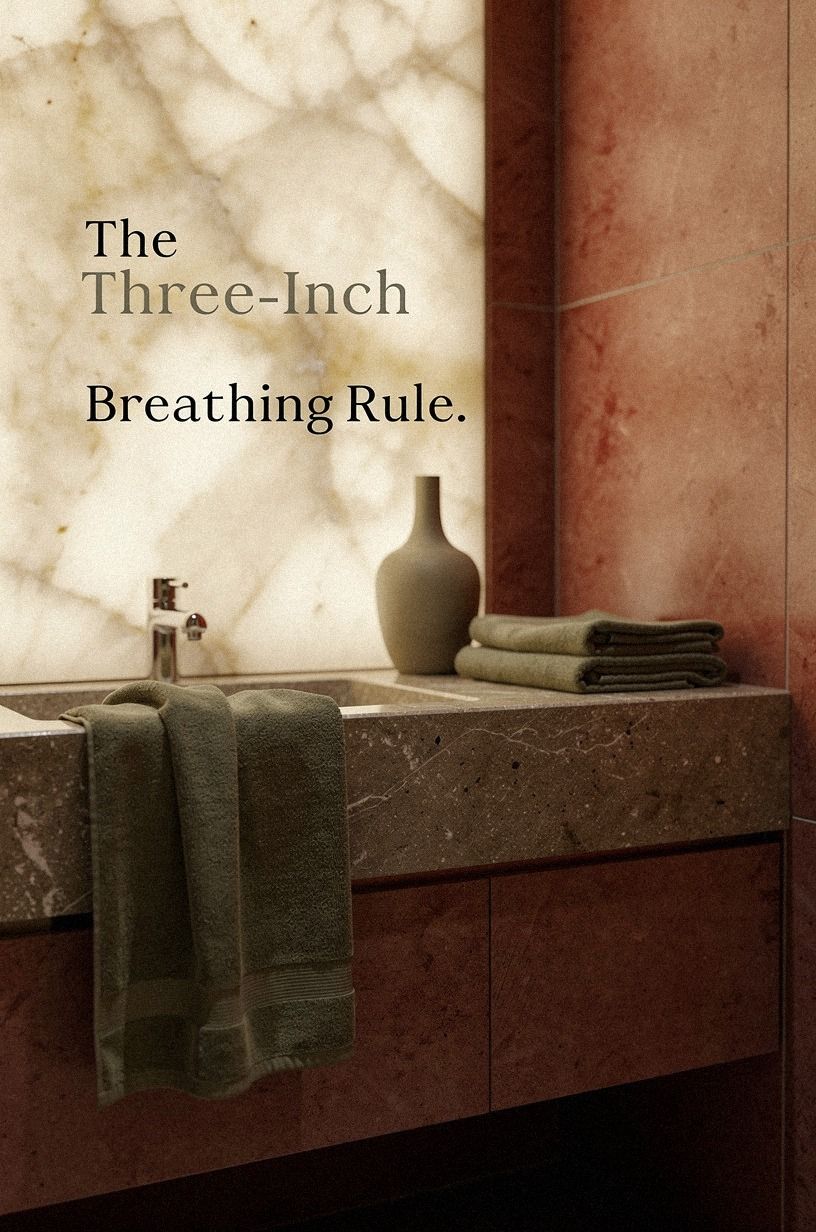
The Three-Inch Breathing Rule is my starting point for wall-mount fillers: leave roughly three inches of visual space between the fixture and the tub edge whenever the plumbing allows it.
3When Does Floor-Mount Make More Sense?
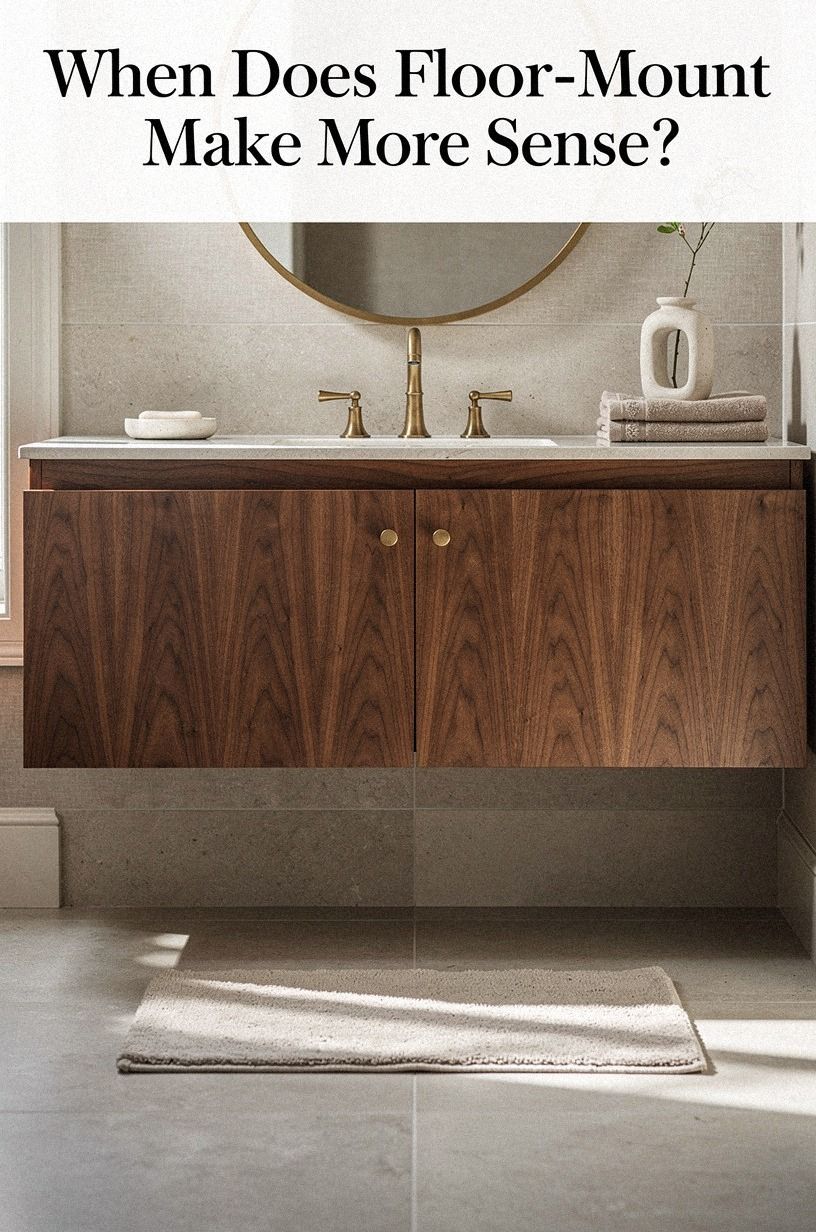
A floor-mount filler gives you more freedom when the tub doesn’t sit against a practical plumbing wall. You can place your tub near a window, between two walls, or on an angle, then bring the supply lines up through the floor. For your layout, that flexibility can be worth more than a perfectly minimal silhouette.
The catch is structural. Your floor must support the plumbing connection, and you’ll need enough room beneath the finished surface for the pipes.
I wouldn’t choose this route over a finished concrete slab without checking the access plan first. A beautiful aged brass tub filler is still a poor choice if one leak means opening half the bathroom.
Keep the filler close enough that you won’t stretch for the handle. A compact walnut cabinet nearby can hold towels, but don’t let storage crowd the fixture’s base. You want the metal column to feel intentional, not stranded between furniture and tub.
If the tub is floating away from every wall, study the principles in this wall-mounted headboard floor-space project. The lesson is simple: preserve the walking zone before adding furniture.
4Mount to the Wall When You Want More Floor Space
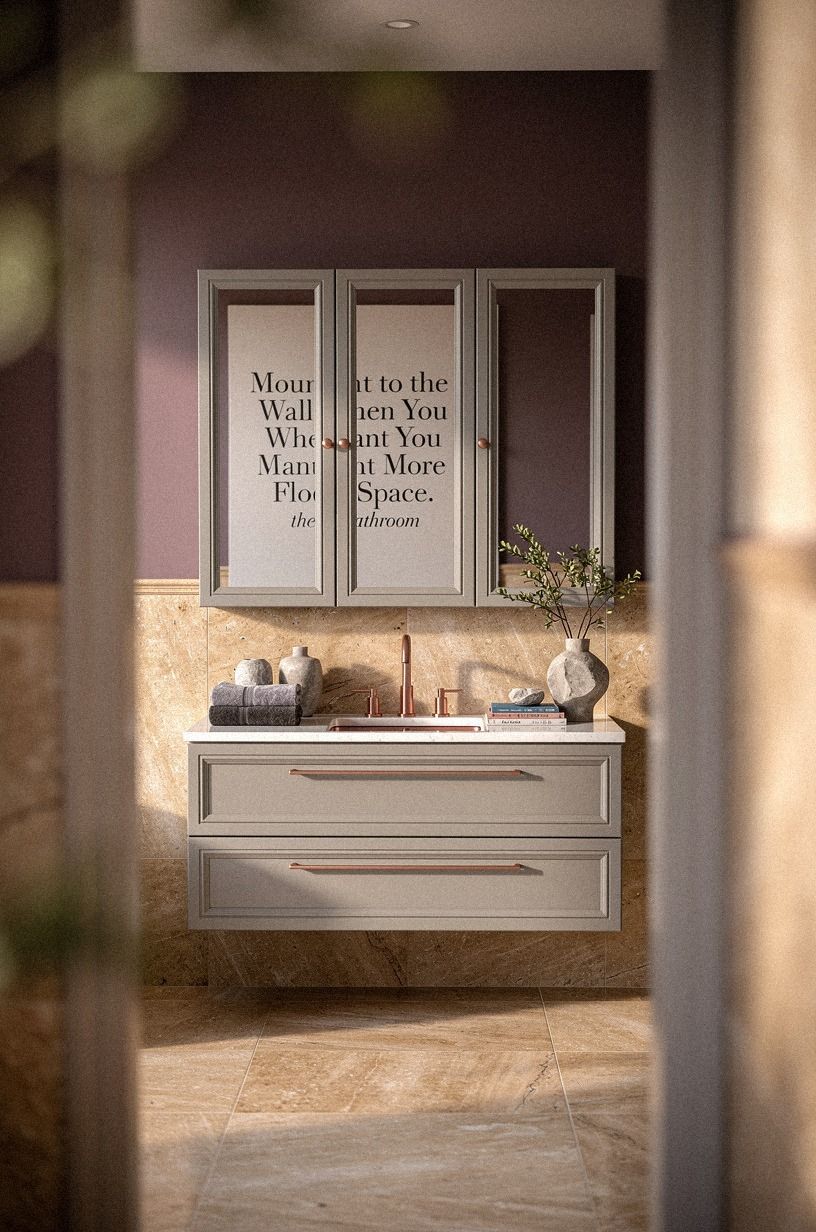
Wall-mount fillers make a small bathroom feel more open because the floor stays visually uninterrupted. Your eye can travel beneath the tub, and the room gains an airy, modern quality without changing the square footage. That matters in a narrow master bath where every vertical line counts.
Use a broad wall surface as your anchor. Farrow & Ball Brinjal No.222 behind a pale tub creates a moody, dramatic backdrop, but you’ll need warm bulbs so the corner doesn’t turn cold at night. I like a small rose-gold picture light or shaded sconce more than a ceiling fixture here.
And don’t forget access. If your wall is already tiled, a hidden valve repair can become an expensive afternoon. A removable access panel in the adjacent vanity side keeps your setup practical, and you’ll thank yourself the first time a cartridge needs attention.
For a compact room, this wainscoting accent-wall reference shows how a defined wall can make the tub area feel finished without filling the floor.
5The Offset Filler Plan
An offset floor-mount filler can look more sophisticated than a perfectly centered one, especially when your tub sits near a window or angled wall. The move is to align it with the bathing position rather than the tub’s geometric middle. Your room will feel considered because the fixture follows how you use the bath.
Place the spout toward the side where you’ll step in. A walnut stool can mark that approach, but keep at least a clear walking lane around the tub. You don’t want a pretty seat becoming a daily obstacle.
I made the mistake of centering a filler beside a tub once, then realized the handle landed behind my elbow. It looked balanced on paper and felt irritating every morning. If you’re weighing placement options, sketch the tub at full size and stand beside it before a plumber cuts anything.
The same small-shift logic appears in this bed placement guide for reclaiming floor space. Your body notices awkward clearances long before a floor plan does.
6Compare the Plumbing Cost Before You Buy
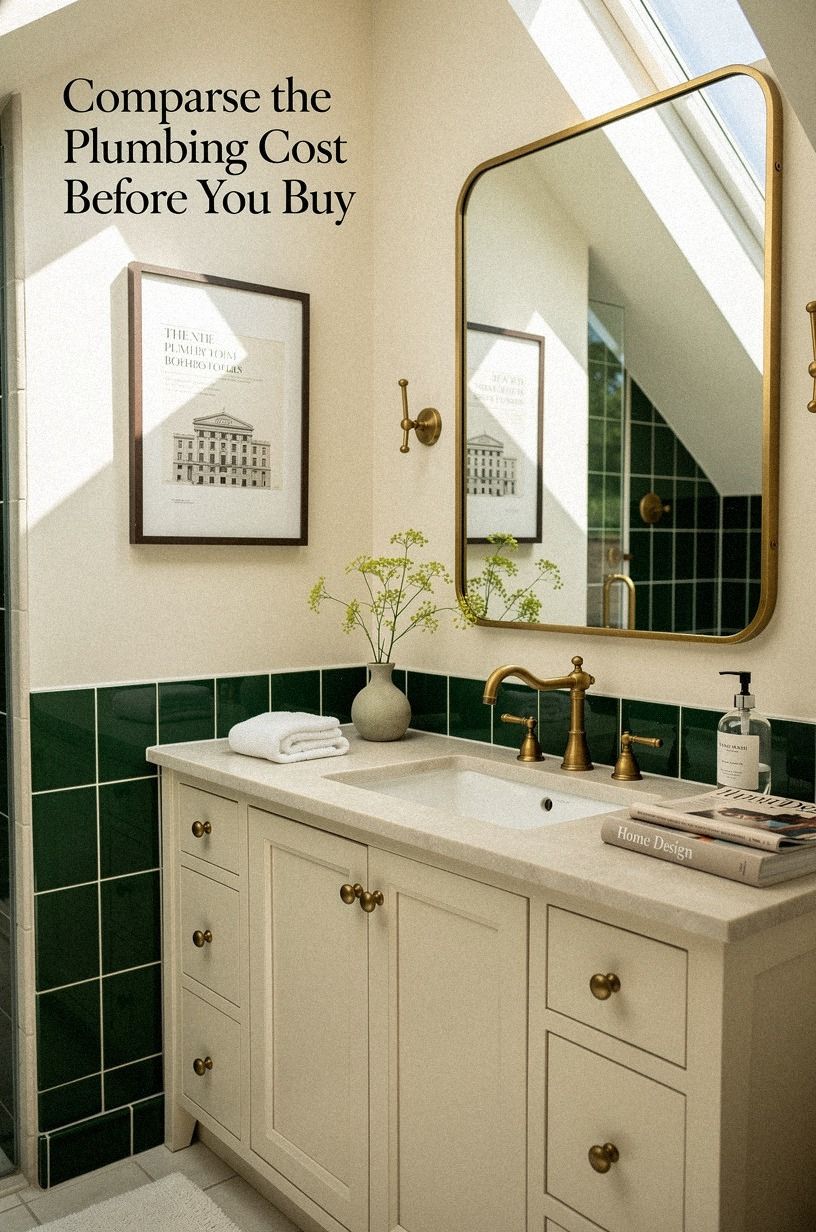
Your faucet choice sits inside a larger bathroom budget, so look at the whole project before ordering hardware. A floor-mount installation may need floor access, while a wall-mount setup can involve opening tile and reinforcing the valve area. The finish isn’t the expensive decision by itself.
Those are typical US bathroom ranges, not a promise for your room. A faucet swap can stay near the budget tier if the rough plumbing already works, while moving supply lines can push your project upward quickly. Unlacquered brass hardware develops a warm patina, but placement costs more than color.
If you’re planning beyond the filler, compare material allowances carefully. Zellige tile commonly runs $15-$35 per square foot, while subway tile is listed at $2-$10 per square foot. That difference can pay for the fixture, the lighting plan, or the repair access you didn’t want to skip.
Before committing to a larger remodel, look at this wall-mounted floor-space idea for a useful reminder that layout changes can be more valuable than expensive finishes.
7The Three-Height Light Stack Around the Tub
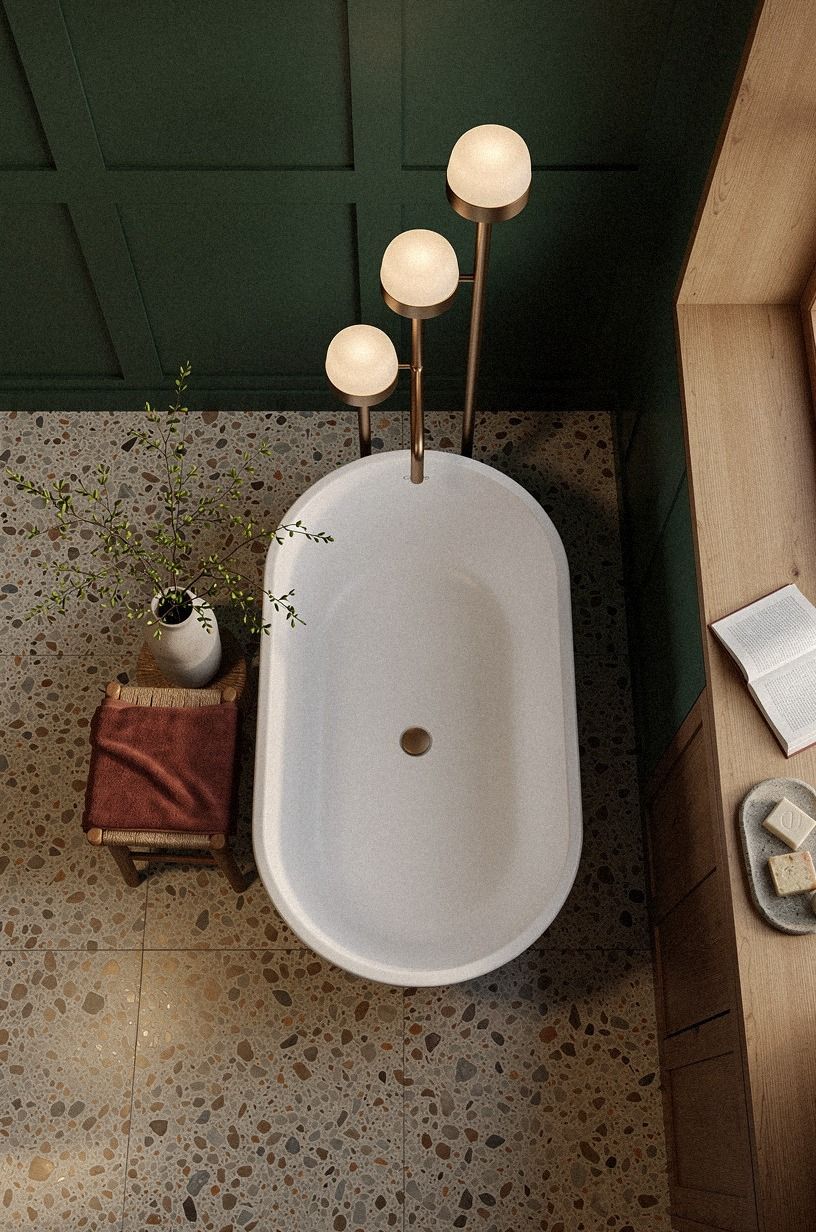
The Three-Height Light Stack uses ceiling light, eye-level wall light, and a low glow near the floor. Your tub filler becomes part of a layered scene instead of a lonely metal object. The effect is peaceful at night, especially when the lowest light catches the tub’s curved edge.
Start with a dimmable overhead fixture, then add rust-toned sconces around eye level. A small rechargeable lamp on a stool supplies the third height without wiring. I prefer this to one bright ceiling fixture, which makes every bathroom feel like a dressing room at 7 a.m.
You don’t need expensive lighting to make the arrangement work. A thrifted lamp on an oversized-chip terrazzo side table, a warm bulb, and a linen shade can soften the room. If you’re reorganizing the whole space, this wall-mounted headboard project that freed up floor space offers a useful lesson in keeping the floor visually quiet.
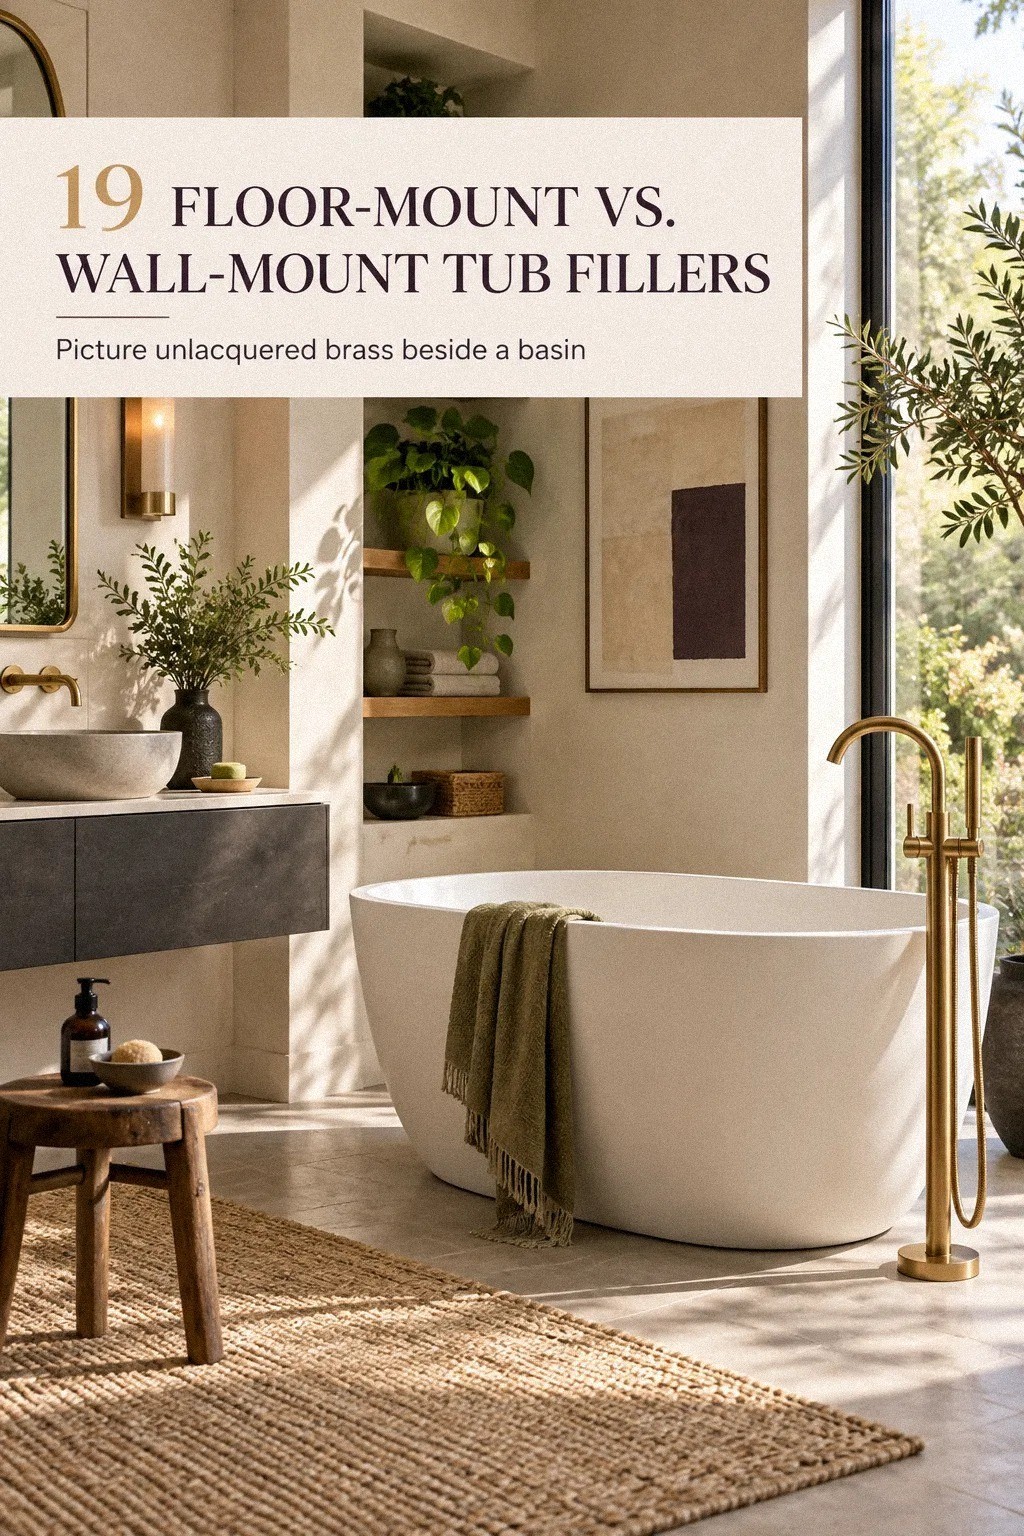
8Frame a Wall-Mount With a Narrow Tile Field
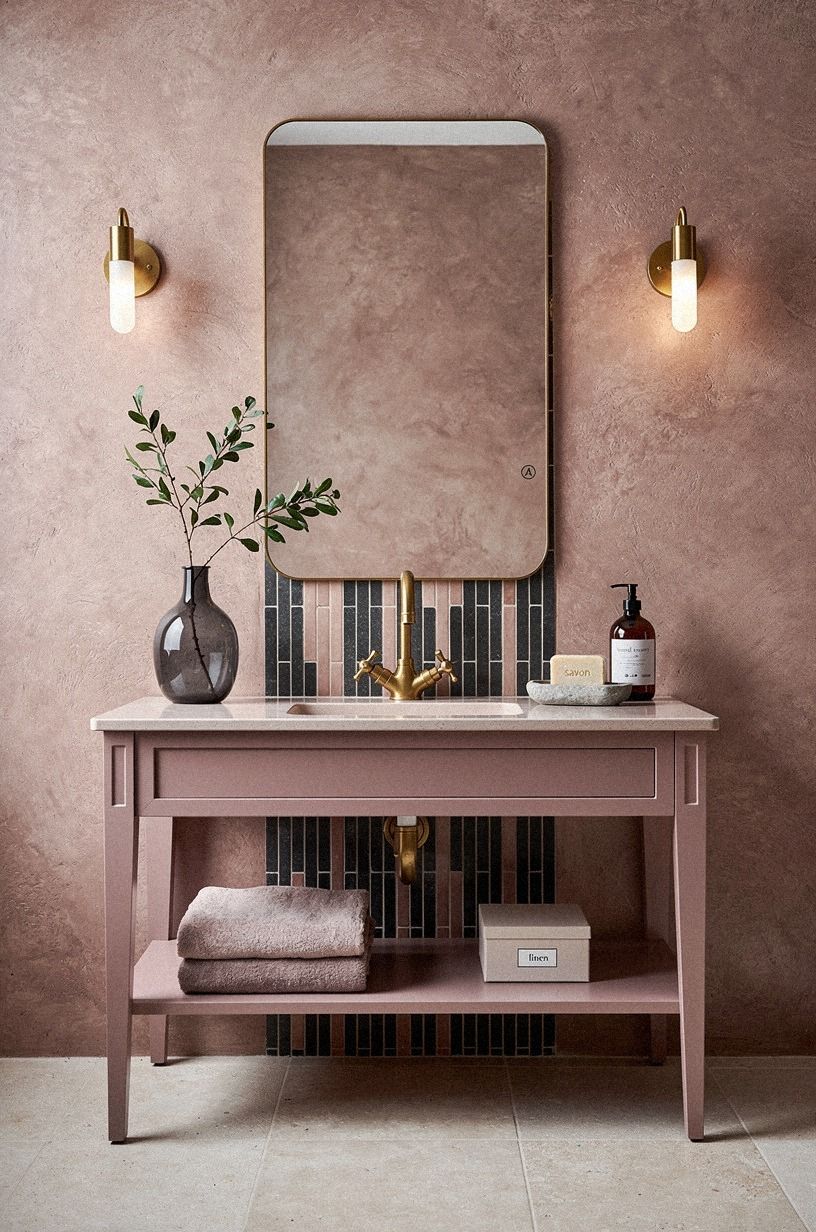
A wall-mount filler looks intentional when the wall behind it has a defined field. That might be a vertical strip of tile, a painted rectangle, or a full backsplash that stops just above the tub. Your fixture needs a visual address, not a random patch of plumbing emerging from drywall.
I like dusty-rose hand-applied Venetian plaster behind a simple brass filler. Its subtle variation makes the wall feel organic rather than flat. The finish is beautiful, but you’ll want a patient installer because irregular surfaces make alignment more noticeable.
Keep the field narrow if your bathroom is small. A 24-inch-wide panel can frame the filler without turning the tub wall into a second shower. And if you’re using a saturated color, test it at morning and evening light before committing.
Benjamin Moore Kendall Charcoal HC-166 can look deep and grounded after sunset.
A narrow panel can also work with the proportions shown in these wainscoting ideas behind a freestanding tub. The goal is a backdrop with intention, not another busy surface.
9The Wet-Zone Triangle
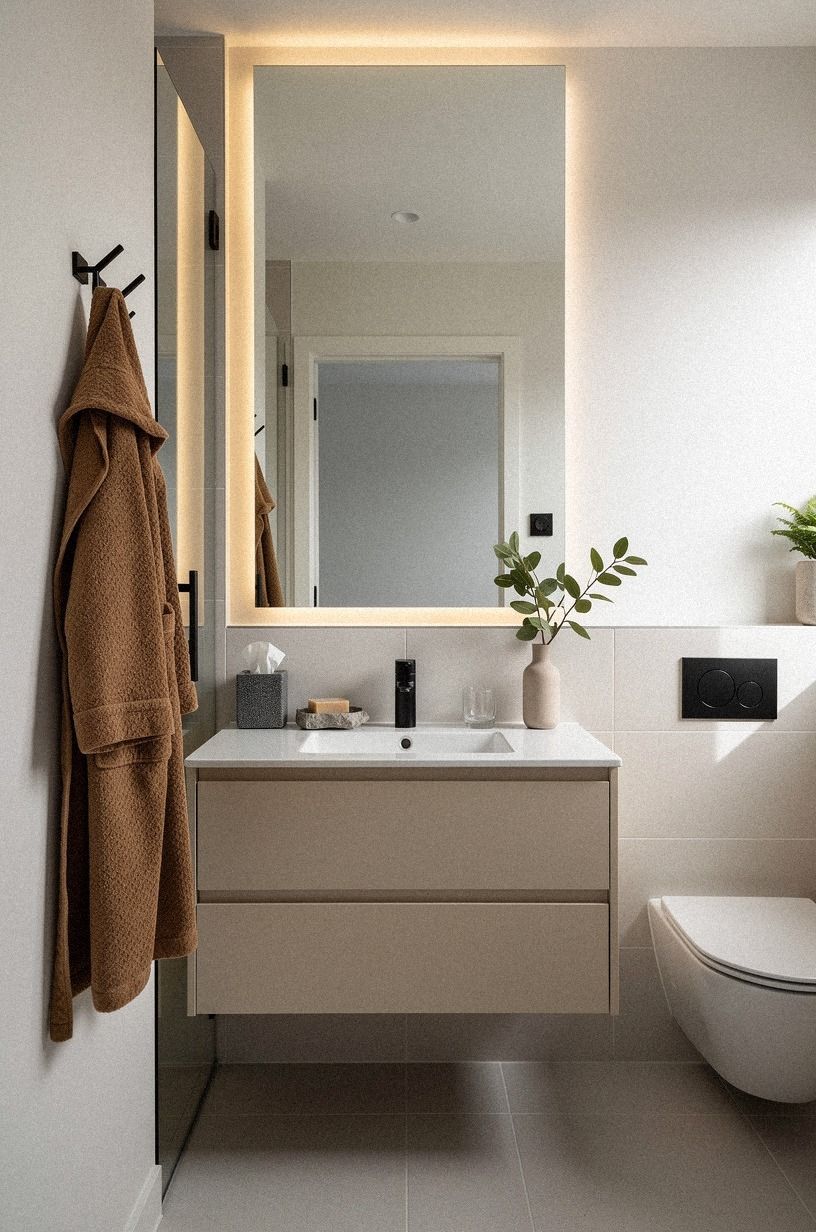
The Wet-Zone Triangle connects the tub, towel storage, and bath mat in one practical movement. Your floor-mount filler should sit inside that triangle, not outside it. You’ll reach the handle, step onto the mat, and grab a towel without crossing the room with wet feet.
Use a slim Article Sven tan leather stool or a closed basket near the tub, but keep the base of the filler visible. Too many objects at floor level make the fixture look accidental. A single folded towel, a small shagreen tray, and open floor are enough.
The finish should echo something else in the room. Black hardware can repeat in a mirror frame, while black can connect to a window latch or cabinet pull.
I would skip mixing three metal finishes here. Your room will feel more refined with two finishes used deliberately than with a showroom collection of five.
If the traffic path feels crowded, revisit this small-shift floor planning example. Measure the walking route, then decide where the stool belongs.
10Which Mount Handles Your Renovation Timeline?
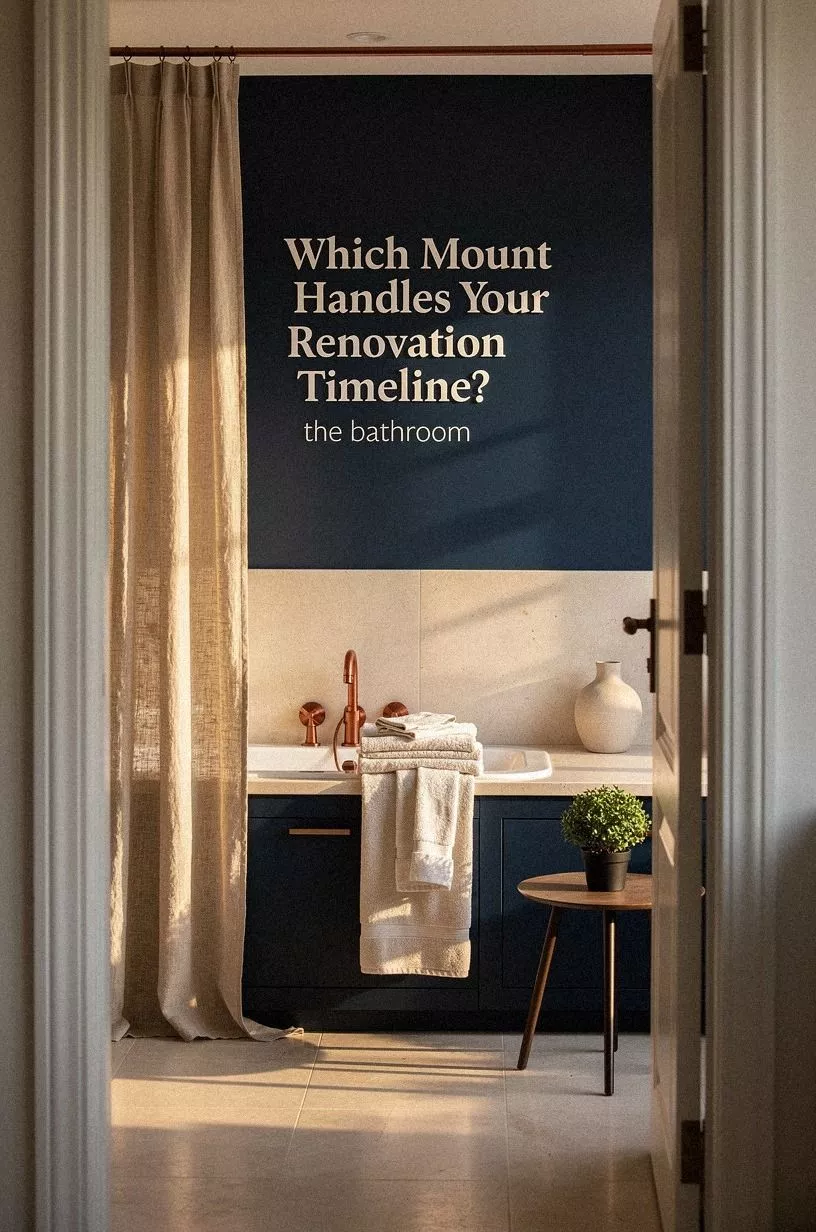
Which mount makes sense if your bathroom needs to be usable again quickly? Usually, the answer is the option that works with existing rough plumbing. Your renovation timeline matters, especially if you’re living through the renovation and sharing one working bathroom.
A floor-mount fixture can be faster if the supply lines already rise from the floor and the tub location stays put. A wall-mount can be cleaner if the valve is already placed correctly behind the tile. West Elm sells plenty of furniture that can make a finished bath feel polished, but furniture won’t rescue a project delayed by a misplaced valve.
I’ve gone back and forth on this because the wall version often looks cleaner. Still, your morning routine matters more than appearance.
Make a cardboard mockup of both options, tape it in place, and reach for the handle with your eyes closed. The awkward version will reveal itself.
For another perspective on keeping a project functional during changes, see this wall-mounted storage and floor-space example. Practical access is part of the design.
11Wall-Mount Minimalism vs. Floor-Mount Drama
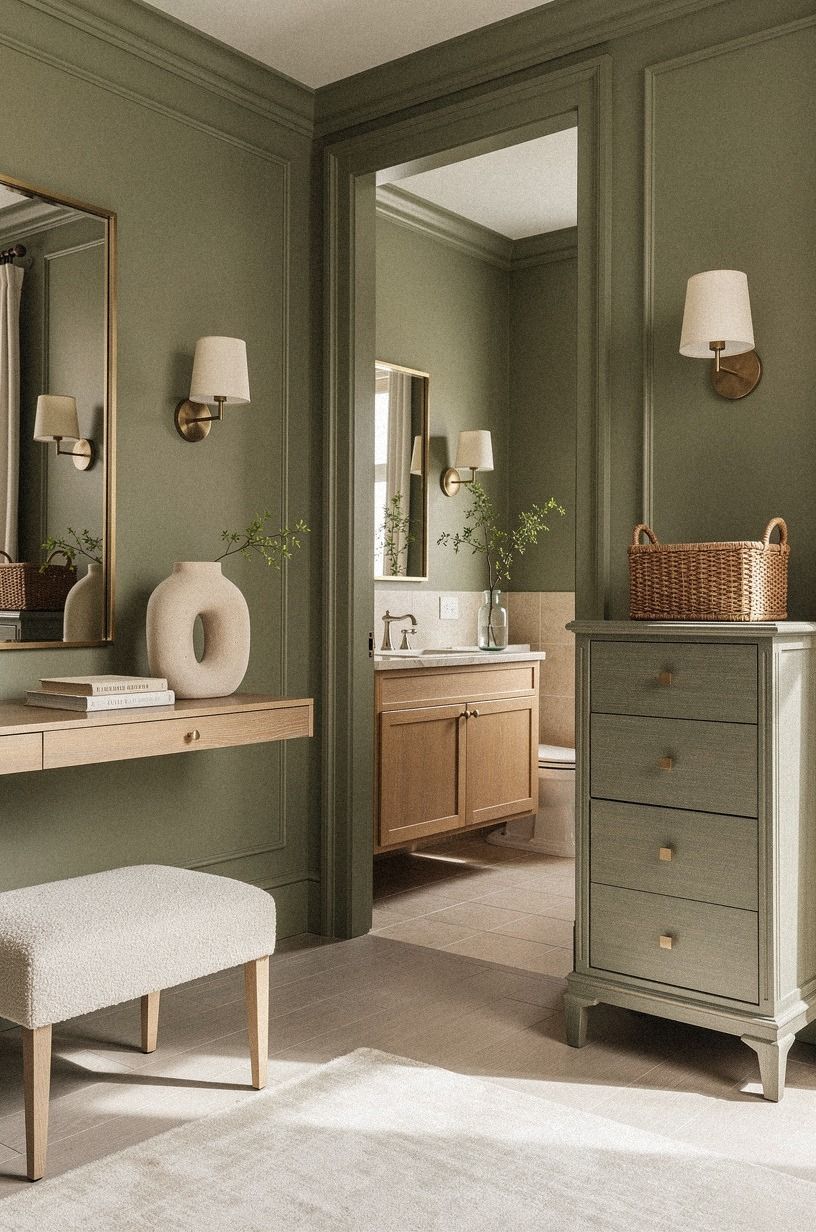
Wall-mount is the quieter choice. Floor-mount is the architectural choice.
Your bathroom can support either, but they create different energy around the same tub. A tall floor column feels bold and sculptural, while a wall fixture lets the tub remain the main character.
For a dramatic look, pair an organic bouclé stool with a slim floor filler and a warm-cream tub. The natural-wood accent adds warmth without adding another bulky cabinet. If your space is already visually busy, the wall version will probably feel more serene.
But don’t choose floor-mount only because it looks luxurious in a magazine. The base needs cleaning around it, and the pipe location has to be exact. You won’t enjoy a gorgeous column that catches every mop string and leaves you crouched on the floor each week.
If you’re drawn to the quieter option, compare it with these wainscoting and freestanding tub ideas. A wall-mount can still feel dramatic when the backdrop has depth.
12Build the Small-Bath Clearance Plan
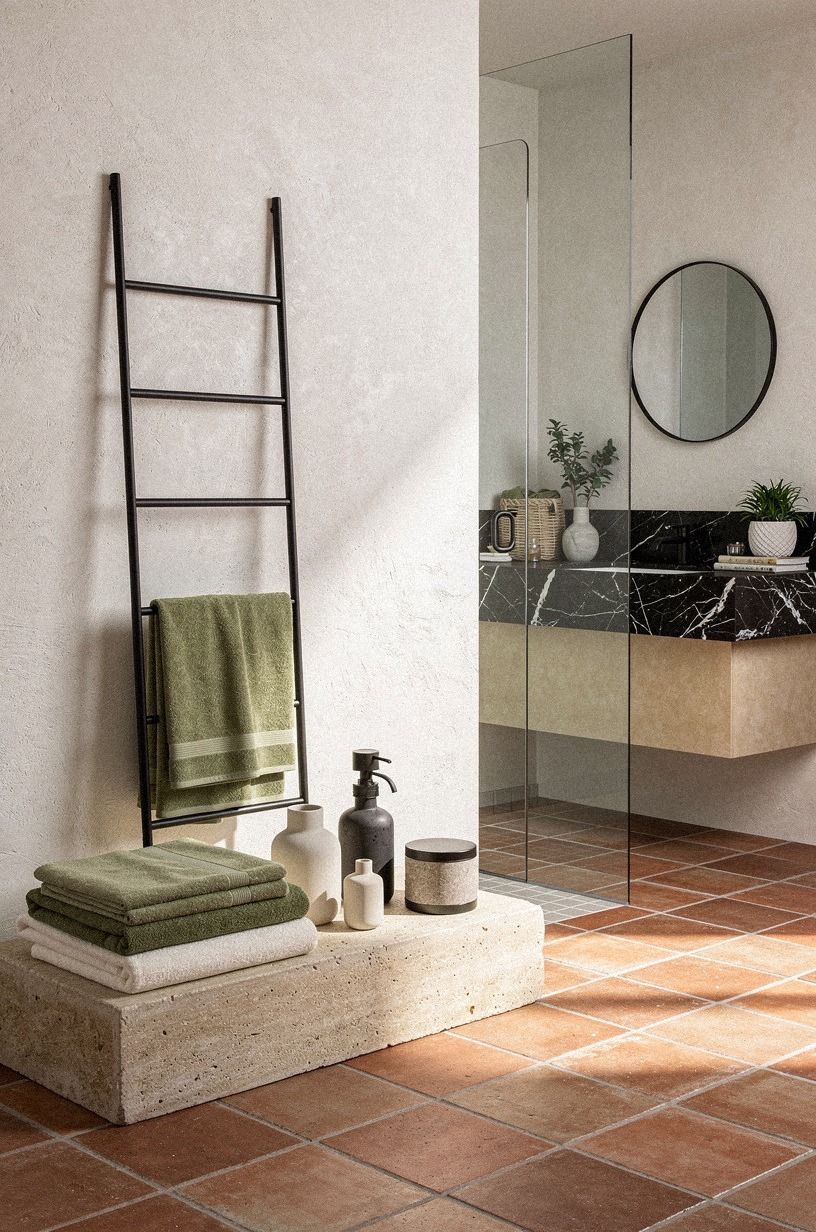
Small bathrooms need clearances before they need decoration. Keep at least 21 in in front of the toilet, and make sure your tub filler doesn’t narrow the path below a comfortable walking width. Your room may be compact, but it shouldn’t feel like a maze.
A wall-mount often wins here because the open floor helps the bathroom read larger. Choose a shallow floating vanity with a Nero Marquina marble top at the standard 32-36 inch height, then keep accessories off the floor. A single towel ladder can provide storage without creating a hard corner beside the tub.
If you love a floor-mount filler, use one with a narrow profile and a compact base. Don’t place it between the toilet and tub unless you can walk through without turning sideways. And if you’re solving a tight layout, this bed placement guide for reclaiming floor space makes the same point: small shifts change how a room behaves.
The same rule applies to accessories. Keep the bath mat, basket, and stool outside the main route until the fixture position is settled.
13What Finish Can You Actually Maintain?
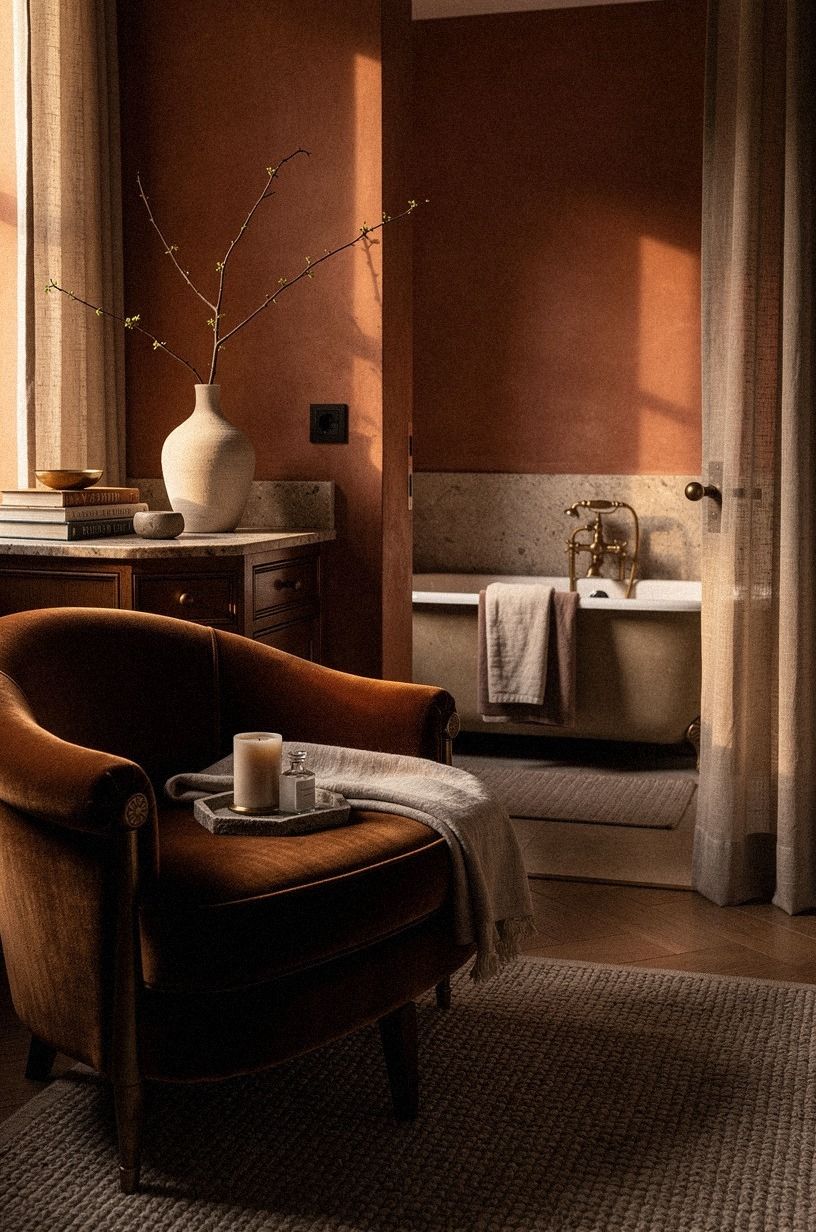
Choose a finish based on your cleaning habits, not a trend board. Polished chrome shows water spots, matte black shows mineral residue, and unlacquered brass changes with touch. Your best option is the one you’ll tolerate wiping after a long day.
Here are useful material reference points for the wider bathroom:
Those figures help you decide where to spend. A deep-pile mohair velvet stool can be the focal point, while a simpler faucet finish keeps the total controlled. I wouldn’t splurge on both unless the rest of the room is already settled.
Your fixture should also relate to the sink faucet and cabinet pulls. Matching every piece can feel flat, but random contrast feels unsettled. Try one dominant finish and one supporting finish, then repeat each at least twice.
If you are still deciding where warmth belongs, this wall-mounted floor-space project offers a helpful reminder that texture can do more than another metal finish.
14Paint the Backdrop Before Installing the Fixture
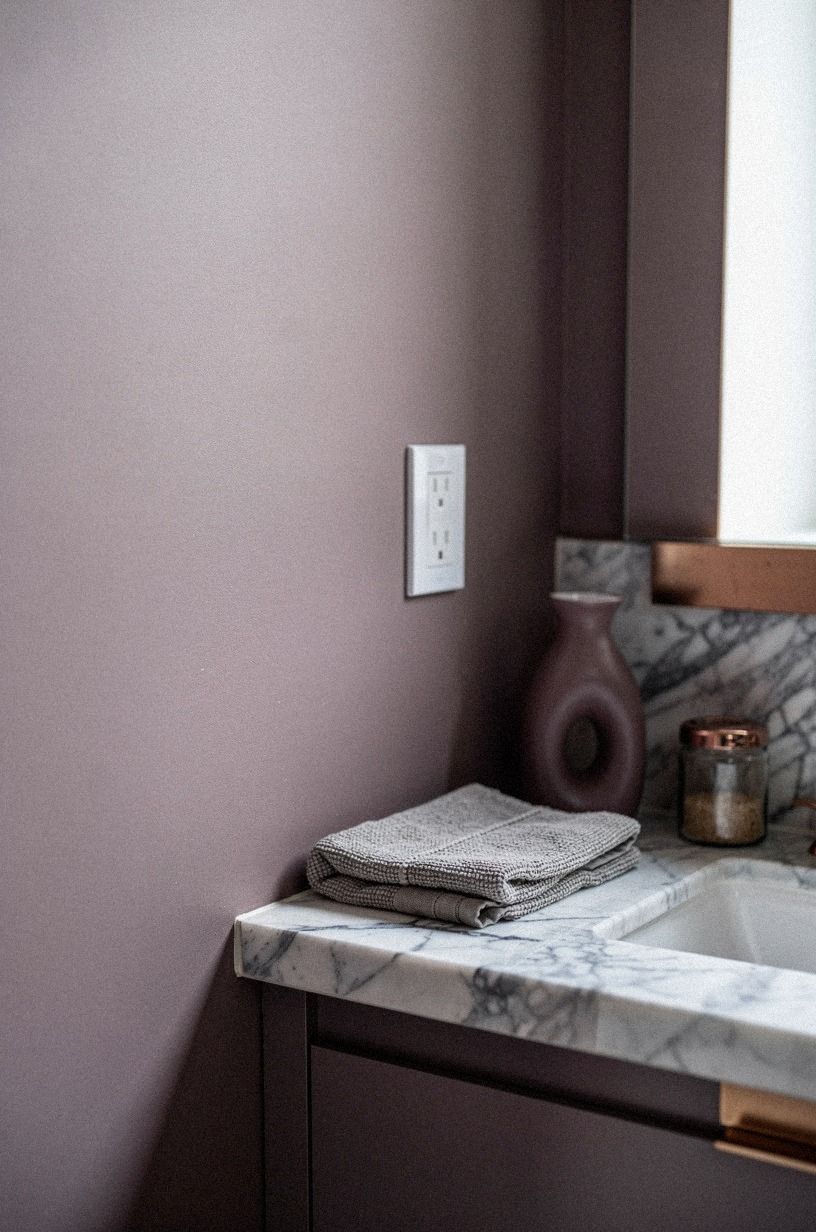
Paint gives your filler a backdrop, and the color changes how large the fixture feels. A wall-mount in chrome can disappear against pale paint, while black or rose gold becomes a strong focal point. Your wall color should support the metal without making the tub corner feel theatrical.
Farrow & Ball Brinjal No.222 is rich enough to flatter rose gold and soft enough for a restful bathroom. Use a washable satin finish or bathroom-rated finish near splash zones. I made the mistake of choosing a flat sample once, and the wall looked dusty beside glossy porcelain.
If your tub is white, you can go moody with Brinjal or keep the room bright with a soft grey. A Carrara marble ledge with subtle grey veining can keep the dark wall from feeling flat.
Don’t paint only from a tiny swatch. Put a large sample beside the tub, watch it for a full day, and notice how your chosen finish changes under morning and evening light.
For more backdrop inspiration, compare the room with these wainscoting ideas behind a freestanding tub. The wall treatment should support the filler, not compete with it.
15The Freestanding Tub Sets the Visual Hierarchy
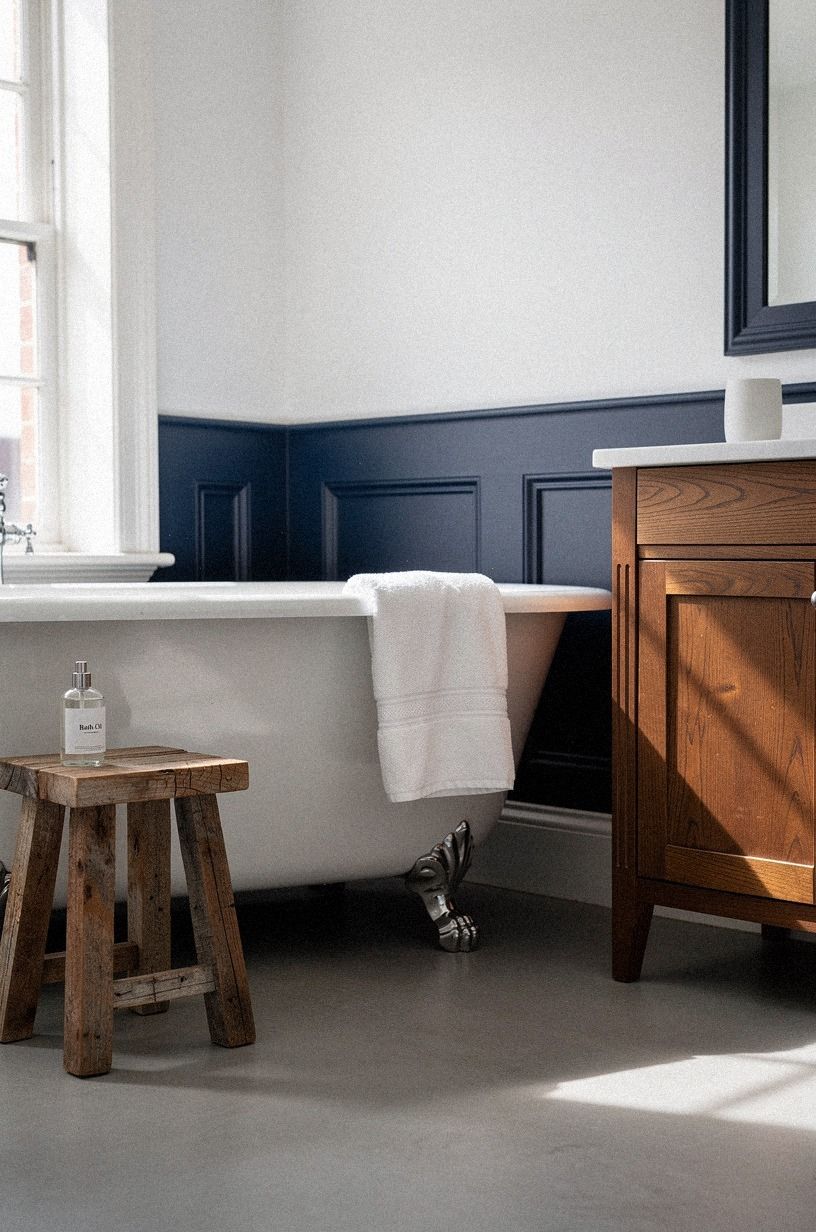
The freestanding tub should usually be the largest shape in the room.
16Add a Hand Shower Without Crowding the Wall
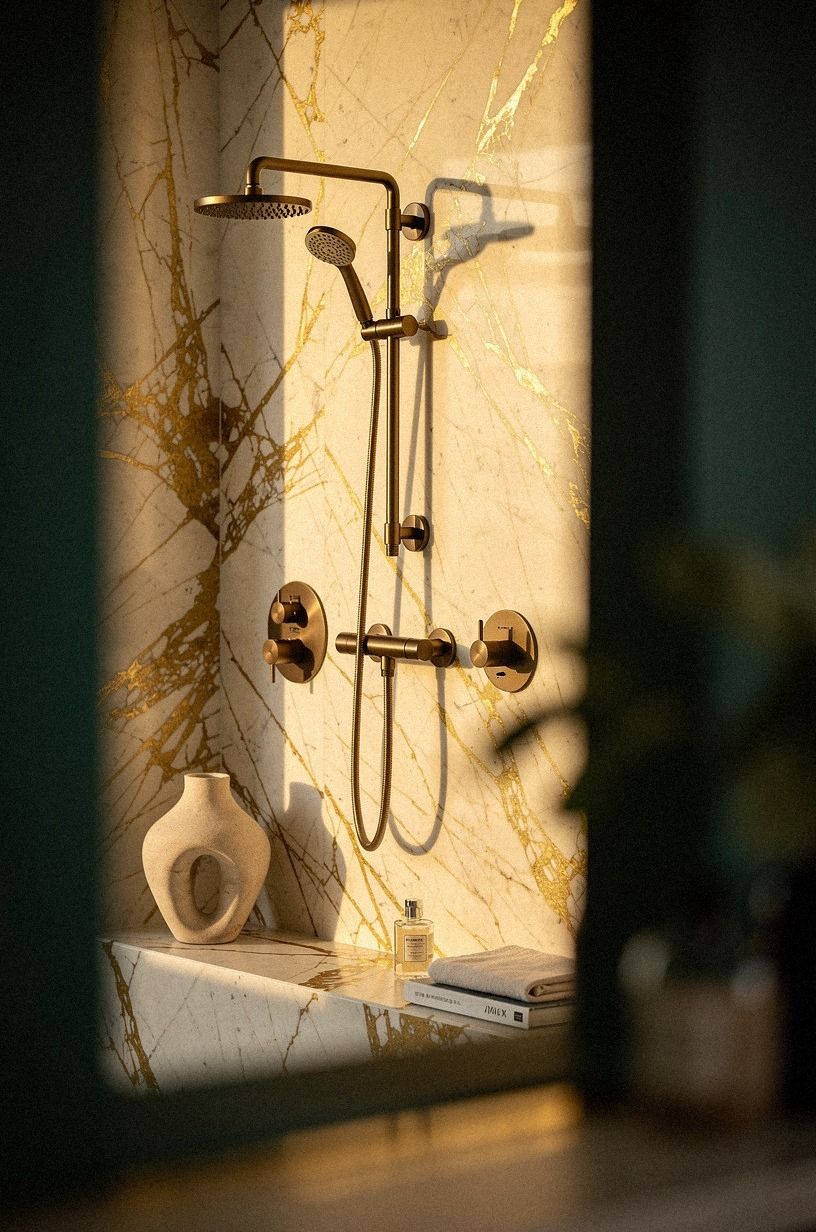
A hand shower makes your tub easier to rinse, clean, and use, but the extra hardware needs a plan. Your wall-mount filler can include a handset, or you can place the holder separately on the adjacent wall. Keep the hose from crossing the tub rim in a way that looks messy.
Choose 600gsm Turkish cotton towels for a soft, substantial feel, then install a hook within reach of the bath. The towel should be close enough that you’ll use it, not displayed across the room like artwork. A simple hand shower in matching metal will look more intentional than a contrasting plastic attachment.
I prefer a separate holder when the tub wall is narrow. It gives you more control over height and keeps the filler visually clean. If your setup includes a shower, check that the comfortable shower zone remains at least 36×36 in so the added hardware doesn’t steal useful elbow room.
Before adding another wall fixture, study this floor-space-saving wall project. Every piece should earn its place.
17Open Layout, Tall Drama
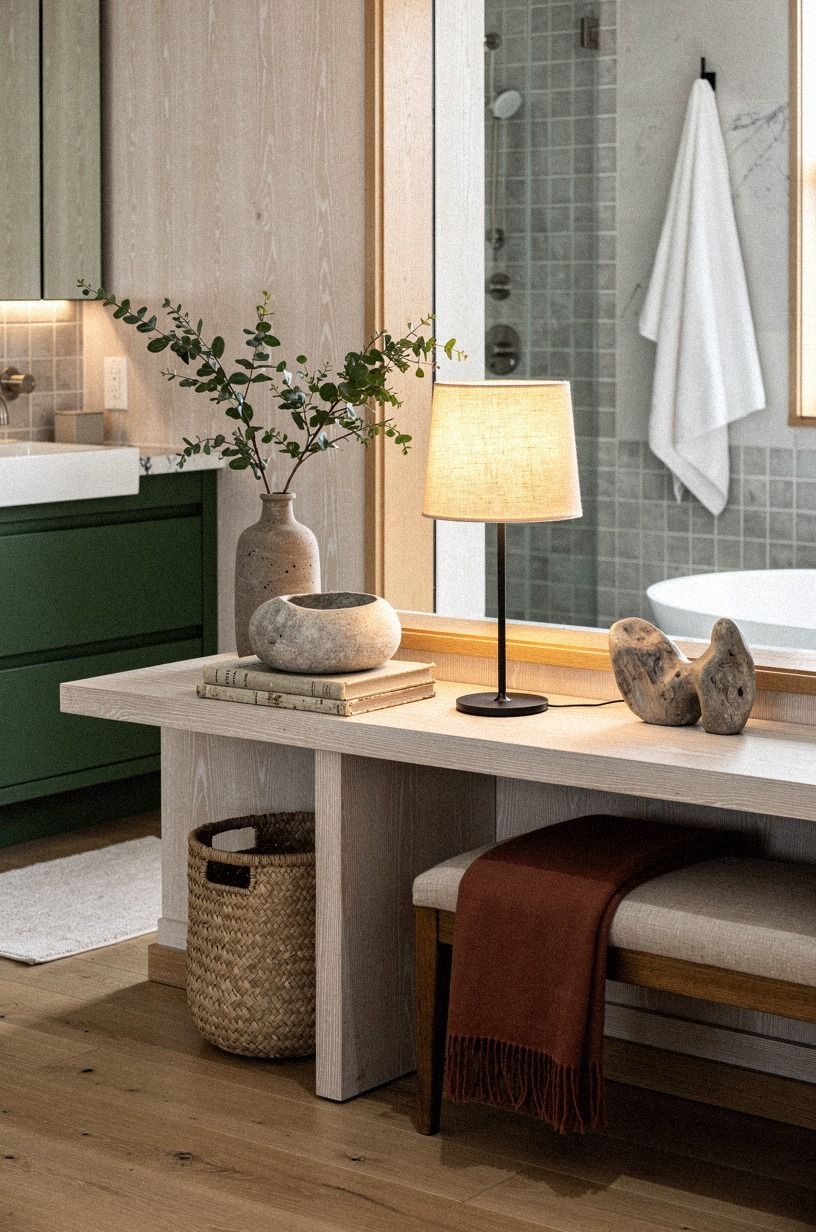
An open bathroom can carry a tall floor-mount filler beautifully.
18Test the Reach Before Your Plumber Arrives
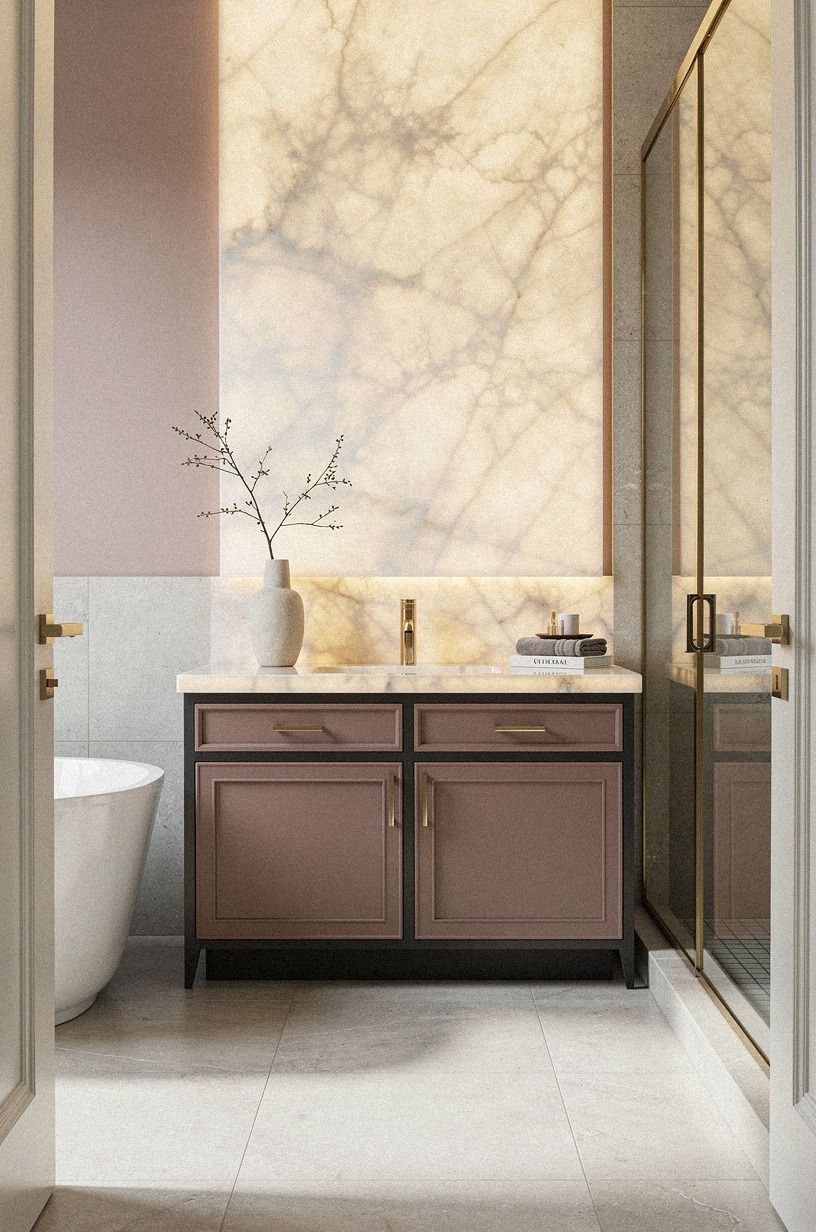
Tape the filler outline onto the floor or wall before rough-in. Your body will tell you more than a plan drawing. Stand beside the tub, reach for the handle, and imagine turning it with wet hands while keeping your shoulder away from the spout.
Use a cardboard tube to mock the spout reach, then mark the point where water should land. A small brass stool nearby can add structure without blocking the approach. Function first, then texture.
Stand at the doorway and beside the tub to check whether the fixture feels centered from both positions. I often notice that a fixture looks centered from one place and awkward from another. If your layout still feels uncertain, compare it with this wainscoting and freestanding tub reference before you commit to tile and plumbing.
For tight rooms, also revisit this small layout-shift guide. The right position is the one your body can use comfortably.
19The Three-Point Balance Check
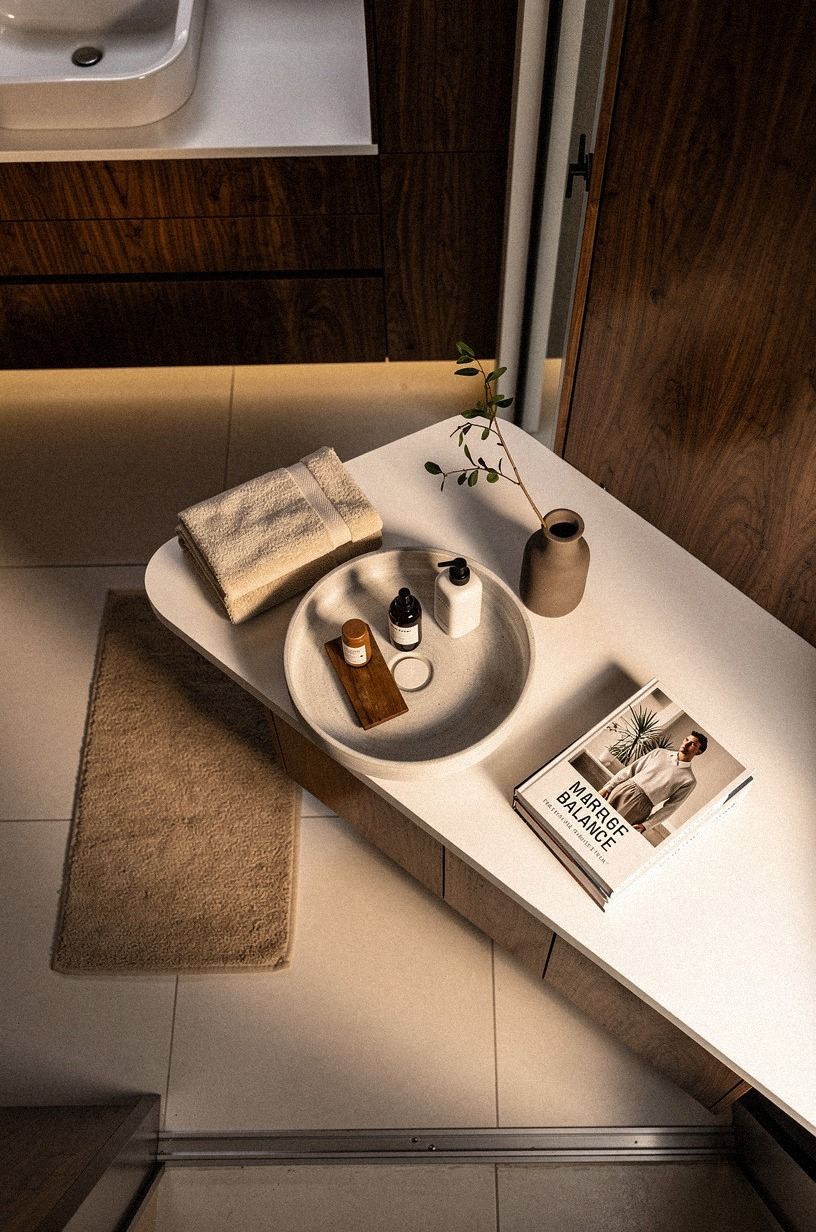
The Three-Point Balance Check asks you to repeat the filler finish, the tub shape, and one warm material elsewhere in the room. Your eye moves comfortably when those three elements connect. For example, black hardware, rounded mirror corners, and book-matched walnut can create a gentle, harmonious rhythm.
Don’t force a match if your bathroom already has fixed black plumbing. Repeat black in the mirror frame or lighting, then bring warmth through camel linen and timber. The room can still feel earthy and welcoming without replacing every fixture.
I would choose wall-mount for most compact bathrooms because it protects the floor plan and keeps cleaning simple. But if your tub floats in a generous room, floor-mount brings more presence. Save your final layout measurements, finish samples, and plumbing notes together so you’ll have a clear reference before installation.
What I Learned After Choosing the Pretty Fixture First
I used to start bathroom projects with the finish. Brass, black, chrome, whatever had the strongest pull that week. Then I learned that a tub filler isn’t a piece of jewelry you can place anywhere.
It has a reach, a valve, a supply line, and a relationship with your shoulder when you’re standing beside a full tub.
The first mistake was centering the fixture by eye. It looked balanced until I tried to turn the handle. The second was choosing a wall location before checking access behind the tile.
That decision made a small repair feel like a major event. Your future self deserves a removable repair panel and a clear plumbing plan, even if neither detail is visible in the finished room.
I also underestimated the floor. A floor-mount filler feels substantial because it rises from the room itself.
That means the base needs room, protection from standing water, and a clean route for the pipes. If your floor is concrete, your answer may be decided before your style preferences enter the conversation.
My current rule is simple. Choose the mount from the structure, choose the reach from your body, then choose the finish from the room. A wall-mount is usually the calmer answer for a compact bathroom, while a floor-mount earns its place in an open layout with enough breathing room.
That order saves money, time, and a surprising amount of second-guessing.
A Few Things Worth Answering
What is the best Floor-Mount vs. Wall-Mount Tub Fillers: Which Is Right for You? for a small bathroom?
A wall-mount filler is usually best for a small bathroom because it keeps the floor clear and gives your tub more visual space. Pair it with IKEA HEMNES storage or a shallow vanity, then keep the area beneath the tub open for an airy, calming effect.
Where can I buy Floor-Mount vs. Wall-Mount Tub Fillers: Which Is Right for You? pieces on a budget?
Look at IKEA, Wayfair, and Target for budget-friendly bathroom pieces, then check Facebook Marketplace or a local thrift shop for mirrors and stools. You don’t need every item new. A secondhand oak mirror can add warmth without adding a commission-based purchase.
How much does a Floor-Mount vs. Wall-Mount Tub Fillers: Which Is Right for You? makeover cost?
A small bathroom refresh commonly falls within the $200-$1,200 budget range when it includes paint, a mirror, a faucet, and textiles. Your cost rises quickly if you move plumbing, retile walls, or replace the vanity. Free layout changes and reused storage can reduce the total.
Can I create a Floor-Mount vs. Wall-Mount Tub Fillers: Which Is Right for You? on a budget?
Yes, and you can start with the layout. Reuse your mirror, paint the wall behind the tub, and replace only the faucet or towel hardware. Sherwin-Williams Sea Salt SW 6204 can shift the room for less than a full renovation, especially when your plumbing already works.
Is a Floor-Mount vs. Wall-Mount Tub Fillers: Which Is Right for You? worth it in a small space?
Yes, a wall-mount can be worth it because the open floor makes a small bathroom feel more peaceful and functional. Keep the tub centered, use a slim vanity, and avoid placing a stool where it narrows your walking path.
Is Floor-Mount vs. Wall-Mount Tub Fillers: Which Is Right for You? a good idea for a rental?
Yes, if you choose no-damage updates such as removable hooks, peel-and-stick tile accents, and a tension rod for textiles. Your landlord may not allow plumbing changes, so use a freestanding storage cart and removable linen shower curtain to add softness instead.
Where I’d Start First
If I had to pick one, I’d start with the wall-mount filler. It protects your floor plan, keeps cleaning easier, and leaves the tub as the room’s strongest shape. Pin the wall-mount layout for later, then test the handle height with cardboard before anyone opens the tile.