
DIY brunch bar guests can build themselves works best when the food, tools, and traffic flow are obvious from the doorway. I’ve hosted bars that looked charming but made everyone ask where the spoons were. This guide fixes that with warm lighting, labeled stations, and a layout your guests can use without hovering. Start here!
Before You Start
Measure the wall, table, or counter you’ll use, then decide whether guests will sit, stand, or move between stations. Your setup doesn’t need a full renovation. A folding table, one washable runner, and three clear zones can create an inviting brunch corner in a small home.
What you’ll need
– One table or console – Serving boards and shallow trays – Small bowls for toppings – Tongs, spoons, and spreaders – Painter’s tape and removable labels – A washable tablecloth – Two or three lighting sources – Storage baskets – A waste bowl for wrappers and used spoons
If you’re building outdoors, review this guide to building an outdoor bar in one weekend for a sturdier version. Your first decision is the footprint, because every later choice depends on how much room guests have to reach, turn, and sit.
- Start With the Serving Wall
- Build the Three-Height Light Stack
- Choose a Brunch Juice Bar Footprint
- Anchor the Two-Wood Rule
- Paint the Warm Backdrop
- Set the DIY Yogurt Parfait Bar
- Layer the Grab-and-Go Breakfast Station
- Hang Art at the 57-Inch Line
- Frame the Flow With Open Storage
- Could Your Guests Build It Without Asking?
- Swap Plastic for Refillable Vessels
- Choose the One-Plate Rule Over Matching Decor
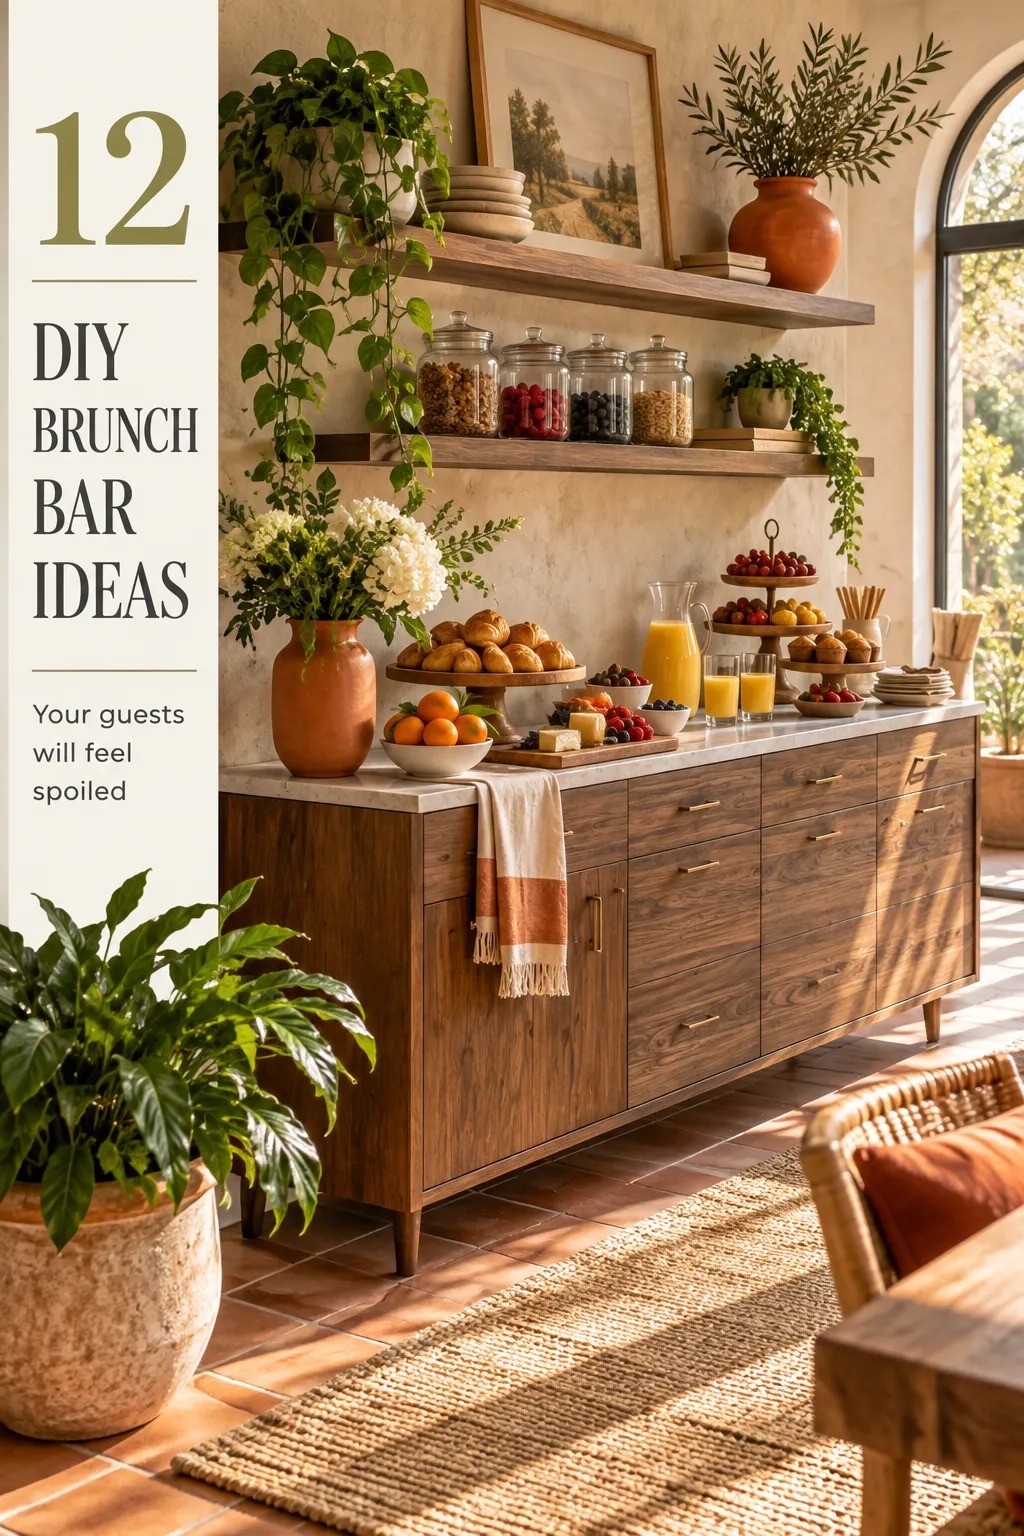
1Start With the Serving Wall
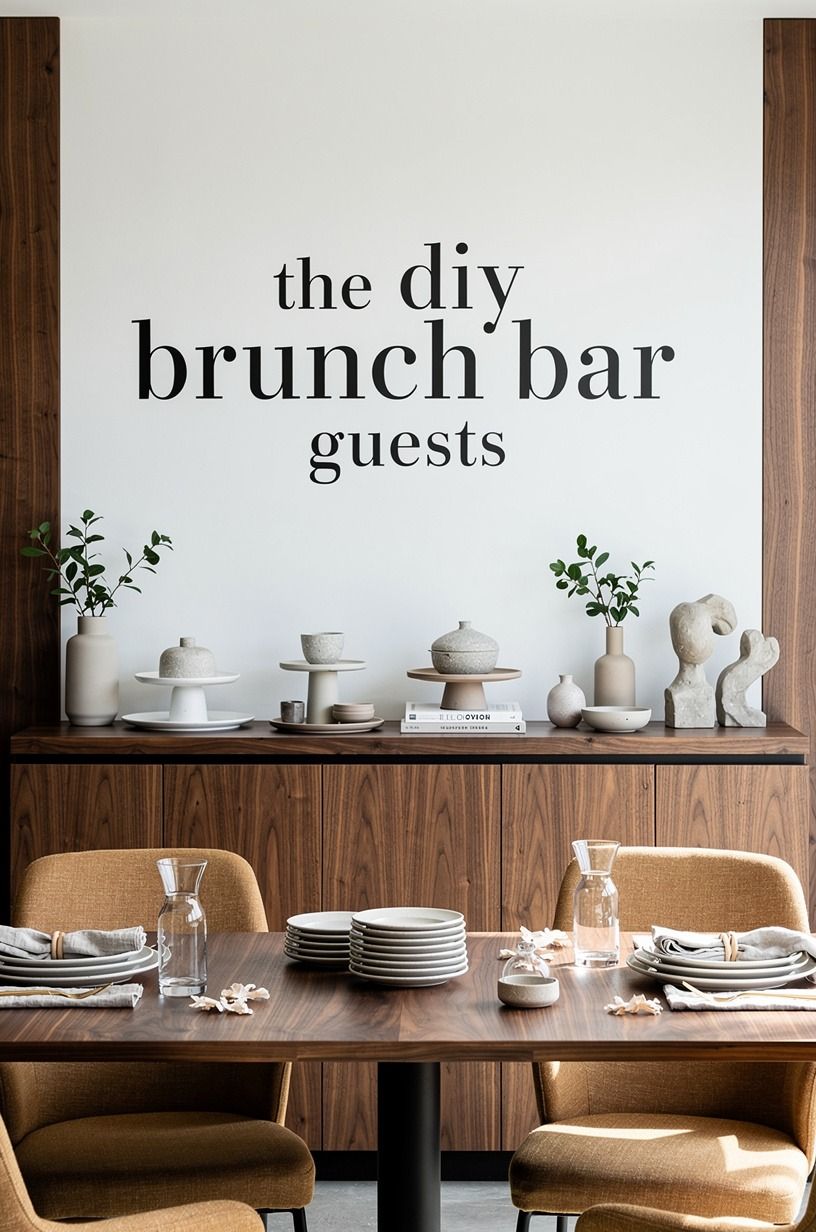
Choose the wall your guests will see first, then place the main serving surface no more than a few steps from the kitchen. I like a narrow console with a book-matched walnut top because it gives you warmth without stealing floor space. You’ll want at least one clear landing zone for plates, glasses, and napkins.
Put the most-used item in the center. Plates belong first, followed by the main dish, toppings, drinks, and napkins at the end.
That order keeps your guests moving in one direction instead of crossing arms over the food. If your wall feels bare, hang a small framed menu above it and link the setup to your self-serve candy station ideas for another easy hosting zone.
Use a Target Threshold console if you’re working with a rental-friendly budget, or choose a slim West Elm Anton console when you want deeper drawers. Don’t place the table directly against a doorway. You’ll regret that first time someone opens a cabinet while a guest is reaching for fruit.
2Build the Three-Height Light Stack
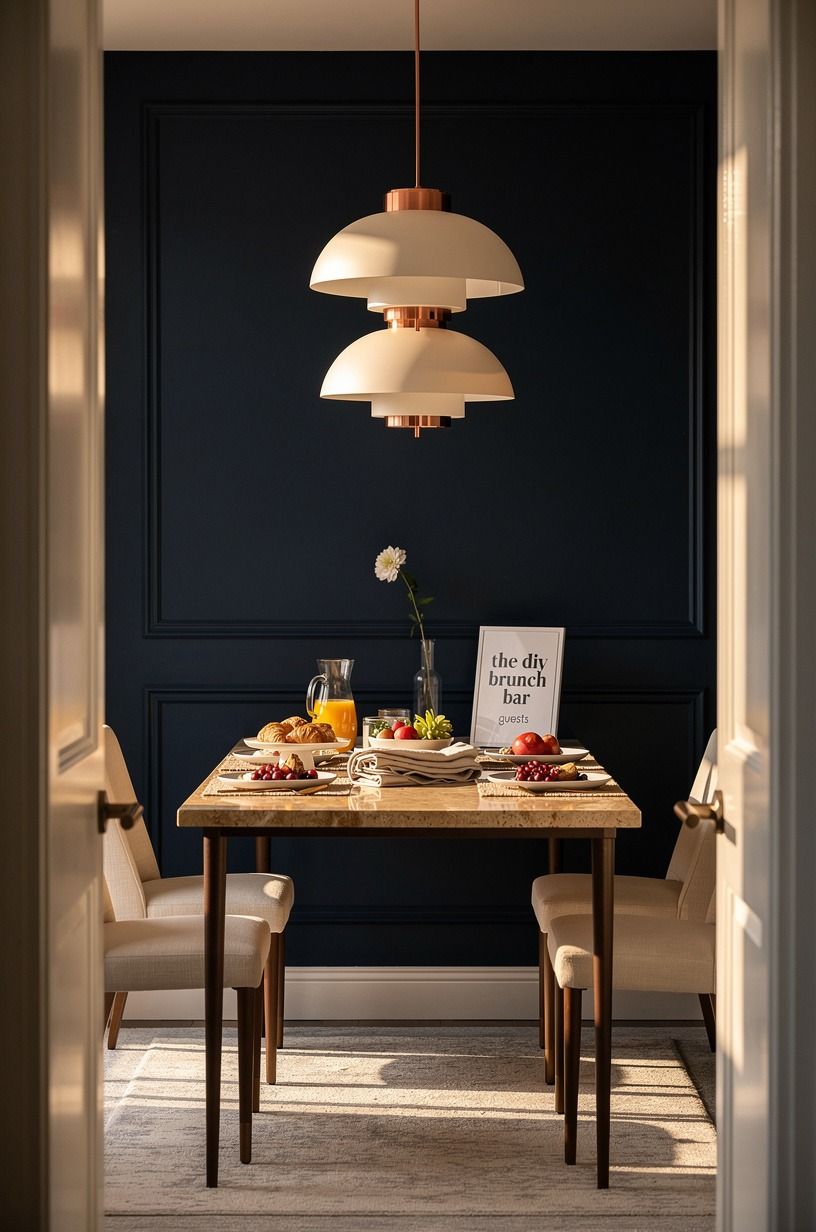
Layer your lighting at three heights: overhead, counter-level, and low ambient. This Three-Height Light Stack keeps your brunch bar bright enough for pouring coffee while the rest of the room stays soft and relaxed.
You don’t need expensive fixtures. A pendant, a small lamp, and one battery candle can do the work.
Place the brightest source above the serving area, then use a warm LED bulb in a small lamp at one end. The low glow should touch the tablecloth, not shine into anyone’s eyes. I’ve found that cool bulbs make yogurt, fruit, and pastry look flat, while warm light makes the whole scene feel more welcoming.
Aim for the supplied standard of 3 sources per room: overhead, task, and ambient. If you’re styling a dining nook, an IKEA FADO lamp gives a soft round glow without visual clutter. And if you’re hosting outside, the DIY misting arbor guide can help you think about overhead structure before you add string lights.
3Choose a Brunch Juice Bar Footprint
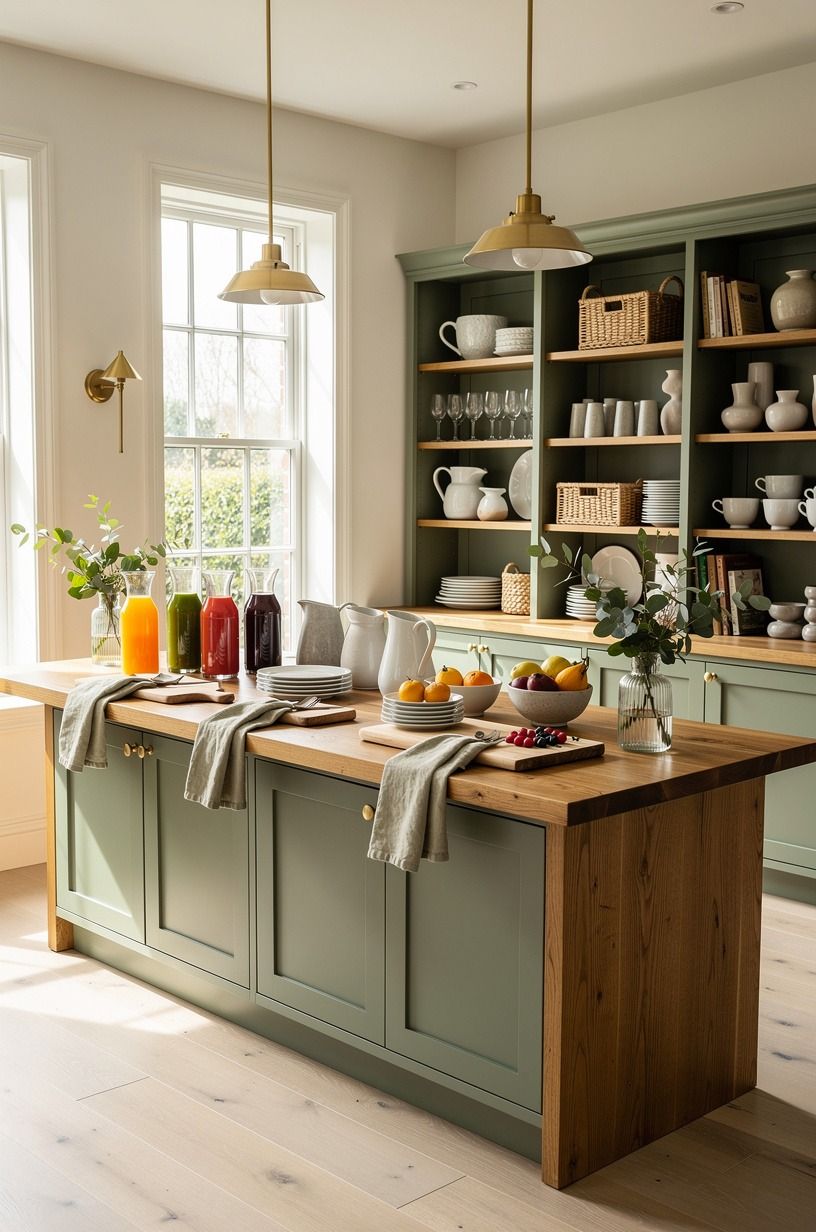
Give your brunch juice bar its own tray instead of scattering glasses across the entire table.
4Anchor the Two-Wood Rule
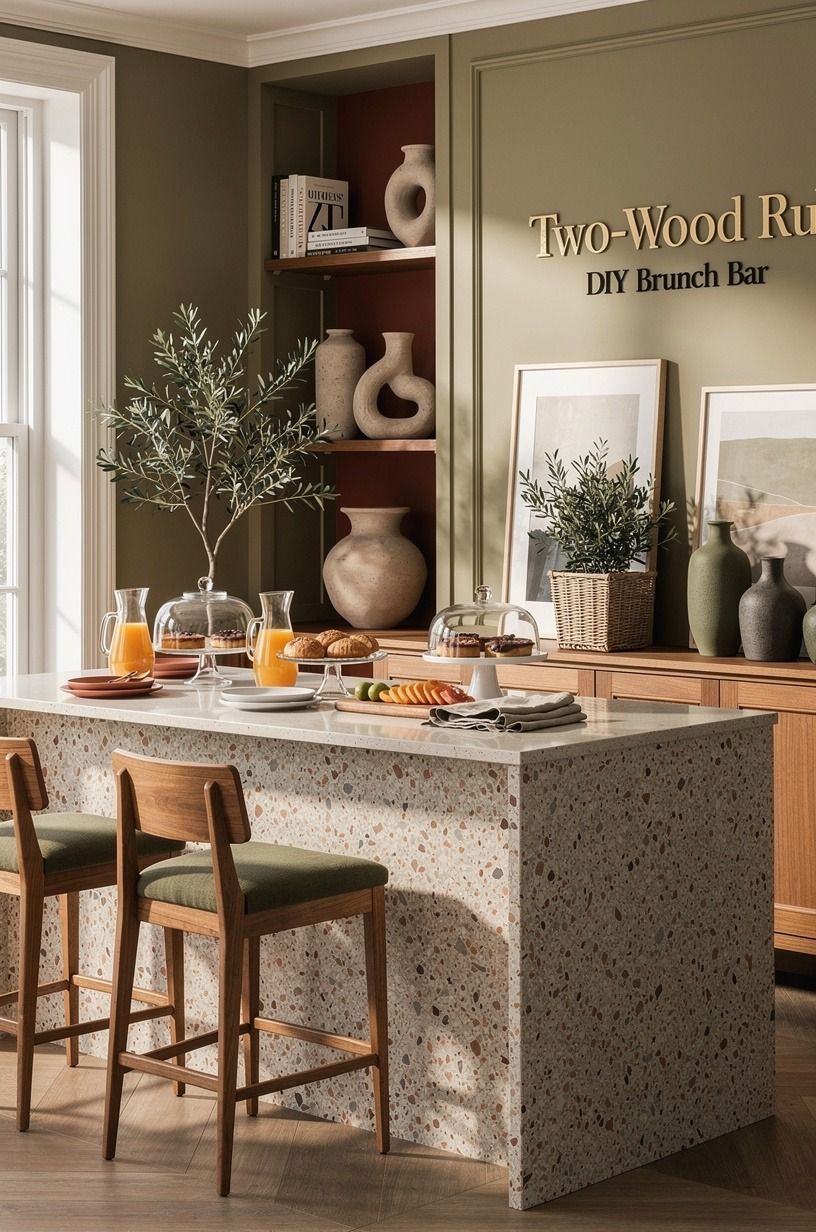
Keep any supporting wood to two tones, such as pale oak and medium walnut, while an oversized-chip terrazzo surface anchors the bar. That’s the Two-Wood Rule, and it prevents a DIY brunch bar from looking like a collection of unrelated furniture.
If your surface is dark, use lighter boards and baskets. If it’s pale, add one walnut tray for contrast.
Your food will already bring plenty of color, so your surfaces should feel calm. I prefer terracotta, stone, and olive tones in oversized-chip terrazzo beside one natural wood board, especially when the fruit includes red berries and deep purple grapes. The grain and stone give the eye somewhere to rest, and your setup feels collected without being fussy.
And don’t buy a matching board set just because it’s displayed together. A scratched board from a thrift shop can look better than a shiny set when you pair it with one linen napkin and a small bowl. If you’ve got extra wood pieces, use the DIY hidden door tutorial for storage inspiration elsewhere in your home.
5Paint the Warm Backdrop
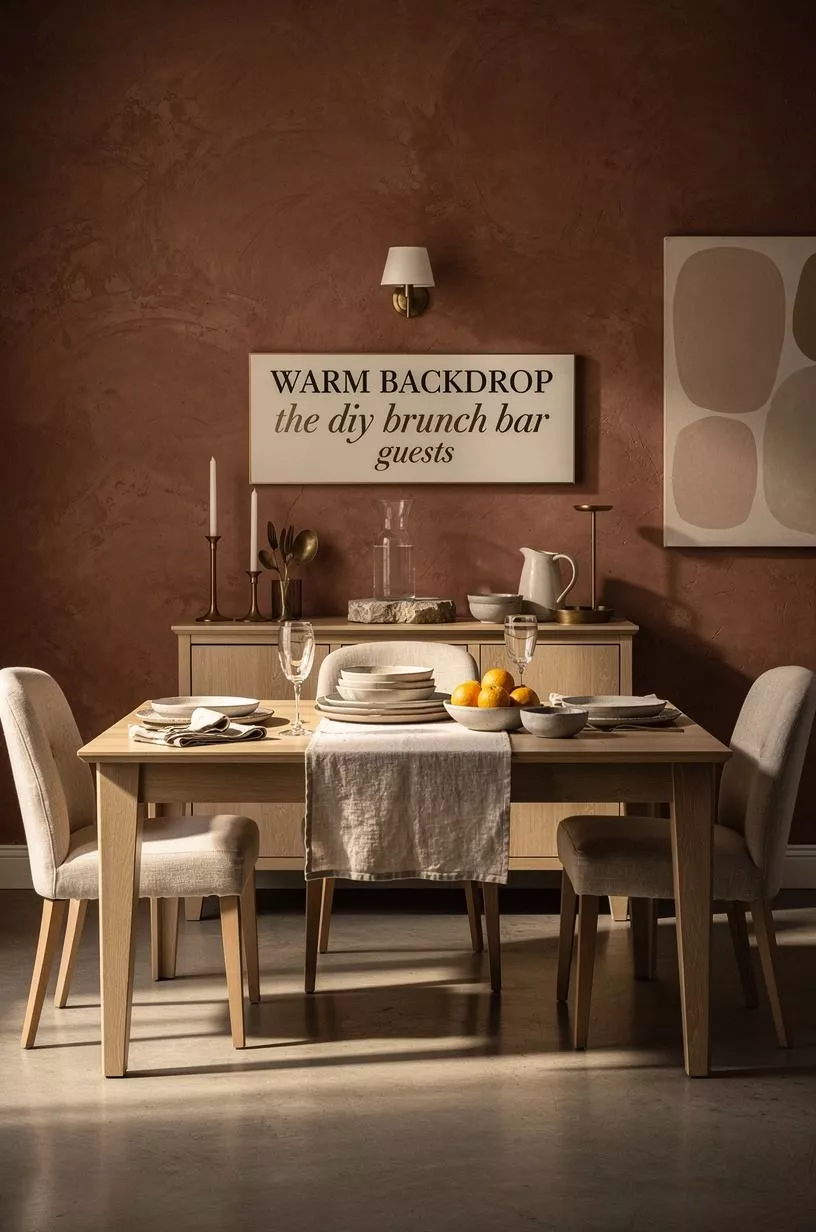
Finish the wall behind the bar if it looks cold or unfinished. A hand-applied Venetian plaster in a clay tone gives you warmth without the blue cast of sharper whites. If you prefer paint, Farrow & Ball Setting Plaster No.231 keeps the backdrop soft, while Benjamin Moore Chestertown Buff HC-9 brings a little more clay.
You don’t need to paint the entire room. A single wall or removable mural panel can create a defined station, and your guests will understand where the brunch begins.
I’d skip a high-contrast accent wall if you’re already using colorful fruit, patterned plates, and flowers. The food should be the boldest thing in the room.
For a renter-friendly version, choose removable wallpaper or a large linen textile behind the table. If you’re painting, use the supplied typical DIY room range of $200-$600 for paint, supplies, and basic preparation. But your real cost may be lower if the wall only needs one gallon and a careful afternoon.
6Set the DIY Yogurt Parfait Bar
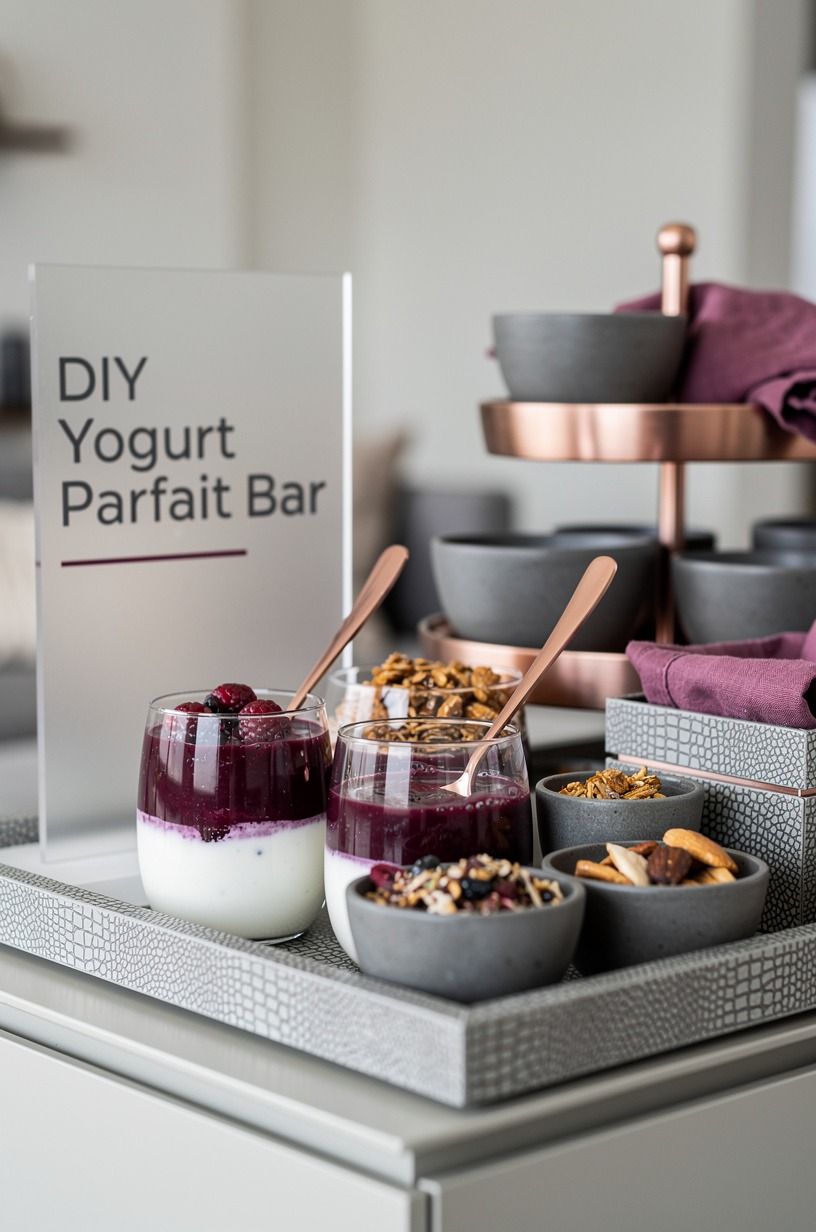
Put yogurt first, then fruit, granola, and small finishing toppings in a left-to-right line.
7Layer the Grab-and-Go Breakfast Station
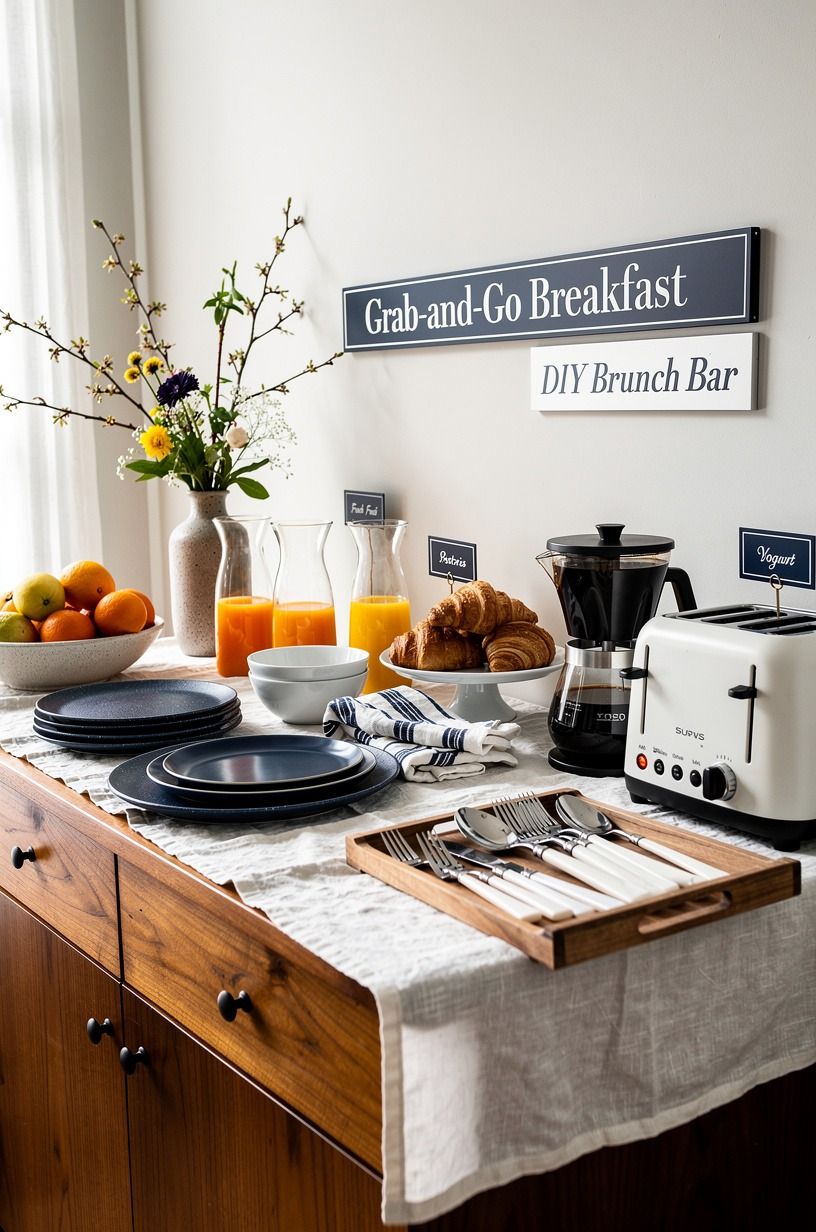
Create a separate grab-and-go breakfast station for guests who don’t want to build a full plate. Think wrapped muffins, boiled eggs, fruit cups, and small pastries arranged at hand height. Your guests should be able to take one item and move away from the main bar without blocking everyone else.
Use a walnut three-tier stand over a washed Belgian linen runner for muffins and croissants, then add a low tray for wrapped items. I’d avoid deep baskets because the food disappears after the first few guests arrive. A shallow arrangement looks more generous, and you’ll refill it faster without disturbing the rest of the table.
For labels, use small cards with the food name and one practical note, such as “contains nuts.” That’s enough information without turning your brunch into a formal buffet. If you want more party-food ideas, the DIY dinosaur decoration guide has playful styling ideas that can work for a children’s breakfast corner too.
8Hang Art at the 57-Inch Line
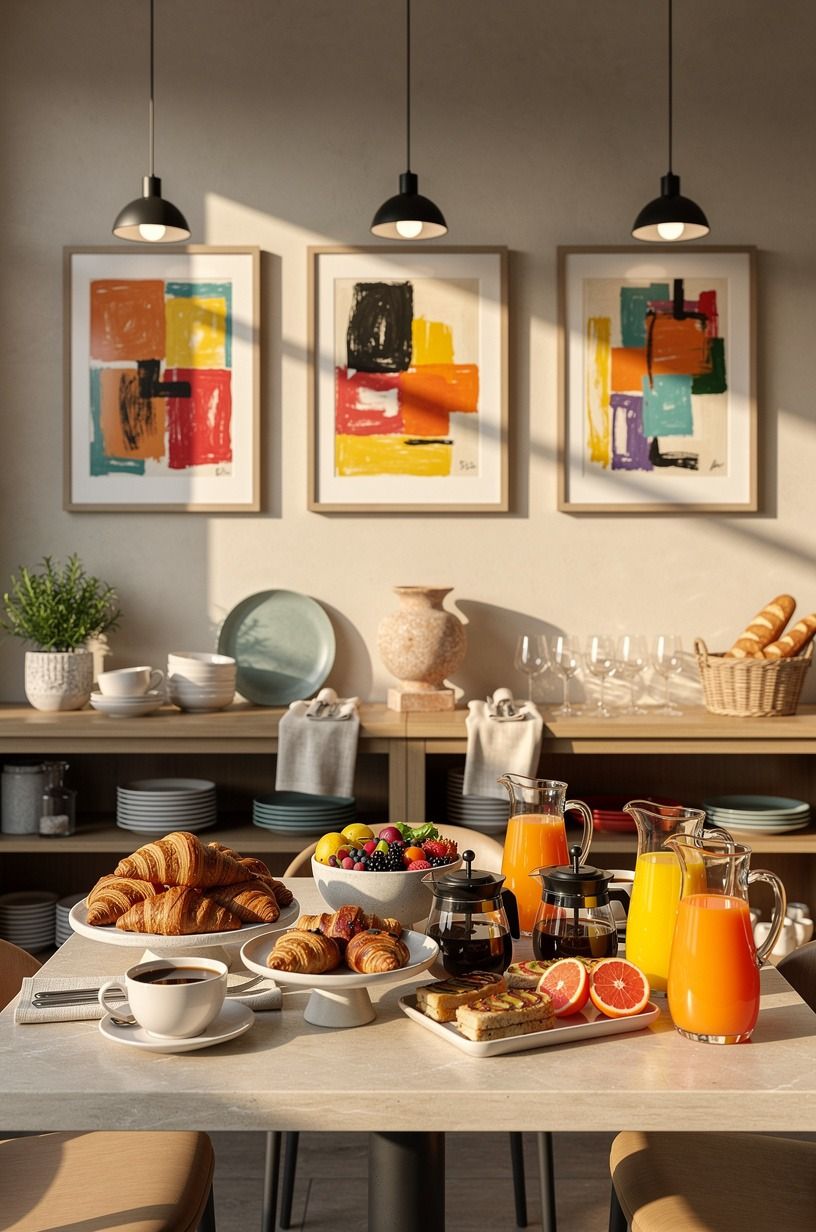
Hang one piece of art above the bar with its center about 57-60 inches, or 145-152 cm, from the floor. That keeps the art at eye level for most guests and stops the table from feeling visually top-heavy.
Your artwork doesn’t need to show food. A landscape, botanical print, or hand-painted shape can work better.
Choose a botanical print with emerald, gold, or cream already present in your dishes or napkins. I’d avoid a gallery wall here because several small frames can make the serving area feel busy. One oversized piece creates a calm focal point, especially when your table includes several bowls, pitchers, and utensils.
And if you’re using removable hooks, test the weight before hanging a glass frame. A lightweight organic bouclé wall hanging is safer for renters and easier to move after the party. You can borrow the welcoming, personal feeling from this guide to building meaningful connections anywhere and choose art that gives guests something to discuss.
9Frame the Flow With Open Storage
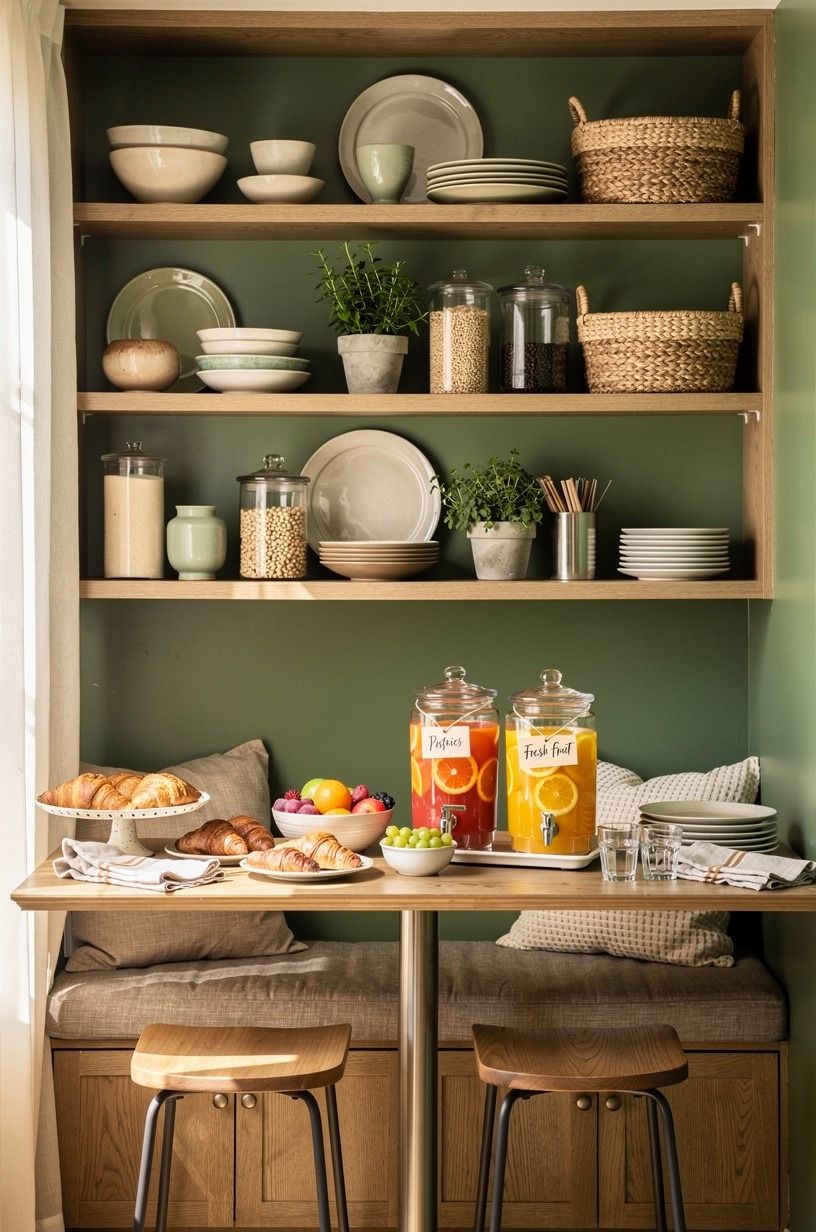
Place open storage at the end of the bar for napkins, cups, extra spoons, and refill items. Your guests won’t need to open drawers while holding a plate, and you’ll see what needs replenishing from across the room. This is especially useful in a small kitchen where every cabinet door creates a traffic problem.
Use a natural-oak IKEA KALLAX cube with a slim Nero Marquina black marble shelf and containers in only two colors. The open squares keep supplies visible, while baskets hide the less attractive items.
I’d skip a rolling cart if your room is narrow. It looks flexible, but its wheels often end up parked exactly where people need to stand.
Put backup food in one open natural-oak cubby, then place clean utensils in another. If you’re styling an unusual room, the hidden door project offers clever storage thinking that can help you conceal party supplies after brunch. Your goal is a station that still feels calm when the first tray is empty.
10Could Your Guests Build It Without Asking?
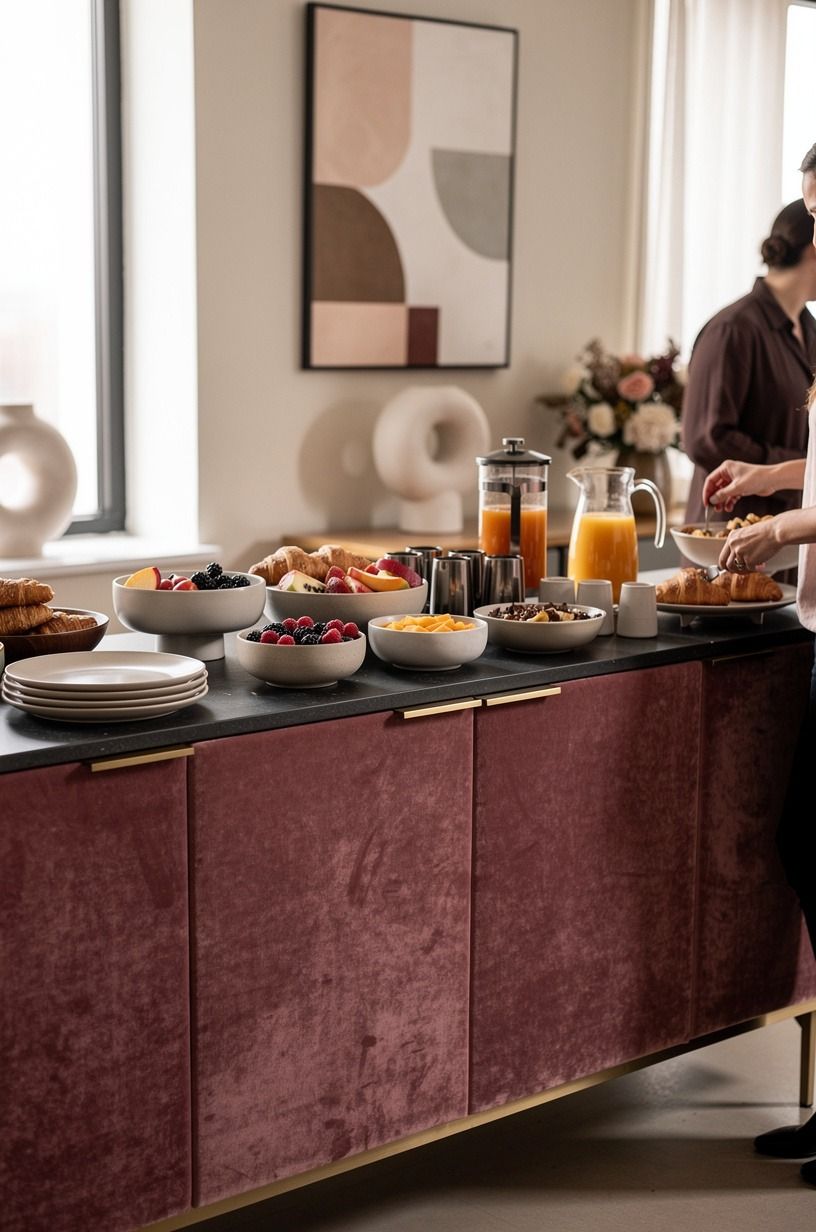
Walk through the bar as if you’ve never seen it before.
11Swap Plastic for Refillable Vessels
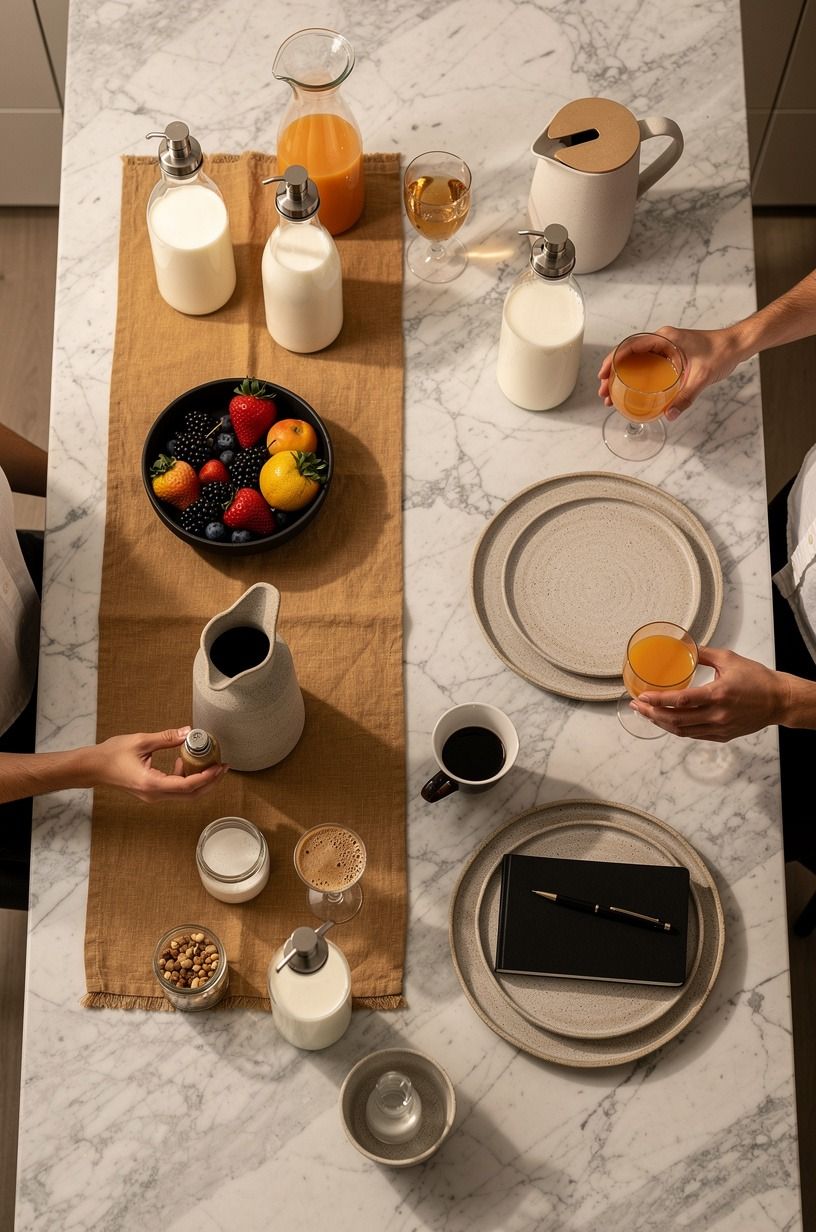
Replace single-use plastic containers with refillable bowls, jars, and pitchers wherever you can. Your guests will see the ingredients more clearly, and the whole bar feels more intentional without becoming precious. Glass jars work well for seeds, granola, honey, and small toppings.
Use amber glass jars for ingredients that don’t need refrigeration, then add a small spoon to each one. I’d skip narrow-neck bottles for syrup because they clog quickly and make sticky spills harder to clean. Wide openings are less glamorous on a shelf, but they’re far more practical during a busy brunch.
Keep cold items in shallow containers over a bed of ice, and replenish them in smaller batches. You’ll protect the food and avoid presenting one large, picked-over bowl.
If your event moves outside, the outdoor bar guide has useful ideas for weather-friendly serving zones. A 600gsm Turkish cotton towel nearby makes cleanup feel planned rather than frantic.
12Choose the One-Plate Rule Over Matching Decor
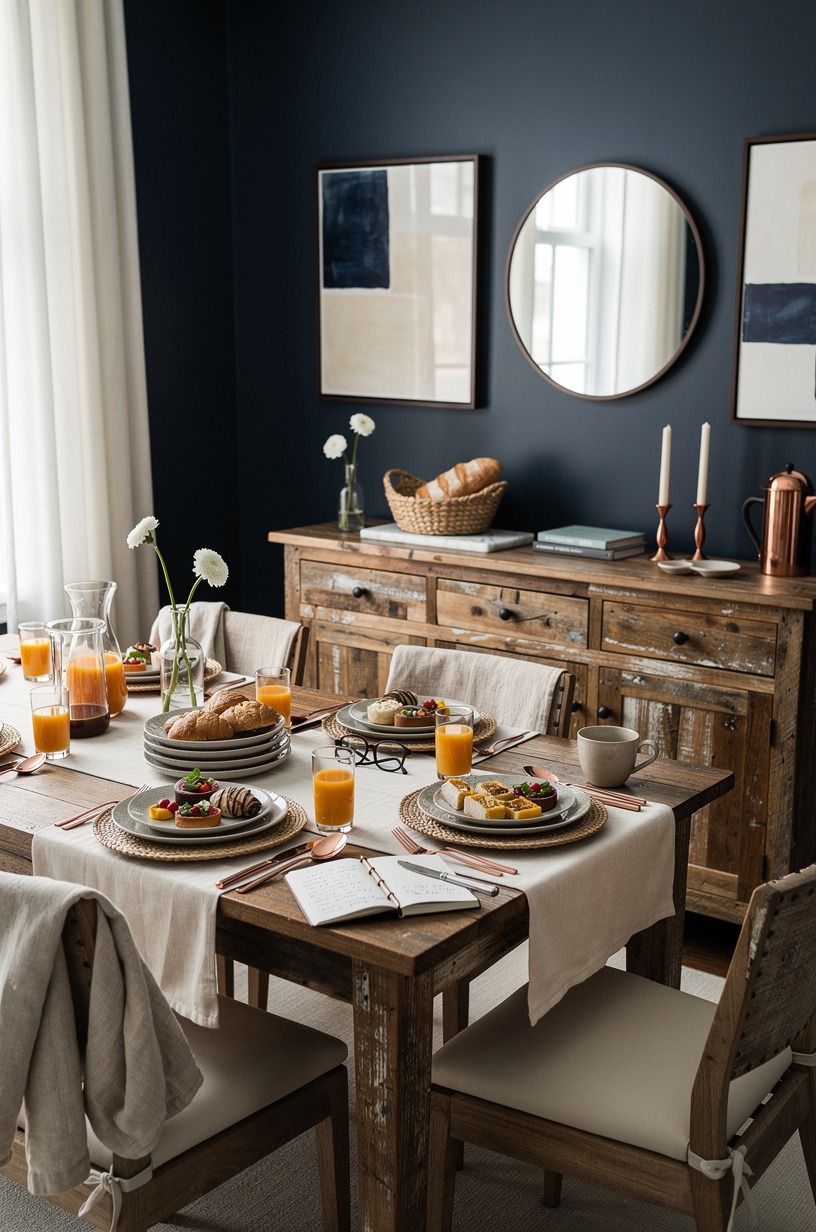
Give each guest one dinner plate, one small bowl, and one glass at the start. The One-Plate Rule keeps the bar from filling with extra dishes before anyone has eaten. Your guests can return for seconds, but the first pass stays simple and the table remains usable.
Choose a speckled stoneware plate with a slightly raised rim so fruit, toast, and yogurt don’t slide into one another. I’d skip a matching plate-and-bowl collection if it means losing counter space. One reliable plate shape matters more than a coordinated set, especially when you’re serving several textures.
Set napkins at the end of the path, beside a small bowl for used spoons. And put the trash or compost container somewhere visible, not hidden under the sink. If you’re building a more playful gathering, the DIY party decoration ideas can help you add personality without covering every surface.
Your bar should feel warm, relaxed, and easy to reset.
What the Cost Tells You
A DIY brunch bar can be assembled gradually, but the cost changes sharply once you add furniture and lighting. The table below uses the supplied typical US ranges, so you can decide whether to refresh what you own or invest in a more permanent station.
For individual materials, these typical ranges can help you prioritize.
If your budget is tight, spend first on the serving surface and lighting. A wool rug can wait, and your existing chairs may be good enough once the food path works.
You don’t need every upgrade at once. A clean table, readable labels, and warm light will do more for your guests than expensive accessories.
Why I’d Build This for People, Not for Photos
I’ve hosted enough brunches to know that the prettiest bar isn’t always the most useful one. The setup that looked best in my dining room had tall flowers, narrow glasses, and no place to put a used spoon.
It looked refined for ten minutes. Then the flowers blocked the jam, the glasses tipped, and everyone crowded the kitchen instead.
That’s why I’d build this around movement first. Your guests need to understand where the bar begins, where the plates go, and how to leave the area without bumping into someone else.
The warm details matter, but they should support the gathering rather than compete with it. A linen runner can soften a folding table. It doesn’t need to pretend the table is custom furniture.
I also think a little imperfection helps. The best brunch bar I’ve made used mismatched boards, one chipped ceramic bowl, and handwritten labels that weren’t perfectly straight.
The food felt generous because it wasn’t over-controlled. Your guests could reach, choose, and build something that suited them.
If you’re deciding where to spend, choose the thing that removes friction. Better lighting helps people see. A wider tray gives them room to pour.
A low bowl makes toppings easier to reach. Those are small decisions, but they change the mood of the whole morning.
I’d rather have a simple bar that lets people talk than an elaborate one that makes everyone afraid to touch it.
What People Always Want to Know
What is the best DIY brunch bar idea for a small space?
A narrow serving wall with a slim console and three trays works best because it uses vertical space without blocking the room. Your strongest small-space choices are a yogurt topping station, one drink tray, and a compact grab-and-go basket. Keep the center clear so guests can turn easily.
Where can I buy DIY brunch bar pieces on a budget?
Look at IKEA, Wayfair, Target, Facebook Marketplace, and local thrift shops. Your best finds may be secondhand trays, jars, and small tables. For extra party inspiration, browse the self-serve candy station guide before you shop.
How much does a DIY brunch bar makeover cost?
A basic makeover typically runs about $200-$800 for paint, textiles, art, and organization. Your existing table, dishes, and jars can reduce the cost. A mid-range setup with accent furniture, lighting, and a rug typically falls between $1,500 and $5,000.
Can I create a DIY brunch bar on a budget?
Yes, and you can start with what you own. Use a kitchen table, thrifted glass jars, handwritten labels, and a washable towel as a runner. Your first paid upgrade should be a good tray or warm lamp, because either one makes the setup easier to use.
Is a DIY brunch bar worth it in a small space?
Yes, because a small footprint forces you to edit the setup. Choose one serving surface, one drink zone, and one storage basket.
Your guests will move more easily when every item has a clear home. A narrow console usually works better than a deep buffet.
Is a DIY brunch bar a good idea for a rental?
Yes. Use a removable wallpaper panel, tension rod, peel-and-stick hooks, and freestanding furniture instead of drilling into the wall.
Your labels can hang from ribbon, and a lightweight canvas can replace framed art. The bar can move with you when the lease ends.
Where I’d Start First
If I had to pick one step, I’d start with the serving wall. Your guests can forgive mismatched dishes, but they can’t navigate a crowded table.
Give them one clear path, then add the warm light and toppings. Pin the layout for later, and build the rest around that first decision.