
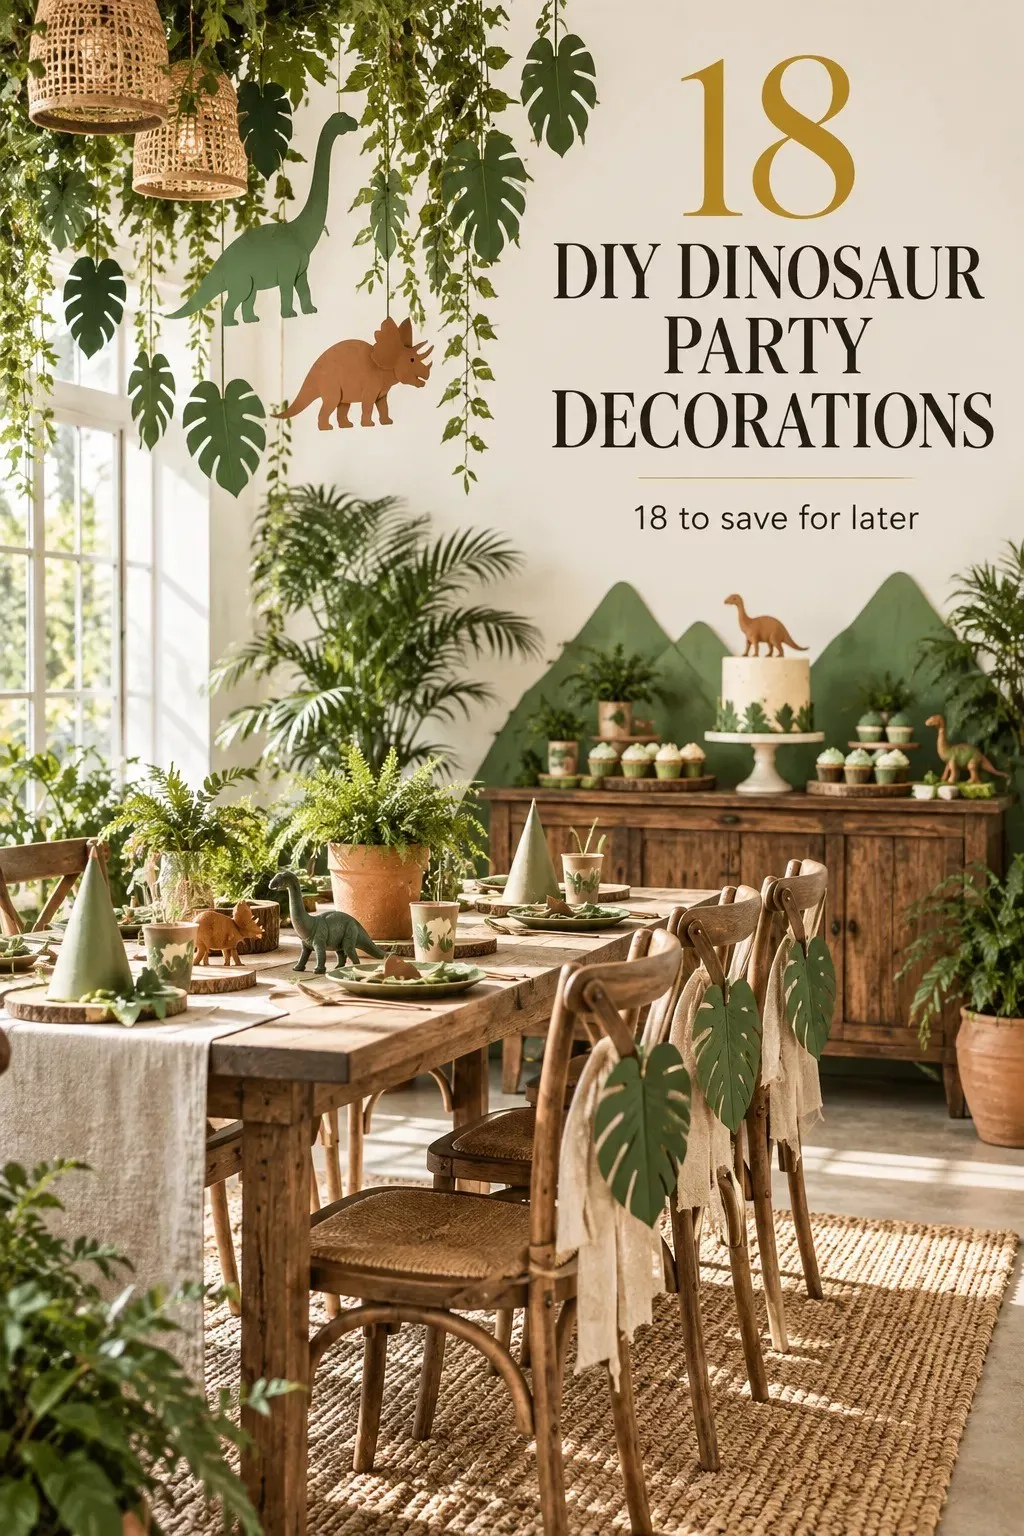
DIY dinosaur party decorations can turn a plain room into a warm, adventurous backdrop with paper, paint, cardboard, and a little imagination. I once covered a table in random green plastic and called it finished. It looked flat. Now I build height, texture, and one dramatic focal point first. You’ll get better photos, happier kids, and less clutter.
- Layer dinosaur birthday party decorations with a jungle ceiling
- Build the Two-Wood Rule for a fossil table
- Paint a fossil wall in Benjamin Moore White Dove
- Layer dinosaur birthday party decorations with a jungle ceiling
- Build the Two-Wood Rule for a fossil table
- Paint a fossil wall in Benjamin Moore White Dove
- Make the Three-Height Light Stack
- Cut dinosaur footprints from terracotta cardstock
- Frame the cake with a paper volcano
- Hang a jungle banner instead of a plastic sign
- Mix the Fossil Dig Sensory Station
- Use a budget backdrop with real planning numbers
- Swap plastic leaves for painted monstera shapes
- Create a dino egg nest from linen and paper
- Build a name sign with layered cardboard
- Paint a fossil garland with imperfect edges
- Arrange dinosaur figures in a reading corner
- Float a fern wall behind the gift table
- Choose painted rocks over extra party favors
- Frame the entry with a “Jurassic” curtain
- Contrast soft neutrals over loud primary colors
1Layer dinosaur birthday party decorations with a jungle ceiling
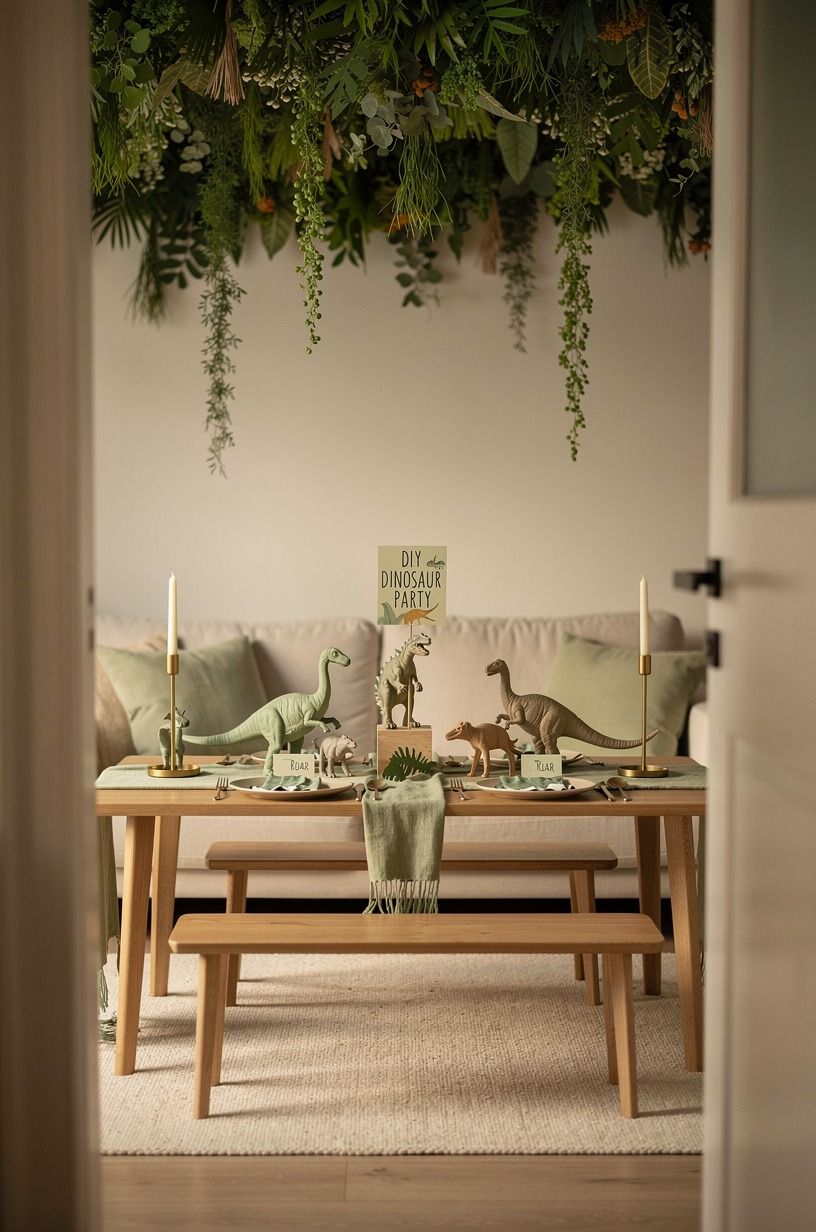
Start with a ceiling canopy made from sage green crepe paper, brown kraft paper, and wide strips of olive tissue paper. Twist the strips loosely, then tape them from the center of the ceiling toward the walls so your guests walk beneath a soft jungle canopy. It’s inexpensive, airy, and far more inviting than hanging every decoration at eye level.
You’ll want three heights: long vines above the food table, medium leaves near the cake, and short paper fronds around the gift area. I’d skip shiny foil garlands here because they reflect harshly in photos.
The matte paper catches light gently, and it won’t compete with the dinosaurs. And if you’re collecting more seasonal ideas, this collection of homemade New Year’s decorations has useful paper-folding inspiration.
Typical cost by tier (US averages):
2Build the Two-Wood Rule for a fossil table
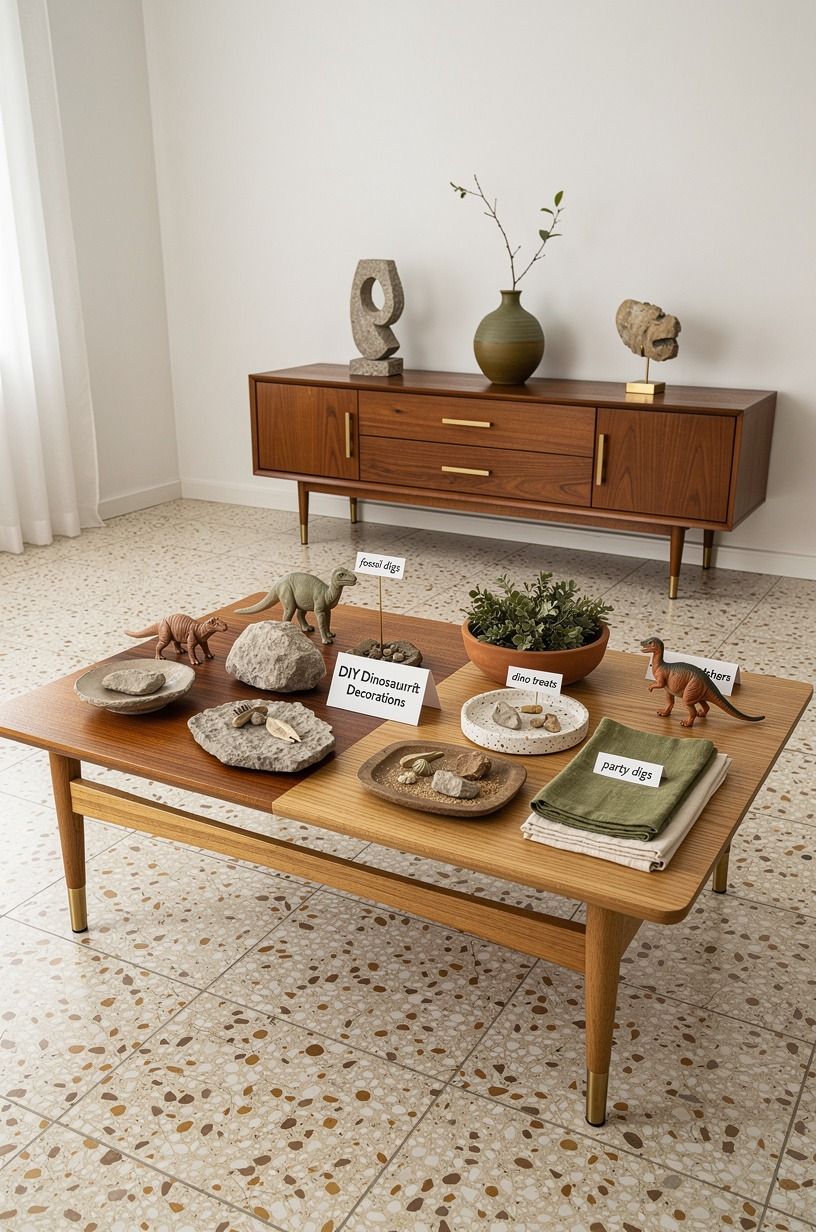
The Two-Wood Rule keeps a dinosaur party table from looking like a toy aisle. Use one pale wood tone, such as unfinished pine, and one darker accent, such as walnut-stained plywood. Put the cake stand and serving boards on the pale wood, then use the darker tone for labels or a narrow riser.
Your eye needs contrast, but it doesn’t need twelve colors. I tested this with a chaotic mix of bamboo, painted crates, and bright plastic trays, and the table felt noisy.
Now I’d choose two wood tones, one green, and one sandy neutral. You’ll still get an earthy scene, but the food will read clearly.
Add small air-dry clay fossils between plates for texture.
3Paint a fossil wall in Benjamin Moore White Dove
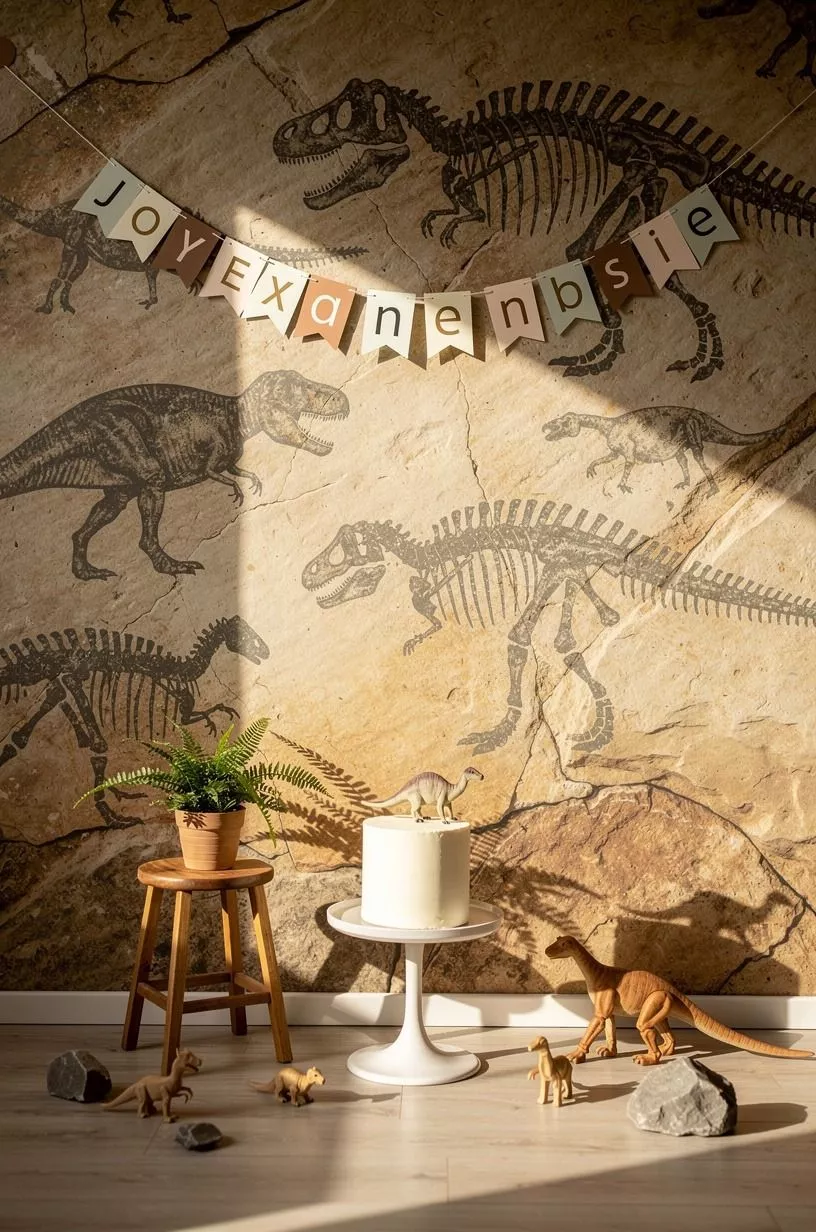
A fossil wall gives your DIY dino party decorations a backdrop that feels soft rather than cartoonish. Paint a large sheet of cardboard with Benjamin Moore White Dove OC-17, then add charcoal fossil shapes using a sponge and diluted acrylic paint. The warm white keeps the display bright, while the gray marks create gentle contrast.
You don’t need a full mural. A 6-foot strip behind the cake can anchor the room, especially if your party is in a rental.
I’d avoid covering the wall with random footprints because the pattern gets busy fast. Instead, arrange three large fossil impressions and leave open space around them. And remember, your artwork’s center can sit about 57 to 60 inches from the floor if you’re hanging it like framed art.
4Make the Three-Height Light Stack
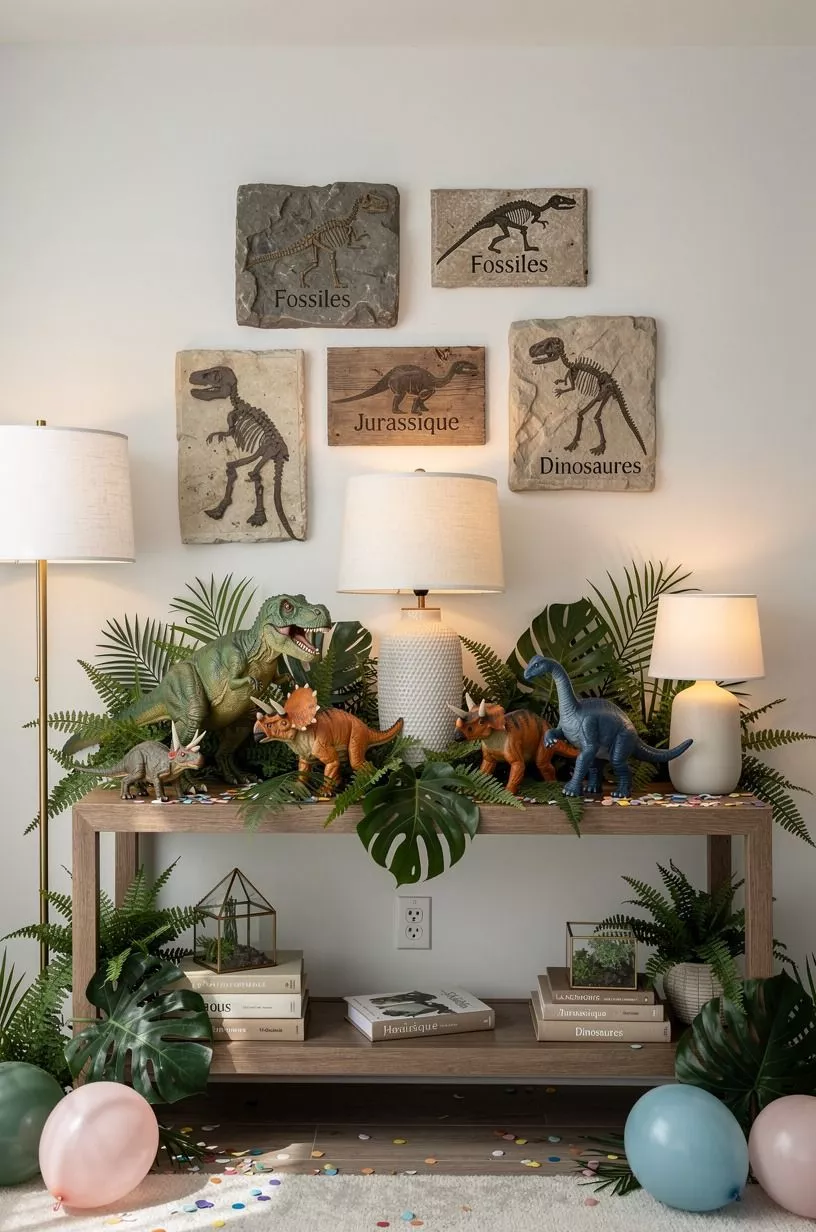
The Three-Height Light Stack uses an overhead glow, a table-level glow, and a low ambient glow.
5Cut dinosaur footprints from terracotta cardstock
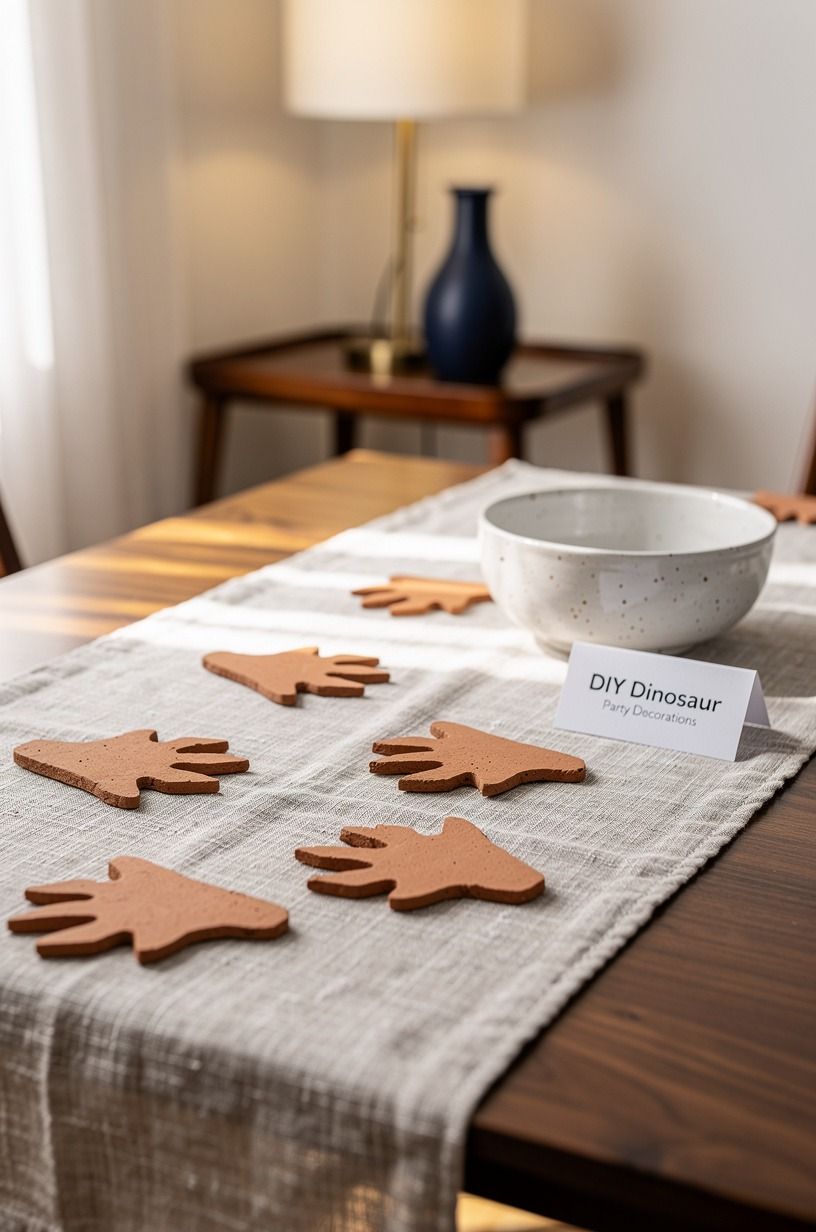
Cut oversized footprints from terracotta cardstock and place them in a winding trail from the front door to the cake table. Make each print slightly different, because identical shapes look machine-made. A few angled toes and uneven edges will make your path feel playful and organic.
If you’re hosting young children, keep the prints flat and secure them with removable floor tape. You don’t want a dramatic entrance followed by a dramatic slip.
I’d choose terracotta over bright red because it works with Farrow & Ball Pigeon No.25, leafy greens, and natural wood. Your photos will look warmer, and the footprints won’t fight the cake colors.
They’re charming enough to keep after the party, too!
6Frame the cake with a paper volcano
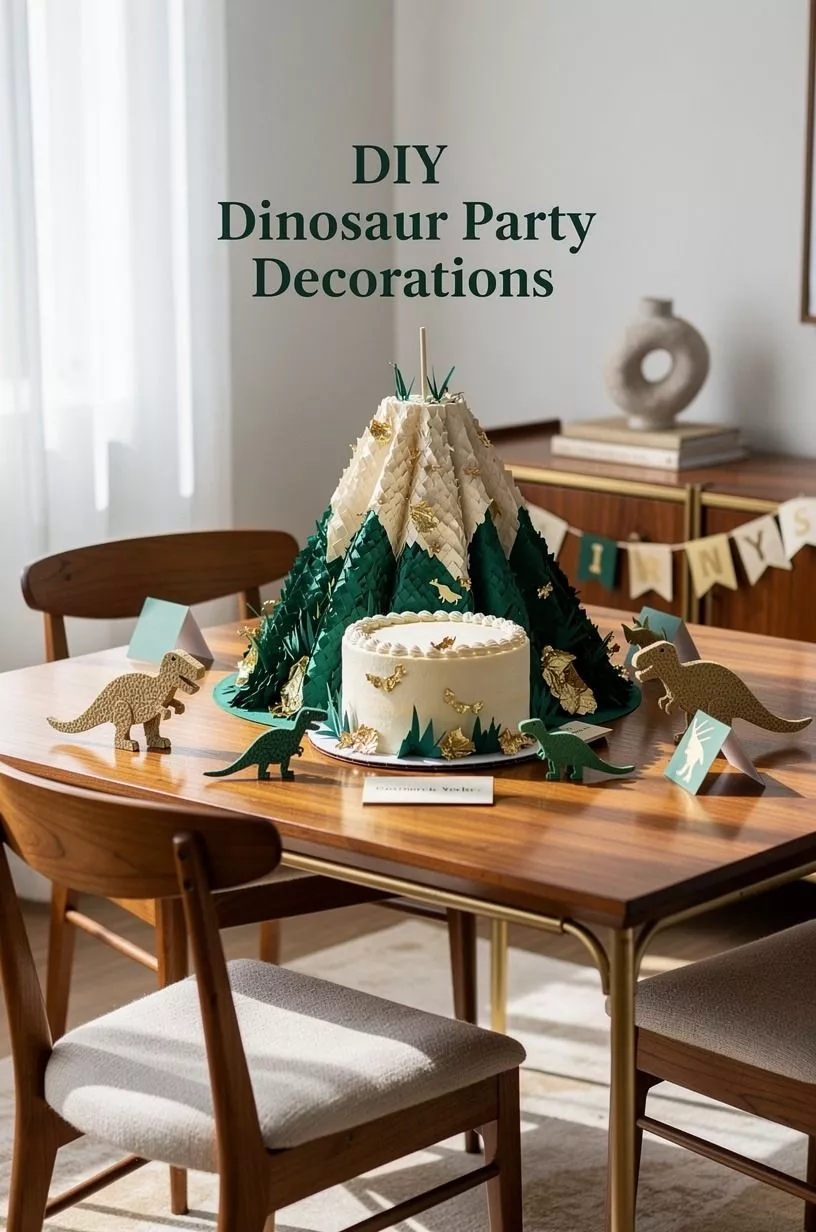
A paper volcano creates the focal point your dessert table needs. Build a wide cone from cardboard, cover it with kraft paper, and paint thin streaks of rust, sand, and deep brown down the sides. Leave the top open so you can tuck in paper flames or leafy stems.
You’ll want the volcano to sit behind the cake, not beside it. That placement makes your dessert look intentional without hiding the frosting.
I made the mistake of making mine too narrow once, and it looked like a traffic cone. A broader base feels dramatic and stable. Add a small sign that says “eruption zone,” then keep the rest of the table quiet.
Your dinosaur becomes the character, not one more object.
7Hang a jungle banner instead of a plastic sign
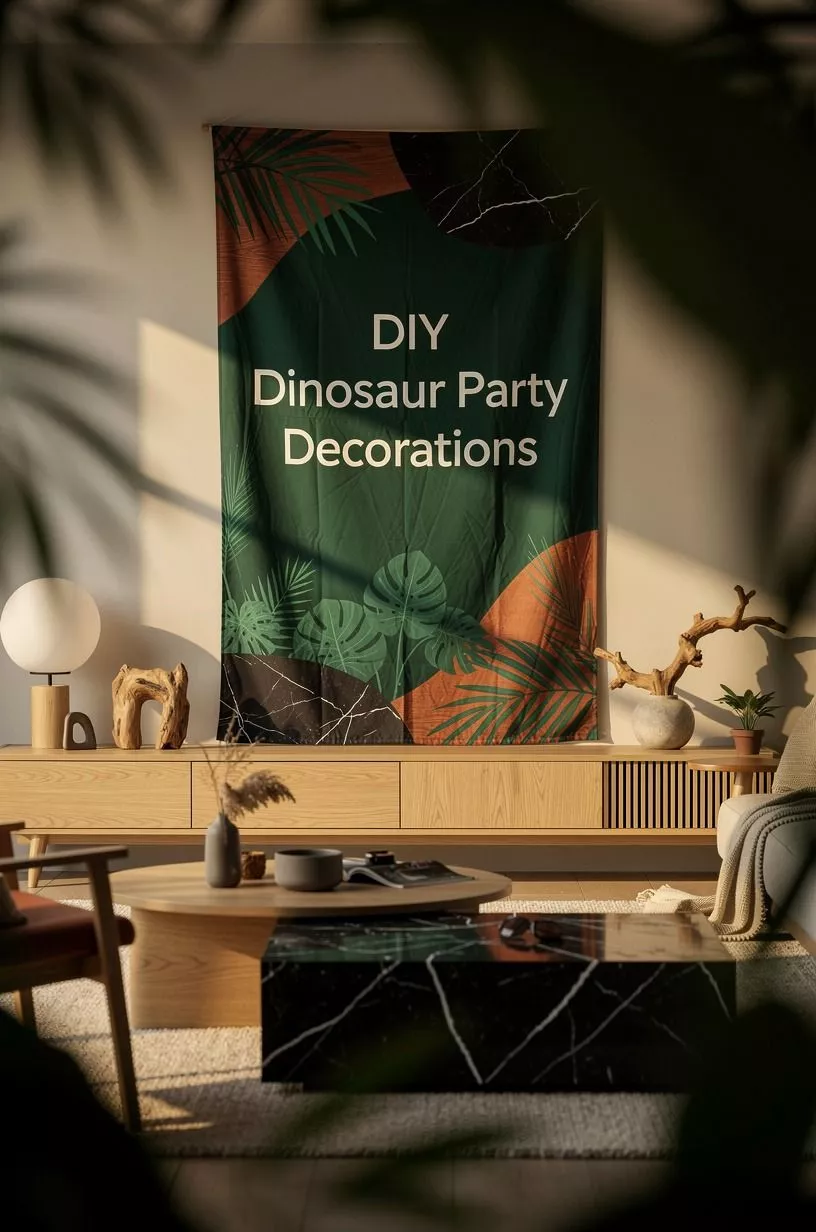
A banner made from linen-look paper and hand-painted leaves feels more refined than a glossy printed sign. Cut triangles, paint one leaf on each, and string them on cotton cord. Between the leaves, add letters spelling the child’s name or “Dino Day.”
You don’t need perfect lettering. In fact, slightly uneven brushwork makes the banner feel personal.
I’d use Sherwin-Williams Agreeable Gray SW 7029 as a tiny accent behind the letters if your party palette needs a calm neutral. Your green leaves will stand out without turning the wall into a color fight.
Keep the banner around eye level, then let the ceiling vines carry the height.
8Mix the Fossil Dig Sensory Station
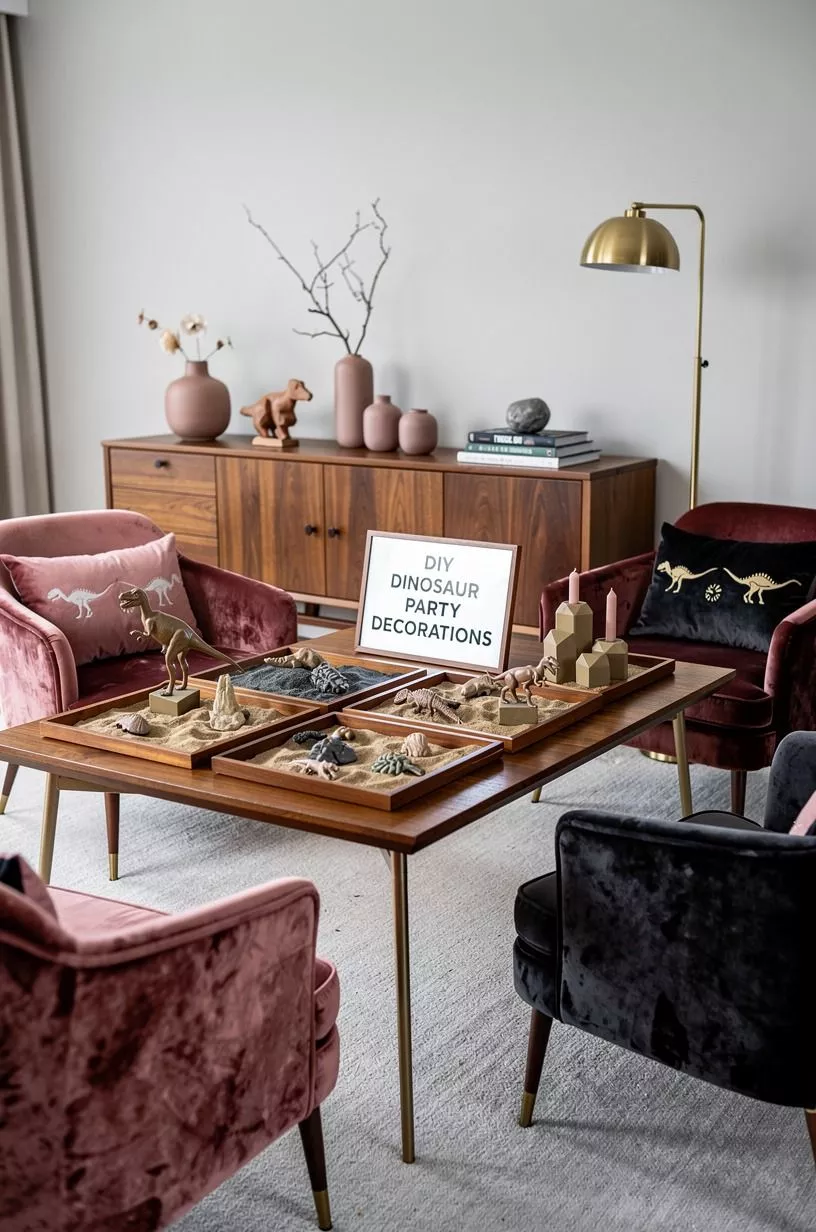
Set up a fossil dig using a shallow unfinished wooden tray, kinetic sand, and large plastic dinosaur bones. This decoration does double duty because it gives children something to explore while adding a tactile centerpiece to the room. Place the tray near the favor table, where small spills won’t ruin the cake display.
You’ll want a scoop, a soft brush, and a simple card with three “finds” to search for. Don’t use tiny pieces if toddlers are coming.
I’d choose large shapes and let your textures do the work: sandy beige, chalky white, and dark brown. The station feels earthy and peaceful, even when the rest of the party gets loud. And if you’re serving a second dessert, these three-layer Nanaimo bars bring a nice chocolate contrast.
9Use a budget backdrop with real planning numbers
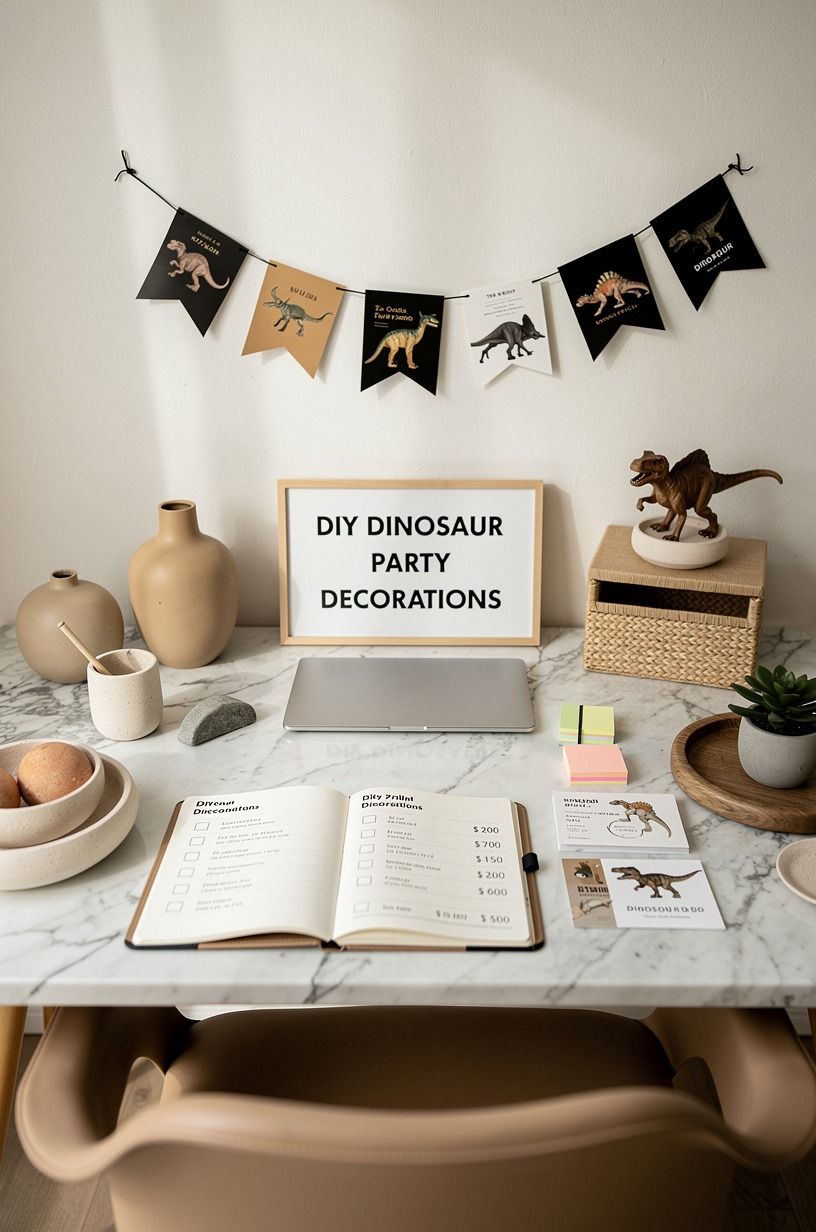
A backdrop can be inexpensive when you focus your budget on one wall instead of decorating every surface.
10Swap plastic leaves for painted monstera shapes
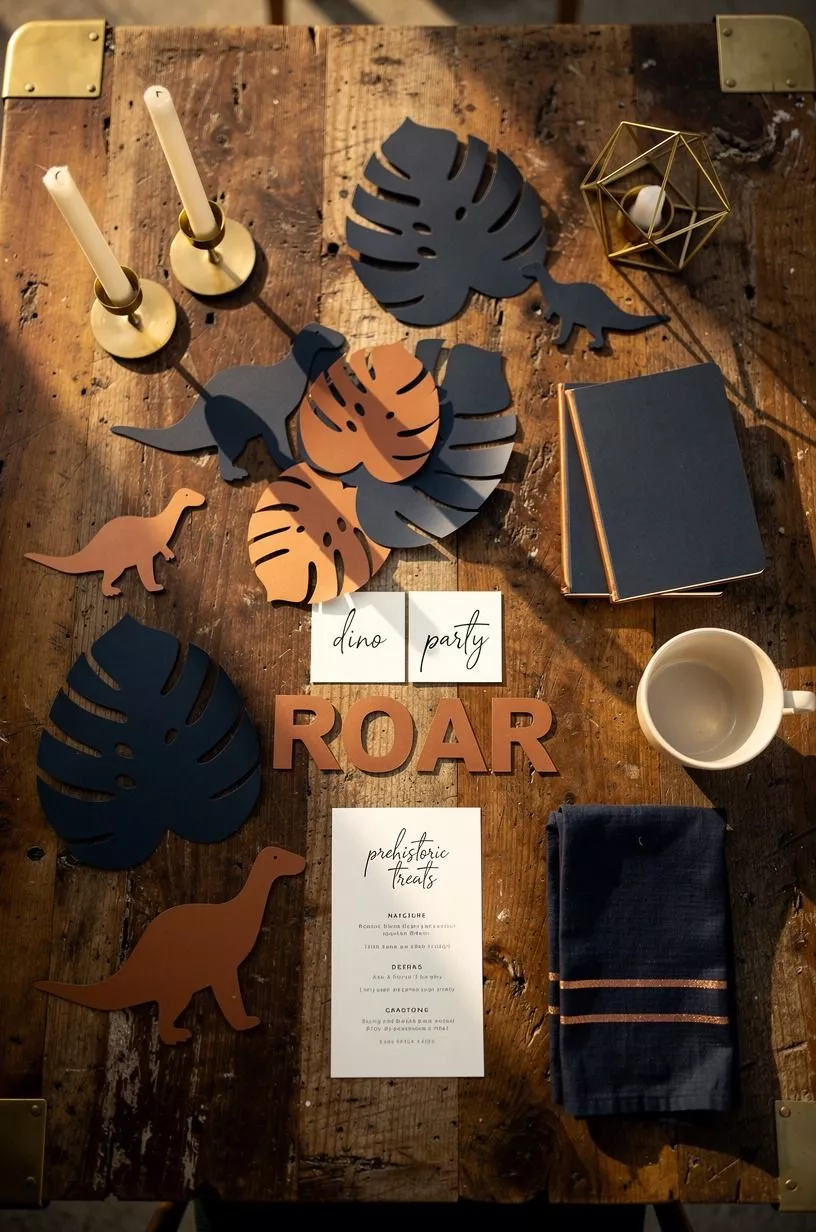
Paint large cardboard monstera leaves in two or three greens, then overlap them behind the food table. The cutouts create a bold, organic frame without the shine and stiffness of plastic foliage. Mix one dark leaf with several pale ones so your dinosaur figure doesn’t disappear.
You can use leftover shipping boxes for the shapes, which makes this one of the more budget-friendly dinosaur theme decorations. I’d avoid painting every leaf the same green.
Real foliage has variation, and your backdrop will feel more captivating when the edges shift in tone. If you’re unsure about placement, start low and build upward. And don’t be afraid to leave one corner bare.
11Create a dino egg nest from linen and paper
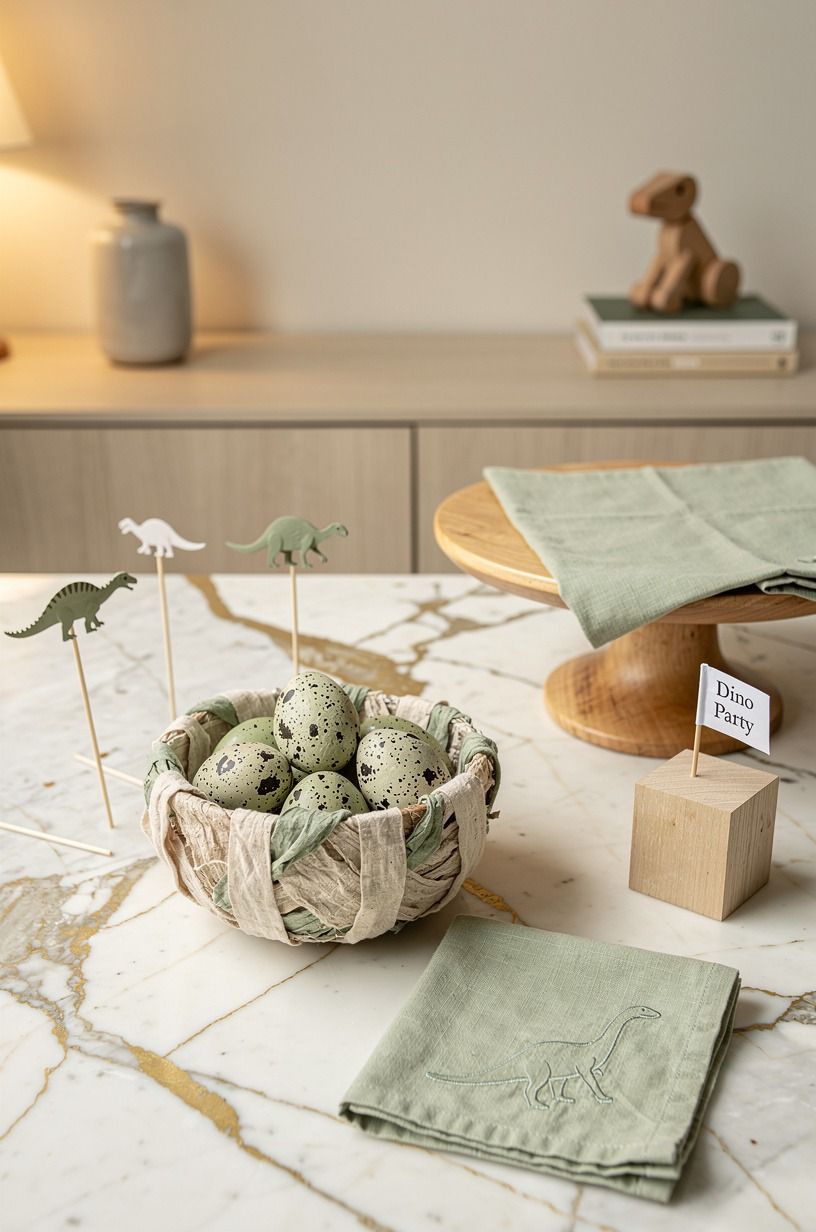
A nest filled with paper eggs gives your table a soft, storybook detail. Twist natural jute cord into a loose bowl, then fill it with crumpled kraft paper and painted eggs. Use cream, sand, and one muted blue so the display feels gentle rather than overly bright.
You’ll want the eggs to vary in size, but not so much that they look like sports balls. I’d make the nest wide and low, then place it beside the invitations or party favors.
A tall nest blocks faces in photos. The texture is the charm here, especially when the cord catches warm light.
For a food table with a more grown-up feel, pair it with roast capon prepared at home, if your gathering includes adults.
12Build a name sign with layered cardboard
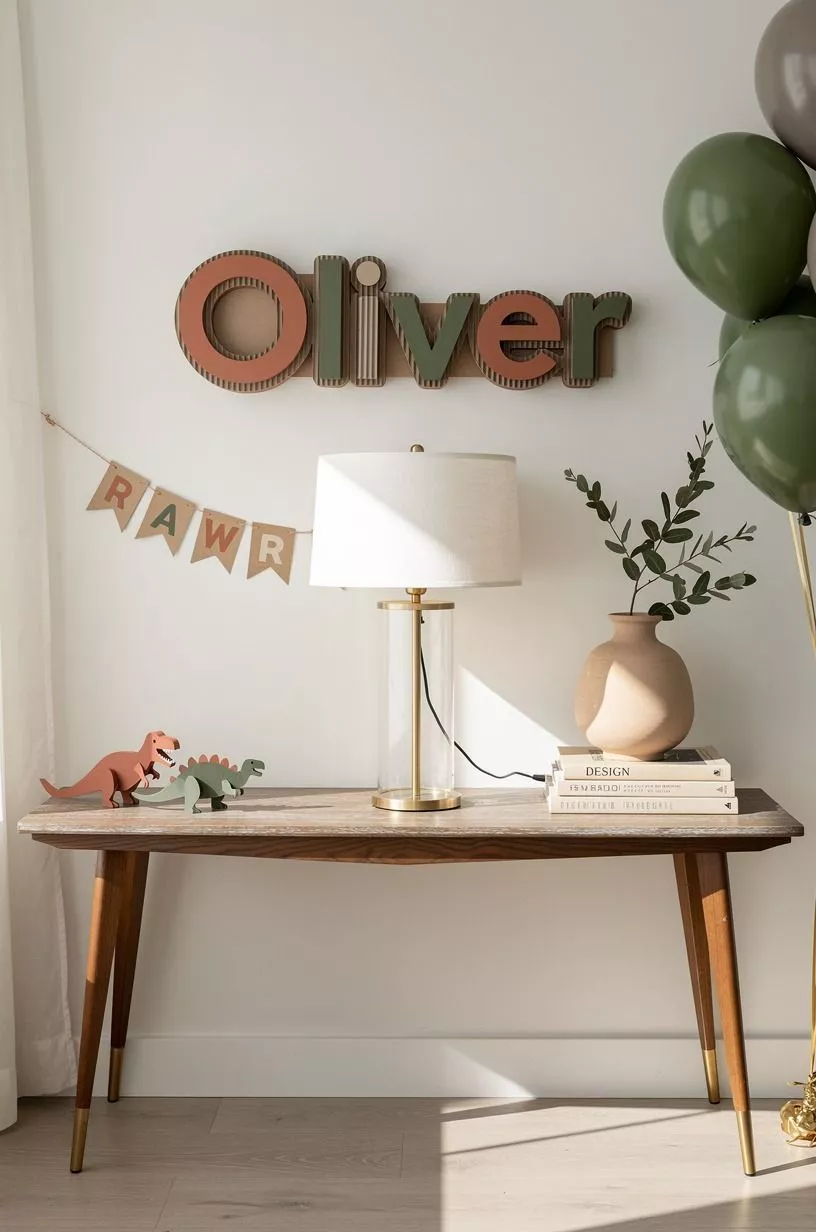
Cut the birthday child’s name from chipboard, then mount each letter on a second cardboard layer to create a raised shadow. Paint the front in deep forest green and the edges in sandy beige. The simple depth makes the sign look custom, even though your materials came from a recycling bin.
You’ll want the sign to sit above the cake or gift table, but never directly behind a person’s head in group photos. I’d skip script lettering because it’s harder for children to read. Use chunky capitals and add one small footprint beneath the name.
Your sign can become a bedroom decoration later, which is a nice bonus. It’s practical, personal, and wonderfully bold.
13Paint a fossil garland with imperfect edges
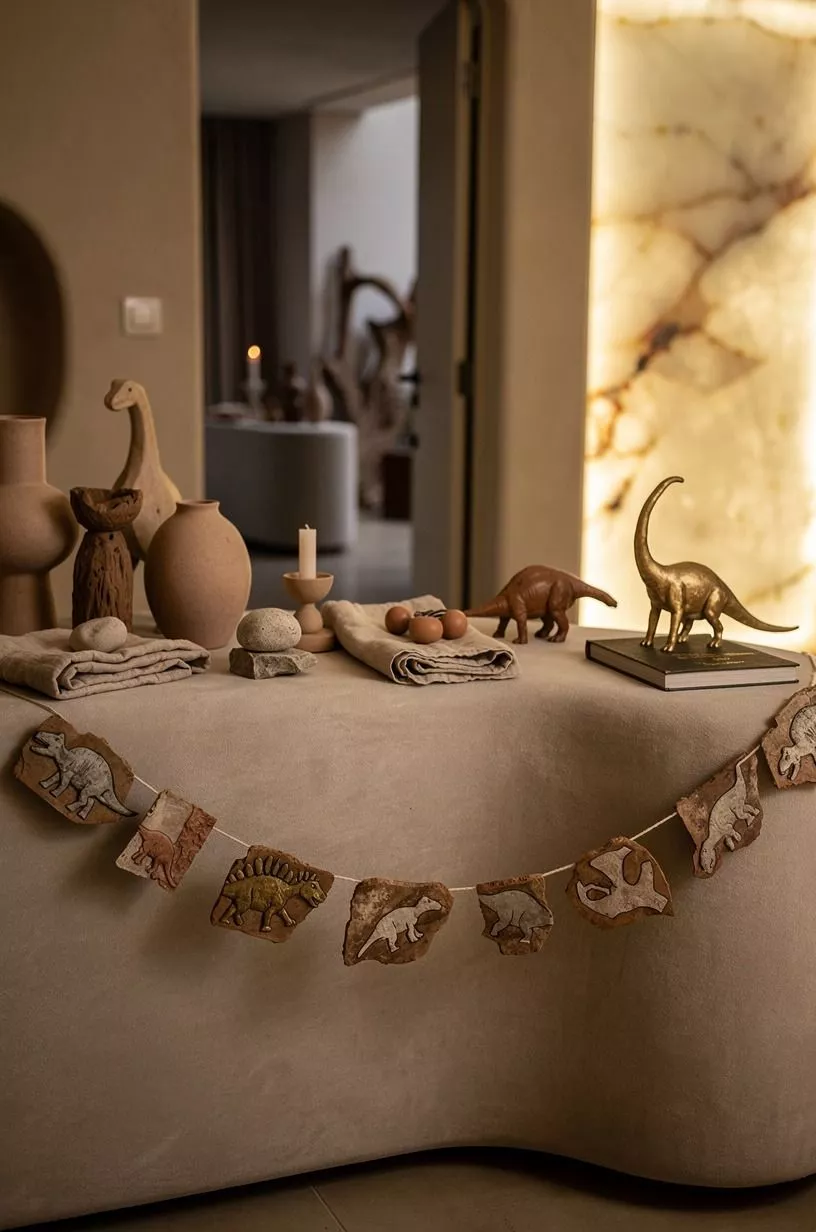
Cut circles and half-moons from recycled cardboard, paint them warm gray, and add fossil lines with a fine brush. String them together with cotton twine so they hang slightly unevenly. The imperfect edges keep this project from looking like a store display.
You don’t need to cover the entire wall. A 4-foot garland above the drinks table is enough to establish the theme.
I’d choose charcoal acrylic paint instead of black because black can look severe beside pale paper and green leaves. Your fossil shapes should read from across the room, but they should still reward a closer look.
And yes, one crooked circle is charming. Keep it.
14Arrange dinosaur figures in a reading corner
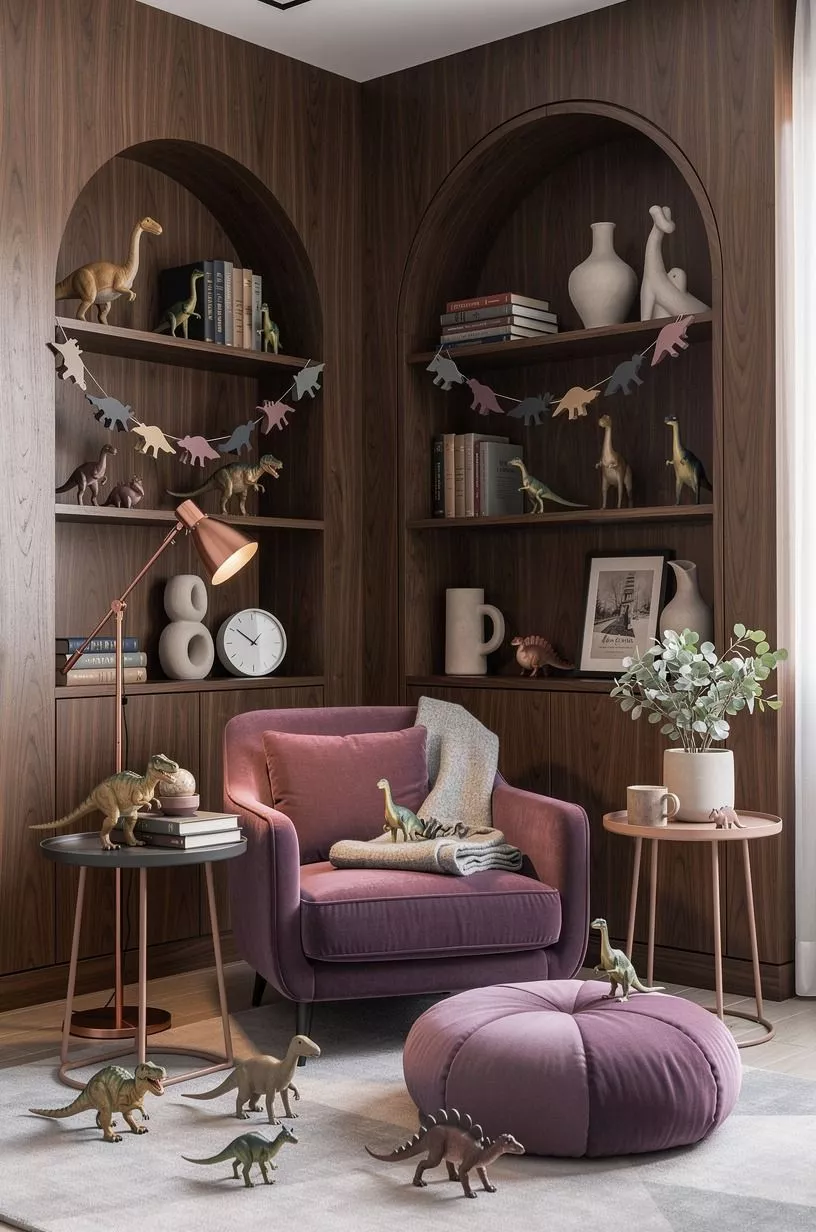
Turn one quiet corner into a small discovery zone with wooden crates, a floor cushion, and three dinosaur figures arranged like a tiny expedition. Add a simple book stack and a paper sign that says “research camp.” The corner becomes decoration, activity, and a place for overstimulated children to reset.
You’ll want the crates secured if children may climb near them. I’d place the figures at different heights, but keep the tallest one below the child’s eye line.
That way your little guests can inspect the details without reaching over a table. Use soft textiles rather than shiny blankets.
The corner will feel peaceful, warm, and lived-in, not staged.
15Float a fern wall behind the gift table
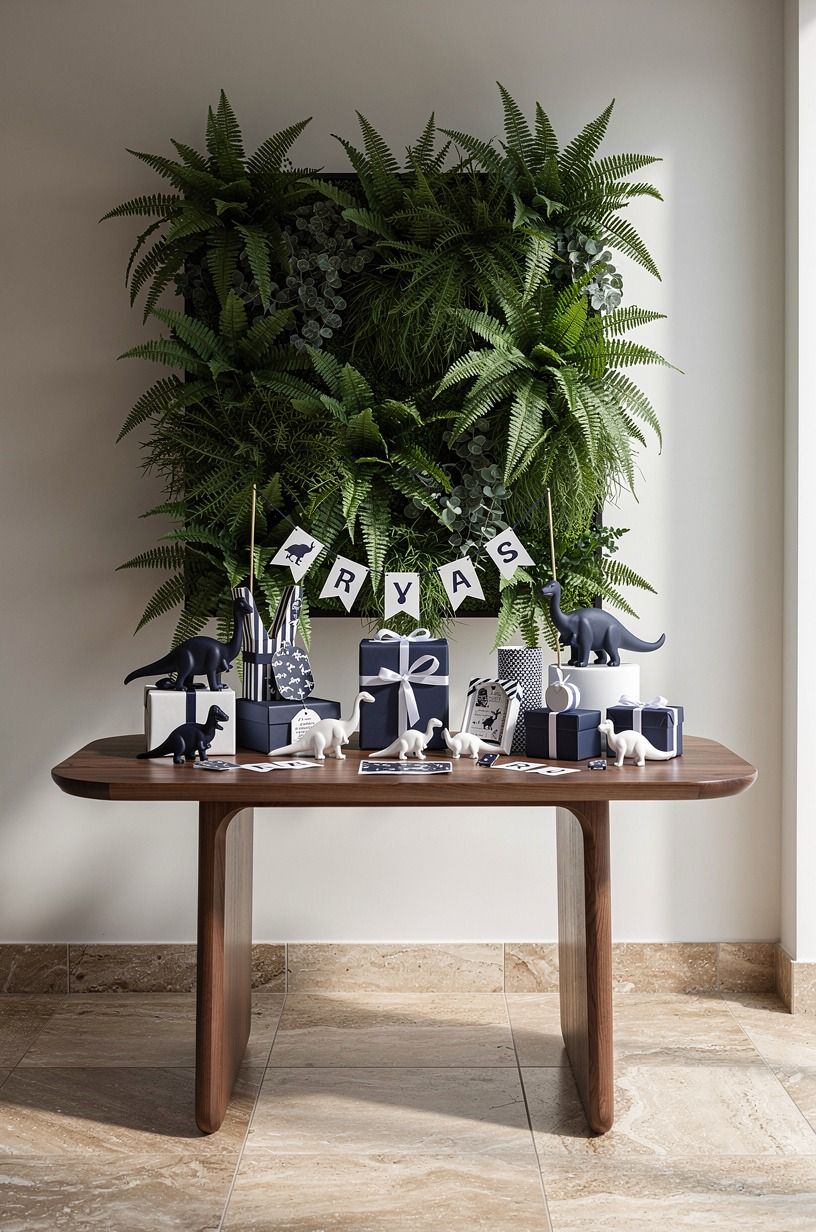
A fern wall made from green butcher paper can fill a large blank area quickly.
16Choose painted rocks over extra party favors
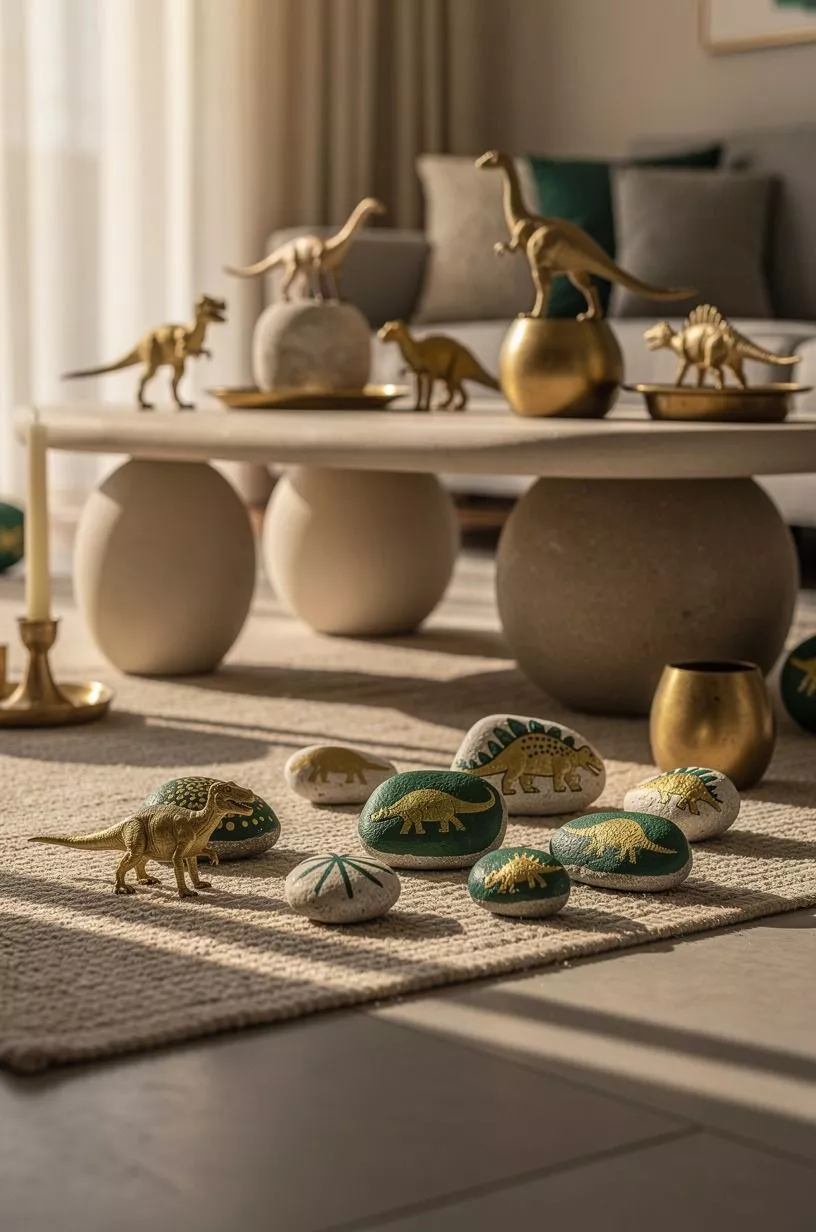
Painted rocks can decorate the table and become take-home favors. Use smooth river stones, then add tiny footprints, fossil marks, or simple dinosaur faces. Arrange them in a shallow bowl near the exit so children can choose one as they leave.
You don’t need a complicated design. I’d use cream, muted green, and ochre, then seal the rocks with a child-safe craft finish once the paint dries. Your guests will remember choosing their own stone more than receiving another plastic trinket.
If you’re also planning a meal, the seafood ideas in huitres gratinees made at home show how a small presentation detail can make a table feel special.
17Frame the entry with a “Jurassic” curtain
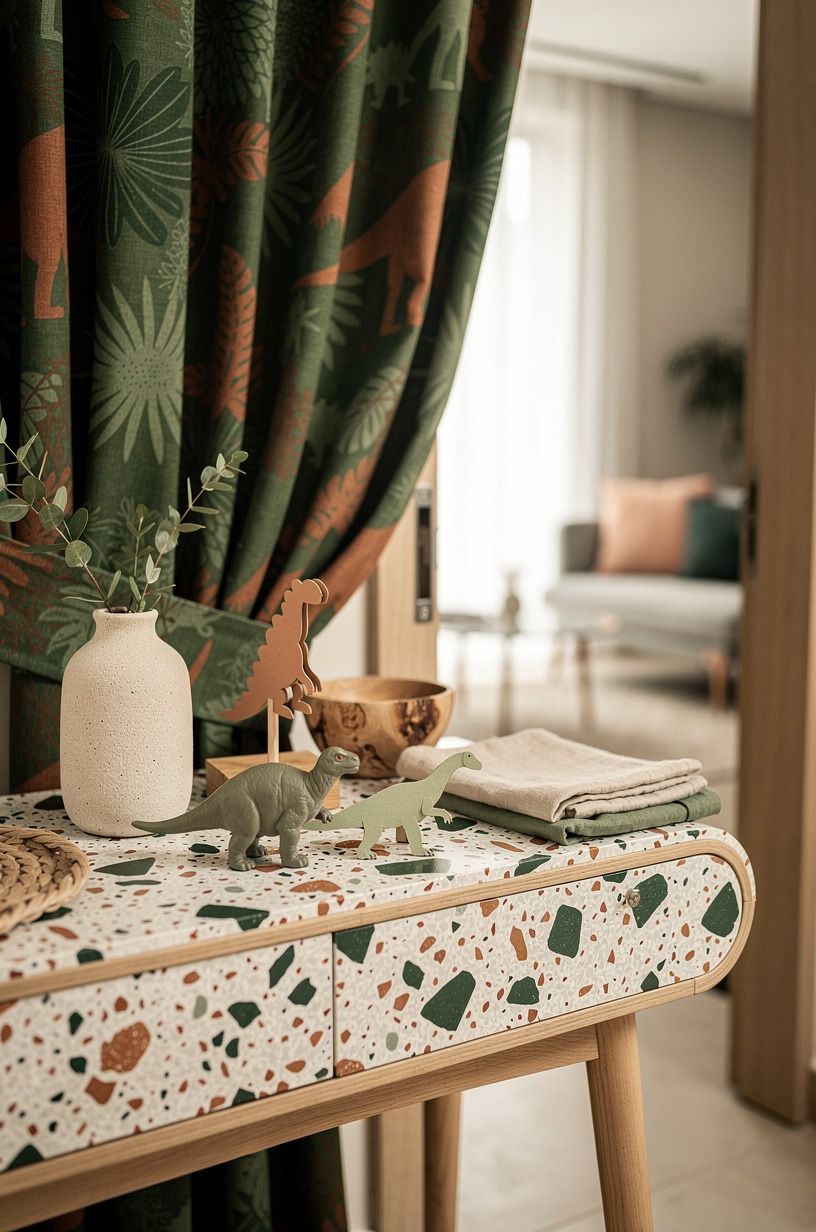
Make an entry curtain from strips of olive crepe paper, brown paper, and a few wide leaves. Hang it from a tension rod so guests pass through a soft, rustling threshold. The movement creates excitement before anyone sees the main party room.
You’ll want the strips long enough to brush shoulders, but not long enough to tangle around feet. I’d use three shades instead of one flat green. Your entrance will feel more dramatic, and the layered color photographs beautifully.
Add a hand-painted “Dino Expedition” sign above it. It’s a small moment, but it tells every guest they’re entering a different world.
18Contrast soft neutrals over loud primary colors
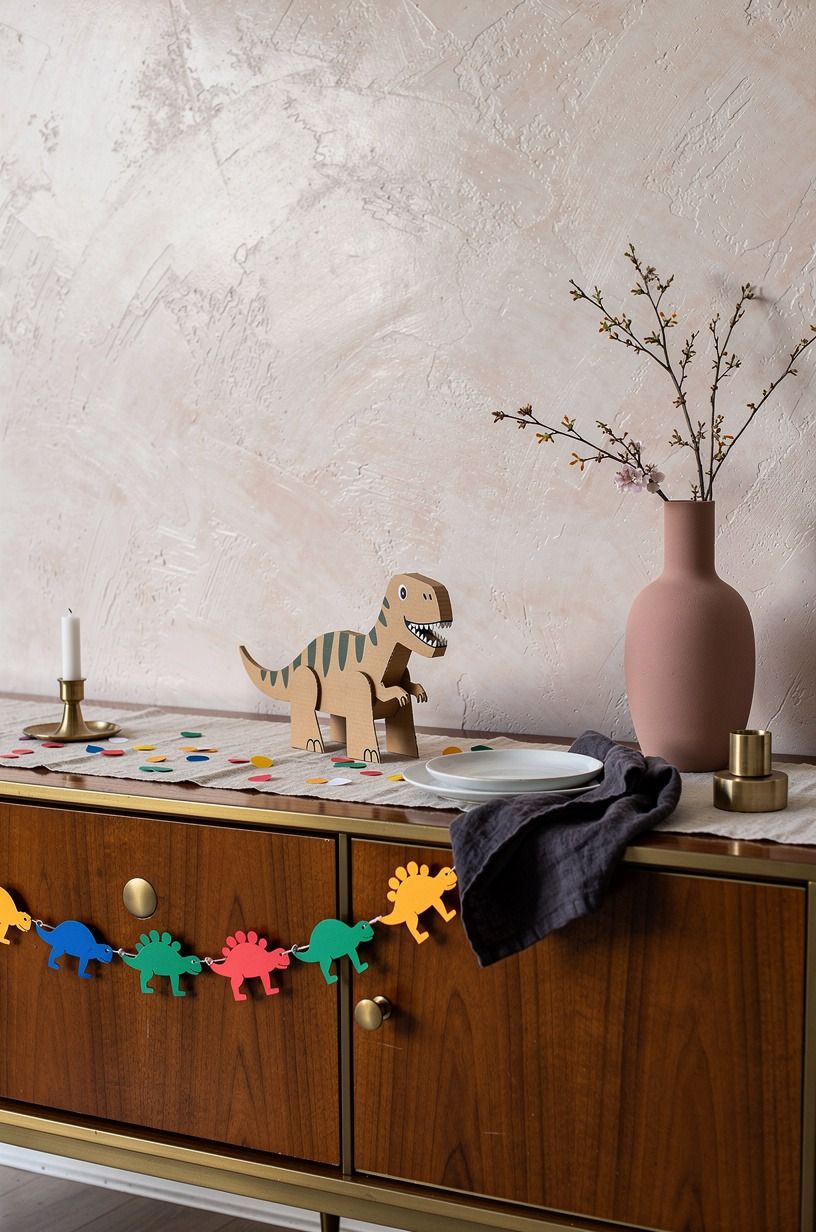
Soft neutrals over loud primary colors is my favorite way to make DIY dinosaur decorations feel modern.
Why This Dinosaur Party Style Still Works
I’ve thrown themed parties where every surface had a matching character, and the room looked tired before the guests arrived. The problem wasn’t the dinosaur theme. It was the lack of hierarchy.
A strong party setup needs one focal wall, one interactive station, and a few repeated textures. Once those are in place, your smaller details can breathe.
The softer palette works because it gives children the story while giving adults a room they don’t mind photographing. Farrow & Ball Pigeon No.25, sandy kraft paper, and unfinished pine all sit comfortably together.
You’ll get an inviting backdrop instead of a wall of competing graphics. And the best part is that most pieces can be folded, painted over, or reused for another celebration.
I’d also keep the lighting honest. Three sources are enough: overhead, task, and ambient.
A warm lamp near the cake, gentle light at the activity station, and one brighter source near the entrance will guide people through the room. That arrangement feels calming, even when the party itself isn’t.
If you want another seasonal design reference, these homemade Christmas updos and party styling ideas show how a clear theme can stay playful without becoming cluttered.
A Few Things Worth Answering
What is the best 18 DIY Dinosaur Party Decorations You Can Make at Home for a small diy dinosaur party decorations?
The best choice is a layered paper backdrop with a small fossil table because it uses vertical space and keeps the floor open. Paper leaves, cardboard fossils, and one wooden crate create a cozy focal point without bulky furniture. You’ll get strong photos even in a compact room.
Where can I buy 18 DIY Dinosaur Party Decorations You Can Make at Home pieces on a budget?
Look at IKEA, Wayfair, and Target for plain crates, lamps, paper goods, and neutral textiles. Thrifted baskets and Facebook Marketplace finds can lower the cost further. You don’t need dinosaur-branded pieces everywhere, and simple materials usually look more refined.
How much does a 18 DIY Dinosaur Party Decorations You Can Make at Home makeover cost?
A small setup can stay near the budget range when you reuse cardboard, paint, and paper. Broader US room-planning references place budget projects around $200-$800, while larger furniture-led updates cost more. Reusable materials are the best value because you’ll use them again.
Can I create a 18 DIY Dinosaur Party Decorations You Can Make at Home on a budget?
Yes, and you can start with three free moves: cut leaves from shipping boxes, paint rocks from outdoors, and turn grocery bags into kraft-paper garlands. Free cardboard creates height quickly. You’ll spend more only if you choose new lighting, furniture, or specialty materials.
Is a 18 DIY Dinosaur Party Decorations You Can Make At Home worth it in a small space?
Yes, because a small room makes your focal point work harder. Use one wall, one table, and one activity corner rather than spreading decorations everywhere. Vertical paper decor keeps your floor open, and you’ll avoid the crowded feeling that too many props create.
Is 18 DIY Dinosaur Party Decorations You Can Make At Home a good idea for a rental?
Yes. Use removable hooks, a tension rod, painter’s tape, and freestanding cardboard panels.
No-damage mounting lets you build a canopy or entry curtain without permanent changes. Test tape on a hidden area first, and you won’t risk peeling the paint.
Where I’d Start First
If I had to pick one, I’d start with the layered paper backdrop. It gives your photos depth, costs less than filling the room with props, and makes every smaller dinosaur detail look intentional. Pin the backdrop plan for later and keep the rest of your party decor simple.