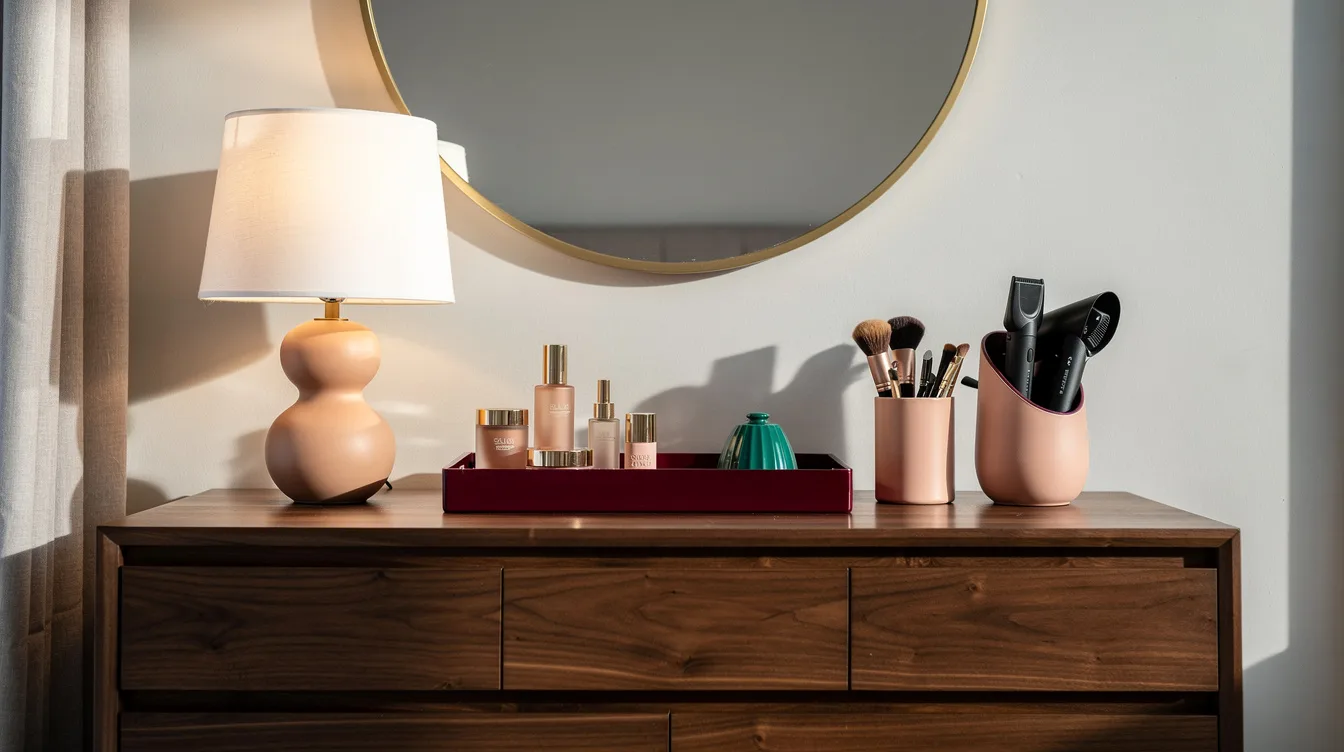
The top of my dresser used to collect a perfume bottle, two hair clips, and a charger that never seemed to belong anywhere. The turning point was treating its middle 30 inches as an actual getting-ready surface instead of a display shelf.
A dresser can become a useful vanity station without rebuilding a single drawer. The best versions make room for a mirror, honest task lighting, hot tools, and the products you use before leaving the house.
A wide, low wood dresser is especially forgiving, but even a 24-inch-wide top can work when every item has a boundary.
Center a Mirror and Claim a Landing Strip
Start with a mirror that gives the dresser a job. A LINDBYN round mirror around 31½ inches wide suits a broad top, while a roughly 24-inch mirror keeps a narrower dresser from feeling crowded.
Keep a clear working width of about 24 to 36 inches directly below it. A lacquered tray, one brush cup, and a lidded cotton-pad box are enough for daily use; every backup belongs in the top drawer.
Hang the mirror about 4 to 8 inches above the surface and anchor it into studs or suitable wall anchors. Mounting a heavy mirror to the dresser itself is an awkward gamble, especially when drawers are open.
Add Light That Lets You See Clearly
A vanity without useful light becomes a place where makeup looks fine indoors and surprising outside. A wall-mounted LED mirror gives close-up visibility, while a small Home Depot table lamp can handle a minimal routine without remodeling the room.
Put light at face level or slightly to each side rather than relying on one ceiling fixture. The shadow under the chin is the giveaway that makes a setup feel improvised.
Run cords along one outer edge and secure them with removable cable clips. Keep plugs clear of skincare bottles, loose powder, and the area where you set down a hot styling tool.
Build a Heat-Safe Hair Tool Corner
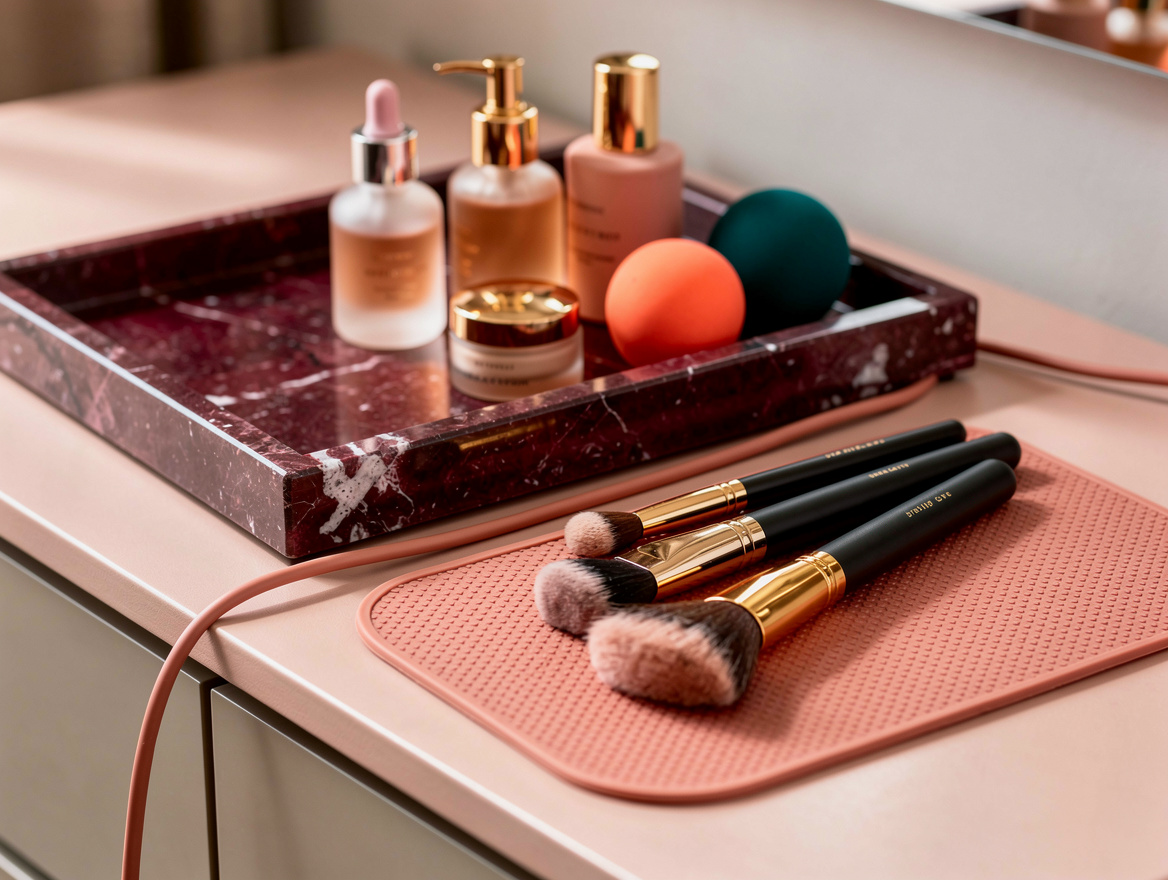
Give hot tools a permanent parking spot before they scorch the dresser finish. A silicone heat mat or metal caddy on one side protects wood, veneer, and painted tops from a curling iron set down in a hurry.
A shallow dresser works best when the hair station stays compact. Reserve a roughly 10-by-14-inch tray footprint for the dryer, straightener, and comb you actually reach for, then coil the cord after it cools.
Skip the oversized salon organizer unless you style hair every day. One metal tool holder looks cleaner and leaves room for elbows, a stool, and the mirror’s visual breathing space.
Sort the Drawers Before Filling the Top
The strongest vanity setups hide their volume. Use acrylic drawer dividers for lip products and smaller skin-care bottles, then assign one drawer to refills so the surface never turns into a supply closet.
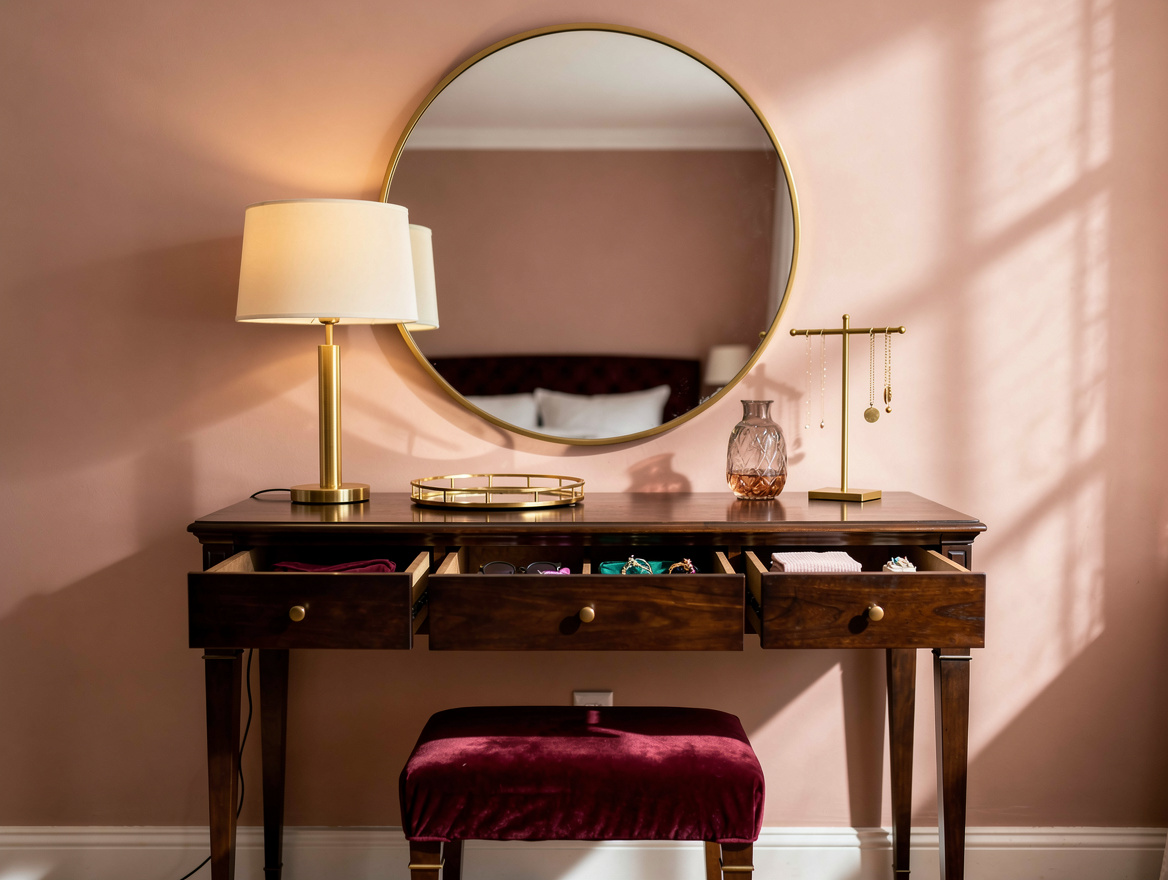
For a jewelry-and-makeup hub, add a lined jewelry tray to the shallowest drawer and keep necklaces vertical on a removable rack nearby. Tangled chains make a dresser top look busy even when everything else is neat.
Clear containers are practical for daily categories, but not every product needs to be visible. Opaque bins are better for cotton rounds, extra sponges, and packaging that adds visual noise.
Choose the Build That Fits the Dresser
A wide, low dresser earns its place here. The IKEA MALM six-drawer chest is 63 inches wide, 19 inches deep, and 30¾ inches high, dimensions that can accommodate a centered mirror with a lamp or tool zone at each side.
For a dresser you already own, a minimal conversion with a mirror, tray, organizer, and lamp typically runs about $80 to $180. A lighted mirror, better storage, or a new quartz-look countertop can push the typical project to roughly $300 to $650 or more.
Leave about 18 to 24 inches in front for a stool, and secure the dresser to the wall before using it seated. That step matters most on tall pieces or in homes with children.
Begin by clearing the center of the dresser and taping out your mirror width before buying anything. Once the work zone feels comfortable, add only the storage and lighting your real routine asks for.
Mia Carter writes about small-space living and budget home makeovers. She has restyled three rentals and tests most ideas in her own 45 sqm flat.