
A hidden bathroom door made my small bathroom look cleaner in one weekend, and that surprised me because I wasn’t planning a renovation at all. I was only trying to stop the room from feeling chopped into pieces. Once the panel disappeared into the wall, everything settled down. Quietly!
I did this makeover after repainting the vanity twice, returning one mirror, and realizing the real problem wasn’t the sink or the tile. It was the door line. You saw it before you saw anything else, and once I noticed that, I could not unsee it.
Here’s what it looked like before:
Before I hid the bathroom door, the room had that full builder-basic mix that makes a space feel busier than it is. The vanity sat at a standard 34-inch height, the tub was the usual 60×30 inches, and the wall beside the entry broke into too many lines.
One trim profile. Another trim profile.
Then a door casing that stuck out like it belonged to a different room.
I kept styling around it and getting nowhere. New towels helped for a day.
A better mirror helped for maybe an hour. But the second you walked in, your eye hit the doorway first instead of the white oak vanity or the brass light.
That was when I knew I did not need more decor. I needed the opening to calm down.
- Choose a flush panel that matches the tile
- Paint the door seam into the wall
- Hide the handle with a towel hook
- Run vertical slats across the opening
- Add a mirror door above the vanity line
- Frame the doorway with full height cabinetry
- Use stone trim to disguise the jamb
- Set a pocket door behind shower glass
- Wrap beadboard over the bathroom entrance
- Turn the linen cabinet into a doorway
- Match the grout lines across the door
- Install a push latch under the molding
- Carry wallpaper straight over the panels
- Build a Murphy shelf for bath towels
- Use fluted glass to blur the reveal
- Tuck the door inside a niche wall
- Finish with one continuous baseboard line
1Choose a flush panel that matches the tile
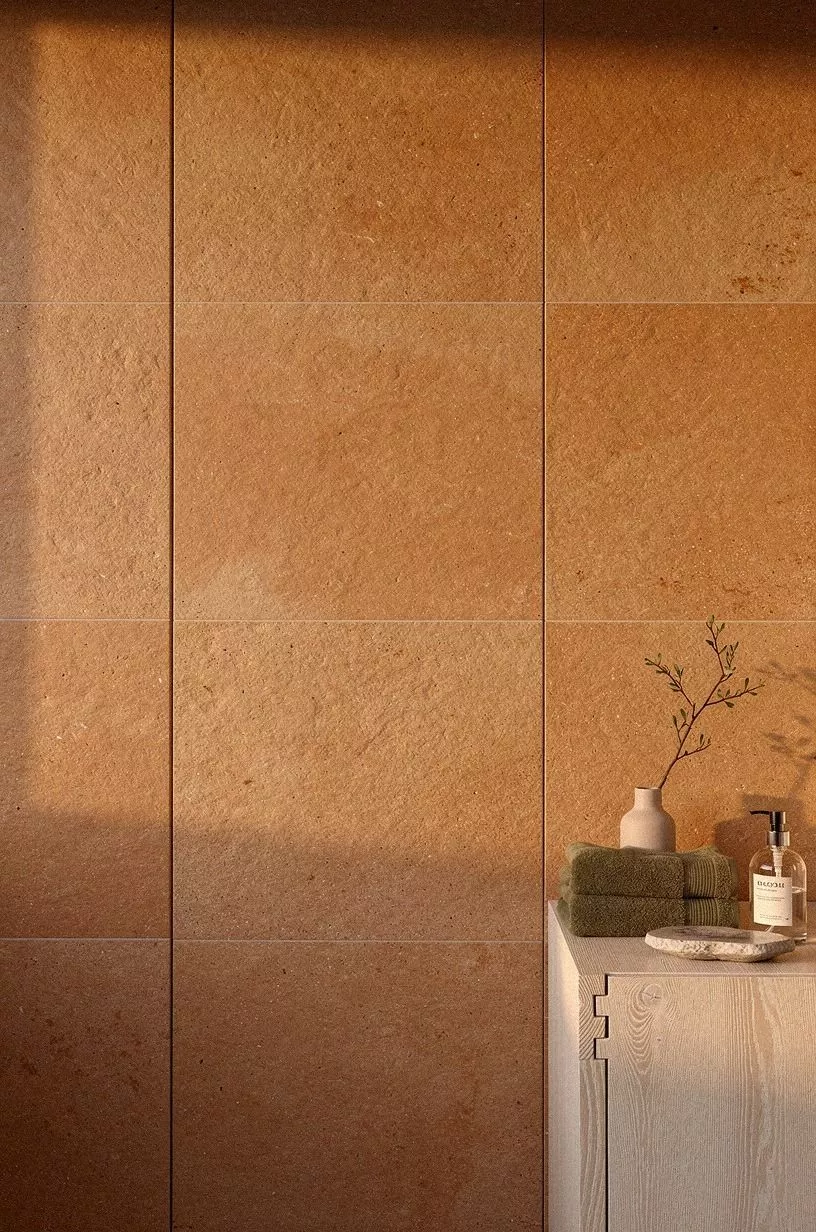
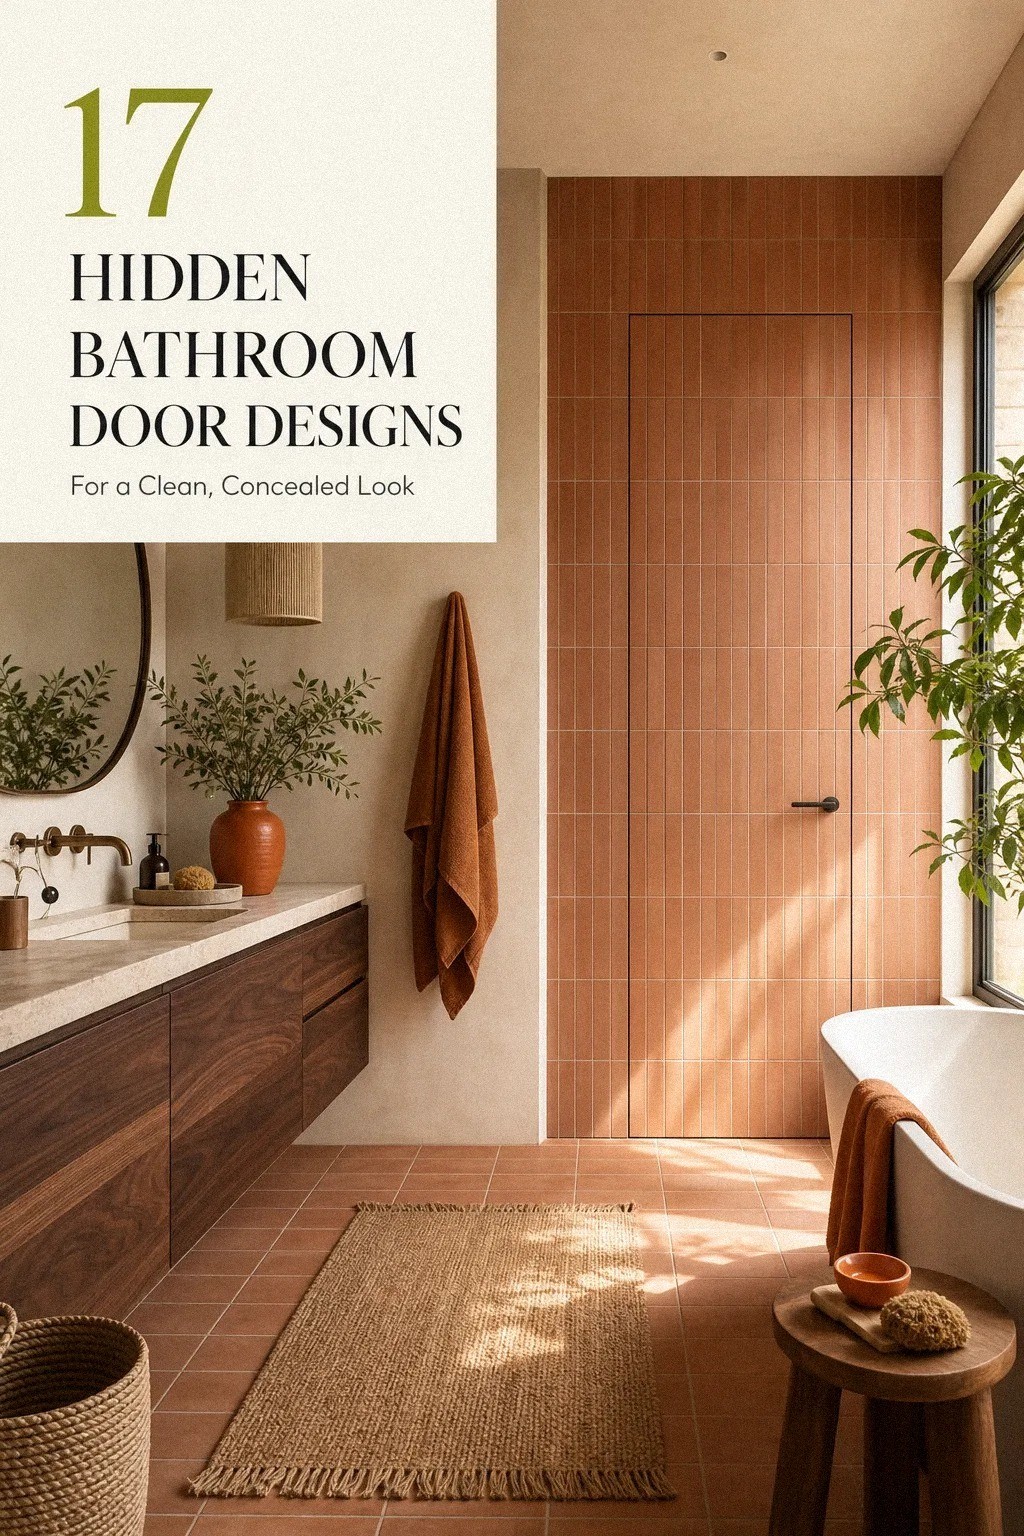
I started with the door slab because the room already had warm terracotta stone on the main wall, and anything proud of that plane would have looked pasted on. A flush panel let me keep the sightline clean, especially next to the cerused white oak vanity edge. If you’re trying this in your own hidden bathroom door makeover, match the face material first and worry about the hardware second.
The part that worked was pulling the tile tone from the wall instead of matching the floor. My installer held up three samples, and the one that blended best wasn’t the darkest one. It was the chalkier terracotta with a dry, mineral finish.
I also kept the reveal tight so the door sat visually flat with the wall, not like a disguised cabinet. If you like this pared-back look, the invisible frameless door approach is the closest cousin.
2Paint the door seam into the wall
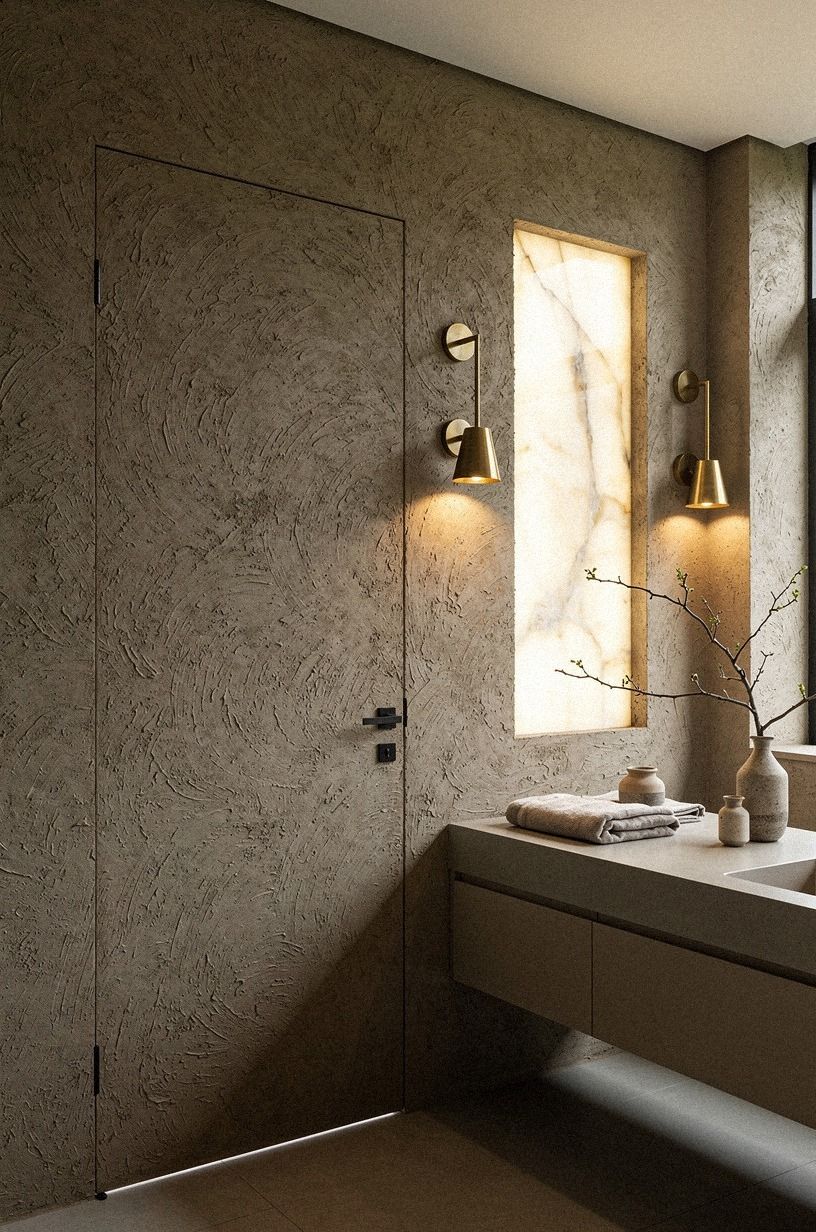
Painting the seam sounded fussy, but it changed the room more than the new faucet did.
3Hide the handle with a towel hook
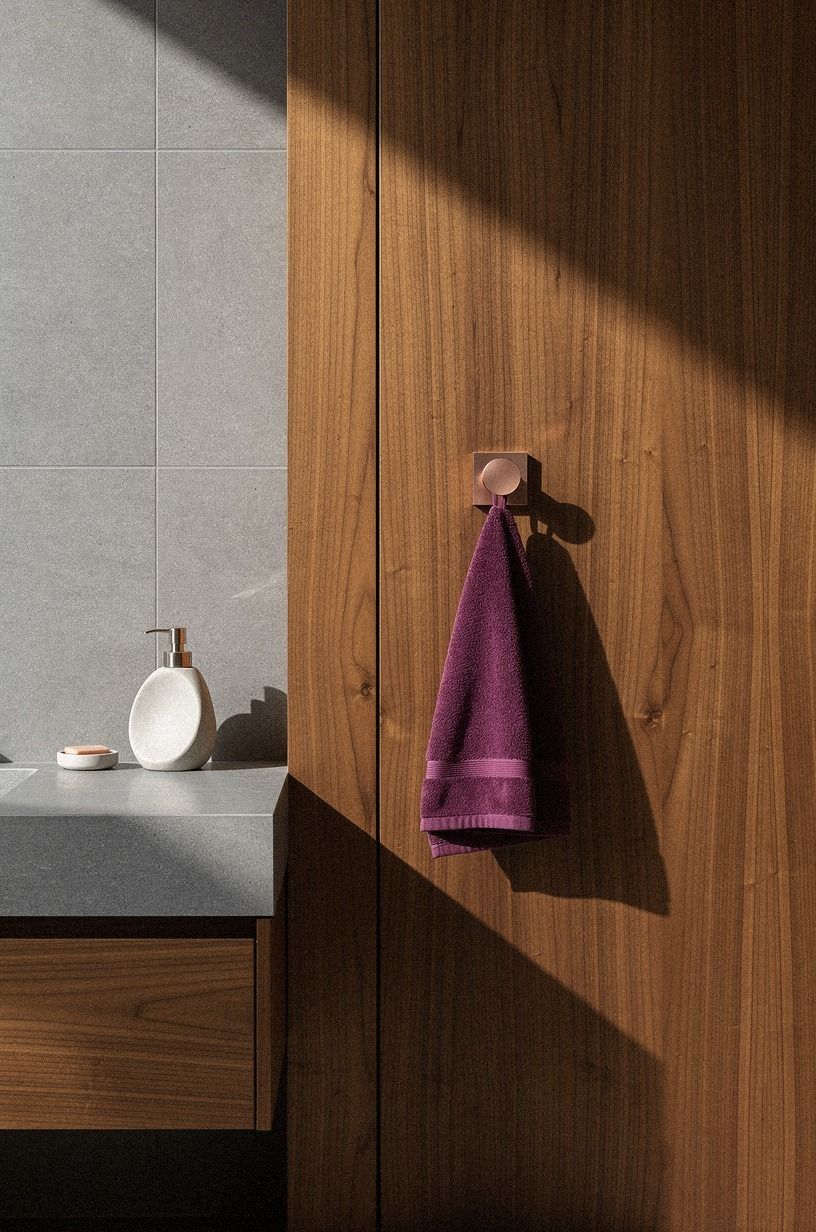
My favorite low-key move was disguising the pull as a towel hook, because a normal lever would’ve given the game away. I mounted a compact aged-brass hook on the walnut veneer panel and used it for a plum hand towel, which meant the functional piece earned its place visually too.
If you’re planning a hidden bathroom door in a tight vanity zone, this saves you from one more shiny object. I kept comparing mine with other clean wall-door layouts before I drilled anything.
The key is scale, even though I hate when people make it sound magic. Too big and it looks like a coat hook.
Too small and your fingers fight it every morning. I landed on a modest hook with a rounded neck and kept it close to the vanity edge so it felt believable.
You can borrow more disguise ideas from slat wall hidden door layouts, but I think the towel version is smarter in a bathroom because you would use the hook anyway.
4Run vertical slats across the opening
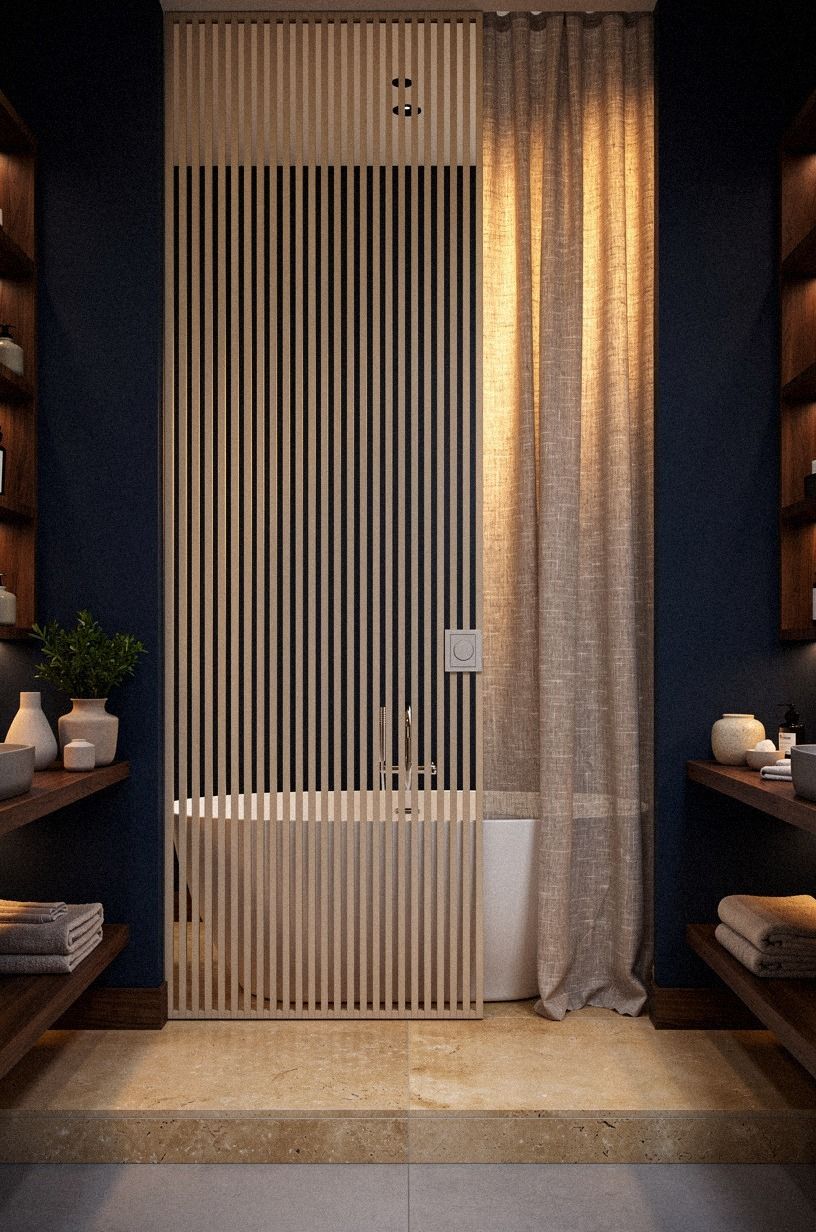
Vertical slats gave me one continuous rhythm across the wall, and that rhythm was what the room had been missing. Instead of one blank section, one door, and one casing, the whole span started reading as a single surface. Against deep navy paint like Farrow & Ball Hague Blue No.30, the slats looked architectural instead of decorative.
I wouldn’t use chunky spacing here. In a bathroom, the finer spacing feels cleaner and more believable, especially when the tub and floor lines are already doing a lot.
My panel carpenter wrapped the slats straight over the opening and matched the walnut tone to the room accents so the eye kept moving. If you want to compare systems before you build, this sliding and slatted hidden door roundup helped me think through proportion.
5Add a mirror door above the vanity line
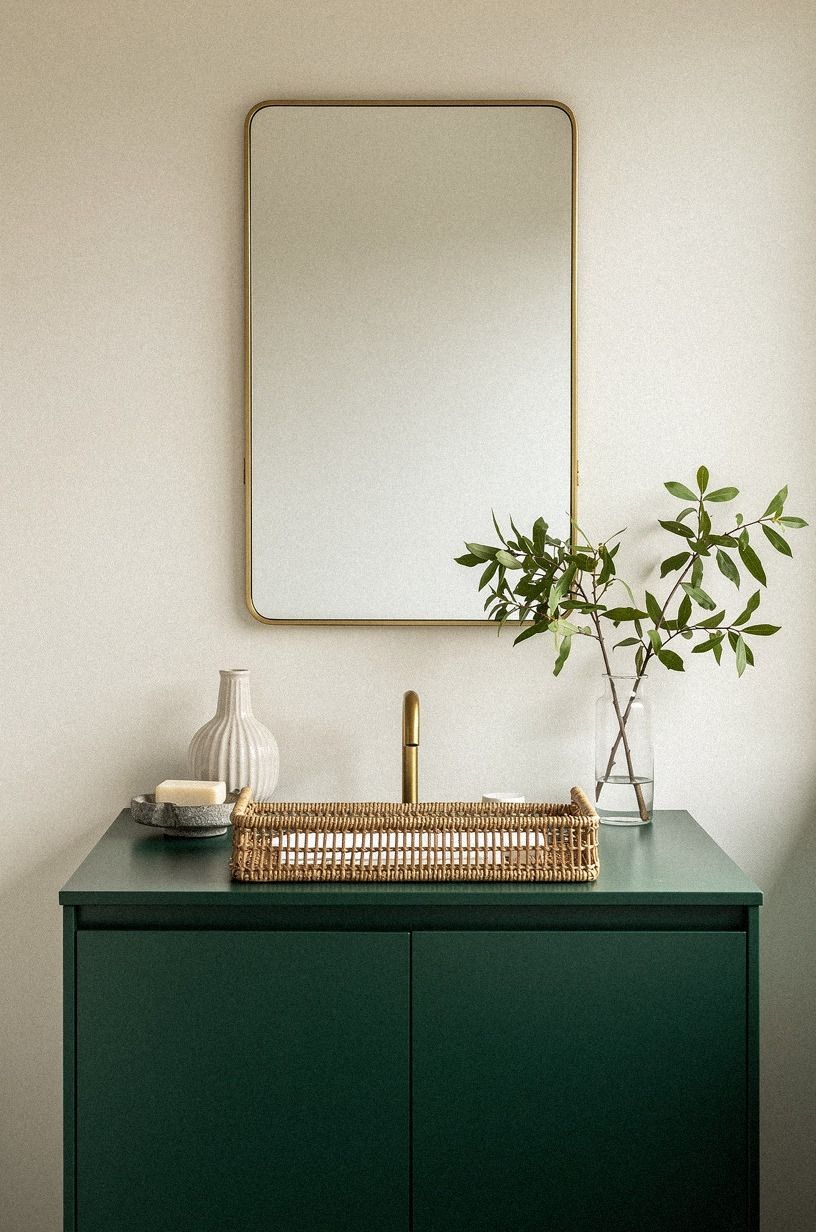
Once I saw a mirror-panel door done well, I understood why this idea keeps showing up in good remodels.
6Frame the doorway with full height cabinetry
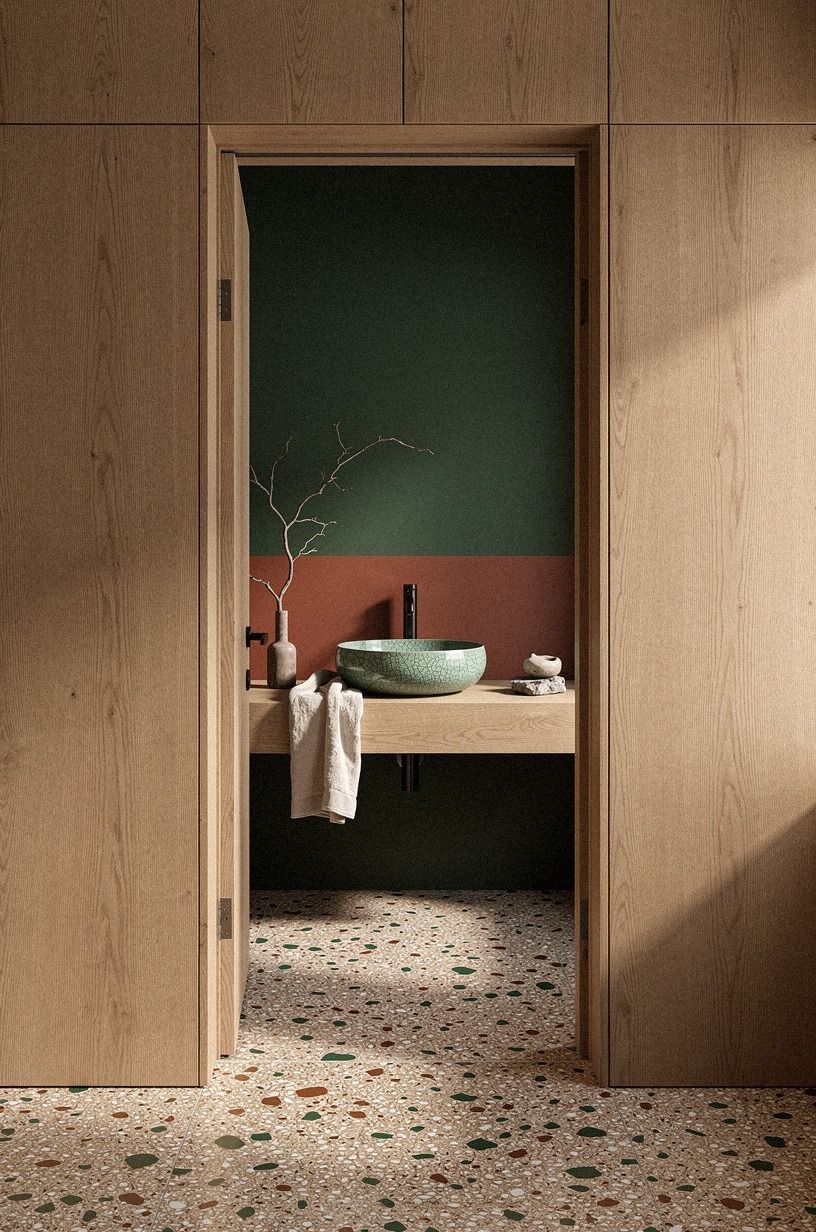
Full-height cabinetry is what finally made the opening look planned from day one. I wrapped the doorway with natural oak towers so the hidden door sat inside a storage wall instead of floating alone. If you’ve got towels, backup paper, hair tools, and the usual bathroom clutter, this move lets the concealment do double duty.
My cabinet maker built around a 21-inch front clearance at the toilet side so nothing felt pinched, and that mattered more than squeezing in one extra shelf. I used a painted inside wall close to Sherwin-Williams Sea Salt SW 6204 deeper in the room, which made the oak feel warmer instead of yellow.
And because cabinetry can get heavy fast, I kept the hardware small and quiet. For more built-in concealment logic, I kept returning to this invisible frameless door guide.
7Use stone trim to disguise the jamb
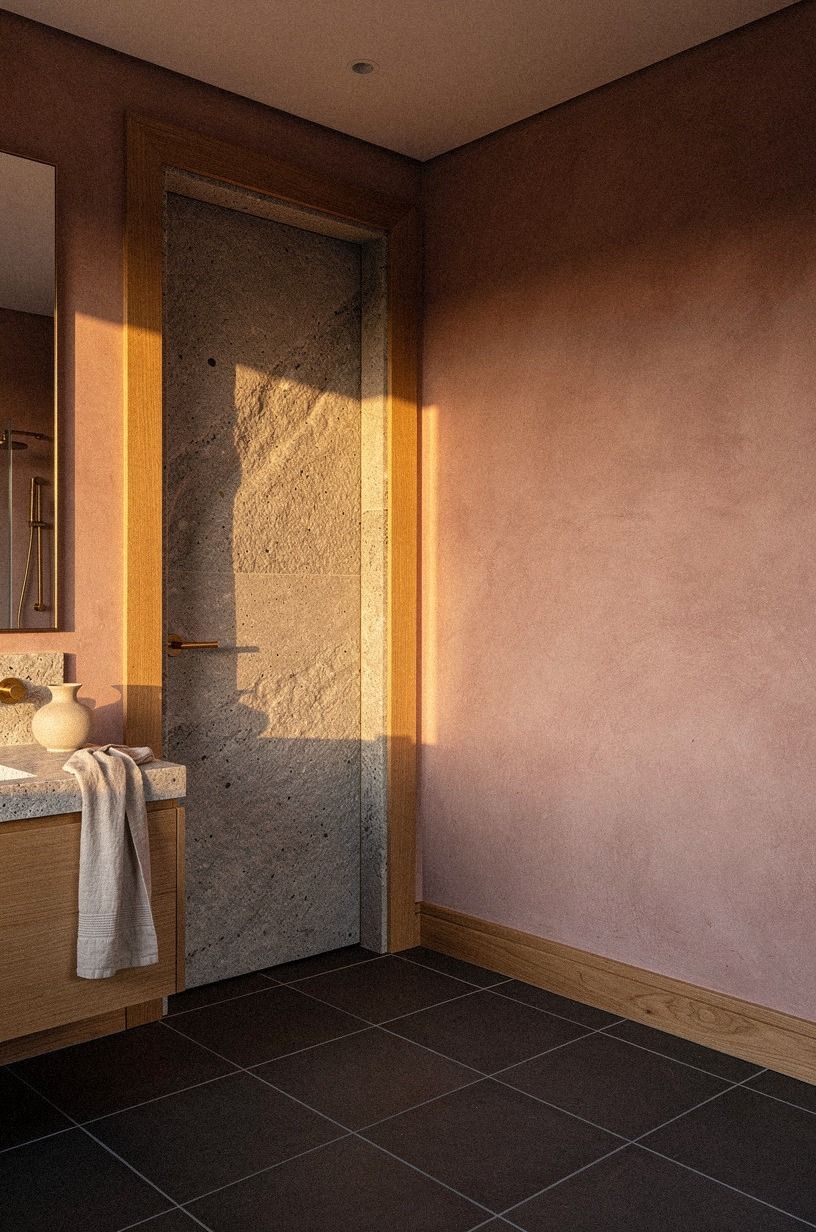
Stone trim sounded expensive when I first heard it, but in a bathroom it can be the cleanest way to hide where the door really starts.
8Set a pocket door behind shower glass
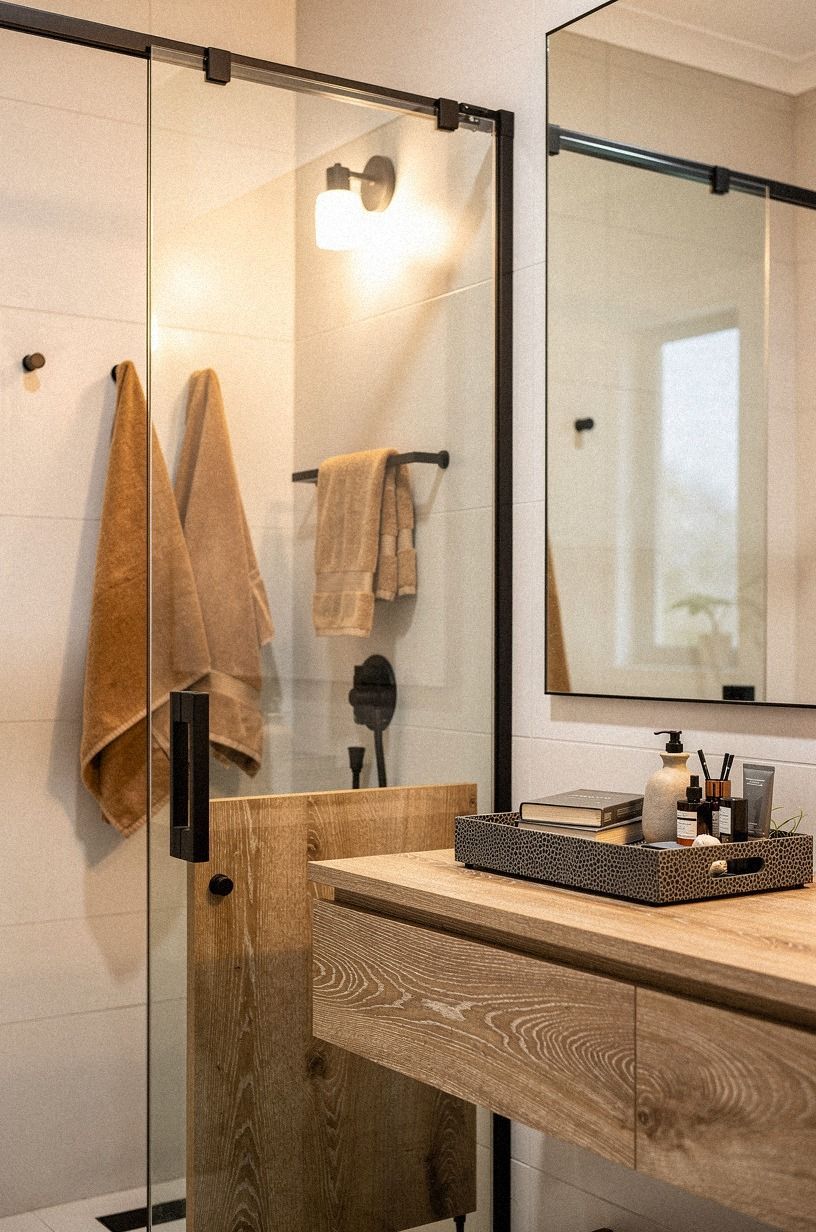
This was the most space-smart idea I tested, especially in a room where every swing matters. A pocket door behind clear shower glass keeps the path open, and in a bathroom with a 36×36-inch minimum comfortable shower footprint, that extra movement space feels huge. You don’t realize how much a regular door interrupts the room until it’s gone.
I liked this most in the warm white tile version with camel towels because the sliding panel stayed visible enough to feel honest. That is important to me.
I do not want a murphy door for bathroom setups to feel gimmicky. I want them to feel calm.
If you’re comparing concealed systems, hidden pocket door ideas and this broader hidden sliding door guide are the two pages I’d read first.
9Wrap beadboard over the bathroom entrance
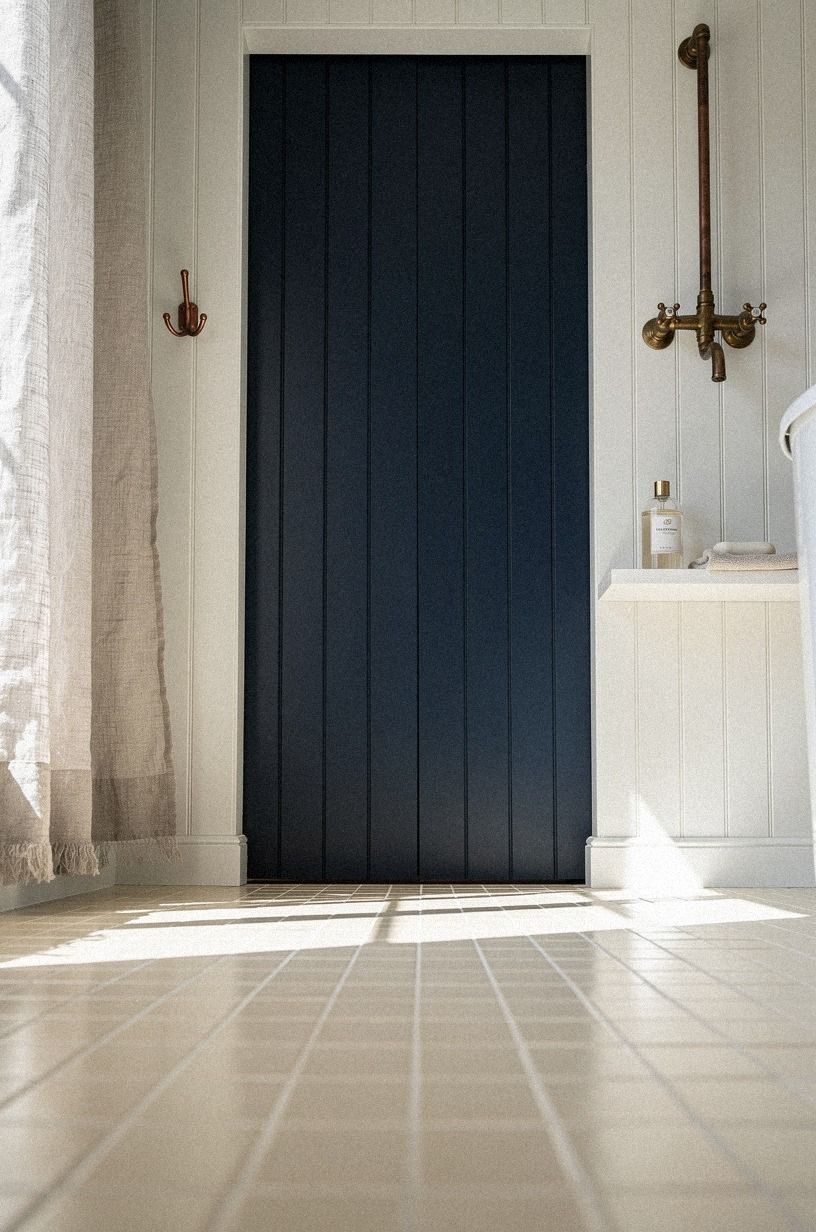
Beadboard works when you want the wall to have texture but not attention.
10Turn the linen cabinet into a doorway
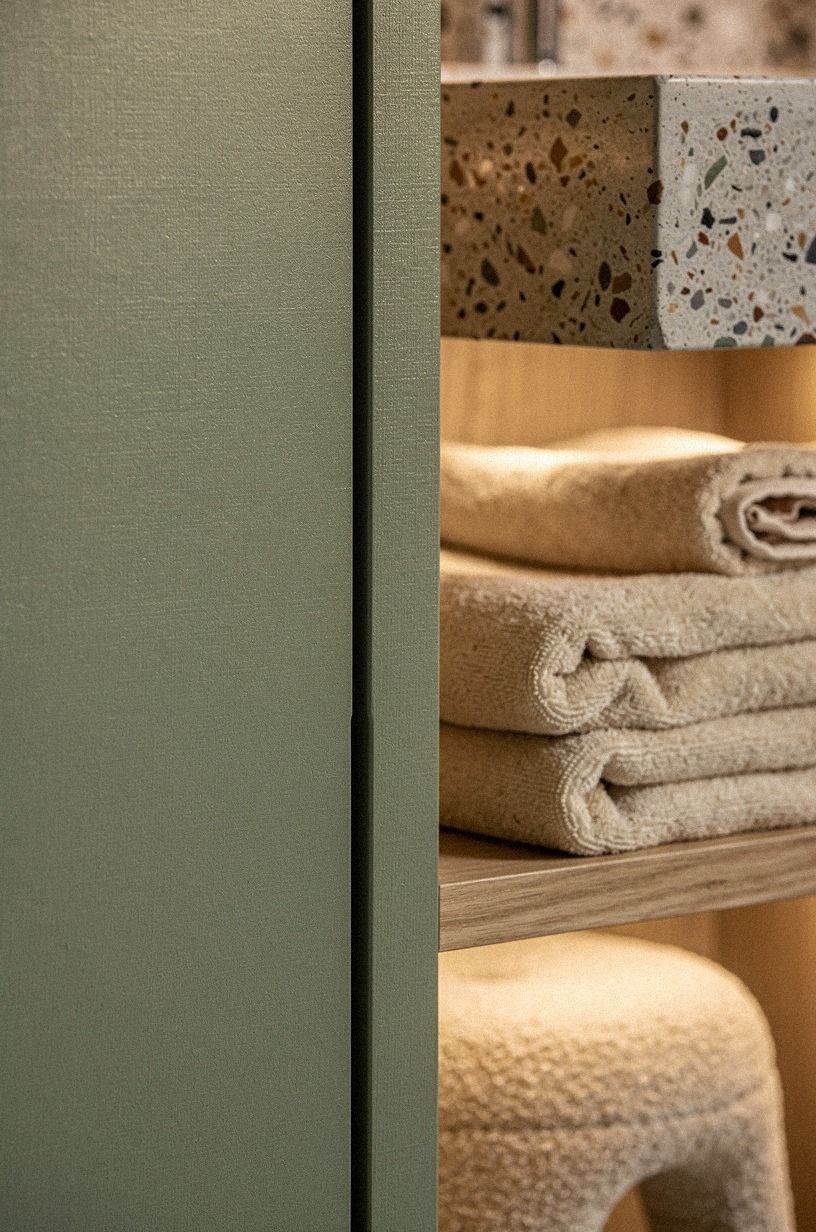
This one is brilliant for small bathrooms because it makes storage do the hiding. I designed a sage-painted linen cabinet with a near-invisible seam and a touch edge where your fingers catch the panel.
When the door is closed, you read folded towels, warm cream textiles, and cabinetry. Not circulation.
I took cues from IKEA GODMORGON proportions even though mine was custom, because their depth logic is solid for narrow rooms. The tiny reveal line matters more than people think, and so does the finish sheen.
I also looked at frameless hidden door details before choosing the gap width. Too glossy and every seam shows.
I went eggshell, not satin, and the difference was immediate. Would I do this again in a guest bath?
Absolutely, because guests never yank on it like you do in a primary bath.
11Match the grout lines across the door
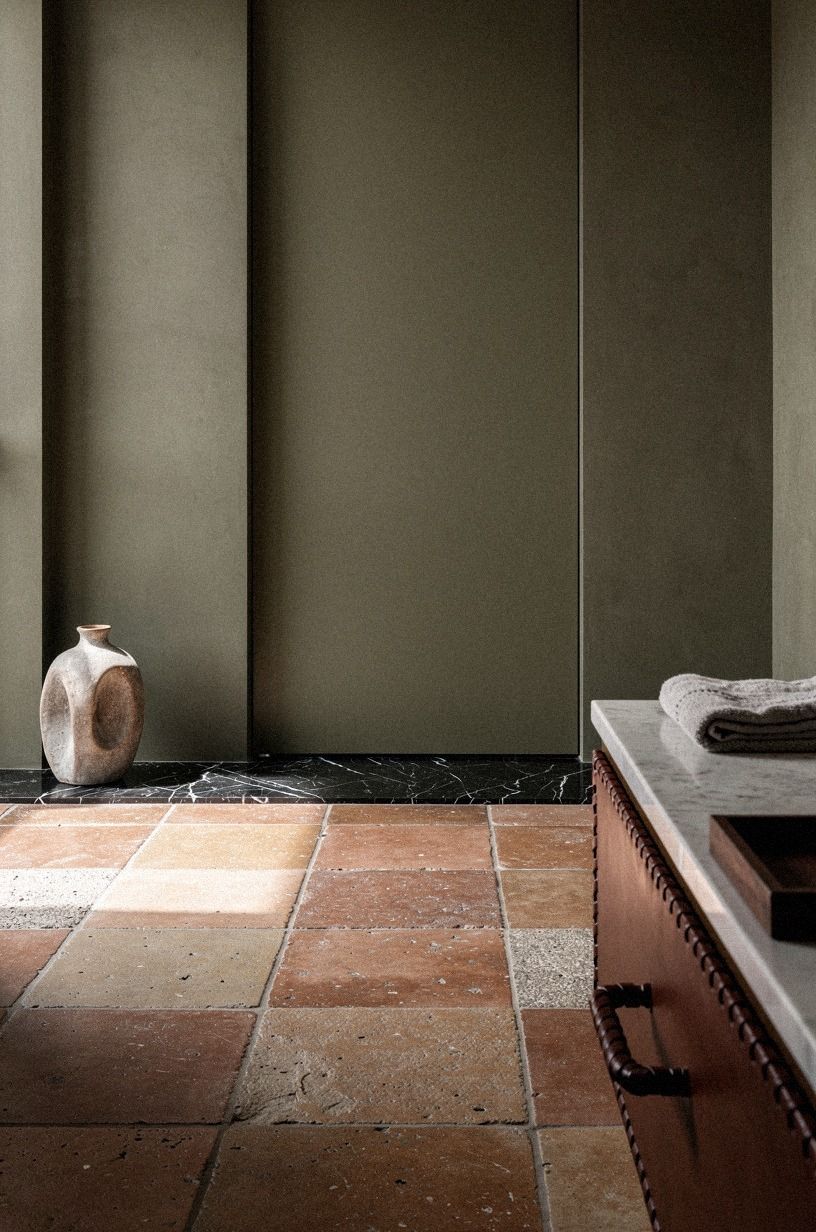
Matching grout lines across the panel is the detail that separates a good hidden bathroom door from one that still reads like a patch.
12Install a push latch under the molding
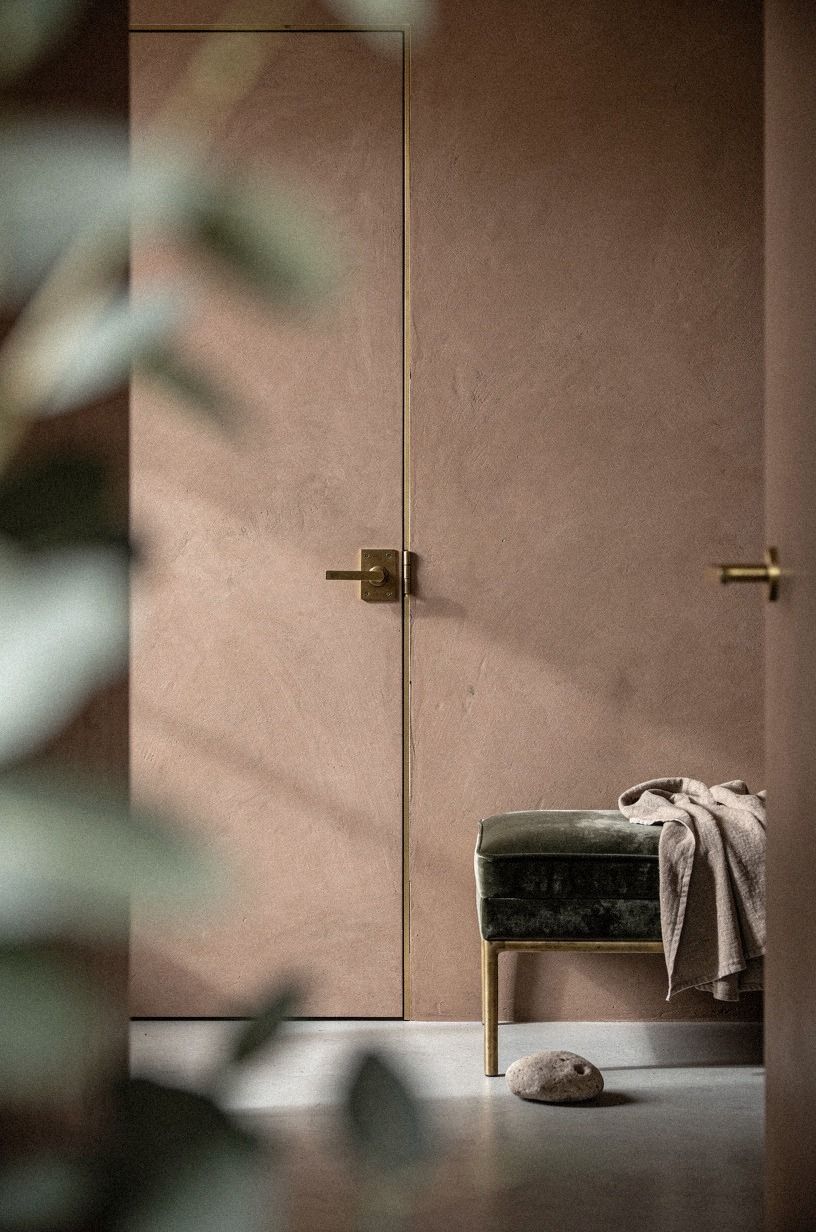
A push latch was my answer when I wanted clean lines without an obvious pull. I had already ruled out visible sliders after reading more hidden sliding door examples.
I tucked the mechanism under the molding line so the wall stayed quiet, and from the leafy foreground view you barely registered there was an opening at all. If you’re after a concealed look, hardware you don’t see is usually the hardware that works best.
I chose an aged-brass trim edge nearby so the hidden line still had a little definition once the light hit it. But the latch itself stayed out of sight.
That’s the Quiet Hardware Rule in practice. And if you’ve ever had a knob catch a robe or towel loop on the way past, you will appreciate this more than you expect.
Small change. Big relief!
13Carry wallpaper straight over the panels
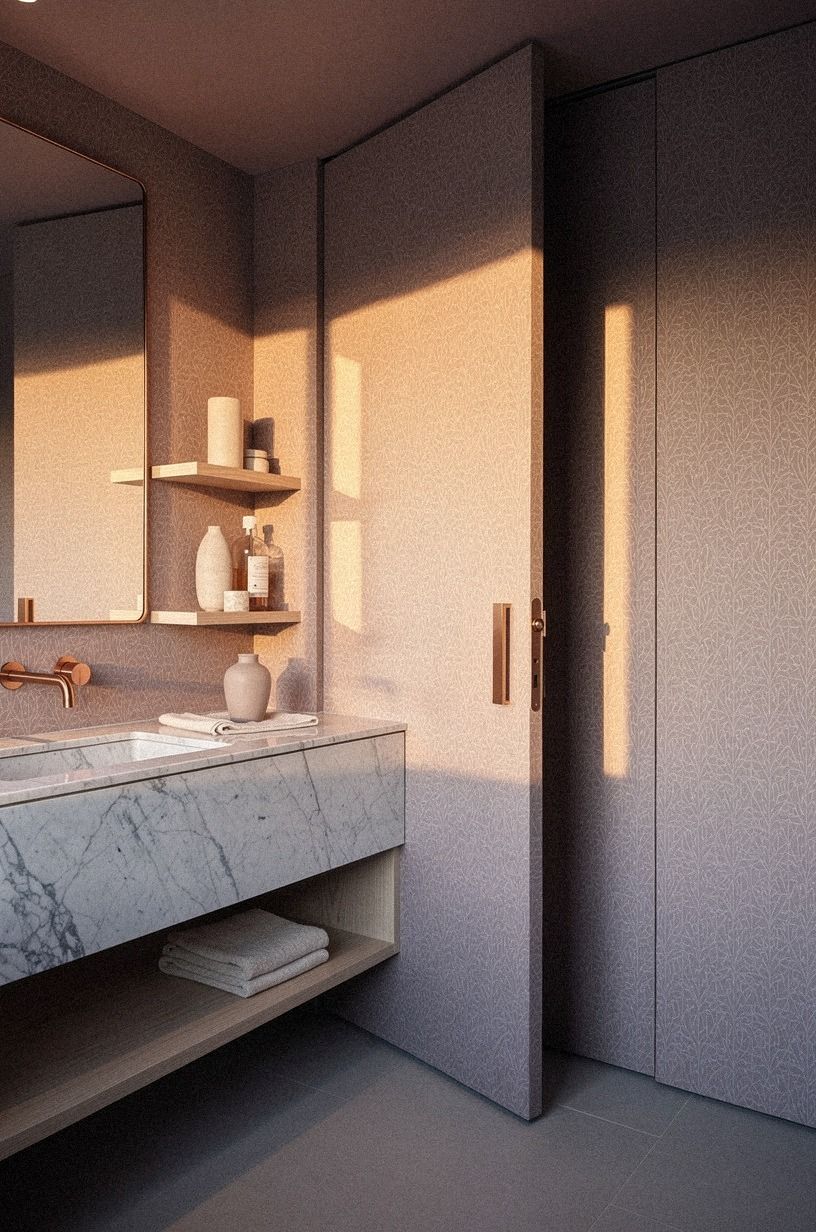
Wallpapering over the door panel felt risky, but it ended up being one of the most convincing finishes. My bathroom had plum walls, grey grounding tile, and rose-gold fixtures, so a patterned surface made sense. Once the paper ran straight over the door, the opening blended into the field instead of interrupting it.
You do need a pattern that forgives slight movement. I wouldn’t choose a razor-sharp stripe unless your installer is impossibly precise. I used a softer botanical with enough flow to hide the seam.
The Carrara marble counter kept the room from feeling too dark, and the wallpaper made the concealed panel read almost like millwork. For more ideas on surfaces disguising entries, I liked comparing it with these invisible wall-style doors.
14Build a Murphy shelf for bath towels
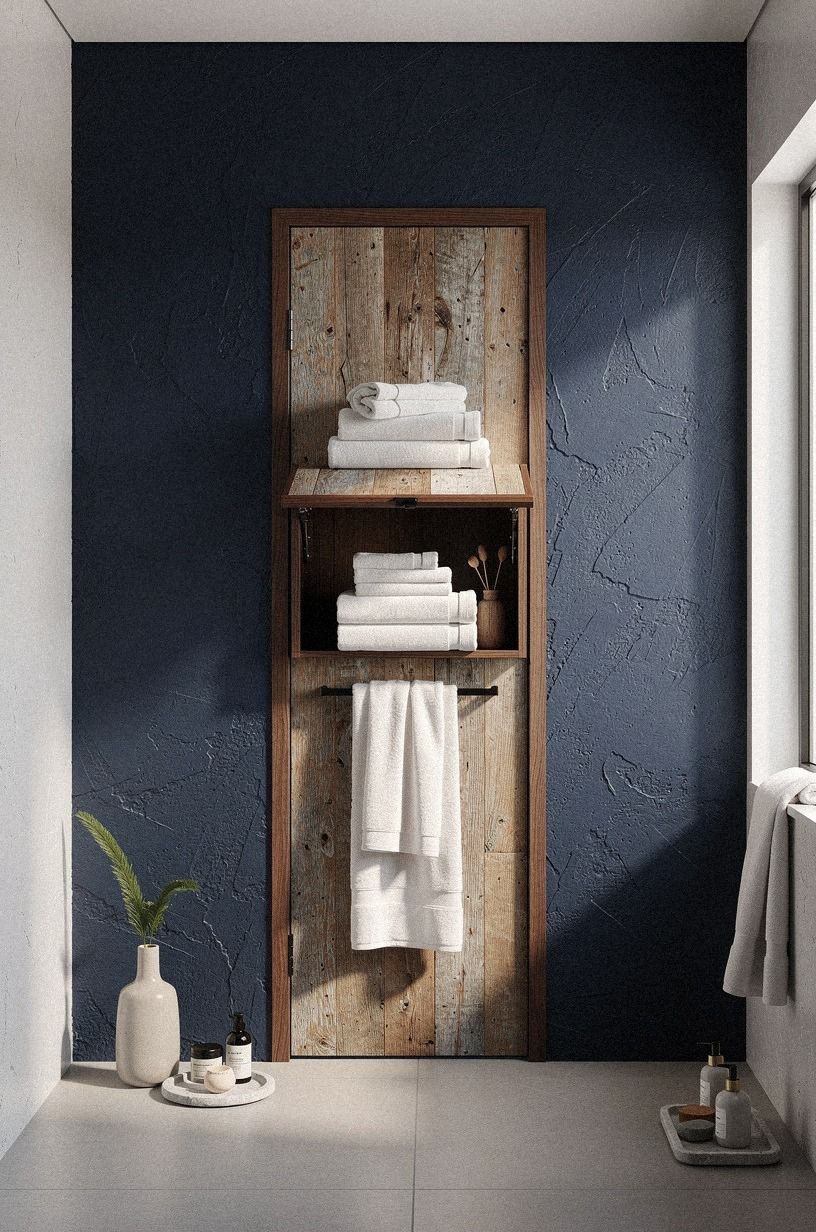
A fold-down shelf door sounded overbuilt on paper, and then I saw how useful it could be. Mine held folded bath towels on the outside, framed by walnut trim against a navy and white wall, so the door earned its square footage even when shut. If you’re short on storage, this kind of murphy door for bathroom setup gives you function first and concealment second.
I kept the shelf shallow on purpose. For movement clearance, I checked it against pocket-door planning ideas. Deep shelves tempt you to overload them, and then the panel gets heavy and annoying.
Towels, one ceramic tray, maybe a small lidded jar. That’s it.
The front stayed symmetrical so it still read as architecture, not furniture bolted to a slab. And yes, guests commented on this one more than any other move I made!
15Use fluted glass to blur the reveal
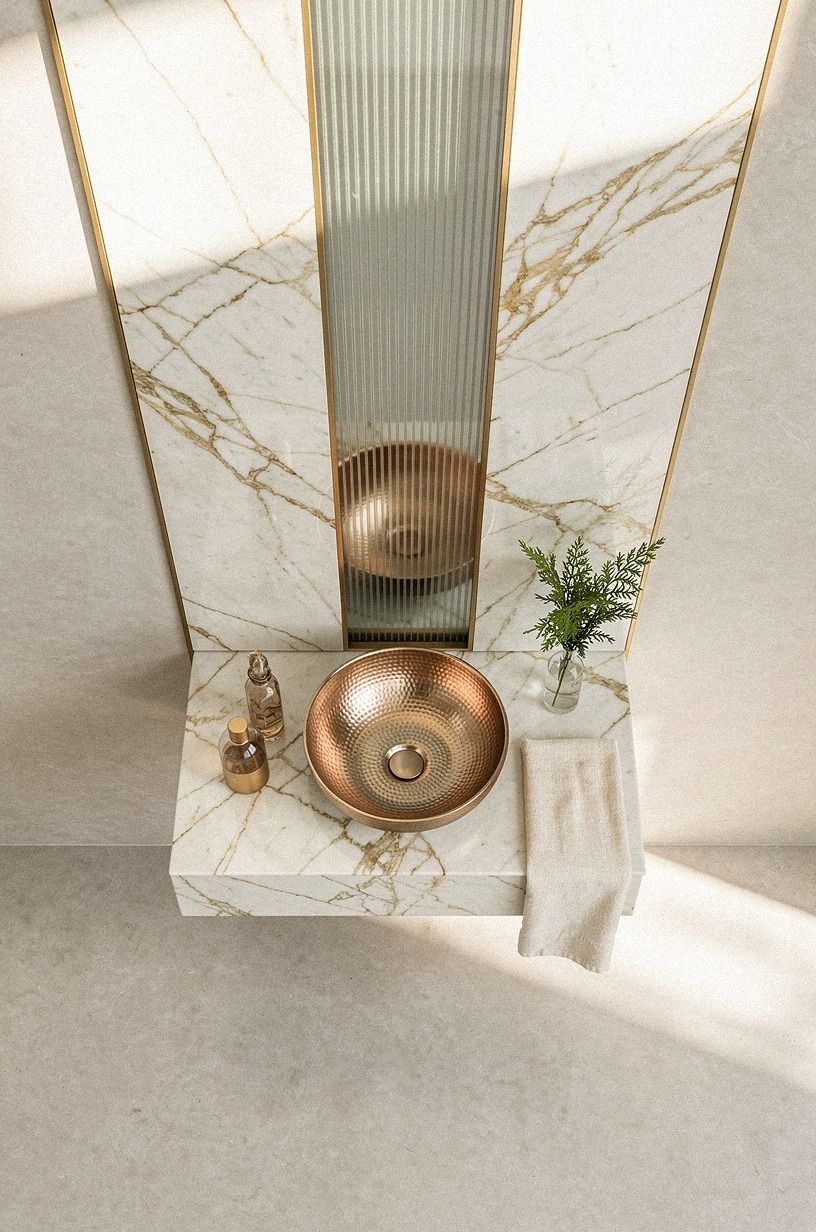
Fluted glass is the gentler option if you don’t want total disappearance. It softens the reveal instead of erasing it, which can be better in bathrooms where you still need light moving across the room. Over the emerald, cream, and gold vanity zone, the reeded panel caught reflections from the Calacatta marble top without showing every edge.
I like this when the bathroom already has a polished side and you want the concealed panel to feel airy instead of solid. The blur keeps things private enough while still letting the wall breathe.
And if you like layered surfaces, slat wall concealment ideas show the same soft-disguise logic in wood instead of glass. If your morning light is good, the ribbed texture becomes part of the room rather than a workaround.
That’s why I wouldn’t paint over it.
16Tuck the door inside a niche wall
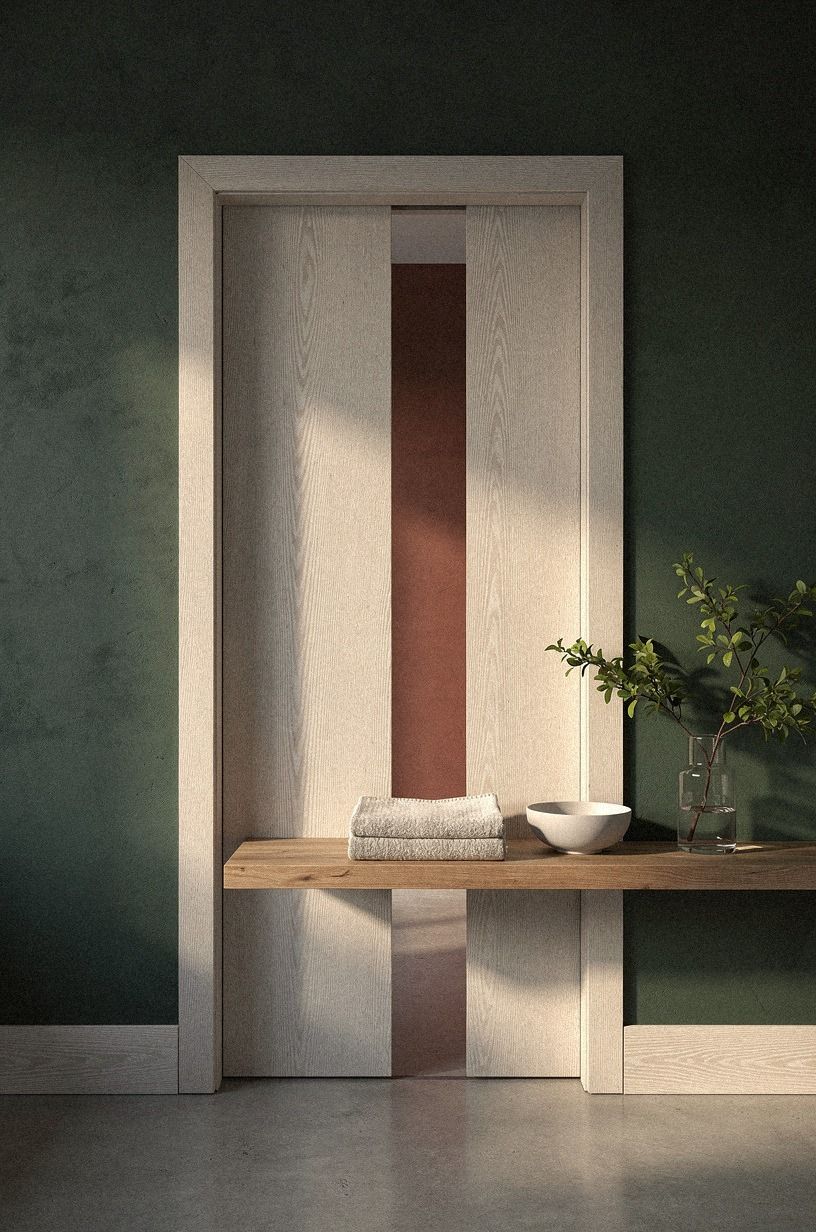
Building the door into a niche wall gave me a cleaner result than trying to hide it on a broad flat surface.
17Finish with one continuous baseboard line
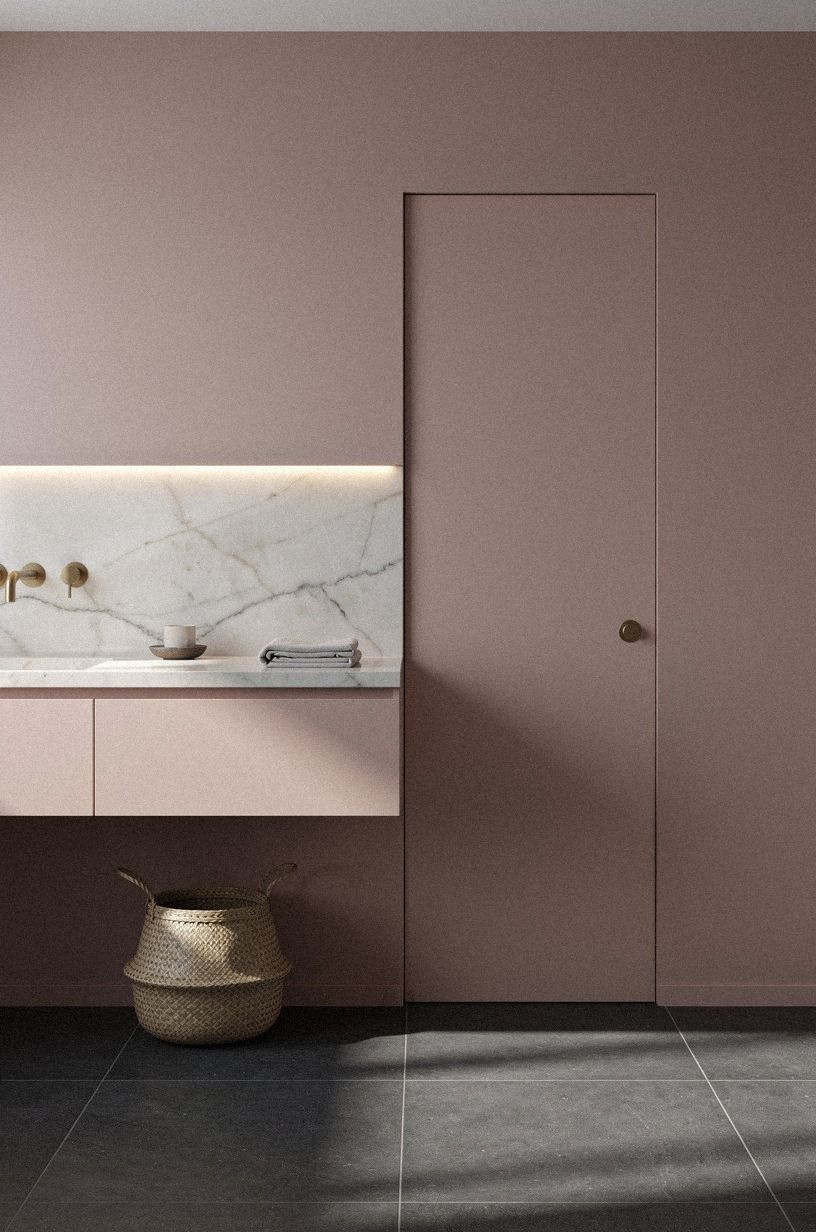
The last thing I fixed was the baseboard, and I wish I had done it on day one. A continuous line across the concealed panel made the dusty rose wall look settled, especially with charcoal floor tile and aged brass nearby. Before that, the lower edge had a stop-start look that kept pulling your eye down.
This is the Grout-First Rule’s little sister: if the lines at the bottom do not track, the door will not disappear no matter what finish you pick above. I carried the profile straight through, kept the paint consistent, and resisted adding a fussy shoe trim.
Less trim. Better result.
That’s not always true in old houses, but it was absolutely true here.
How much it cost
I did not do a full gut renovation, and that is why this stayed sane. My spending sat between the basic and mid tiers because I kept the plumbing where it was, reused the vanity box, and focused on the hidden door details that changed the room visually.
In my case, the hidden-door portion was mostly labor, millwork alignment, finish material, and better hardware. Typical material ranges helped me decide where to fake luxury and where not to.
Zellige tile usually lands around $15-$35 per square foot, subway tile can be $2-$10, a marble top often runs $50-$100 per square foot, and a brushed brass faucet is commonly $120-$450. The room looked more expensive because the lines were cleaner, not because every finish was costly.
The Quiet Hardware Rule
The short version is this: concealed doors work because your eye relaxes when it isn’t counting parts. Once I stopped asking the bathroom to impress me and started asking it to stay quiet, every decision got easier. Fewer visible pulls.
Fewer trim breaks. Better alignment.
That is the part people feel even if they cannot name it.
The Two-Sightline Rule
What I learned from this project is that hidden bathroom doors aren’t really about doors. They’re about sightlines, especially in small rooms where you see the vanity, the wall plane, and the entry in one glance. If one of those lines breaks rank, the room feels messy before you’ve even set down your toothbrush.
I made three mistakes before I got it right. First, I spent money on decorative fixes before I fixed the interruption. Second, I assumed matching paint would be enough, even though the trim profile was still shouting.
Third, I underestimated how much the lower half of the wall matters. Once the baseboard, grout, and reveal were all working together, the space felt more expensive without adding more stuff.
And that’s why I’d tell you to think like an editor, not a shopper. Cut what the eye doesn’t need.
Keep what earns its place. A hidden washroom door can be dramatic, sure, but I think the best ones are almost boring in the best possible way.
You don’t clock them right away. You just notice the room feels calm, ordered, and a little taller.
But would I do it again in another bathroom? Immediately.
But I’d start with the opening before I bought a single accessory (and I’d say that even if I loved the accessories). Paint samples are cheap.
Reworking bad trim later isn’t. If you’re chasing that warm hotel-bath feeling, the cleanest move is usually the one that removes visual noise rather than adding more finish, more decor, or more contrast.
The Questions Worth Answering First
What is the best Hidden Bathroom Door Ideas for a Clean, Concealed Look for a small bathroom?
A flush panel that matches the wall finish is usually the best small-bathroom option because it clears visual clutter fast. If you need storage too, I’d do the linen-cabinet version. Slim cabinet logic from IKEA GODMORGON helps, especially when every inch around the vanity matters.
Where can I buy Hidden Bathroom Door Ideas for a Clean, Concealed Look pieces on a budget?
Start with IKEA, Target Threshold, and Wayfair for mirrors, hooks, beadboard-look panels, and towel storage. Then check Facebook Marketplace for solid wood cabinet doors or old mirrors you can reframe.
Cheap wins. Better bones.
Less regret.
How much does a Hidden Bathroom Door Ideas for a Clean, Concealed Look makeover cost?
About $200 to $1,200 for a light refresh, and more like $3,000 to $9,000 once you add vanity work, tile, or lighting. Paint and hardware swaps do the cheapest heavy lifting. Free changes count too: removing fussy trim, editing clutter, and repainting a too-contrasty seam.
Can I create a Hidden Bathroom Door Ideas for a Clean, Concealed Look on a budget?
Yes, and you don’t need custom millwork to start. Paint is the budget MVP.
Match the wall and door color, swap a visible handle for a hook, and keep one continuous baseboard line. Peel-and-stick beadboard. A better mirror.
One edited towel color story.
Is a Hidden Bathroom Door Ideas for a Clean, Concealed Look worth it in a small space?
Yes, especially in a small bathroom, because the payoff is visual calm per square inch. Small rooms show every interruption. If you simplify one opening, the vanity, tile, and lighting all read better.
Keep at least 21 inches clear in front of the toilet so the room still moves well.
Is Hidden Bathroom Door Ideas for a Clean, Concealed Look a good idea for a rental?
Yes, if you stick to reversible moves. You can fake the effect without losing your deposit. Removable wallpaper over a flat panel, peel-and-stick trim lines, a tension-rod textile screen nearby, and no-drill hooks can all soften the doorway until you’re ready to leave.
Start With the Grout-First Rule
If I had to pick one, I’d start with matching the grout lines across the panel. Your eye forgives color shifts faster than broken geometry.
Get the lines straight first. Then the whole room finally exhales.