
Small brunch ideas for hosting friends in a tiny kitchen can work beautifully with one clear rule: make the counter do less. I learned that after squeezing six plates, three serving dishes, and a coffee setup into a room with barely any landing space. I moved the food, softened the light, and gave everyone a place to stand. The kitchen felt inviting, not crowded, and nobody asked where the dining room was.
If you’re working with a compact kitchen, think of the room as a social route rather than a formal dining space. Food can travel.
People can perch. A little imperfection makes the morning feel more relaxed, warm, and genuinely lived-in.
Here’s what it looked like before:
The starting point tells the honest story. The room had one hard overhead light, a counter that collected everything, and no obvious place for guests to pause. I wasn’t starting with a renovation budget, so I focused on movement, light, and surfaces you could clear in minutes.
I also stopped trying to make the kitchen look larger than it was. That was the turning point. If you’re working with a similar footprint, this tiny farmhouse kitchen guide shows why a small room can feel intentional without adding square footage.
The kitchen had good bones, but they were buried under daily clutter. The forest-green cabinets, dark flooring, and warm travertine counter were perfectly usable. They simply needed more visual space around them.
I made a quick list before shopping:
– one surface to clear – one place for drinks – one softer light source – one serving piece that used vertical space – one comfortable spot where I could actually sit
That list kept the project focused. I wasn’t chasing a perfect tablescape or trying to create a miniature restaurant. I wanted a gracious, comfortable breakfast that still felt like my home.
- Clear the counter before you style it
- Build the One-Board Landing Rule
- Layer the Three-Height Light Stack
- Create the Guest-Flow Triangle
- Choose warm woods over matching white
- Paint one vertical plane
- Float the food off the counter
- Give every drink a small station
- Frame the table with soft linen
- Could a tiny kitchen host six friends?
- Pass plates instead of building a buffet
- Hang the Two-Season Color Note
- Make cleanup part of the plan
- End with a seated moment
1Clear the counter before you style it
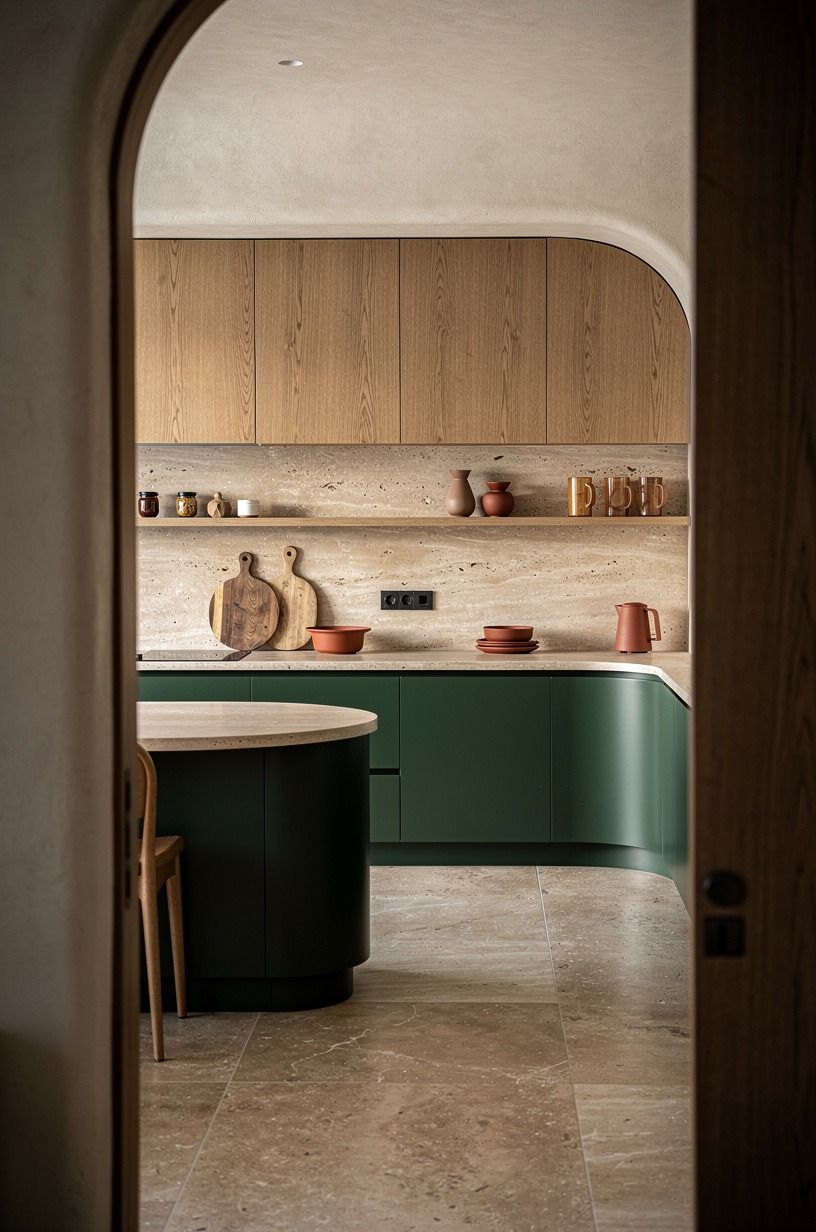
I started by removing the appliances that weren’t part of brunch. The toaster went into a cabinet, the mail went upstairs, and the natural oak tray became the only decorative object near the sink. You need that empty stretch for plates, elbows, and the one person who’ll inevitably ask where the butter is.
The temptation is to decorate every corner, but I’d skip that. A crowded counter makes your guests hover, and hovering makes a tiny kitchen feel frantic.
Your best small brunch ideas need breathing room first. I left one clear section beside the warm travertine counter, then placed coffee at the far end so traffic could pass between us.
I also cleared the refrigerator door. That sounds minor, but removing old receipts, takeout menus, and crowded magnets made the whole kitchen feel fresher. The eye finally had somewhere quiet to land.
A useful test is to put both hands flat on the counter. If you can’t do that in at least one place, you still have too much out. Move anything that doesn’t help people eat, drink, move, or feel welcome.
I kept only the natural oak tray, a small bowl of fruit, and the coffee setup visible. The result was simple, bright, and surprisingly luxurious without buying anything new.
2Build the One-Board Landing Rule
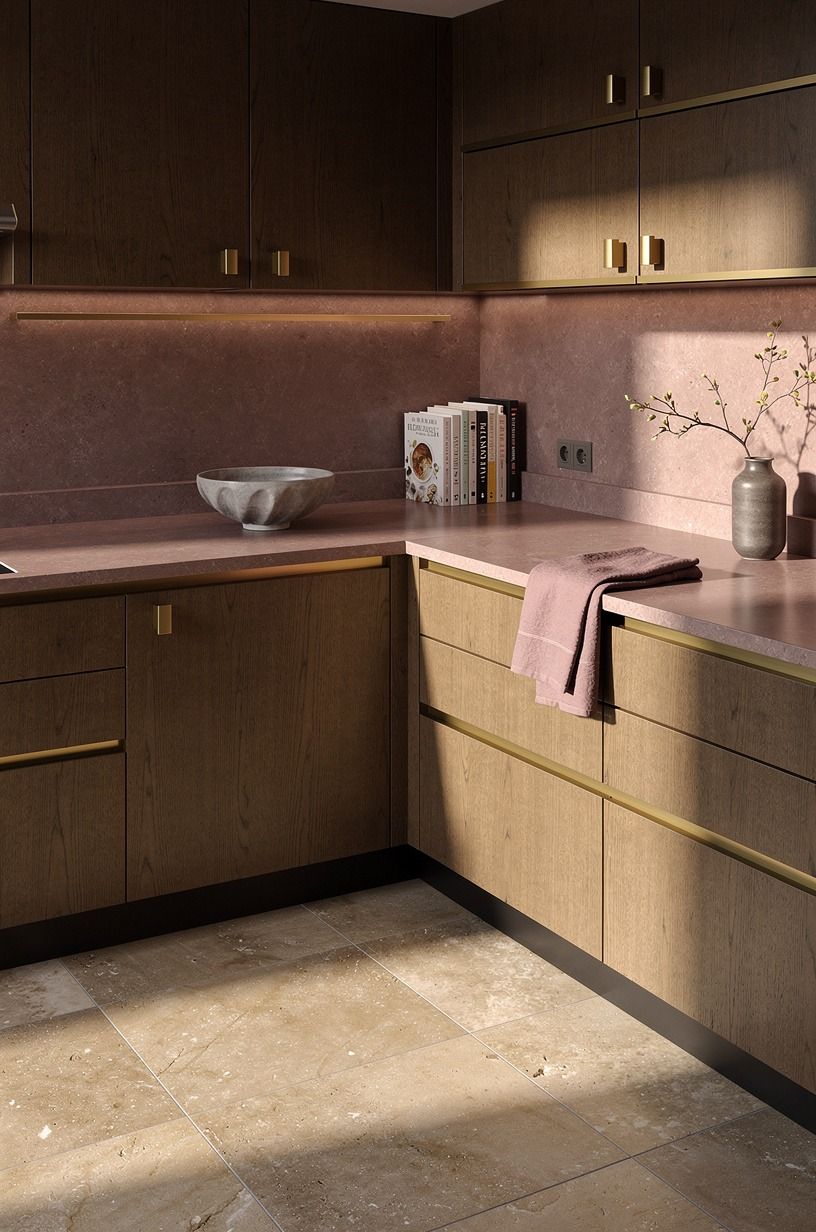
The One-Board Landing Rule gave every loose item one home.
3Layer the Three-Height Light Stack
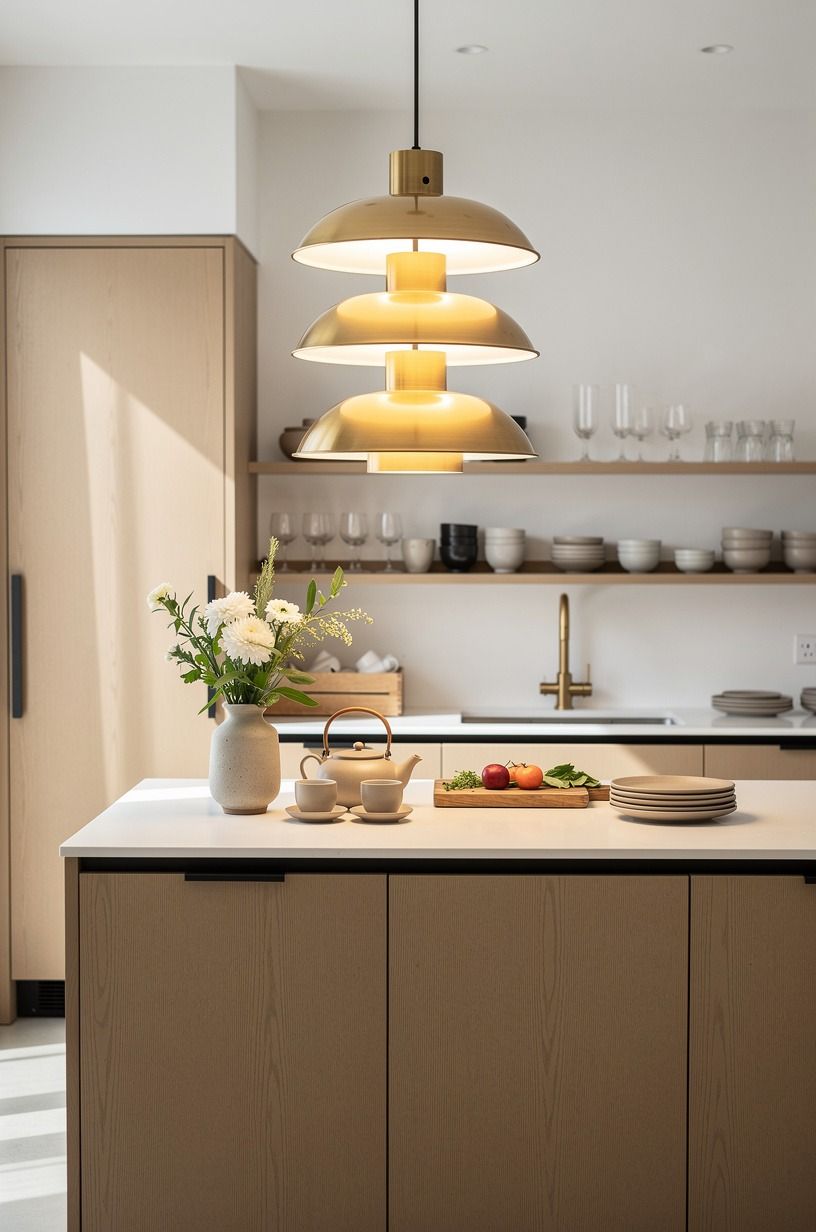
The Three-Height Light Stack changed the room faster than any decoration. I kept the ceiling fixture off, switched on a small lamp at counter level, and added one candle below eye height. The light moved from bright overhead glare to a soft pool across the camel linen runner.
You’ll want one light source near the food, one near the seating, and one low enough to catch the table edge. I used a West Elm ceramic lamp on a shelf, then placed a candle in an unlacquered-brass holder.
But don’t put a flame beside a curtain or a stack of napkins. Your kitchen should feel calm, not like a fire drill.
The counter lamp did most of the work. Its warm bulb softened the warm-white cabinetry and made the coffee station look more deliberate. The candle added a small flicker near the table, but it wasn’t responsible for lighting the room.
I tested the bulbs the evening before because some warm bulbs turn muddy against warm-white paint. A temperature around 2700K gave the room a welcoming glow without making the food look orange. That tiny adjustment made the fruit look fresh, the pastries look golden, and the wood look rich.
You can create the same effect with a portable lamp, a rechargeable table light, or a shaded floor lamp outside the kitchen. If you have only one overhead fixture, turn it off and let a nearby room contribute light.
I repeated the idea later with this soft-light small kitchen setup, using the same principle of keeping the brightest light away from the ceiling. It was gentle, intimate, and immediately more inviting. Warm light really can change everything!
4Create the Guest-Flow Triangle
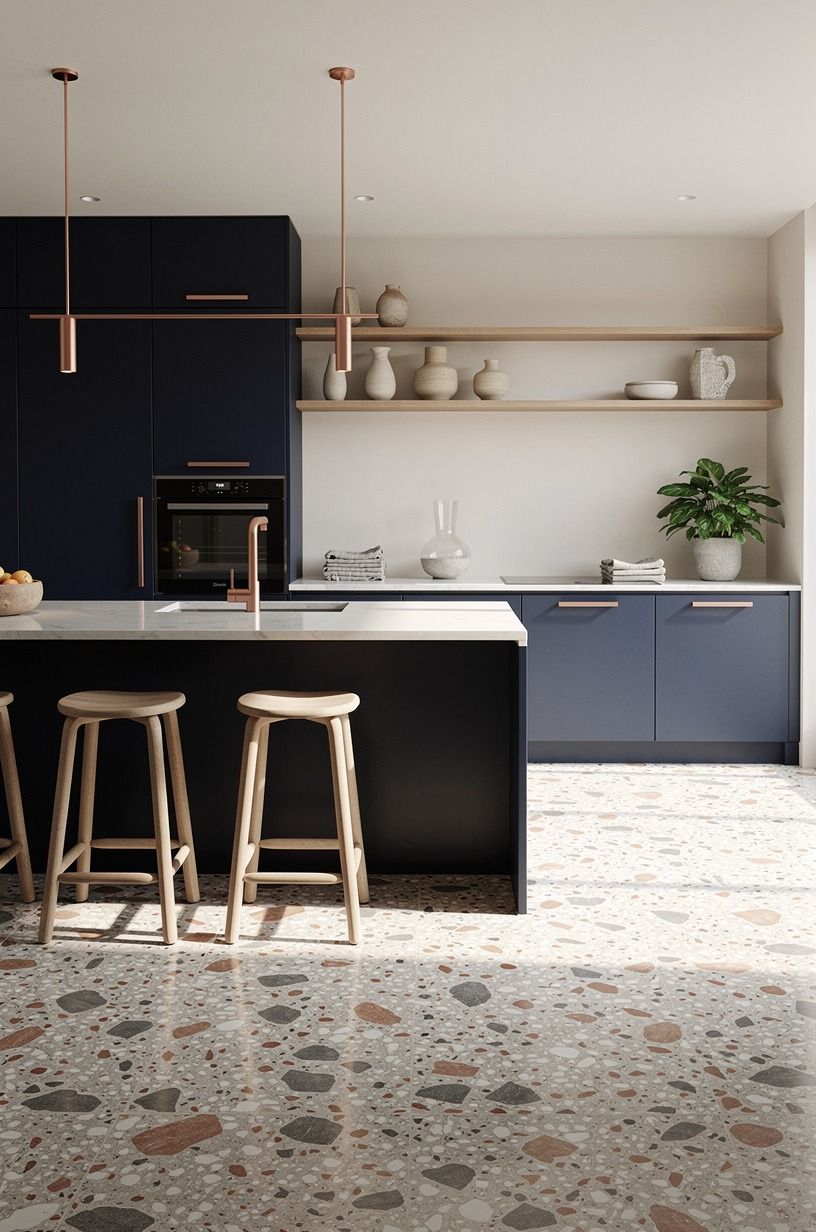
I mapped three points before anyone arrived: coffee, food, and seating. That guest-flow triangle kept people moving without bumping into the oven door. You can do the same with an oversized-chip terrazzo counter corner, a narrow table, and one chair pulled slightly away from the wall.
The useful measurement was the clearance, not the furniture size. If you add an island or cart, the standard guide calls for 42 to 48 inches of clearance all around. I didn’t have that much space, so I chose a slim cart and kept the walkway open.
The refrigerator sat between the coffee station and the table, which could have become annoying. I solved that by placing drinks on a removable cane tray close to the handle. People could help themselves without crossing behind me while I cooked.
I also moved one chair away from the narrowest passage. That gave guests a natural place to lean without blocking the oven. One small shift made the room feel open, easy, and far more generous.
If your kitchen needs more hidden storage, this small hidden pantry idea guide has the right kind of compact thinking. I also used its storage logic when planning where to keep extra mugs and serving spoons.
Don’t underestimate the path between the sink and the table. That is usually the route you’ll walk most. Keep it clear, and the whole brunch will feel smoother.
The kitchen doesn’t need more square footage. It needs fewer obstacles.
5Choose warm woods over matching white
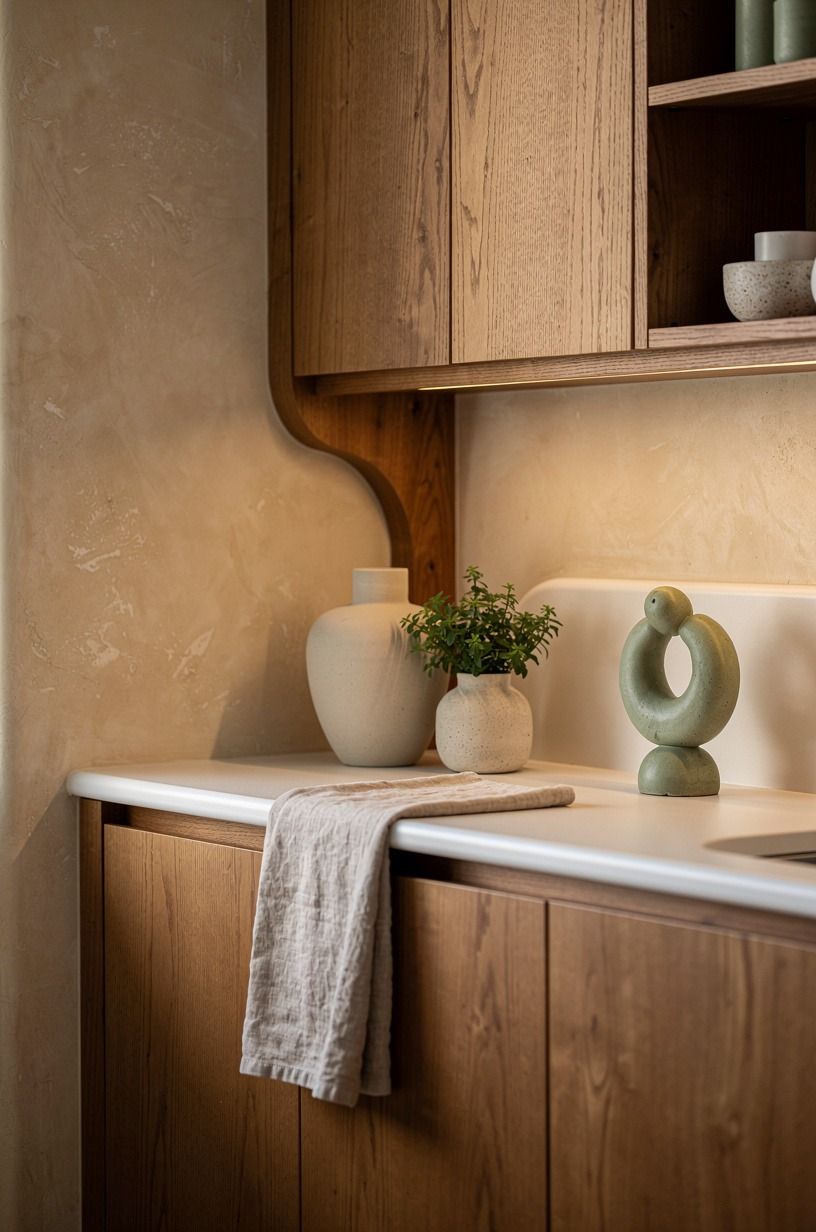
I mixed a light oak stool with a darker walnut board instead of buying matching pieces. That small contrast made the kitchen feel more collected and less like a showroom. Your brunch table doesn’t need one finish repeated everywhere, especially if the cabinets are already warm cream.
The two woods had different jobs. The oak kept the seating bright, while the walnut gave the food station some weight.
I’d choose that over a full set of pale accessories every time. A matching warm-cream kitchen can look cold under morning light, but warm grain gives you something tactile to notice while you’re pouring coffee.
I added a natural-oak riser beneath the fruit bowl and left the walnut board slightly offset from the runner. Those uneven lines made the arrangement feel natural. Symmetry can be useful, but too much of it makes a small breakfast area feel stiff.
One of my favorite details was a secondhand oak stool with a faintly worn edge. It wasn’t flawless, but the patina made the room feel welcoming, honest, and more personal. I didn’t want everything to look newly purchased.
If your kitchen already has wood cabinets, introduce contrast through tone rather than adding another species. A honey oak cabinet can work with a deep walnut tray.
Pale ash can pair with a darker cutting board. Keep the contrast intentional, and the room will look layered instead of busy.
For a related decorating direction, I saved these tiny farmhouse kitchen ideas for later. The same principle applies: texture and warmth matter more than matching every finish.
6Paint one vertical plane
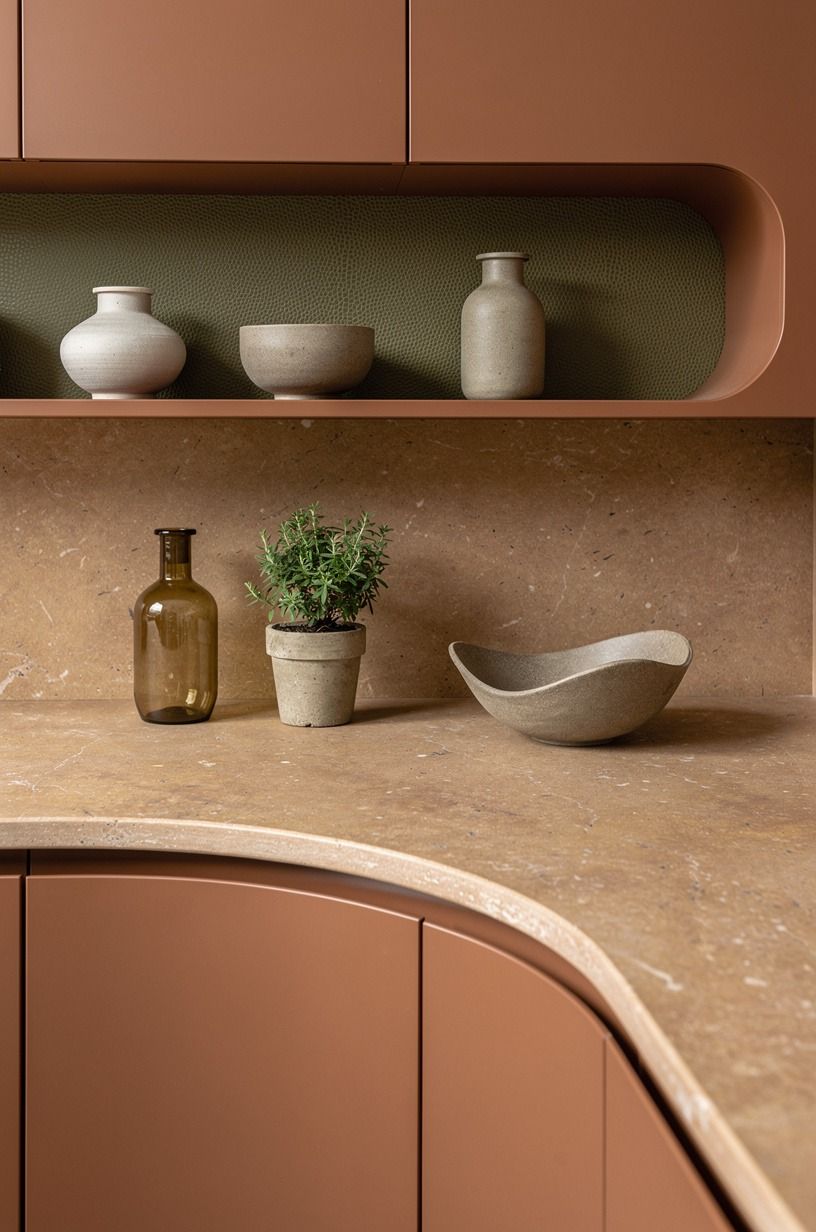
I wasn’t going to repaint the whole kitchen, so I focused on one wall near the table. Sherwin-Williams Evergreen Fog SW 9130 added a muted olive background without making the narrow room feel enclosed. If you’re renting, you can get a similar effect with a removable textile or a large framed print.
The key was stopping at one plane. Painting every wall would have made the room heavier, especially with the dark floor. You’ll want to test the color in morning and evening light before committing.
I painted the wall behind the table, not the wall beside the stove. That gave the eating area its own identity while leaving the cooking zone visually quiet. It also made the terracotta bowl, stone surface, and olive textile look more vivid.
And if your kitchen leans darker, Benjamin Moore Revere Pewter HC-172 on a nearby trim surface can keep the corner from swallowing the daylight. A lighter stone-toned trim line gave my wall enough definition without adding another dramatic color.
For a rental, I’d use a large olive textile, removable wallpaper, or a framed piece with a broad color field. You don’t need a permanent transformation to create a more dramatic, polished, or joyful backdrop.
I placed the table against that painted plane and kept the decor low. The effect was subtle, but it made the brunch feel like an occasion. The wall gave the room a visual anchor without crowding the table.
7Float the food off the counter
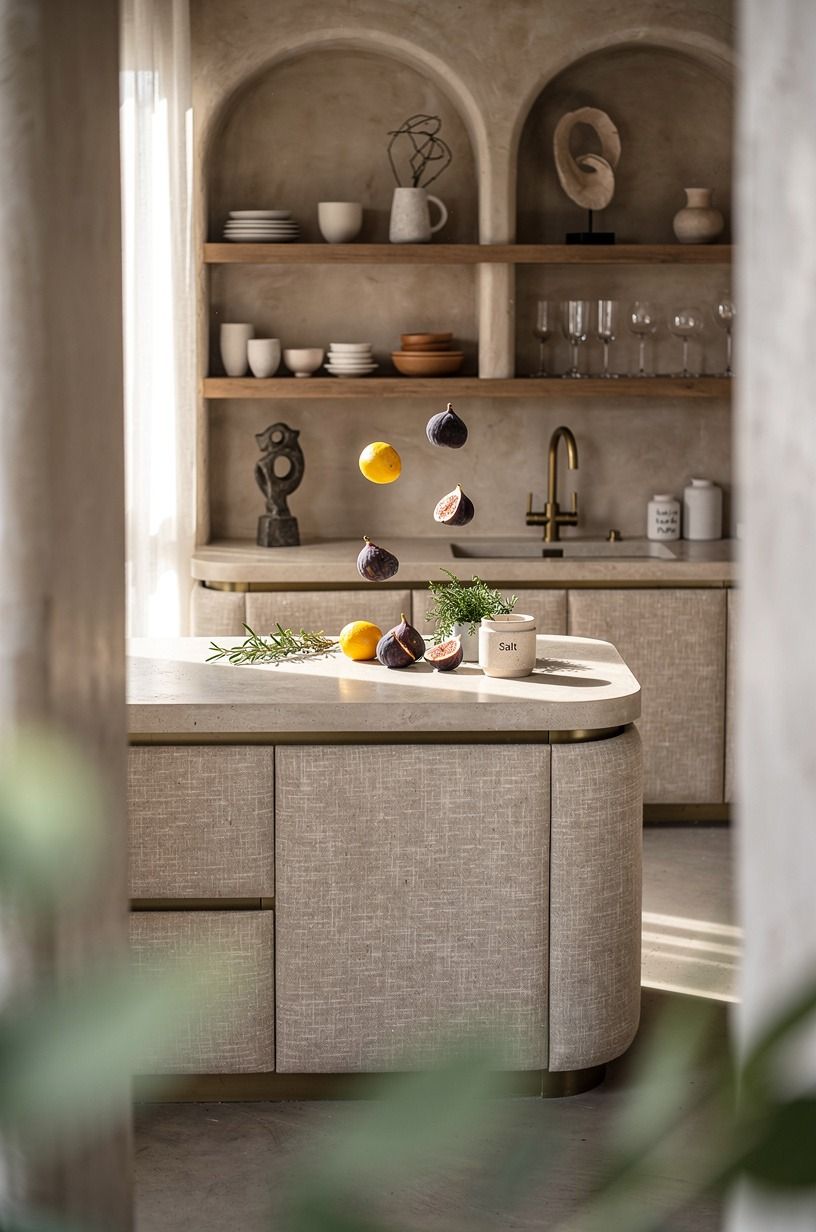
I moved the pastries from flat plates onto a three-tier aged-brass stand. That freed nearly half the counter while giving the food a little height. You don’t need a large buffet when your vertical space can do some of the work.
The stand held croissants on the middle tier, fruit on the bottom, and small muffins up top. It looked more generous without taking more room. Your best brunch ideas for friends should protect the working surface, so I’d skip a wide wooden platter if a narrow stand can hold the same food.
I placed the tallest item at the back and kept the lower tier closest to the guests. That way, nobody had to reach across another plate. A little planning kept the arrangement abundant, appealing, and practical.
The aged-brass finish also caught the window light in a quiet, comforting way. I paired it with a cream ceramic plate and a folded washed Belgian linen napkin rather than adding more decorative pieces. The food was meant to be the focal point.
If you don’t own a tiered stand, stack two sturdy plates with an upside-down bowl between them. A cake stand, narrow bookcase shelf, or inverted roasting pan can also create height. Just check that everything is stable before guests arrive.
I linked the idea with these small-kitchen Thanksgiving buffet setup suggestions because the traffic problem is similar. The solution is always the same: use height, protect the counter, and keep the most popular items easy to reach.
8Give every drink a small station
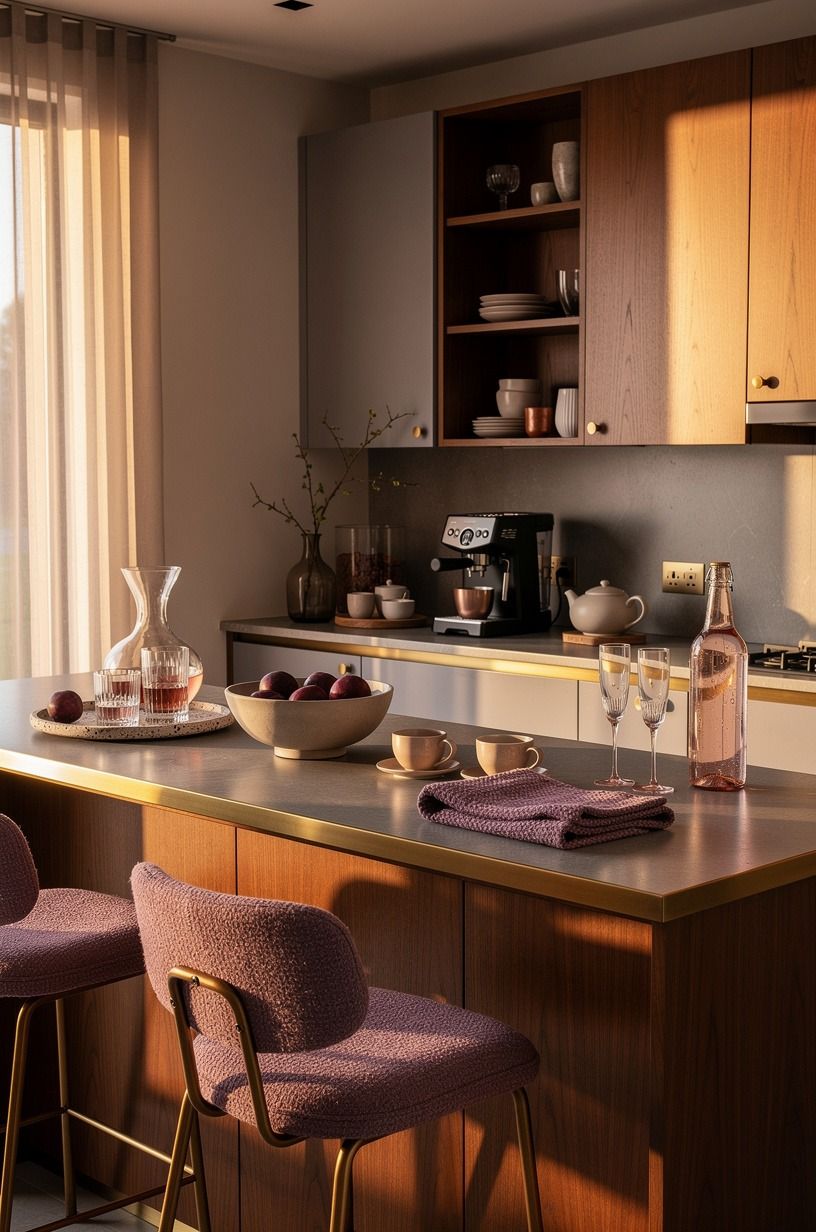
I created a drink station on a removable cane tray near the refrigerator. Coffee, tea, water, and glasses stayed together, so guests didn’t keep opening cabinets while I cooked. If your kitchen has only one usable counter, this little grouping will save your patience.
I used a small milk pitcher, a jar of sugar, and a stack of 600gsm Turkish cotton napkins. Nothing matched exactly, which helped the setup feel relaxed. But the station still needed boundaries.
You’ll want to keep the kettle cord tucked behind the tray and leave room for a hand to reach the refrigerator handle. I put the glasses on the side closest to the guests and kept the hot coffee pot farther back.
A small rose-gold coaster caught drips beneath the milk pitcher. It looked decorative, but it also protected the wood. Practical details can be beautiful when they are chosen with care.
I added sparkling water in a clear glass carafe instead of leaving plastic bottles on the counter. The carafe made the setup feel more elegant, refreshing, and special, while the water remained easy to refill.
If you are hosting six people, put extra cups underneath the table rather than stacking them beside the coffee maker. That keeps the visual field calm and gives guests permission to help themselves.
The best part was that the station made the kitchen feel generous. Nobody needed to ask for cream, water, or another mug. They could see what was available and keep the conversation moving.
9Frame the table with soft linen
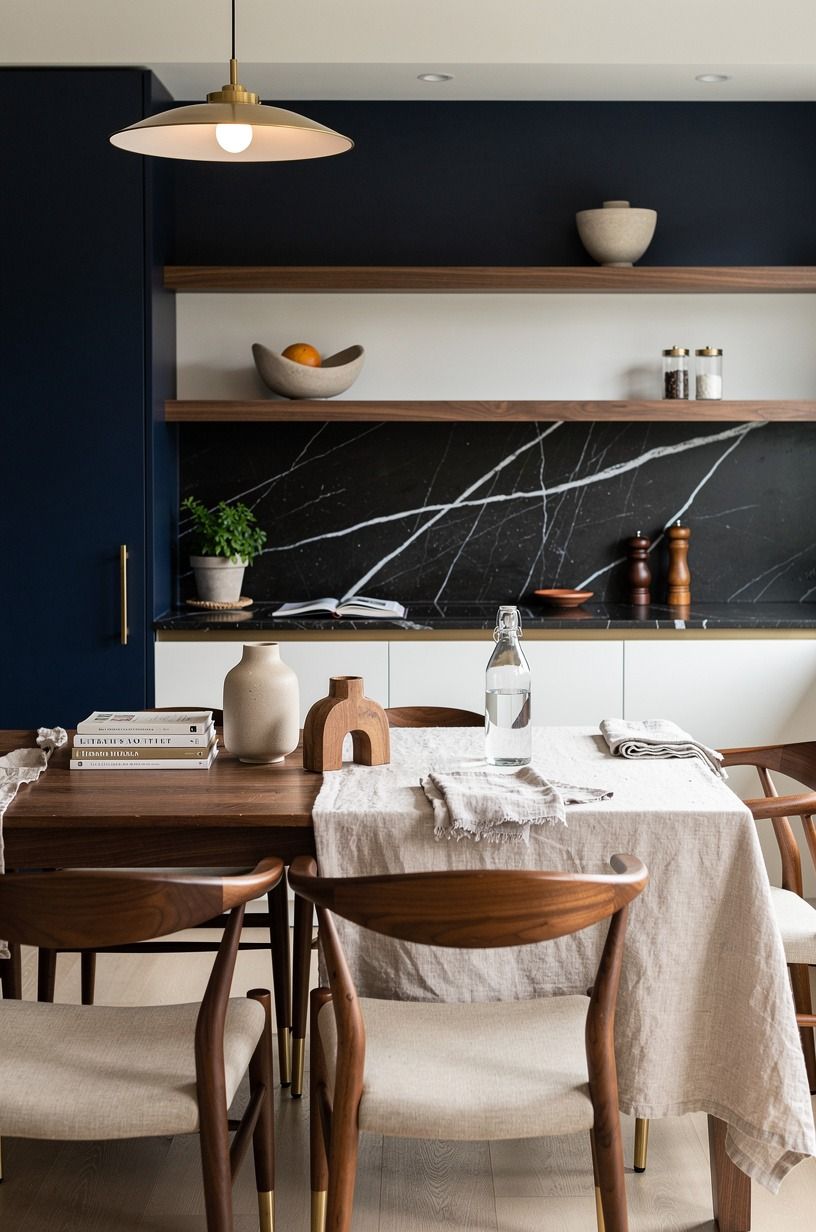
The Nero Marquina marble table looked smaller after I added a full cloth, so I used a narrow navy linen runner instead. It softened the hard surface while leaving the black marble edge exposed. Your guests still had elbow room, and the white veining kept the arrangement from feeling fussy.
I chose navy rather than bright white because morning crumbs are part of brunch. A navy mohair velvet cushion on one chair added another texture without taking table space. You don’t need matching napkins, plates, and flowers.
I’d rather see one good textile with visible weave than a coordinated set that feels rented. The runner had enough texture to catch the low light, and its slightly uneven edges made the table feel casual, tactile, and welcoming.
I folded the napkins loosely instead of making formal folds. One went beneath each plate, and two extras sat in a small white ceramic bowl near the end of the table. That made them easy to find without adding another tall object.
The table only needed three visual layers: the runner, the plates, and one low centerpiece. I used a shallow bowl of pears and left the rest of the surface open. Guests could see one another across the table, which mattered more than a complicated centerpiece.
If your table is extremely narrow, skip the runner and use two fabric placemats. You’ll preserve the same softness while gaining a few inches of usable space.
A small speakeasy room ideas guide helped me think about atmosphere through texture and low light. I borrowed the mood, not the theme. The result felt moody, soft, and surprisingly spacious.
10Could a tiny kitchen host six friends?
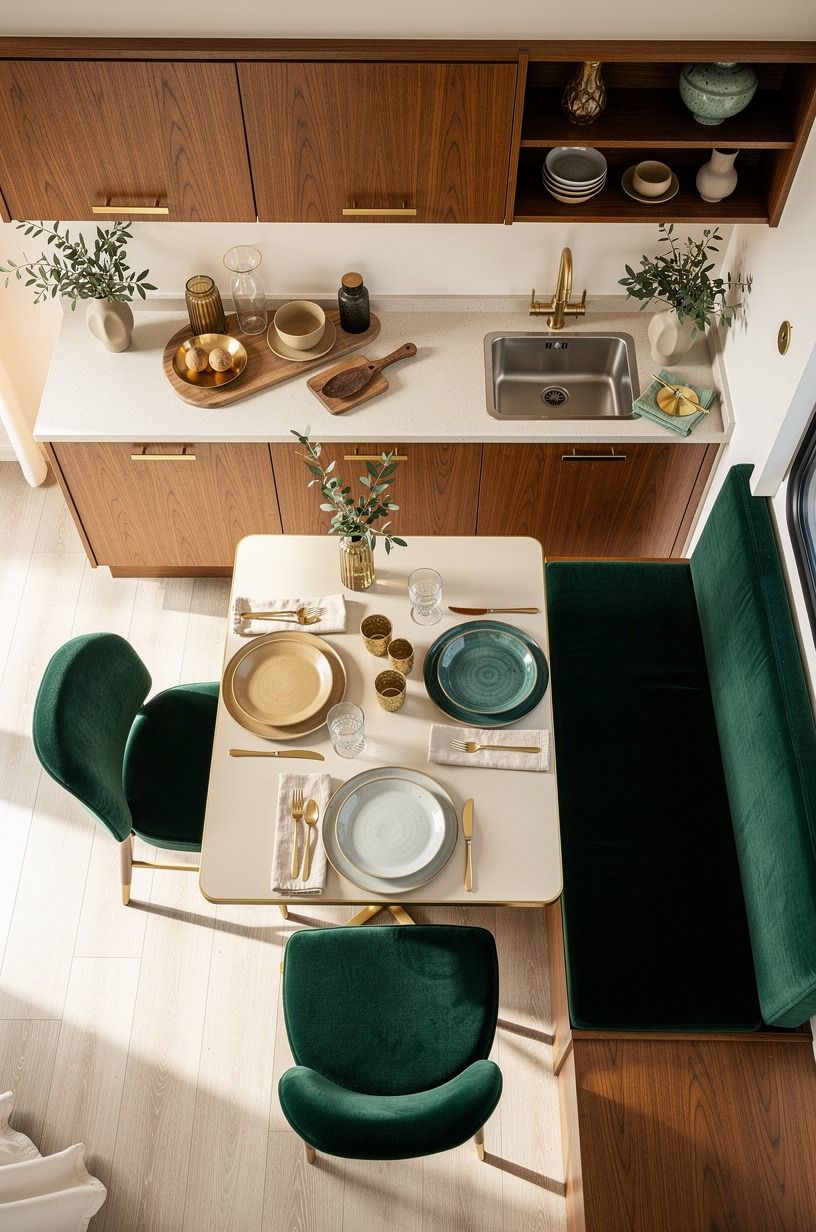
Yes, if you stop treating the kitchen as a room where everyone must sit.
11Pass plates instead of building a buffet
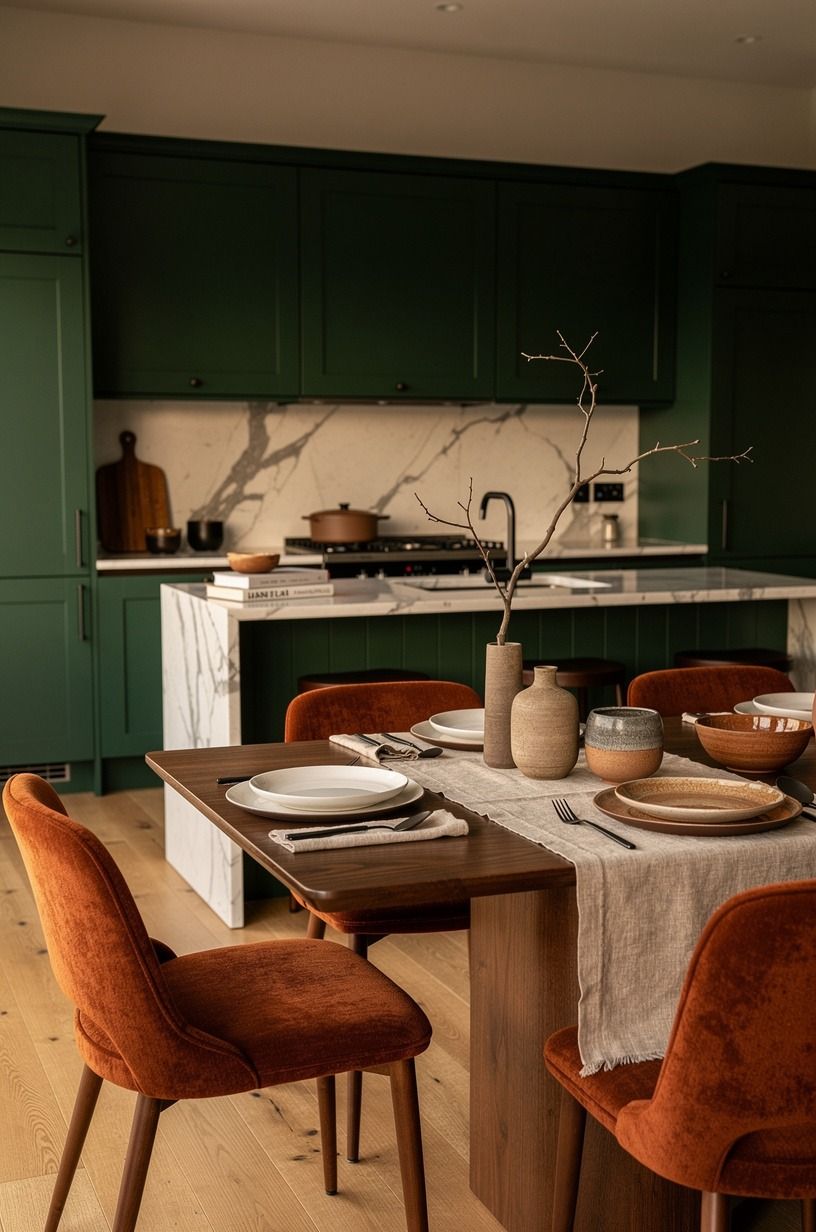
I served the warm dish from the oven and passed it around the table. That kept the counter open and made the meal feel more generous, even though the kitchen was tiny. Your friends don’t need to inspect every dish at once if the first plate arrives warm.
I used stoneware breakfast plates with a slightly raised rim, which made passing easier and kept syrup from sliding. A buffet would have looked impressive, but it would’ve created a queue in the narrowest part of the room.
I set the first serving dish on a Carrara marble trivet beside the table, not beside the sink. That small decision prevented people from crossing the cooking path. I also kept a serving spoon inside the dish so nobody had to search for one.
And if you’re planning a holiday version, this small-kitchen Thanksgiving buffet setup handles the same traffic problem with more food. I used its basic principle for brunch: hot food stays close, secondary dishes travel, and the counter remains available.
Passing plates also changed the mood. Instead of making everyone get up and line up, the meal moved from person to person. It felt communal, generous, and slightly old-fashioned in the best possible way.
Keep sauces and toppings on the natural oak serving board so guests can add what they want without sending several jars around. Place extra forks in a low container where they can be reached from either side.
The small kitchen suddenly felt less like a limitation and more like the center of the gathering. People talked while they passed food, and I wasn’t stuck managing a queue.
12Hang the Two-Season Color Note
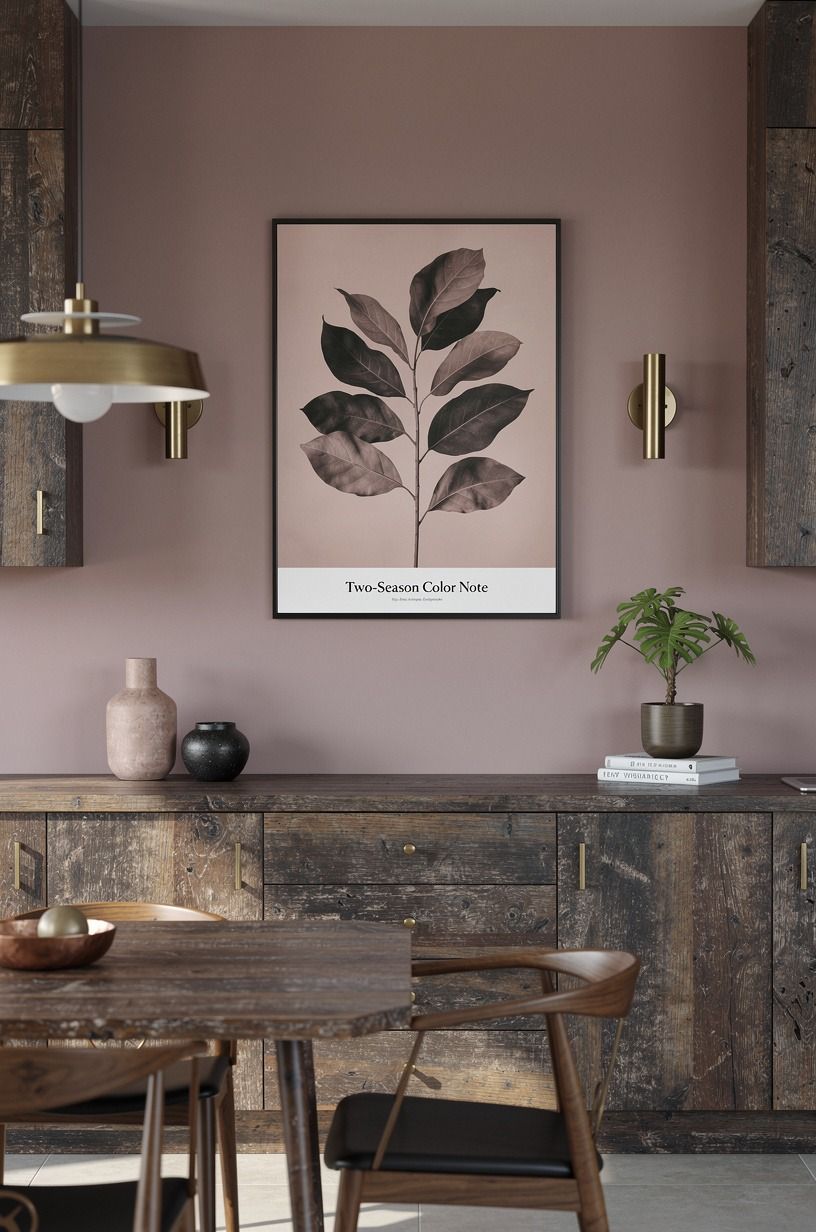
I added one dried branch and a dusty-rose ribbon above the table. That became the Two-Season Color Note, a small detail that worked for fall brunch and could shift into winter without replacing everything. You can use one seasonal color instead of filling the room with themed decorations.
The ribbon picked up the charcoal in the charcoal bowl and made the dusty-rose wall feel less flat. I’d skip plastic seasonal signs here. They take up visual space without helping the meal.
Your room only needed one muted note, and the dried leaves gave off that papery scent guests noticed when they walked in. The arrangement was deliberately modest. A single branch looked more refined, natural, and memorable than a crowded collection of seasonal objects.
I tied the ribbon loosely and hung the branch above eye level, away from the cooking area. It added height without taking table space. If you have no wall hook, lean a framed botanical print against the backsplash and add one colored textile nearby.
For another small-space reference, I returned to these tiny farmhouse kitchen ideas and focused on the use of restrained color. The lesson was simple: repeat one shade twice, then let the rest of the room stay quiet.
A dusty-rose ribbon, charcoal cushion, and reclaimed weathered teak were enough. I didn’t need flowers, painted signs, patterned plates, and a seasonal centerpiece competing for attention.
13Make cleanup part of the plan
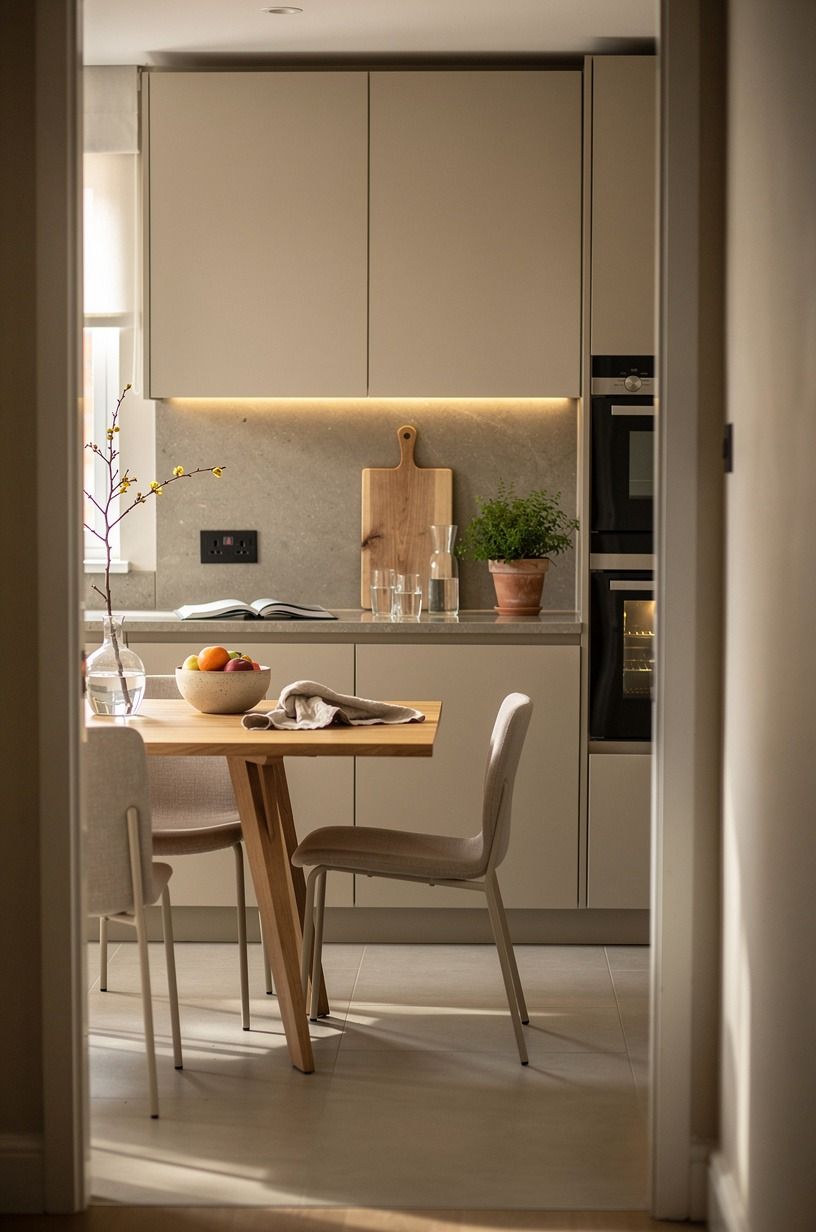
I placed a small matte black tub beneath the Calacatta marble counter for used napkins and empty jars.
14End with a seated moment
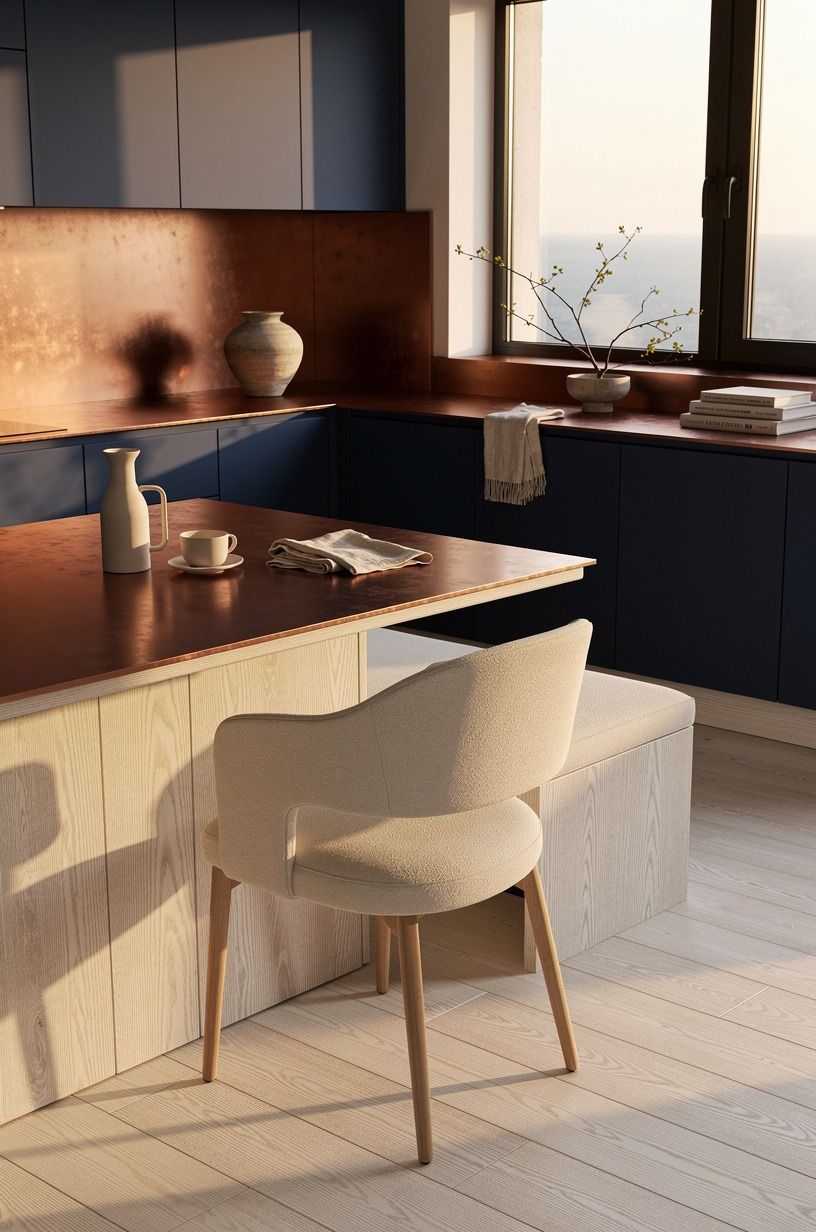
The last idea was doing less. After the food came out, I sat down instead of rearranging the flowers or wiping an already clean counter.
That was the moment the kitchen changed from a work zone into a room for friends. Your small brunch ideas only matter if you get to enjoy them too.
I left the copper candlestick on the cerused white oak table where it was and let the table look lived-in. One napkin was crooked, and someone had left a coffee spoon beside the bowl. Good.
I’d choose that evidence of use over a spotless display every time.
I stayed seated for the first ten minutes, even though I noticed three things I could have adjusted. That pause changed my entire impression of the room. It felt peaceful, welcoming, and complete because people were using it.
For more compact entertaining inspiration, these small speakeasy room ideas show how atmosphere can come from restraint. I borrowed the idea of letting one or two details carry the mood instead of decorating every surface.
The kitchen didn’t need to look untouched. It needed to feel available. A crooked napkin, a half-empty coffee cup, and a serving spoon beside the bowl told a better story than a perfect display ever could.
By the end, two friends were standing near the refrigerator, one was sitting on the stool, and I was at the table with everyone else. The room had stopped feeling tiny. It felt intimate, vibrant, and ours.
How much it cost: $300 at the cosmetic-refresh level
I kept my brunch makeover at the $300 starting point, using pieces I owned first and spending on light, food presentation, and textiles. The goal wasn’t a kitchen remodel. It was a gathering that felt warm without pretending the room had more space than it did.
Here are the typical US kitchen refresh ranges that helped me keep the project in proportion:
I spent first on the pieces guests touched and noticed: a lamp, a runner, and a raised serving piece. Your own total may be lower if you already have trays and linens.
If you’re considering a broader refresh, these tiny farmhouse kitchen ideas helped me separate structural upgrades from cosmetic changes. I wanted the room to feel better for one morning, not commit to a costly remodel.
These typical material ranges are useful:
I’d put money into lighting before a decorative backsplash. The room changes every time you turn the lights on, while the backsplash mostly waits in the background.
My actual spending went toward a warm LED bulb, a linen runner, a tiered metal stand, and a small amount of paint. The oak stool, walnut board, glasses, and dishes were already mine. That mix kept the refresh practical.
A tiny kitchen doesn’t need a large budget to feel special. It needs a clear priority. For me, that priority was making the room pleasant to use while guests were actually there.
What I Learned About Hosting Small
I went into this brunch thinking the table needed to carry the whole mood. It didn’t.
The kitchen itself became the social center once I stopped hiding its limits. Friends gathered near the coffee, leaned against the counter, and talked while I finished the warm dish.
That felt more natural than sending everyone to a separate dining area.
The first lesson was practical: empty space has value. A clear counter isn’t unfinished decor, and a bare corner isn’t a failure.
You need room for a hand, a plate, and the person who wants to help. I’d rather remove three decorative objects than add one more serving piece.
The 36-inch counter height already gave me a usable work surface, so I only had to stop covering it. Once the appliances disappeared, the room felt lighter, cleaner, and easier to navigate.
The second lesson was about light. I used to believe a brighter kitchen would feel more welcoming, but overhead brightness made every surface look hard. A lower lamp and one candle gave the room a softer, more intimate edge.
If you’re choosing between another accessory and a better bulb, I’d pick the light. It affects every plate, face, and corner at once.
I also learned that repetition works better than variety in a small room. Repeating sage green, warm wood, and oatmeal linen created harmony without making the decor feel matched. One strong color note was enough.
Finally, I learned that the host has to sit down. I had planned to keep moving until every crumb disappeared, then caught myself polishing a clean counter while my friends were laughing at the table. So I left the spoon by the bowl and joined them.
The room felt more peaceful because I was in it, not managing it from the edges.
That is the part I would repeat first. Clear the surface, soften the light, give the food somewhere sensible to land, and then stop working.
Your friends came for the morning with you, not for a flawless kitchen. Hosting can be beautiful and easy!
The Questions Worth Answering First
What is the best small brunch idea for a small kitchen?
The best choice is a raised food station paired with a clear counter. A West Elm tray or narrow tiered stand keeps plates visible while protecting your work surface. You’ll get more room for guests without buying furniture, and your kitchen will feel calmer from the first pour of coffee.
Where can I buy small brunch pieces on a budget?
Look at IKEA, Wayfair, and Target first, then check Facebook Marketplace or a local thrift shop. IKEA KALLAX storage, secondhand trays, and mismatched stoneware can give you a gathered look for less. You don’t need a matching collection, and used wood often feels warmer.
How much does a small brunch kitchen makeover cost?
A cosmetic kitchen refresh typically ranges from $300 to $1,500 in the US. For brunch styling, you can spend less by using your own dishes, clearing the counter, and changing the light. The budget range works best when you buy one useful piece instead of several decorative ones.
Can I create small brunch ideas on a budget?
Yes, and you can start with three free moves: clear unused appliances, rearrange the food by height, and turn off the overhead light. A thrifted tray, a linen remnant, and one candle can add warmth without a large purchase. Your biggest improvement may cost nothing.
Is a small brunch makeover worth it in a small space?
Yes, because a small kitchen makes every decision visible. Keep one walkway open, place drinks near the refrigerator, and use vertical serving pieces. Clear circulation gives you more comfort than extra furniture, and guests will notice the easier movement before they notice the room’s size.
Is a small brunch setup a good idea for a rental?
Yes. Use a peel-and-stick backsplash panel, a tension rod for a textile, and removable hooks for artwork.
Removable styling lets you add color without damaging cabinets or walls. You’ll still get a warm, personal room, and you can take every useful piece with you later.
Where I’d Start First
If I had to pick one, I’d start with clearing the counter. Your food, friends, and hands need that space more than another decoration, and the room will feel larger before you buy anything.
Then I’d add one warm light source, move the food upward, and create a small drink station near the refrigerator. Those changes cost less than a renovation but make the kitchen work much harder for you.
Pin this small brunch setup for later, then sit down when your guests arrive. The best part of the room isn’t how polished it looks before brunch. It’s how warm, memorable, and effortless it feels once everyone is there.