
Open rain shower ideas for a drench-from-above spa moment work best when water, light, drainage, and storage are planned as one calm system. Your shower can feel luxurious without rebuilding the whole bathroom, but the floor must handle spray and the ceiling must support the fixture. I learned that after one very wet bath mat. Start with the bones.
- Measure the Open Footprint Before You Buy
- Check the 36 by 36 Shower Box
- Map the Drain Before the Tile
- Choose a Ceiling Rain Head Over a Wall Spray
- Build the Three-Height Light Stack
- Seal the Wet Zone with a Half Wall
- Float a Slim Vanity Outside the Splash Line
- Layer the Two-Wood Rule
- Paint the Dry Walls with a Named Color
- Frame the View with Clear Glass
- Anchor Storage at Reachable Heights
- Mix Water-Safe Textures Instead of More Tile
- Add a Living Green Moment
- Tune the Water Pressure Before Styling
- Soften Sound with the Three-Surface Check
- Style the Landing Zone for Daily Use
- Budget the Open Shower in Three Tiers
- Test the Whole Route Before Closing the Wall
- Finish with a Quiet Spa Ritual
1Measure the Open Footprint Before You Buy
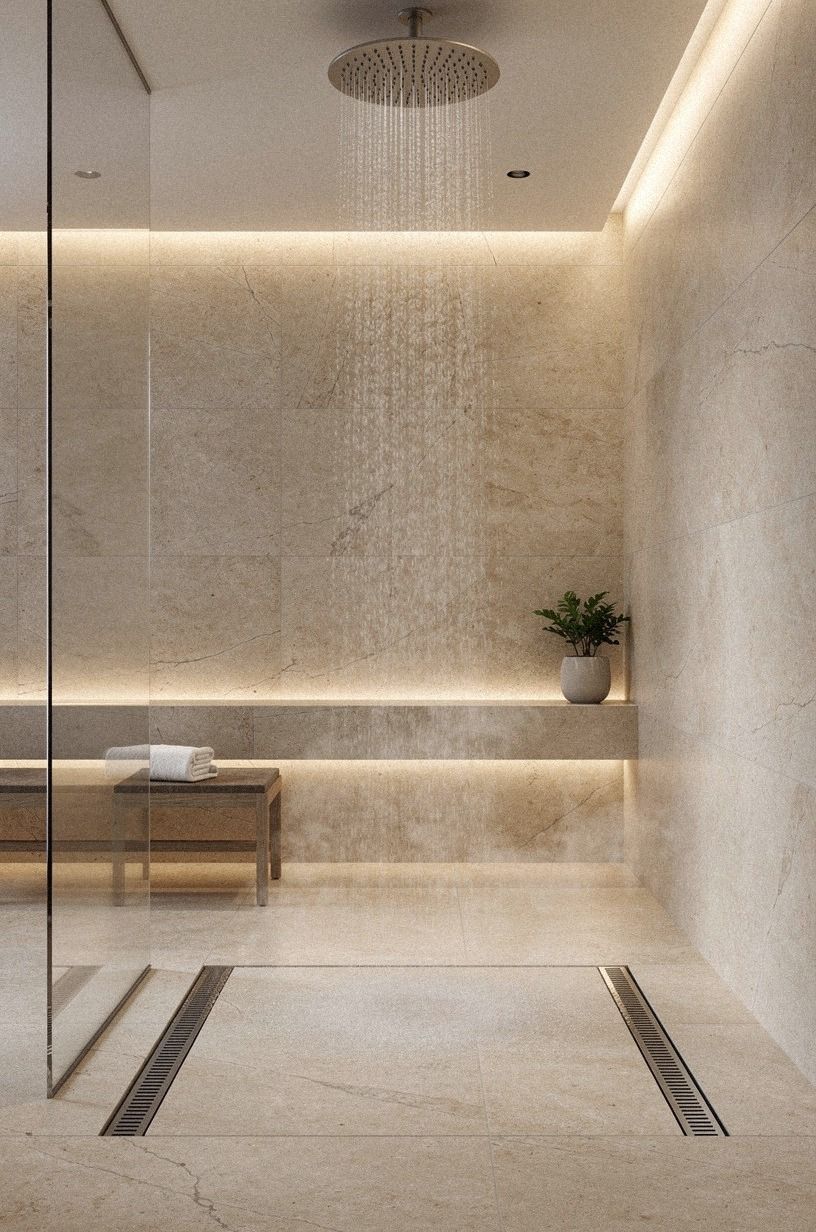
Start by measuring the shower footprint, the door swing, and the clear path from your vanity to the toilet. A comfortable shower needs at least 36 by 36 inches, so your open rain shower ideas should protect that square before you choose tile or a dramatic fixture. You’ll want enough room to turn without sending water toward the vanity.
Mark the proposed wet zone with painter’s tape for one morning. Walk through your routine, reach for imaginary shampoo, and check where your elbows land.
I’d skip a narrow layout that looks airy on paper but forces your shoulder against the glass. Your room should feel calming and open, not like a pretty obstacle course.
Typical cost by tier (US averages):
2Check the 36 by 36 Shower Box
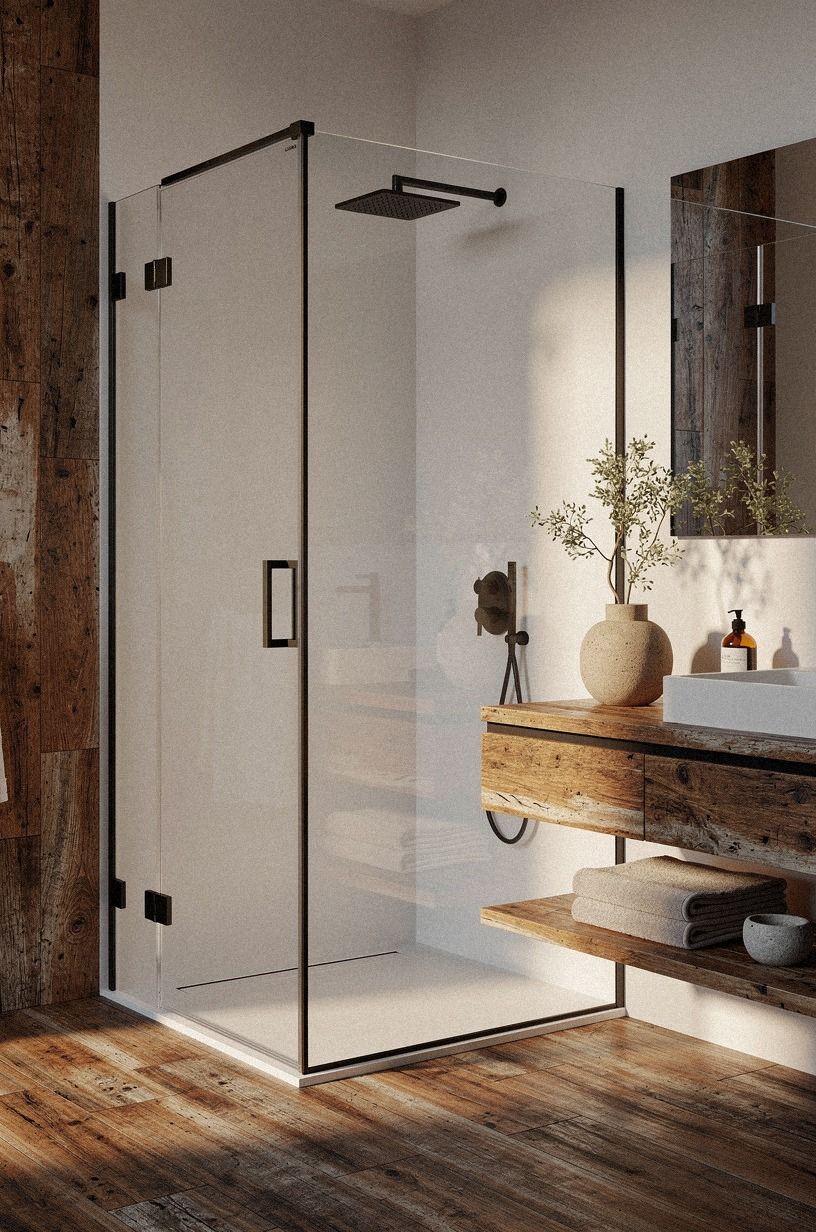
Use the 36 by 36 inch minimum as your starting point, then give your eye a little breathing room if the room allows it.
3Map the Drain Before the Tile
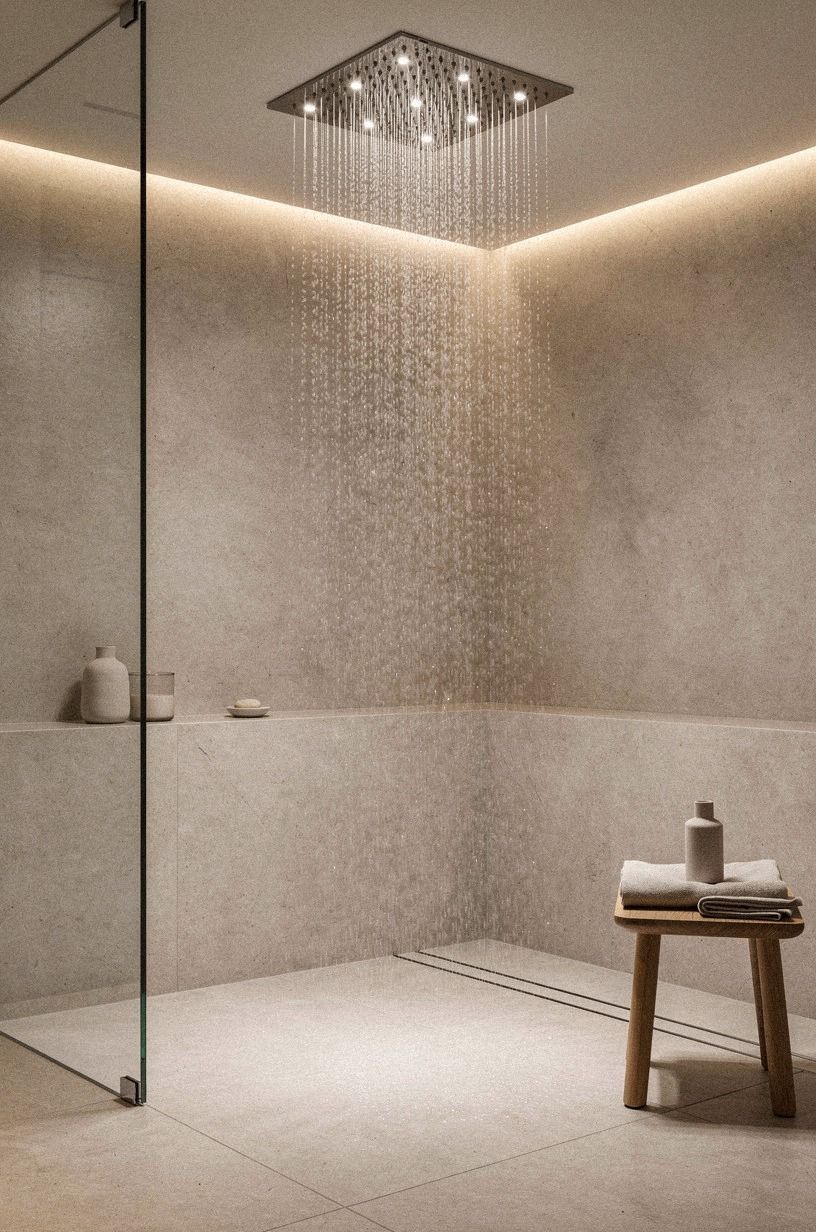
Map the drain before you fall for a tile pattern. A linear drain can make your shower floor look sleek, but your plumber still needs a practical route beneath the surface. Your floor should guide water away from the dry side, and the transition should feel gentle under bare feet.
That small detail does more for a serene room than another decorative shelf.
And if you’re keeping the existing drain, let it influence the layout instead of fighting it. A centered drain suits a square shower, while a wall-side channel can support a long open zone. I’ve seen a gorgeous Calacatta marble with gold veining wall lose its calm because water pooled by the threshold.
Test the slope, check your feet, and only then commit to the finish.
4Choose a Ceiling Rain Head Over a Wall Spray
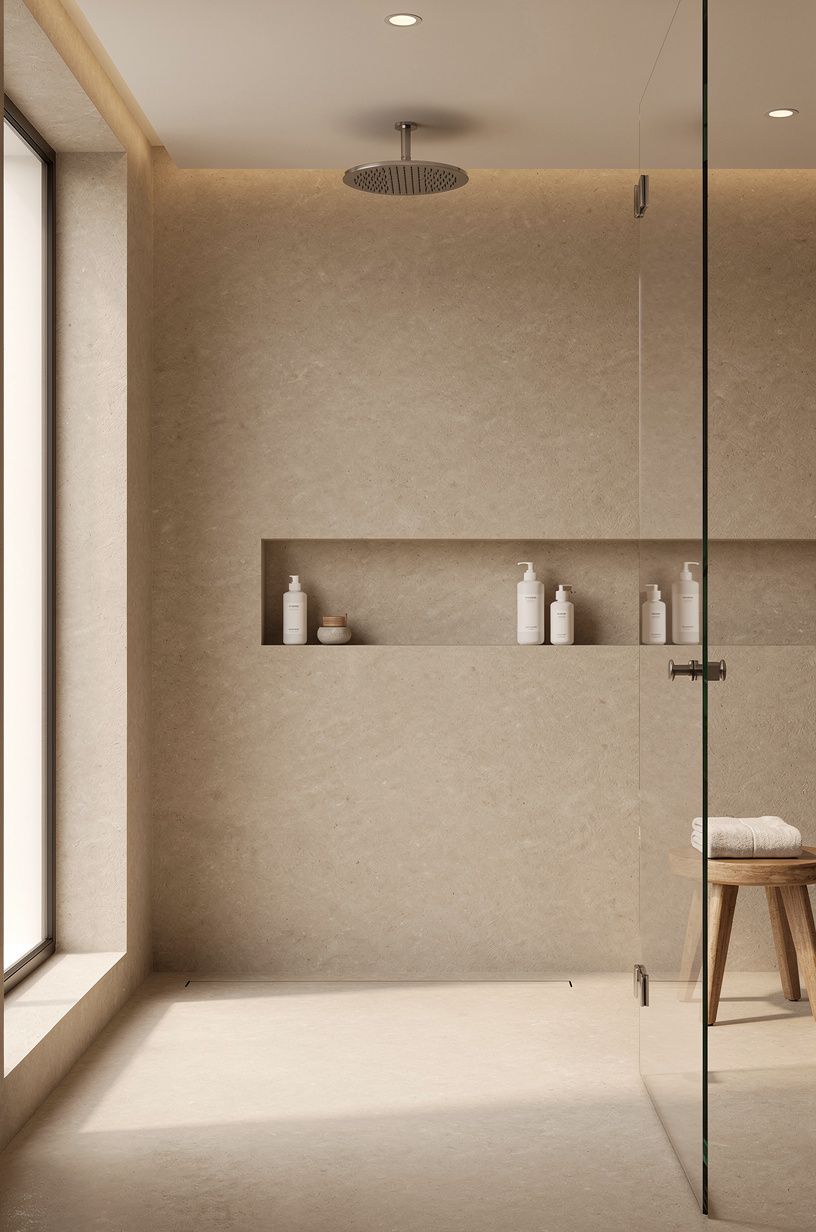
Choose the ceiling-mounted rain head if your goal is a true drench-from-above moment. Water falls evenly over your shoulders, which gives modern walk-in shower design a more intentional, almost quiet rhythm. A wall-mounted spray can work, but it pushes water sideways and makes an open entry harder to protect.
You’ll still want a handheld fixture for rinsing the walls, washing children, or cleaning the floor. Pair the overhead head with a cerused white oak detail and warm cream surfaces if your room needs softness, or let natural wood bring structure to a sage green palette.
I’d skip a single wall spray in a fully open setup because it turns every shower into a splash-management exercise. That’s not relaxing!
For more fixture and lighting direction, browse these open shower lighting ideas for a glowing spa-like feel.
5Build the Three-Height Light Stack
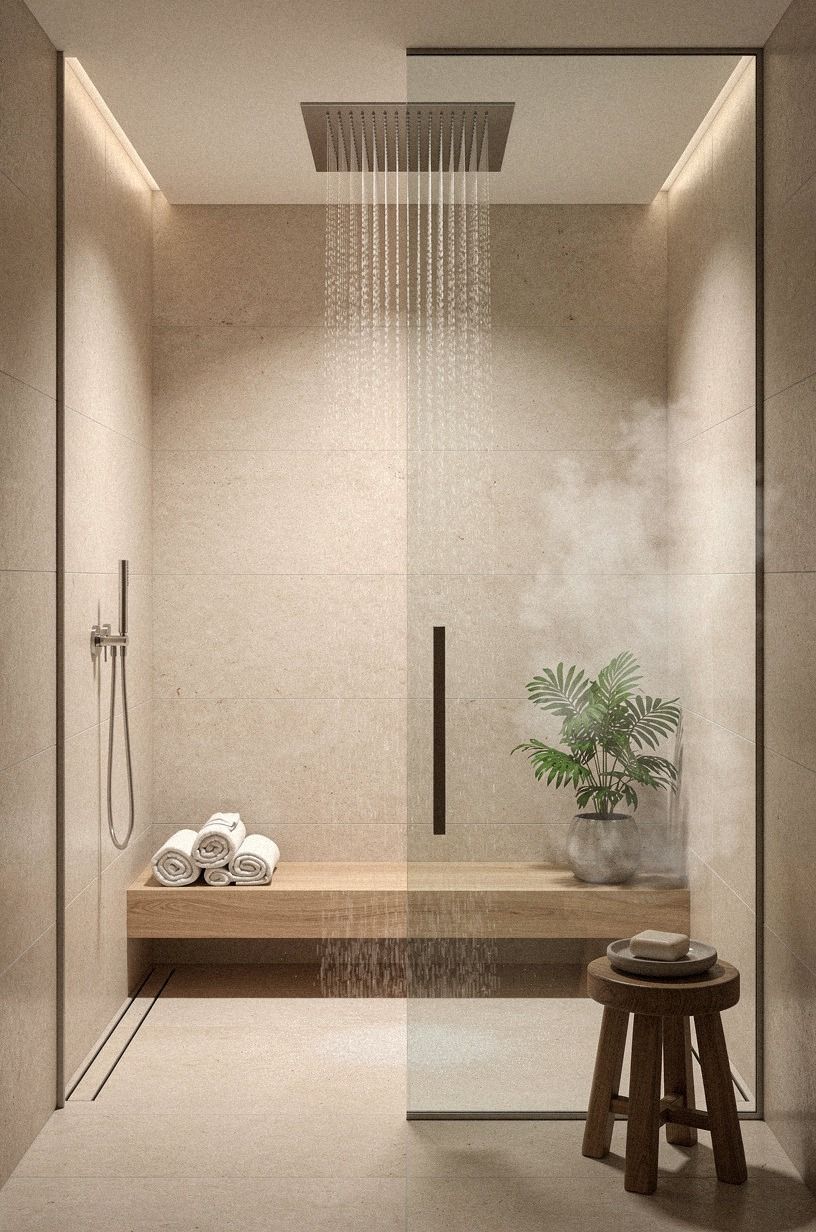
Build the Three-Height Light Stack with ceiling light, mirror light, and a low glow near the floor. Your ceiling fixture handles practical brightness, the mirror light keeps your face visible, and a small low-level source makes the room feel soft after dark. This layered approach gives your bathroom a warm, inviting mood without relying on one harsh bulb.
Use a damp-rated fixture above the wet zone and keep the color temperature comfortable rather than icy. Backlit translucent onyx can catch the low light beautifully against terracotta, stone, and olive notes.
You’ll notice the difference when the light lands on the surface and turns the wall into a warm terracotta plane. If you’re choosing between one expensive pendant and three modest sources, I’d take the layered option every time.
6Seal the Wet Zone with a Half Wall
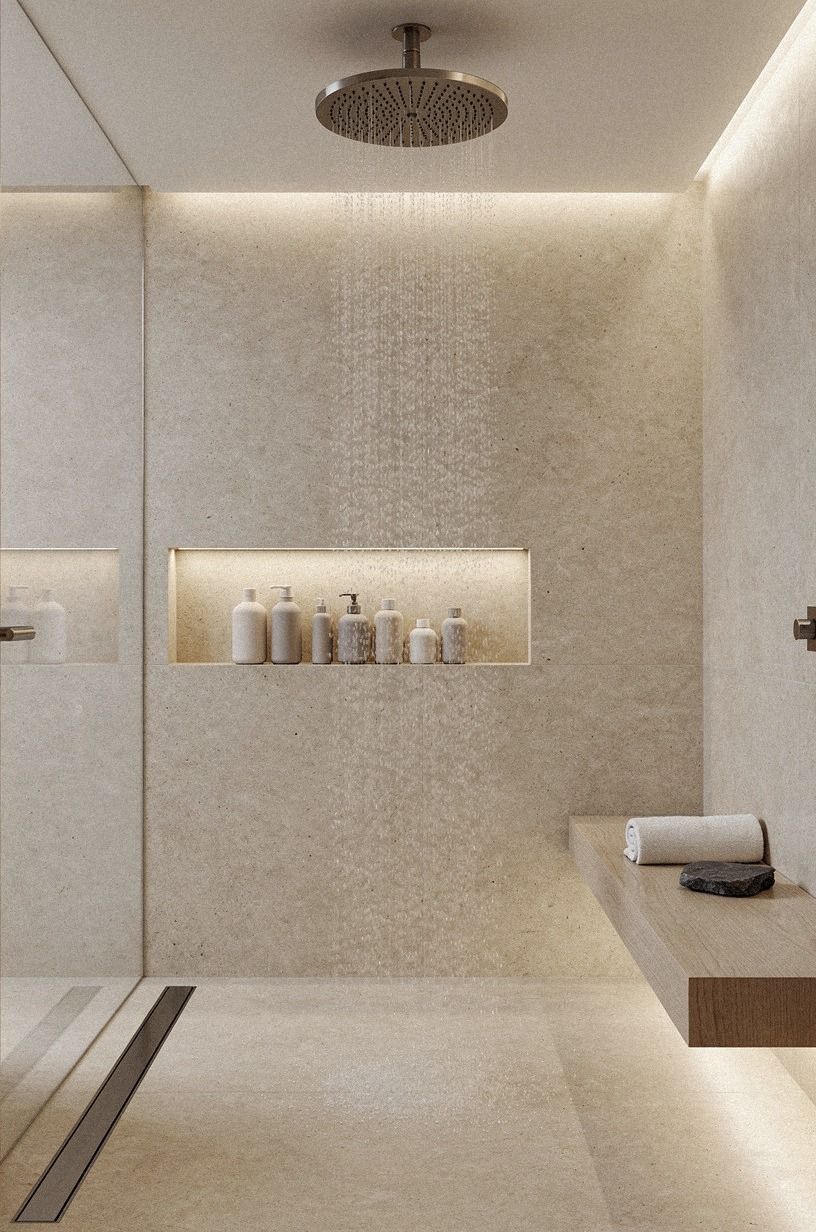
Seal the wet zone with a half wall when you want openness without sending spray across the entire bathroom. A low wall can support a ledge, hide plumbing, and create a visual boundary while keeping the room airy. Your shower will still feel open, but your towels won’t receive a daily misting.
Finish the dry side of the wall with book-matched walnut only if your budget and maintenance plan support it. A painted cap or matching stone remnant can work just as well. Pair the deeper wood with clay tones, linen textiles, or aged brass so the room stays warm without becoming heavy.
But don’t make the wall so tall that your room loses daylight. A half wall should guide the eye, not close the shower into a box. For layout inspiration, compare it with these wet room ideas for an open shower layout.
7Float a Slim Vanity Outside the Splash Line
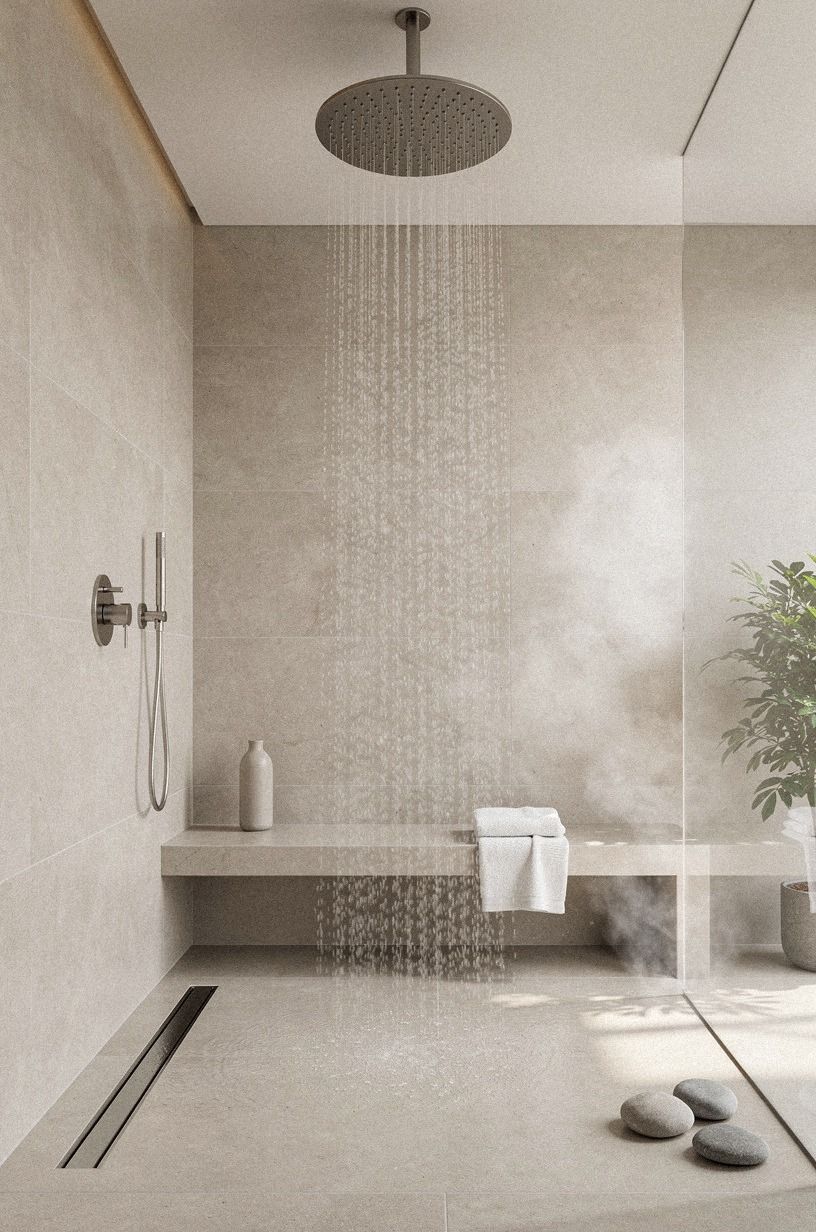
Float a slim vanity outside the splash line so your open shower has a dry landing zone.
8Layer the Two-Wood Rule
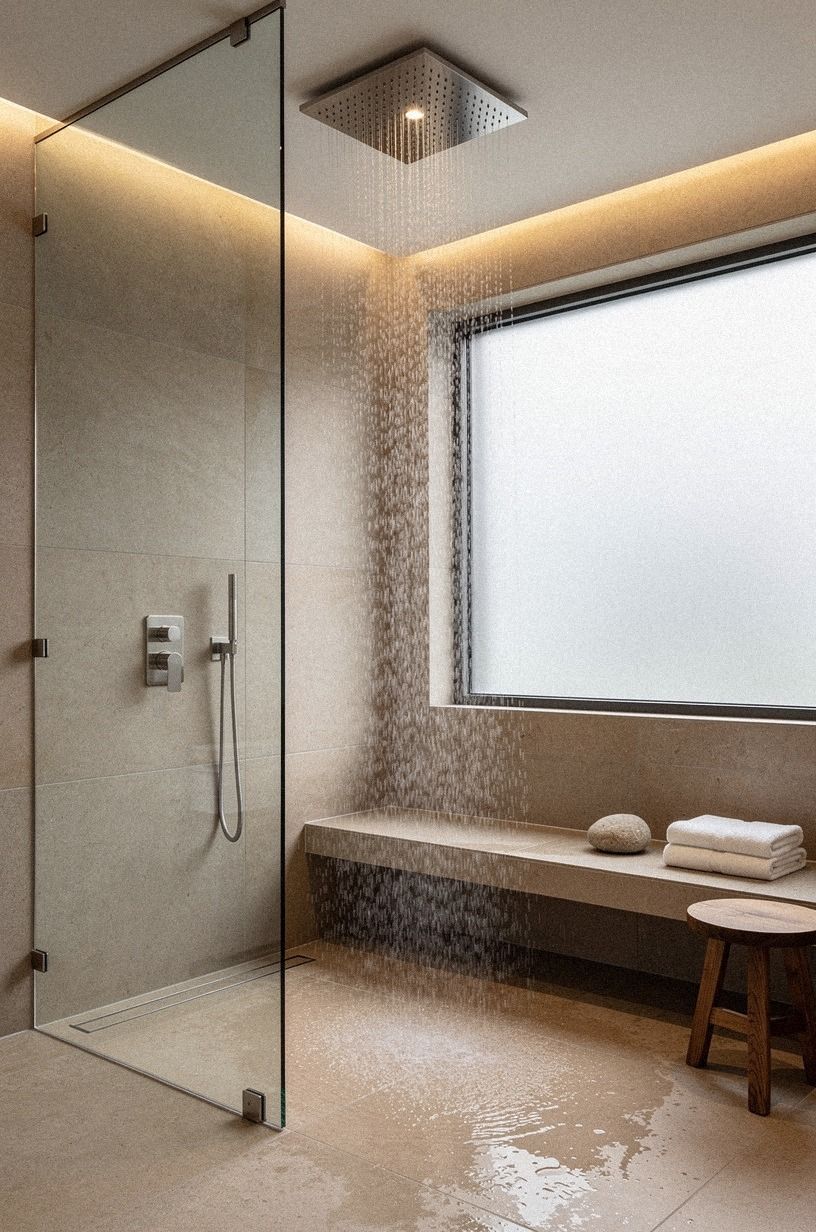
Layer the Two-Wood Rule by pairing walnut with a pale surrounding surface rather than adding a third wood. Your open rain shower can feel organic and warm when the vanity, stool, or frame shares a visual relationship without matching exactly. Try walnut cabinetry against a white wall with navy accents, then let unlacquered brass bring a living note as it develops patina.
Use a 3/4-inch solid walnut shelf outside the spray line if you want a tactile landing spot for folded towels. The grain will catch the light, and the room won’t feel overly glossy.
But keep your woods limited to two related notes. More than that can make your relaxing bathroom look accidental.
I’ve gone back and forth on this, yet the simpler pairing always feels more sophisticated.
9Paint the Dry Walls with a Named Color
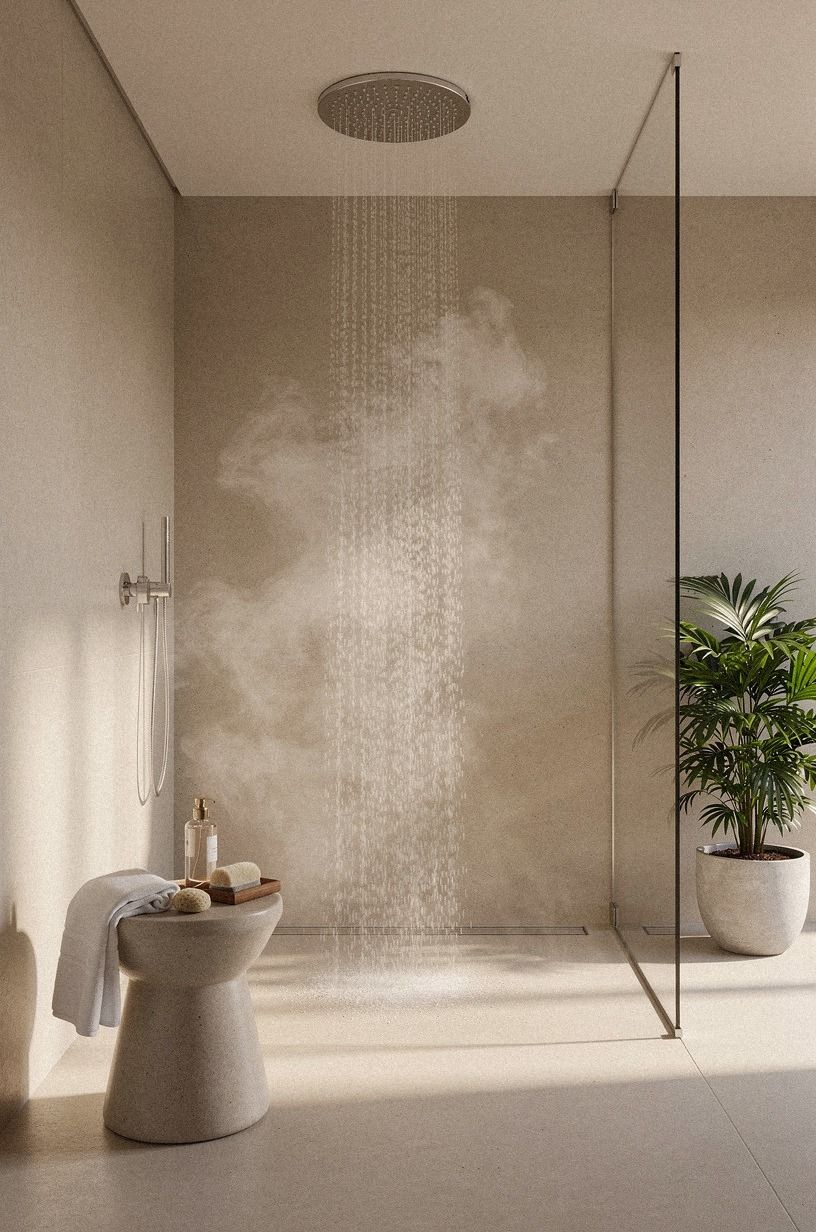
Paint the dry walls with a color that supports the water rather than competing with it.
10Frame the View with Clear Glass
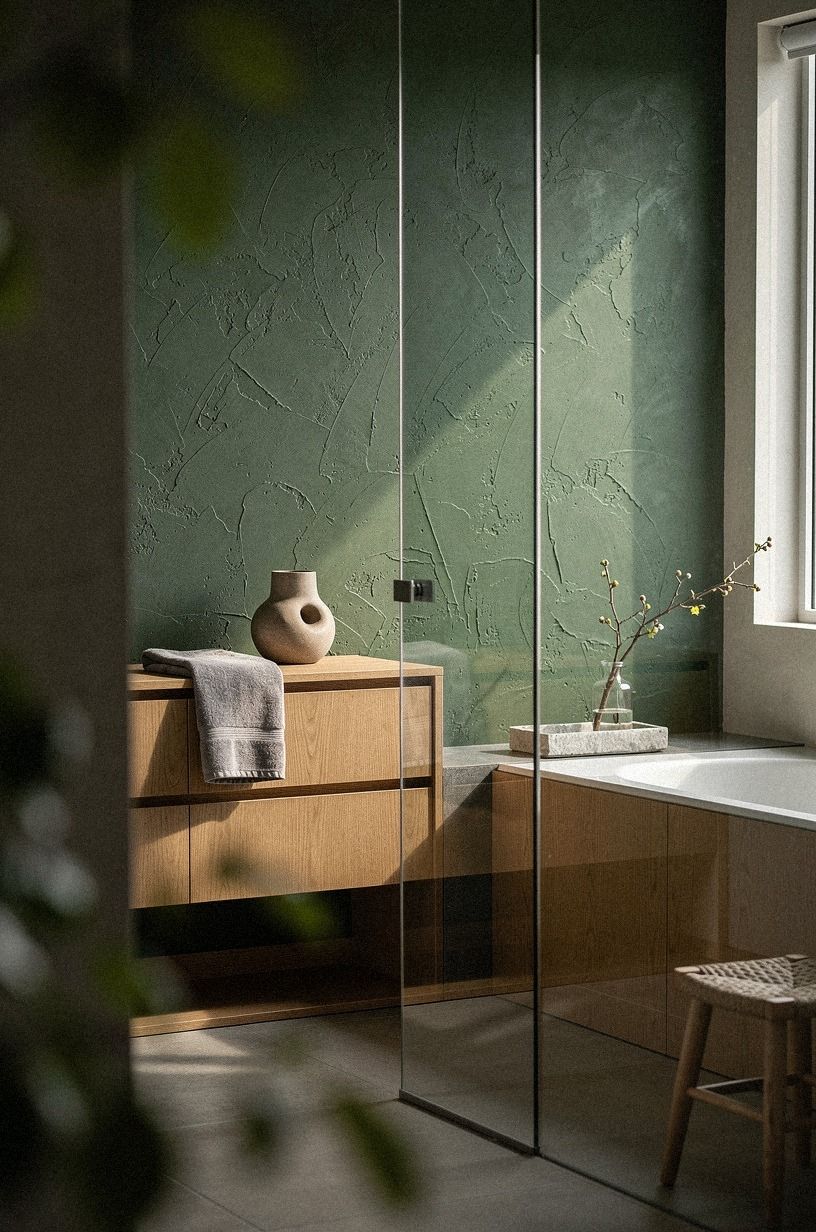
Frame the view with clear glass when the room needs every inch of visual space. A fixed panel can keep the shower open and let your tile read as one continuous surface. Your eye won’t stop at an opaque curtain, and the rain head can become the quiet focal point from the doorway.
Choose a slim metal edge only when it helps the room’s palette. Hand-applied Venetian plaster can keep the wall quiet while forest green and rust notes add depth, and natural oak can warm the transition. You’ll need a squeegee nearby, since clear glass shows mineral marks quickly.
That maintenance is worth it if you’re after an elegant, spacious effect, but I’d choose a partial panel over a full enclosure in a truly narrow room.
11Anchor Storage at Reachable Heights
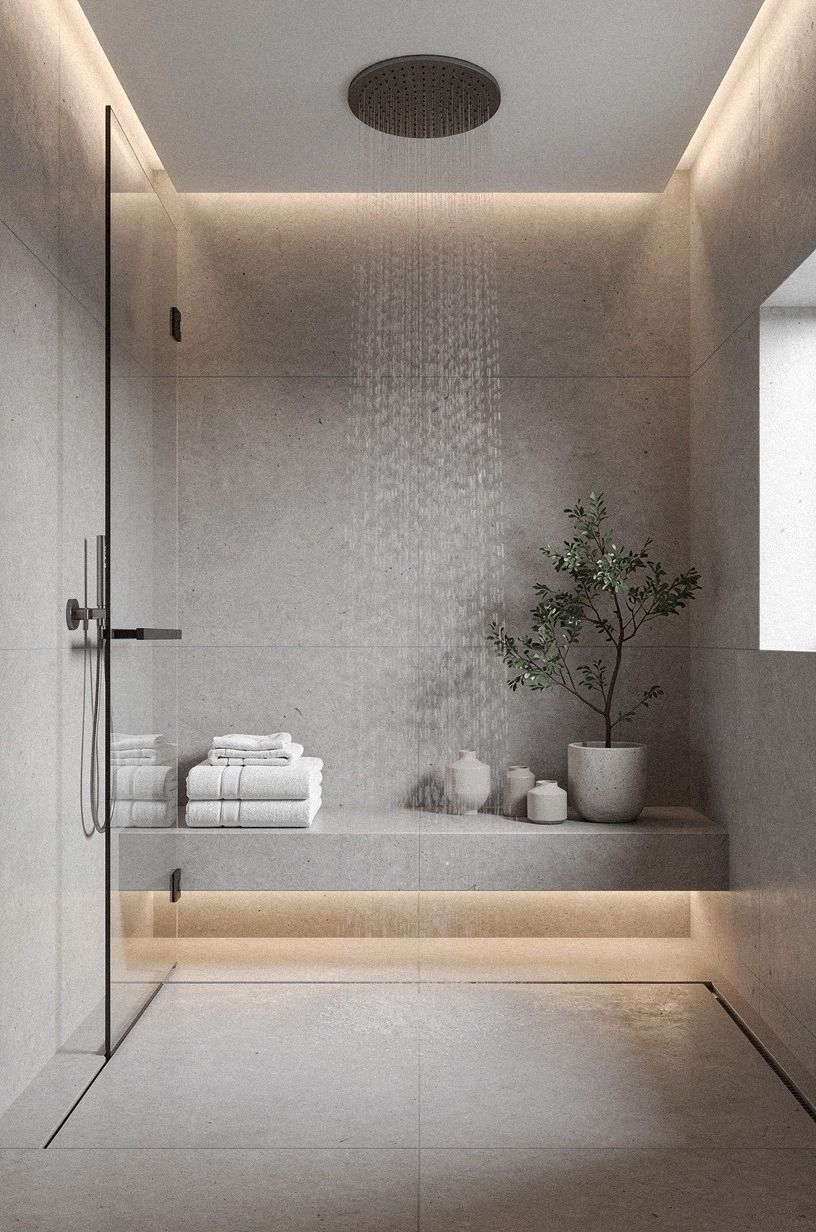
Anchor storage at reachable heights so your open shower stays peaceful during real use. A recessed niche keeps bottles away from the floor, while a floating ledge gives you access without drilling into every finished wall. Your most-used items should sit between shoulder and waist height, where you won’t bend or stretch under running water.
Use shagreen accents on a drawer front or tray, and keep the cabinet in charcoal with warm brass hardware. You’ll want one shelf for daily products and another for occasional items, because visual clutter spreads quickly in an open layout.
For more useful storage planning, see these walk-in shower shelf ideas for easy open storage. A shelf that’s easy to wipe is better than one that merely looks clever.
12Mix Water-Safe Textures Instead of More Tile
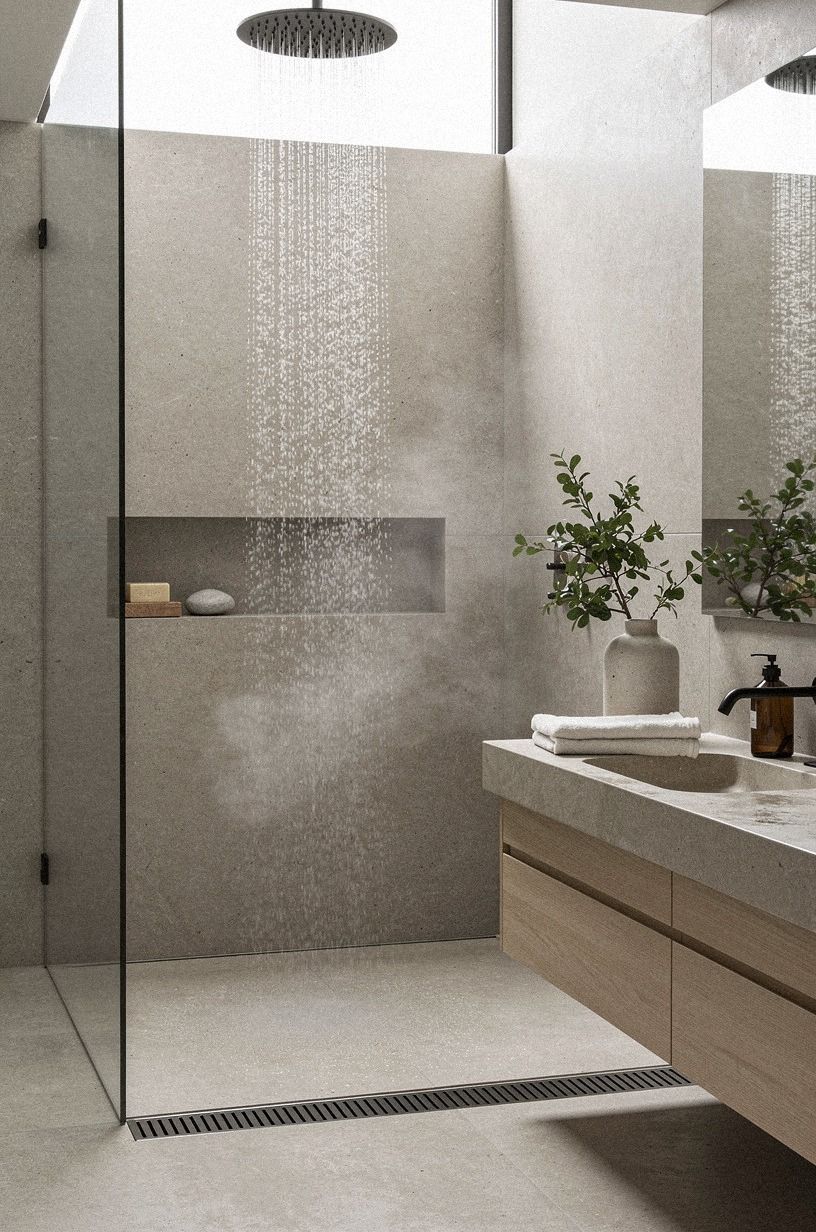
Mix water-safe textures instead of covering every surface with another pattern. Use warm white surfaces as the quiet base, bring in camel through a washable textile, and let black accents sharpen the edges. A washed Belgian linen curtain or shade can add softness outside direct spray without making the room feel busy.
Choose one texture with movement and keep the others quieter. Linen gives the room a tactile layer without competing with the clean base. I’d skip pairing several dramatic patterns in one compact bathroom.
You’re trying to create a soothing pause, not make your eyes work through three competing conversations.
13Add a Living Green Moment
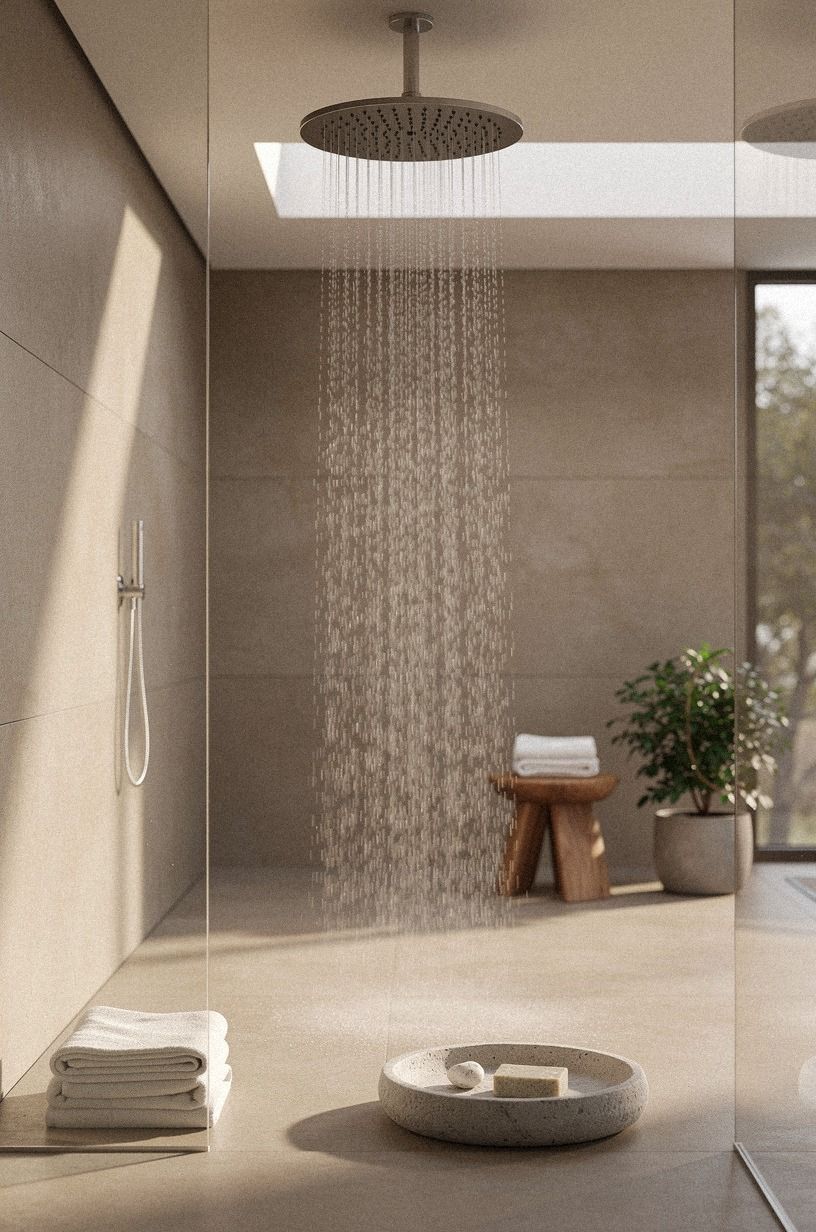
Add a living green moment where your shower light and humidity can support it.
14Tune the Water Pressure Before Styling
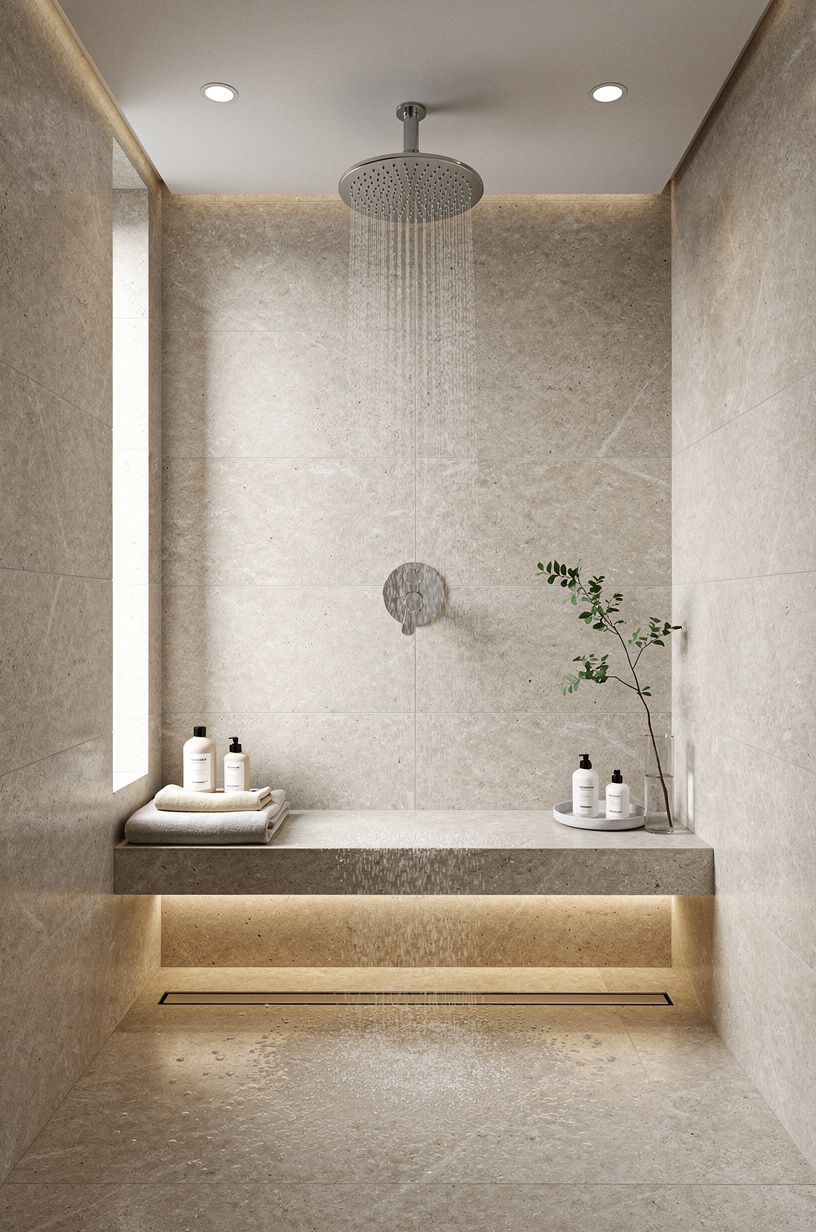
Tune the water pressure before you style the room around the rain head. A wide overhead fixture depends on the plumbing behind it, and a beautiful ceiling installation won’t feel luxurious if the flow is weak. Your plumber can tell you what the existing system supports before the tile closes the wall.
Keep the handheld sprayer within easy reach, especially if your shower is used by people of different heights. A small Nero Marquina black marble with white veins ledge can anchor the controls, but the valve placement matters more than the finish. And if your water stream feels disappointing during the test, stop there.
Replace the fixture or adjust the plan before you buy accessories. A soothing shower needs water that feels generous, not timid.
15Soften Sound with the Three-Surface Check
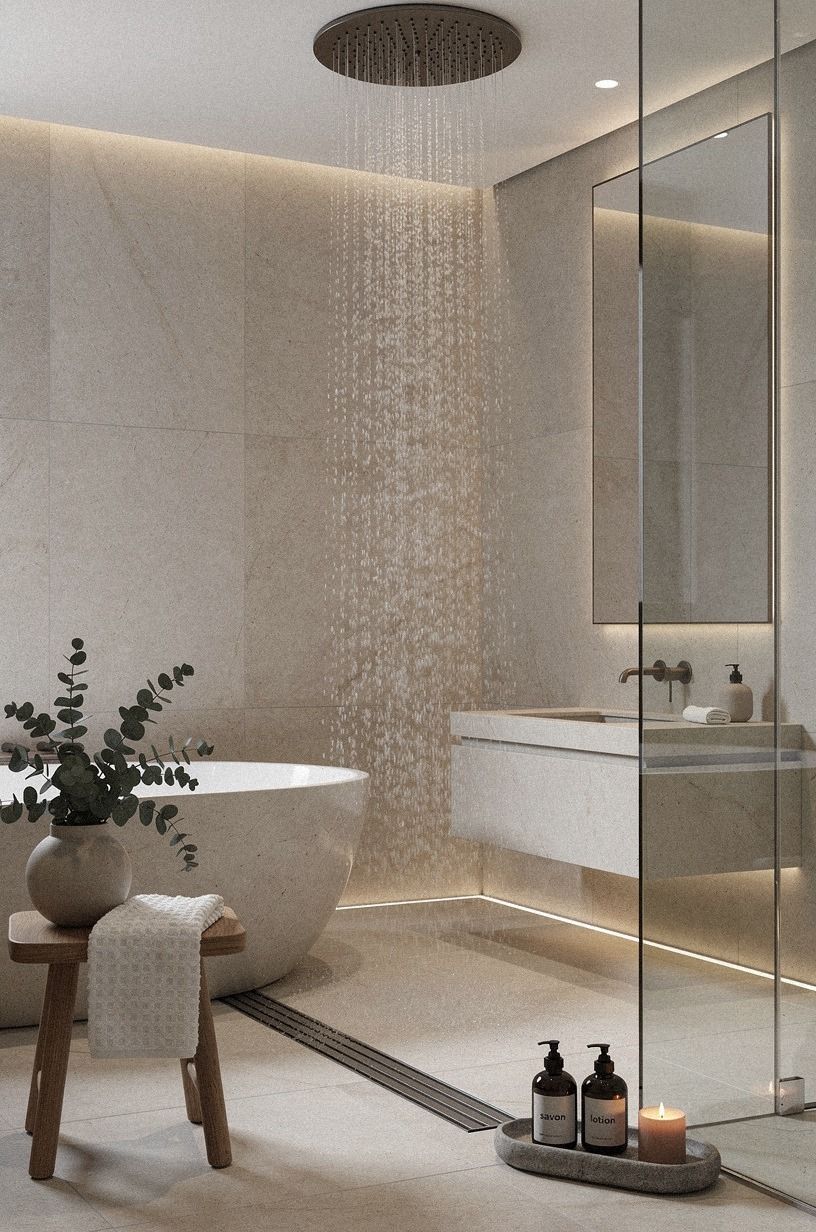
Use the Three-Surface Check to soften the sound in a hard bathroom. Your open shower has tile, glass, and plumbing surfaces that can bounce noise around the room, so introduce one soft absorbent layer outside the wet zone. A washable mat, fabric shade, or upholstered stool can make the space feel more intimate.
Look for a deep-pile mohair velvet stool in terracotta or olive if you need a soft note outside the wet zone. Keep it far from the direct spray, and choose a washable floor mat that won’t stay damp. You’ll notice the room sounds gentler when water isn’t competing with an empty echo.
I’d skip a completely hard, white room if you want a luxurious spa feeling, even when the tile itself is excellent.
16Style the Landing Zone for Daily Use
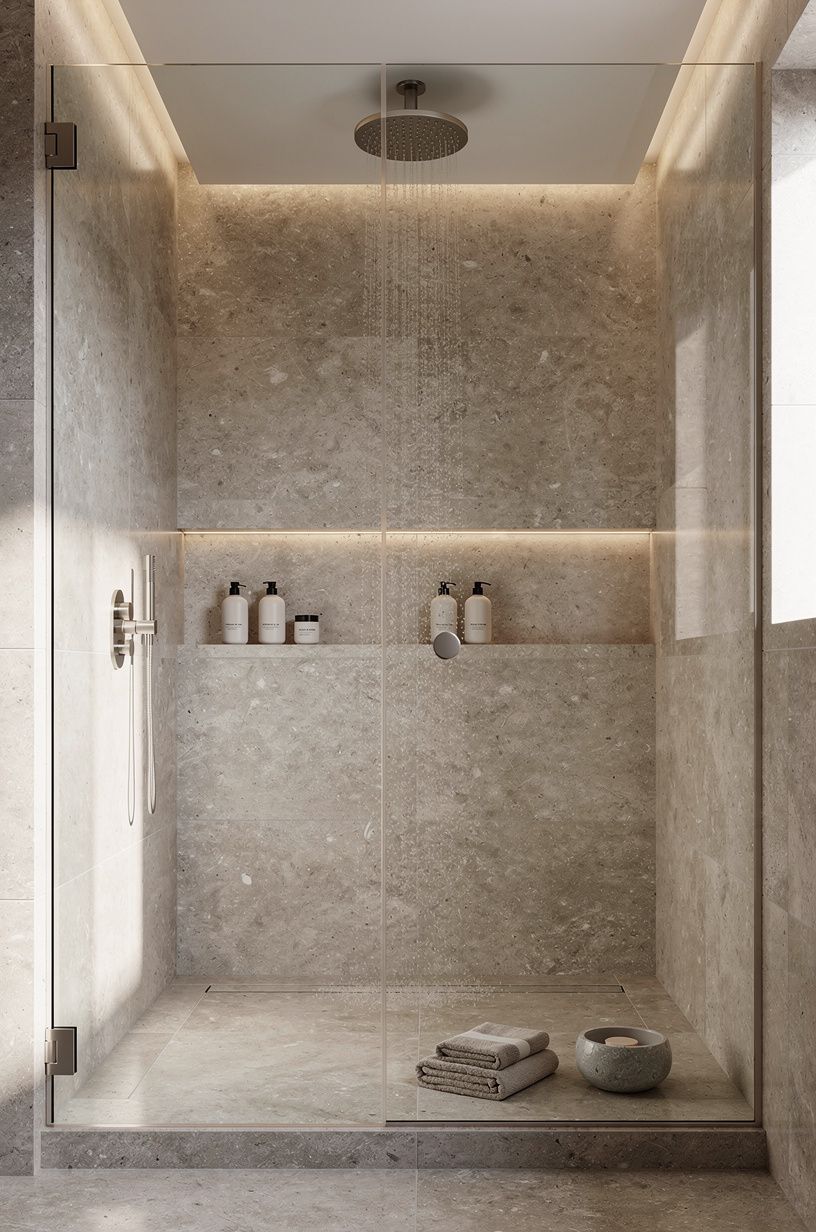
Style the landing zone where you step out, dry off, and reach for clothing. Your towel should be close enough that you don’t cross a wet floor, but not so close that the fabric absorbs every stray drop. A heated rail can be useful, while a simple hook keeps the arrangement relaxed and approachable.
Add one tray in Carrara marble with subtle grey veining only if it stays safely outside the splash line. Pair it with linen textiles and aged brass hardware for a warm landing spot. You’ll want the landing zone to feel welcoming without becoming a storage pile.
For more light and placement ideas, revisit these open shower lighting ideas. One useful surface is enough.
17Budget the Open Shower in Three Tiers
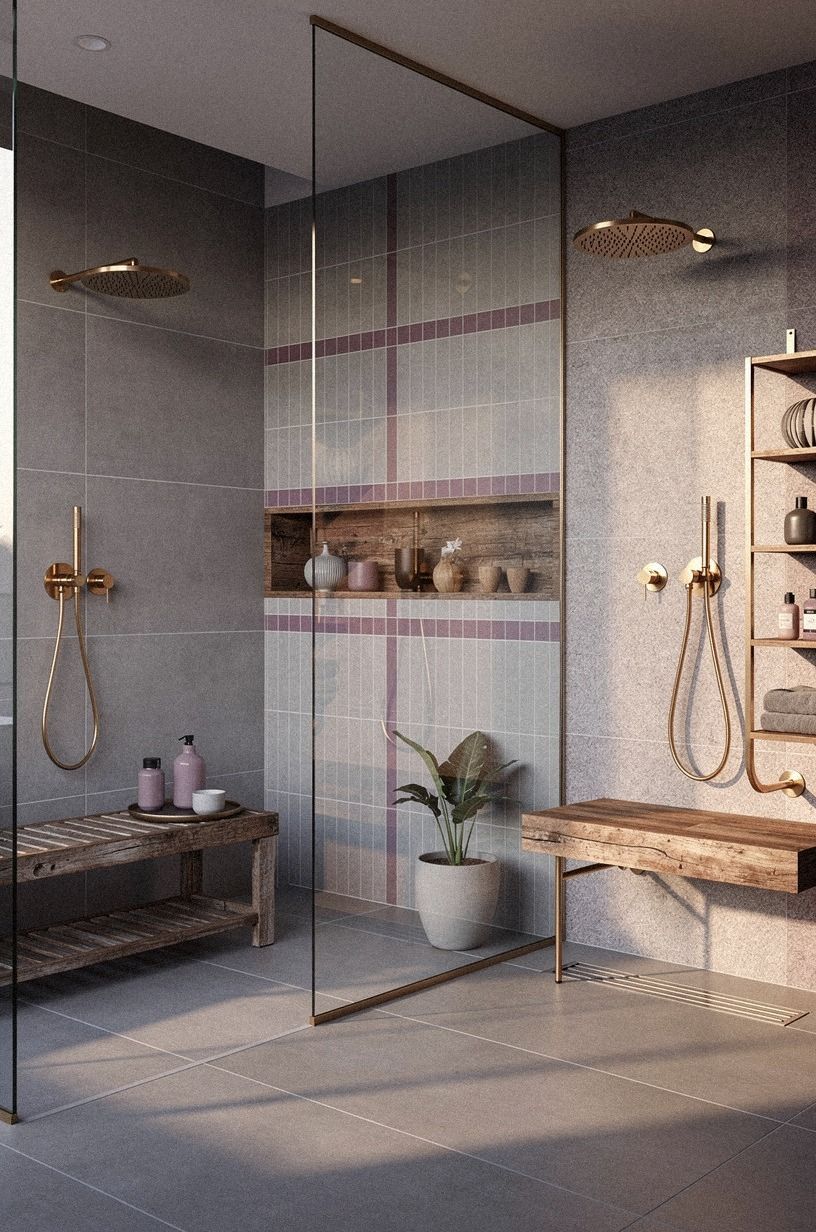
Budget the project before you choose the finish.
18Test the Whole Route Before Closing the Wall
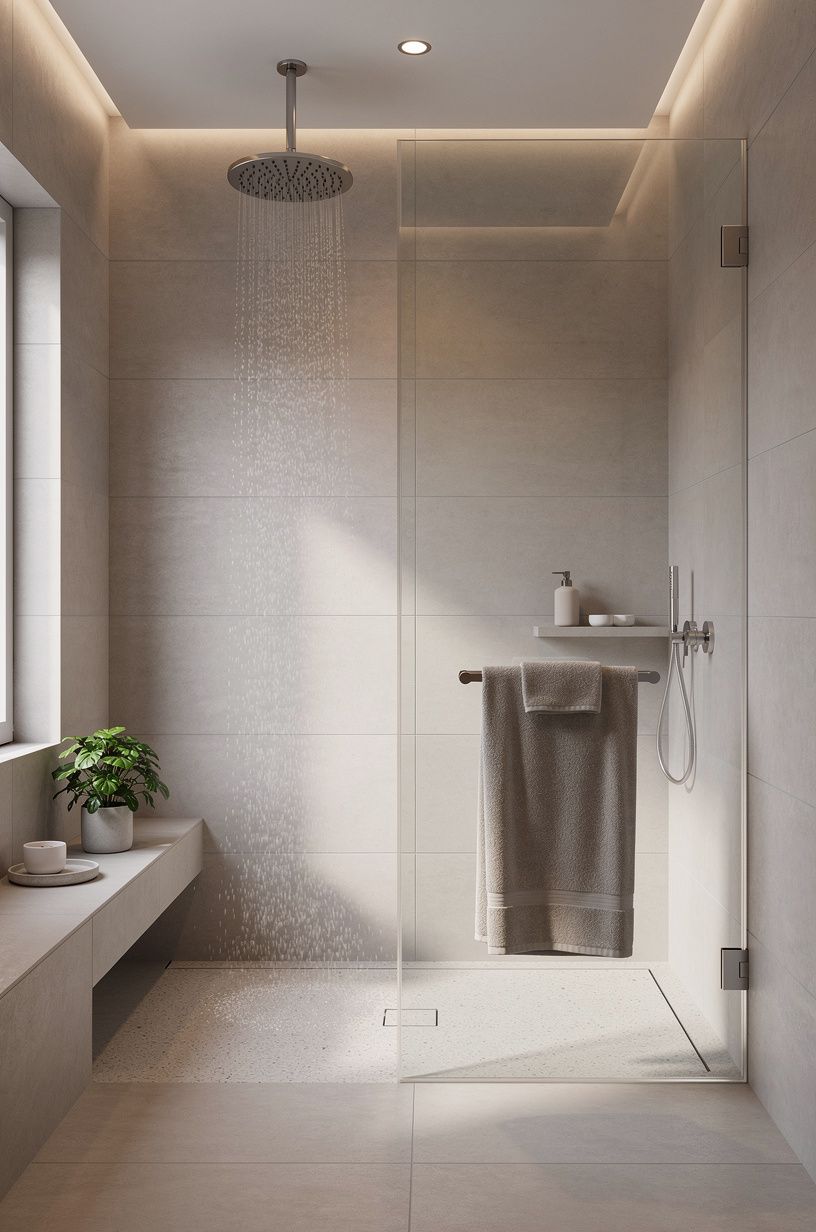
Test the whole route before your contractor closes the wall. Turn on the rain head and handheld, walk from the shower to the vanity, open the drawers, and check where water lands.
Your body will reveal problems that a floor plan can hide. This is the moment to catch an awkward reach or a splash path.
Bring your actual bottles, towels, and bath mat into the test. You’ll see whether the niche works, whether the door clears the toilet, and whether your lighting feels calming rather than dim.
But don’t rush because the tile has arrived. A short delay costs less frustration than rebuilding a finished wall.
Document the plumbing while it’s visible, too.
19Finish with a Quiet Spa Ritual
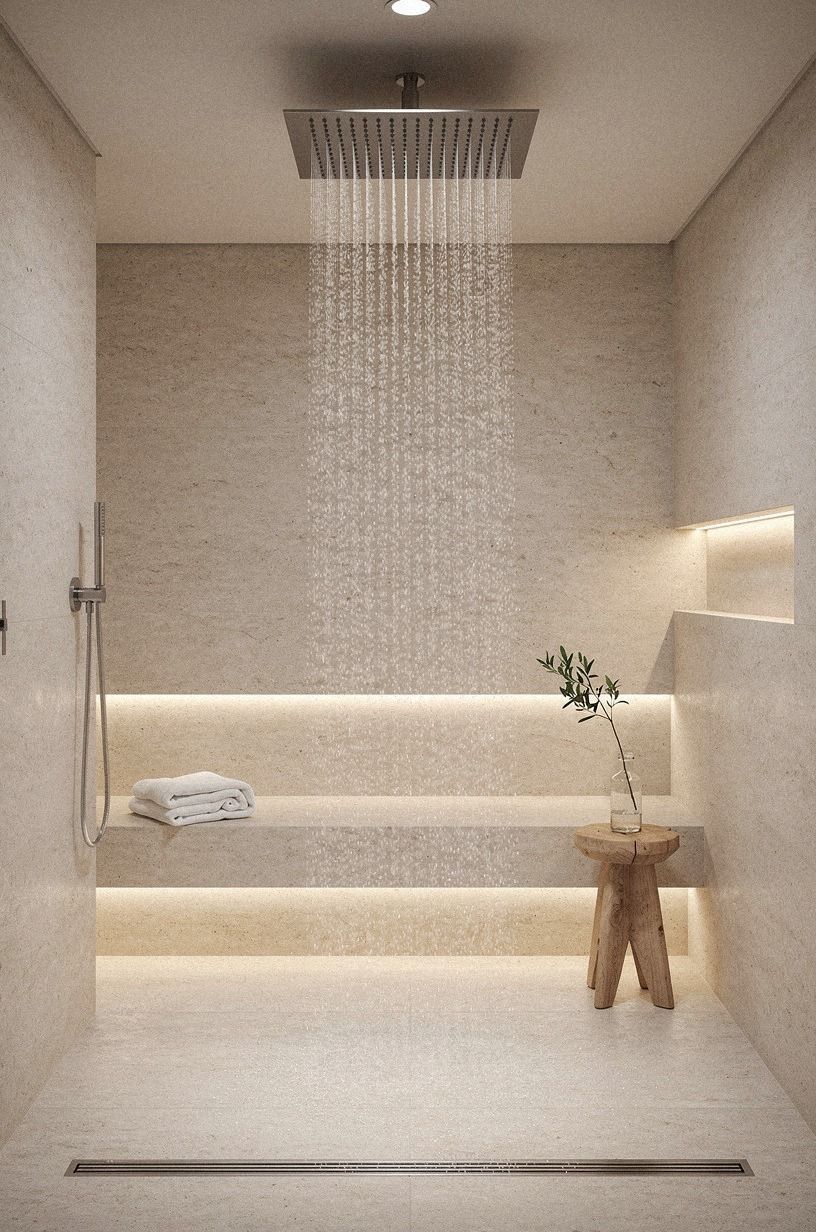
Finish with a quiet spa ritual that makes the room useful, not merely pretty. Your rain head, towel, plant, and low light should work together in the order you use them. Keep a small tray outside the wet zone for soap, a book, or a cup of tea, but leave enough empty surface to preserve the airy feeling.
Choose one scent, one textile, and one warm metal note. Cerused white oak can keep the accessories grounded while emerald, cream, and gold carry the mood.
You’ll want the room to welcome you on an ordinary morning, not require a full styling session. Pin the layout, live with it for a week, and adjust what interrupts your routine.
That final edit is where the peaceful feeling becomes real.
Why I’d Choose a Real Wet Zone Over a Decorative Spa Look
I’ve seen bathrooms spend heavily on marble, brass, and oversized mirrors while the shower itself still feels awkward. The problem usually isn’t taste.
It’s sequence. The water falls in the wrong place, the towel is too far away, or the room has no dry surface where a person can pause. Your open shower should be designed around movement before decoration.
That’s why I’d prioritize drainage, the rain head, and the landing zone before a dramatic finish. A less expensive tile can feel luxurious when your feet stay dry and the controls sit where your hand expects them. A costly stone can feel irritating when every shower sends spray toward the vanity.
The practical details are what make the room calming.
I also like the open format because it lets a small bathroom breathe. Clear glass, a floating vanity, and one strong wall color can create a sophisticated view without adding visual bulk. Farrow & Ball Hague Blue makes the room intimate, while pale stone keeps the floor bright.
You don’t need every surface to make a statement.
There’s a tradeoff, of course. An open shower needs better planning and more frequent wiping than a curtain.
I’ve made the mistake of choosing a finish first and solving the water path later. Don’t do that.
Your daily comfort matters more than appearance, and the best spa moment is the one that still feels effortless on a busy Tuesday morning.
The Questions I Get Asked Most
What is the best Open Rain Shower Ideas for a Drench-From-Above Spa Moment for a small bathroom?
A ceiling-mounted rain head with a fixed clear panel is the strongest choice for a small bathroom. It keeps the view open and gives your shower a calming focal point. IKEA storage outside the splash line can add practical help without making your floor feel crowded.
Where can I buy Open Rain Shower Ideas for a Drench-From-Above Spa Moment pieces on a budget?
Look at IKEA, Wayfair, and Target for mirrors, shelves, towels, and simple hardware. Facebook Marketplace and thrift shops can provide useful secondhand pieces, especially stools and frames. You’ll save more by reusing what you own than by replacing every accessory at once.
How much does a Open Rain Shower Ideas for a Drench-From-Above Spa Moment makeover cost?
A small refresh can fall within the $200-$1,200 budget range when you’re changing paint, a mirror, a faucet, and textiles. A full shower renovation costs much more. Your existing drain, plumbing, and tile condition will determine which tier fits.
Can I create a Open Rain Shower Ideas for a Drench-From-Above Spa Moment on a budget?
Yes, and you can begin with free layout changes, reused accessories, and a better towel landing zone. Paint the dry walls, add a washable mat, and move storage outside the spray. A warm paint color can change the mood before any major construction begins.
Is a Open Rain Shower Ideas for a Drench-From-Above Spa Moment worth it in a small space?
Yes, if your floor can manage the water and your shower reaches at least 36 by 36 inches. Small rooms benefit from clear glass and a floating vanity because the sightline stays open. You’ll want the rain head centered over the wet zone.
Is Open Rain Shower Ideas for a Drench-From-Above Spa Moment a good idea for a rental?
It can be, with removable changes such as peel-and-stick accents, a tension rod, a freestanding shelf, and fresh textiles. Avoid permanent plumbing work without approval. Your renter-friendly version can still feel warm and inviting when the light, towel, and storage placement work together.
Where I’d Start First
If I had to pick one step, I’d start with the 36 by 36 inch wet-zone layout. It gives your rain head room to work and keeps spray away from the vanity. Tape it out tonight, walk through your routine, and save the plan before choosing tile.