
15 DIY Halloween graveyard ideas for the front yard can look convincing without a big prop-store bill: start with foam tombstones, low light, and one clear path. I once bought every plastic skeleton in sight and made my yard look like a clearance aisle. Less stuff. Better shadows!
- Carve Foam Tombstones With the Graveyard Grid Rule
- Layer Dirt and Moss Around Cheap Halloween Yard Decor
- Build the Crooked Path Effect for a Cemetery Front Yard Halloween Scene
- Hang a Three-Height Light Stack Instead of Flooding the Lawn
- Paint One “Family Plot” Stone in Black Forest Green
- Let a Rusted Gate Frame Your Spooky Front Yard Ideas
- Float Ghostly Cheesecloth Between Two Trees
- Can You Make a Tiny Yard Feel Like a Full Cemetery?
- Anchor a Skeleton to a Bench, Not the Grass
- Mix Real Leaves With Store-Bought Ravens
- Add a Lantern Cluster With the Porch-to-Plot Rule
- Swap Orange Plastic for a Faded Funeral Palette
- Frame a Window With a Mourning Wreath
- Create the One-Sound Rule With Hidden Chimes
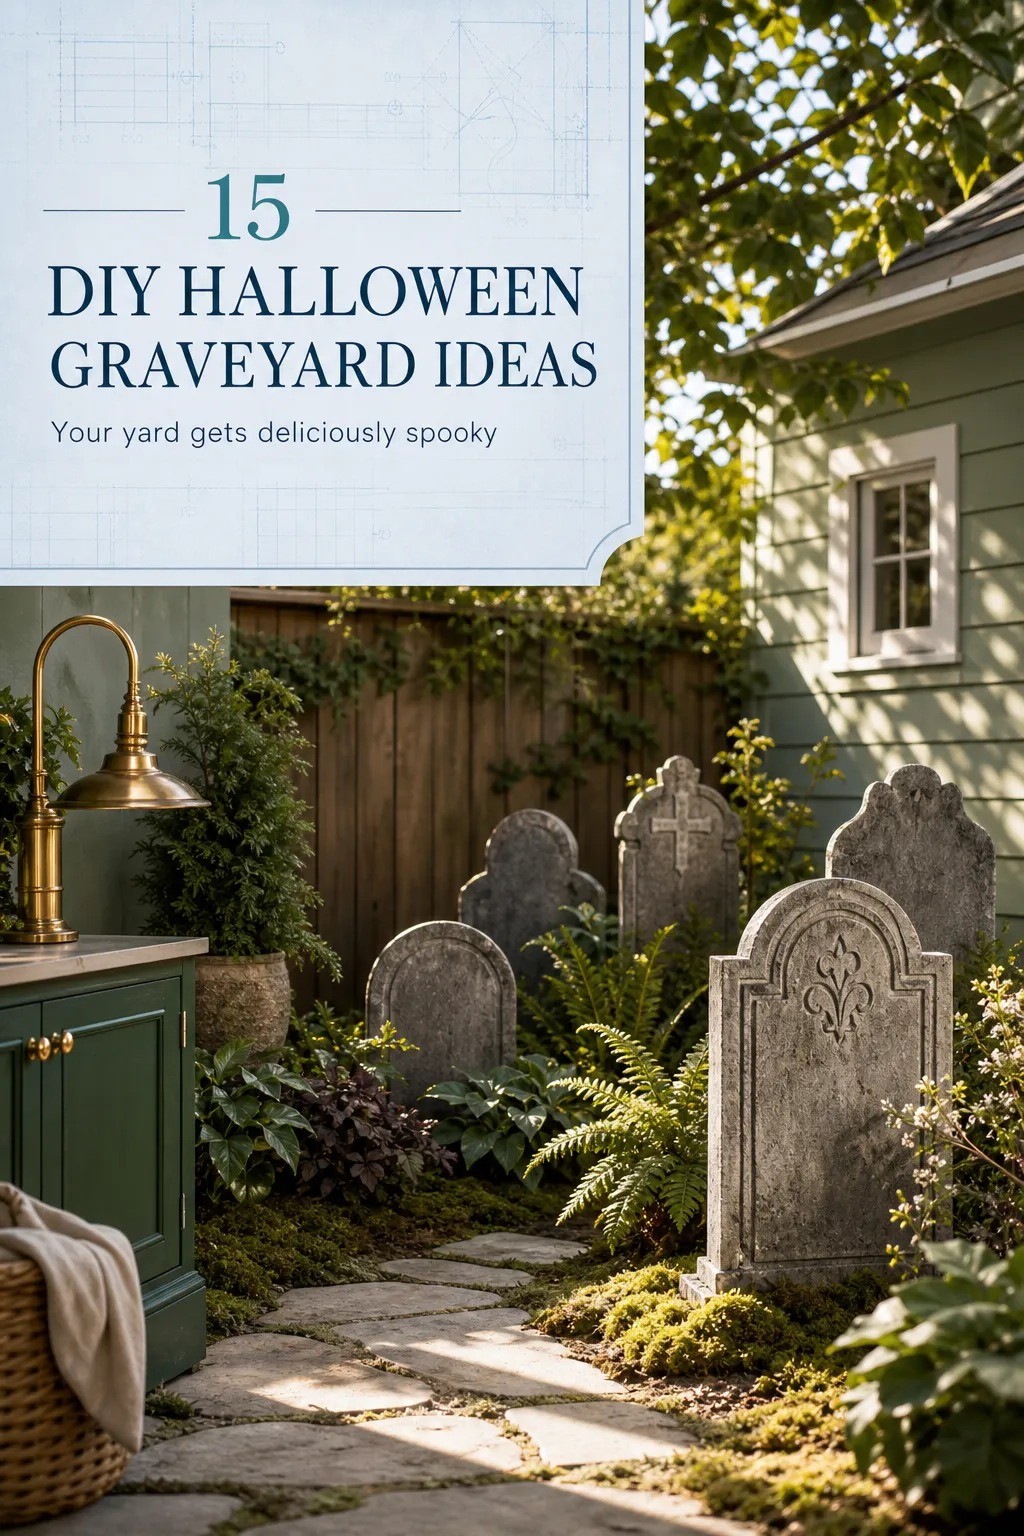
- Finish With a “Fresh Grave” Mulch Patch
1Carve Foam Tombstones With the Graveyard Grid Rule
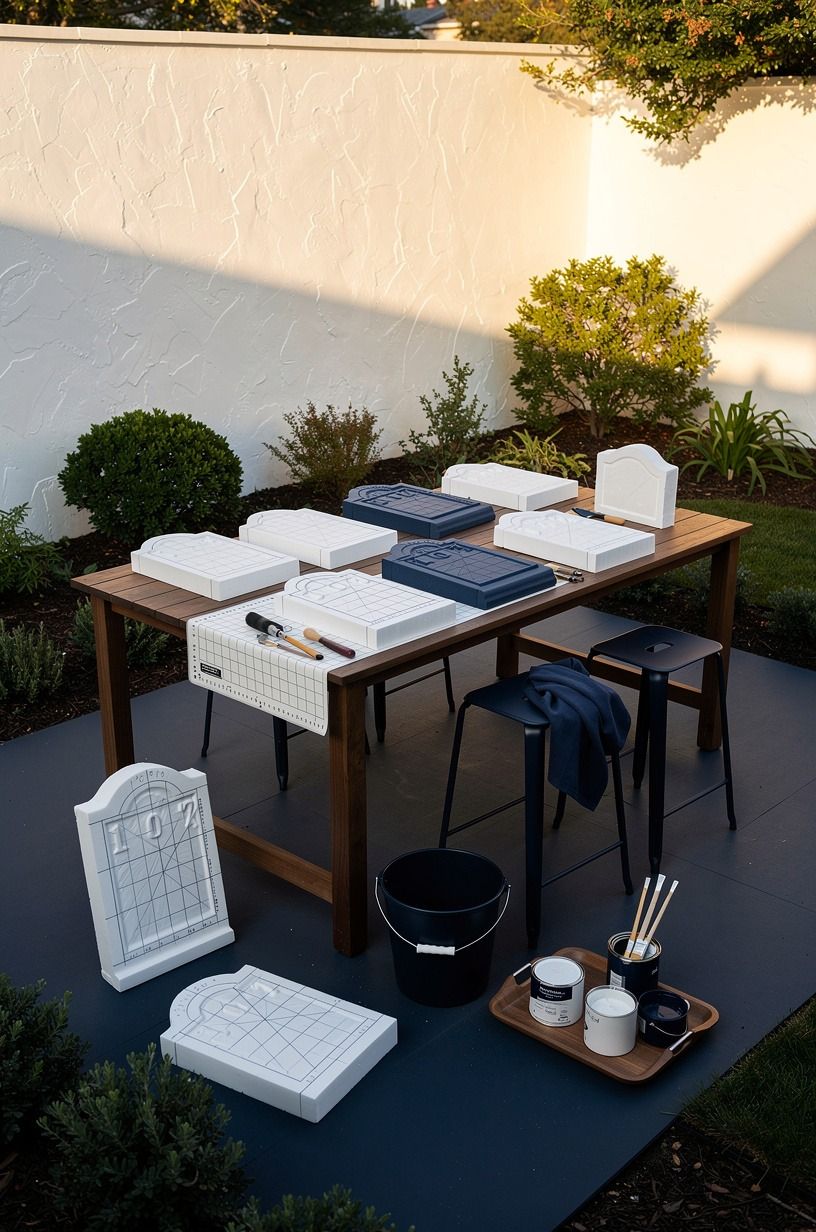
Give your diy tombstones halloween project a loose grid, not a straight parade. You want your eye to catch two or three markers at once, then disappear into a darker patch of lawn. I’d skip identical navy-and-white slabs because they read like party décor, not an old cemetery.
Use XPS insulation foam, a utility knife, and Benjamin Moore Aura Exterior in a flat charcoal finish. Your names can be silly, but keep the lettering shallow so rain doesn’t turn every stone into a black smear.
Place the tallest stone near the back and leave a 36 in walkway clear for guests. You’ll keep shoes out of the display, and your photos will have a little depth instead of one flat, bright row.
2Layer Dirt and Moss Around Cheap Halloween Yard Decor
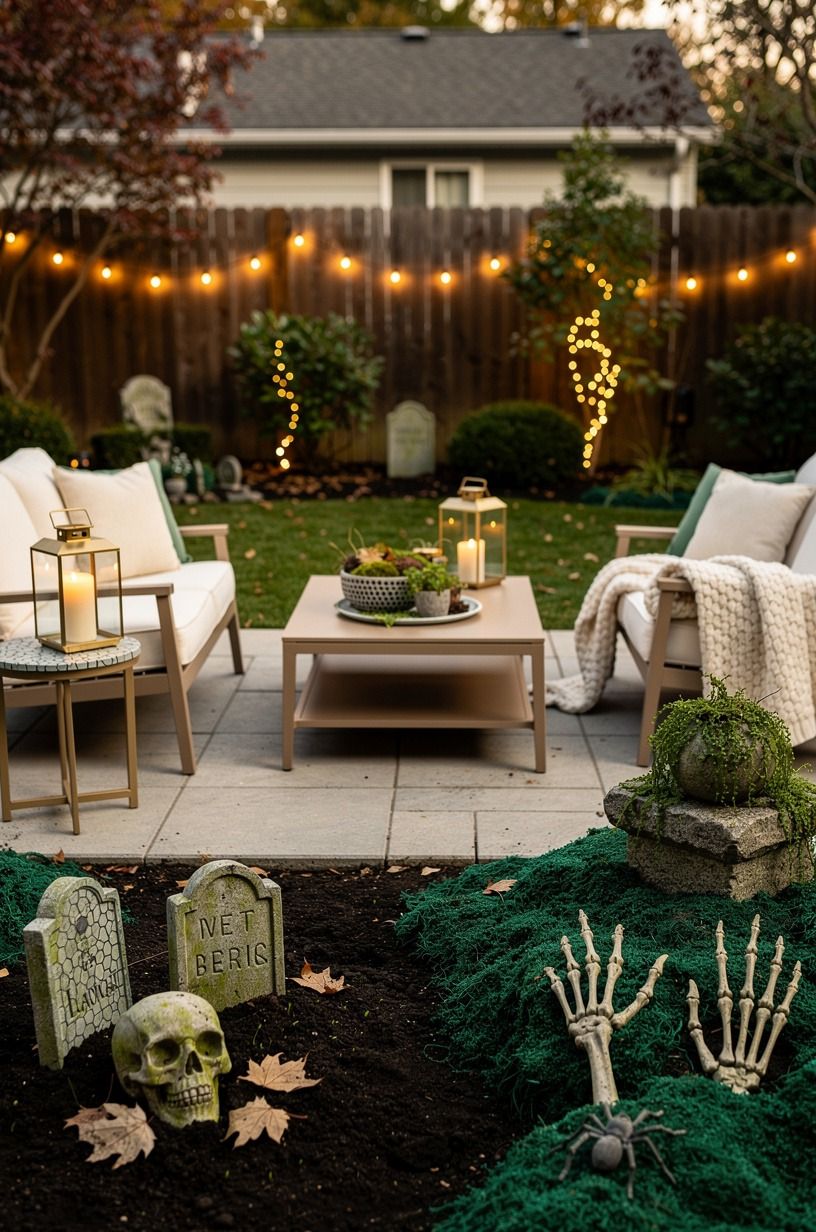
A clean tombstone is the fastest way to ruin the mood. Rub damp soil into the carved letters, then drag a dry brush of olive paint across the edges. Your stones will look weathered in minutes, and you won’t need elaborate carving.
I like Mossy Green acrylic paint over bright craft green because the color sits back at dusk. But don’t cover every inch with fake moss; real graveyards have bare, scuffed spots where weather wins.
For more front-yard texture, tuck torn coco fiber liner around the bases. It catches the porch light in a soft, earthy way and helps your foam pieces stop looking like they floated in five minutes ago.
3Build the Crooked Path Effect for a Cemetery Front Yard Halloween Scene
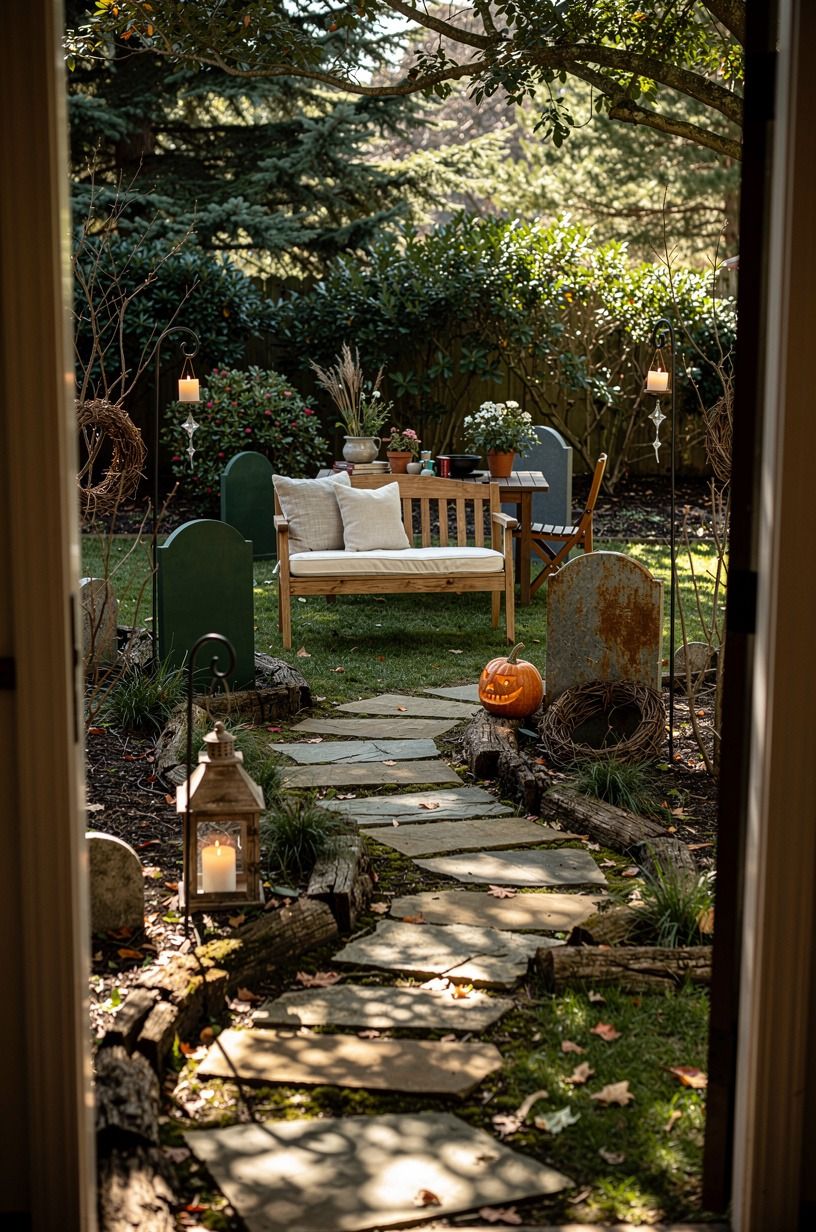
Make guests walk past the graveyard instead of looking at it from the sidewalk. A crooked route gives your cemetery front yard halloween display a story, even if you only have six tombstones. Who walks in a straight line through a haunted yard anyway?
Lay plastic landscape edging in a gentle S-curve, then scatter bark mulch inside it. You can borrow fallen branches from your own yard, which costs nothing and looks more convincing than glossy bagged props.
Add one Target Hyde & EEK! Boutique lantern at the bend. Your path doesn’t need to be long; it needs one moment where you can’t see what’s around the corner.
That’s the whole point.
Fix the front-yard details that can distract from your display.
4Hang a Three-Height Light Stack Instead of Flooding the Lawn

Skip one blinding floodlight. It flattens the whole yard and makes every foam seam visible. Use light at three heights: ankle-level lanterns, waist-level stakes, and one higher porch glow.
A strand of LED string lights usually costs $30-$120, and you can thread it through bare branches rather than outlining the roof. Your shadows will move when the wind does, which is far creepier than a steady blue wash.
Keep bulbs warm or amber. I’ve tried purple everywhere, and it turns dead grass into a children’s party backdrop. A small pool of gold near a stone feels moody; purple can stay inside the haunted-house window.
5Paint One “Family Plot” Stone in Black Forest Green
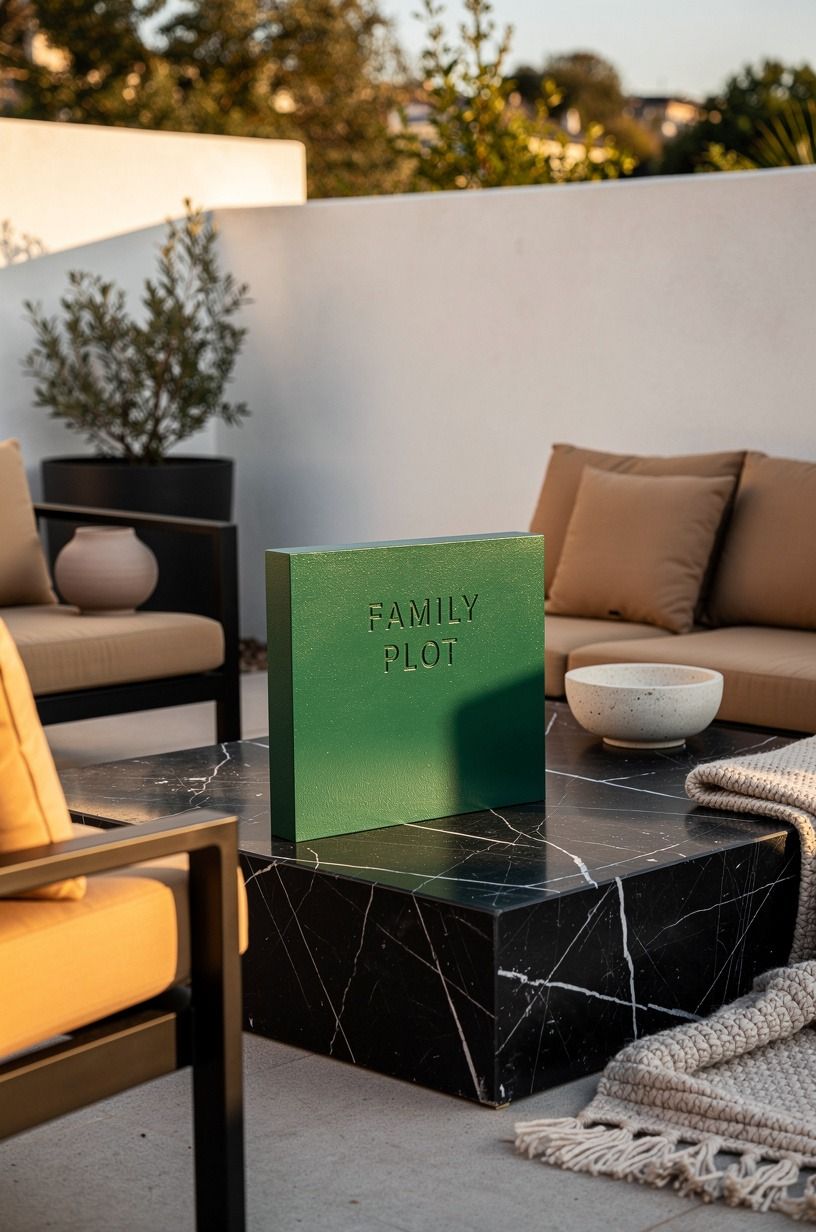
One dark focal tombstone makes a small halloween graveyard yard feel deliberate. Paint the largest piece Benjamin Moore Black Forest Green and let the smaller gray markers lean around it. You’ll get contrast without adding more plastic.
Use 3/4-inch exterior plywood behind the foam if your yard gets wind. The extra weight is worth it, especially when you’ve spent an evening carving names and don’t want one marker skating across the driveway.
Keep the epitaph short. “Gone Gardening” gets a laugh, but “M.
Hollow, 1891” photographs better. Your guests can fill in the story themselves, and that little uncertainty makes the scene more enchanting.
6Let a Rusted Gate Frame Your Spooky Front Yard Ideas
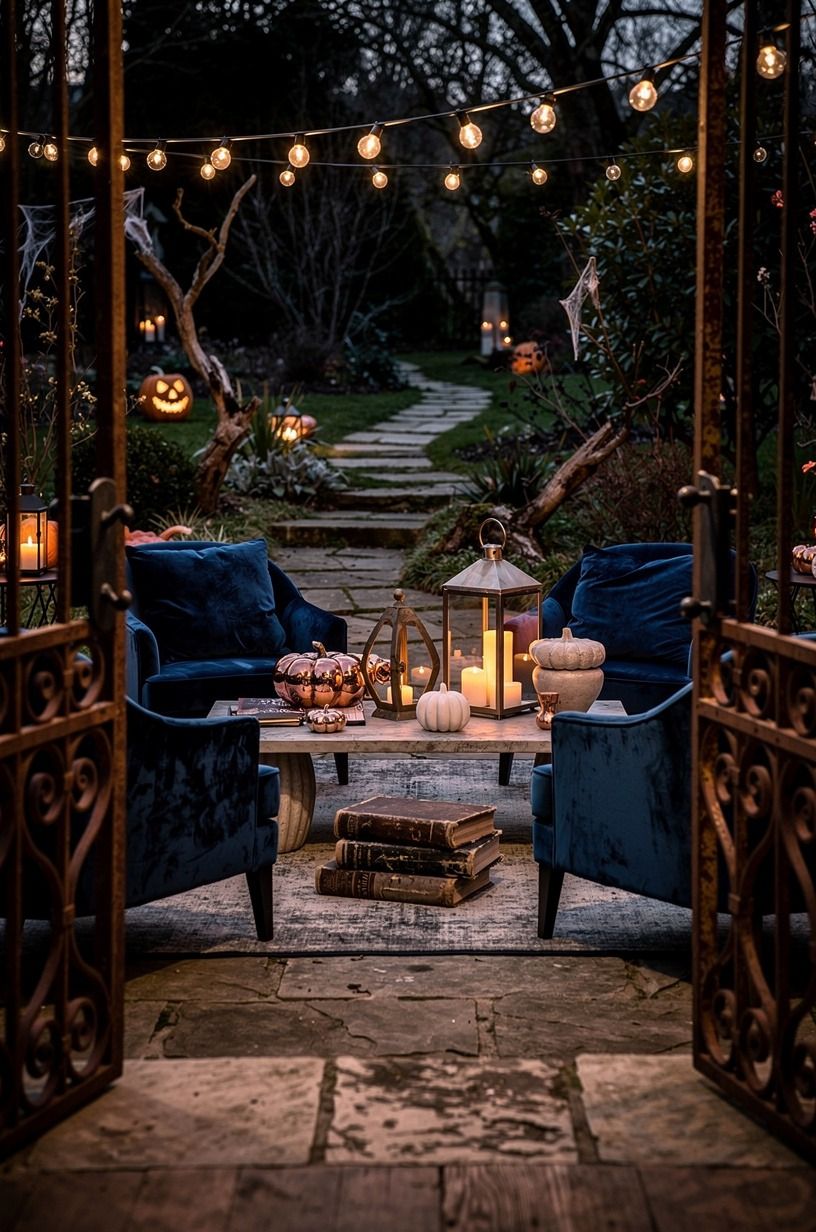
A gate doesn’t need to function. Two stakes, a narrow frame, and a length of black plastic chain can create an entrance where there wasn’t one. You’re framing the graveyard, not building a fence.
I’d choose a deliberately crooked gate over a neat arch. The neat version looks like a wedding backdrop, while the crooked one suggests somebody left in a hurry.
A little ridiculous? Sure.
Still effective.
Brush Sherwin-Williams Emerald Exterior in iron-black over rough wood, then sand the corners lightly. Your hands will get dirty, but the scraped grain catches evening light in a surprisingly rustic way.
These front-yard flower-bed layouts can help you keep the rest of the lawn visible.
7Float Ghostly Cheesecloth Between Two Trees
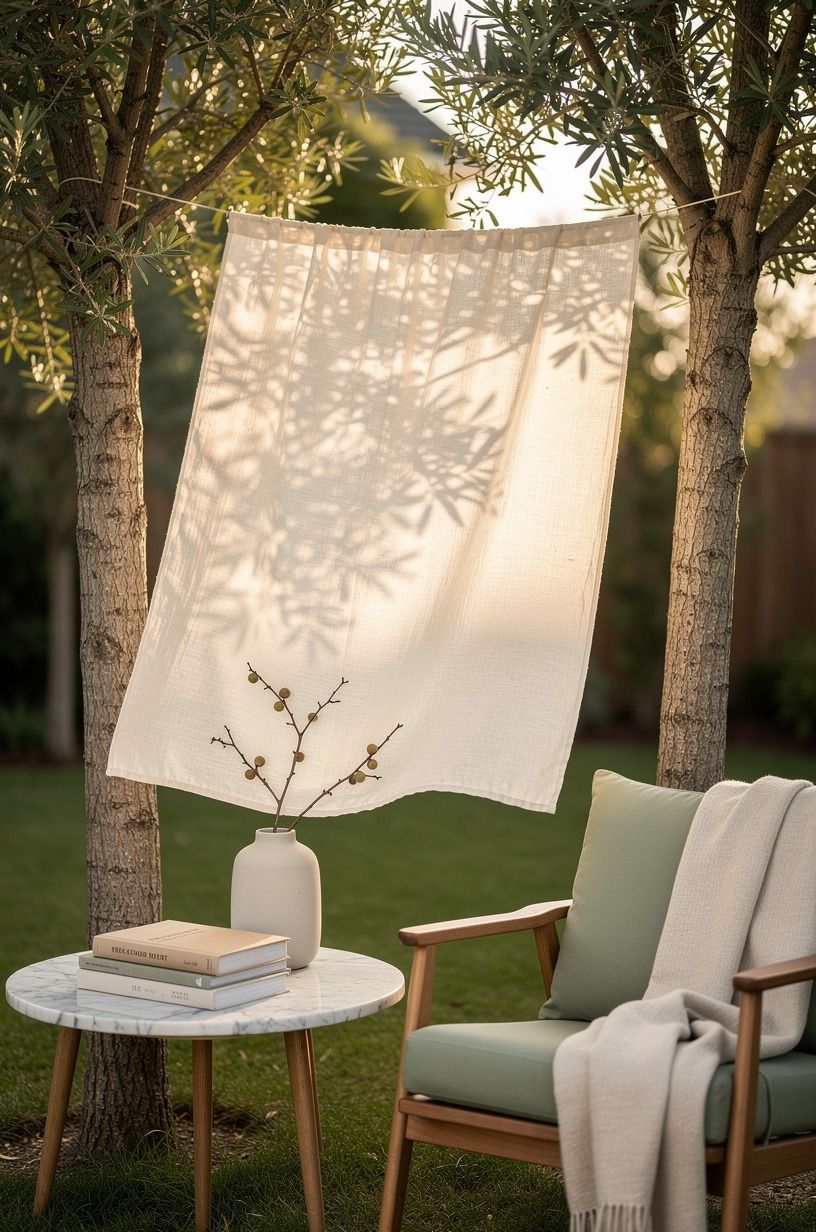
For cheap halloween yard decor, cheesecloth earns its place because it moves. Tie it high enough that guests don’t walk into it, then tear the bottom edge with your hands. The wind will do the rest.
Use cotton cheesecloth instead of shiny synthetic webbing. Your yard will look softer in daylight, and the fibers hold a little amber light after sunset. But don’t cover every tree; one drifting shape is more unsettling than twenty.
Anchor the lower corner with a metal tent stake hidden in mulch. You’ll avoid the sad, collapsed-sheet look that shows up after the first damp night.
8Can You Make a Tiny Yard Feel Like a Full Cemetery?
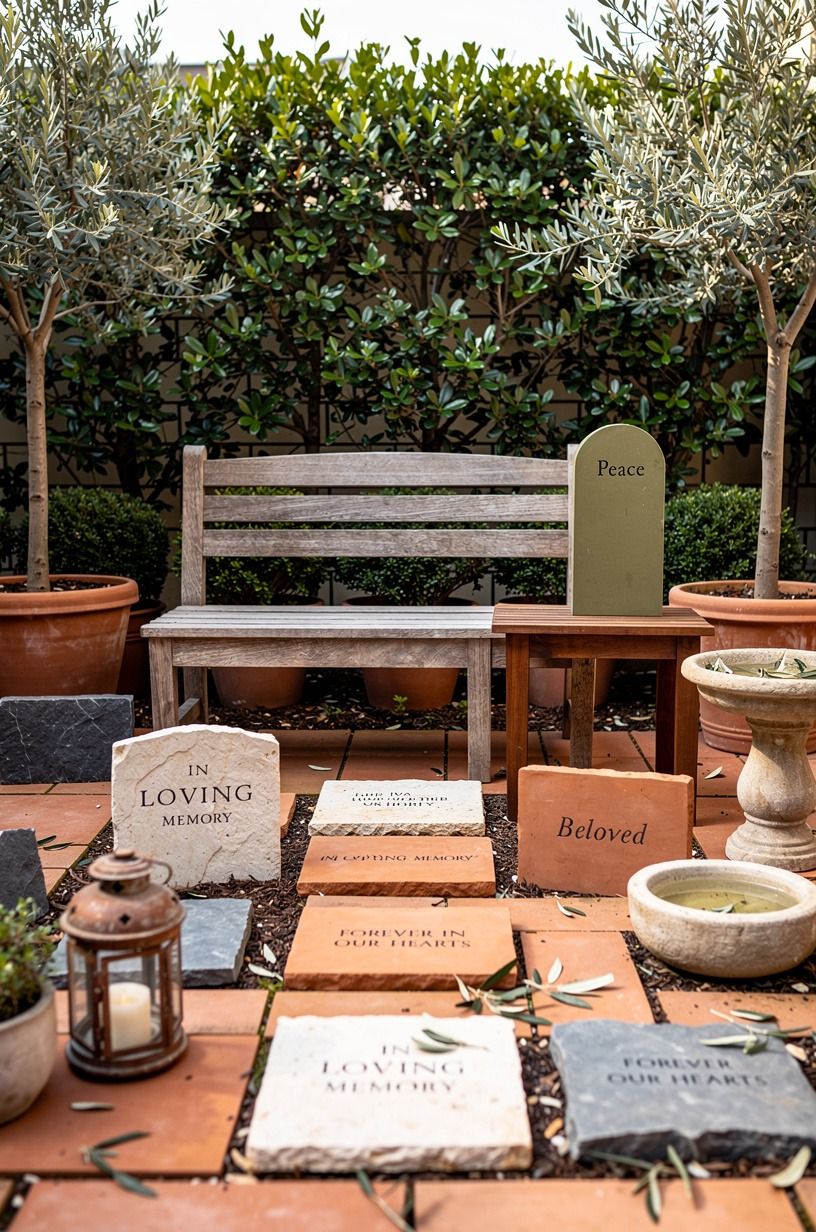
Yes, if you create one sightline and protect it.
9Anchor a Skeleton to a Bench, Not the Grass
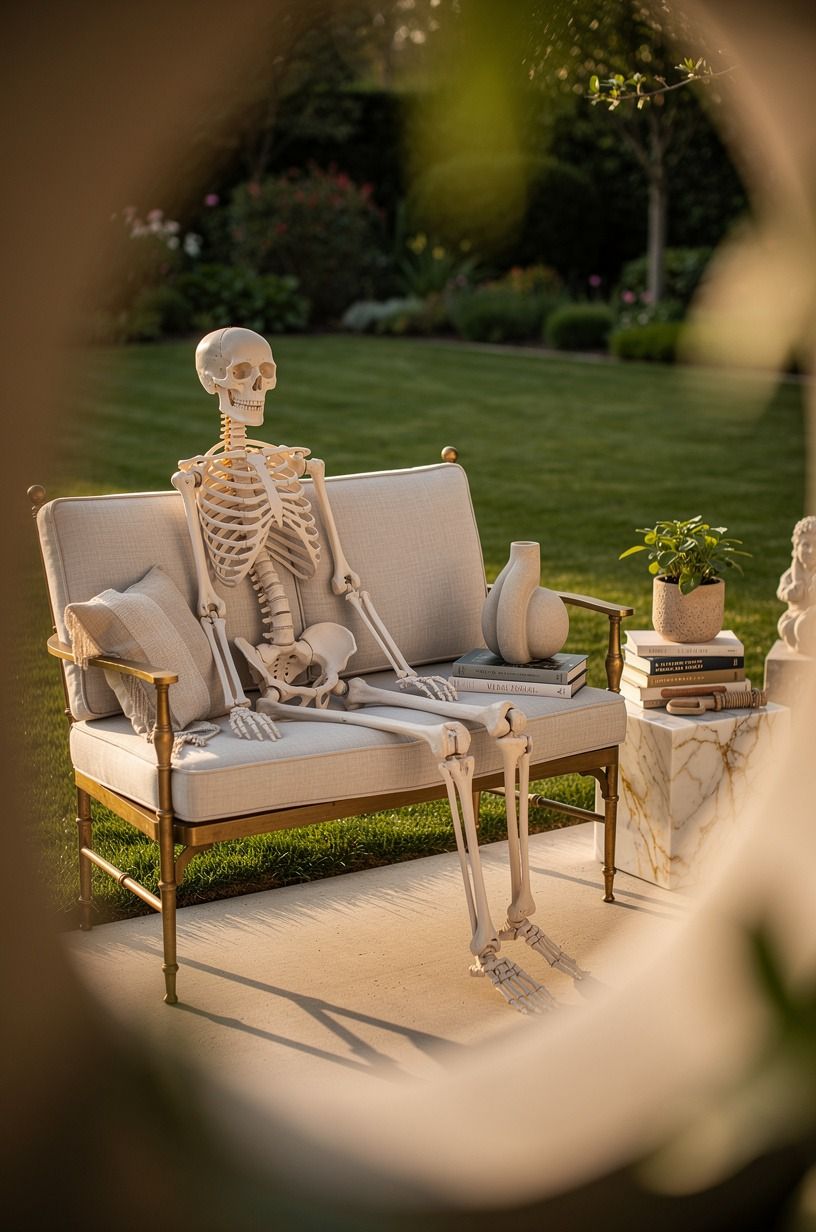
A posed skeleton on a bench gives the scene a character, which matters more than another bag of bones. Sit it beside a marker with one weathered wood crate under its elbow. You’ll make people stop instead of simply walking past.
Use Target Threshold outdoor pillow covers in faded black or brown, then stuff them with old towels. The bench will look lived-in and slightly wrong, especially if one bony hand holds a wilted faux flower.
Keep its face turned toward the path. A skeleton facing the house can disappear in photos, but one looking at your guests makes the whole front yard feel more intimate. And yes, someone will wave at it.
10Mix Real Leaves With Store-Bought Ravens
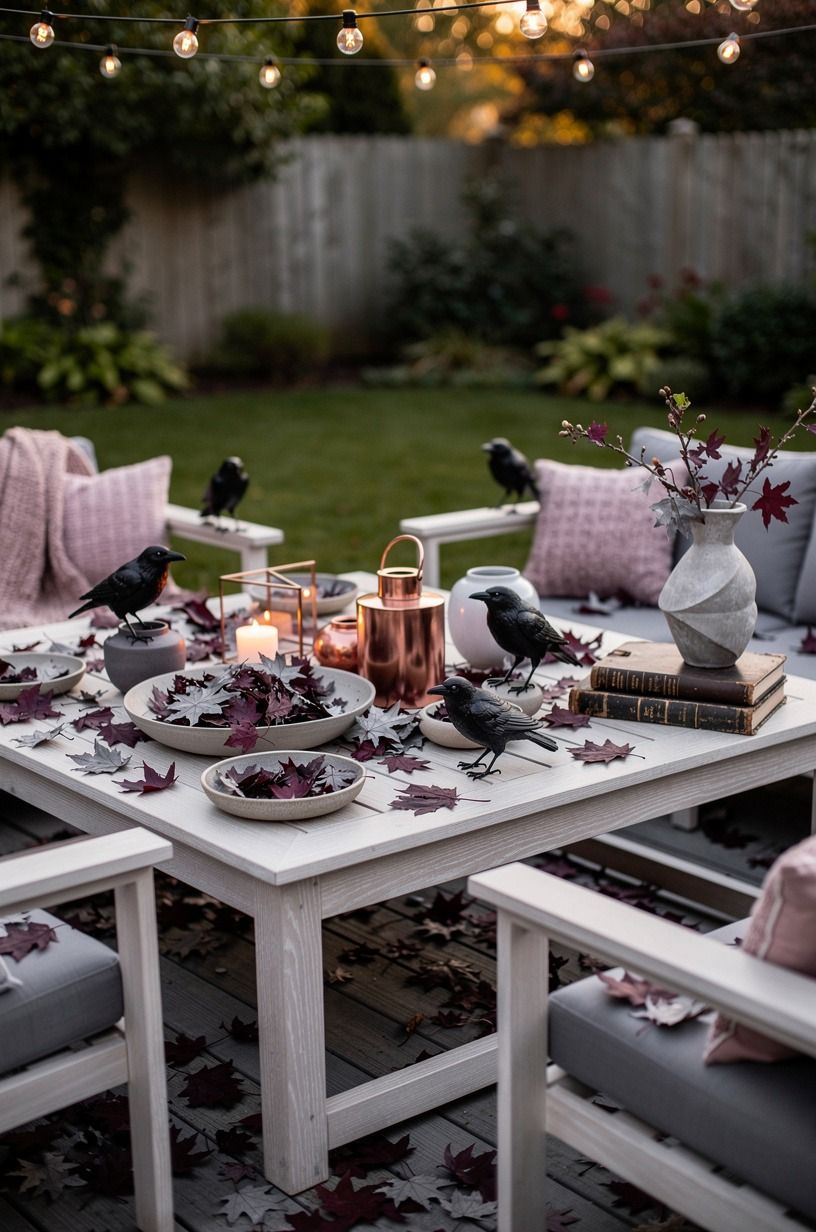
Real leaves are better than plastic leaf garland every time. Rake a thin layer around your stones, leave some damp clumps, and add only a few black resin ravens on top. Your lawn will look gathered, not decorated.
I’d skip glitter ravens because they catch daylight like costume jewelry. Matte birds with rough feathers work harder, especially beside aged bronze finish stakes that look almost black at night.
Let one raven sit on the tallest tombstone and another near the gate. Your eye will travel between them, and the scene gets a little more dramatic without a single new light.
For another low-cost seasonal craft project, see these DIY Valentine’s gifts under $20.
11Add a Lantern Cluster With the Porch-to-Plot Rule
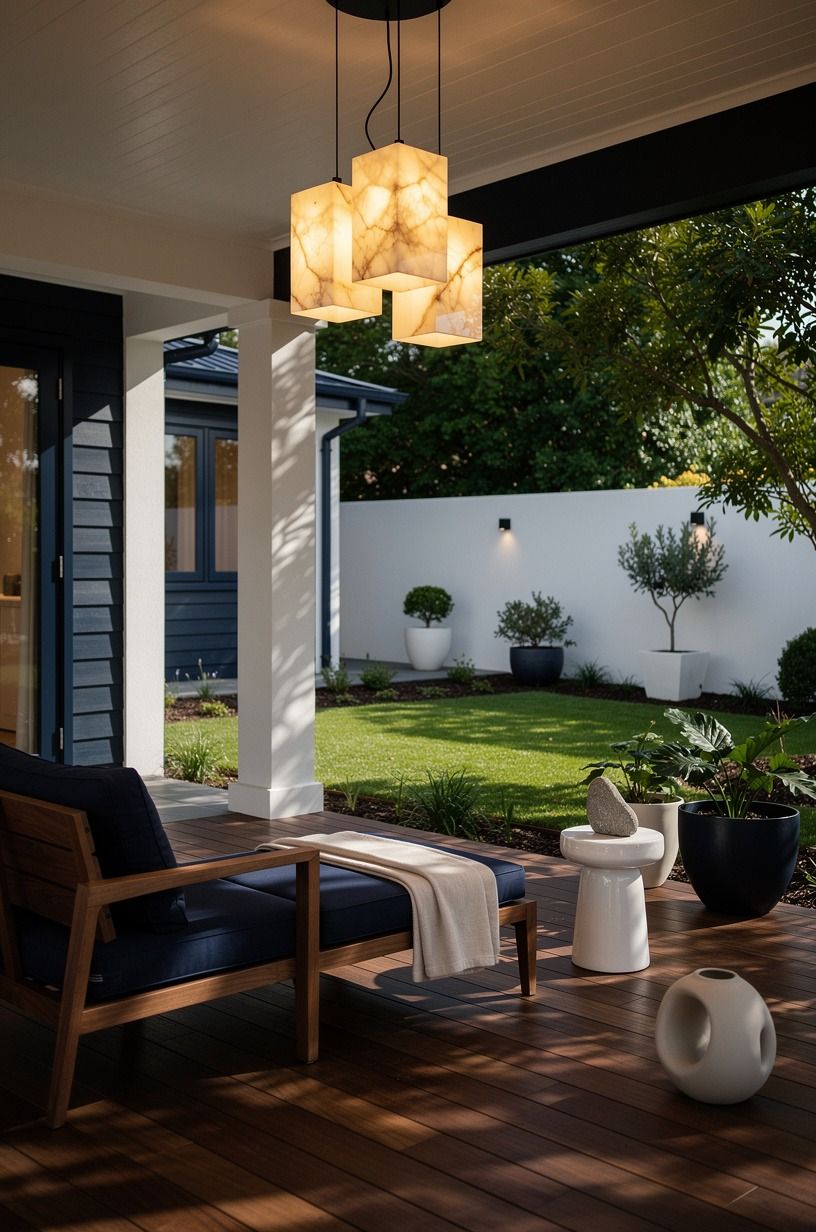
Put your brightest lights near the porch, then reduce them as the graveyard stretches away.
12Swap Orange Plastic for a Faded Funeral Palette
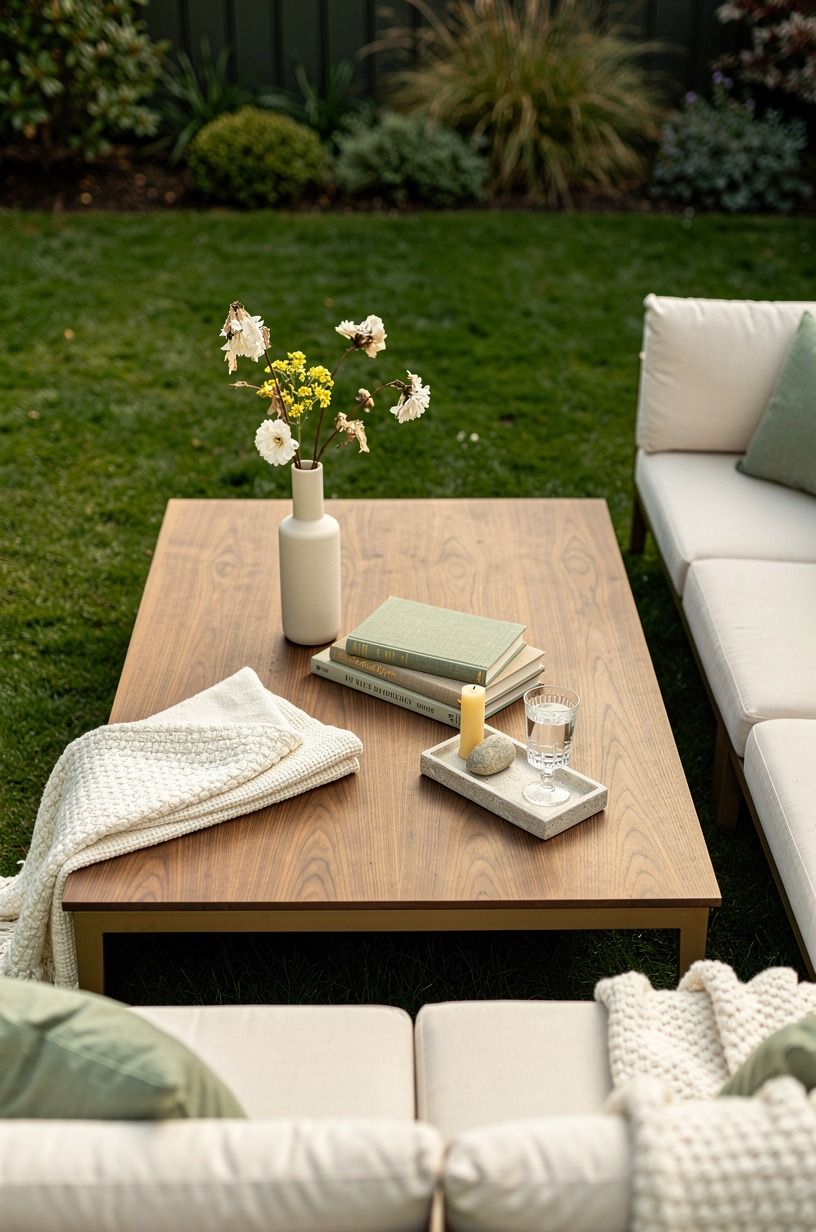
Orange has its place, but an entire yard of orange plastic looks loud before the sun even sets. Try charcoal, dirty ivory, faded moss, and one deep wine-red ribbon instead. Your diy halloween graveyard will feel more refined without losing the fun.
Paint one accent stone Farrow & Ball Railings and pair it with unbleached cotton gauze tied around a bare branch. The blue-black paint looks nearly velvety at twilight, while orange tends to shout from the curb.
You can still use pumpkins. Choose a few matte cream pumpkins and nest them near the porch, not inside the burial area. The contrast keeps your scene warm and gives the darker lawn somewhere to breathe.
13Frame a Window With a Mourning Wreath
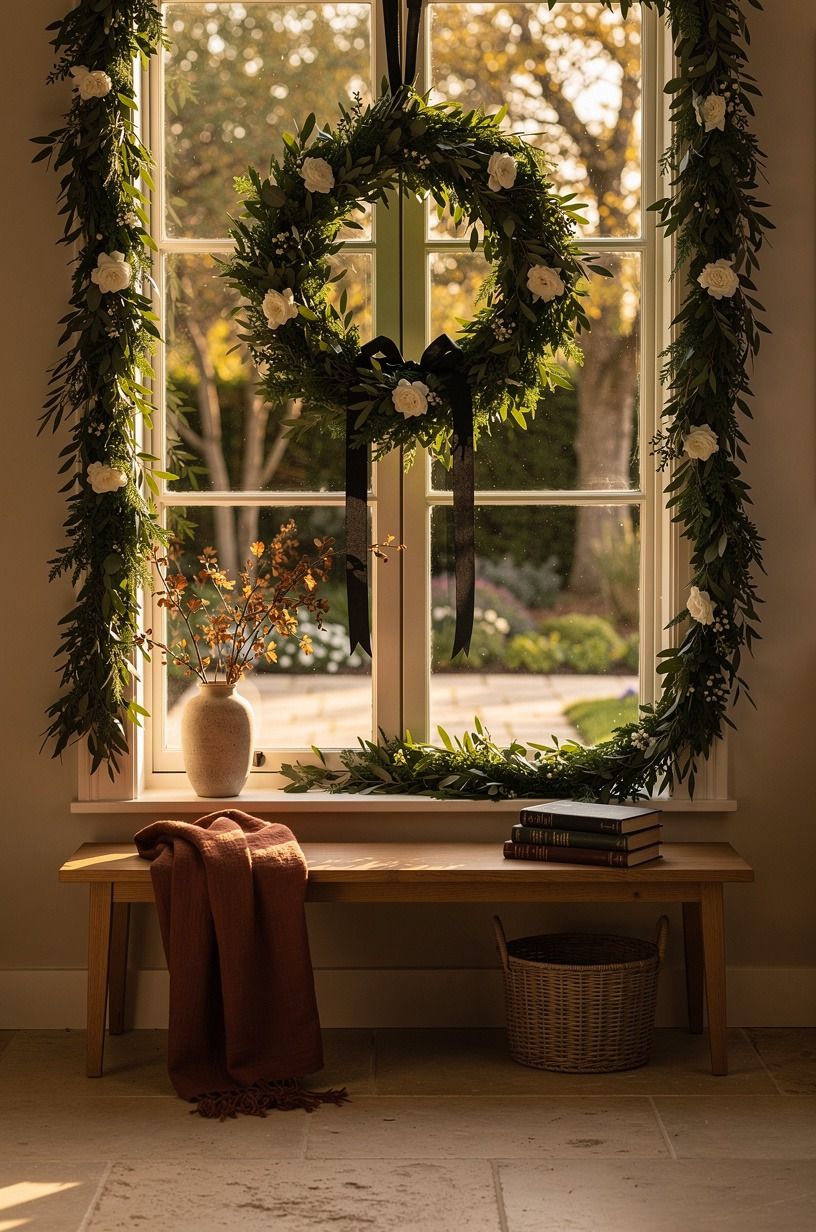
A black wreath in one front window can connect the house to the lawn display.
14Create the One-Sound Rule With Hidden Chimes
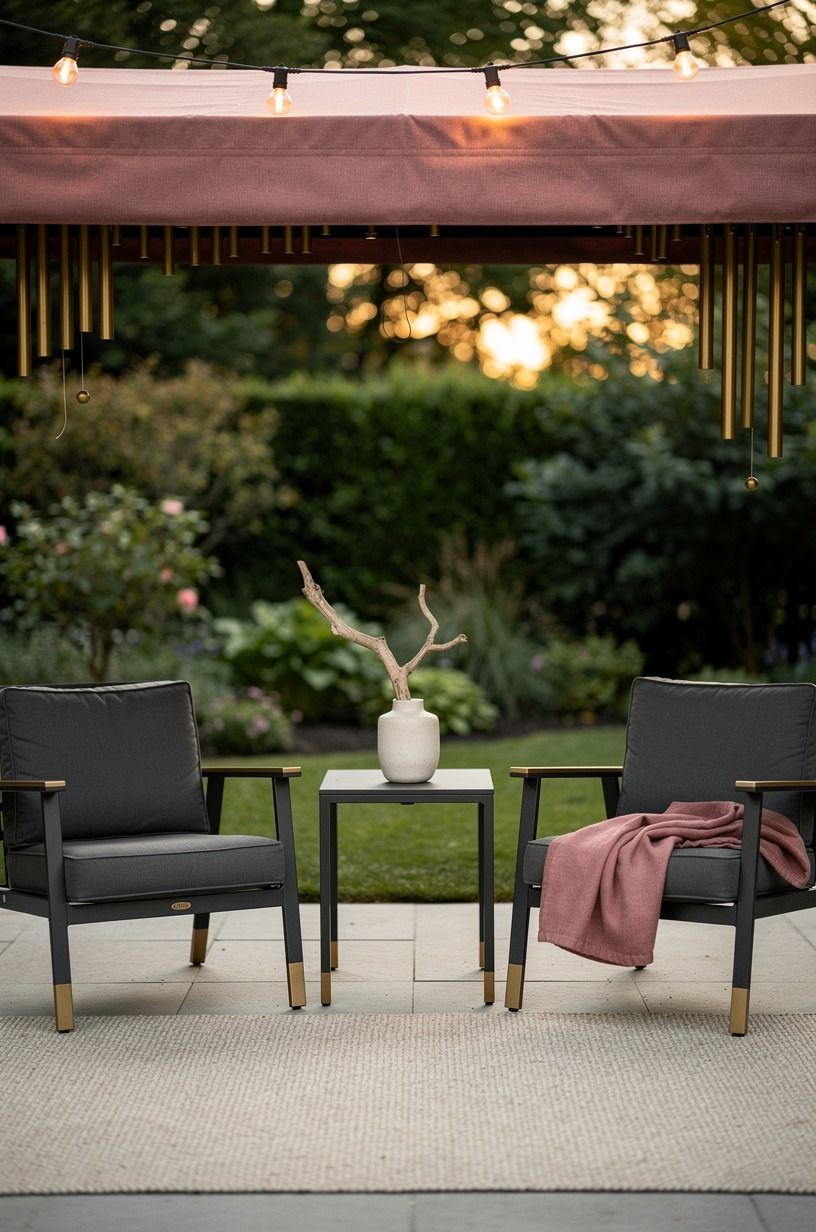
You don’t need a soundtrack blasting from the shrubs. One small sound, repeated now and then, works better. Hang weathered metal wind chimes behind a branch where guests can’t immediately spot them.
Your graveyard gets more captivating when the noise feels accidental. A dry clink after a gust, then silence. But avoid motion sensors that scream every time a neighbor walks by; your display shouldn’t punish the whole block.
Tie the chimes with jute twine and place them away from windows. You’ll hear the effect outside, while your own living room stays peaceful. That balance matters more than people admit.
15Finish With a “Fresh Grave” Mulch Patch
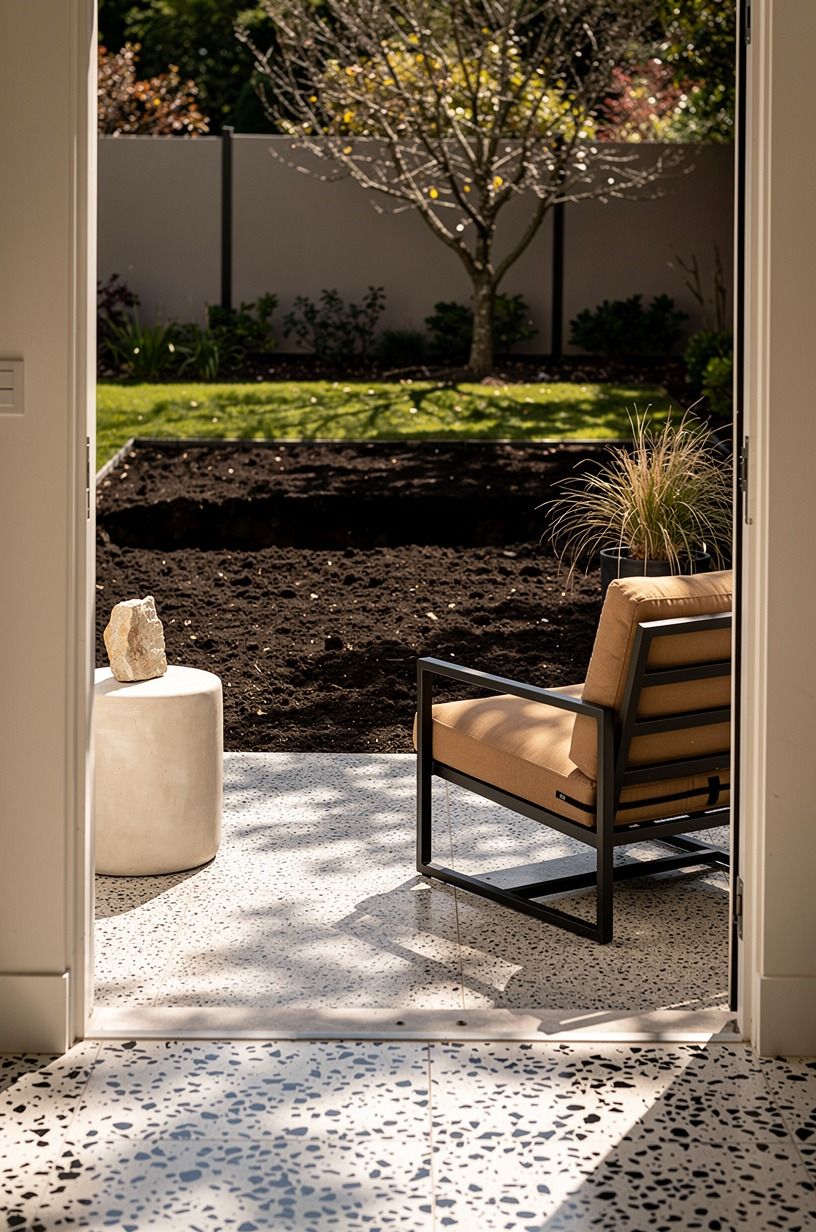
A single fresh-grave patch gives all your foam tombstone diy work a reason to exist. Make a low mound from mulch, tuck in a crooked marker, and lay one burlap-covered pillow form beneath the surface. Your lawn gets a focal point without digging up anything permanent.
Use dark pine bark mulch rather than bright shredded wood. The darker texture reads like soil after rain, and it makes pale bones or a single wilted flower stand out. I’d skip fake blood here; it can turn brown and messy fast.
Leave the mound slightly imperfect (a shallow dip on one side helps). Your guests will notice it before they know why, which is exactly where a good Halloween yard should land.
Pair the display with these front-yard fixes so the path stays easy to follow.
I’ve gone back and forth on this for years because Halloween retail keeps telling us that more is more. More flashing eyes, more giant inflatables, more sound effects, more things competing for the same square of lawn.
And I get it. You want your house to feel generous, playful, memorable. But the front yards I remember are usually the ones that left a little darkness intact.
A graveyard works because your brain does some of the work. You see a tilted hand-carved foam marker, a patch of bark, a lantern that throws amber light onto the edge of the walk, and you build the rest of the story yourself.
That’s more satisfying than being handed every answer. I learned this after a year when I used a fog machine, loud soundtrack, six moving props, and enough purple bulbs to light a small airport.
Kids liked it. Adults took one photo and kept walking.
The next year, I used fewer pieces and cared more about where they sat. I kept the entrance bright enough that families felt welcome, then let the display thin out behind it.
Your front yard can be eerie without becoming hostile. That’s the line I’d protect.
Use one joke stone, one odd sound, one skeletal figure with a point of view, then let the leaves and shadows carry the rest.
And there’s a budget reason, too. You don’t need to replace everything annually when you’re buying neutral bones, lanterns, dark fabric, and foam shapes that can shift into a new arrangement next October.
Spend your time on composition. It’s the part people feel, even if they can’t name it.
A Few Things Worth Answering
What is the best DIY Halloween graveyard idea for a small backyard?
A crooked path with three varied-height stones is the best small-space choice because it creates visual depth without swallowing your yard. Use an IKEA SOLVINDEN lantern, one tall foam marker, and a low mulch patch so your eye has somewhere to travel.
Where can I buy Halloween graveyard pieces on a budget?
Start at Target, IKEA, Wayfair, and a thrift store for low-cost layers. Look for Target Hyde & EEK!
Boutique lanterns, old metal frames, and weathered baskets. Facebook Marketplace often has free branches, crates, and patio décor you can repaint.
How much does a Halloween graveyard makeover cost?
A basic front-yard graveyard can cost about $100 to $300 if you reuse lights, branches, and containers you own. Foam, paint, mulch, and fabric are the main purchases. Your free materials are fallen leaves, cardboard templates, and old sheets.
Can I create a DIY Halloween graveyard on a budget?
Yes, and your best savings come from making the tombstones yourself. Use XPS insulation foam, dirt from your garden, and old cotton fabric. You don’t need bought fog, giant props, or a new patio set for a moody result.
Is a Halloween graveyard worth it in a small space?
Yes, it’s worth it because a small space forces better composition. Keep a 36 in walking lane open, place the tallest stone at the back, and use one lantern near the front. Your yard will feel intentional instead of cramped.
Is a DIY Halloween graveyard a good idea for a rental?
Yes, if you use removable materials and keep the lawn untouched. Choose removable outdoor mounting strips, tent stakes, and lightweight foam. Your decorations can come down cleanly, and the same pieces can move with you next year.
Where I’d Start First
If I had to pick one, I’d start with three foam tombstones. A few crooked stones create a story; piles of store-bought plastic only create clutter. Pin the tombstone layout for later and borrow a few curb-appeal ideas from this front-yard guide.