Easy kitchen hosting setups can feel warm and organized with a drinks cart, one clear serving zone, and a few low-cost details. You don’t need a full remodel. A cerused white oak accent, practical labels, and lighting at the right height can make casual entertaining feel inviting without turning the kitchen into a production.
- Roll out a drinks cart beside the island (The Island Landing Rule)
- Create a self-serve coffee corner (The Morning Counter Cue)
- Style a grazing board across the counter (The Long Table Effect)
- Hang pendant lights over the serving zone (The Three-Height Light Stack)
- Place labeled jars beside the snack station (The Three-Jar Signal)
- Turn a windowsill into a garnish bar (The Windowline Mix)
- Set colorful glasses in an open shelf (The Color Echo Shelf)
- Use tiered stands for effortless buffet height (Why does height matter?)
- Arrange herbs in tiny countertop pots (The Living Garnish Line)
- Add stools around the kitchen island (Seating over extra storage)
- Display serving platters on a peg rail (The Platter Ladder)
- Light candles inside empty kitchen lanterns (The Soft Perimeter)
- Fill a deep bowl with seasonal fruit (The Color Anchor)
- Set napkins in a sculptural countertop holder (The Folded-Edge Cue)
- Group sauces on a small wooden tray (The Condiment Map)
1Roll out a drinks cart beside the island (The Island Landing Rule)
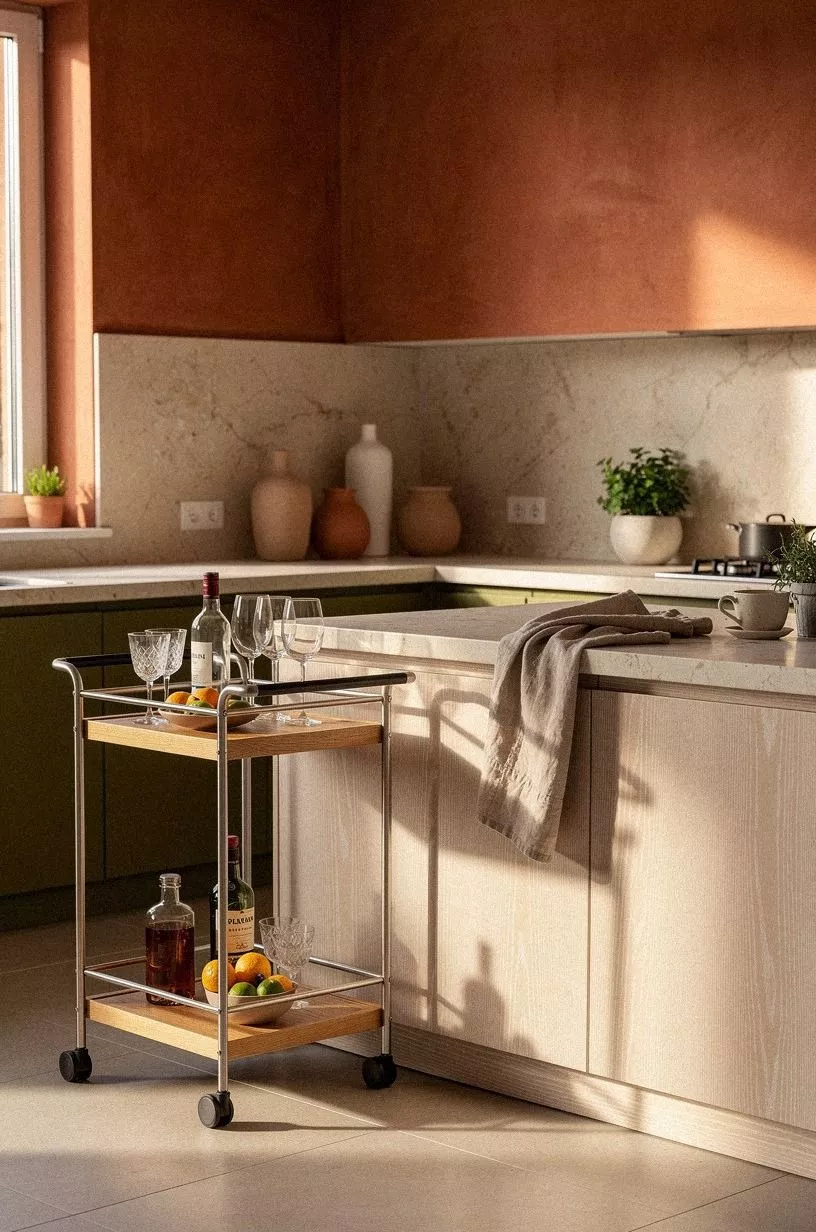
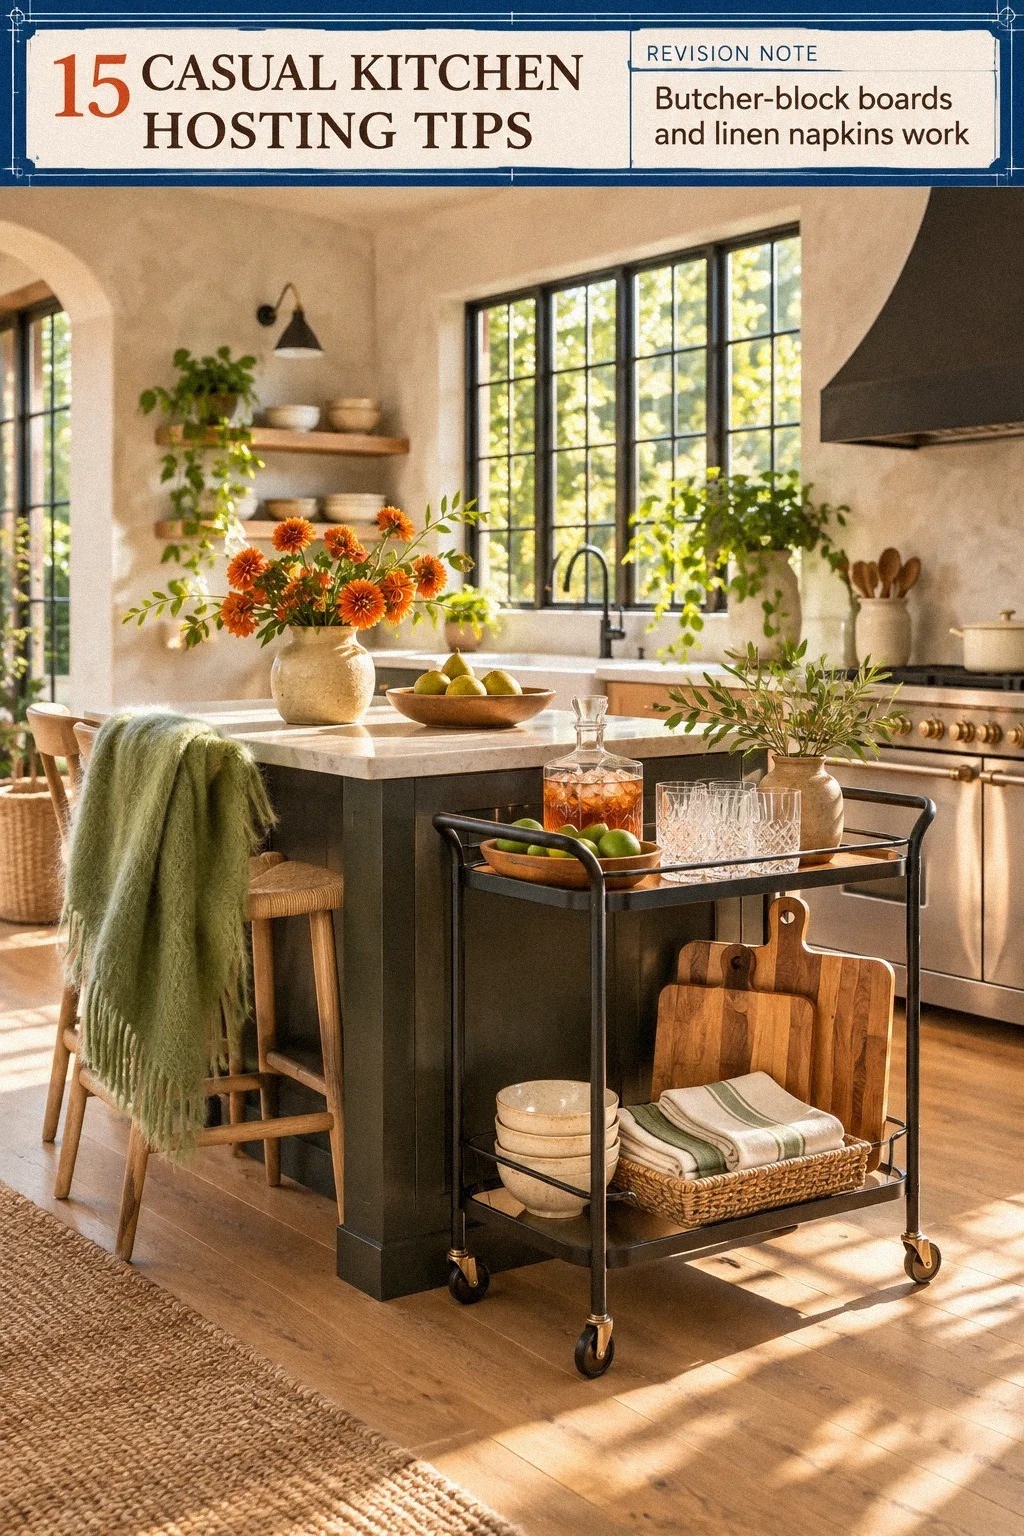
A drinks cart beside the island gives guests a clear place to gather without blocking cooking space. Choose a narrow cart in cerused white oak, then style the upper shelf with a stone tray, tumblers, and a pitcher of citrus water. If you’re working with a compact kitchen, keep at least 42 inches of island clearance so the serving path stays comfortable.
The cart doesn’t need a full bar setup. A carafe, bottle opener, linen napkins, and two drink choices are enough.
Add an olive-toned runner for an earthy layer, but don’t crowd the shelves. Guests shouldn’t have to move three decorative objects before finding a glass.
A lower shelf can hold sparkling water, extra glasses, and a small waste bowl. IKEA carts work well as a budget starting point, while an Article oak bar cart gives the setup a warmer, more substantial finish. Skip a bulky cabinet beside the island because it eats walking space and makes the kitchen feel tight.
If the cart has wheels, you’ll be able to shift it toward the dining area once dinner begins. That small bit of flexibility can make a busy kitchen feel surprisingly calm.
2Create a self-serve coffee corner (The Morning Counter Cue)
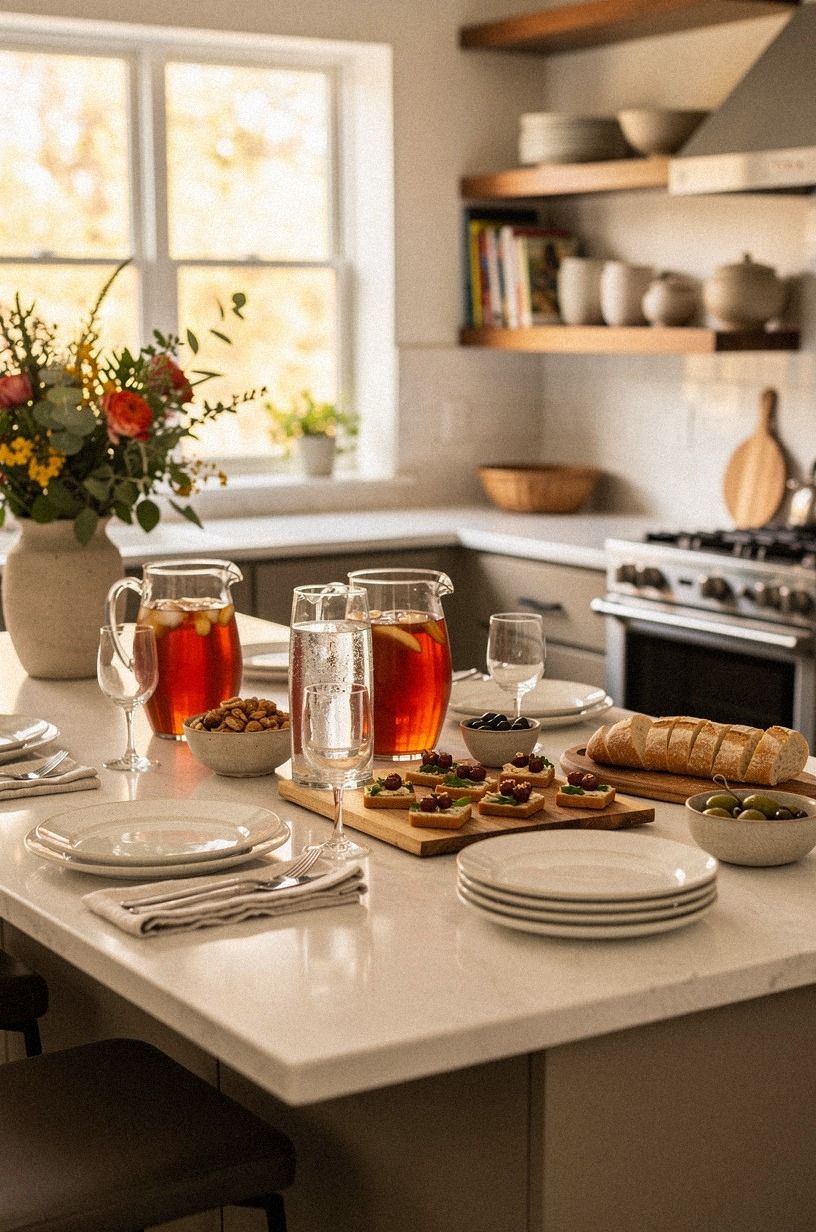
A self-serve coffee corner keeps late arrivals from interrupting the host every few minutes.
3Style a grazing board across the counter (The Long Table Effect)
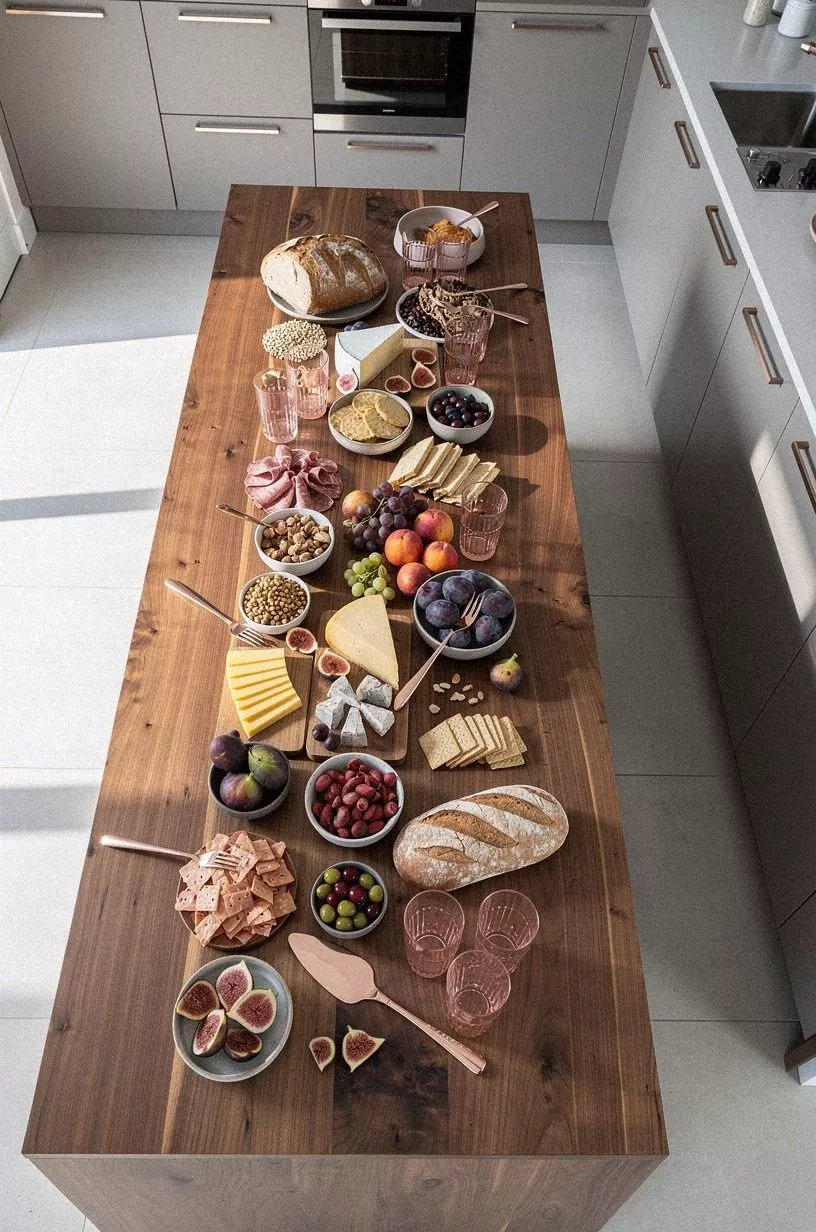
A grazing board works best when it stretches across the counter instead of sitting in one crowded pile. Use a wide book-matched walnut board with separate clusters for cheese, sliced fruit, olives, crackers, and nuts. Guests can approach from either side, which helps the kitchen flow during a casual gathering.
Keep the plum, gray, and rose-gold palette intentional. Dark grapes, pale crackers, and a few rose-gold handled utensils create contrast without excessive decoration. You don’t need every item to match.
One irregular ceramic bowl keeps the arrangement from feeling stiff.
Leave a visible strip of counter around the board for plates and small forks. Marble-look porcelain can echo stone without adding weight, while a 3/4-inch solid walnut board brings richer color.
If the counter is short, split the board into two low clusters rather than stacking everything vertically. You’ll gain better access and a calmer visual rhythm.
The delicious-looking detail is often the easiest one: place one ripe pear or a few vivid grapes near the center. That little color note makes the spread feel abundant.
4Hang pendant lights over the serving zone (The Three-Height Light Stack)
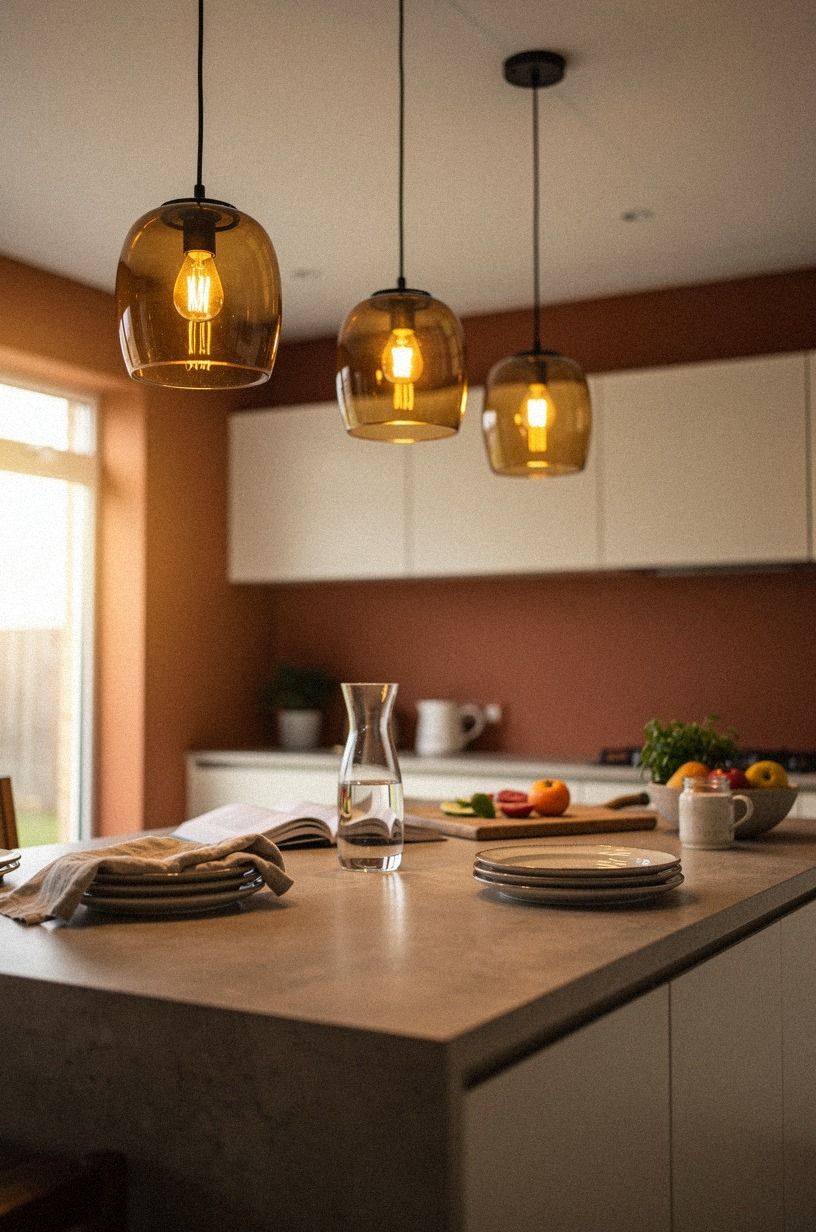
Pendant lights can mark the serving zone before guests even ask where food belongs. Hang two fixtures over the island, with the lower edges high enough to preserve sightlines across the kitchen. A 36-inch counter height gives you a useful reference point, but the fixtures should still leave comfortable head clearance for anyone serving food.
A warm travertine pendant adds texture to a navy, white, and walnut palette. Look for a softly diffused shade rather than a clear bulb that throws hard shadows onto plates. You’re aiming for a pool of warm light over the food, with softer ambient light around the room.
Use three heights across the room: pendant light, counter surface, and a low bowl or board. That stack makes the kitchen feel layered without adding more objects. If ceiling wiring isn’t convenient, plug-in picture lights or rechargeable lamps can create a similar effect.
You don’t need a dramatic fixture if the serving zone already has strong material contrast. A modest opal glass shade can look more refined than an oversized statement piece.
5Place labeled jars beside the snack station (The Three-Jar Signal)
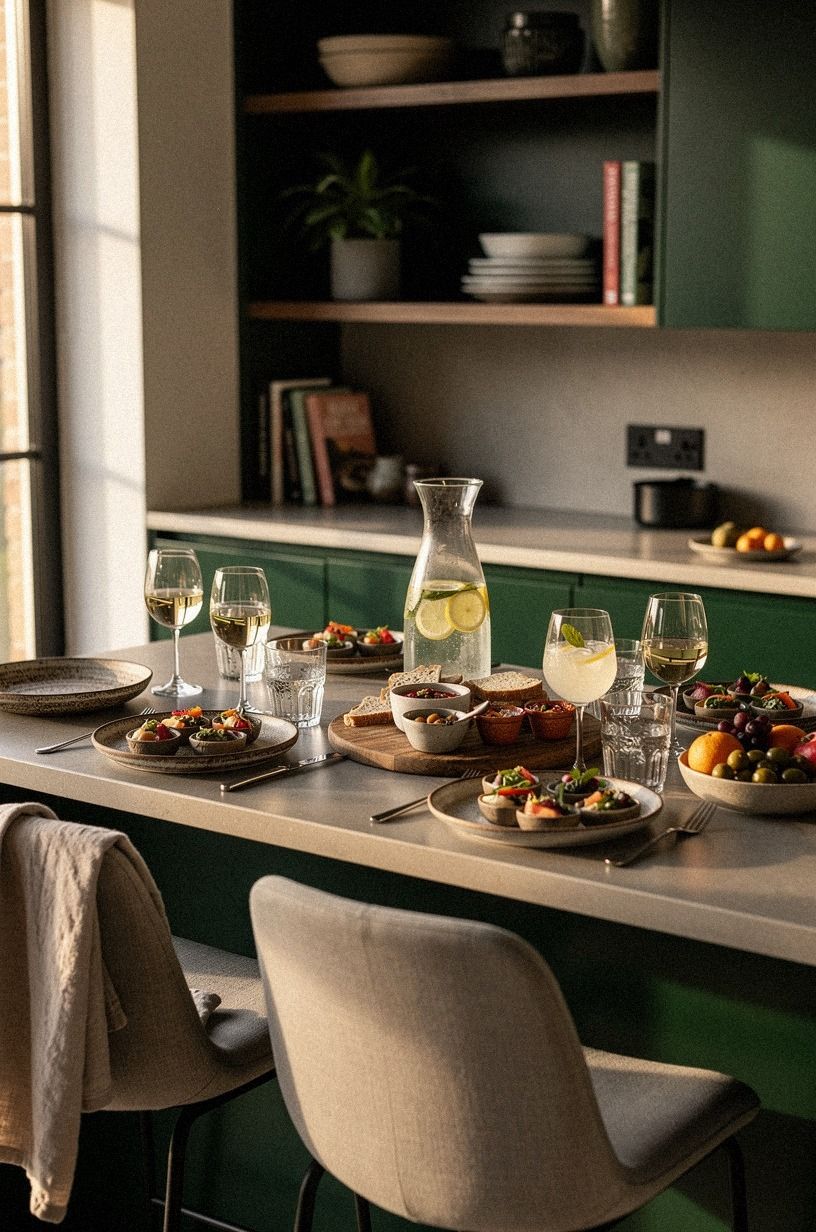
Labeled jars make snacks easy to find, especially when children or guests are moving through the kitchen at different times. Choose three to five clear vessels and line them beside the snack station. Unlacquered brass labels or small brass clips suit an emerald, gold, and cream palette while developing a soft patina over time.
Use labels for broad categories rather than every ingredient: crackers, nuts, dried fruit, and cookies. The setup will look calmer when the wording stays short.
You can also use removable labels if the contents change from one gathering to the next. That’s practical, and it keeps the display from becoming too precious.
Vary the jar heights slightly, but keep the bases aligned. A cream ceramic tray can catch crumbs and protect the counter. Skip tall apothecary jars if the shelves are shallow because you’ll lose visibility.
Wayfair has affordable glass storage, while thrifted jars can bring a more relaxed, lived-in texture to the station. If you’re hosting children, place the most accessible snacks at the front and keep breakable pieces farther back.
6Turn a windowsill into a garnish bar (The Windowline Mix)
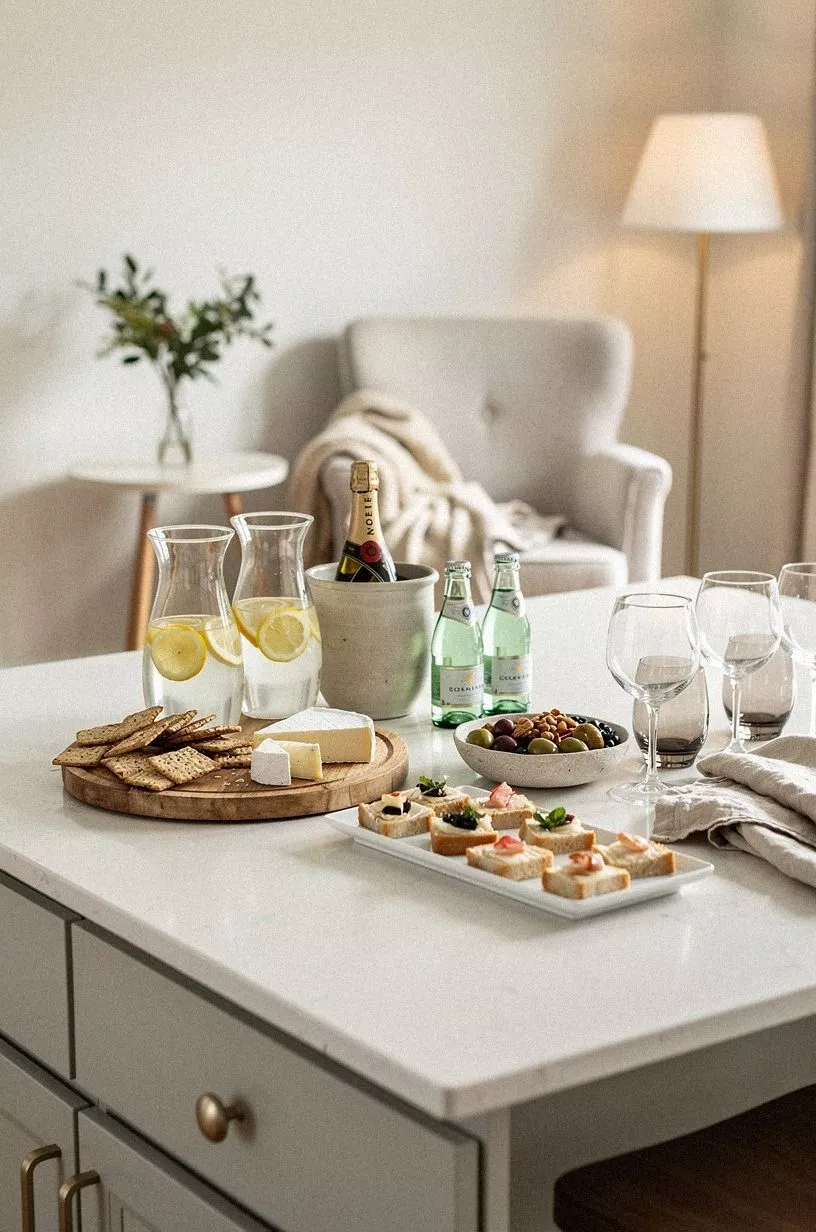
A sunny windowsill can become a compact garnish bar with almost no furniture.
7Set colorful glasses in an open shelf (The Color Echo Shelf)
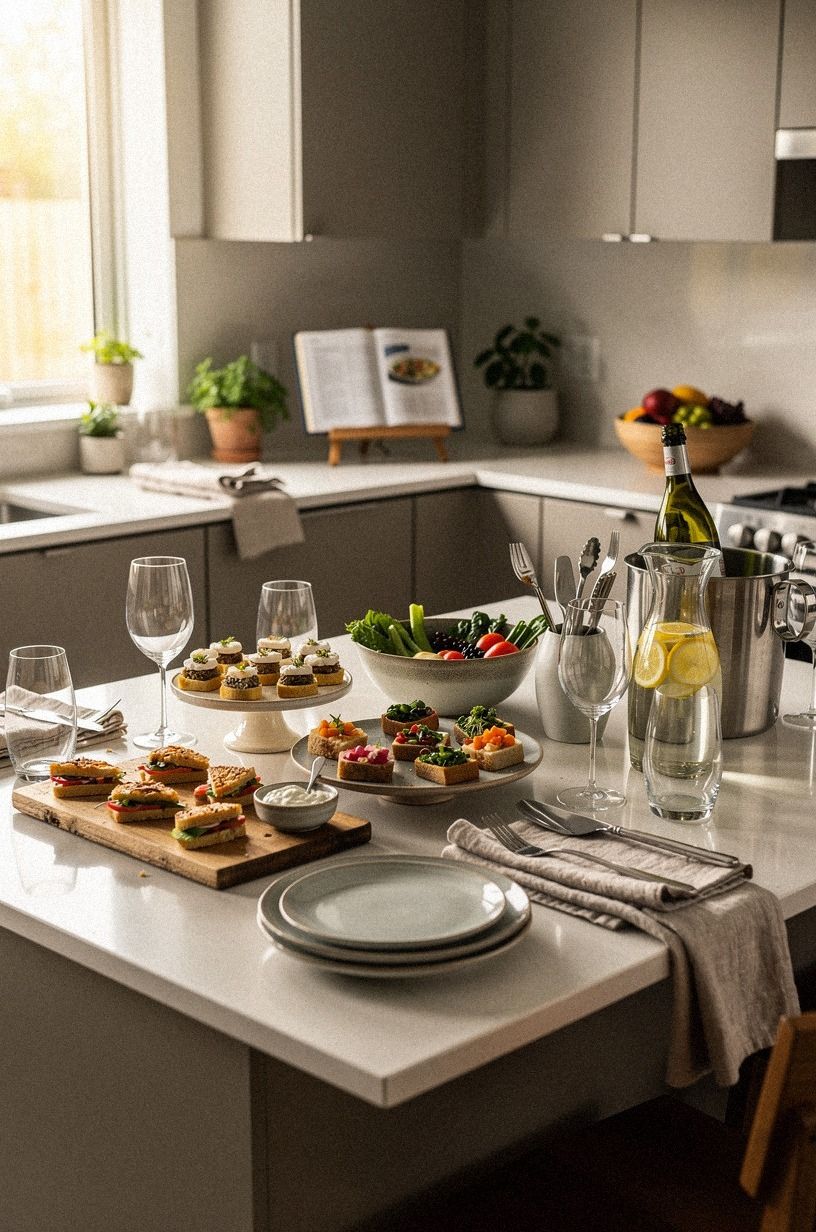
Open shelving becomes more useful when it carries the glasses guests will reach for first. Arrange colorful tumblers in dusty rose, charcoal, and smoky amber against hand-applied Venetian plaster. Keep the most-used glasses between shoulder and eye level so guests won’t need to search through lower cabinets.
Repeat one color somewhere else in the kitchen. A dusty rose napkin, charcoal serving bowl, or brass-edged tray creates a visual echo without making the room feel matched.
You’ll want the shelf to look lively, but not busy. Leave small gaps between groups so each glass color can register clearly.
Use three glasses per cluster, with the tallest pieces toward the back. CB2 offers sculptural glassware with a polished look, while thrift shops often have colorful tumblers at modest prices. Don’t mix too many silhouettes.
One strong shape repeated across the shelf will look more intentional than six unrelated forms.
If the shelf is close to the serving zone, keep the lower row reserved for sturdy pieces. Delicate stemware can stay higher, where the traffic is lighter.
8Use tiered stands for effortless buffet height (Why does height matter?)
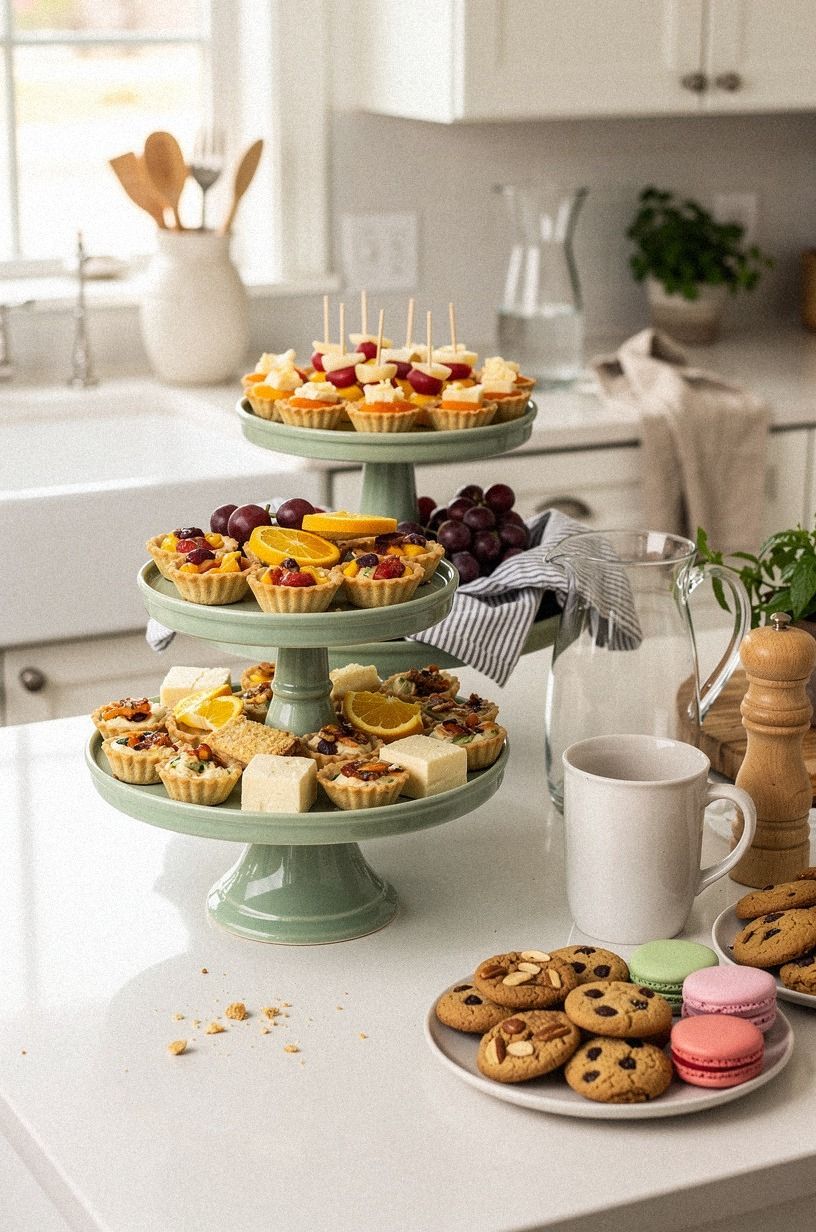
Tiered stands give a buffet more usable surface area while keeping serving dishes visible.
9Arrange herbs in tiny countertop pots (The Living Garnish Line)
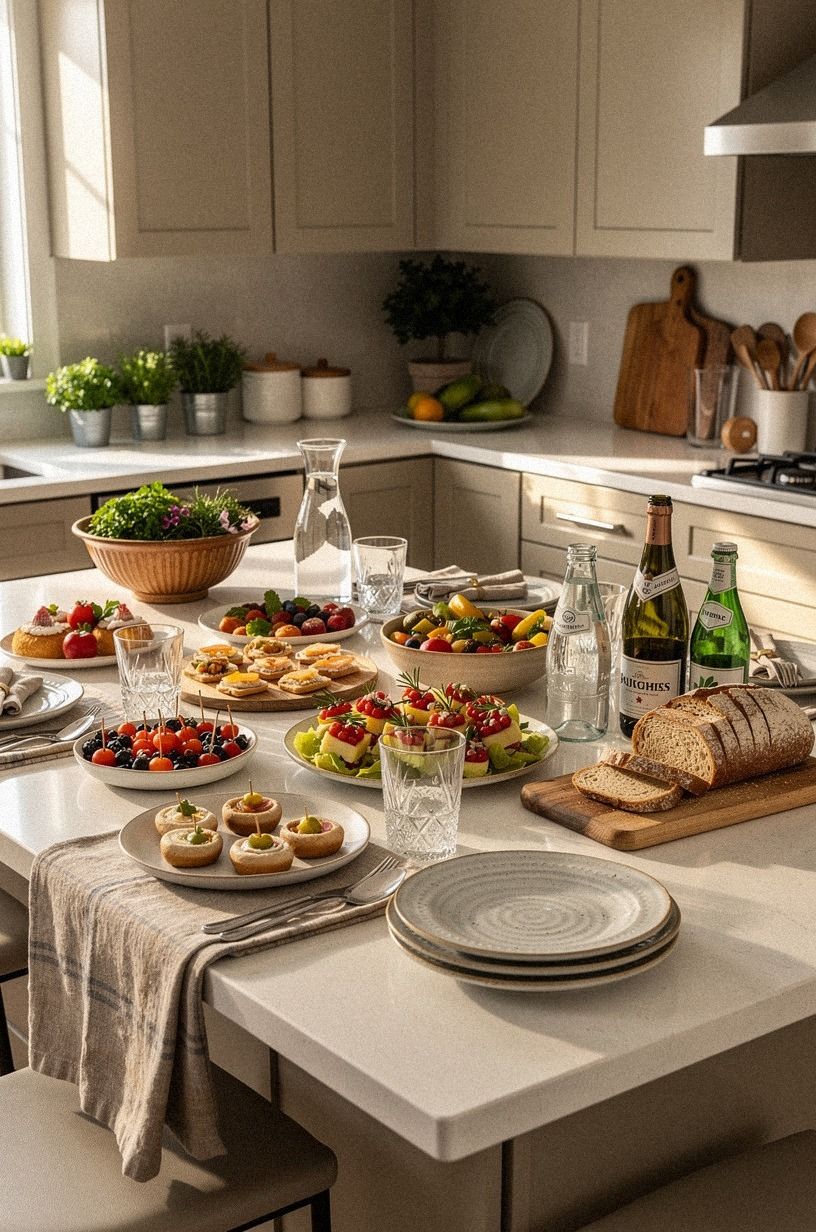
Tiny herb pots bring a useful green line to the counter while keeping the kitchen visible behind the display. Choose basil, mint, rosemary, or thyme in small containers wrapped with washed Belgian linen. Guests can snip a little garnish, and the plants add a lived-in texture without requiring a large centerpiece.
Midnight blue pots with copper tags and ivory saucers create a richer palette than plain terracotta. Keep the plants close to a window, but not where leaves brush against hot cookware. You’ll want enough light for the herbs without turning the garnish area into a maintenance project.
Three pots usually create enough rhythm. Four can work on a long counter, but more may look crowded. IKEA nursery pots can slip inside decorative vessels, and a shallow copper tray protects the surface below.
Skip delicate plants that wilt quickly if the gathering runs long. Rosemary and thyme are sturdier choices for a busy kitchen, while mint should stay in its own pot because it spreads quickly.
10Add stools around the kitchen island (Seating over extra storage)
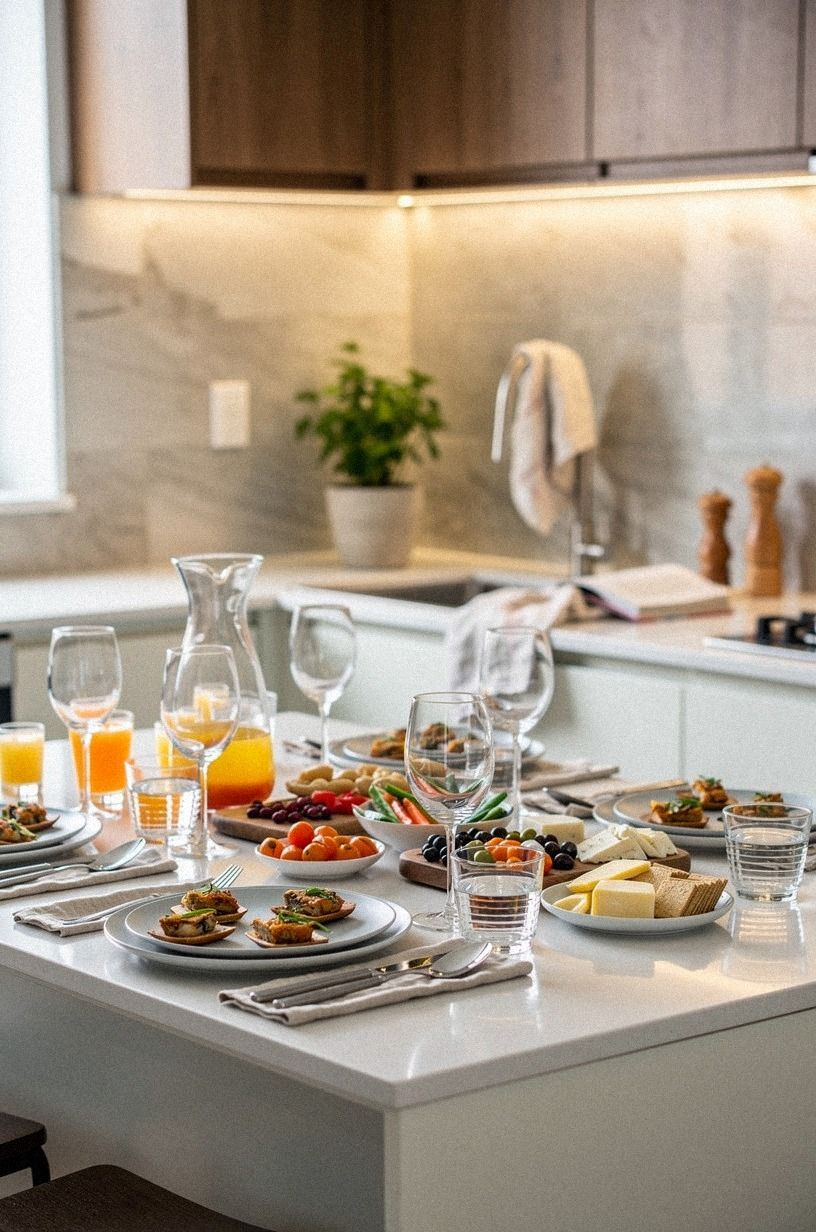
Stools invite guests to stay near the action without leaning against counters or standing in the work path. Choose seats with organic bouclé upholstery in sage, warm cream, or oatmeal, then space them so knees won’t collide. Standard counter height is 36 inches, so counter stools should match that surface rather than bar height.
Comfortable seating matters more than extra storage when the island already holds drawers. A stool with a curved back can soften natural wood and sage cabinetry, while a foot rail makes longer conversations easier. If you’re styling a narrow island, two stools may work better than three crowded seats.
Article Sven seating brings a relaxed silhouette, but simple wood stools can suit a smaller budget. Avoid deep arms and oversized cushions because they make passage difficult. Guests should be able to slide in, turn toward the room, and move away without asking someone else to shift.
A small stool cluster can also define the social edge of the kitchen. That’s the whole trick: give conversation a place to land without letting seating take over.
11Display serving platters on a peg rail (The Platter Ladder)
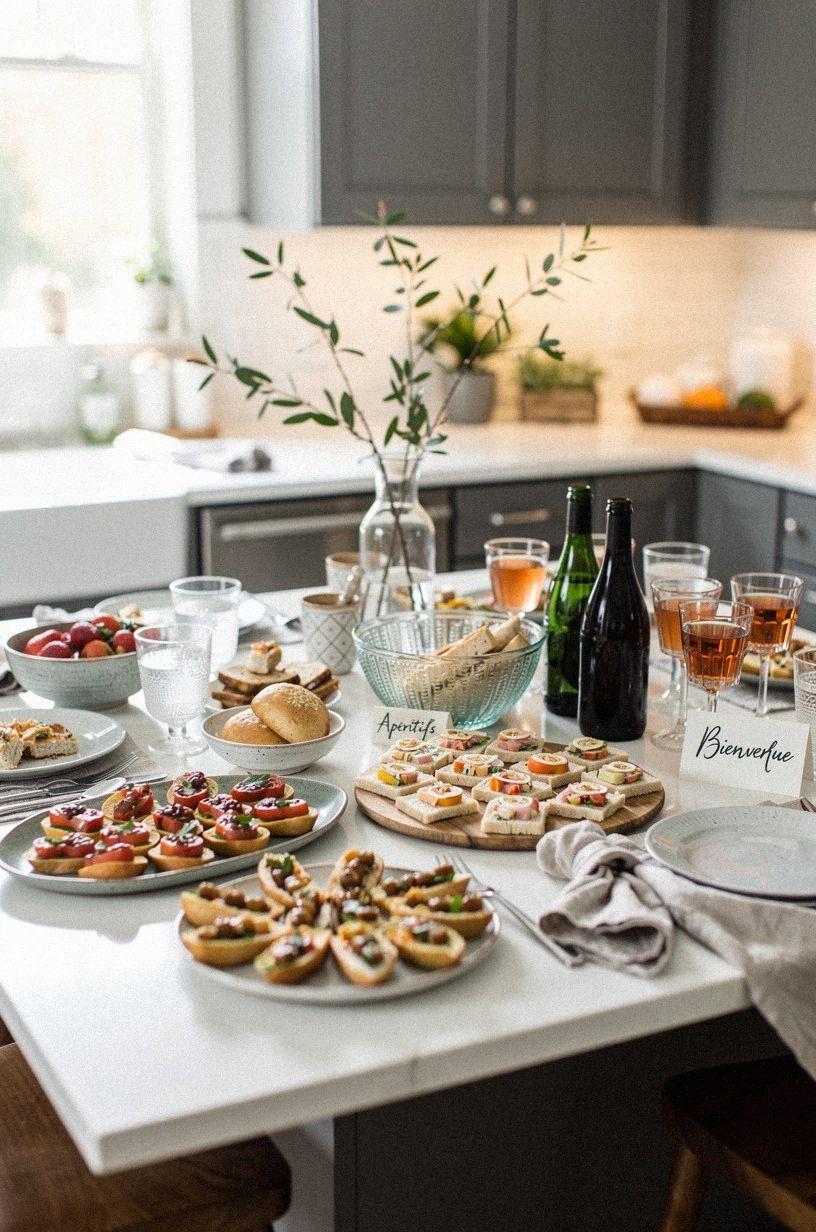
A peg rail turns serving platters into visible wall decor while keeping them within reach. Hang large pieces at the bottom, medium pieces in the middle, and small boards near the top. Nero Marquina black marble with white veins can echo dark platter edges and add contrast to terracotta, stone, and olive tones.
The rail should sit outside the main splash zone, especially if the platters have textured surfaces that are difficult to clean. Leave enough space between each piece for easy removal. You don’t want guests tugging one plate out and sending three others toward the floor.
Use a sturdy rail anchored into wall framing, and keep heavier platters on lower pegs. Pottery Barn offers substantial wooden rails, while a basic rail with rounded pegs can create a similar effect after staining.
The opinionated move is to display fewer, larger platters rather than filling every peg. Empty space makes the useful pieces easier to spot, and the wall feels intentional rather than overloaded.
12Light candles inside empty kitchen lanterns (The Soft Perimeter)
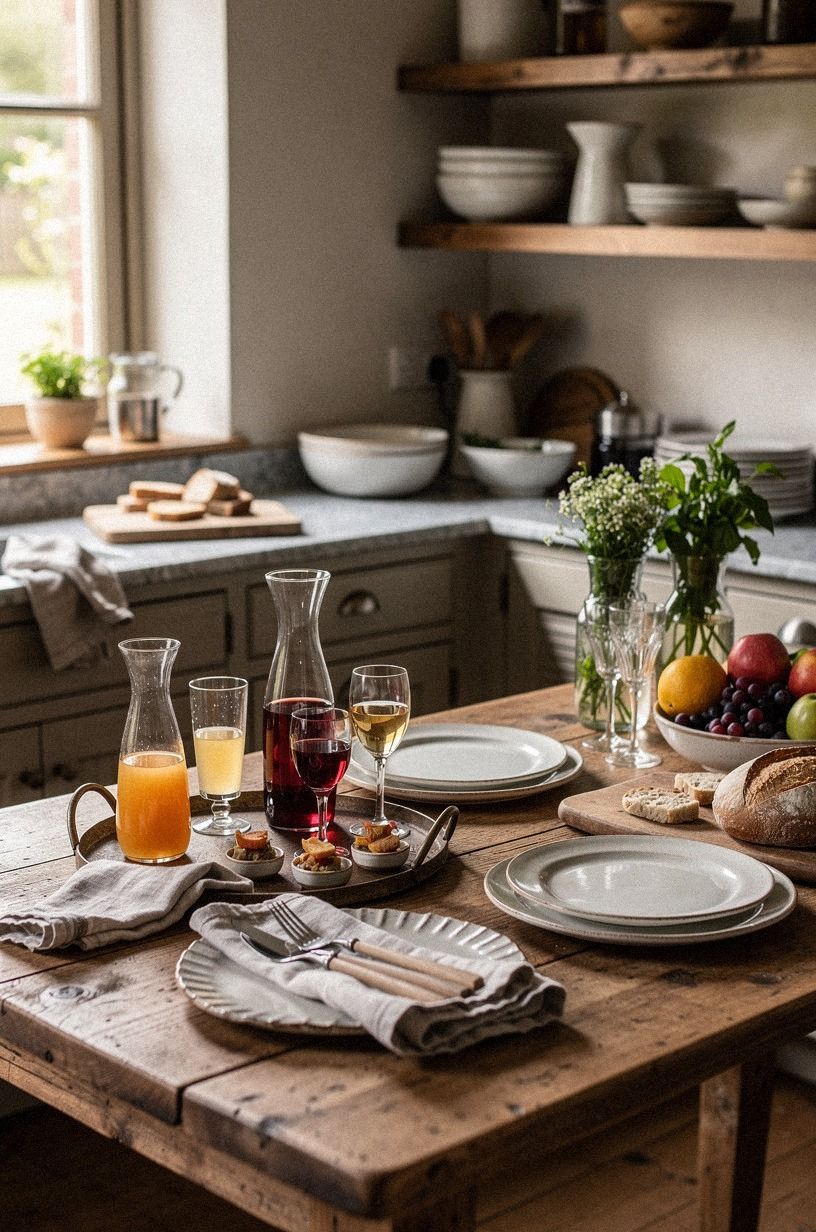
Empty kitchen lanterns can create a soft perimeter of light without adding another centerpiece to the island. Set two or three lanterns near a wall, window, or dining transition, then pair them with a deep-pile mohair velvet accent in clay, oat, or warm gray, kept well away from any flame.
The kitchen will feel more inviting when the light reaches the edges instead of stopping at the cooktop. Choose battery candles when children, pets, or busy sleeves are nearby. Real candles can work in stable, heat-safe lanterns with open ventilation, but they require attention.
Don’t place a flame under a shelf or beside paper napkins. Safety has to outrank atmosphere. If you’re using battery lights, choose a warm color temperature so the glow stays soft rather than blue.
Use lanterns in different heights, but keep the overall arrangement low enough for conversation. Aged brass suits the clay, linen, and velvet palette and looks better as it develops small marks.
13Fill a deep bowl with seasonal fruit (The Color Anchor)
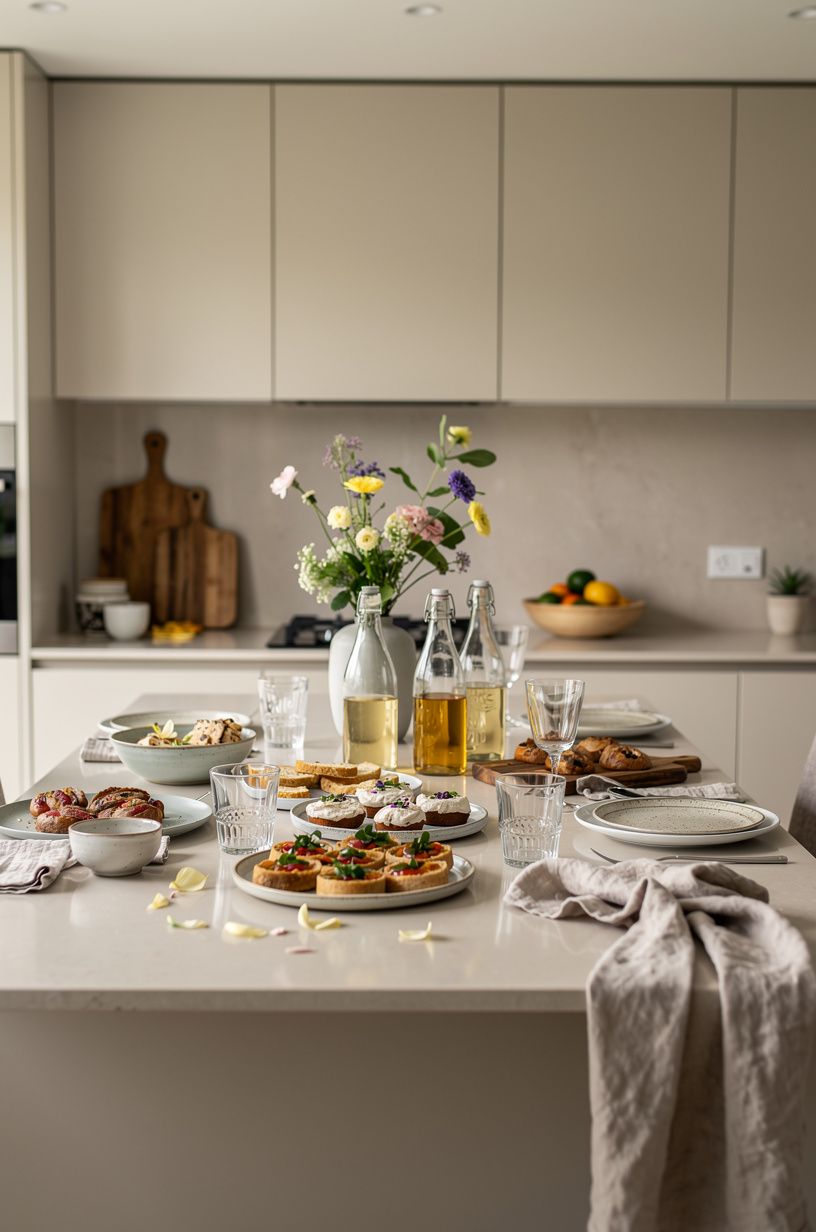
A deep bowl of seasonal fruit gives the island one clear color anchor. Choose a wide vessel in Carrara marble with subtle gray veining, then fill it with apples, pears, citrus, or stone fruit in a plum, gray, and rose-gold palette. The arrangement should look abundant but remain easy to reach.
Place the bowl where guests can pass it without crossing the cooking zone. A low, wide shape is safer than a tall vessel near the edge. You’ll want enough depth to hold the fruit, but not so much that the bottom layer disappears and gets forgotten.
Keep the fruit palette limited to two or three colors. Purple plums with pale pears and blush apples create more character than a mixed grocery display. Benjamin Moore White Dove OC-17 on nearby cabinetry can make the colors stand out.
A rose-gold utensil holder can repeat the warmer accent without adding clutter. Refresh bruised fruit promptly so the centerpiece continues to look crisp and generous.
14Set napkins in a sculptural countertop holder (The Folded-Edge Cue)
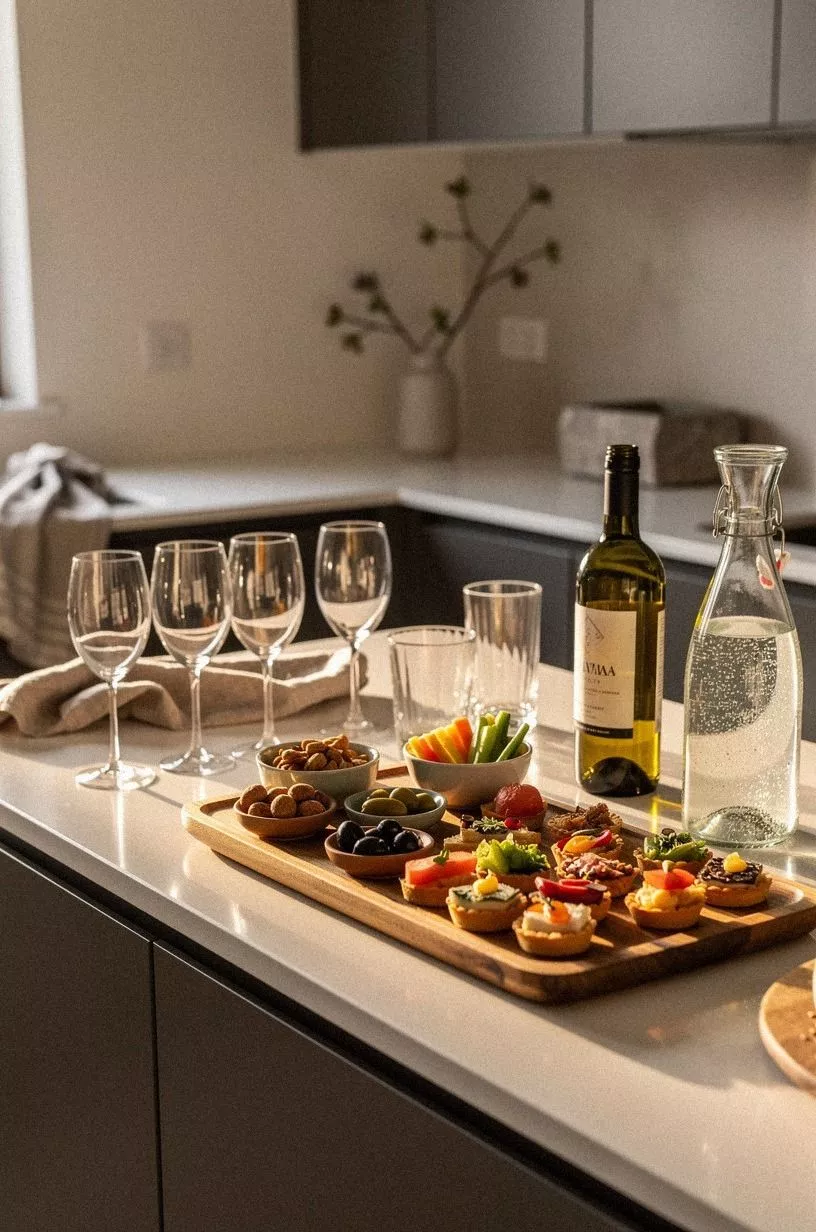
A sculptural napkin holder gives guests an obvious place to pick up a napkin before food reaches the counter. Choose a holder shaped like an arch, fan, or low stone form, ideally in reclaimed weathered teak, then fill it with folded napkins in navy, white, or walnut-inspired tones. Navy, white, and walnut create a classic kitchen palette with enough warmth for casual gatherings.
Set the holder near plates, not beside the sink. Guests will follow the visual sequence more easily when plates, napkins, and utensils sit in one compact area. If you’re using cloth napkins, choose 18-inch squares in washable cotton or linen so the stack stays practical.
A sculptural holder should be the only decorative object in that small zone. Don’t add a vase, candle, and bowl beside it. West Elm has refined tabletop pieces, while a carved wood holder from a local secondhand shop can feel personal without introducing a glossy finish.
The holder earns its place by making service easier. That’s a far more useful kind of beauty.
15Group sauces on a small wooden tray (The Condiment Map)
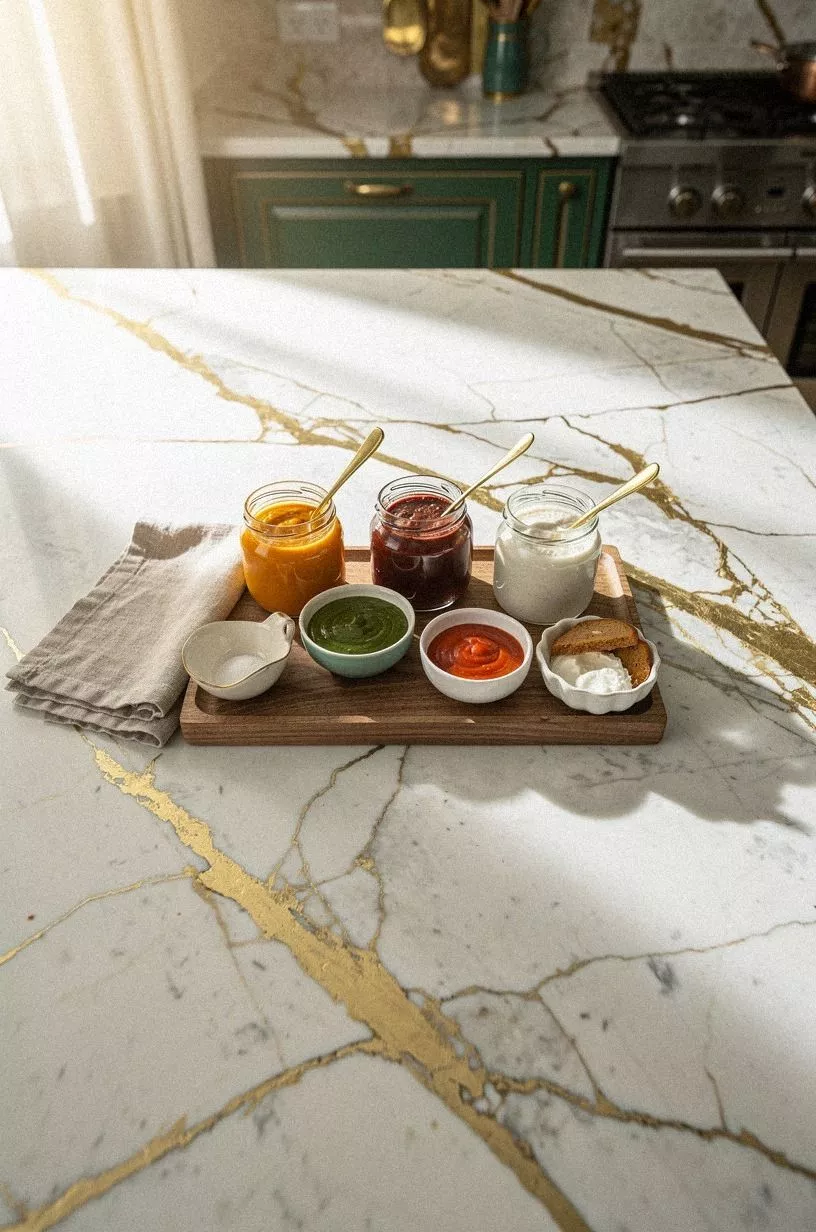
A small wooden tray keeps sauces together and stops bottles from spreading across the counter. Use a compact tray with a Calacatta marble base and gold veining, then add cream bowls and emerald labels. Guests can carry the whole set to the table when the meal shifts rooms.
Place the most-used sauce in the center and smaller jars around it. Add a small spoon for thick condiments and a bottle opener if the tray serves drinks too. You don’t need matching containers, but you do need similar heights so the group feels stable.
For a hosting-focused kitchen, cosmetic changes usually cost less than a full renovation. The table below gives typical US reference points for larger kitchen updates, while a contained tray setup can stay far below those ranges.
A Sherwin-Williams Evergreen Fog SW 9130 wall can support the emerald and cream palette, but keep the tray itself compact. If you’re entertaining in a small kitchen, one contained condiment station will serve you better than several scattered bottles.
The Hosting Decision That Makes the Kitchen Feel Calm
The strongest kitchen hosting setups don’t depend on expensive objects. They depend on sequence.
Guests should know where to place a coat, pour a drink, find a napkin, and reach the food without asking for directions. That clarity creates a calming room because movement feels natural rather than accidental.
Start with the path from the entrance to the island. If a cart, stool, or plant narrows that route, move it before adding anything else.
A kitchen with 42 to 48 inches of island clearance can handle more activity than a crowded room filled with attractive objects. You’ll gain more comfort from open floor space than from another decorative bowl.
Lighting deserves priority because it changes how every material reads. A warm pendant over the serving zone, a small lamp near coffee, and candlelight at the room edge can make navy cabinetry feel softer and brass feel richer. Don’t rely on one ceiling fixture.
It flattens the room and leaves food under harsh light.
The best palette also has a clear hierarchy. Pick one dark note, one pale note, and one warm material.
Farrow & Ball Studio Green No. 93, Benjamin Moore White Dove OC-17, and cerused oak can work together because each has a distinct job. You don’t need six accent colors to make a kitchen feel gathered.
What deserves the budget? Spend first on the item guests touch or use: comfortable stools, stable trays, washable napkins, and lighting with a warm glow.
Save on labels, vessels, and secondary decor by checking IKEA, Target, thrift shops, and local resale listings. A polished gathering doesn’t require every piece to come from one collection.
And don’t overlook cleanup. A small waste bowl, a clear sink zone, and a tray for used glasses can keep the room pleasant while the gathering continues.
You’re building a system that supports conversation, not a display that must remain untouched. The most convincing kitchen hosting style feels relaxed because the practical details have already been considered.
The Questions Worth Answering First
What is the best kitchen hosting setup for a small kitchen?
A drinks cart beside the island and a compact coffee corner usually work best because they move service away from the main cooking area. Choose a narrow IKEA cart, keep the counter clear, and preserve at least 42 inches around the island so guests can pass comfortably.
Where can you buy kitchen hosting pieces on a budget?
IKEA, Wayfair, and Target offer affordable carts, trays, glassware, and storage jars. You can also search Facebook Marketplace or local thrift shops for wood trays and serving bowls. The best value often comes from one sturdy piece that serves several gatherings.
How much does a kitchen hosting makeover cost?
A small hosting refresh can cost about $100 to $300 when existing dishes are reused and the focus stays on napkins, labels, lighting, or a tray. Larger kitchen updates range from $300 to $1,500 for cosmetic work, with higher tiers shown in the table above.
Can you create a kitchen hosting setup on a budget?
Yes, and three low-cost moves can make a visible difference: group drinks on one tray, fold napkins beside the plates, and use a bowl of seasonal fruit as the centerpiece. Existing glasses can look fresh when arranged by color and height.
Is kitchen hosting worthwhile in a small space?
Yes, because a small kitchen benefits from clear zones and fewer scattered objects. Use one cart, one serving surface, and stools that slide fully beneath the island. You’ll gain better movement when every item has a defined home.
Is kitchen hosting a good idea for a rental?
Yes. Use a tension rod for napkins or towels, removable hooks for lightweight accessories, and a freestanding cart instead of fixed shelving. Peel-and-stick backsplash panels can add color, but the lease should allow removable materials before installation.
Where to Start First
If choosing one upgrade, start with the drinks cart beside the island. It creates an instant service zone, keeps bottles away from the cooking area, and helps guests move without asking questions. Pin the cart setup for later, then build the coffee and snack stations around that clear anchor.