
Where to put the faucet on a freestanding tub comes down to one rule: keep the handle within reach before you climb in. I learned that after measuring the tub twice and still choosing the wrong wall. The fix was smaller than I expected, but it changed the room’s entire rhythm. Here’s what I kept, moved, and skipped.
Here’s What It Looked Like Before
The bathroom had the full starter-home package: a freestanding tub pushed toward the window, a blank wall behind it, a vanity that felt too close, and a faucet location chosen by the plumber’s shortest route. The tub looked inviting in the afternoon, but the handle sat just far enough away to make you lean across wet porcelain.
I preserved the messiest part, which was the tape on the floor marking three possible faucet positions. Your eye sees a finished tub first, but your body notices reach, clearance, and dripping water. I also studied these wainscoting accent wall ideas behind a freestanding tub before deciding the wall needed to work harder.
The original layout felt awkward, chilly, and strangely unfinished. I knew the room could become calmer without becoming bland. That possibility was exciting!
- Measure the Wet-Hand Reach Before You Choose a Wall
- Anchor the Spout With the Three-Zone Reach
- Float the Filler Beside the Tub, Not Behind It
- Where Should the Spout Land? Use the Wet-Hand Test
- Paint the Wall in Benjamin Moore Chestertown Buff
- Frame the View With the Mirror Gap Method
- Choose Wall-Mount Over Deck-Mount for a Cleaner Reach
- Layer a Warm Light Stack Above the Faucet
- Hang the Shower Curtain on the Quiet Side
- Build a Small Landing Strip for Towels
- Keep the Toilet Clearance on Your Side
- Swap Bright Chrome for Unlacquered Brass
- Paint the Ceiling for the Last Freestanding Tub Idea
1Measure the Wet-Hand Reach Before You Choose a Wall
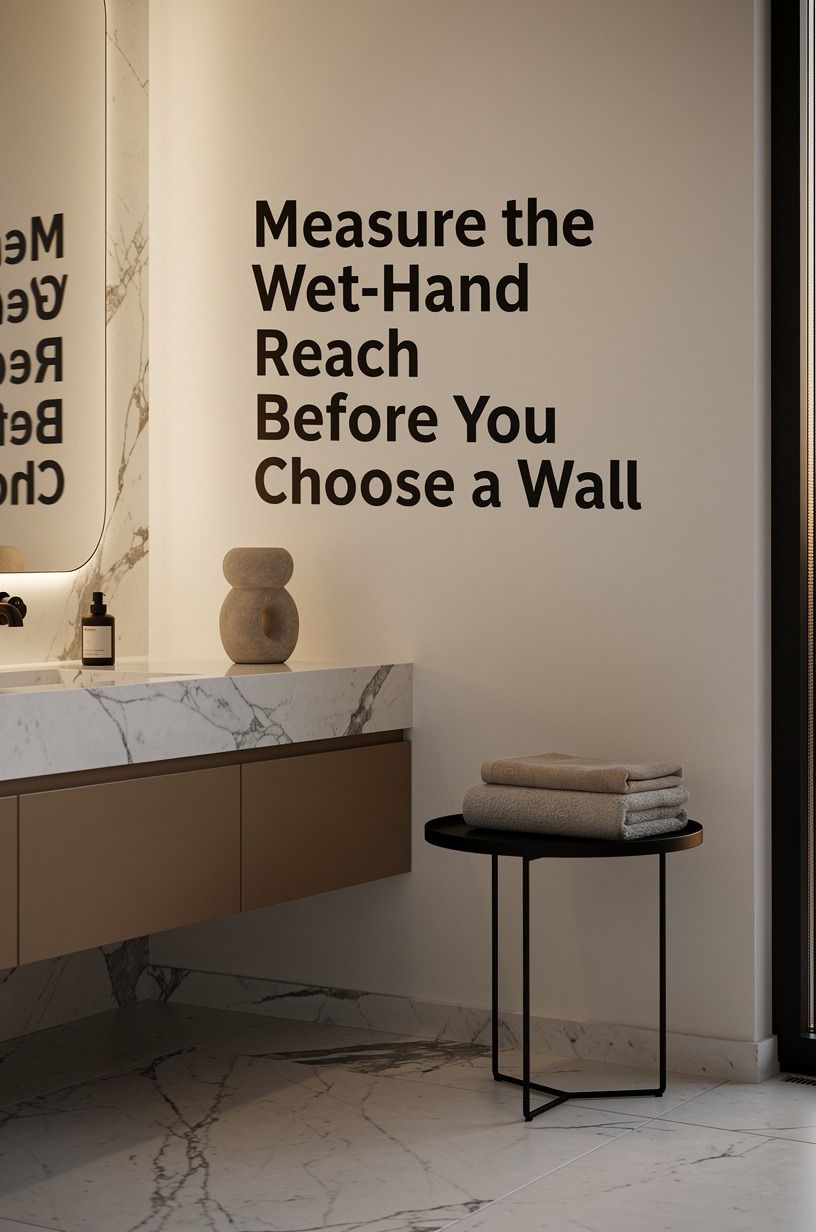
I started with the 60 x 30 inch standard tub footprint and marked its edges with painter’s tape. Then I stood where you would stand after washing your hands and reached toward the rim. The faucet couldn’t sit so far behind the tub that you had to twist your shoulder, and it couldn’t land beside the vanity where your elbow would meet a drawer.
Your easiest test is wonderfully low-tech. Put one hand on the taped tub edge and pretend the other is wet and slippery.
If you can reach the handle without leaning your ribs over the water, the location has promise. I rejected the first wall because my wrist had to bend around the spout.
It looked tidy on paper, but your body doesn’t live on paper.
And yes, the painter’s tape grid looked fussy for one afternoon. It saved me from a very expensive hole in tile. That little test was surprisingly reassuring!
I also checked the tile details behind a freestanding tub before drilling. Tile can make a faucet wall feel polished, but it won’t rescue an inconvenient reach.
2Anchor the Spout With the Three-Zone Reach
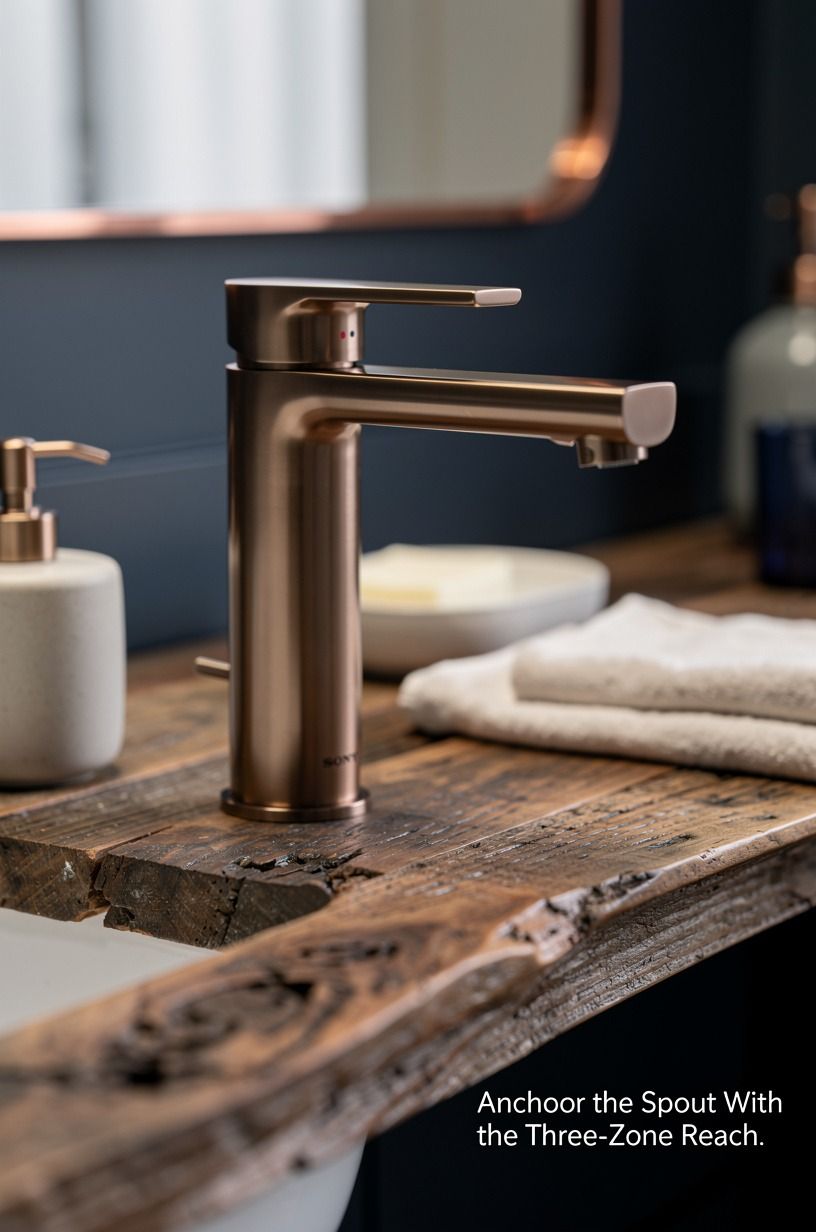
The Three-Zone Reach divides the tub into three practical areas: entry, bathing, and service. I placed the spout at the service edge, the handle just beyond the rim, and the overflow away from the main walking path. That arrangement kept the hardware readable instead of making every metal piece compete for attention.
For your bathroom, mark those zones before you look at finishes. The entry zone needs room for your feet, the bathing zone needs uninterrupted space, and the service zone needs a calm handoff from wall to water. I liked the shape of a copper floor-mount filler, but I skipped it because its base narrowed the entry by more than I wanted.
The moment it worked was oddly quiet. I turned the handle, stepped back, and didn’t have to imagine the room anymore. You could feel the path.
A warm reclaimed weathered teak floor helped the zones read as connected rather than technical. I kept the finish subtle because the room already had enough visual information.
For a related planning idea, I returned to the wainscoting accent wall ideas behind a freestanding tub and noticed how much a lower wall treatment can protect the service side from splashes.
3Float the Filler Beside the Tub, Not Behind It
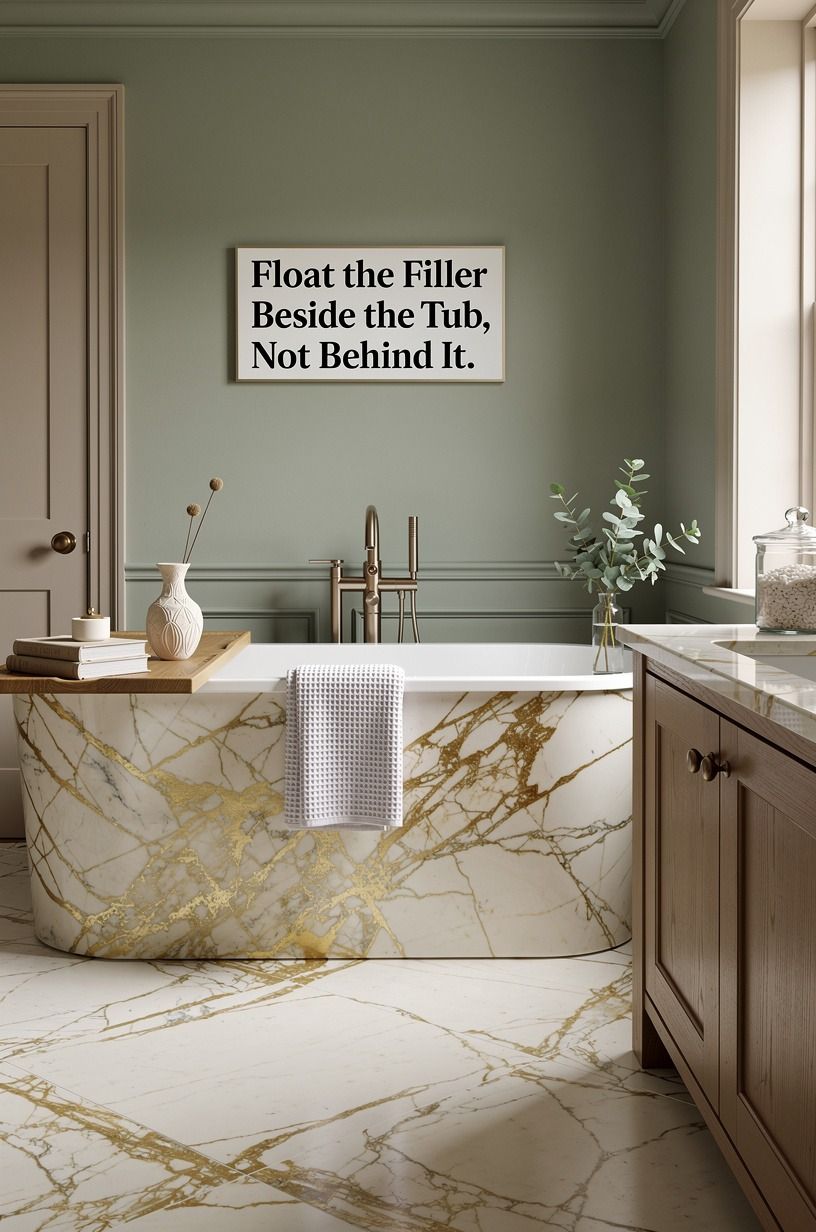
A floor-mounted filler beside the tub gave me the cleanest reach and kept the wall available for art.
4Where Should the Spout Land? Use the Wet-Hand Test
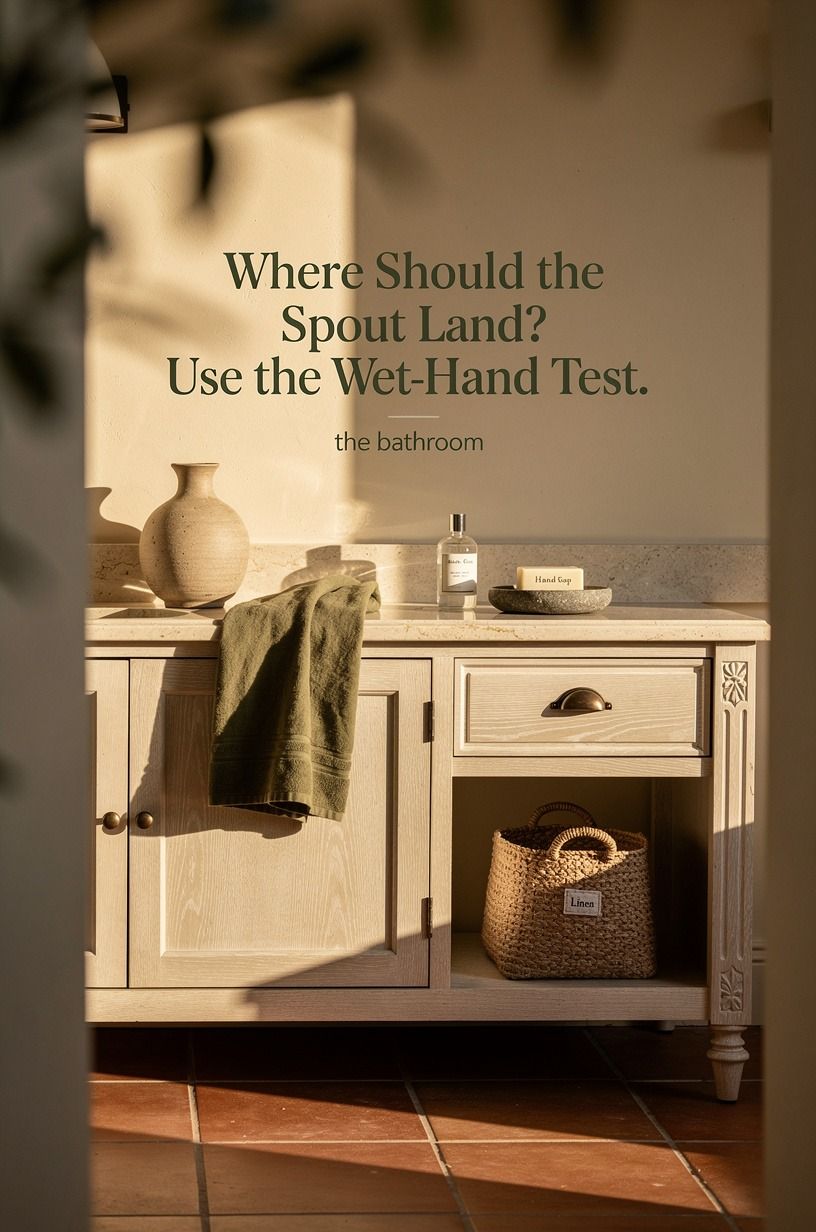
The best spout position is the one you can reach with wet hands while standing outside the tub. That sounds obvious, but I had been judging the room from the doorway. From there, the faucet looked centered.
From the tub, it felt stranded. My final choice placed the spout on the open side, where your hand naturally travels after you sit down.
I also watched the water arc with a temporary hose attachment. The cerused white oak vanity created a soft line against the terracotta wall, but the first angle splashed too close to the rim. You won’t notice that problem from the doorway.
Run water for a minute and listen for the sharp tap of drops hitting porcelain.
Why fight a small test when the plumbing is still accessible? Your future self will be grateful every time the water lands quietly.
The second test felt almost comically practical, but it was decisive. I stood beside the tub, reached with a damp hand, and adjusted the handle until the motion felt natural.
No guesswork. No regret!
I kept the wall visually calm with the same principles from the wainscoting accent wall ideas behind a freestanding tub. The goal was a welcoming backdrop, not another obstacle.
5Paint the Wall in Benjamin Moore Chestertown Buff
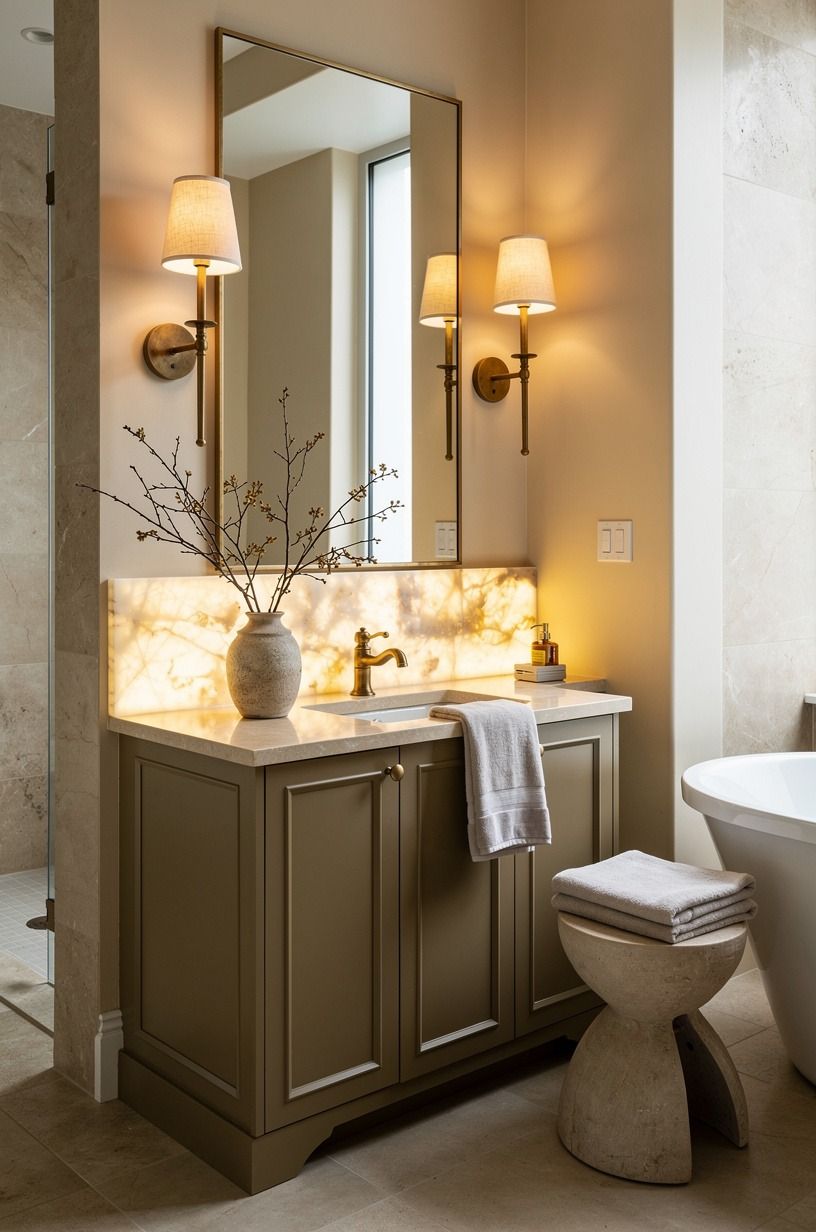
I wanted the tub to feel warm rather than isolated, so I used Benjamin Moore Chestertown Buff HC-9 behind the faucet wall, with a small panel of backlit translucent onyx to add depth.
6Frame the View With the Mirror Gap Method
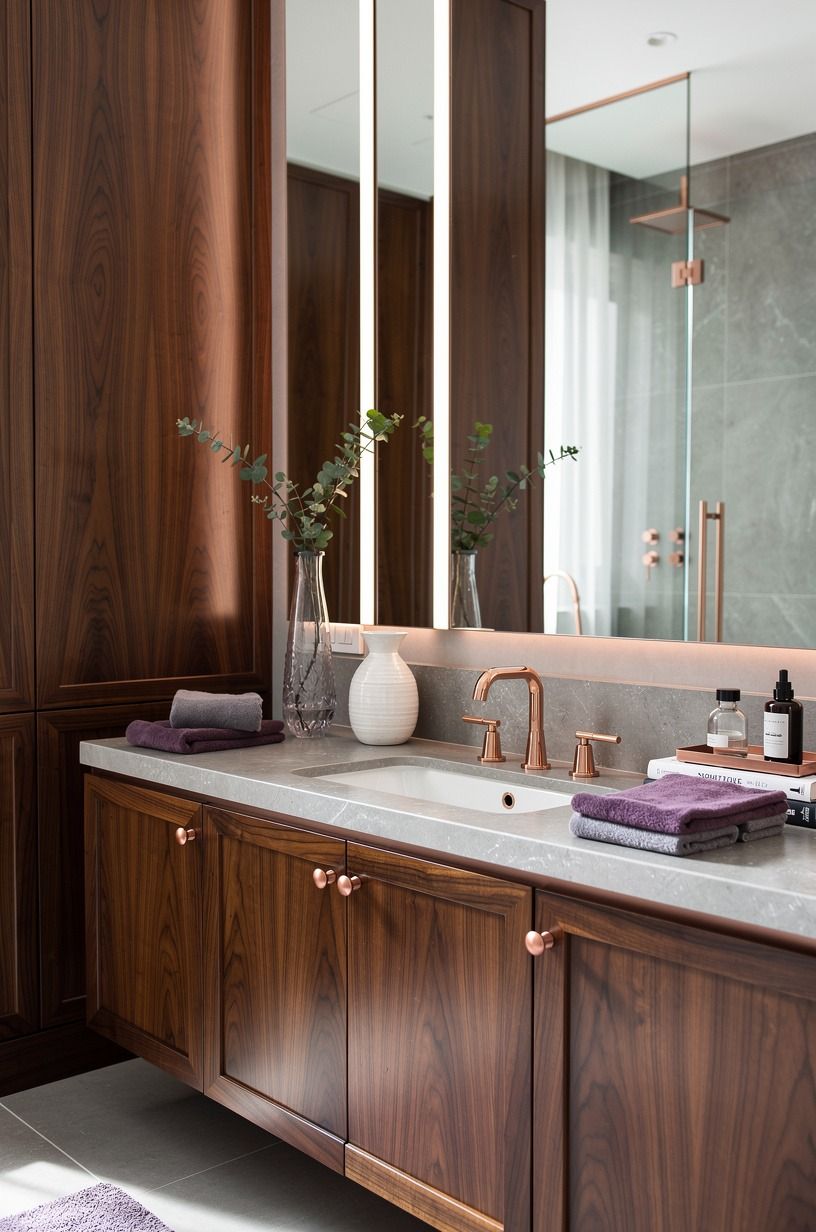
The Mirror Gap Method gave me a simple way to stop the faucet wall from feeling crowded. I left the mirror centered over the vanity and allowed the tub wall to hold its own vertical moment. You don’t need every important object aligned on one central axis, especially when your bathroom has a long, narrow footprint.
I chose a book-matched walnut mirror frame because its rich grain echoed the tub’s soft finish without matching the vanity exactly. The frame added a dry, tactile note beside the reflective faucet. My first instinct was a large round mirror, but it competed with the curved tub and made the room feel overly themed.
If you’re working with a small bathroom, your mirror can still be generous, but its edge needs breathing room. I stepped back six feet and checked whether the faucet, mirror, and tub read as separate layers. They did.
That pause mattered more than another decorative object.
The gap also made the room feel more peaceful. I didn’t expect a few inches of breathing room to have such a dramatic effect.
I compared the arrangement with the wainscoting accent wall ideas behind a freestanding tub, especially the examples with vertical paneling. They confirmed that the wall could have texture without becoming visually loud.
7Choose Wall-Mount Over Deck-Mount for a Cleaner Reach
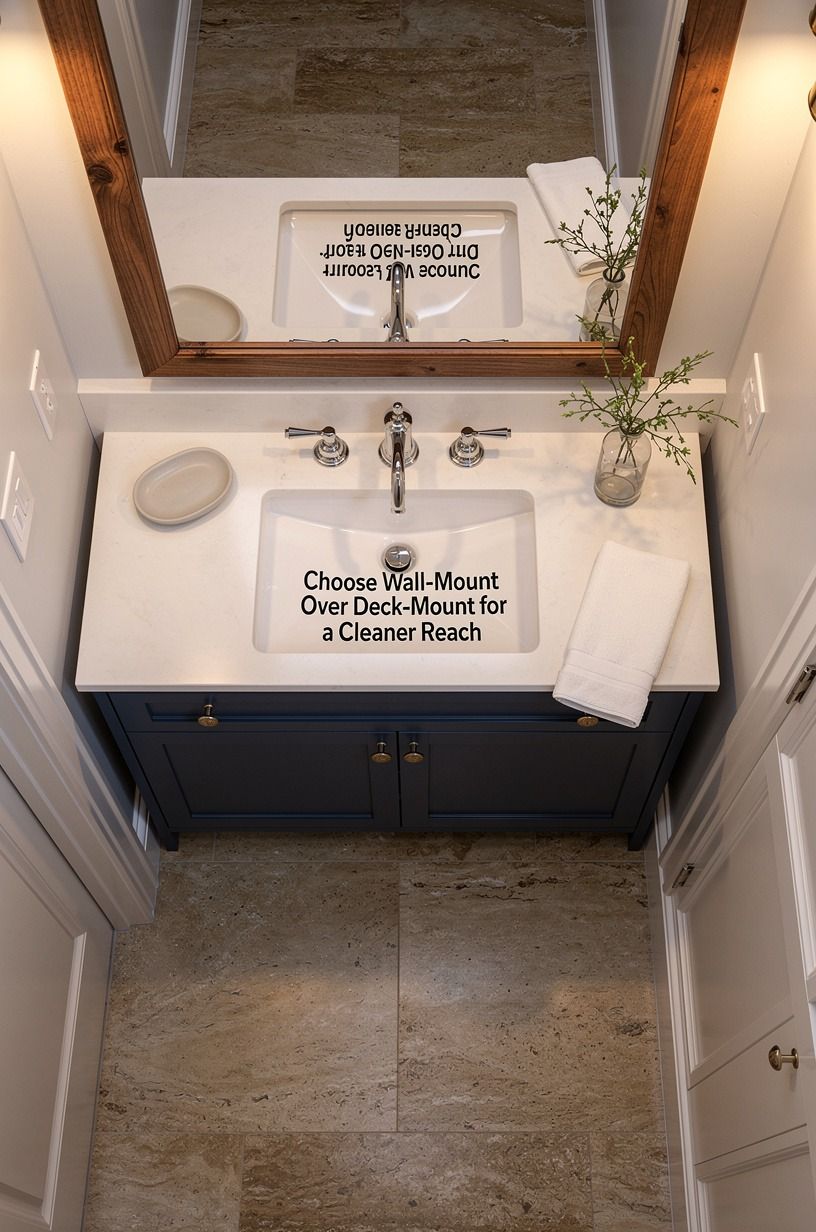
I went back and forth between deck-mount and wall-mount hardware. The wall-mount faucet won because it kept the tub rim clear for a book, a towel, or nothing at all. Your eye gets a clean horizontal line, and your hand gets a shorter trip to the controls.
Wall-mount plumbing isn’t automatically easier, so you need to confirm the rough-in depth before ordering. I held the cardboard template against the finished wall and checked that the spout cleared the tub’s inner edge. A deck-mounted option would have cost less disruption in my room, but it would have made the white rim feel busy.
But if you own a rental, don’t plan around hidden plumbing. Choose a removable floor filler or keep the current fixture and change the surrounding layers. You can still make the space feel intentional with warm travertine shelving, a washable runner, and a better light.
That choice gave the bathroom a refined, uncluttered feeling. It wasn’t flashy, but it was wonderfully satisfying to use.
I also checked the tile details behind a freestanding tub to see whether a wall-mounted fixture needed a stronger backdrop. It didn’t. The cleaner layout carried enough character on its own.
8Layer a Warm Light Stack Above the Faucet
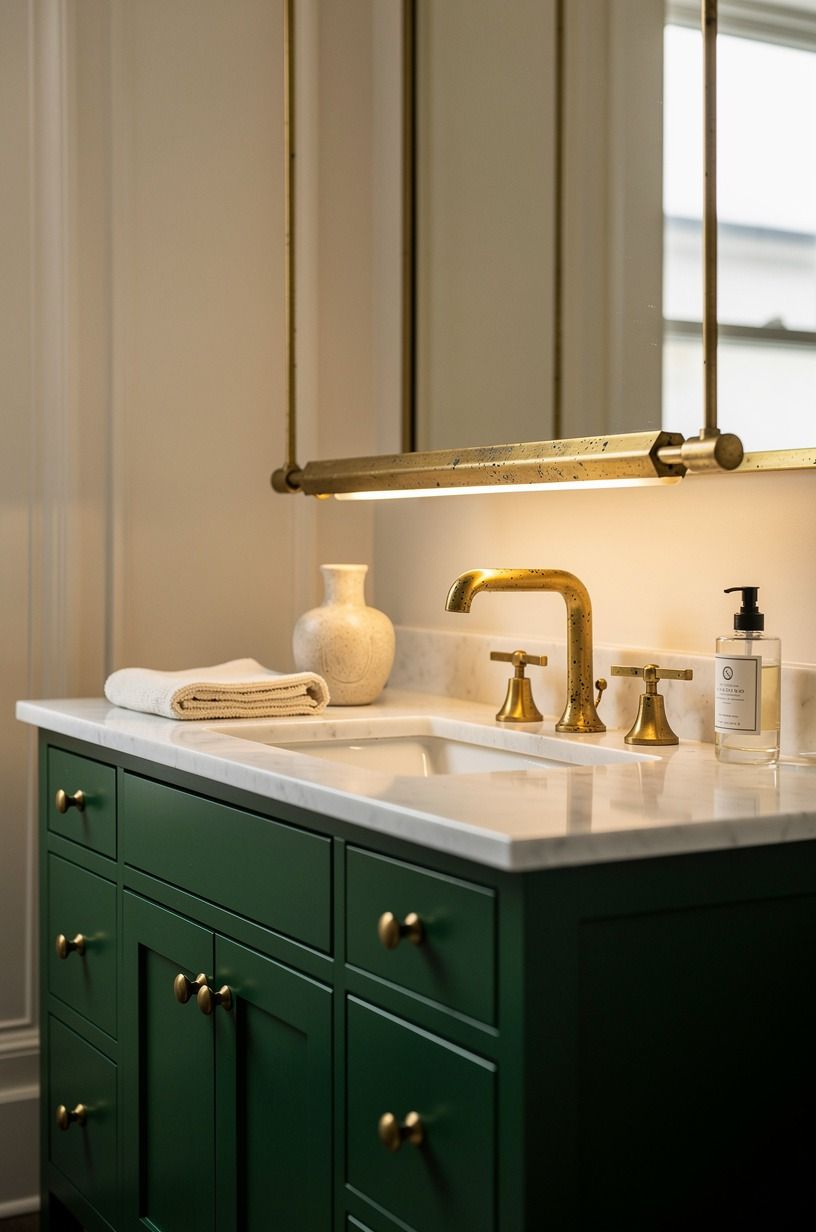
The Three-Height Light Stack became my favorite part of the makeover. I used a ceiling fixture for general light, a wall sconce near the vanity for face-level light, and a small lamp on the closed toilet tank for a low glow. Your faucet placement looked calmer once the room stopped relying on one bright overhead source.
I chose opal glass sconces with unlacquered brass and warm bulbs, then angled them so the metal reflected softly across the tub instead of flashing into your eyes. The first bulbs felt clinical, and I changed them before moving anything else. This is where I learned that a good layout can still feel wrong if the light is harsh.
And you don’t need three expensive fixtures. Start with the light you already own, then add one low source that makes the room usable at night. The glow should stop near the rug’s edge, not turn the entire bathroom into a showroom.
The finished effect was luminous, intimate, and unexpectedly romantic. I hadn’t planned on loving the lighting most, but there it was!
For wall color and trim balance, I revisited the wainscoting accent wall ideas behind a freestanding tub. Soft paneling would work beautifully here, but it wasn’t necessary for the room to feel complete.
9Hang the Shower Curtain on the Quiet Side
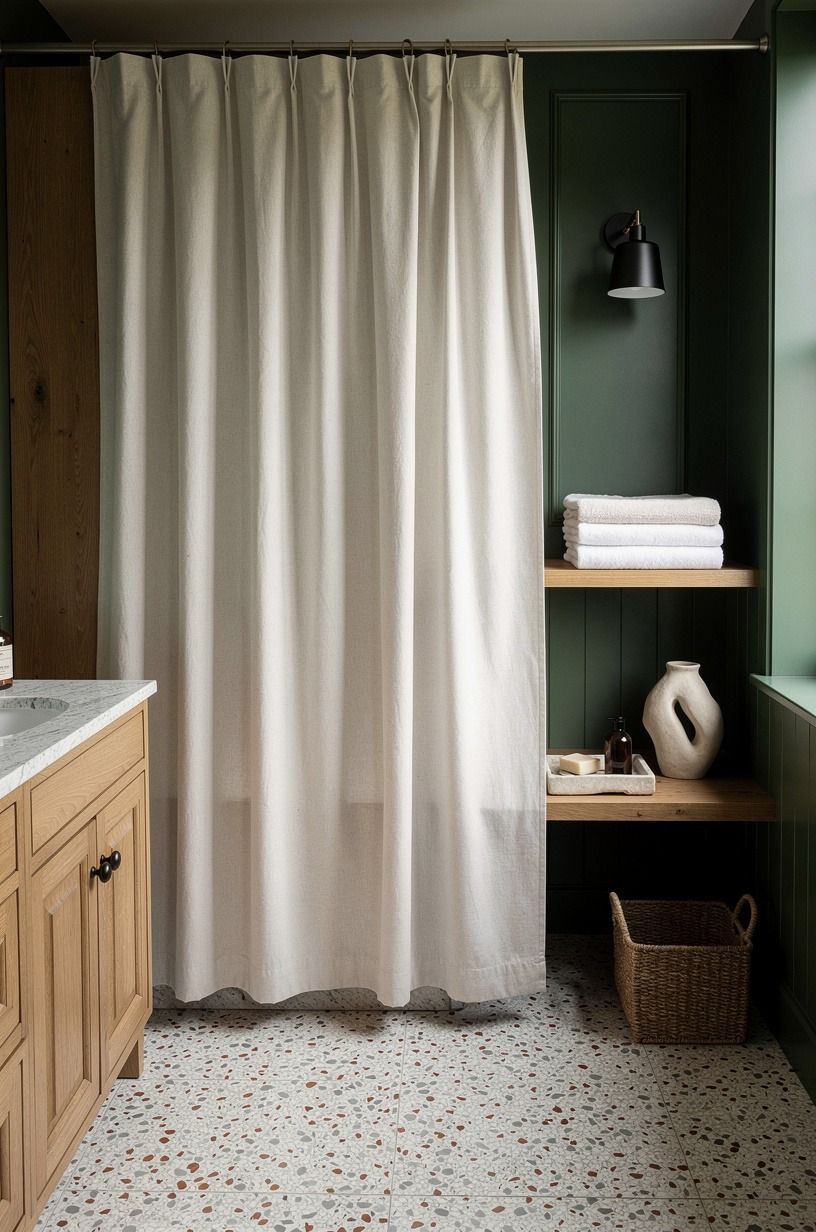
My tub didn’t need a shower curtain for daily use, but the room did need a flexible option for guests. The oversized-chip terrazzo floor gave the setup a grounded, easy-clean base.
10Build a Small Landing Strip for Towels
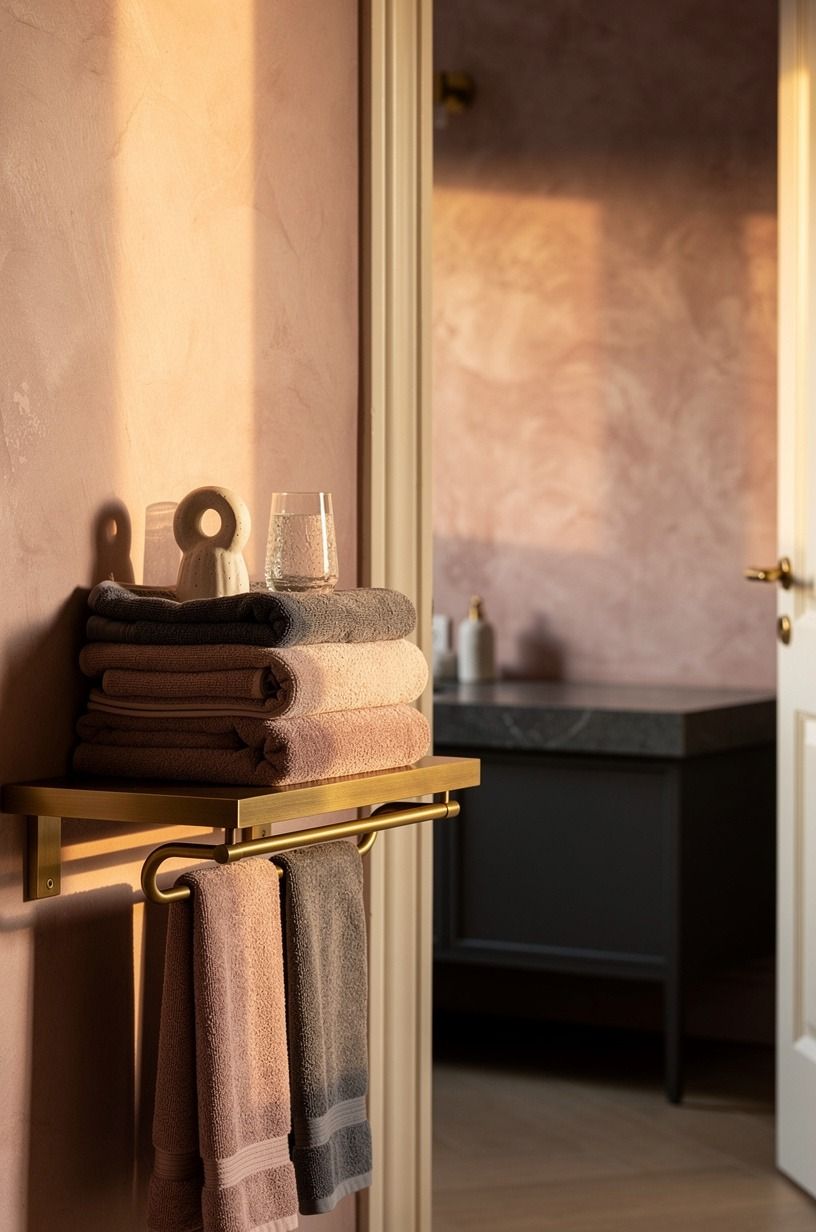
Once the faucet was placed, I noticed the wall beside the tub had no landing space. I added a narrow charcoal stool for a folded towel, a glass of water, and the book I keep pretending I’ll read. Your landing surface doesn’t need to be large, but it needs to be stable and close enough that you won’t drip across the floor.
The stool is 18 inches wide in my setup, which left a comfortable path around the tub. I tested a little round table first, but its legs looked delicate and shifted whenever I touched the towel. You want something with visual weight, not a precious accent that makes you nervous.
For a lower-cost version, reuse a wooden bench and seal it properly. I paired mine with a 600 gsm Turkish cotton towel, because thin towels look sad beside a freestanding tub. Hand-applied Venetian plaster on the wall gave the small landing strip a soft, tactile backdrop.
The landing strip made the whole routine feel easier and more luxurious. Small convenience can be surprisingly powerful.
I measured it against the wainscoting accent wall ideas behind a freestanding tub before fixing anything in place. The stool needed enough contrast to read clearly, but not enough to dominate the wall.
11Keep the Toilet Clearance on Your Side
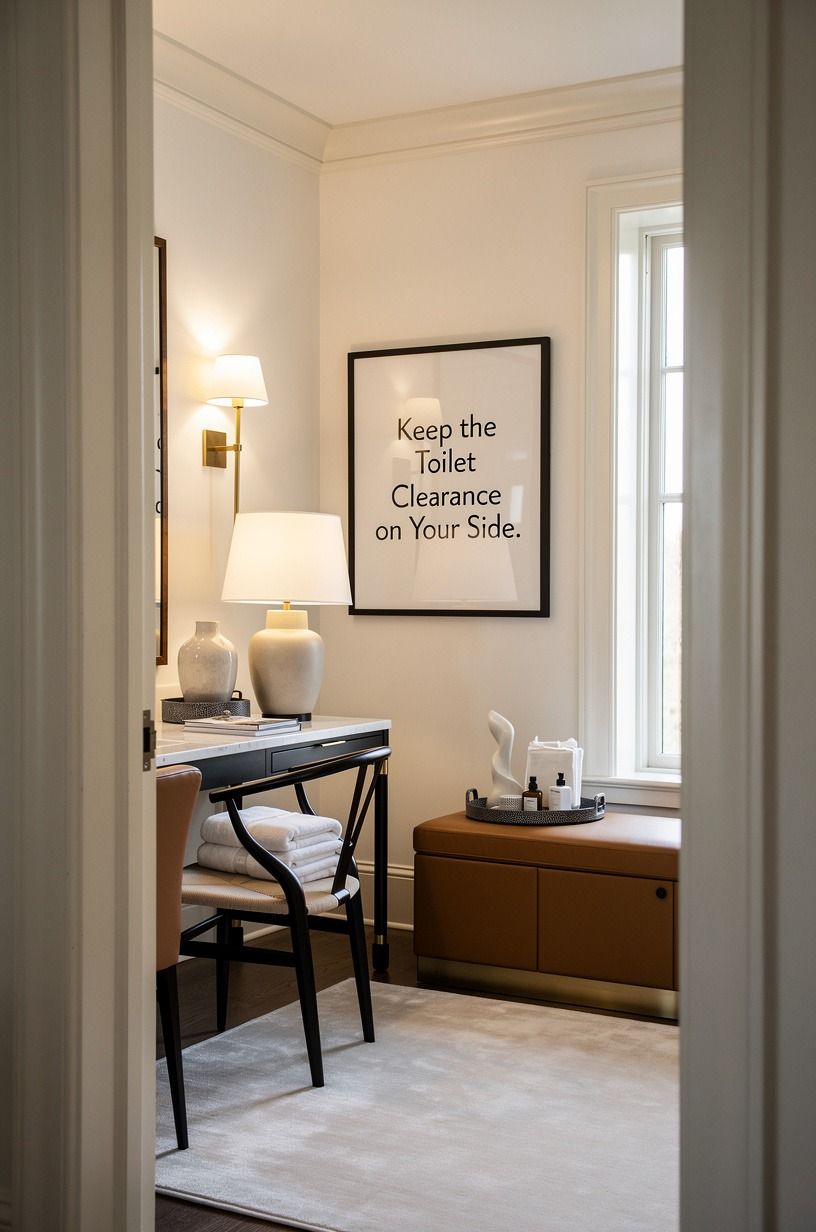
The faucet looked right until I checked the toilet relationship. Your toilet needs at least 21 inches of clearance in front, and the tub shouldn’t make that path feel like a puzzle. I shifted the stool and moved the filler slightly so the bathroom kept a clear route from the door to the vanity.
I used a warm white threshold to mark the wet zone without adding another wall, then kept shagreen accents on the nearby black storage. The tactile surface picked up the warm paint, but I kept it away from standing water. You don’t forget that mistake.
If your toilet sits close to the tub, choose wall-mounted storage instead of a basket on the floor. Your room will feel calmer, and you won’t have to move three things to clean one corner. The plumbing plan has to serve the walking path, not just the finished room.
The improved clearance felt like a quiet relief. I could carry laundry through the room without turning sideways, which was a surprisingly important victory.
For another perspective, I checked the tile details behind a freestanding tub. The best material choice still has to respect the route your feet take every day.
12Swap Bright Chrome for Unlacquered Brass
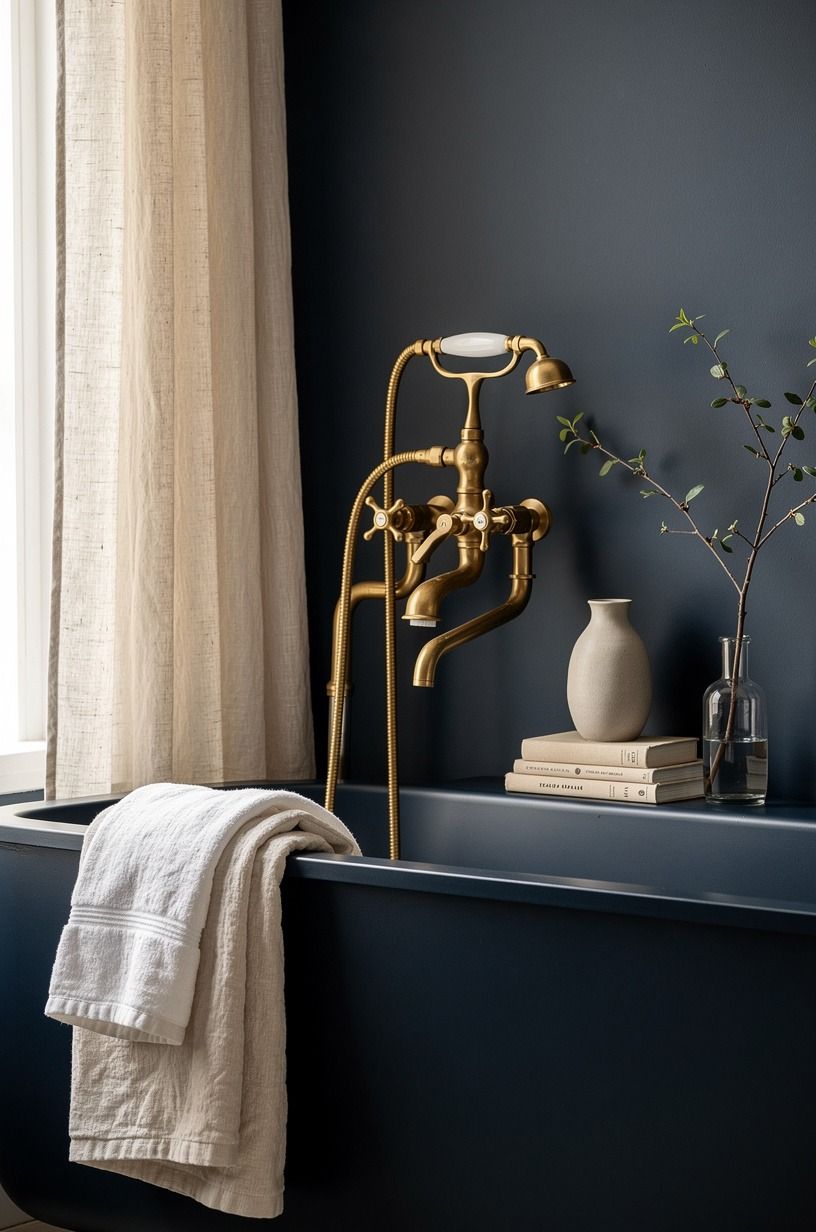
Chrome was the practical choice in the original plan, but I swapped it for unlacquered brass against midnight blue and washed Belgian linen because the room needed more warmth.
13Paint the Ceiling for the Last Freestanding Tub Idea
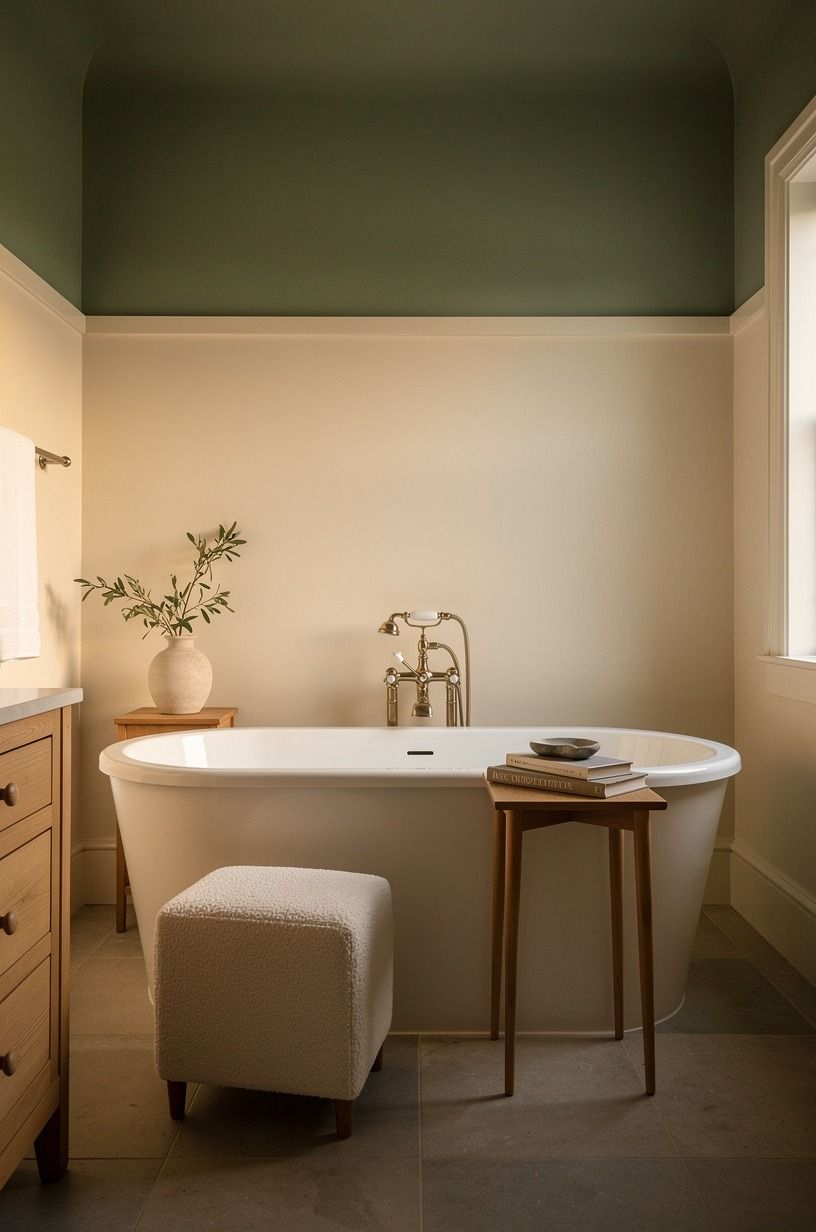
I saved the ceiling for last and used Sherwin-Williams Sea Salt SW 6204 in a lighter finish than the wall. The faint green-gray tone caught the daylight above the tub and made the whole bathroom feel more airy. Your ceiling doesn’t have to be white, especially when the walls already carry warmth.
I painted a test square first and watched it beside a natural wood stool with an organic bouclé cushion. In the evening, the color turned gentle and muted, which helped the tub feel connected to the rest of the room. I wouldn’t use a deep color overhead in this particular bathroom because the low ceiling already needed visual lift.
The trigger moment came when I turned on only the sconce and saw the ceiling softly hold the light. That was the first time the room felt finished. For another surface option, I kept these tile details behind a freestanding tub open while comparing paint with tile.
The final ceiling color was subtle, but it made the room feel brighter and more complete. A small change can have an almost magical effect when the proportions are right.
How Much It Cost: My $387 Cosmetic Layer
I kept the makeover focused on placement, paint, lighting, and textiles. Reusing the tub and vanity kept my own tally at $387, including the paint, a replacement towel set, the stool, and small hardware. Your total will change if the faucet needs new plumbing, so treat my number as a cosmetic example rather than a promise.
For a broader US planning reference, these are the typical ranges I used before making decisions:
The material prices helped me decide where to spend. Zellige tile can run $15-$35 per square foot, while subway tile is typically $2-$10 per square foot.
A marble top may land around $50-$100 per square foot, and a brushed brass faucet may cost $120-$450. I spent on the fixture I touched every day and kept the surrounding changes modest.
I also used the wainscoting accent wall ideas behind a freestanding tub as a budget reminder. A painted wall can create a rich, tailored feeling without the cost of full-height tile.
The best savings came from reusing what was already useful. I didn’t chase every expensive finish, and the result still felt polished, warm, and special.
Why I Stopped Treating the Faucet Like a Decoration
The faucet is a small object with an unusually large job. It tells your body where to stand, where to reach, and how to move around the tub.
I used to choose bathroom hardware from the doorway, judging the silhouette first. Now I begin with the wet-hand test, the walking path, and the place where a towel will land.
That shift changed how I see freestanding tub ideas. The most successful room isn’t the one with the rarest finish.
It’s the one where your shoulder doesn’t twist, your towel isn’t stranded, and the water doesn’t slap against the porcelain at midnight. I chose warm brass because it supported that experience, not because the finish was fashionable.
I also learned that restraint can feel more luxurious than adding another feature. My first plan included a shelf, a plant, two baskets, and a decorative stool.
I removed half of it. Your bathroom needs space for movement, especially around a tub that already occupies a strong visual footprint.
The honest part is that I still measured the faucet wall three times. I still worried that the paint would look too yellow.
But once the hardware landed beside the tub and the light softened, the room stopped asking for improvements. It felt intimate, practical, and warm.
That was enough.
The tile details behind a freestanding tub helped me see why restraint worked. The surface mattered, but the movement through the room mattered more.
I didn’t expect such a modest adjustment to feel so transformative. Now the faucet seems less like a decorative object and more like the room’s quiet compass.
The Questions I Get Asked Most
What is the best freestanding tub bathroom idea for a small bathroom?
A wall-mounted faucet beside the tub is usually the best choice for a small bathroom because it preserves the rim and shortens your reach. A slim IKEA KALLAX birch-effect unit can hold towels without stealing the walking path. Keep the faucet away from the toilet clearance zone.
Where can I buy freestanding tub pieces on a budget?
Look at IKEA, Wayfair, and Target first, then check Facebook Marketplace or a local thrift shop for stools and mirrors. Your best savings usually come from reused furniture, while matte black hardware can give an older piece a cleaner look without replacing the plumbing.
How much does a freestanding tub makeover cost?
A cosmetic makeover can cost about $100 to $300 if your tub and plumbing stay in place. Paint, reused furniture, towels, and a better bulb can be free or inexpensive. A new faucet changes the budget quickly, with typical brushed brass faucets ranging from $120 to $450.
Can I create a freestanding tub bathroom on a budget?
Yes, and you can start with three low-cost moves: mark the best faucet position with tape, repaint the wall, and replace harsh bulbs with warmer light. Your existing stool can become a towel landing spot, and 600 gsm Turkish cotton makes the room feel richer without a full renovation.
Is a freestanding tub worth it in a small space?
Yes, if you protect the walking path and keep the fixture visually light. A small bathroom can make the tub feel more intentional because every reach is easy to evaluate. Keep at least 21 inches in front of the toilet and skip storage that sits directly beside your feet.
Is a freestanding tub a good idea for a rental?
Yes, when you leave the plumbing alone and use removable layers. Try peel-and-stick wall panels, a tension rod, a removable mirror, and washable cotton textiles. You can shift the faucet wall’s mood without drilling into tile or creating a repair problem for your landlord.
If you’re comparing surface options, the tile details behind a freestanding tub can help you decide whether the investment is worth it for your room.
Where I’d Start First
If I had to pick one, I’d start with the wet-hand reach. A faucet can look centered and still be miserable to use when your wrist has to twist around the tub.
Mark the floor, test it with a towel, and let your body choose. You’ll feel the difference immediately!
The wainscoting accent wall ideas behind a freestanding tub are useful once the reach is right, but the order matters. Start with your body, then build the beautiful layers around it.