
DIY gender reveal decorations can look warm and intentional without costing more than a few well-chosen supplies. I once bought too many matching party pieces, then watched half of them collapse before guests arrived. You’ll get better results by layering paper, fabric, light, and one strong color idea. Start small. Spend where people look.
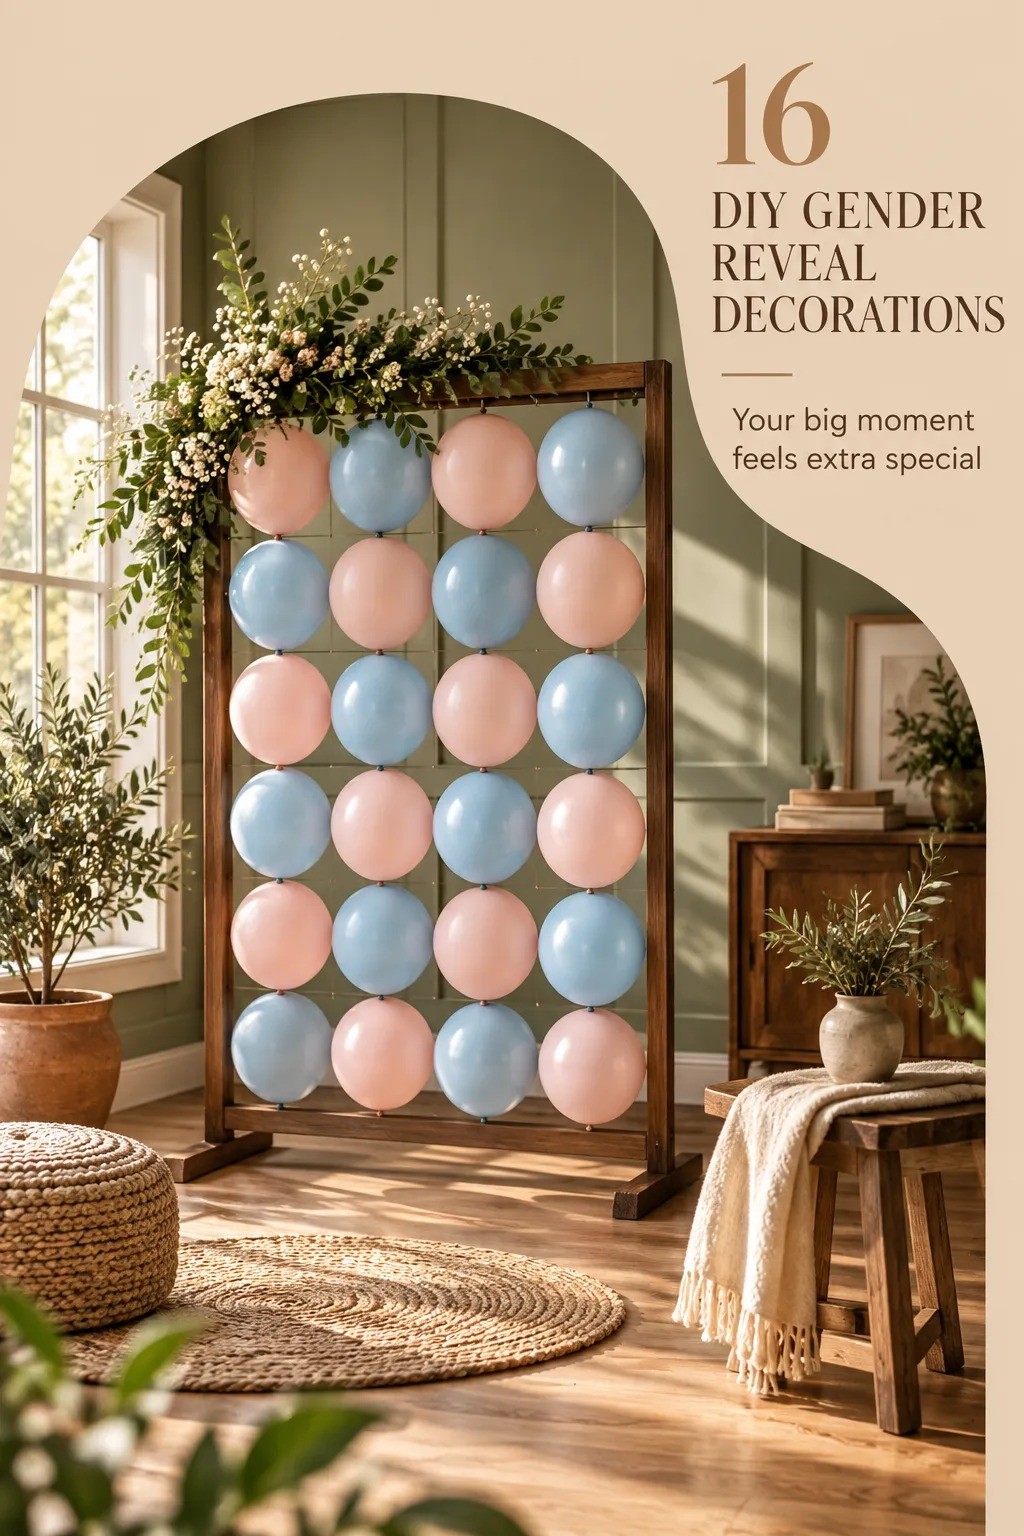
- Build the Two-Color Balloon Grid
- What Makes a Paper Fan Backdrop Feel Intentional?
- Hang the Three-Height Light Stack
- Frame the Cake With Paper Crescents
- Farrow & Ball Pigeon on a Reusable Reveal Sign
- Mix Fabric Ribbons Over Plastic Streamers
- Arrange the Confetti Window
- Make the Budget Table Work Harder
- Build the Two-Color Balloon Grid
- What Makes a Paper Fan Backdrop Feel Intentional?
- Hang the Three-Height Light Stack
- Frame the Cake With Paper Crescents
- Farrow & Ball Pigeon on a Reusable Reveal Sign
- Mix Fabric Ribbons Over Plastic Streamers
- Arrange the Confetti Window
- Make the Budget Table Work Harder
- Float a Balloon-Free Tassel Garland
- Paint a Two-Tone Dessert Cart
- Soft Edges, Hard Budget
- Build a Guessing Wall With Envelopes
- Frame the Food With Seasonal Branches
- Can a Curtain Frame Replace an Arch?
- Create a Tiny Favor Shelf
- Mix the Three-Texture Gift Table
1Build the Two-Color Balloon Grid
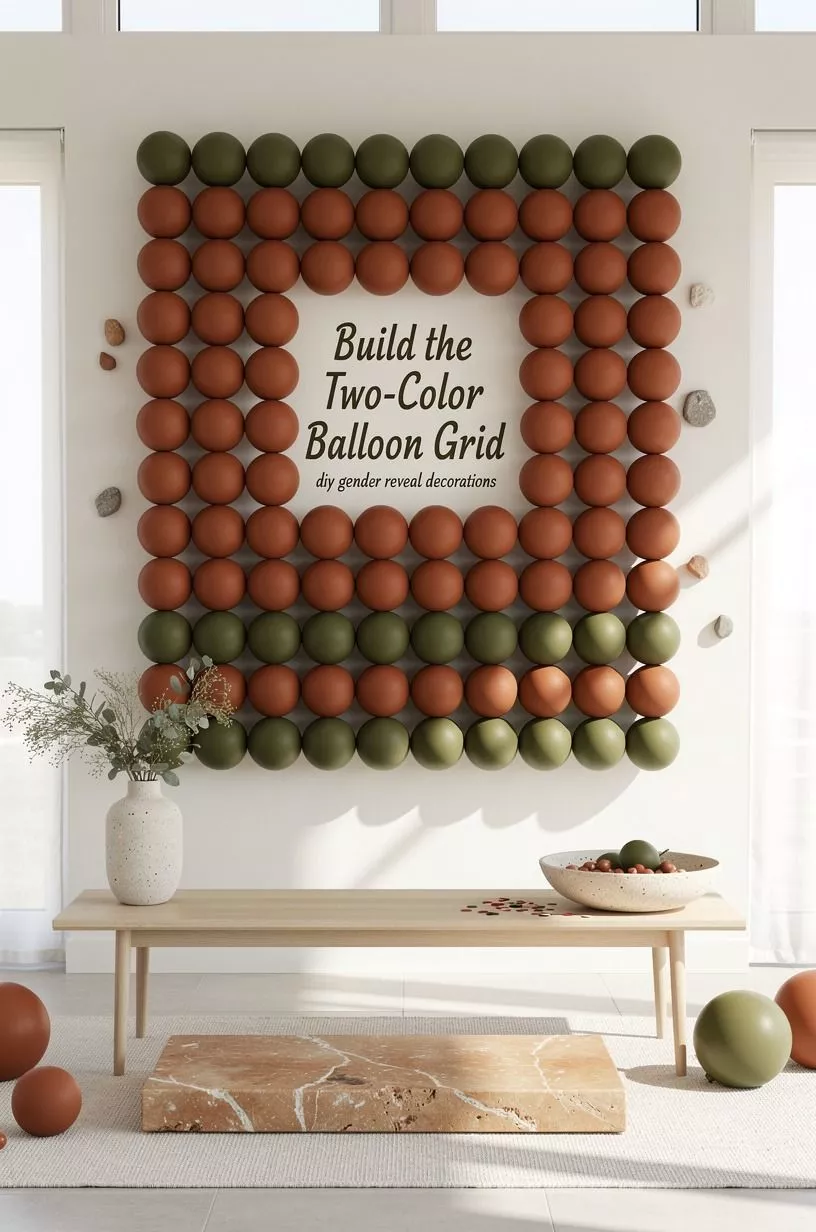
A balloon wall gives you the biggest visual payoff, but you don’t need a professional arch kit. Choose terracotta and olive, then add stone-colored balloons so the display feels earthy instead of loud. Your eye will read the repeated colors as a planned balloon grid.
Tie balloon clusters to a length of cotton cord and anchor the ends to removable hooks. You’ll want the lowest cluster close to the dessert table, not floating above everyone’s heads. I’d skip metallic silver here because it fights the warm palette.
A few matte balloons beside a travertine cake stand feel more inviting and grounded.
Free move: use jars, books, or wrapped boxes as height blocks. Budget move: combine standard balloons with a few oversized ones.
Worth the splurge: a hand pump, because your lungs shouldn’t be the party entertainment! If you’re borrowing a backdrop stand, pair this idea with DIY dinosaur party decorations you can make at home.
2What Makes a Paper Fan Backdrop Feel Intentional?
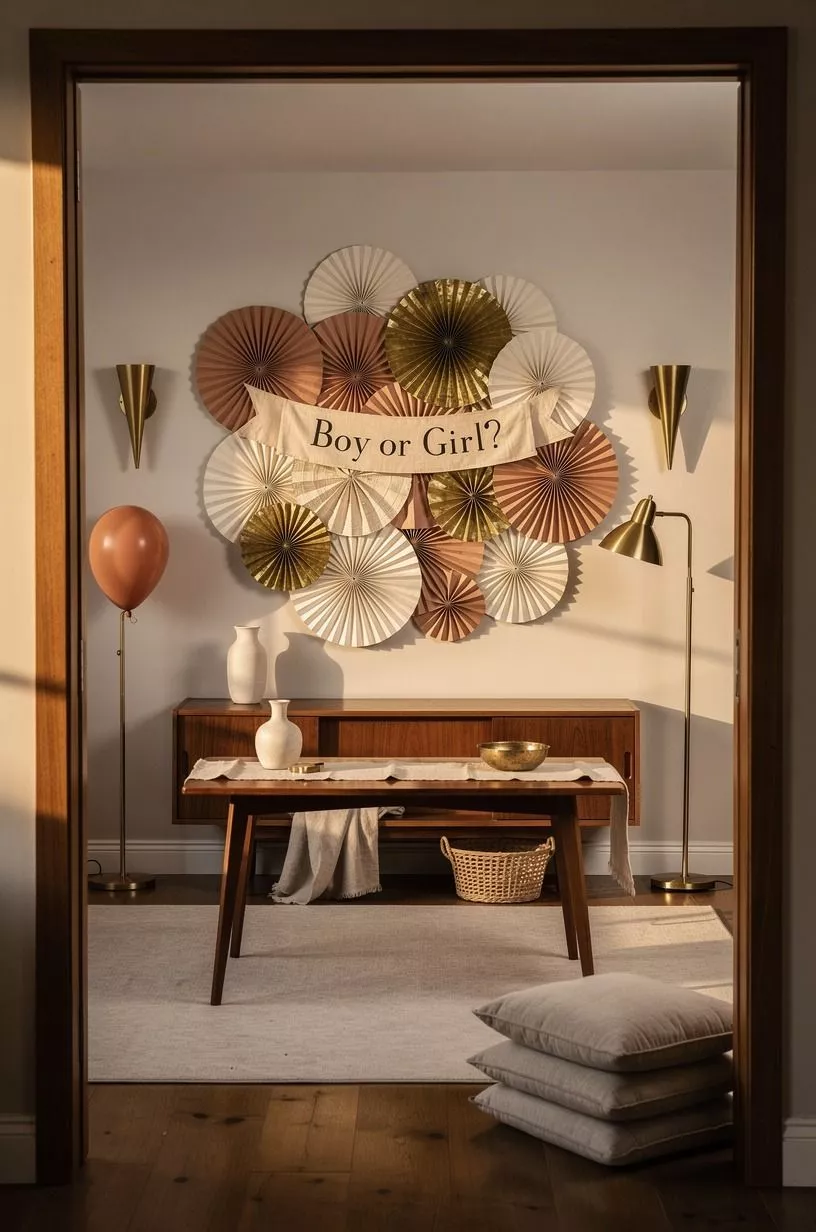
Paper fans are gentle, airy, and forgiving when your wall isn’t large enough for a full balloon installation.
3Hang the Three-Height Light Stack
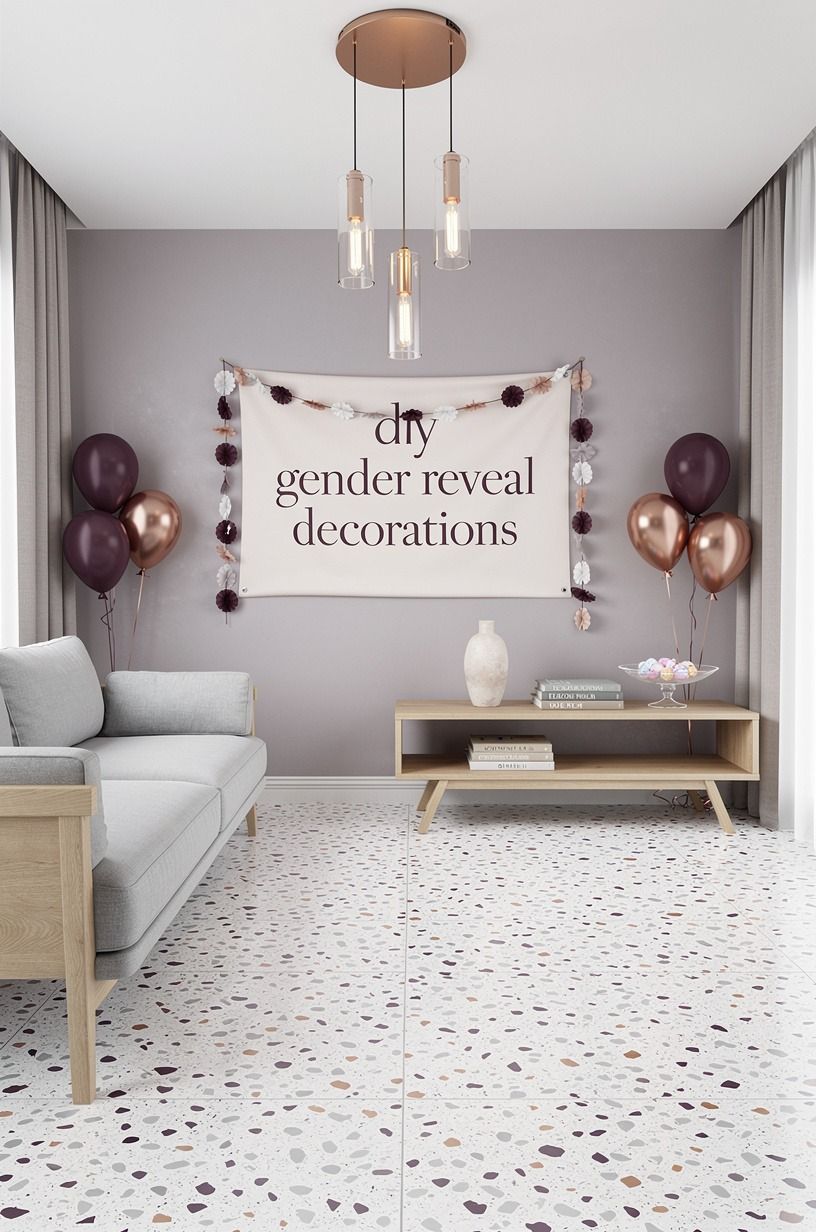
Your party lighting should come from three levels: ceiling, table, and floor. That three-height arrangement keeps the room from feeling flat, especially after sunset.
Use warm bulbs and small lamps instead of relying on one bright overhead fixture. I’ve learned that guests stay longer when the room feels like a gathering place rather than a school gym.
Place a table lamp behind the cake, a strand of lights along the backdrop, and a small lantern near the floor. Amber LED bulbs soften grey walls and plum accents without making the food look orange.
You’ll want every cord taped down securely, and you shouldn’t put fabric directly against a hot bulb. Battery lights are easier for a rental, but wired lamps feel steadier.
Free move: turn off the harsh ceiling fixture and use lamps you already own. Budget move: add one warm string light. If you’re hosting outdoors, use covered fixtures and keep the light low.
For a relaxed food plan that won’t keep you in the kitchen, see these easy brunch menu ideas you can make the night before.
4Frame the Cake With Paper Crescents
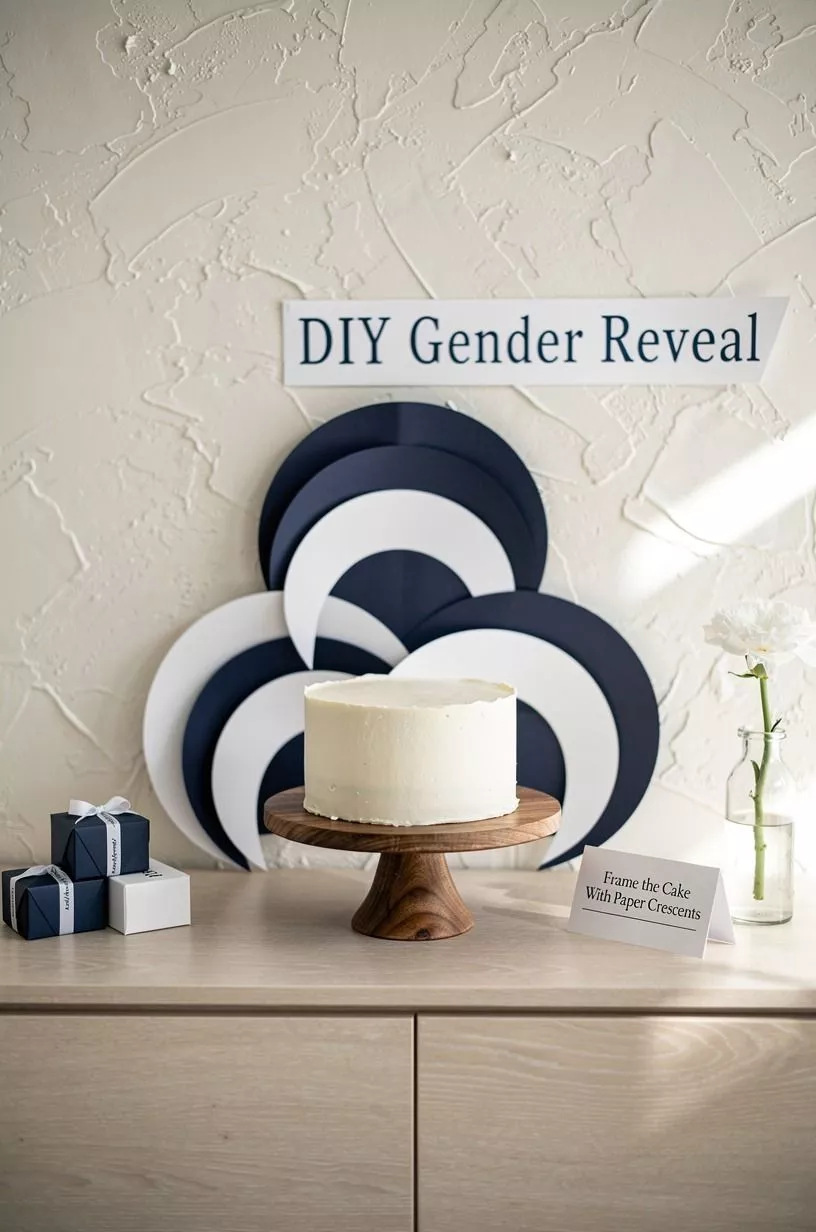
A cake table needs a surround, or the dessert can disappear into the room. Cut circles from cardstock, fold them in half, and attach them in overlapping rows around a central sign. The result is a paper-crescent surround with texture that catches the light beautifully.
Use navy and white cardstock with walnut-colored wood details rather than buying a printed backdrop. You can write “Team Pink” and “Team Blue” on separate cards, though I’d keep the wording simple if you want the design to age well. A small panel of hand-applied Venetian plaster behind the cake adds depth without requiring much decoration.
Free move: cut circles from old folders or clean cereal boxes. Budget move: use heavyweight paper for the front row and lighter paper behind it.
Your cake stand should stay visible, so leave at least a small open border around the dessert. These easy book-club snack ideas you can make ahead can also help you keep the serving area simple and welcoming.
5Farrow & Ball Pigeon on a Reusable Reveal Sign
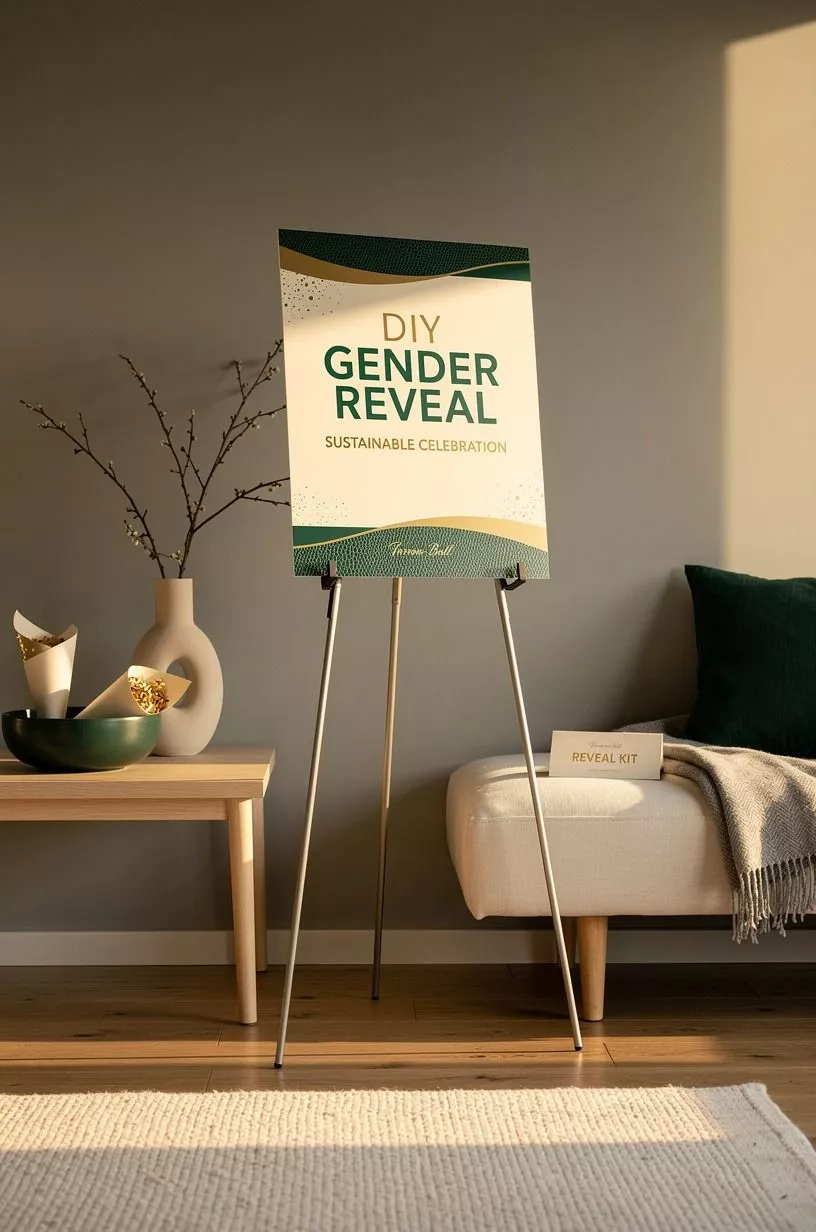
A painted sign gives your gender reveal decorations a handmade center without turning the room into a theme park.
6Mix Fabric Ribbons Over Plastic Streamers
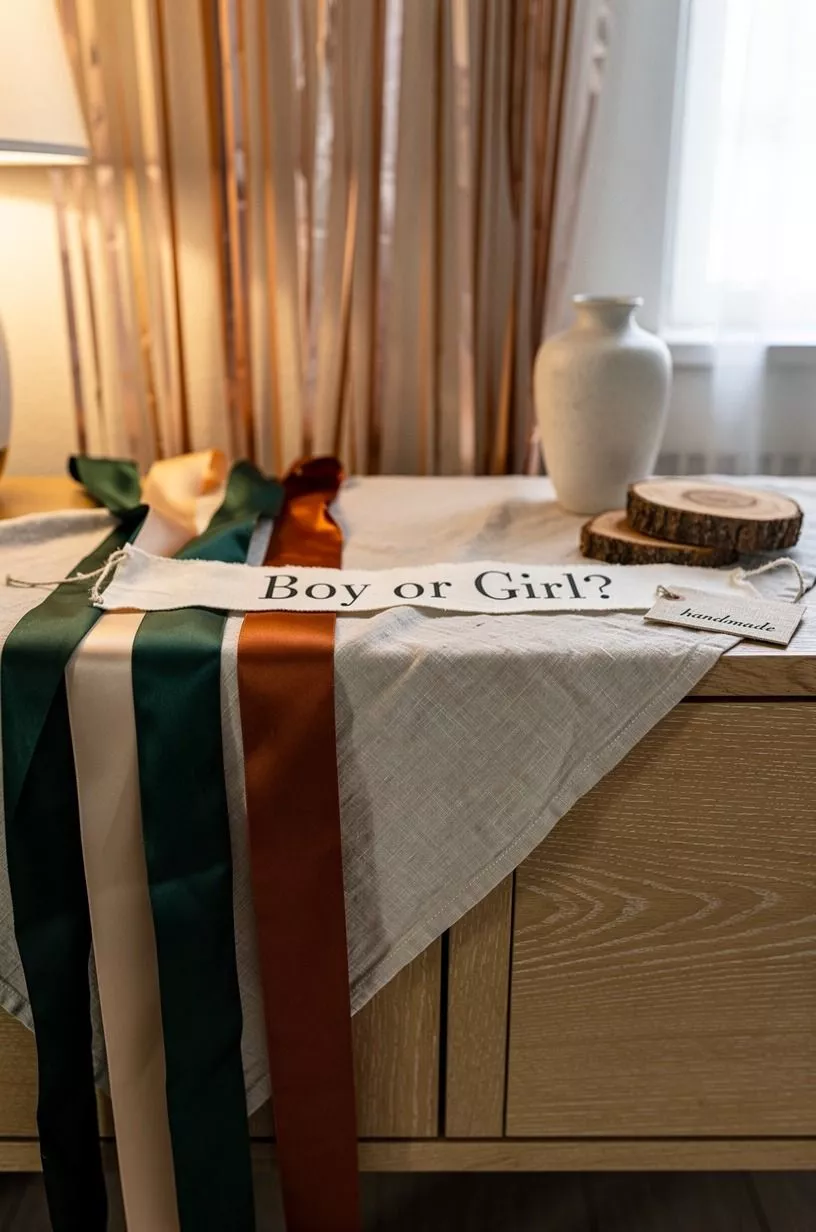
Plastic streamers can look shiny and thin, while fabric ribbons catch movement and make a room feel softer. Tie strips of washed Belgian linen to a dowel, branch, or curtain rod, then mix in cotton tape and a narrow velvet ribbon. Your backdrop will move slightly when people walk past, giving the display a lively quality.
I’d skip a perfectly matched ribbon bundle. Three textures are enough, and uneven lengths feel more natural than a straight curtain. Use forest green, rust, and natural oak tones if you want a palette that feels collected rather than themed.
And if you’re short on time, cut the strips the night before and store them flat.
Free move: repurpose fabric from old pillow covers. Budget move: buy remnants from a fabric store.
Worth the splurge: a few yards of rust-colored velvet, which adds depth beside washed linen. You’ll need less fabric than you think if the ribbons frame rather than cover the entire wall. For another colorful display using simple materials, see DIY dinosaur party decorations you can make at home.
7Arrange the Confetti Window
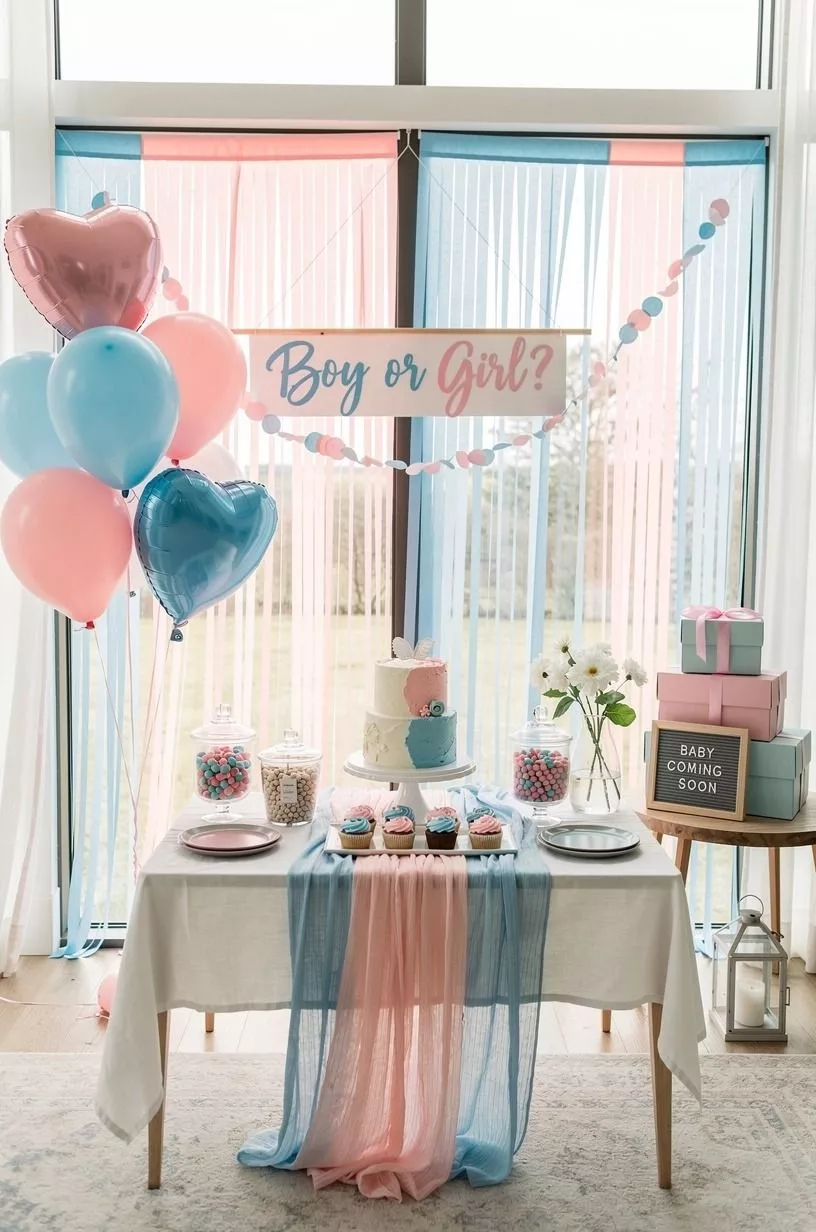
A clear window or glass door can become a soft reveal surface with removable paper shapes. Cut stars, circles, and tiny clouds from tissue paper, then attach them in a loose vertical arrangement. Your guests will notice the color without losing the daylight that makes the room feel bright and welcoming.
Use dusty rose and charcoal shapes with a few brass-colored details. I prefer organic bouclé on a nearby chair or stool to soften the harder glass and paper surfaces. Don’t cover the whole pane, especially if children are moving through the room.
A partial arrangement looks more considered and takes less time.
Free move: cut shapes from leftover tissue paper. Budget move: combine vellum with matte cardstock.
You can remove the pieces with a damp cloth after the event, but test the adhesive first. If you’re decorating a narrow apartment, this idea uses vertical space without taking floor space.
For a festive food table nearby, browse huitres gratinees, the ten-minute French coastal dish.
8Make the Budget Table Work Harder
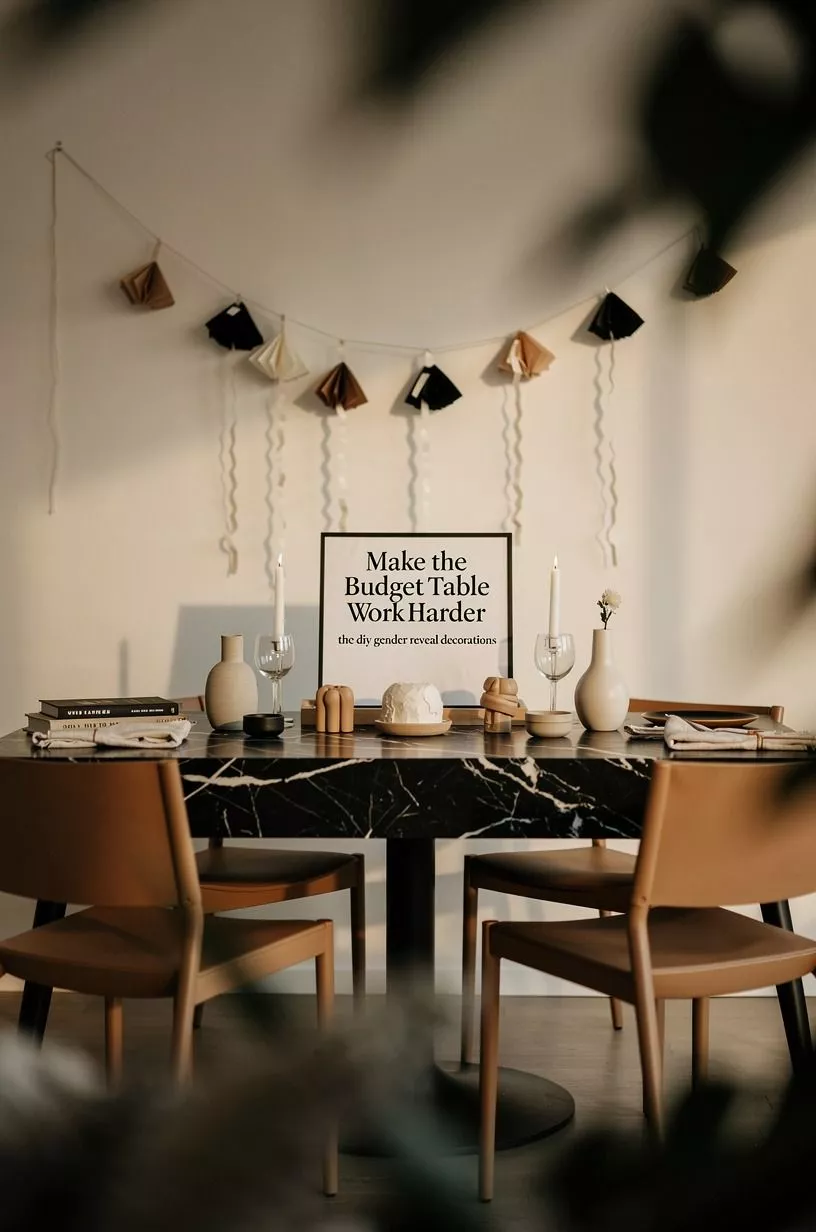
Your food table can carry the whole decoration plan if you give it a strong base, one backdrop, and a few repeated materials. Don’t buy a separate object for every empty spot. Layer a warm-white cloth, one tray, paper goods, and a small arrangement, then let the table breathe.
Use Nero Marquina black marble as a tray, riser, or serving board, then add camel fabric and black accents for contrast. If you’re setting food beside the decorations, keep candles away from paper and leave a clear serving lane. A table that works is more inviting than one packed with props.
Free move: use a scarf, folded sheet, or tea towel as a runner. Budget move: borrow cake stands and use sturdy boxes beneath the cloth.
A small bowl of citrus, a sprig of greenery, or one pretty ceramic piece can make the table feel abundant without becoming cluttered. For easy food planning, keep these brunch menu ideas you can make the night before nearby, along with easy 18th birthday decorations you can do at home.
9Float a Balloon-Free Tassel Garland
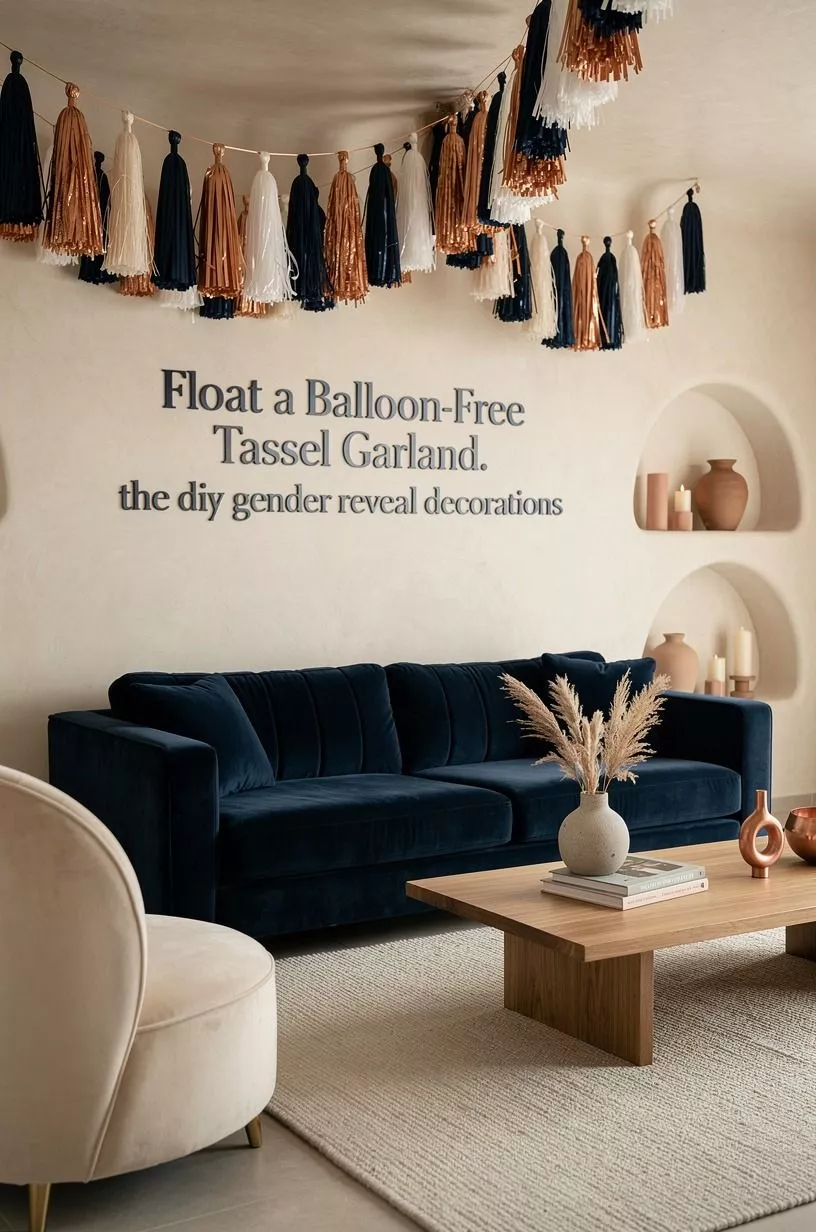
A tassel garland gives you movement without the noise, bulk, or popping risk of balloons. Cut tissue into strips, twist the center, and knot each tassel onto cotton cord. Hang it across a wall, mantel, or window, then let the ends drop at slightly different lengths.
Choose midnight blue, copper, and ivory for the paper, with a small deep-pile mohair velvet tassel or ribbon mixed into the garland. I’d avoid six colors because the garland will lose its shape from a distance.
Your best placement is usually above the dessert table, where the fringe frames the food without blocking faces. If you’re using it near a doorway, keep the lowest tassels above shoulder height.
Free move: use leftover wrapping tissue. Budget move: combine purchased tissue with recycled paper.
Investment move: save the cord and make a new garland for the nursery. You’ll get more value from a simple shape that can change colors later.
No pump, no popping, no panic! Pair it with 40 New Year’s decorations you can make today for another low-cost paper display.
10Paint a Two-Tone Dessert Cart
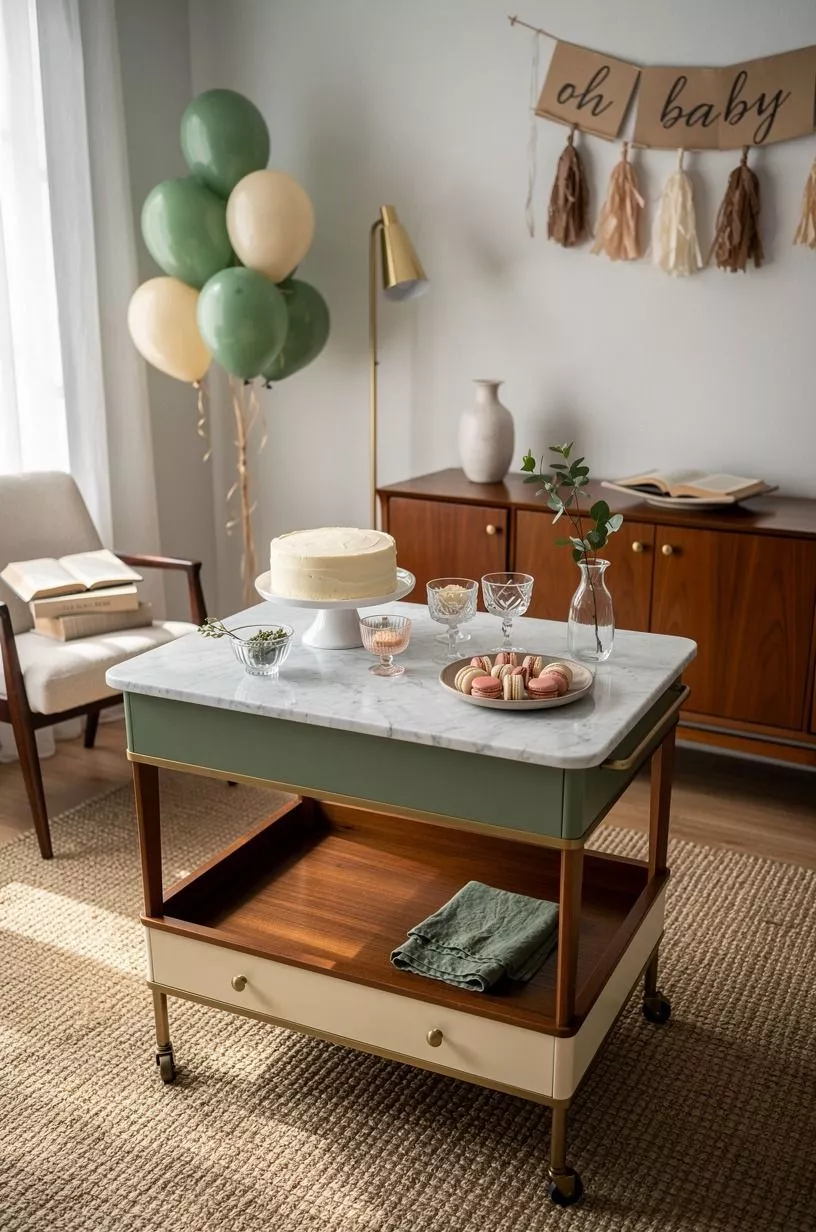
A small cart can become the party’s dessert station and later move into a kitchen or nursery. Paint the frame sage green, leave the shelves natural wood, and use Carrara marble for a small top tray. Your display will look warmer than a disposable folding table, especially when the cart sits against a plain wall.
I’d skip painting every surface the same shade. A two-tone finish gives the cart depth and hides small mistakes. Use the lower shelf for napkins and backup plates, while the upper shelf holds the cake and one flower arrangement.
Warm cream linens will keep the palette soft without making it overly sweet.
Free move: use a side table you already own. Budget move: look for an IKEA KALLAX birch-effect unit or a Target Threshold cart.
Worth the splurge: a small piece that can live in another room later. For another practical party display, see easy 18th birthday decorations you can do at home.
11Soft Edges, Hard Budget
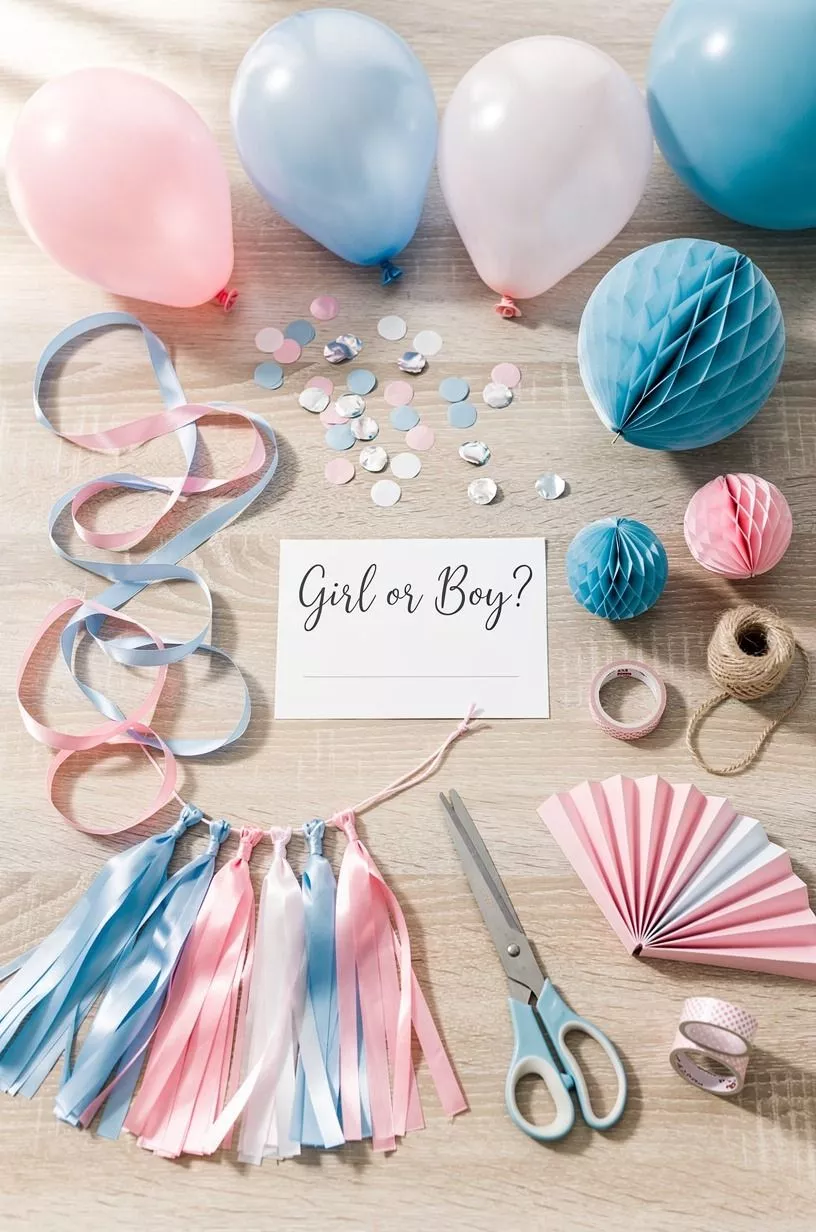
A party corner doesn’t need a printed wall.
12Build a Guessing Wall With Envelopes
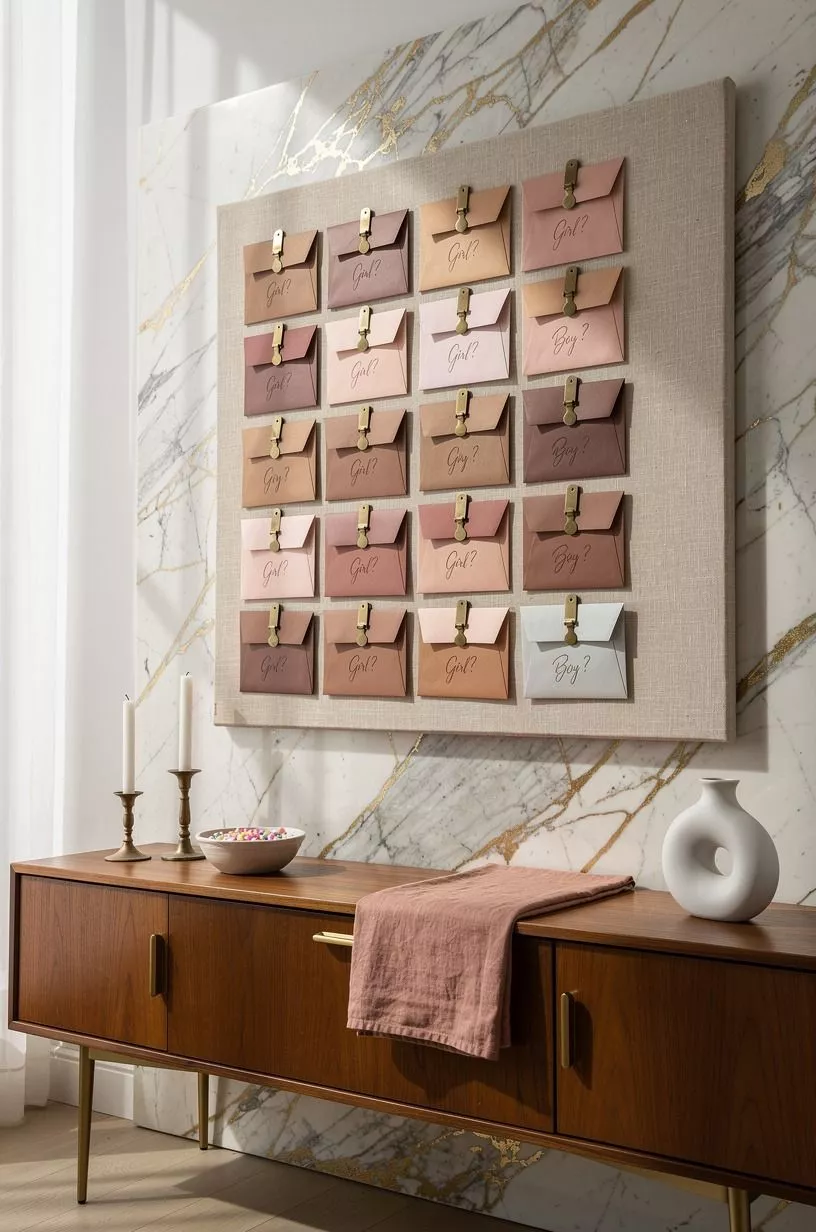
A guessing wall turns decoration into an activity without adding much clutter. Hang envelopes in three rows and let guests write their predictions, advice, or baby-name suggestions. Your wall will fill naturally during the party, which means the decoration keeps changing as people interact with it.
Use clay-colored envelopes with linen notes and small aged-brass clips instead of large printed labels. You can place a Calacatta marble dish underneath for pens, then add a narrow shelf for the finished notes.
I’d skip glitter because it travels everywhere and overwhelms the quiet palette. And if you’re hosting in a rental, use removable hooks rated for the paper weight.
Free move: fold envelopes from scrap paper. Budget move: buy one pack and decorate the flap with paint.
Investment move: order custom stationery only if you’ll reuse it for thank-you notes. You’ll need less wall space than you expect, so this idea works in a hallway or apartment entry.
For more cheerful paper inspiration, pair it with DIY dinosaur party decorations you can make at home.
13Frame the Food With Seasonal Branches
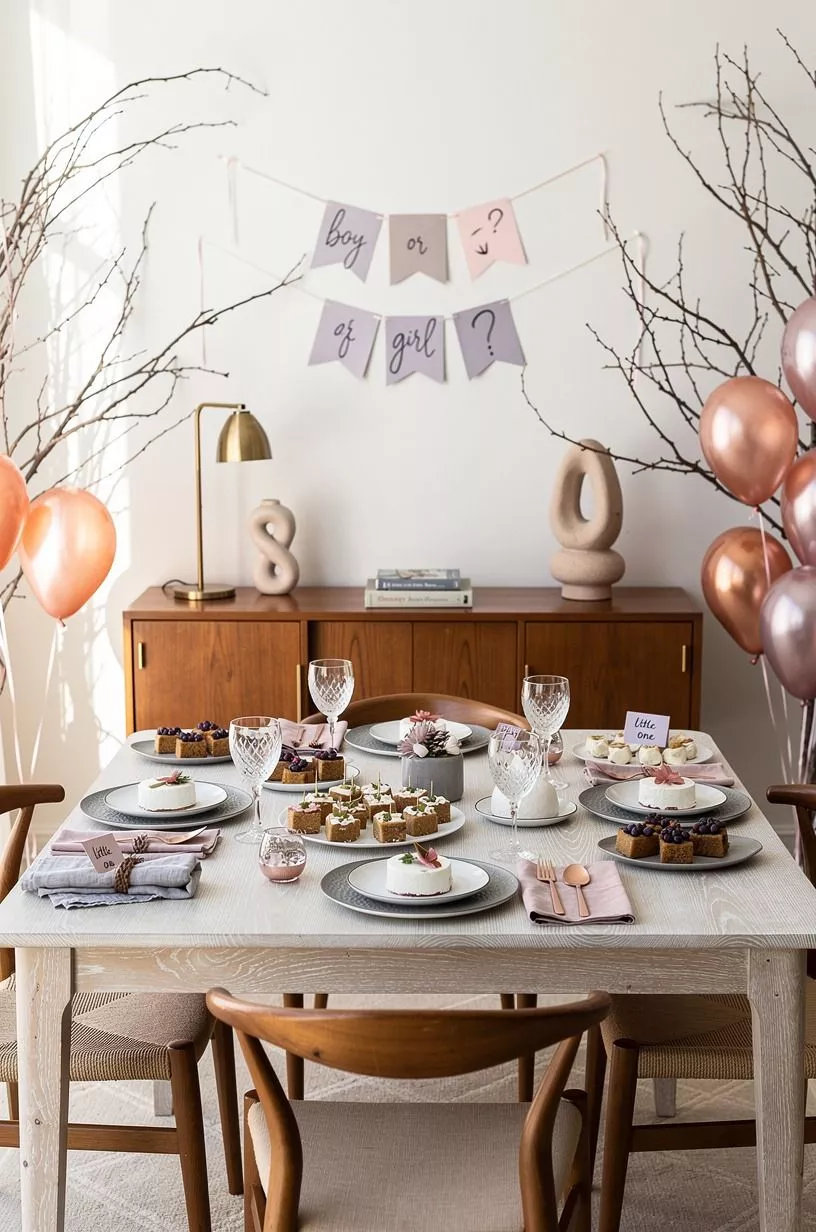
Branches give a food table height, shape, and a slightly rustic feeling without forcing a baby-themed look. Place two branches in weighted jars, then attach plum-colored paper circles or rose-gold ribbons to the stems. Your table will feel organic, especially beside soft grey textiles and cerused white oak.
Choose branches with muted grey bark or plum-toned leaves if you can find them locally. I’d avoid anything with a strong scent near food, and I wouldn’t use branches that shed heavily over the cake.
Keep the arrangement asymmetrical, with one side taller than the other. That imbalance looks relaxed instead of like a store display.
Free move: gather fallen branches where local rules allow it. Budget move: use clippings from your yard. Worth the splurge: a small bunch of preserved eucalyptus that you can move into a vase afterward.
If you’re planning a larger meal around the reveal, these roast capon ideas offer another hosting reference.
14Can a Curtain Frame Replace an Arch?
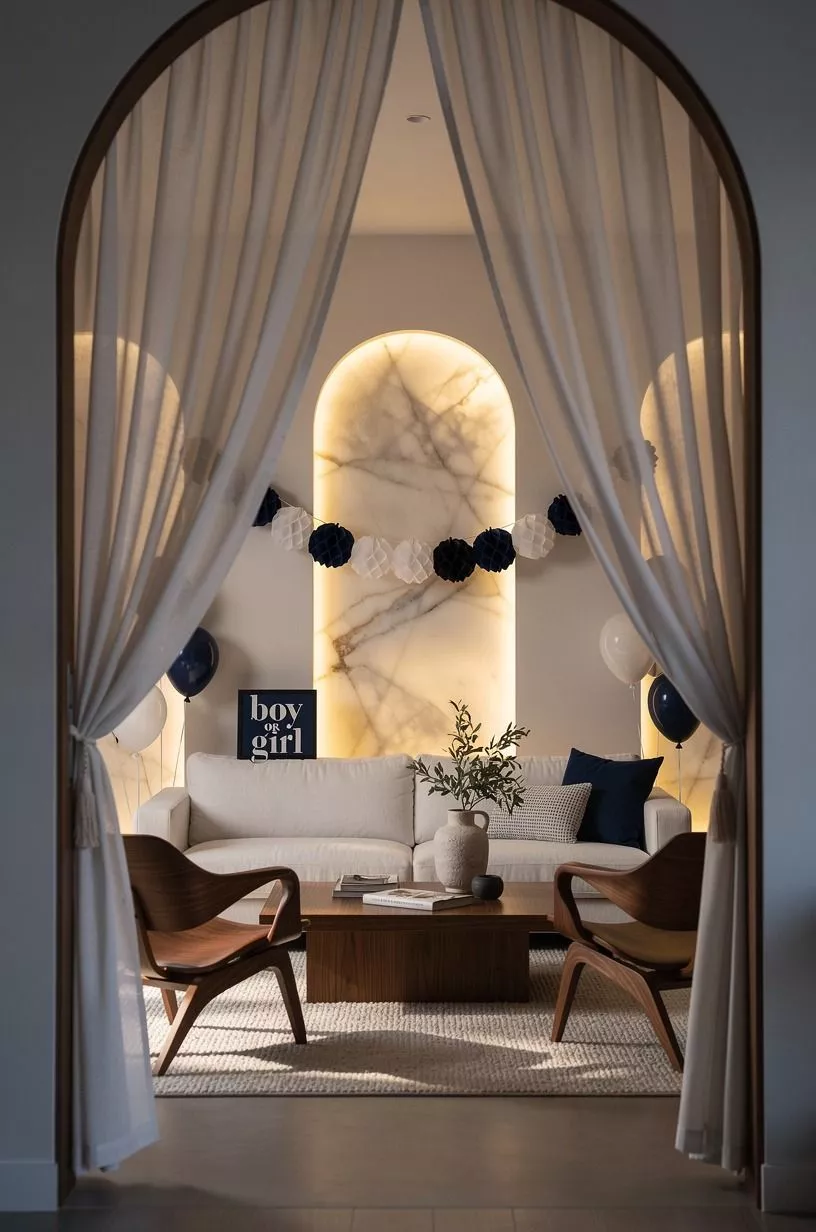
A curtain rod can create a clean backdrop when you don’t have room for a full arch. Use a navy curtain with white fabric accents, then place the setup near a walnut console or stool. A slim panel of backlit translucent onyx can add a gentle glow if you have access to a remnant.
15Create a Tiny Favor Shelf
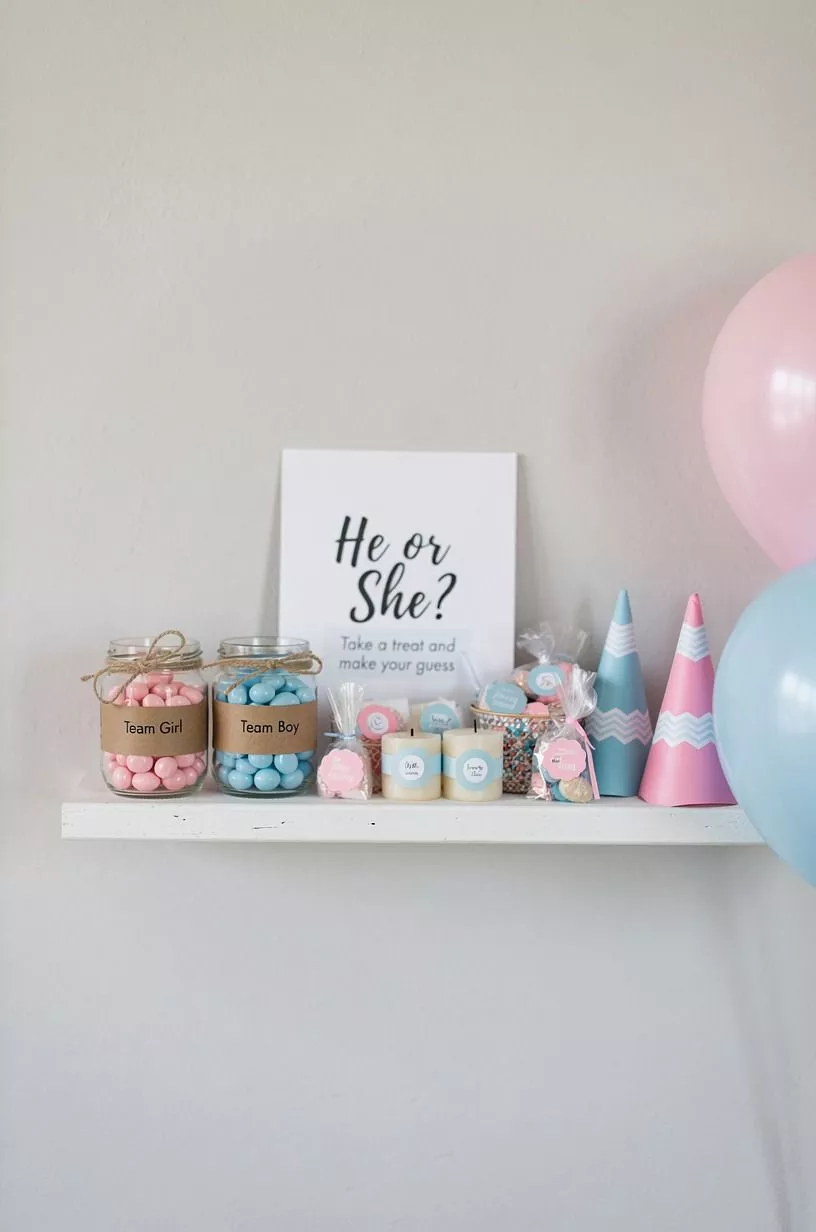
A narrow shelf gives favors, advice cards, or wrapped cookies a clear home. Use a book-matched walnut ledge or a small console, then style it with emerald paper, cream labels, and one gold bowl. Your guests will understand what to take without asking, which keeps the party moving.
Hang art with its center about 57 to 60 inches from the floor, then place the shelf slightly below that line. Gold details add warmth, but I’d use them sparingly beside emerald and cream paper.
A single gold tray is enough. Too many shiny pieces will make the shelf feel like a retail display.
Free move: use a bookcase ledge or windowsill. Budget move: repurpose a shelf or thrifted console.
You’ll want the favors where people naturally pass, not hidden beside the food. For a different small-space display, browse huitres gratinees and simple French hosting.
16Mix the Three-Texture Gift Table
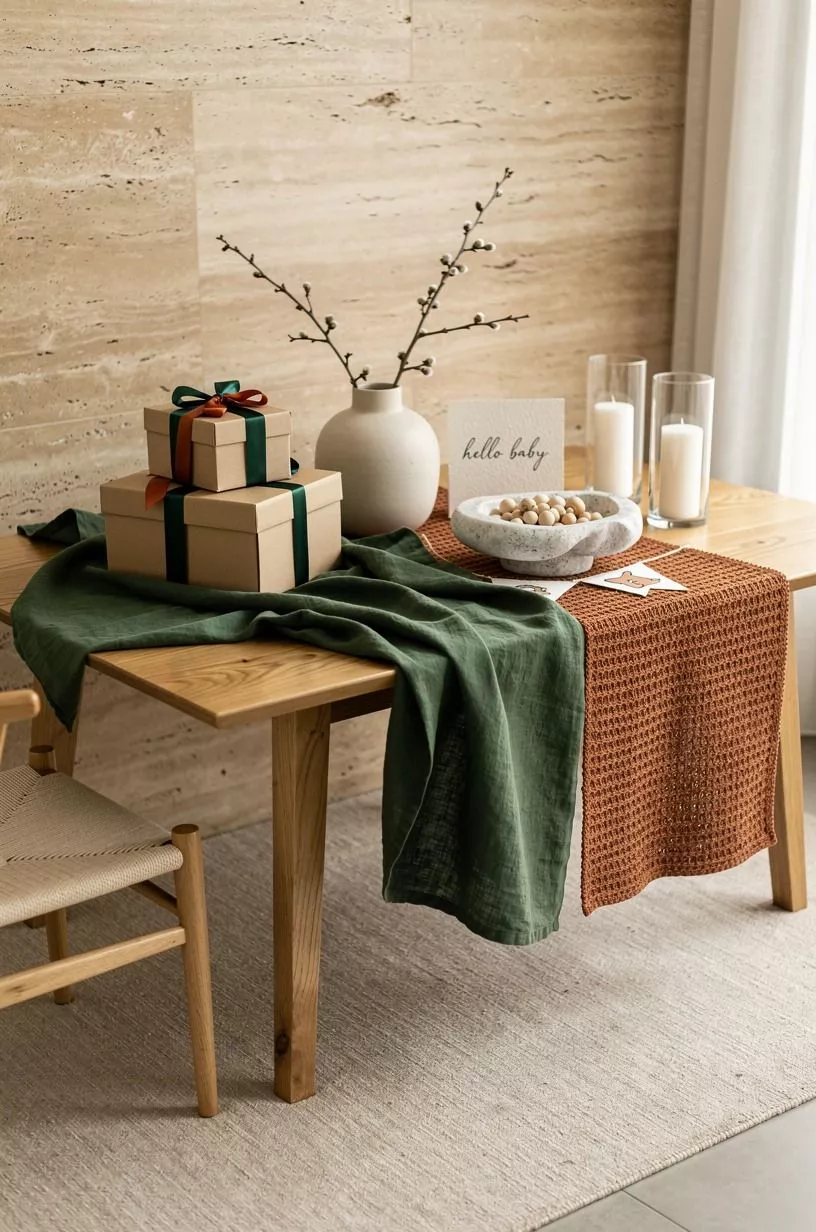
A gift table feels finished when the surface has three textures: cloth, paper, and something natural. Drape forest-green or rust-colored linen over a small table, add paper tags, and place a natural-oak basket underneath for cards. A slab of warm travertine can hold the bowl or a few small favors without needing a large centerpiece.
Use a warm wood bowl for envelopes and a low ceramic vase for greenery. I’d skip a tall arrangement if guests need to speak across the table.
Your best version will leave a generous open area for packages, with decoration around the edges rather than in the middle. This is one of the easiest ideas to reuse after the party.
Free move: fold a scarf into a table runner. Budget move: borrow a basket and use plain kraft tags. Worth the splurge: one hand-thrown stoneware bowl that can move to the nursery or entryway.
If you’re planning a weekend gathering, keep these brunch ideas nearby.
The Budget Choice I’d Defend
I’ve hosted enough gatherings to know that the expensive-looking room usually isn’t the room with the most decorations. It’s the room where the materials repeat. Linen appears on the table and in a ribbon.
Paper circles echo the balloons. Wood shows up in the tray, chair, or shelf. Your eye notices those connections even when you can’t explain them.
My own mistake was buying every color I liked. The result looked cheerful online and scattered in person.
I went back to three main colors, one neutral, and one natural material, and the room settled down immediately. You’ll get more warmth from a restrained palette than from another bag of props. That’s why I’d spend first on fabric, lighting, or a reusable sign.
The budget can stay modest, especially if you borrow furniture and use paper from your craft drawer. Your celebration doesn’t need a mountain of supplies.
A few tactile, reusable pieces can make the room feel generous and memorable. These easy brunch menu ideas are useful when you want the food to feel just as relaxed.
And yes, a gender reveal can be inviting without turning the baby’s future into a color stereotype. Use sage, cream, terracotta, and blue-gray if pink and blue feel too predictable. I’d choose the colors that already work in your home.
Guests will remember the laughter, the cake, and the way they felt in the room far longer than they’ll remember the exact shade of a balloon. For another flexible celebration palette, see easy 18th birthday decorations you can do at home.
A Few Things Worth Answering
What is the best DIY gender reveal decoration for a small space?
A reusable paper-fan backdrop and a warm table lamp are my first picks. They use vertical space, add color, and don’t crowd your guests. IKEA KALLAX storage can hold favors below the display, while a borrowed chair creates an easy gathering spot.
I’d also save DIY dinosaur party decorations you can make at home for more compact paper ideas.
Where can I buy DIY gender reveal decoration pieces on a budget?
Start with IKEA, Wayfair, Target, Facebook Marketplace, and local thrift stores. Look for plain baskets, linen-colored fabric, lamps, and neutral frames. Secondhand furniture often gives you more flexibility than themed party kits.
I’d also check easy book-club snack ideas you can make ahead for simple serving pieces you may already own.
How much does a DIY gender reveal decoration makeover cost?
About $100 to $300 is a reasonable working range if you combine free materials, borrowed furniture, and a few purchased supplies. Free branches and paper can carry the display, while lighting and fabric deserve the first paid dollars.
Can I create DIY gender reveal decorations on a budget?
Yes, and you can start with three free moves: rearrange lamps, fold paper from supplies you own, and use a scarf as a table runner. A limited palette keeps the result intentional. Add balloons or flowers only after the room’s basic shape works.
Is a DIY gender reveal decoration setup worth it in a small space?
Yes, because a small room gives your decorations natural focus. Use one wall, one table, and one gathering corner rather than spreading pieces everywhere. Vertical paper decor keeps the floor open, and a small lamp makes the room feel warmer.
Is DIY gender reveal decoration a good idea for a rental?
Yes. Choose removable hooks, tension rods, lightweight paper, and fabric that doesn’t require drilling.
Peel-and-stick materials can work, but test them first on an unseen area. Keep heavier shelves and framed pieces on existing furniture instead of the wall.
Where I’d Start First
If I had to pick one, I’d start with the paper-fan backdrop. It costs less than a full balloon wall, uses vertical space, and won’t deflate before guests arrive. Pin the paper-fan idea for later, then build the rest of your decorations around its colors.