
A DIY food bar for a graduation party on a budget can stay within the typical $200-$800 home-hosting range when you reuse serving pieces and let the food carry the color. I learned that after buying too much decor for one open house. Your guests need flow, variety, and a place to gather. That’s it!
- Frame the Three-Height Serving Stack
- One Hero Tray for a Graduation Cookie Bar
- Pour a Soda Bar DIY With Two Bright Mixers
- Matching Platters or the Two-Wood Rule?
- Layer Brunch Graduation Party Food Bars
- School Colors, Used With Restraint
- Mix Savory Snack Cones for Easy Refills
- The Photo Timeline Behind the Dessert Bar
- Paint a Soft Backdrop Instead of Buying a Banner
- Budget or Overbuy? Use a Simple Cost Ladder
- Arrange a Small-Space Food Flow That Works
- Choose Real Food Over Extra Table Decor
1Frame the Three-Height Serving Stack
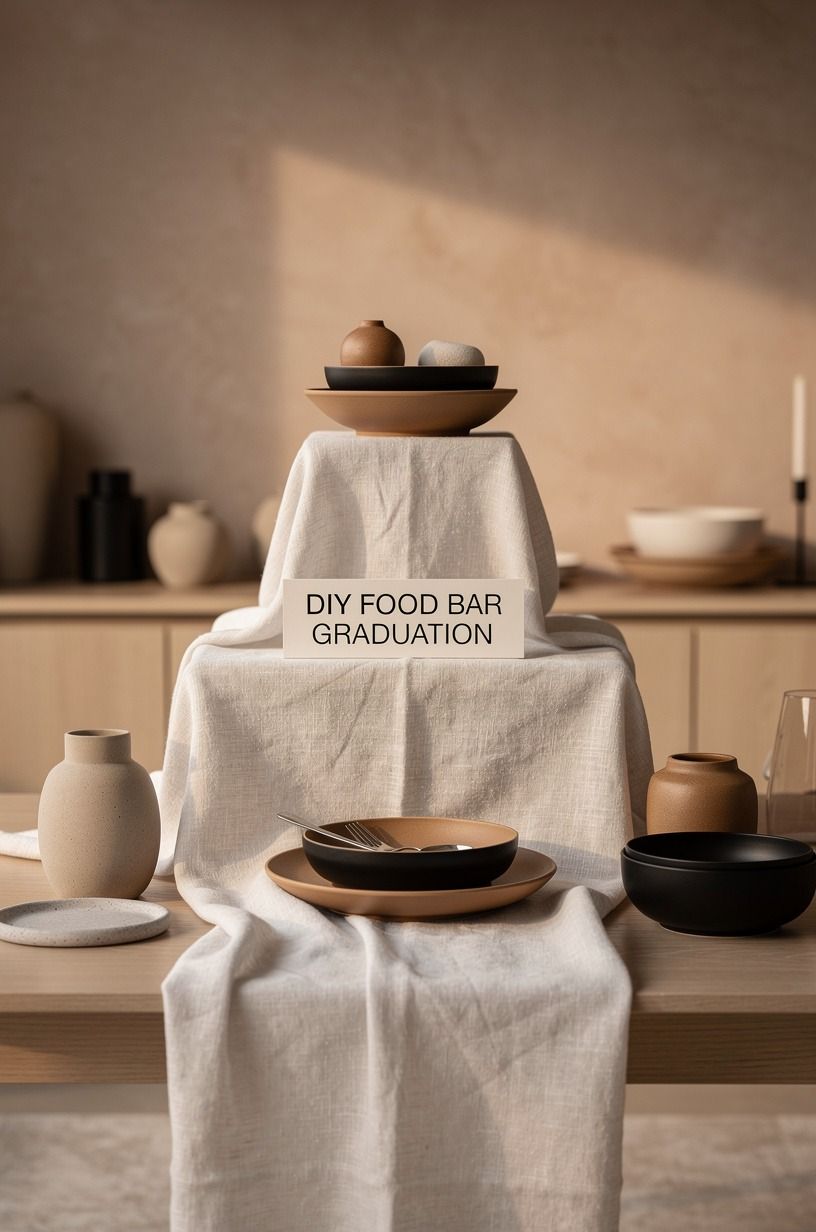
A graduation food bar looks more generous when every dish isn’t sitting flat on the table. Use cake stands, sturdy boxes beneath a tablecloth, and a low tray to create three serving levels.
Your eye moves up and down, so the spread feels abundant without requiring more food. I prefer a three-height serving stack over a long row of identical bowls because it gives guests a clear place to start.
Choose one material family and let it repeat. A washed Belgian linen runner, a warm white ceramic platter, and a black metal riser will look intentional beside camel-colored napkins.
You don’t need a matched set, and you shouldn’t buy one just for this party. Your own cutting boards can carry sandwiches while a thrifted cake stand holds cookies.
Keep the tallest piece toward the back and leave a 3-inch landing zone around every dish. That small gap matters when people are reaching with one hand and holding a drink with the other.
For another inspiring buffet arrangement, borrow ideas from these party food display ideas that make a buffet look fancy. You can also compare the serving flow with these DIY brunch bar ideas guests can build themselves.
A low tray lined with washed Belgian linen can anchor napkins and small plates, while a warm white cake stand gives the center of the table a bright focal point. The best part is the reset. When one tray empties, you can slide it forward without rebuilding the whole table.
Your food bar will still look warm and balanced after the first hungry wave arrives. It’ll feel generous, polished, and easy to use!
2One Hero Tray for a Graduation Cookie Bar
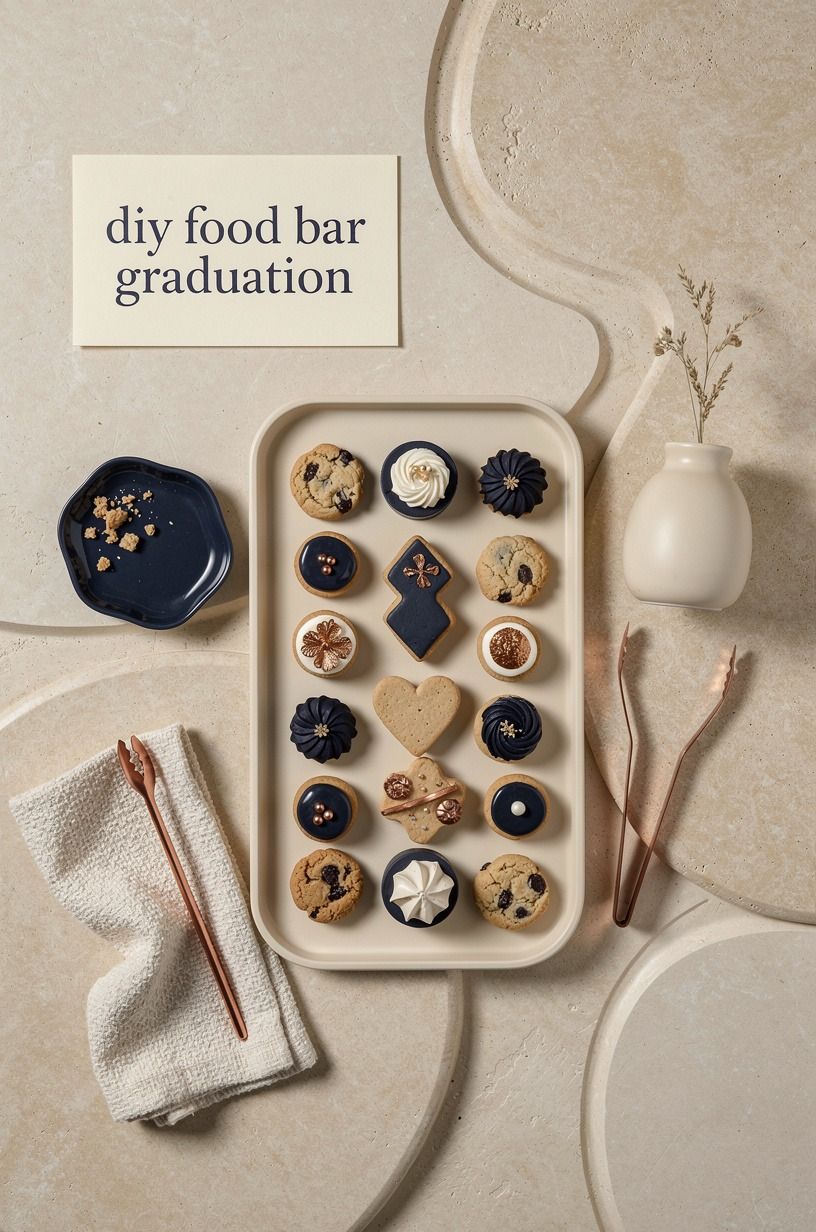
A graduation cookie bar gives you a festive moment without requiring a decorated cake that costs more than the rest of the table.
3Pour a Soda Bar DIY With Two Bright Mixers
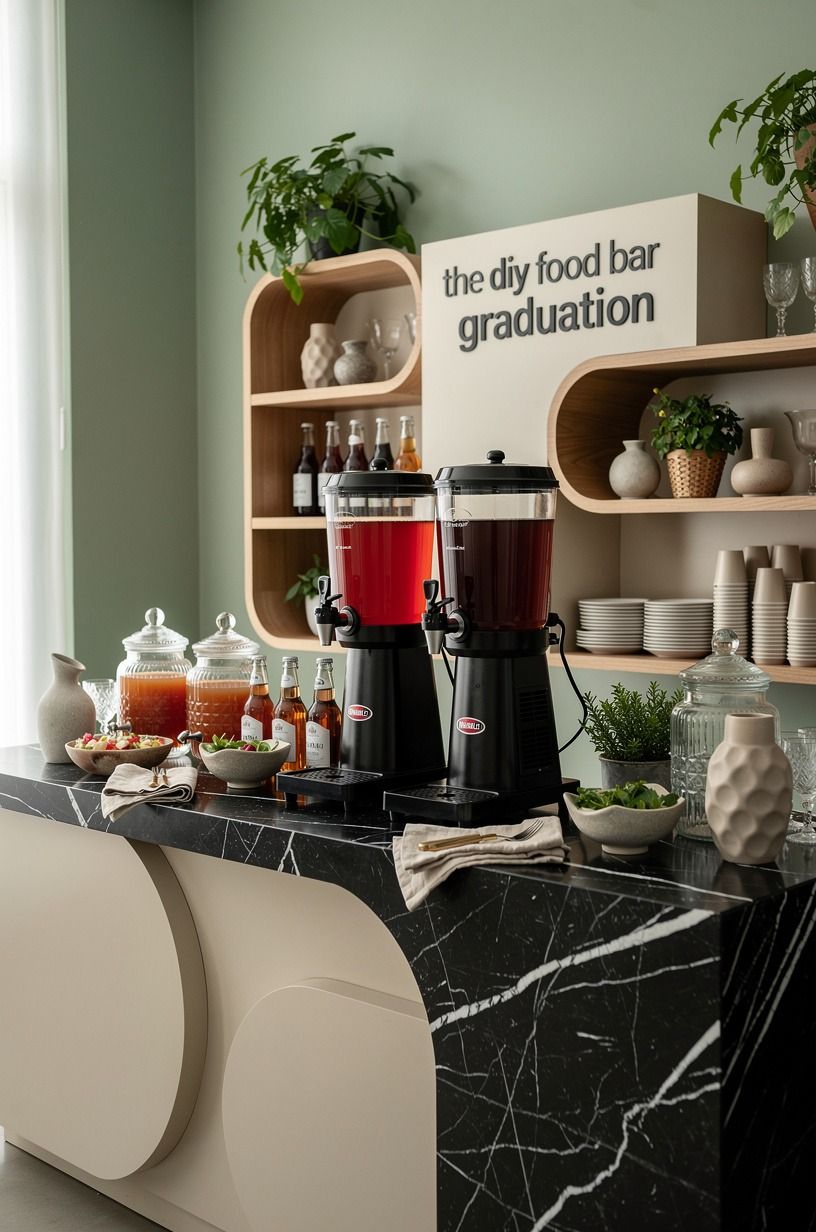
A soda bar DIY station feels special because guests get to assemble their own drink. Keep the choices tight: one dark soda, one clear soda, two mixers, and plenty of ice.
More options sound generous, but your table will turn into a crowded line of half-used bottles. Two bright mixers are enough.
Try blood orange soda with lemon slices, or ginger ale with lime and frozen berries. Your graduation colors can show up in the fruit, not in expensive disposable decor. A Nero Marquina black marble tray beneath a clear pitcher looks inviting, but a clean pitcher works just as well if you’re serving a smaller group.
Use one tray for cups and one for flavor additions. A stainless steel ice bucket keeps the station looking polished, while a bowl of paper straws makes the setup easy for younger guests. Put the napkins at the end of the station so people don’t block the pouring area while they choose.
Would your guests rather wait behind a complicated drink menu, or pour something quickly and return to the food? That answer should guide your setup.
For a bigger self-serve layout, see these DIY brunch bar ideas guests can build themselves. You can also borrow color ideas from these graduation party themes for the class of 2027.
Add one unexpected flavor, such as fresh mint or sliced strawberries. Your soda bar should feel playful, refreshing, and lively, not like a café queue!
4Matching Platters or the Two-Wood Rule?
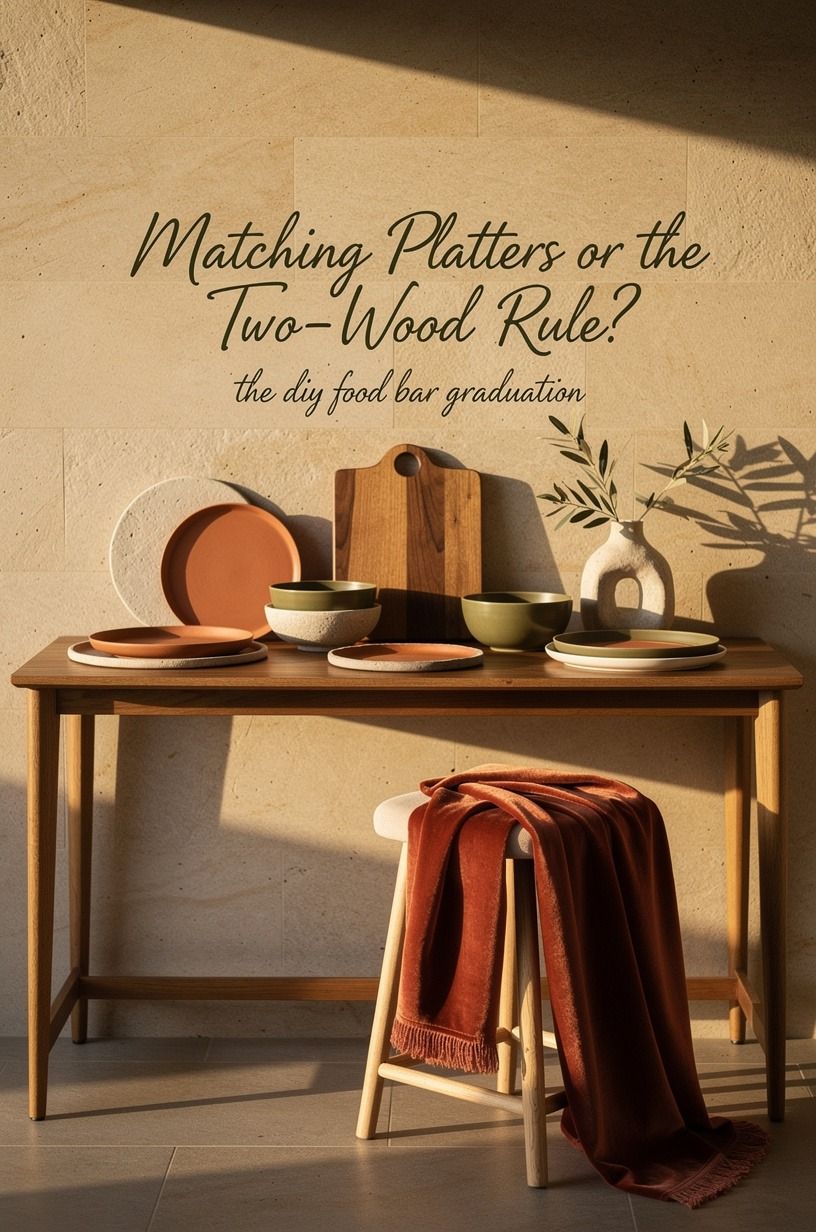
The two-wood rule keeps a graduation table collected when your serving pieces don’t match. Choose one lighter board, such as pale stone, and one darker board, such as olive-toned walnut or stained oak.
Everything else can be white, clear, or metal. I’ve tried using five wood tones together, and the table looked accidental instead of layered.
Use the lighter board for pale foods like cheese, crackers, or fruit. Let the darker board hold brownies, sliders, or anything with a deeper color. Your eye will understand the difference between stations without needing printed signs everywhere.
Avoid disposable plastic trays unless they’re hidden beneath parchment or a linen runner. A deep-pile mohair velvet runner in olive or terracotta softens folding tables and makes basic supplies feel more considered. Keep it beneath the serving area rather than directly under anything likely to spill.
If you only own one wooden board, add a stone platter rather than buying another wood piece. The contrast will be cleaner. Your table doesn’t need a costly collection; it needs a repeated material story that makes the food feel like the main event.
For more ideas on creating a composed spread, see these party food display ideas that make a buffet look fancy. The result is handsome, practical, and quietly festive. One light surface and one dark wood can do remarkable work!
5Layer Brunch Graduation Party Food Bars
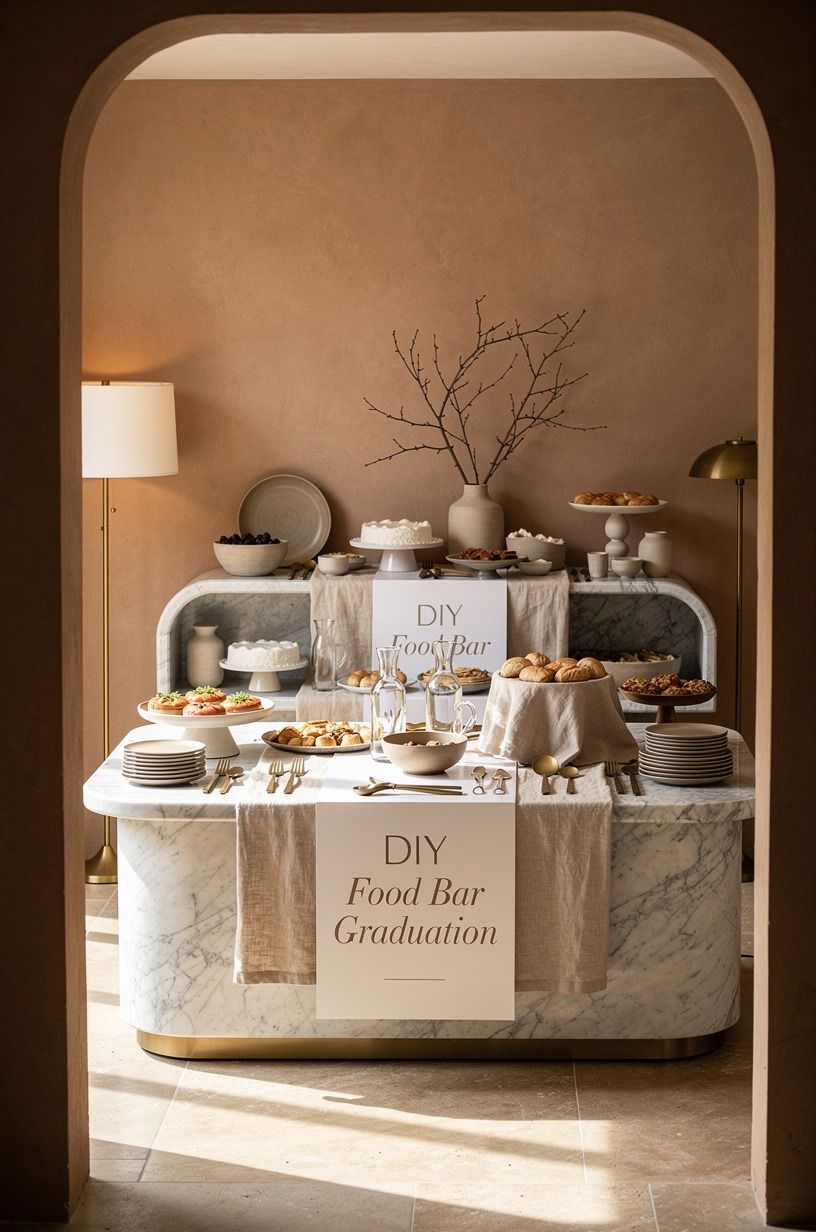
Brunch graduation party food bars work best when you separate warm, cold, and crunchy items instead of putting every ingredient in one crowded line. Start with mini bagels, then create three nearby zones: spreads, toppings, and fresh sides. Your guests can build something quickly, and you won’t have cream cheese melting beside hot eggs.
A Belgian flax linen napkin adds softness beside a stack of bagels, while Carrara marble bowls hold whipped cream cheese, sliced cucumber, smoked salmon, and jam. You don’t need every topping. Choose four that vary in texture and color, then refill as needed.
For the crunchy side, add granola, toasted seeds, or thin apple slices in a clear glass canister. Put serving spoons in each bowl, not in one central container. That tiny detail prevents people from crossing over each other while they assemble breakfast.
I’d choose a brunch bar over a full plated meal if your party overlaps with an open house. Guests can eat standing up, and your kitchen won’t become a traffic jam. These DIY brunch bar ideas guests can build themselves can help you divide the stations cleanly.
If you’re mixing food and decor, these graduation party themes for the class of 2027 can help you choose a color direction without copying every detail.
Add ripe berries or a bowl of golden peaches for an appealing burst of color. The whole station will feel fresh, abundant, and welcoming.
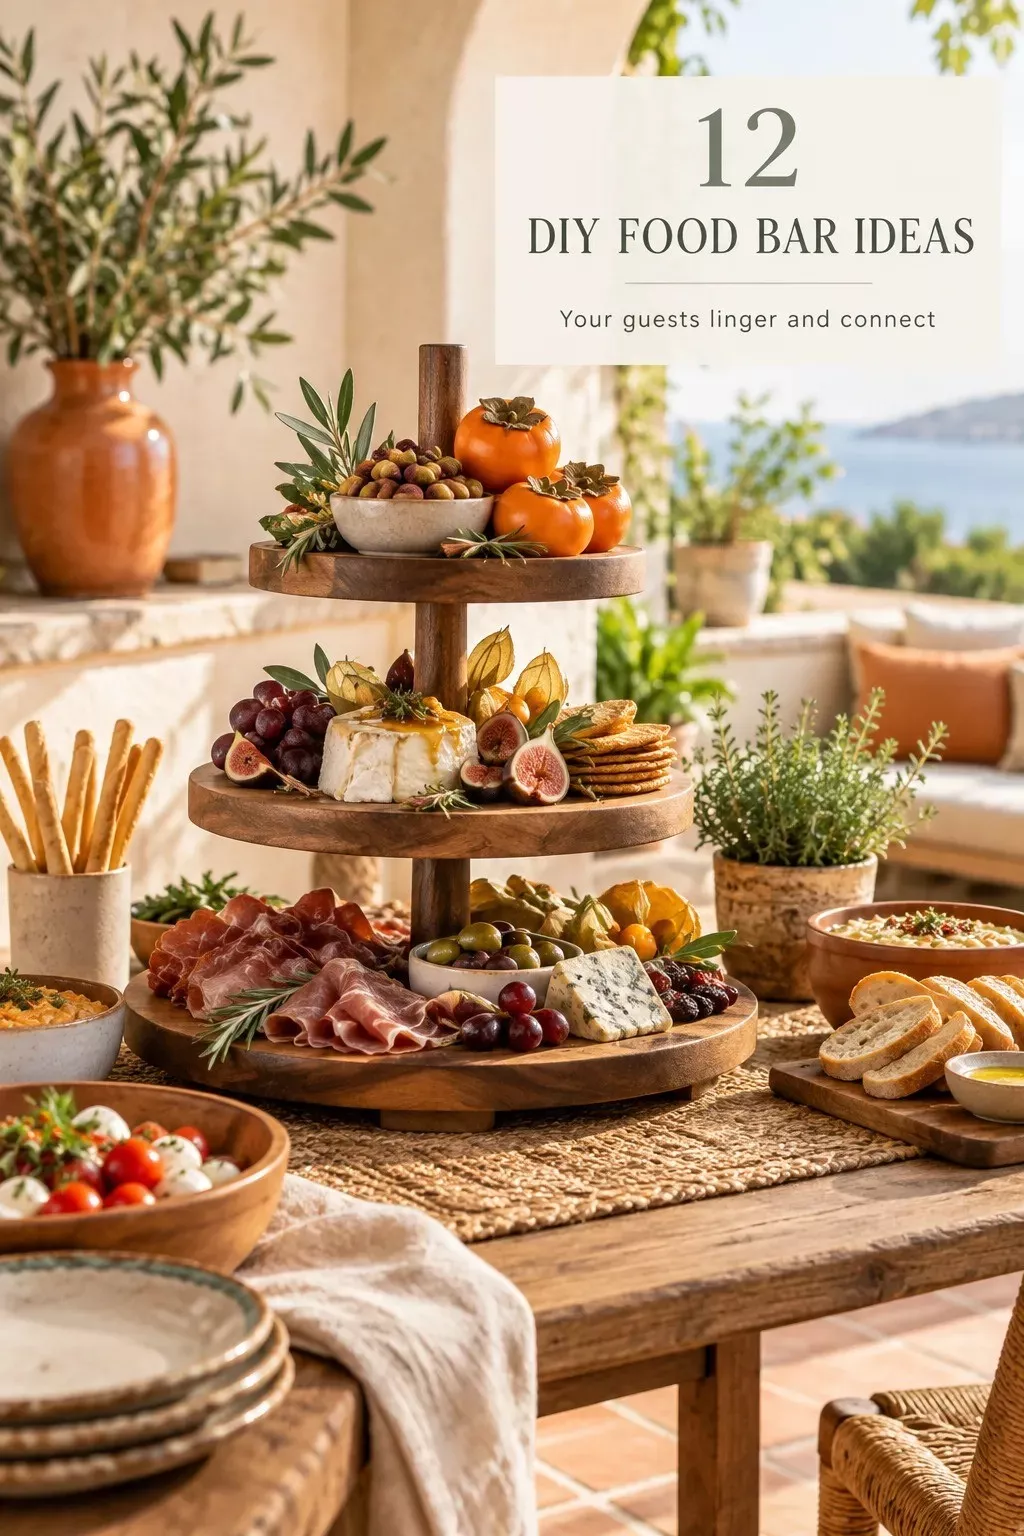
6School Colors, Used With Restraint
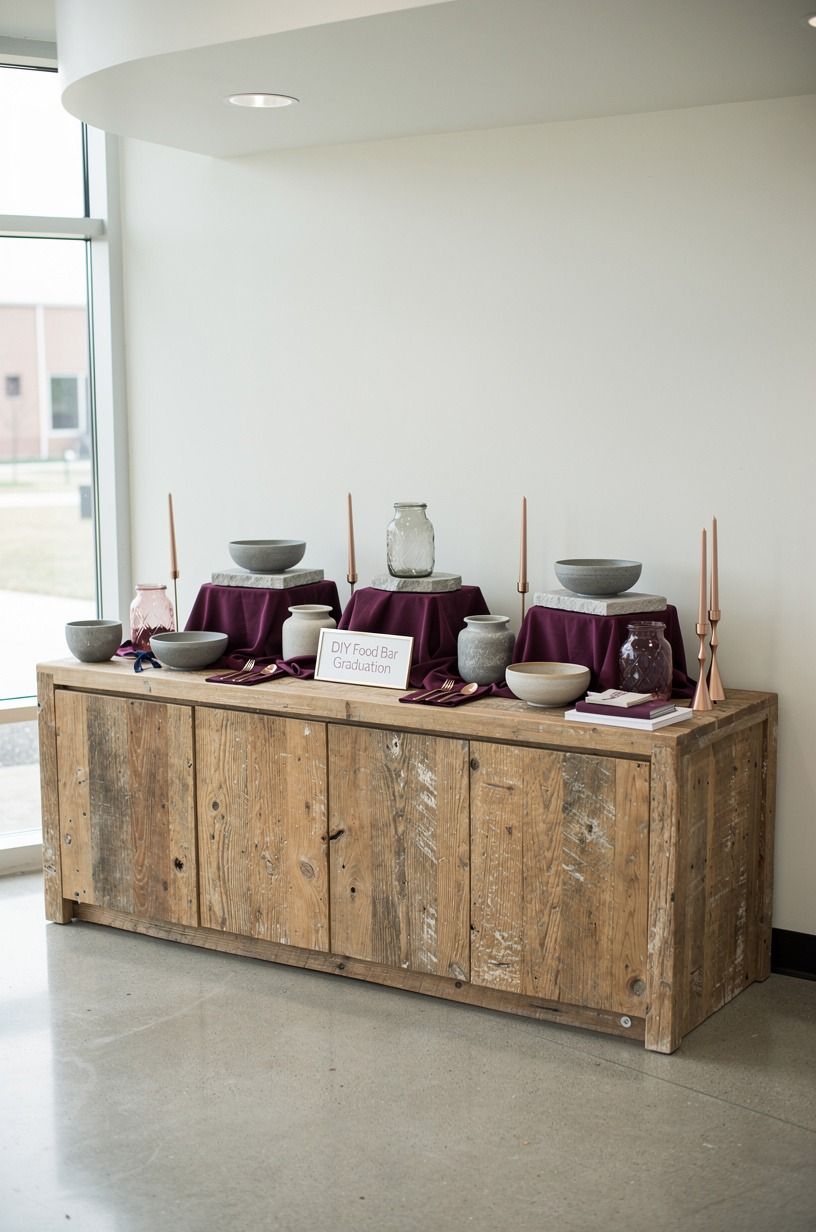
School colors can take over a graduation party quickly, especially when every plate, napkin, and balloon uses them at full strength. Use the colors in small doses instead. Plum cardstock labels beside a warm white buffet will look sharper than a table covered in competing school-branded pieces.
Write the food name on the front and one short note underneath, such as “mild,” “contains nuts,” or “serve chilled.” Your guests will appreciate the information, and the cards will still feel decorative. A rose-gold pen is enough if the handwriting is neat and readable.
Place labels at the front left of each dish, not behind the food. Your guests shouldn’t have to lean across a tray to read what they’re choosing.
If you’re serving children, use larger lettering and fewer words. Adults can find the fancy descriptions elsewhere.
Add one color in flowers, ribbon, or fruit, then stop. The warmest tables usually have one controlled accent rather than a dozen matching objects. For more restrained color-blocking, see these graduation party themes for the class of 2027.
These DIY dinosaur party decorations you can make at home also offer simple color-blocking ideas that work for any age.
A single rose-gold ribbon can tie the whole arrangement together. The effect feels crisp, thoughtful, and personal!
7Mix Savory Snack Cones for Easy Refills
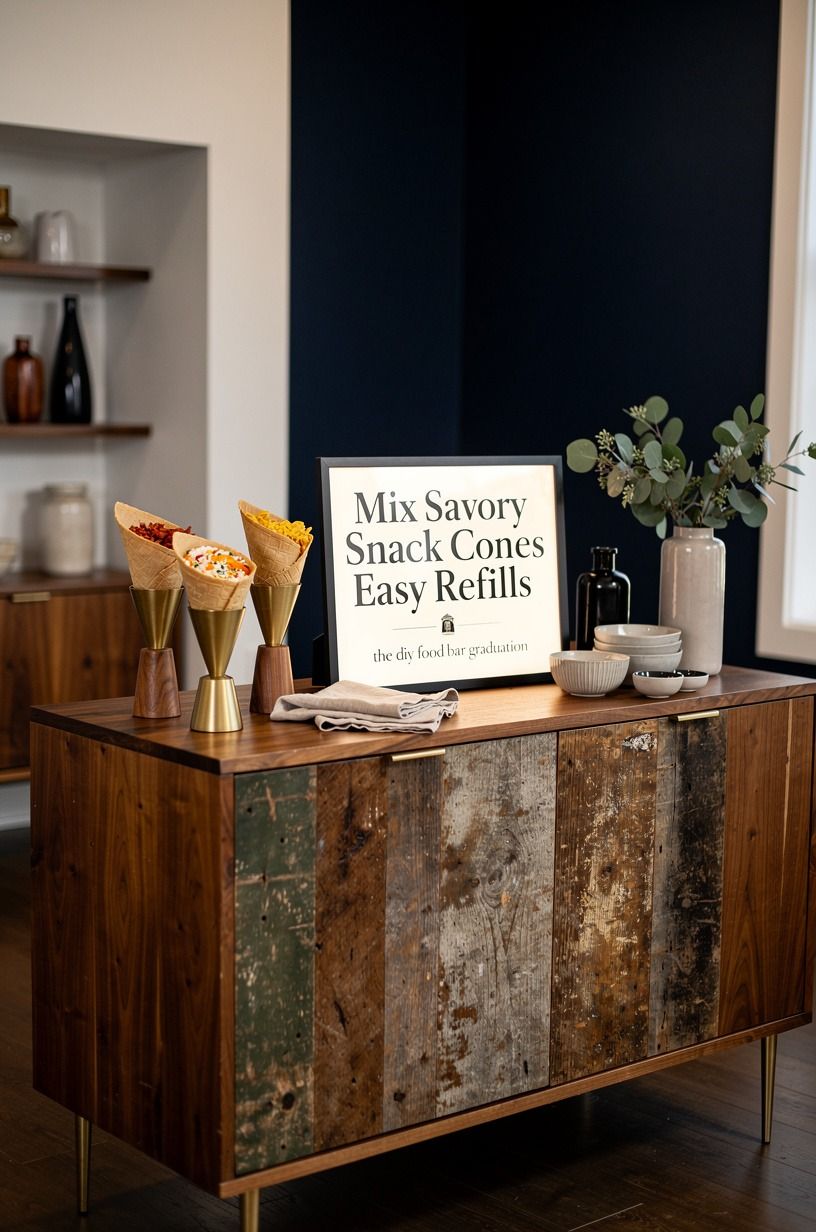
Savory snack cones solve a practical problem: guests can pick up one portion without reaching across the entire table. Use parchment cones, small paper cups, or white kraft paper food boats filled with pretzels, popcorn, crackers, and roasted nuts. Your table will stay tidier than it would with one giant open bowl.
Choose three textures. A salty crunch, a crisp vegetable, and a soft bite give the snack station enough variety.
I like rosemary popcorn, cucumber rounds, and small cheese crackers, but you can match the choices to your guests. Don’t add a food that needs a fork to a station designed for walking around.
Put the cones in a shallow tray with the narrow ends facing inward. A reclaimed weathered teak serving tray makes the pale snacks stand out, and it can move directly from the kitchen to the table. Keep one extra tray nearby so you can refill without carrying loose portions through the room.
Your guests will eat more when the food is already portioned, but that doesn’t mean you need tiny servings. Fill each cone generously and refresh them once. These DIY brunch bar ideas guests can build themselves offer similar inspiration for simple self-serve portions.
Try rosemary popcorn, mini pretzel twists, and crisp cucumber slices for a bright, savory mix. The station will feel casual, abundant, and delightfully easy!
8The Photo Timeline Behind the Dessert Bar
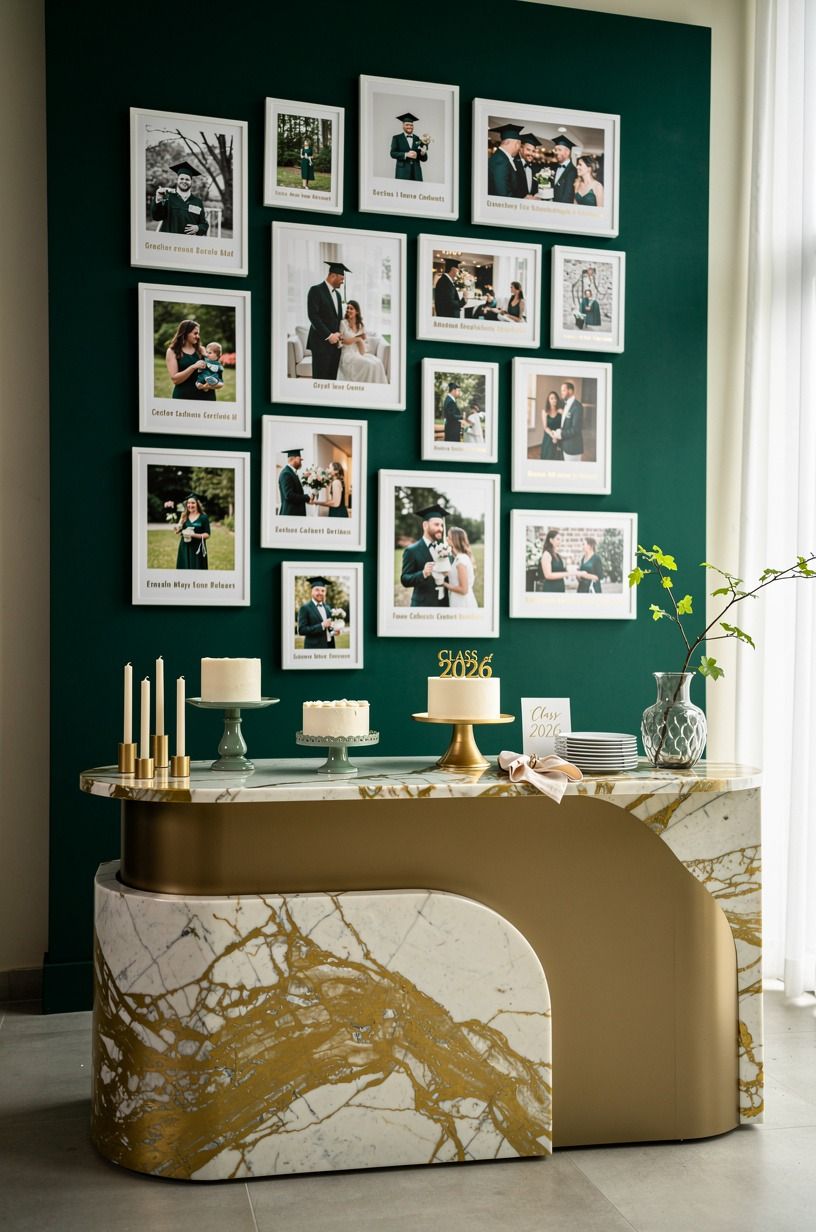
A photo timeline turns the wall behind your food bar into part of the party without adding another large display. Print school photos, team moments, or snapshots from different grades, then clip them to cream cotton twine with small gold pegs. Your graduate gets a personal backdrop, and the table gains a story.
Keep the photos above eye level so they don’t compete with the food. If you hang art or photos elsewhere, the center should sit about 57 to 60 inches from the floor. That measurement keeps the display comfortable for standing guests and prevents the lower images from disappearing behind platters.
Use one frame color, such as thin gold metal, for any larger photo or graduation announcement. Your timeline shouldn’t look like a craft store aisle. Leave some breathing room between clusters, and don’t force every year into the same exact spacing.
A small Calacatta marble tile or a few gold clips can make the display feel tactile and sincere. People will linger, point, and tell stories while they wait for a cookie. These party food display ideas that make a buffet look fancy can help you keep the table and backdrop visually connected.
That pause makes a budget party feel gathered rather than decorated. You won’t need a second entertainment station if the wall gives guests something to talk about. It’s a warm, memorable detail with a surprisingly modest cost.
9Paint a Soft Backdrop Instead of Buying a Banner
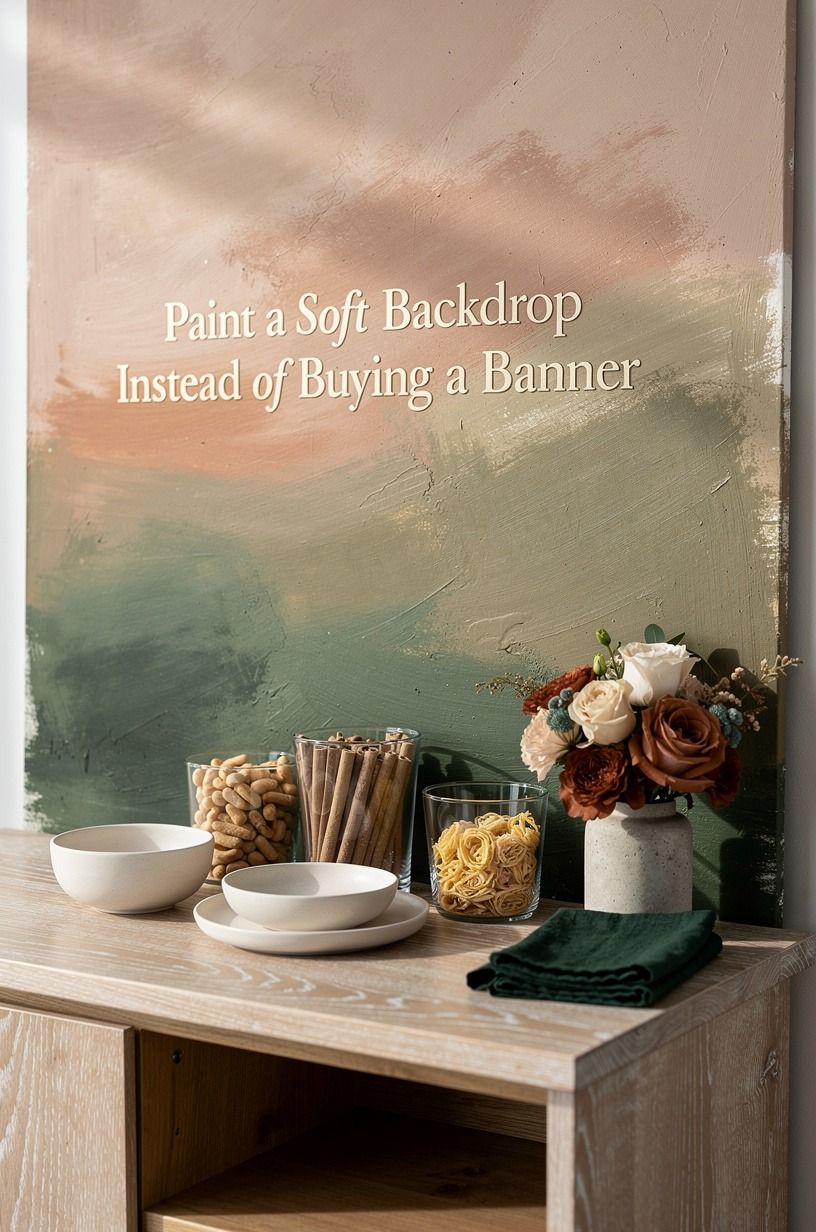
A painted backdrop can make a folding table look intentional, especially when the room behind it is plain or visually busy. Choose a removable paper roll, a fabric panel, or a thrifted canvas in Benjamin Moore Essex Green HC-188. It gives colorful food room to stand out without adding another competing pattern.
If green feels too deep, try Farrow & Ball Red Earth No.64 on a small panel or paper surface. The muted rust works with warm white, brass, and natural oak.
Your backdrop doesn’t need to cover the whole wall. A panel slightly wider than the table is enough to give the station presence.
I’d skip a giant vinyl banner unless the design is excellent. Large lettering can make the food bar feel like a school fundraiser, while a restrained backdrop lets the graduate’s photos and labels do the talking. You can add a few paper rosettes, but leave the center open.
For a rental, use removable hooks and test one corner first. These DIY dinosaur party decorations you can make at home include useful ideas for temporary backdrops and simple wall details. Your wall matters more than a party backdrop, and one damaged patch isn’t worth the visual payoff.
A calm backdrop gives the food more room. The result is refined, earthy, and easy to reuse!
10Budget or Overbuy? Use a Simple Cost Ladder
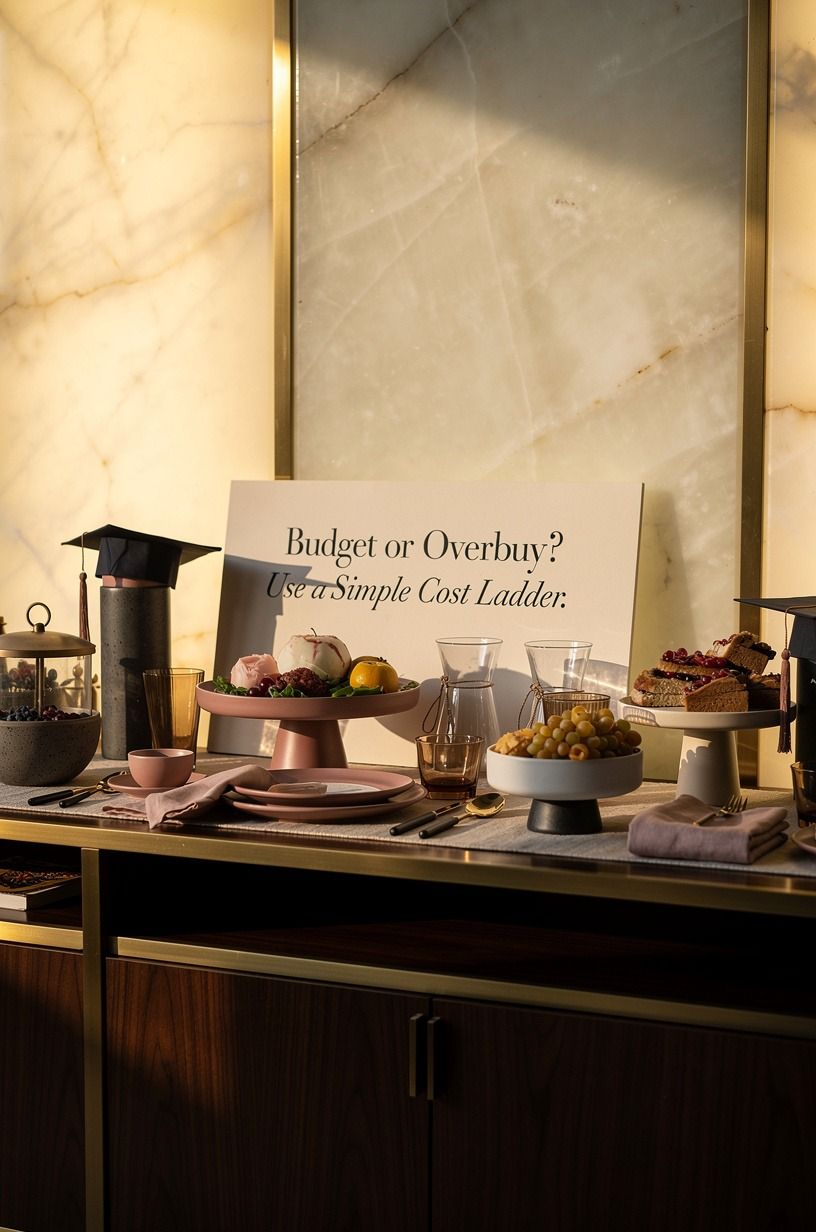
A graduation food bar can be assembled from pieces you already own, but it helps to understand the wider US cost benchmarks for a room or hosting setup. These figures are useful when you’re deciding whether to borrow serving pieces, buy secondhand, or invest in something you’ll use again.
For your party, stay near the budget tier by borrowing charcoal ceramic platters, using grocery-store flowers, and turning a clean cardboard box into a covered riser. The table will look better when the money goes toward food guests can enjoy instead of decor that gets stored afterward.
The same restraint applies to materials. A backlit translucent onyx surface might suit a permanent bar or entry, but it doesn’t belong under a table that could spill soda. Your food bar needs washable textiles, stable trays, and surfaces that can handle crumbs.
If you’re planning a larger gathering, set the table first with what you have, then photograph it. The empty spots will show you what you need.
You don’t have to shop until the arrangement tells you where the real gap is. For another practical planning angle, revisit these party food display ideas that make a buffet look fancy.
A borrowed brass tray, grocery-store bouquet, and sturdy paper goods can create a polished setup for very little money. That’s the satisfying part: the budget feels intentional rather than limiting.
11Arrange a Small-Space Food Flow That Works
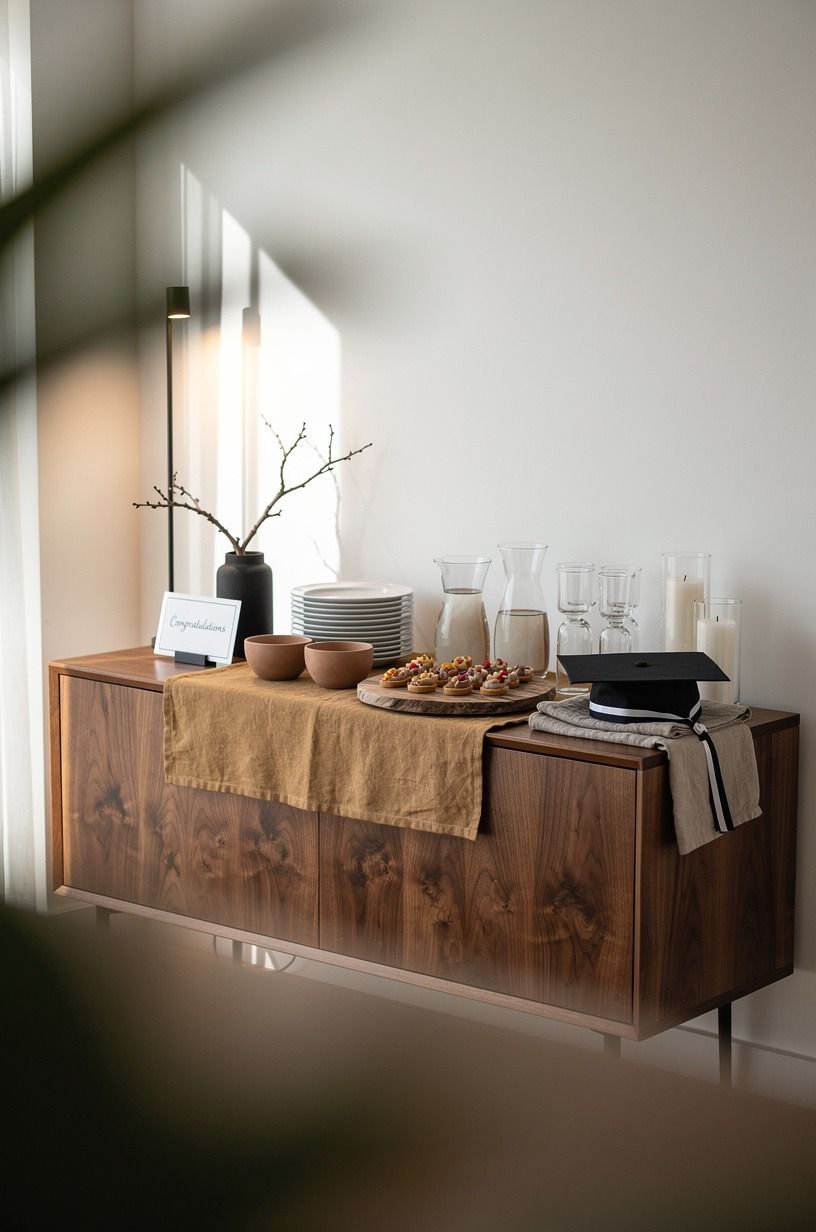
Is a small-space graduation food bar worth it? Yes, because a compact layout can make guests move more naturally.
Put drinks at one end, savory food in the middle, and desserts at the opposite end. Your guests won’t all stop in the same spot, and the room will feel less crowded.
Use a 30-inch-wide folding table only if it leaves a clear walking path around it. If your space is tighter, a console, kitchen island, or two small side tables may work better. Don’t force a banquet shape into a room that wants a short, linear station.
Keep the serving tools close to the dishes they belong with. Tongs beside sliders, spoons beside salad, and small plates before the first food item will reduce awkward reaching. Your guests should understand the sequence without a sign explaining every move.
A good small-space setup has a little empty counter left over. That sounds wasteful, but it gives people somewhere to set a phone or cup.
I’d choose breathing room over one extra bowl every time. Your food bar will look calmer, and guests will stay longer.
If you need more inspiration for arranging a buffet, revisit these party food display ideas that make a buffet look fancy. These DIY brunch bar ideas guests can build themselves can also help you organize a compact self-serve layout. A clear landing zone is one of the cheapest upgrades you can make.
12Choose Real Food Over Extra Table Decor
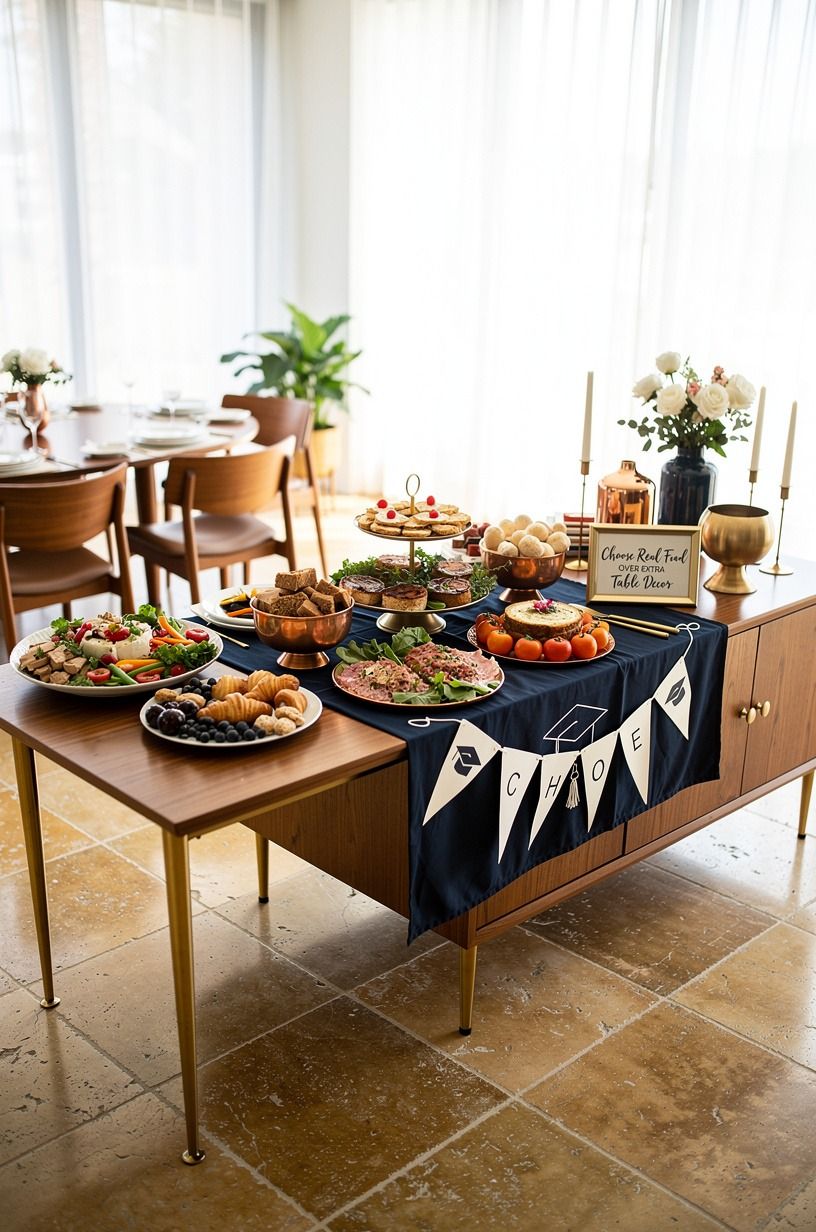
The most convincing graduation party food bar has one visual anchor and food that looks fresh beside it.
The Decision I’d Make Before Shopping
I’ve hosted food tables that looked polished in photos and felt awkward in real life. The worst one had too many little dishes, a drink station tucked behind a chair, and no clear place for anyone to stand. I spent more money than I should have, yet the table still felt fussy.
That experience changed how I plan graduation parties now.
Your first decision should be movement. Guests need to see the food, pick up a plate, serve themselves, and leave the station without reversing into someone else.
Once that path works, the colors and materials become much easier. A warm travertine riser can look charming, but it won’t rescue a table where every serving spoon is hidden.
The second decision is where to let the food provide the drama. A graduation cookie bar can carry the sweet moment.
A soda bar can bring the color. A photo timeline can bring the emotion.
You don’t need all three to shout. I’d let one station be bold and keep the other two quiet.
Finally, spend on the things guests touch. Fresh fruit, sturdy napkins, good ice, and serving tools will matter more than a pile of matching signs. Your party should feel warm because people can relax, not because every inch has been styled.
That’s the difference between a table that photographs well and one people remember.
The Questions I Get Asked Most
What is the best DIY food bar idea for a small graduation party?
A graduation cookie bar or soda bar works best in a small space because each station needs little counter depth. One hero tray creates focus, while a pitcher, cups, and two mixers keep drinks simple.
Use a narrow console and leave your walking path open. These DIY brunch bar ideas guests can build themselves can also help with compact layouts.
Where can I buy DIY food bar pieces on a budget?
Look at IKEA, Target, Wayfair, Facebook Marketplace, and local thrift stores for washable serving pieces. Borrow cake stands and boards from friends before buying anything. For display inspiration before you shop, browse these party food display ideas that make a buffet look fancy.
This site uses display advertising rather than affiliate commissions, so you won’t find paid product links in the recommendations.
How much does a DIY food bar makeover cost?
A small setup can stay within about $200 to $800, the typical budget tier listed above, especially when you already own tables and platters. Free options include borrowed serving pieces, handwritten labels, grocery-store fruit, and reused jars.
Can I create a DIY food bar for a graduation party on a budget?
Yes, and your best moves are borrowing trays, using one backdrop, and choosing food with natural color. A focused menu costs less than a large menu with many specialty ingredients.
Reuse a cutting board as a serving board and cover boxes with a clean cloth. These graduation party themes for the class of 2027 can help you keep the color direction focused.
Is a DIY food bar worth it in a small space?
Yes, because a self-serve station reduces the need for a seated meal. Put drinks at one end and dessert at the other, then keep at least one clear place for guests to set a cup. Your room will feel easier to navigate.
Is a DIY food bar a good idea for a rental?
Yes. Use removable hooks, a tension rod, freestanding frames, and fabric panels instead of permanent wall changes.
No-damage styling can still feel personal when you use photos, school colors, and food labels. Test removable products in a hidden spot first.
These DIY dinosaur party decorations you can make at home offer more temporary decorating ideas.
Where I’d Start First
If I had to pick one, I’d start with the soda bar DIY station. It gives guests something to do, adds color without extra decor, and keeps the food table from becoming the only gathering point. Pin this setup for later, then build the rest around the traffic flow.