
The short answer: a full set of window silhouettes runs about $8 to $25 if you buy the paper, and it’s free if you already own a black poster board and a craft knife. I used to buy the plastic clings. They curled at the corners by October 3rd every single year. Paper doesn’t do that.
- Cut the classic witch profile from 110 lb cardstock
- Skip the printer and trace your shapes by hand
- Build the Three-Window Story Rule
- Layer a cat in the lower corner where nobody looks
- Hang bats with removable poster putty instead of tape
- What size should a window silhouette actually be?
- Float a haunted house skyline across a wide window
- Paint the glass instead when the shape is tiny
- Anchor everything with warm light behind the glass
- Mix matte paper over glossy for a deeper black
- Why do store-bought clings always look worse?
- Frame the scene with a strip of black around the pane
- Cut a hand reaching up from the bottom sash
- Instead of one big scene, try one figure per pane
- What does a full window set cost?
- Swap orange gel film for colored backlight
- Hang taller figures 57 to 60 inches from the floor
- Build a graveyard band along the sill line
- Store the whole set flat in a photo box for next year
1Cut the classic witch profile from 110 lb cardstock
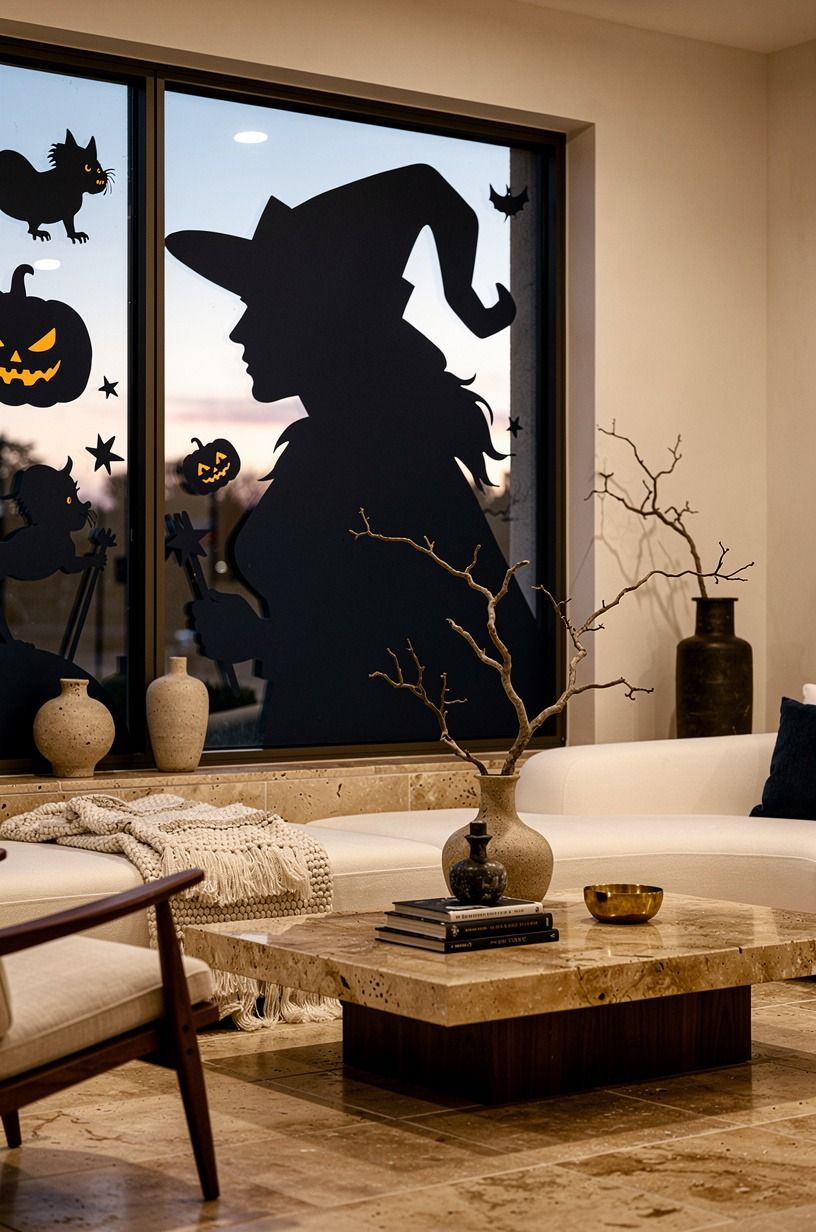
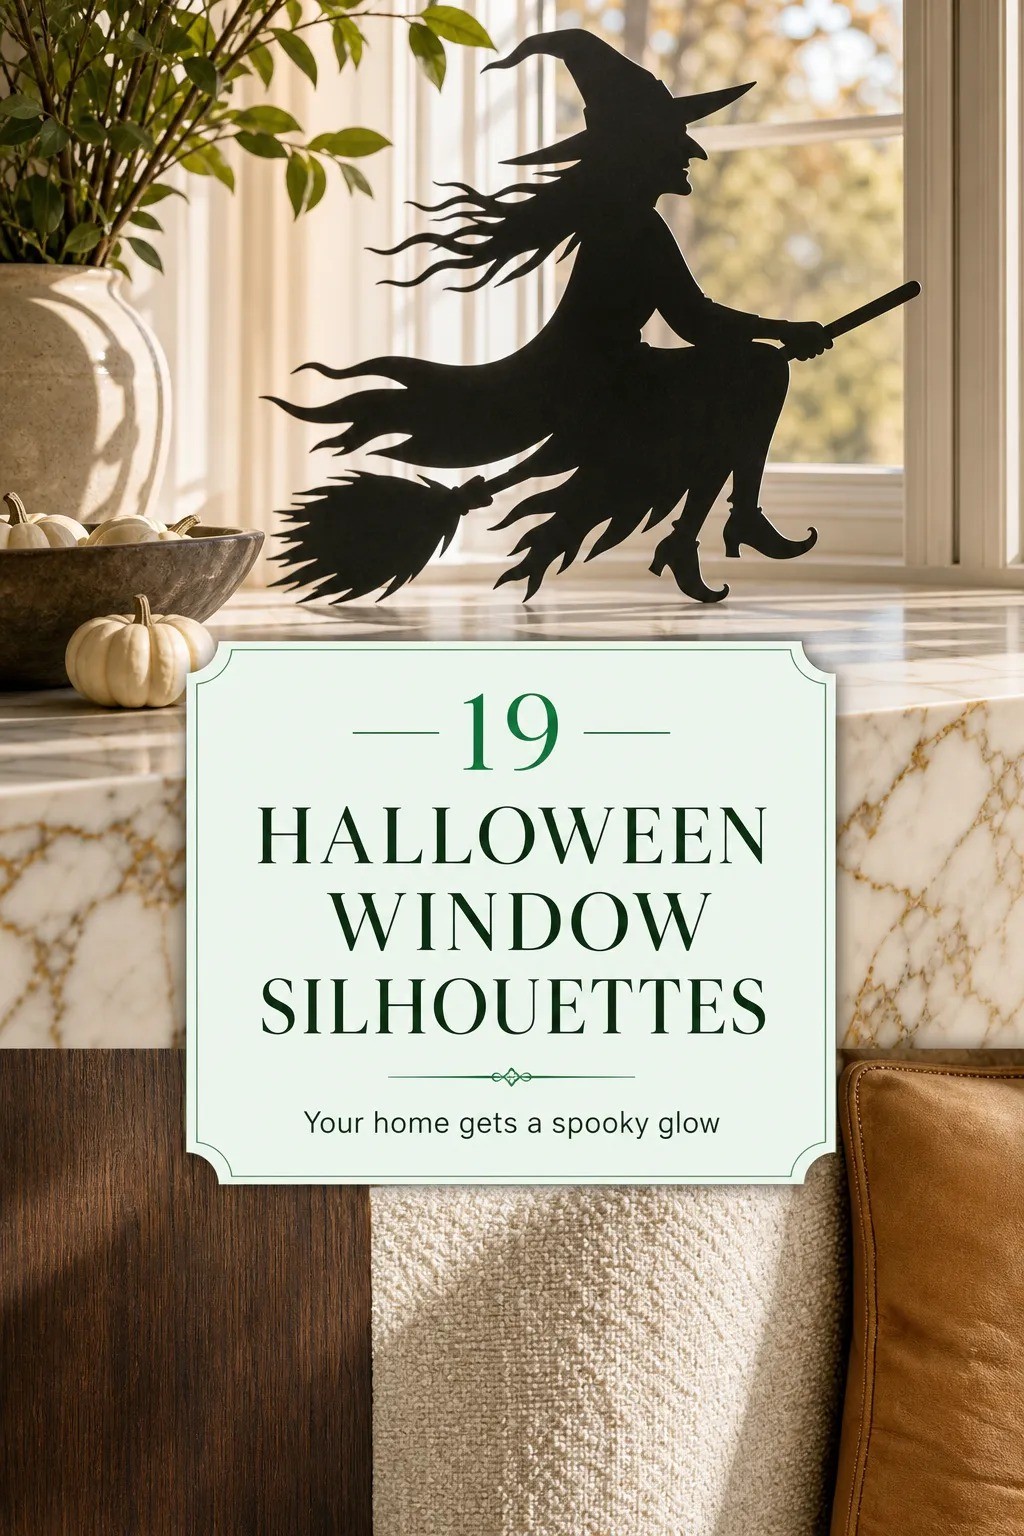
The witch silhouette is the one everybody recognizes from the street, and it’s the one people get wrong by going too small. You want her at least 18 inches tall, hat point included, or she reads like a smudge from the sidewalk. Recollections 110 lb black cardstock holds a crisp edge where cheap construction paper fuzzes out under a blade.
Here’s the thing about the hat. Cut the brim wider than feels right, because backlighting eats about a quarter inch off every silhouette edge.
I made mine anatomically correct the first year and she looked like a woman in a beanie. Give her the drama.
2Skip the printer and trace your shapes by hand
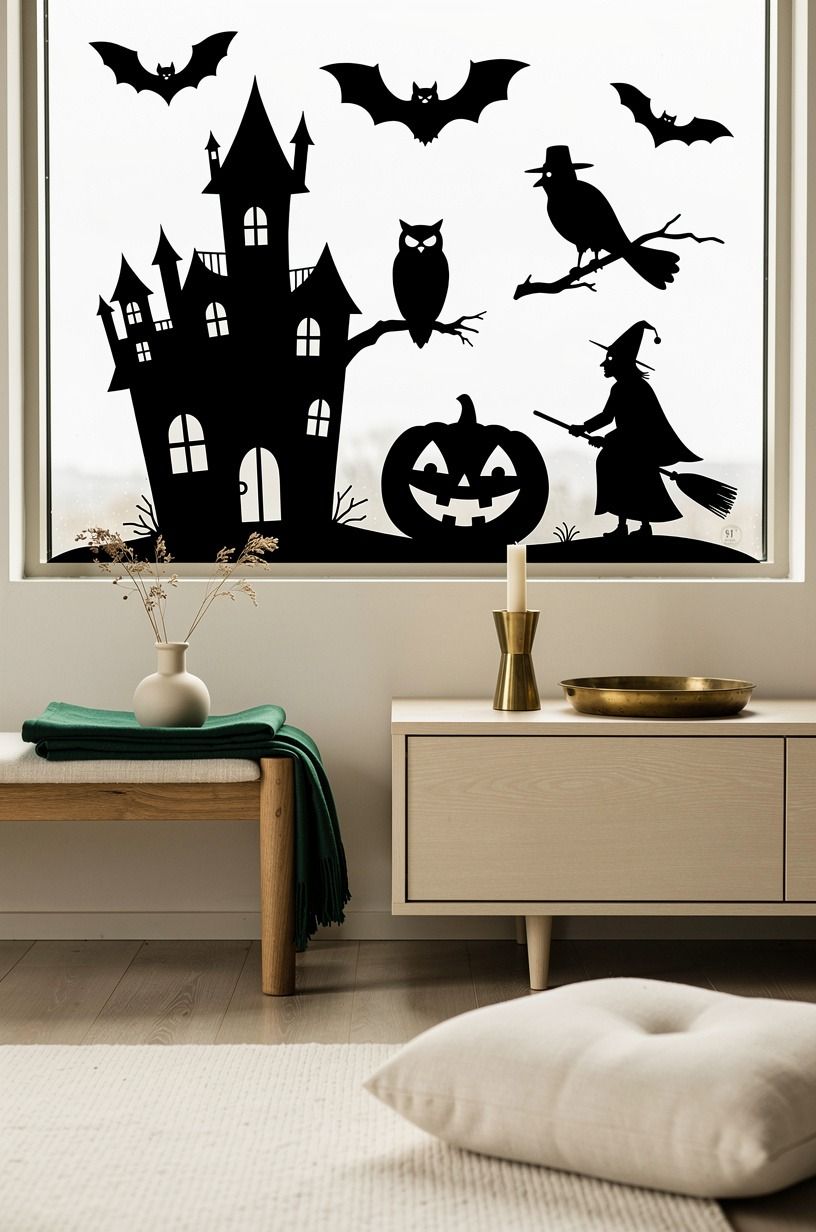
You don’t need printable halloween silhouettes to get clean lines, and honestly the hand-traced ones look better.
3Build the Three-Window Story Rule
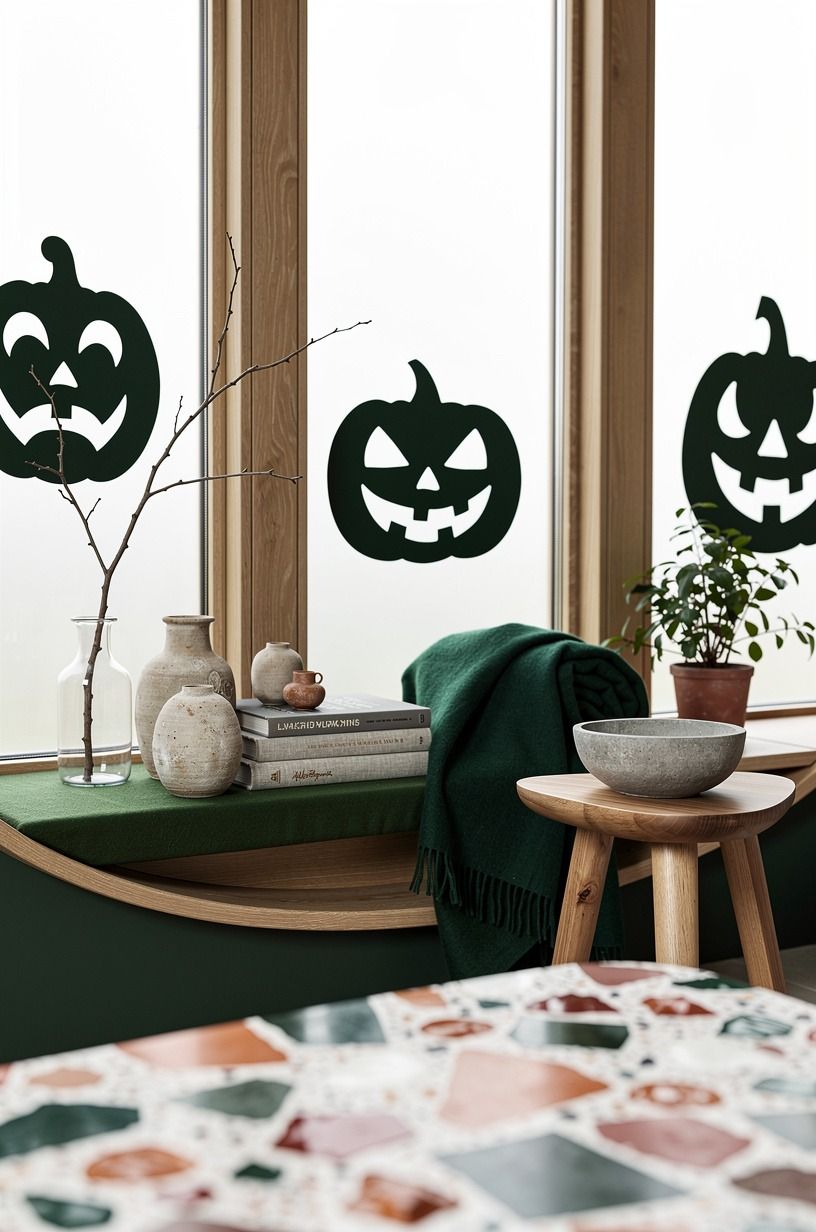
Here’s a move that separates a decorated house from a decorated window: treat three adjacent windows as one scene with a beginning, middle, and end. Left window gets the cat crouching.
Center gets the witch mid-stir. Right gets the bats escaping upward.
Your eye travels, and travel is what makes people slow the car down.
I tried scattering identical bats across five windows my first year. It read as wallpaper, not a story. One scene beats five repeats, and it costs less paper.
4Layer a cat in the lower corner where nobody looks
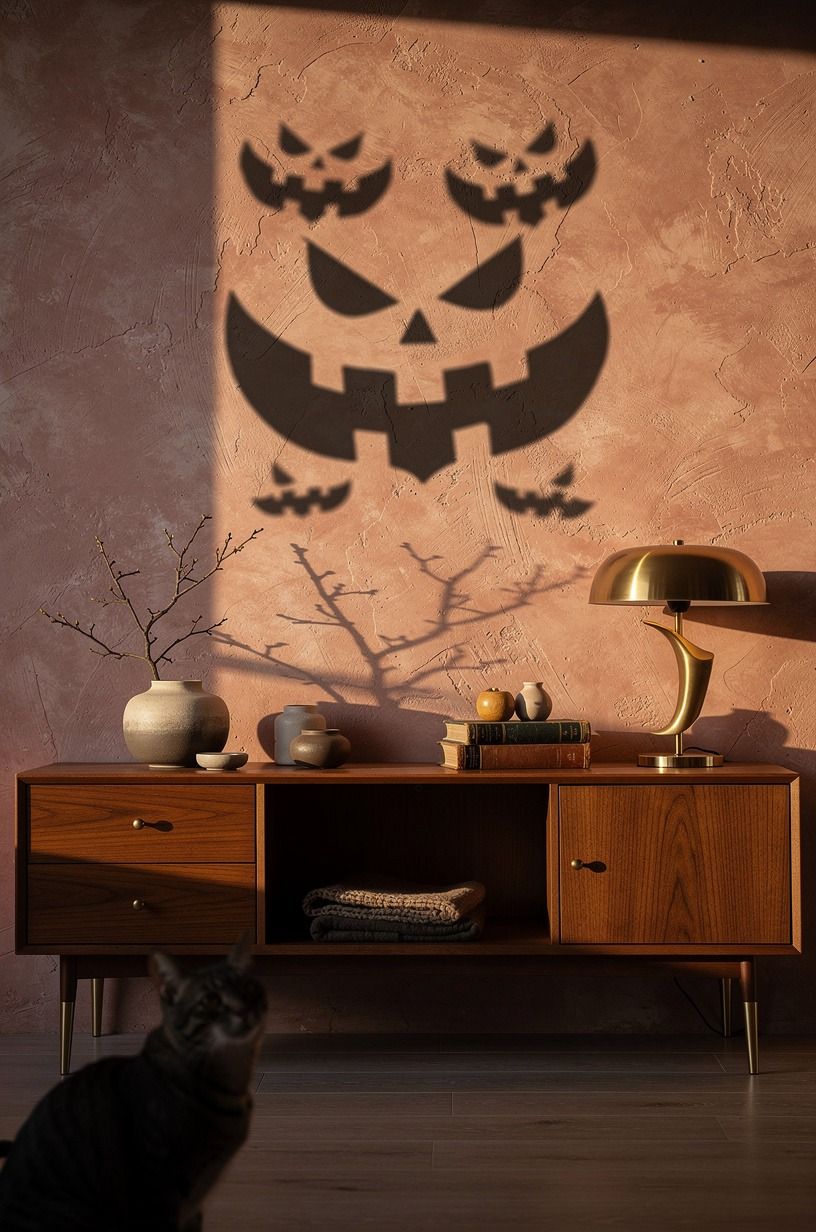
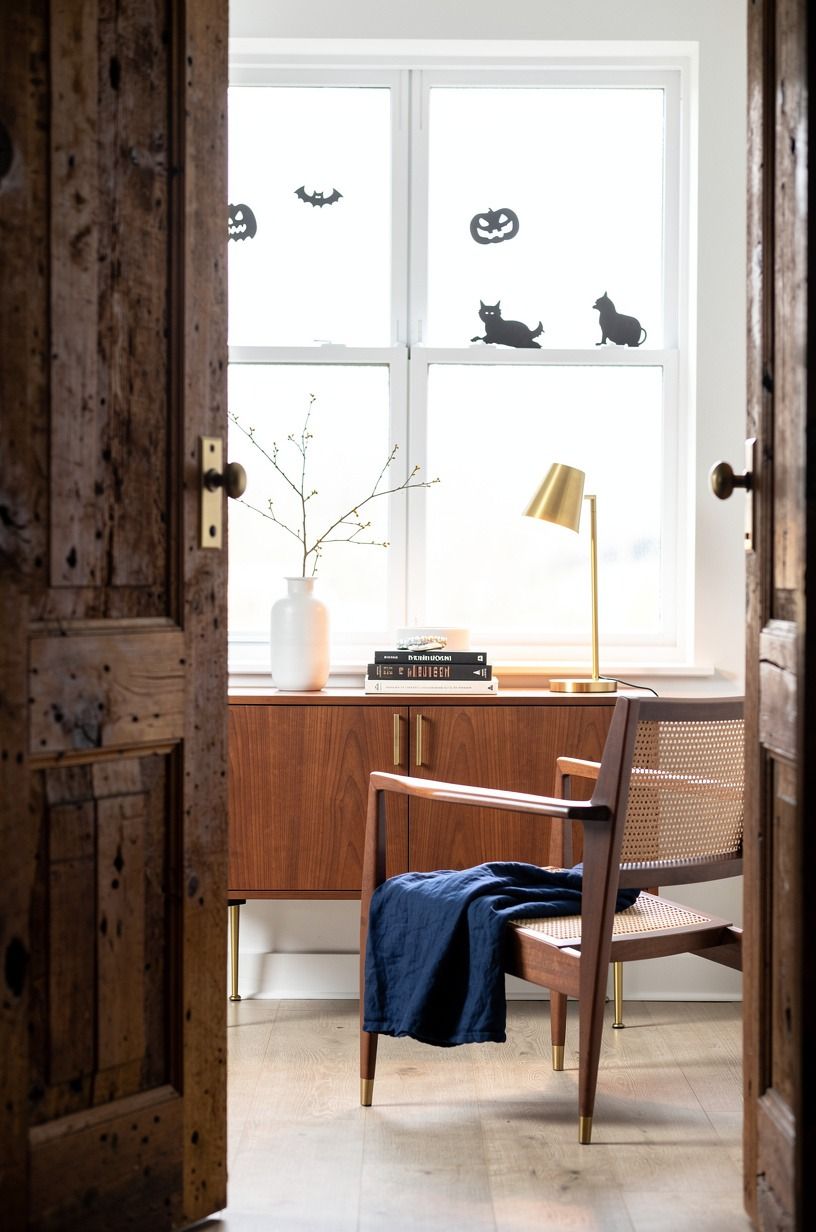
Most people decorate at eye level and leave the bottom third of the glass empty. A crouching cat in the lower left corner is the fix, and it’s the cheapest black paper cutouts halloween idea on this list because a cat body is basically two curves and a tail.
Cut the ears exaggerated. Real cat ears are subtle, and subtle disappears at forty feet.
Keep the tail high and hooked, that’s the shape that reads feline instantly. Cricut removable vinyl works here too if paper feels too fragile for a west-facing window that gets afternoon sun.
5Hang bats with removable poster putty instead of tape
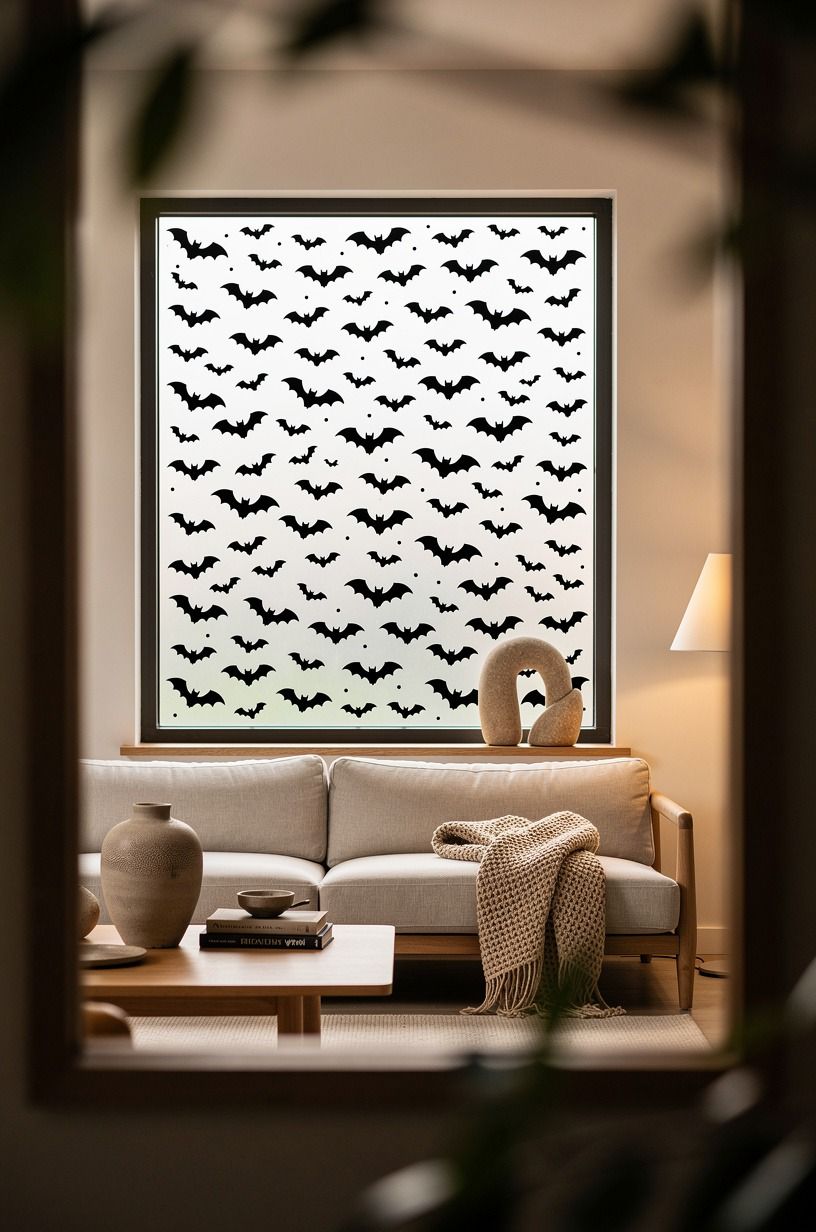
Tape pulls paint off trim, and every renter knows that sick feeling in November. Scotch removable mounting putty costs around $4 a pack and holds a paper bat through a windy night without leaving a mark. Roll a pea-sized ball, press it to the glass, done.
Bats want irregular spacing. Three low, one high, two drifting toward the corner.
If you space them evenly, your brain files them as a pattern and the spooky window decor effect dies immediately. Chaos is the point!
6What size should a window silhouette actually be?
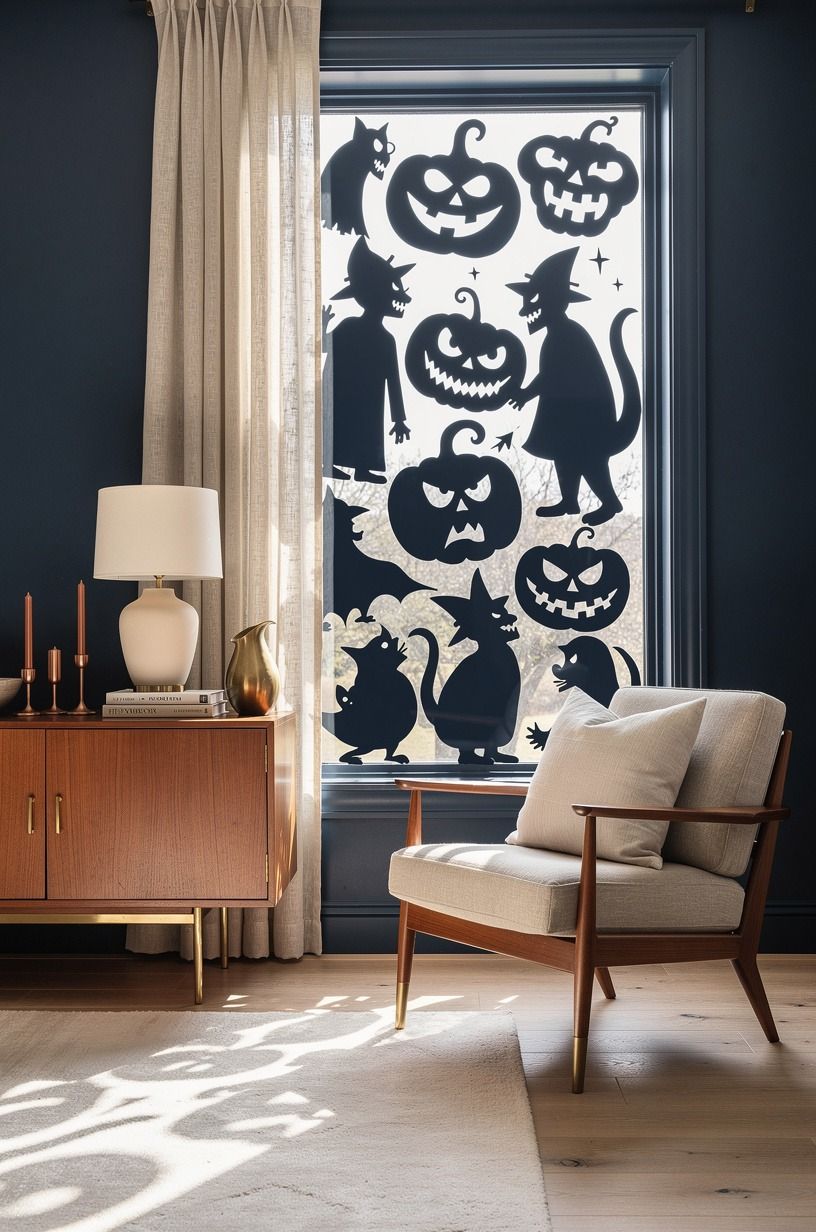
Measure your glass, then make your main figure about two-thirds of the pane height. A standard double-hung sash runs roughly 28 by 24 inches, so an 18-inch figure fills it without crowding the trim. That ratio holds whether you’re working on a bathroom window or a picture window.
But don’t scale everything up together. A 30-inch witch with 30-inch bats looks like a diagram. Keep secondary shapes at a third the size of your hero shape and the depth appears on its own.
7Float a haunted house skyline across a wide window
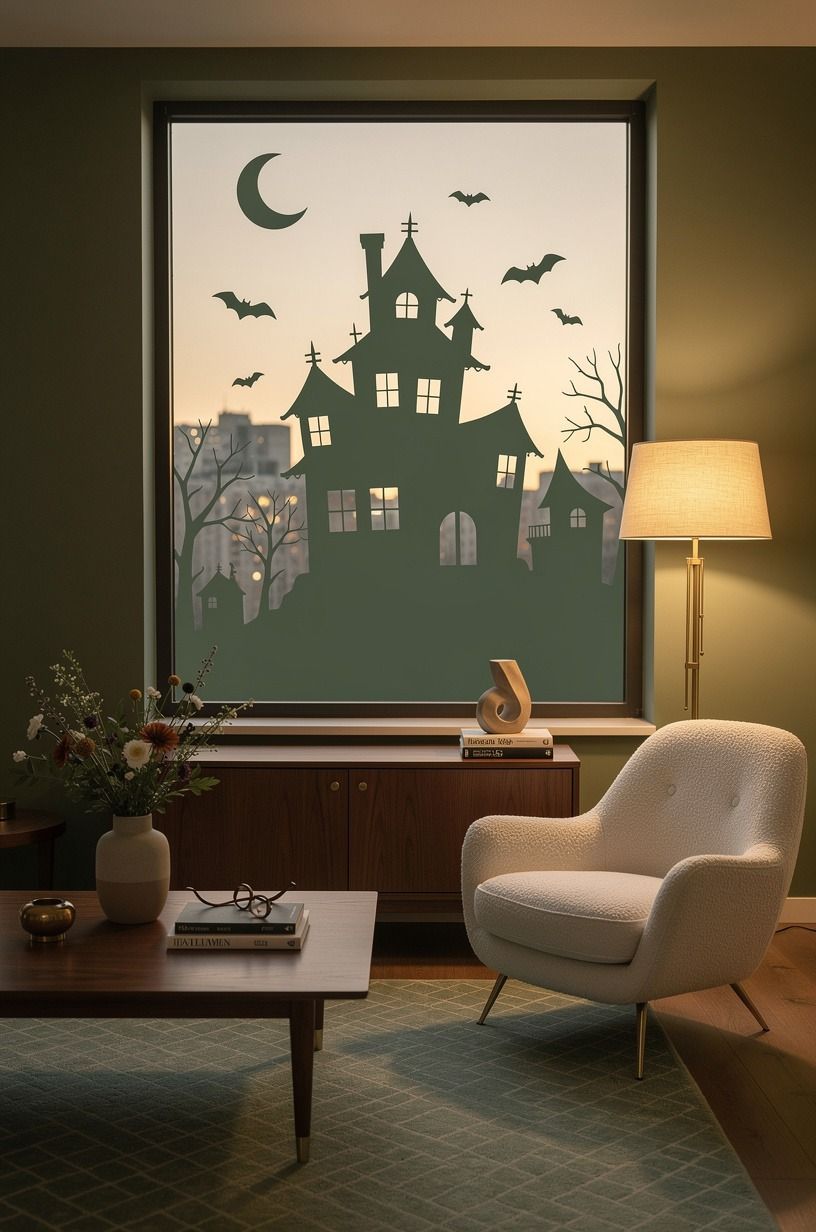
For a wide pane, a low skyline beats a single figure. Cut a continuous strip of rooftops, chimneys, and one crooked spire from black poster board, then run it along the bottom edge of the glass so it silhouettes against the street light. It’s the one I get the most questions about.
Cut it as one piece if you can. Seams show when light hits them. A 22 by 28 inch board gives you about 28 inches of skyline, and two boards taped on the back side get you a full bay window for under $5.
8Paint the glass instead when the shape is tiny
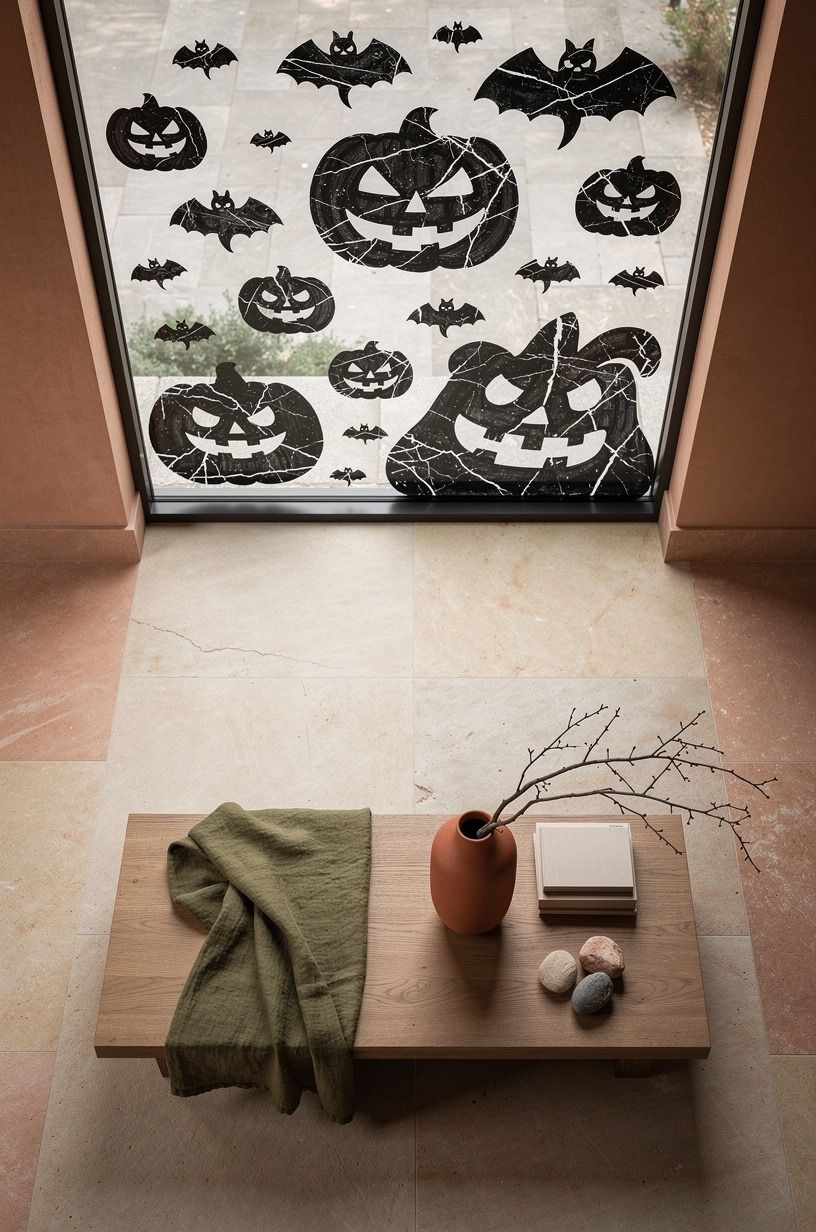
Some shapes are too fiddly for paper. Spiderwebs, bare branches, a rat’s whiskers. For those, Apple Barrel black acrylic and a liner brush beat any cut paper, and it scrapes off the glass with a razor in about two minutes come November.
I fought a paper spiderweb for an hour once before I gave up and painted it in six minutes. Learn from that. Paper for mass, paint for line work, and your halloween window ideas stop fighting the material.
9Anchor everything with warm light behind the glass
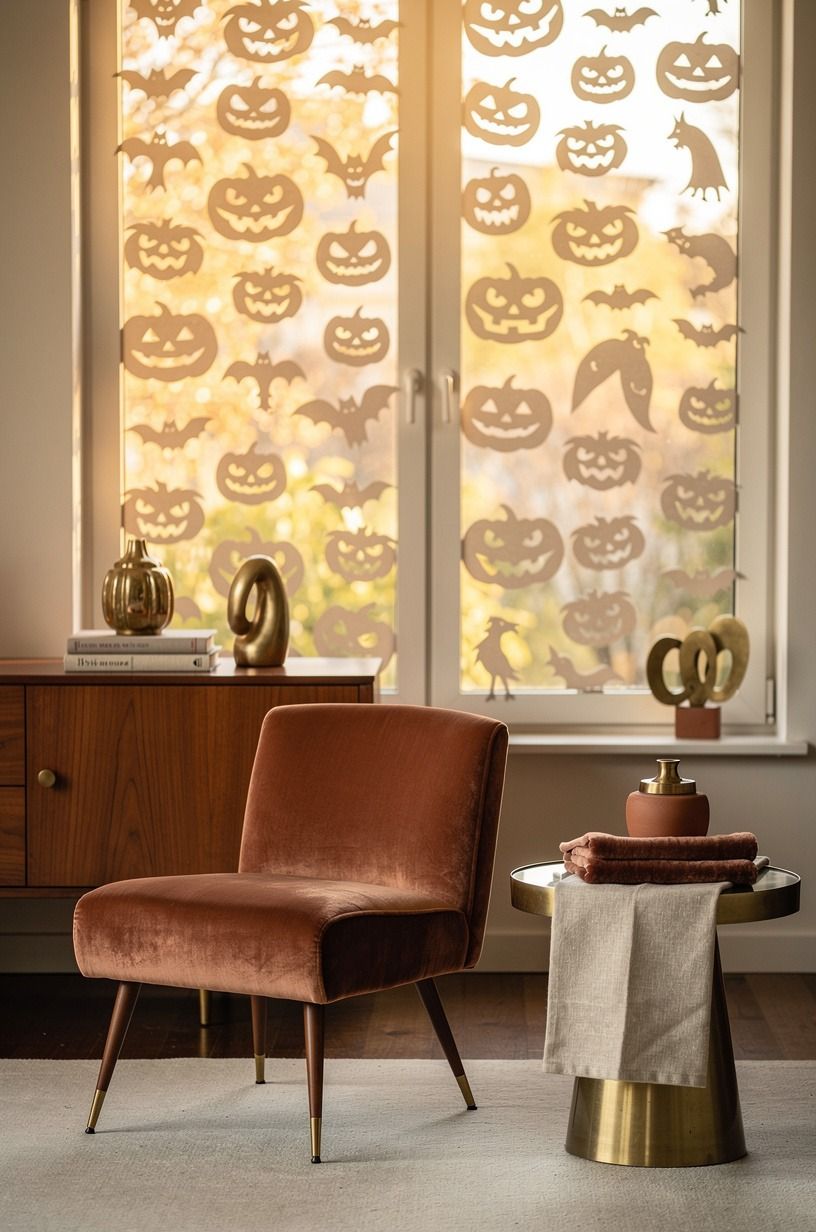
A silhouette without a light source behind it is just a dark shape on dark glass. Put a lamp three to four feet back from the window with a 2700K warm white bulb and the whole thing glows amber from the street. Cool white makes it look like a hospital.
Three sources per room is the rule I use anyway: overhead, task, ambient. For silhouettes, kill the overhead and let one low lamp carry it. The uneven light is what gives the figures that flickering, candlelit quality without a single candle.
10Mix matte paper over glossy for a deeper black
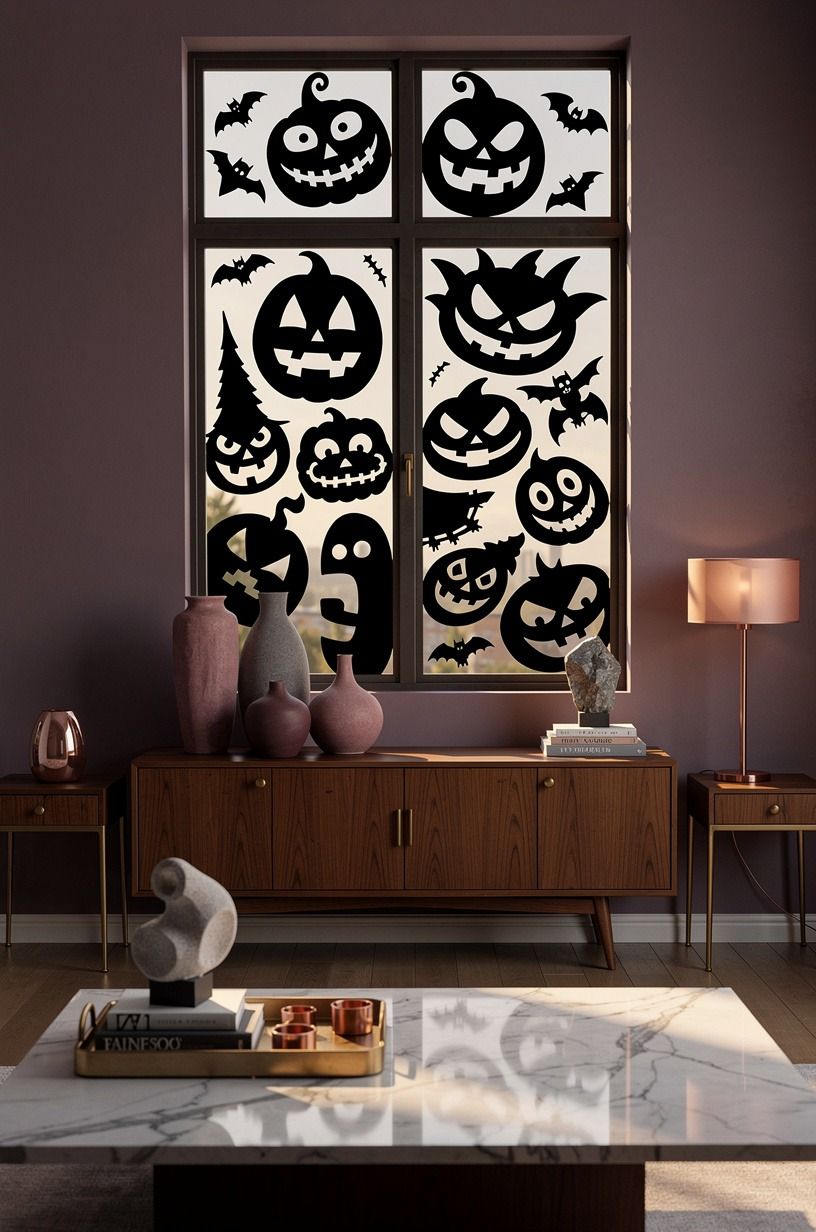
Glossy black reflects street light and turns gray at night. Matte swallows it. Astrobrights matte black cardstock reads noticeably darker through glass than a coated sheet, and the difference shows up most on large shapes like a full witch body.
Test it before you commit. Hold both against your window at night with a lamp behind you.
One will disappear into true black and one will shine back at you. Pick the one that disappears.
11Why do store-bought clings always look worse?
Because they’re translucent. Light passes through a vinyl cling and gives you a muddy charcoal instead of a hard black edge, which is exactly what kills the effect.
Paper is opaque. That’s the entire difference, and it costs a tenth as much.
I’d skip the $12 cling packs at Target entirely. They’re convenient, sure, but convenient is how you end up with a window that looks like every fourth house on the block. Cut your own and nobody has yours.
12Frame the scene with a strip of black around the pane
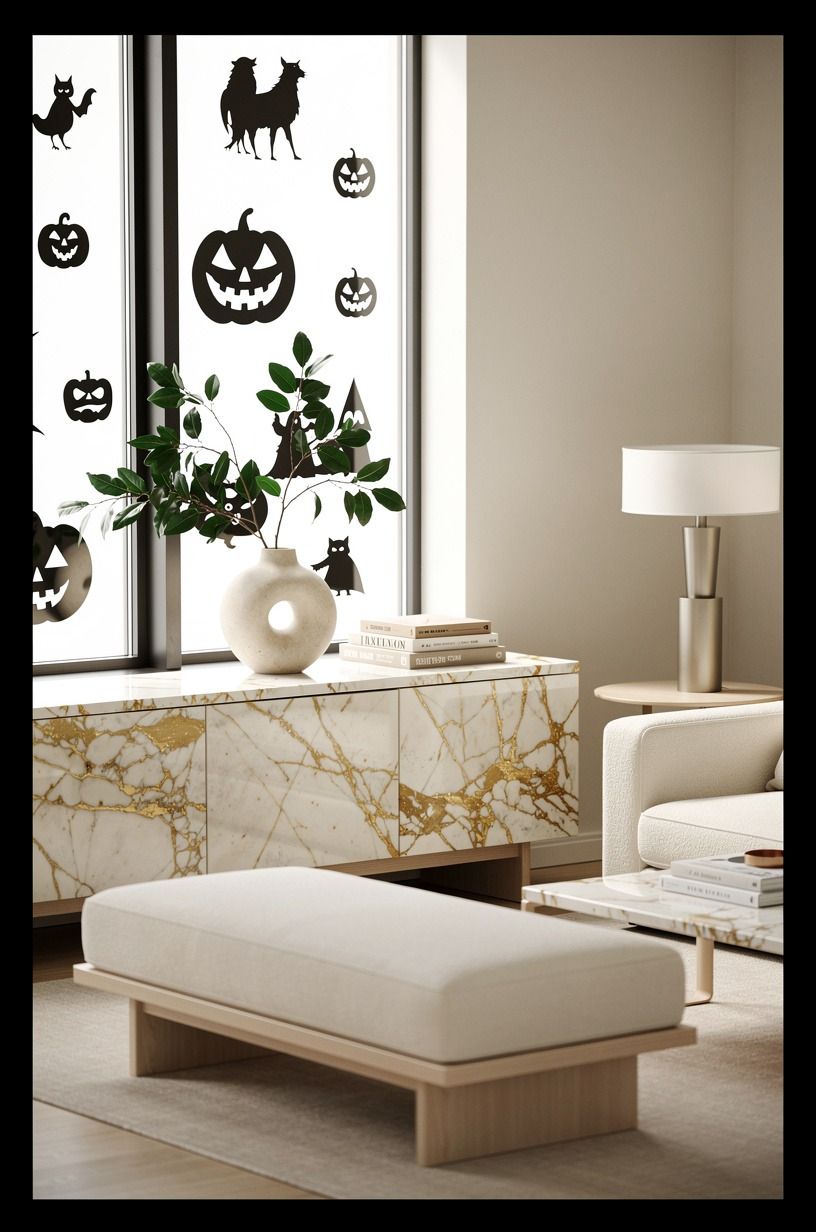
A half-inch border of black paper taped around the inside edge of the glass makes everything inside it read as intentional. It’s a border, and borders tell your eye where to look. Takes ten minutes and one sheet.
This works best on older windows where the trim is already dark. On white vinyl frames, the contrast can get harsh, so run the border a little thinner, maybe a quarter inch, and it stays elegant instead of blocky.
13Cut a hand reaching up from the bottom sash
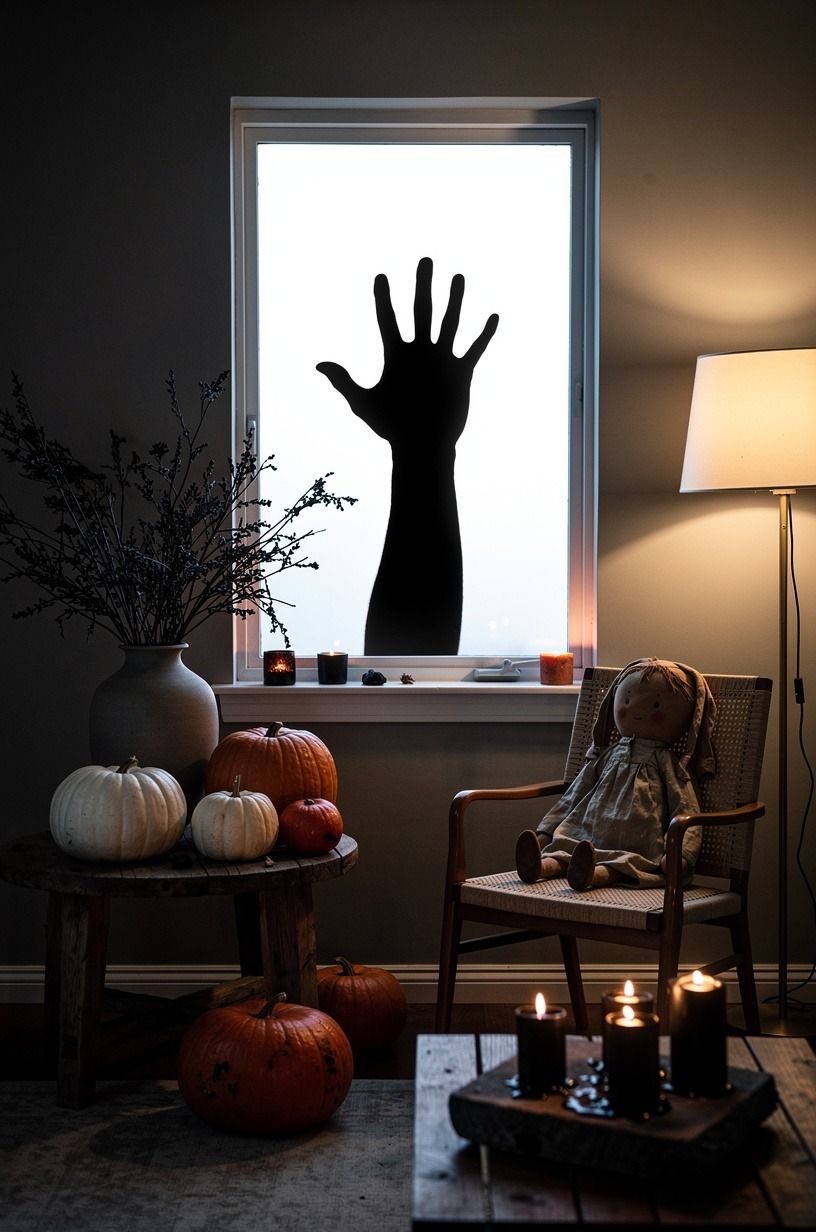
Nothing gets a reaction like a single hand pressed against the glass from below. Fingers splayed, wrist cut off by the sill, no body. Your brain fills in what’s missing, and what it fills in is worse than anything you could cut.
Keep the fingers thick, at least three-quarters of an inch wide each. Thin fingers tear when you peel them off the cutting mat, and I’ve lost two pinkies that way. A self-healing cutting mat runs about $15 and saves you the tearing entirely.
14Instead of one big scene, try one figure per pane
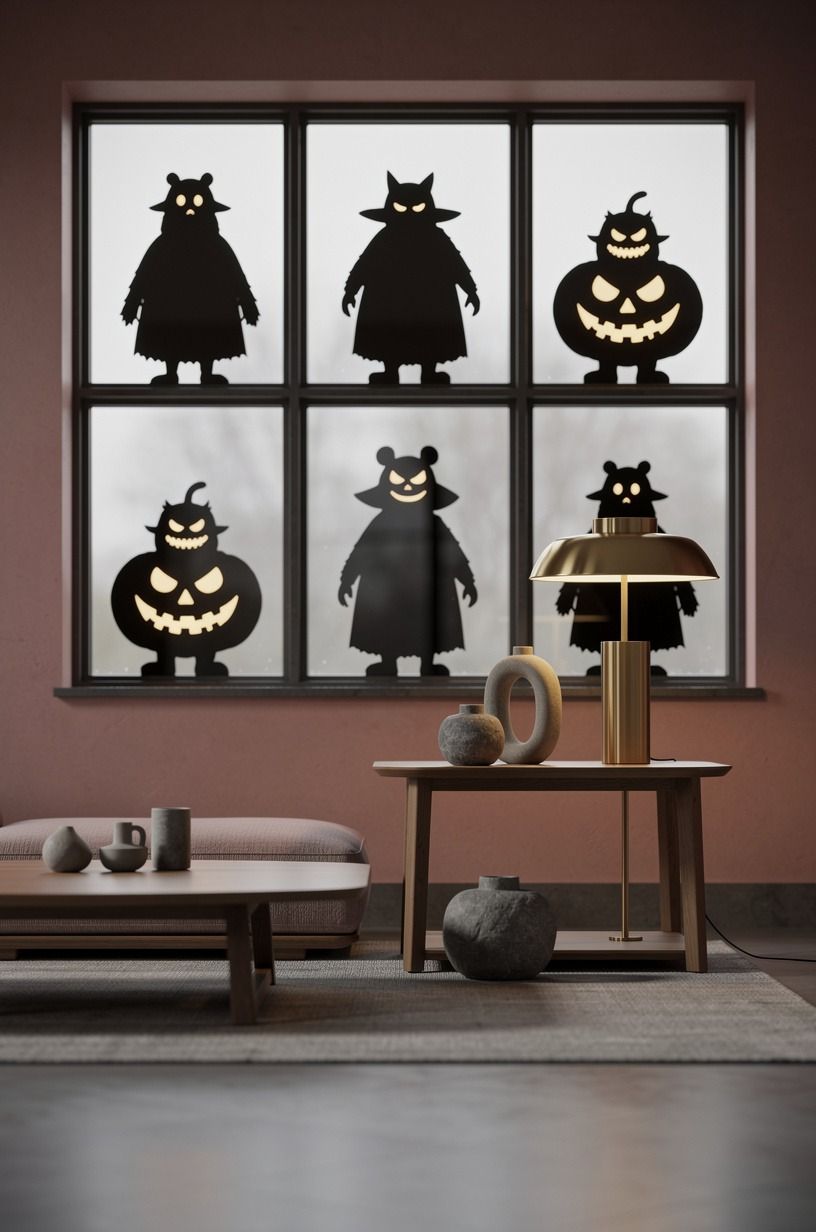
Multi-pane windows give you a grid, and a grid wants repetition with variation. One bat per pane, each at a different angle. Or one figure in the third pane and nothing in the rest, which is somehow more unsettling than filling every square.
Restraint reads as confident. Twelve panes with twelve shapes reads as a craft store exploded. Pick four panes out of twelve and leave the rest dark.
15What does a full window set cost?
Real numbers, because vague is useless. Here’s what a general decorating budget looks like against what this project actually runs.
Window silhouettes don’t even register on that scale, and that’s the appeal. A pack of cardstock, a blade, and some putty lands well under the bottom of the budget tier. You’re spending an evening, not a paycheck.
16Swap orange gel film for colored backlight
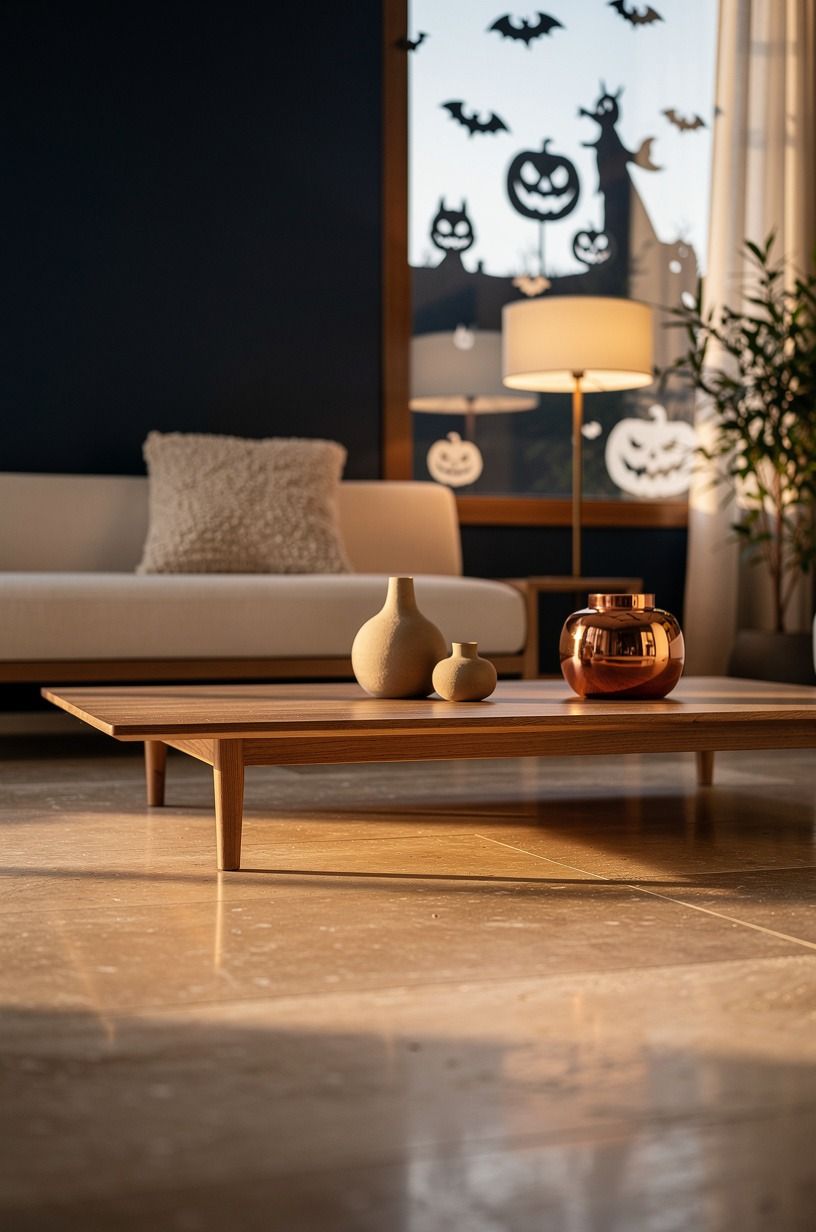
Tape a sheet of midnight-blue or copper gel film to the lamp shade behind your silhouettes and the whole window shifts mood. Copper for warm and inviting, midnight blue for a moody laboratory feel. Gel sheets run about $3 each at theater supply shops.
Don’t gel more than one window per facade. When every pane glows the same color it flattens into a light show, and the eerie quality depends on some windows staying dark. Contrast does the work.
17Hang taller figures 57 to 60 inches from the floor
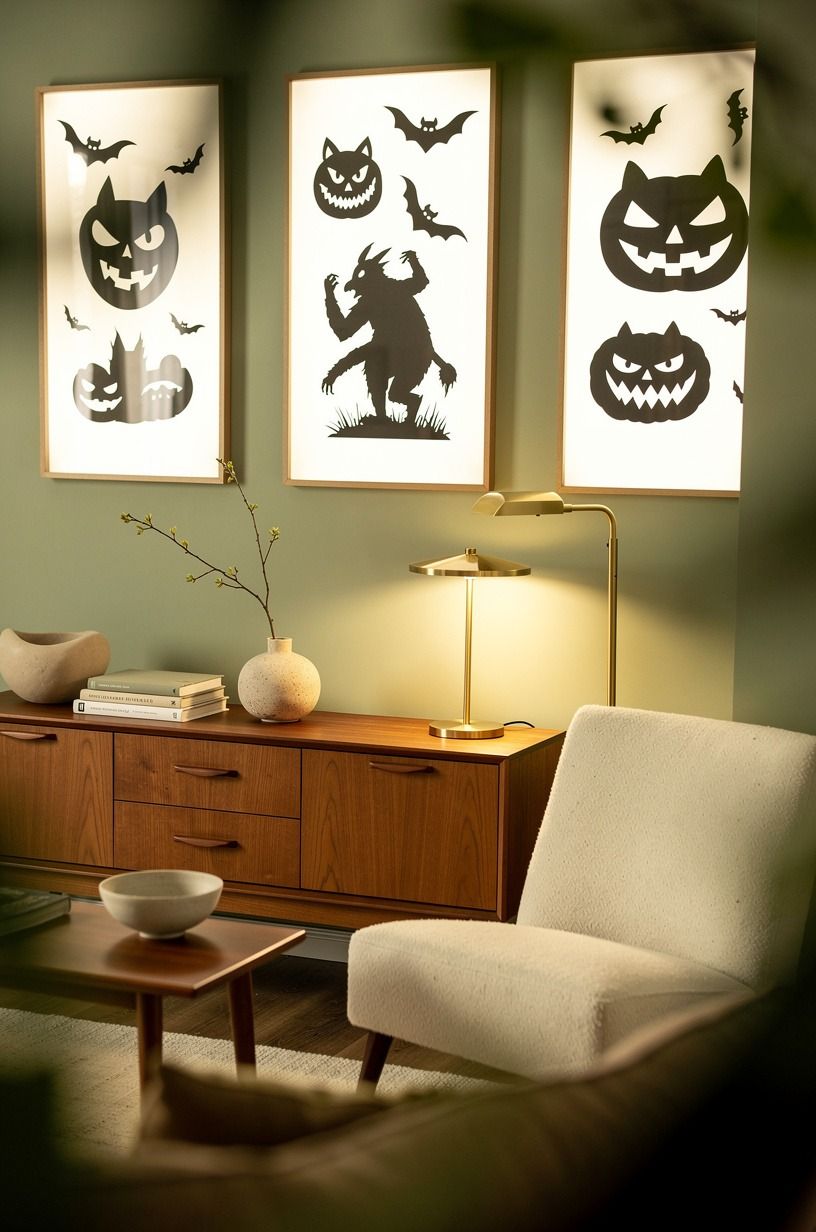
The art-hanging rule applies to standing figures too: center them roughly 57 to 60 inches up, which is average eye level.
18Build a graveyard band along the sill line
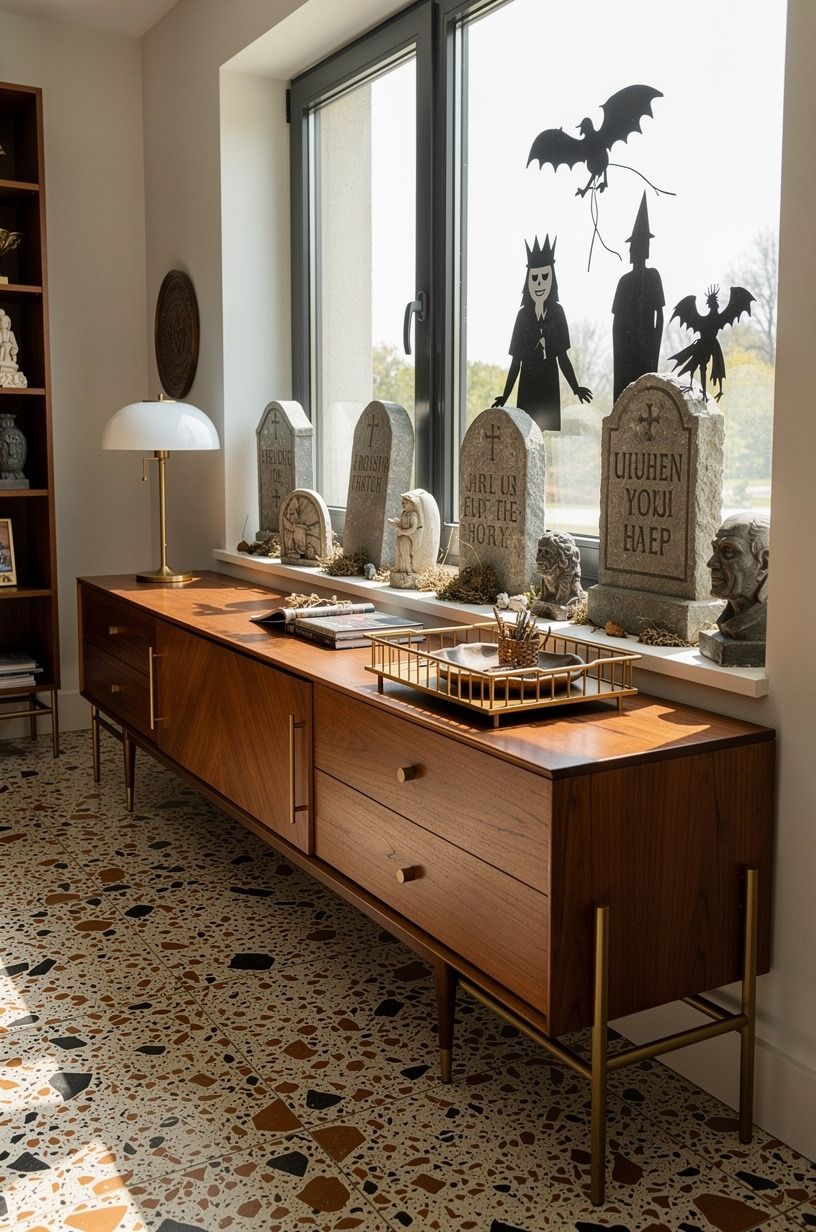
Cut a row of tilted headstones, uneven heights, some leaning, running the bottom four inches of the glass. Add one bare tree at the left edge with branches that break the horizon. Black kraft paper on a roll makes this cheap since you’re cutting a long continuous strip.
Uneven is the whole point. Straight headstones look like a fence.
Tilt every third one about ten degrees and the ground suddenly reads as old and settled. That tiny detail is what people notice without knowing why.
19Store the whole set flat in a photo box for next year
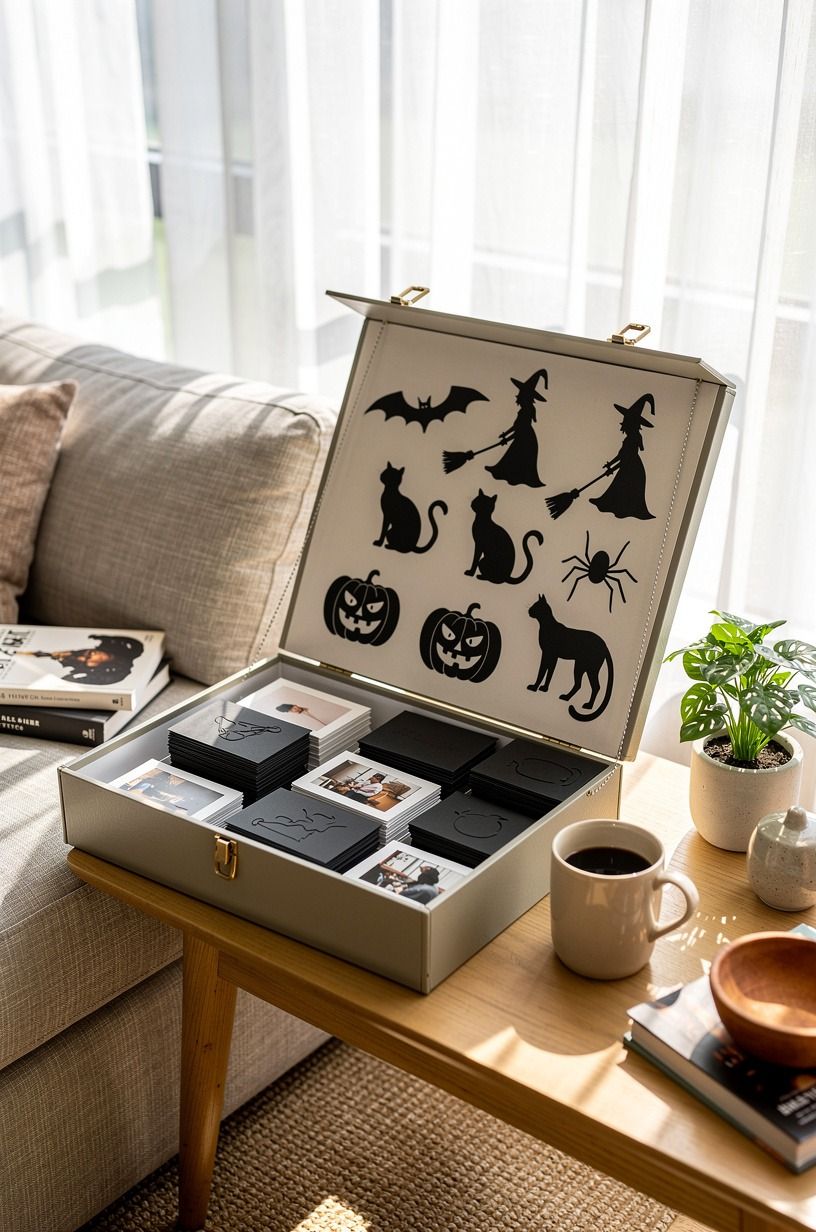
Paper silhouettes last five or six seasons if you don’t fold them. Slide the flat pieces into a 12 by 12 inch scrapbook storage box with a sheet of tissue between layers, label the lid, and next October takes twenty minutes instead of a full evening.
I lost an entire set to a folded grocery bag in the attic once. Creases catch light and every single one shows from the street. Flat storage, every time, and you’ll thank yourself next year!
What I’ve Learned From Six Octobers of Cutting Paper
I started doing this because I was broke. That’s the honest version.
The first year in our house, October showed up and the decorating budget was whatever was in the coffee can, so I bought a $4 pack of black cardstock and cut a witch with kitchen scissors. She was lopsided.
The hat brim was uneven and one boot was longer than the other. And she was the best thing on our street, because everyone else had the same three inflatables from the same big-box endcap.
What I figured out over the next few years is that this project rewards patience in one specific place: the cutting. Everything else is forgiving. Placement, you can adjust.
Lighting, you can move the lamp. But a ragged edge stays ragged, and at night, backlit, every wobble in your line shows up magnified.
So I slowed down. I stopped cutting late at night when I was tired, and I started swapping blades way more often than felt reasonable.
The other thing, and this took me longer to accept, is that less genuinely works better here. My third year I went maximalist.
Every window, every pane, bats and cats and witches and ghosts stacked on top of each other. It looked busy and cheap, like a clearance aisle.
The next year I did three windows, one scene, and left the rest of the house completely dark. That’s the year people started stopping their cars.
There’s something about silhouettes specifically that I think explains it. You’re not showing anyone a witch.
You’re showing them the absence of light in the shape of a witch, and their brain does the rest of the work. That’s why the cheap version beats the expensive version so consistently. A $40 animatronic tells you exactly what it is.
A piece of black paper makes you lean forward and squint, and leaning forward is the whole feeling of Halloween.
So my advice, if you’re starting tonight: buy better paper than you think you need, cut slower than you want to, and use half as many shapes as you planned. Turn on one warm lamp.
Go outside and look at it from the sidewalk, because that’s the only view that matters. Then come back in and fix the one thing that bothered you.
A Few Things Worth Answering
What’s the best window silhouette shape for a small window?
A single crouching cat or one oversized bat. Small panes reward one strong shape over a scene. Skip multi-figure compositions under 20 inches of glass width, they turn to mush.
One cat, lower corner, done in ten minutes.
Where can I buy black paper for this on a budget?
Michaels, Hobby Lobby, and Target all carry 110 lb black cardstock for $5 to $10 a pack. Dollar Tree sells black poster board for $1.25 a sheet, which is the best value for large shapes. Thrift stores often have craft supplies for pennies.
How much does a full window silhouette setup cost?
About $8 to $25 for a whole house, depending on how many windows you do. Paper runs $5 to $10, a blade pack is $6, putty is $4. If you already own a craft knife and a poster board, it’s genuinely free.
Can I do this on a budget?
Yes, and it’s one of the few holiday projects where cheap doesn’t show. Free options: cut from a black trash bag for temporary shapes.
Use painter’s tape you already have. Trace shapes freehand instead of printing.
Zero dollars is a real option here.
Is this worth it in a small apartment?
Yes, and the small space actually helps. Fewer windows means your whole facade reads as one intentional scene instead of scattered effort. Put your best shape in the window that faces the most foot traffic and skip the rest entirely.
Is this a good idea for a rental?
Yes, and it’s one of the few decorations that leaves zero trace. Removable putty instead of tape.
Static cling backing if you want reusable. Painter’s tape on the glass only, never the trim.
Nothing touches paint, nothing leaves residue.
The One I’d Cut Tonight
If I had to pick one, I’d start with the witch profile. She’s the shape that reads from the farthest distance, and distance is what decides whether someone slows down or drives past.
Cut her big. Pin her for later and get the paper this week.