
Beginner Halloween wreaths with no sewing, no wire frame, and nothing sharp work best when you build on a soft base and let texture do the spooky work. I’ve stood at a craft table with ribbon everywhere and no plan. You don’t need that kind of October chaos.
- Start with a soft pool-noodle ring for beginner wreath making
- Gather no-sharp materials before you begin
- Wrap the base with The Soft-Loop Method
- Anchor one bold shape before adding little decorations
- Layer torn cheesecloth for a ghost wreath DIY
- Mix matte paper bats with plush pom-poms
- Build The Three-Texture Rule into easy DIY Halloween decorations
- Hang a paper moon with the Floating-Focal-Point Rule
- Start with a soft pool-noodle ring for beginner wreath making
- Gather no-sharp materials before you begin
- Wrap the base with The Soft-Loop Method
- Anchor one bold shape before adding little decorations
- Layer torn cheesecloth for a ghost wreath DIY
- Mix matte paper bats with plush pom-poms
- Build The Three-Texture Rule into easy DIY Halloween decorations
- Hang a paper moon with the Floating-Focal-Point Rule
- Choose fabric tails over a big premade bow
- Test your wreath against the door before you call it done
- Hang it with removable strips and save the leftovers
1Start with a soft pool-noodle ring for beginner wreath making
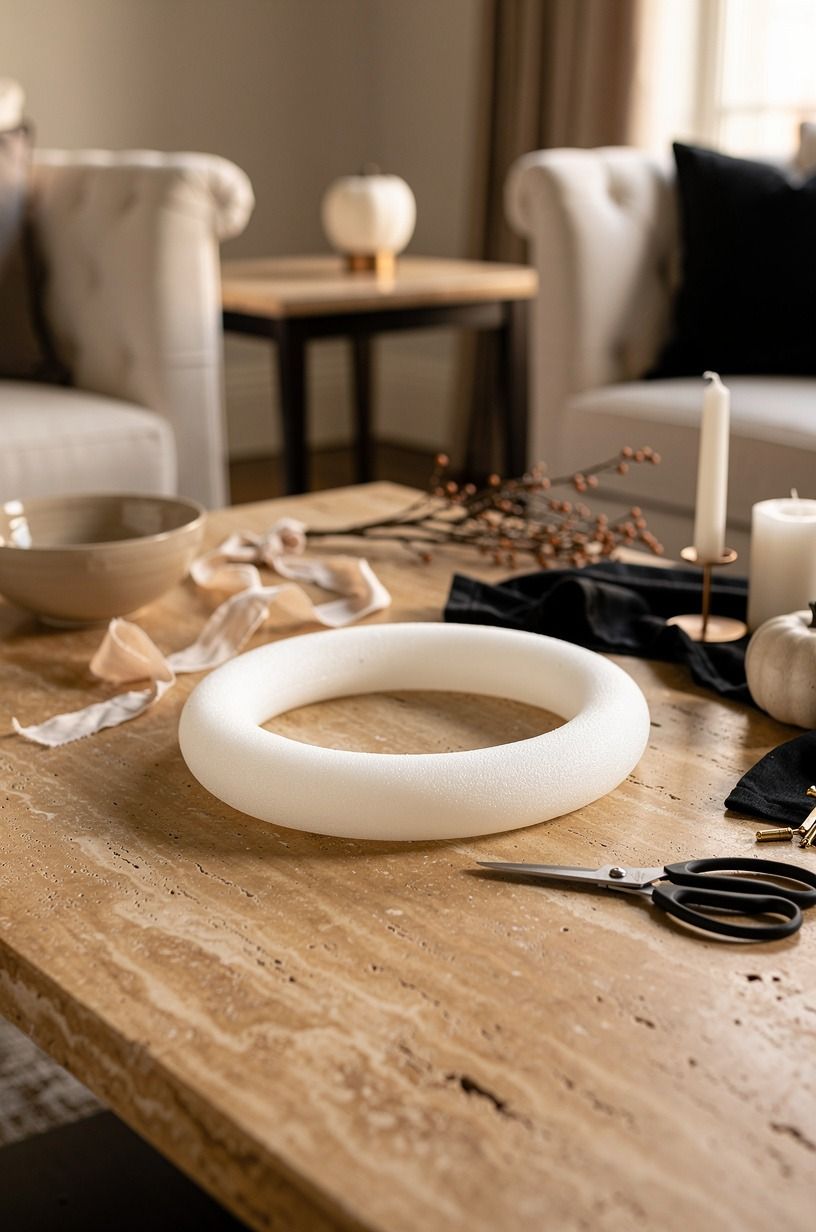
Cutting wire is where a simple project gets annoying, so skip it. Bend a foam pool noodle into a circle, overlap the ends by about 3 inches, and secure them with wide black cloth tape that you can tear with your hands.
You’ll get a light, forgiving base that won’t scratch your door or poke through fabric. I’d choose a 24-inch noodle over a tiny foam ring because your finished wreath needs enough air around the center to read from the sidewalk. Soft, round, and cheap.
For a moody front-door color behind it, warm white with camel and black accents gives orange ribbon a calmer backdrop than bright white. You can borrow the same soft-color thinking from this Vitamin C layering mistakes article, oddly enough: layers work better when each one has room to breathe.
Typical cost by tier (US averages):
2Gather no-sharp materials before you begin
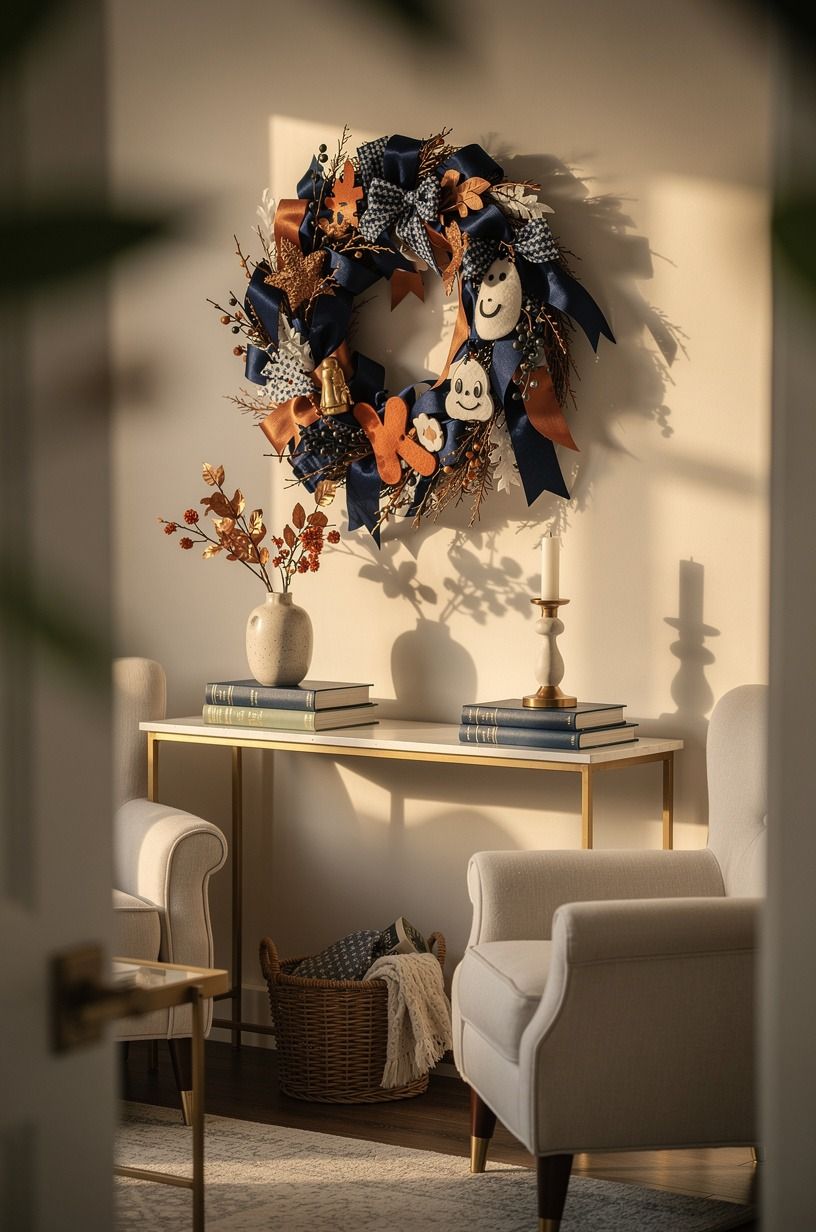
Put everything on a table before you touch the base.
3Wrap the base with The Soft-Loop Method
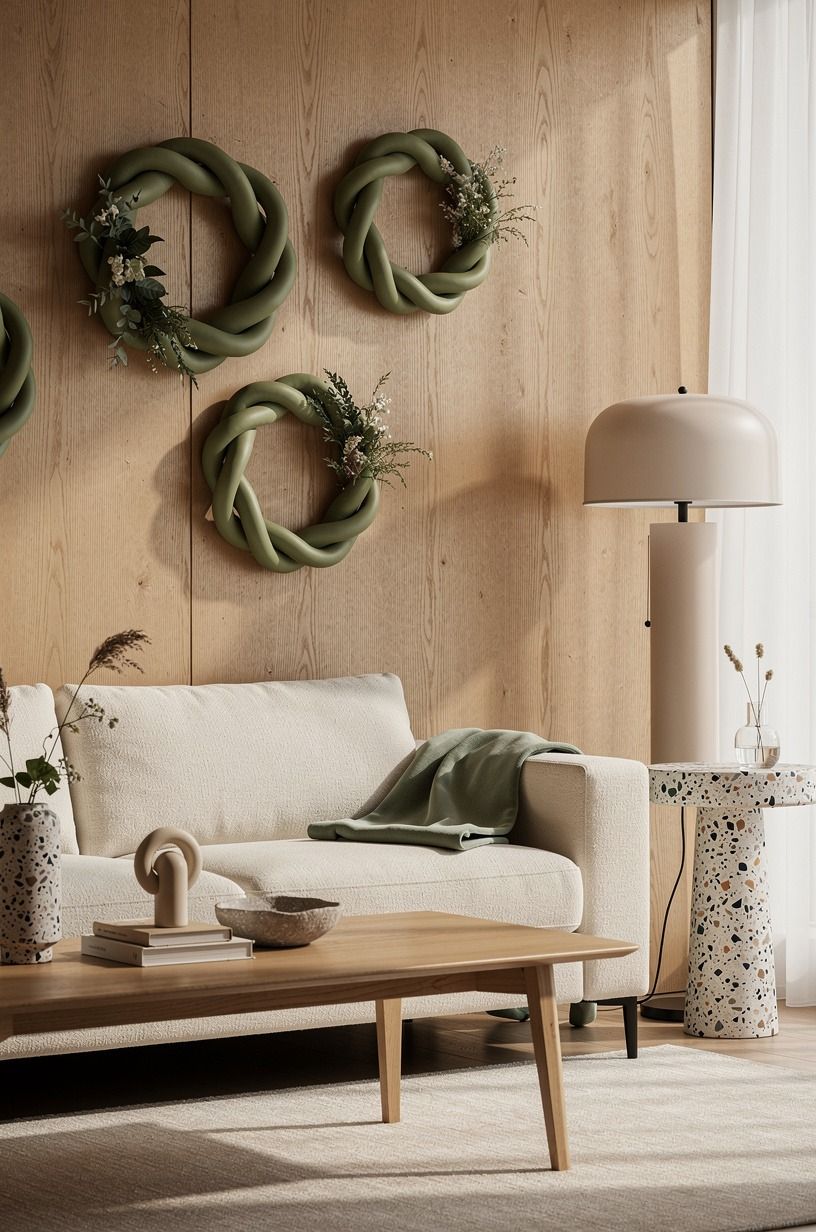
Tear black cotton jersey into 2-inch strips, then loop each strip around the noodle and tie it once. You’re not trying to make it neat. The slightly uneven edges catch porch light and make the whole thing feel more organic.
Keep your knots facing the back, and leave small bits of foam visible only if the noodle is black. If yours is bright blue, cover it completely. I made that mistake once, and the blue flashed through every gap like a pool party had wandered into Halloween.
You’ll need roughly 30 to 40 strips for a full-looking ring, depending on how tightly you tie them. But don’t flatten the fabric as you go. That rumpled, soft surface is what keeps a no sew Halloween wreath from looking like a school supply project.
4Anchor one bold shape before adding little decorations
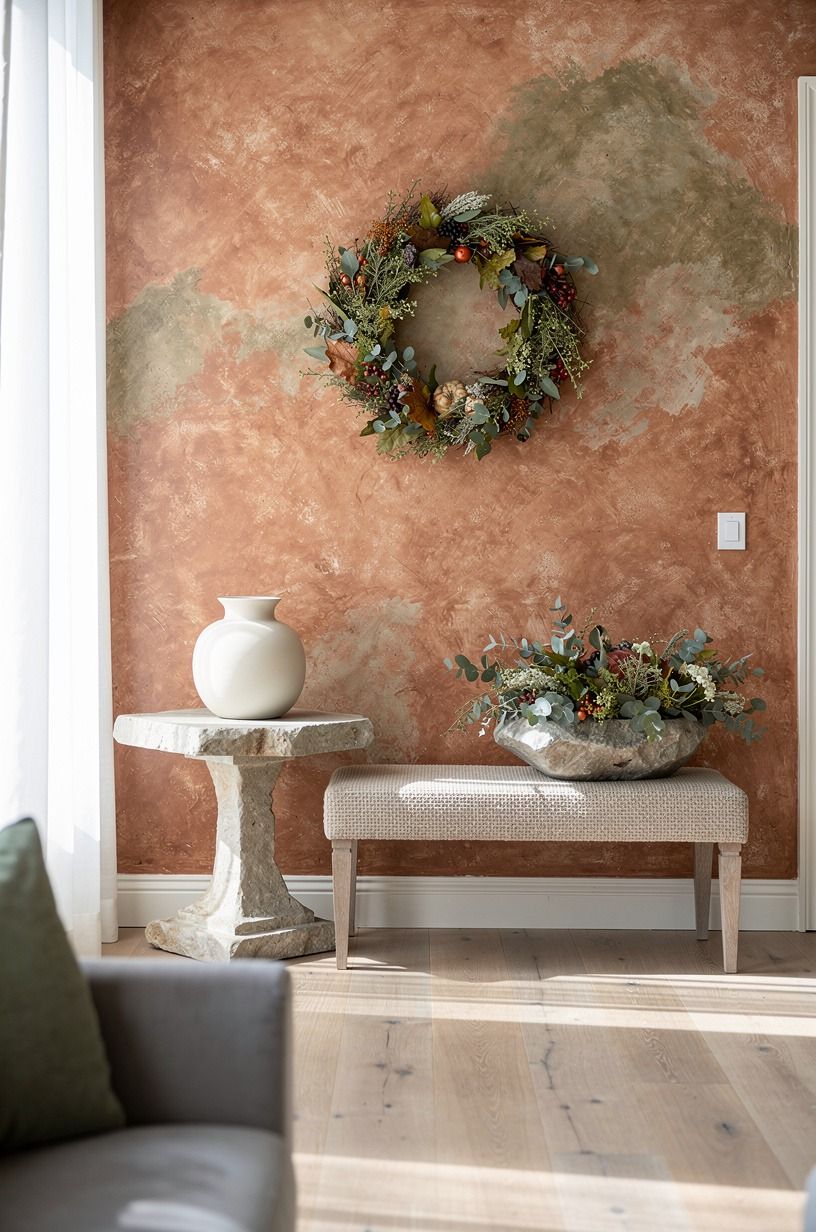
Choose one large focal point: a Target Hyde and EEK! Boutique felt ghost, a soft fabric pumpkin, or a paper moon. Place it slightly off-center, around the 4 o’clock position, instead of dead in the middle.
You’ll get more movement that way, and your eye won’t stop at one stiff bullseye. I’d skip a giant plastic skull here. It’s loud, hard to attach without sharp pieces, and it makes every other detail feel like an afterthought.
Use a doubled strip of painter’s tape behind the felt shape, then tie a cloth strip over it for backup. You can pull it apart later without wrecking the base. For an off-center composition lesson from a completely different setting, look at how a natural frame works in this Utah sunrise arch story.
5Layer torn cheesecloth for a ghost wreath DIY
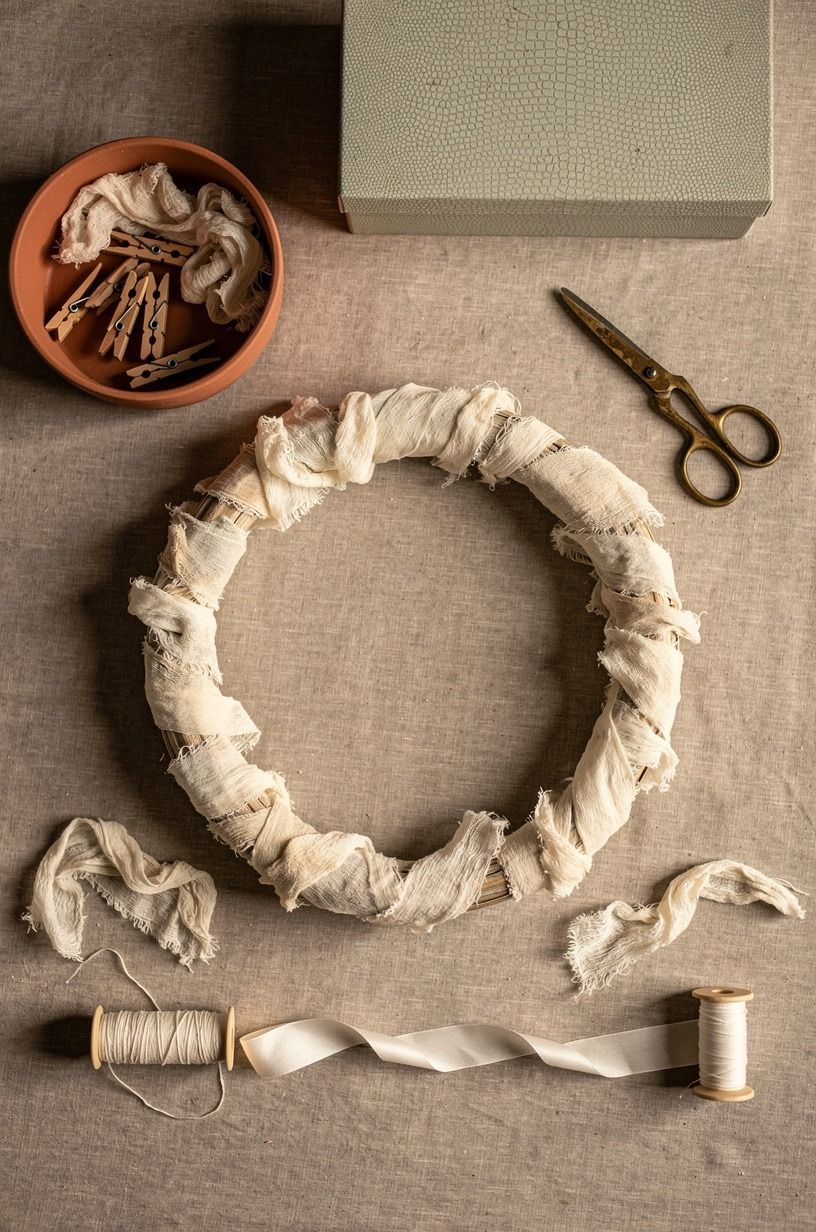
Drape cotton cheesecloth across the bottom third of your ring, then pinch it into loose folds with short pieces of tape.
6Mix matte paper bats with plush pom-poms
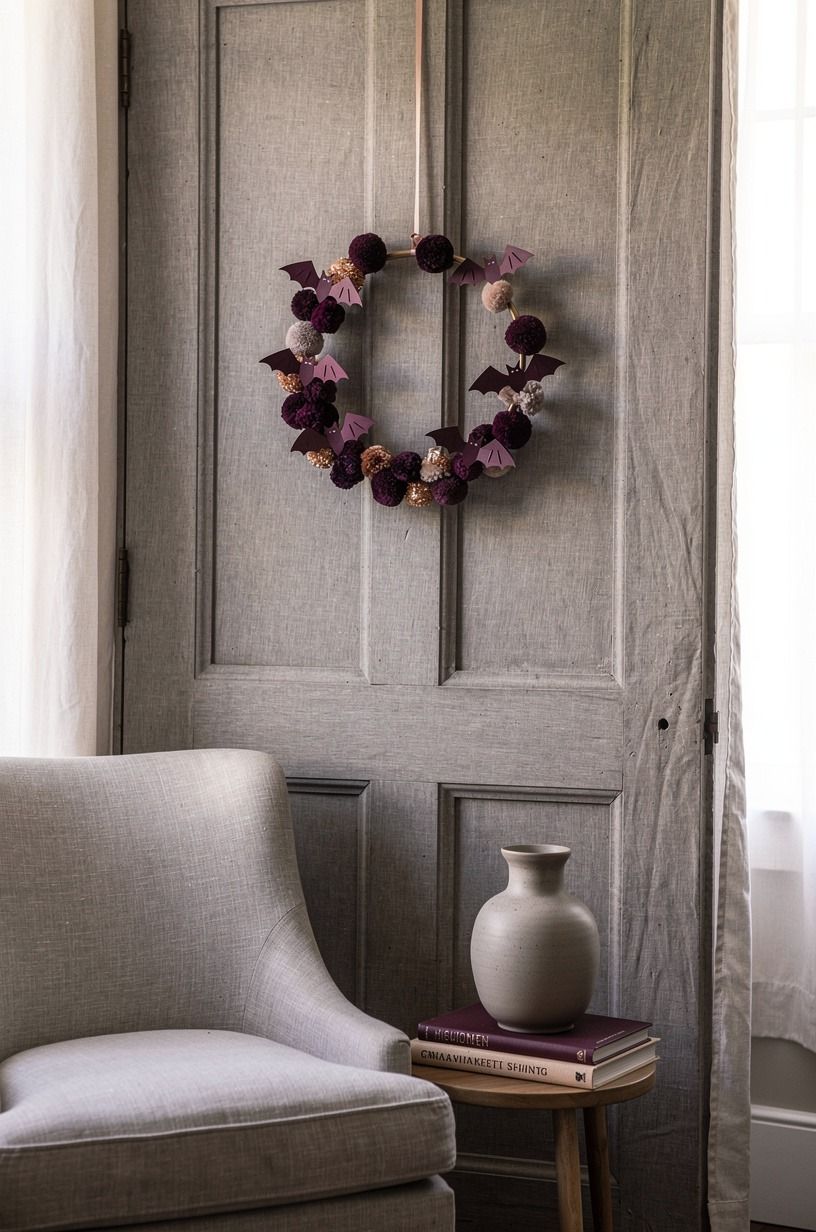
Make bats from black construction paper by folding a sheet in half and tearing simple wing shapes, no scissors required. Tape three or five around the ring, then add charcoal or rust-colored pom-poms between them.
You don’t need perfect bats. In fact, the crooked ones have more personality. Your wreath should feel handmade, not factory-stamped, and a few wonky wings make it more charming.
Keep the pom-poms small, around 1 inch, so they don’t swallow the soft texture you already built. And use odd numbers.
Three bats, five pom-poms, one ghost. That little imbalance gives your eye somewhere to travel.
For more inspiration about unusual natural silhouettes, this granite cove feature has the same pleasing mix of soft curves and hard edges.
7Build The Three-Texture Rule into easy DIY Halloween decorations
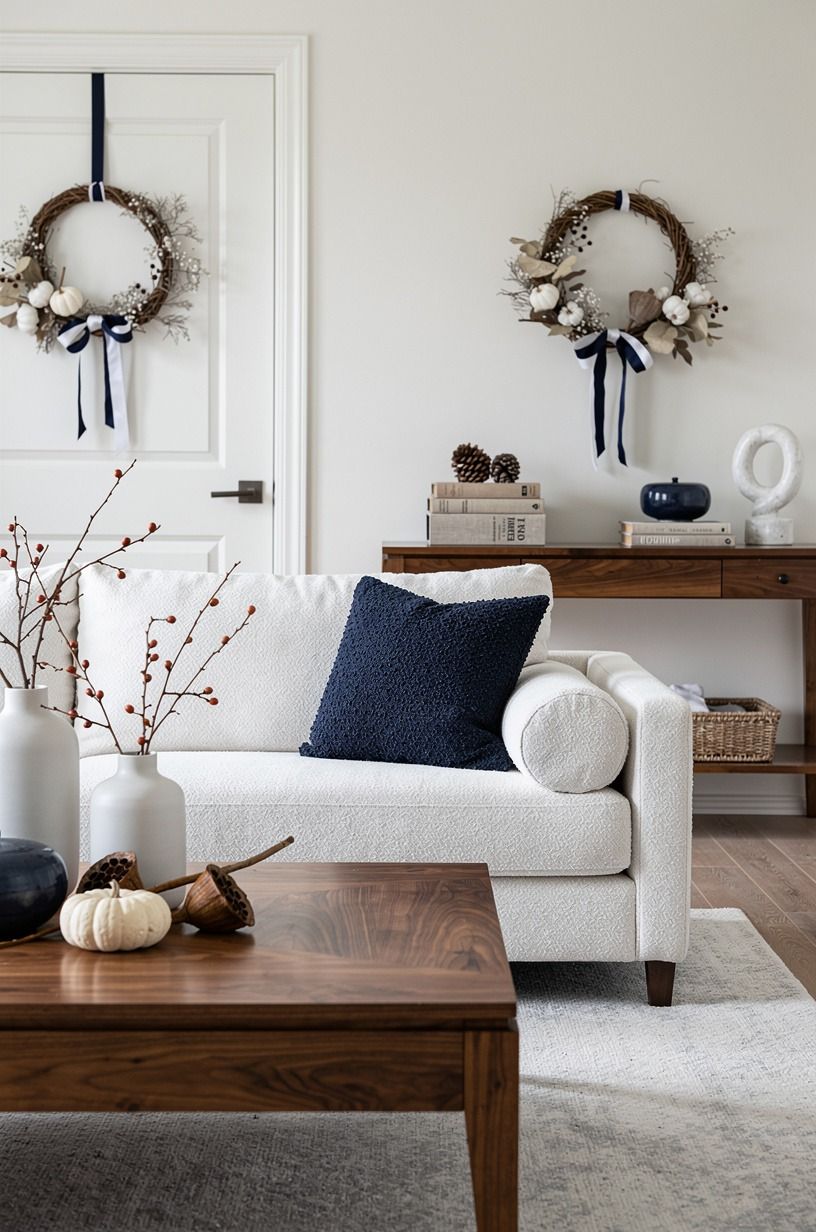
Give your wreath three surfaces: one soft, one papery, and one fuzzy. Washed Belgian linen scraps, torn black paper, and chenille pom-poms make a better combination than three types of plastic décor.
You’ll feel the difference even before you hang it. Linen has a dry, nubby hand; paper stays crisp; chenille catches a bit of shadow. That contrast is more captivating than piling on extra Halloween icons.
I’ve tried felt leaves, plastic leaves, and real leaves. The real leaves are pretty for one damp afternoon, then they curl into sad little spoons.
Skip them unless you’re making the wreath for a party tonight. Your reusable version will look more refined next year, too.
8Hang a paper moon with the Floating-Focal-Point Rule
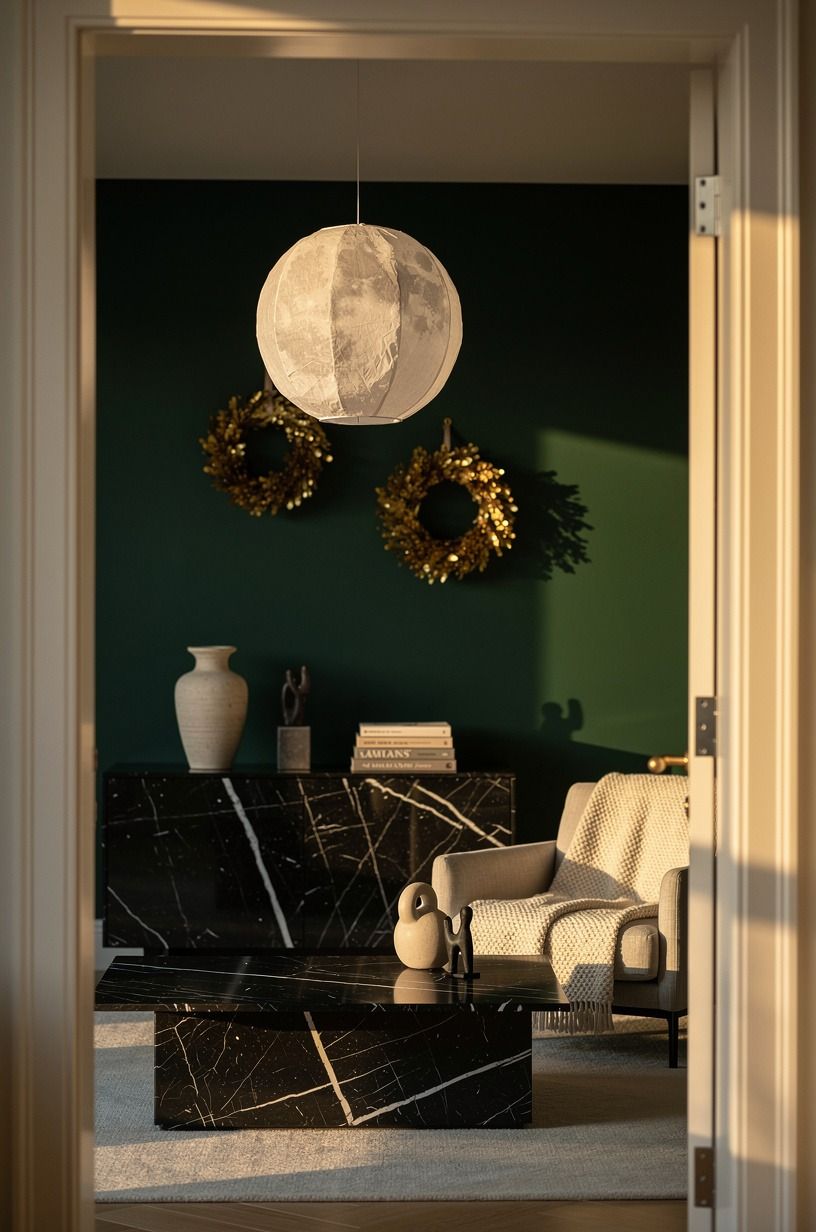
Tear a round moon from ivory cardstock, then shade its edge with a smudged gray crayon or soft pencil. Tape it to a broad cloth strip and let it sit just above the inner circle, where it appears to float.
This is where you should pause and step back. Does your moon read first, or does the wreath look crowded? If you can’t spot the moon from 6 feet away, remove one small decoration rather than making the moon bigger.
You don’t need a ruler, but hanging visual art with its center around 57 to 60 inches from the floor is a useful door-decor reference. It keeps your wreath from looking stranded near the peephole or awkwardly low by the handle.
For a little seasonal reading while you wait for the tape to set, this Maine island at dawn piece understands the appeal of a pale glow against darkness.
9Choose fabric tails over a big premade bow
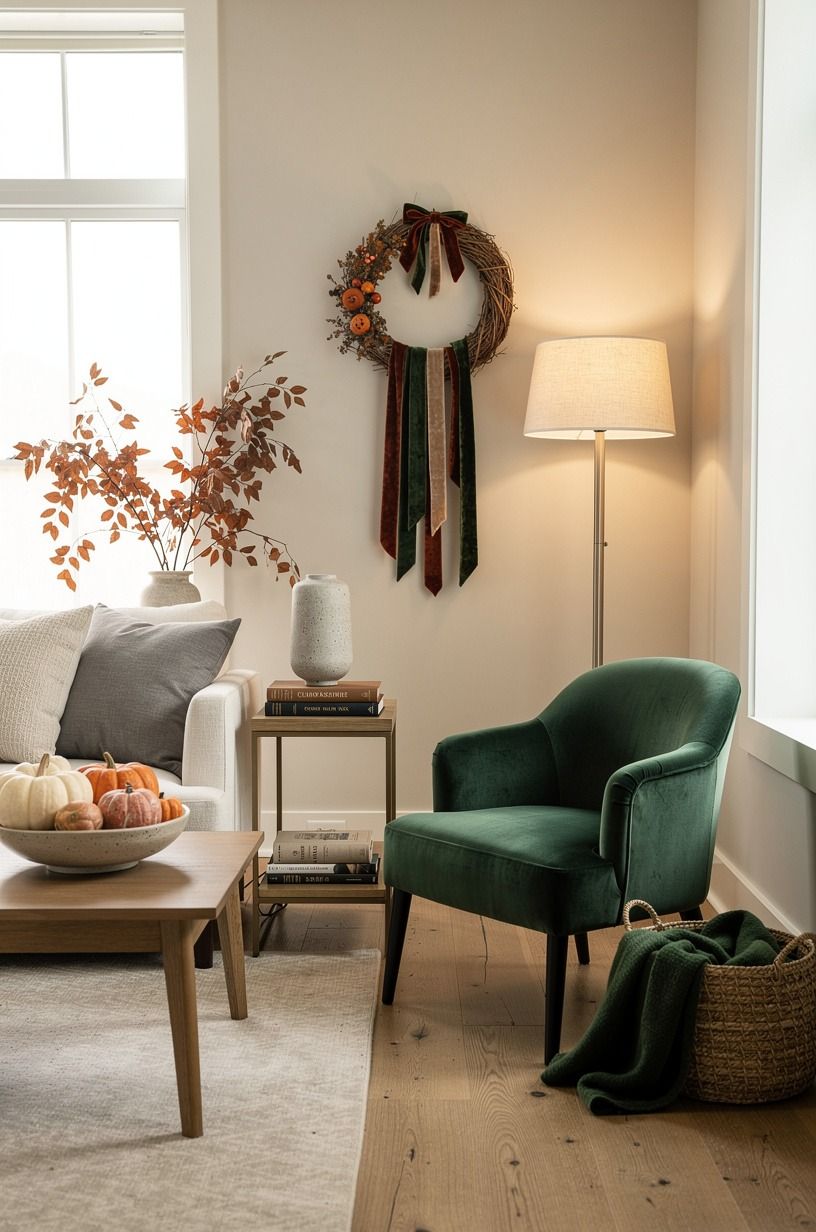
Tear two long strips of orange cotton muslin and one strip of black-and-cream gingham. Tie them below your focal point, then pull the ends to different lengths so they flutter rather than sit in a stiff bow.
You’ll get movement without ribbon-wire edges, and you can adjust the tails with your fingers after a windy day. A 12-inch tail is enough for most doors; longer tails can catch on the storm door or look droopy.
I’d pass on glitter mesh. It sheds, it snags, and it turns a peaceful handmade project into a vacuuming job. Cotton muslin softens under porch light, especially beside Benjamin Moore White Dove OC-17 trim.
Warm and a little rustic.
10Test your wreath against the door before you call it done
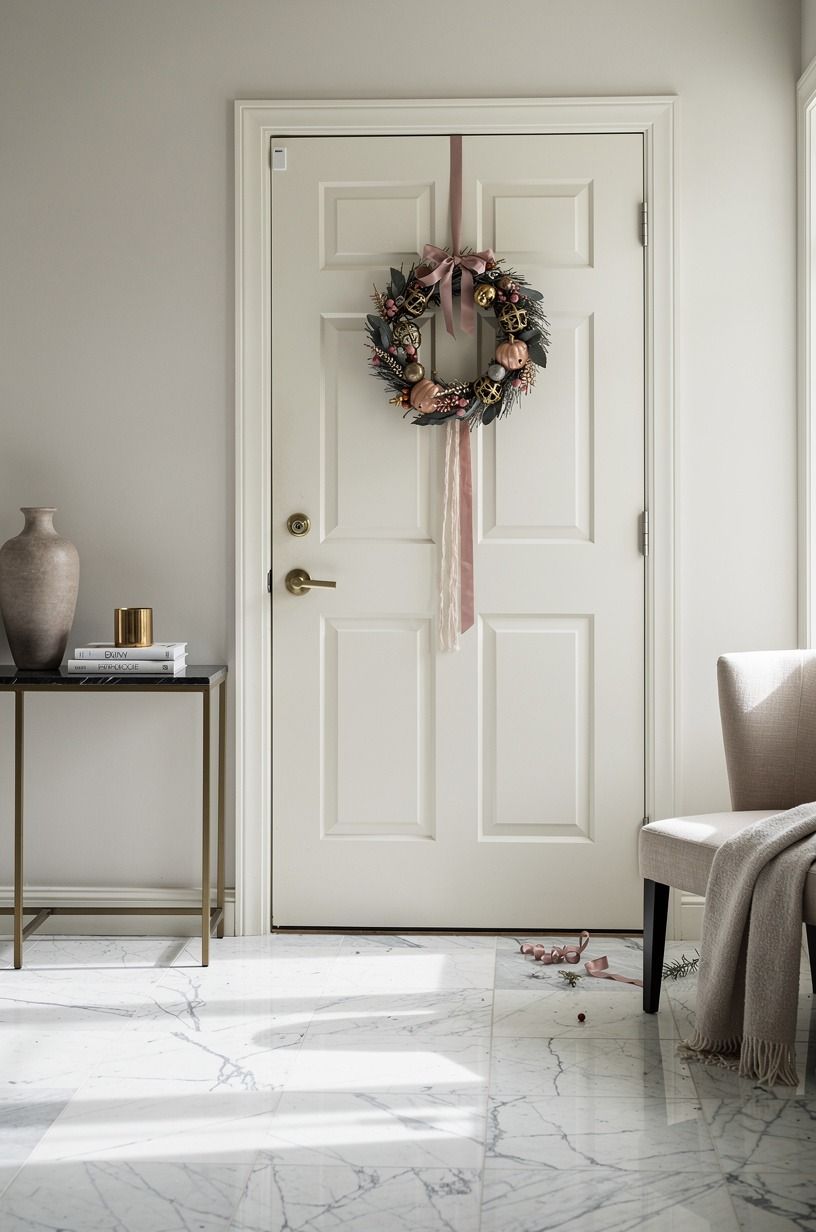
Hold the wreath where it will hang and take one photo from the sidewalk. Your phone will show you empty spots and strange clumps faster than staring at it from 8 inches away.
Check three things: your focal shape, your darkest area, and your fabric tails. If all three land on the same side, move one. The wreath needs a gentle triangle of attention, even if you never use that phrase while making it.
But don’t keep adding things just because you own them. A simple wreath with a soft black ring, one moon, and three bats looks more elegant than a crowded one with ten tiny items. You can use the framing idea from this Arizona river-horseshoe view to see why open space makes the center stronger.
11Hang it with removable strips and save the leftovers
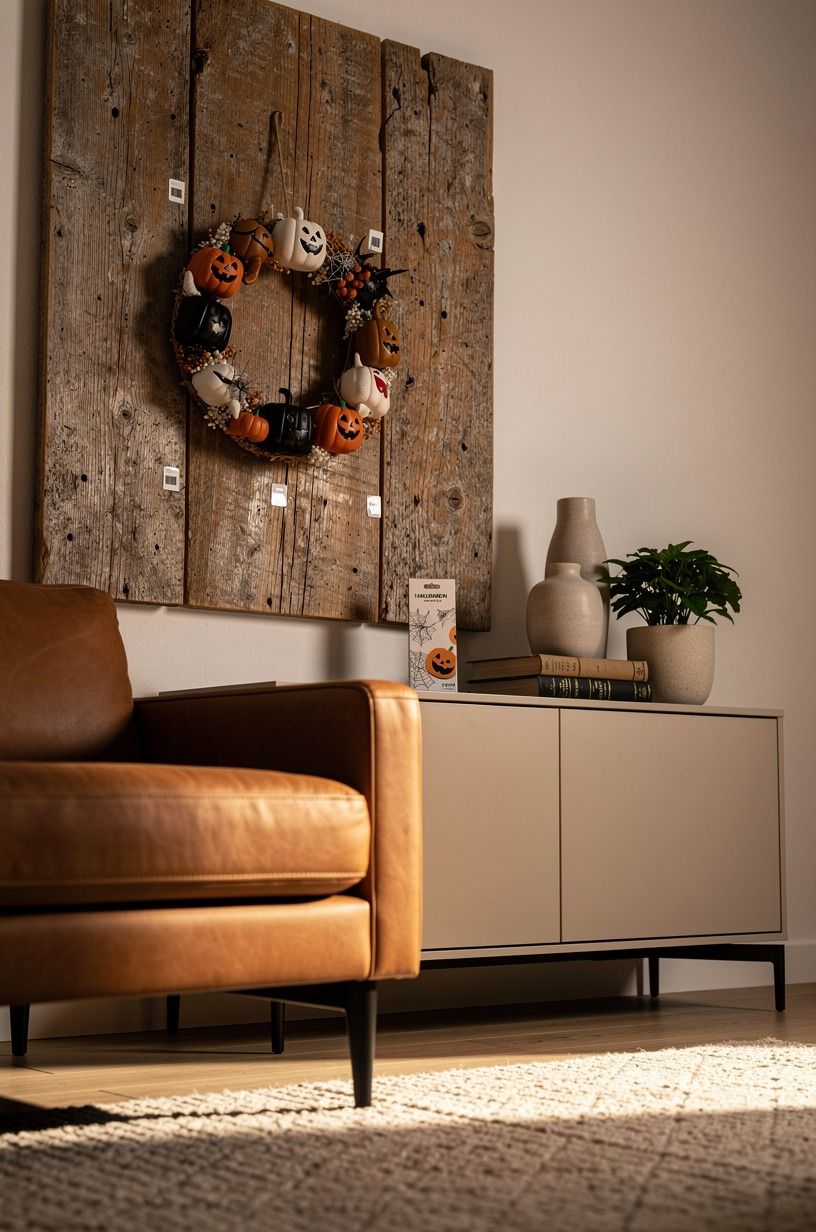
Use 3M Command picture-hanging strips or a removable outdoor hook, following the package directions for your door surface. Press firmly, wait, then hang the wreath by a fabric loop instead of a metal hanger.
You’ll protect your paint, which matters if you rent or if your front door has a smooth finish. And keep your unused strips, paper bats, and pom-poms in one labeled bag. Next October, you won’t have to buy the same tiny supplies twice.
If your door gets hard afternoon sun, bring the wreath inside during the brightest hours or choose darker fabric. Paper fades first.
Fabric holds up better. That’s not glamorous, but it’s the part that keeps your Halloween crafts for beginners from becoming single-use clutter.
Why I Think Soft Halloween Decorating Works Better
I used to think Halloween decorating had to announce itself from the street. Giant spiders.
Plastic skeletons. A fake cobweb stretched over every shrub until the whole porch looked like it had been abandoned by a very busy craft store. It can be fun, sure, but it isn’t the version I want to live with for six weeks.
The softer approach works because it lets your home stay itself. You’re adding a little shadow, a little texture, one playful shape.
Your entry still feels welcoming when a neighbor drops by at noon, and it gets moodier as the light changes later. That’s more interesting to me than buying decorations that only make sense after dark.
I’ve also learned that beginners do better with materials that forgive indecision. Cloth can be untied. Tape can be lifted.
Paper can be torn again. A wire frame and hot glue gun create this strange pressure to get every choice right on the first pass, and that pressure is why so many people quit halfway through a project. You don’t need precision to make something good.
You need a starting point, a few materials that belong together, and permission to take one bat off if it’s bothering you.
And yes, I know a soft wreath is less dramatic than a giant inflatable ghost. That’s the point. It gives you a seasonal marker without taking over your whole front door.
Your house can look warm, inviting, and a little peculiar. That combination lasts longer than a trend.
The same restraint appears in this Victorian porch story, where the frame matters because it leaves the view room to exist.
A Few Things Worth Answering
What is the best beginner Halloween wreath for a small entry?
A soft pool-noodle ghost wreath is the best small-entry option because it stays light and flat. You can use IKEA VALLKRASSING cotton cloth scraps, one paper moon, and three bats without crowding your door. Your best benefit is easy storage after Halloween.
Where can I buy Halloween wreath pieces on a budget?
Target, IKEA, and Wayfair all carry fabric, pom-poms, removable hooks, and seasonal felt shapes. You can also check Facebook Marketplace or a thrift shop for cotton scarves and ribbon. Your lowest-cost route is repurposed fabric from home.
How much does a no sew Halloween wreath cost?
A no sew Halloween wreath usually costs about $10 to $30 if you buy a pool noodle, tape, cloth, and a removable hook. Your free materials can include old shirts, grocery-bag paper, and saved gift ribbon. The real win is no specialty tools.
Can I create a Halloween wreath on a budget?
Yes, and you can make one with materials you already own. Use a towel strip for the base wrap, torn paper for bats, and painter’s tape for attachments. Your wreath will feel personal and low-pressure, especially if you avoid matching every piece.
For a reminder that inexpensive materials can still create a memorable frame, this Tasmania wilderness story is a nice visual detour.
Is a no wire frame wreath worth it in a small space?
Yes, it’s worth it because a fabric wreath adds seasonal color without taking up floor or shelf space. Keep your diameter around 18 to 24 inches, and let the center stay open. Your entry will feel festive without visual clutter.
Is a beginner Halloween wreath a good idea for a rental?
Yes, because removable strips and a fabric loop won’t leave permanent door damage. Skip nails, glue, and sharp hangers. Your renter-friendly choices include painter’s tape, removable hooks, and lightweight paper shapes, all easy to pack when you move.
For another gentle reminder to make room for what matters, this Mother’s Day reflection lands surprisingly well.
Where I’d Start First
If I had to pick one step, I’d start with the soft pool-noodle ring. Your decorations can change, but a light fabric-wrapped base makes every later choice easier and safer. Pin the Soft-Loop Method for later, then make your first loop tonight.