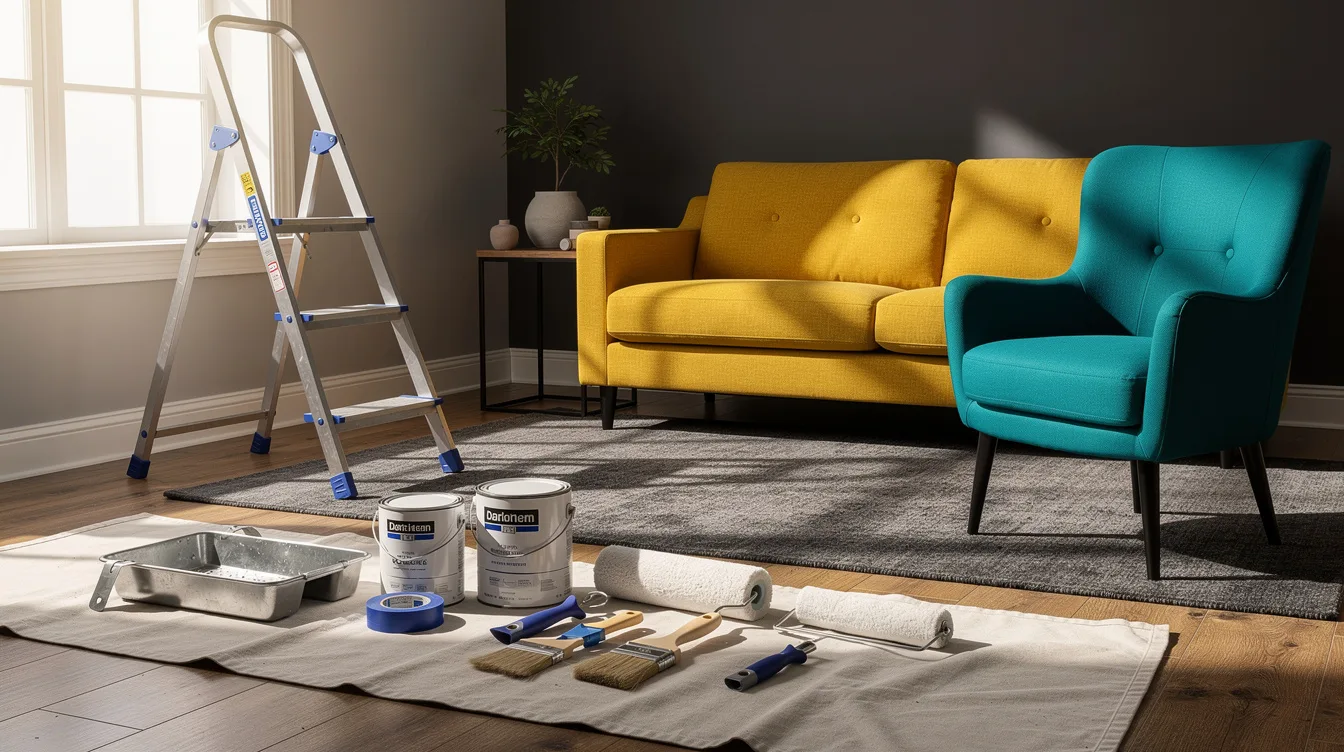
I used to think a fresh wall color could hide rushed prep, until light from one window exposed every roller ridge by noon. In a roughly 12-by-14-foot room with 8-foot ceilings, you may be painting about 416 square feet of wall before subtracting openings.
The good news is that a pro-looking result comes from sequence and restraint, not a crowded cart. A typical DIY materials budget lands around $85 to $300, depending on paint quality and wall repair.
Clear the Room and Protect Every Surface
Move furniture out when possible, then cover what remains with canvas drop cloths, not flimsy plastic that bunches underfoot. Remove outlet covers, curtain hardware, and switch plates before opening a can.
Run painter’s tape only where it earns its keep: baseboards, window frames, and a surface you cannot confidently cut in by hand. Press the tape down with a putty knife so paint cannot creep underneath.
Wash, Patch, and Sand Before Choosing Color
Walls collect cooking film, handprints, and dust that keep paint from bonding evenly. Wipe them with a mild cleaner, let them dry, then fill dents with spackling compound.
Sand each repair until it disappears to the touch, then vacuum the dust from the wall and trim. This is the unglamorous step that keeps a saturated color from advertising every old nail hole.
Sample the Paint in the Room’s Real Light
Paint a generous sample directly on the wall and watch it in morning, afternoon, and lamp light before committing. A deep shade such as Benjamin Moore Silhouette AF-655 can read warmer or moodier as the light shifts.
Buy paint after measuring wall area, not by guessing from floor size. Behr MARQUEE Interior Paint typically covers around 250 to 400 square feet per gallon, depending on porosity and application method, while two coats remain the sensible plan.
Paint the Ceiling and Trim in the Right Order
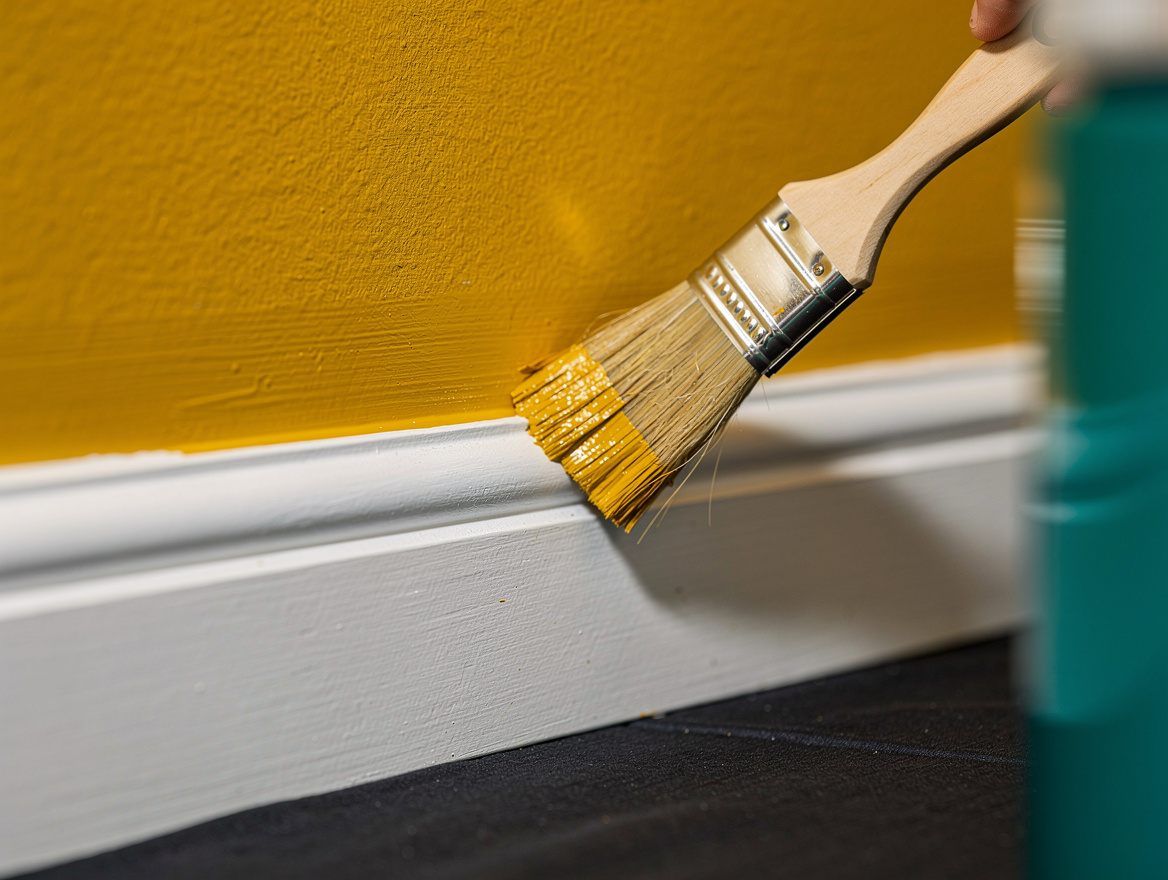
Start overhead with a matte ceiling paint, then paint trim before the walls. Any small trim splatter gets covered during the wall-color step, which saves a tedious round of touchups.
Use a roughly 1.5- to 2.5-inch angled brush for corners, door casings, and baseboards. Semi-gloss trim paint is a firm favorite for its wipeable finish, but brush it in long, controlled strokes so it does not look gummy.
Cut In Small Sections and Keep a Wet Edge
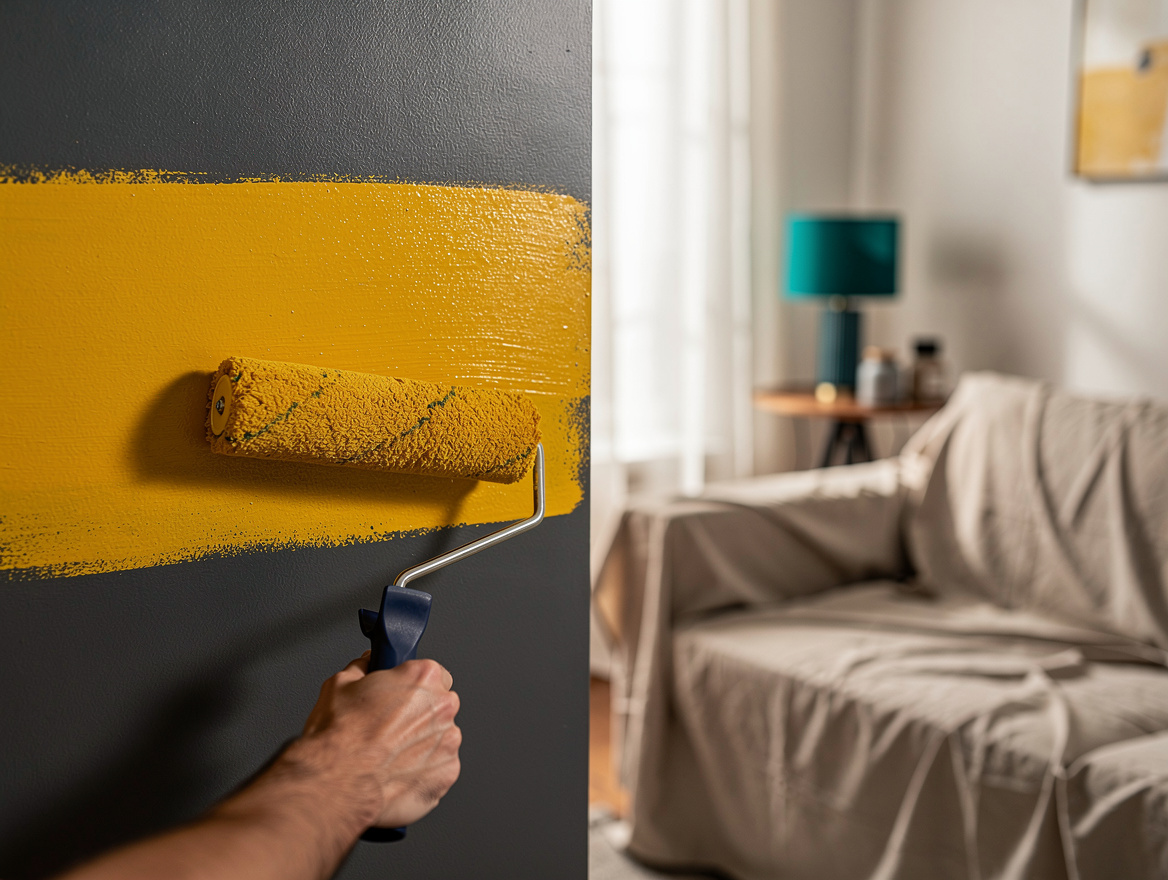
Cut in one wall at a time, working a narrow border around the ceiling, corners, and trim. Load a quality angled brush well enough to flow, but never so heavily that it drips.
Immediately follow with a typical 9-inch microfiber roller cover while the cut-in paint is still wet. Roll from top to bottom in overlapping passes, and do not stop halfway across the wall for a phone check or snack break.
Choose a Finish That Can Handle the Room
Most living rooms and bedrooms look best in eggshell wall paint, which has a soft sheen and tolerates everyday wiping. Flat paint can look rich, but it shows scuffs quickly in a busy hallway.
For kitchens, kids’ rooms, or an entry, choose a washable formula such as Sherwin-Williams SuperPaint Interior. The higher upfront paint cost is usually easier to live with than repainting a grimy wall after one season of real life.
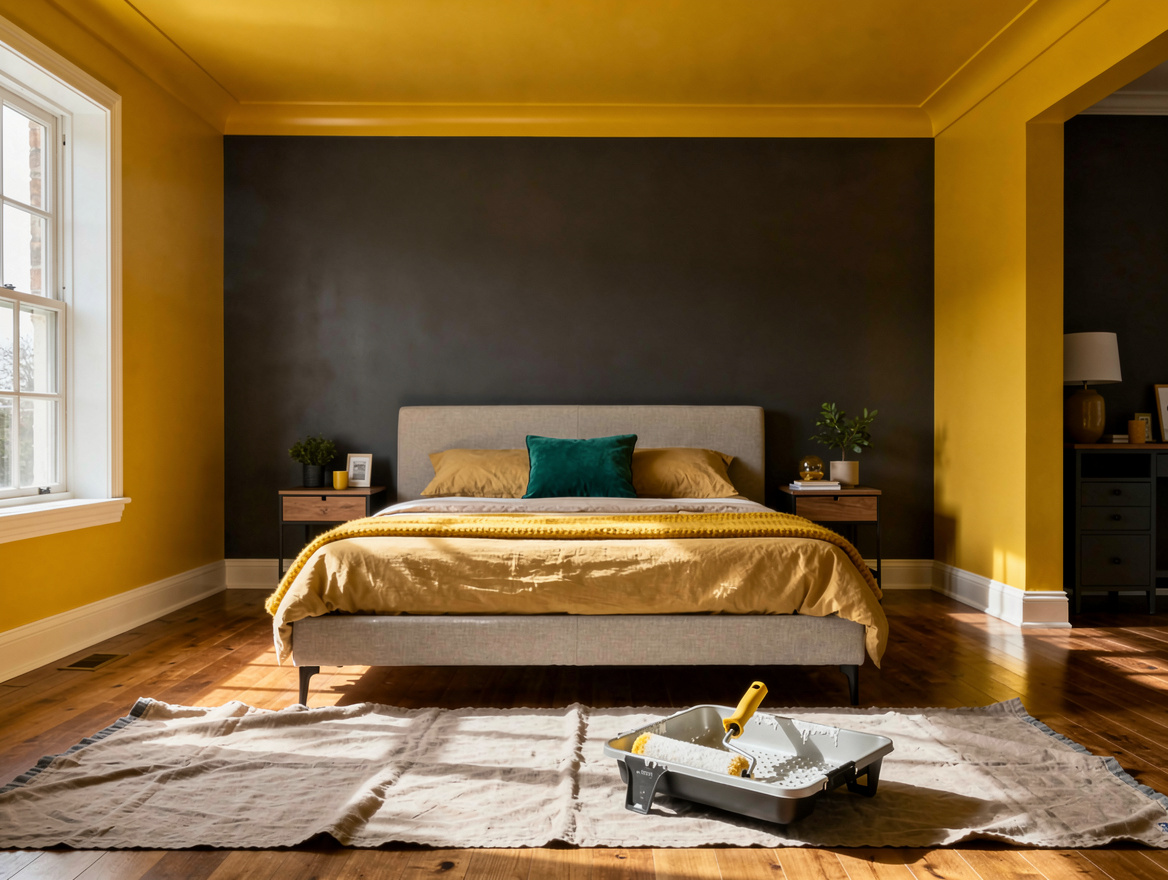
Begin with the wall that gets the clearest daylight, because it reveals flaws first and teaches you how the paint behaves. Finish that wall completely before tackling the rest of the room.
Mia Carter writes about small-space living and budget home makeovers. She has restyled three rentals and tests most ideas in her own 45 sqm flat.