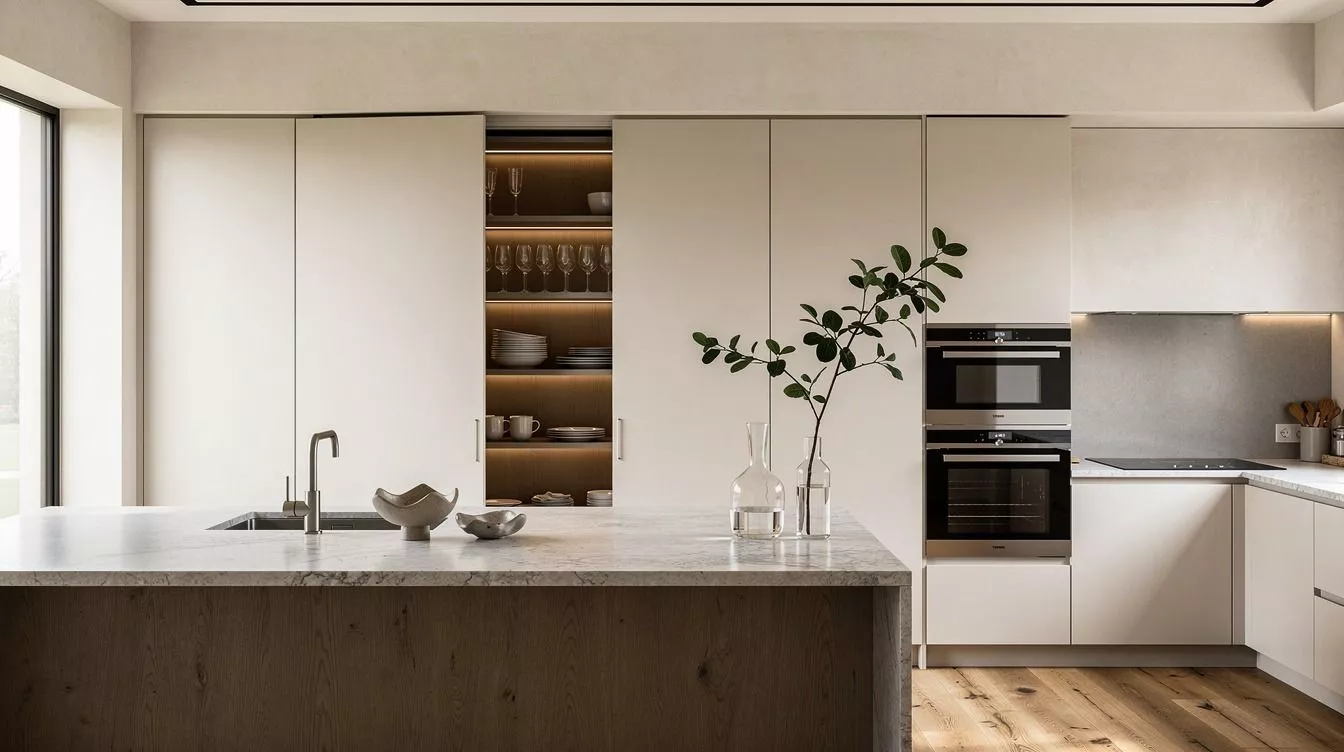
Hidden butler’s pantries don’t need a full renovation. Most of these disguises run $200 to $1,500 in materials and a Saturday, and I’ve watched every one of them pay off the first time a guest asked, “Wait, where did all this come from?” I’ve styled a lot of kitchens, and the ones that feel effortless at party time almost always have one quiet door you barely notice. Here’s how to get that look, no demo crew required.
- The Flush-Frame Illusion: disguise the door behind a flush cabinet panel
- Slide a barn door closed to vanish the entrance
- Pivot a tall bookshelf to reveal the pantry
- The Two-Layer Veil: wrap the doorway in floor-to-ceiling curtains
- What if the screen IS the door? Hide the panel behind a vintage folding screen
- Match the surrounding cabinetry so it disappears
- Camouflage the door with a chalkboard wall
- Carve the pantry into the space under the stairs
- Frame the entrance with a floor-to-ceiling wine column
- Recess open shelving into the wall between rooms
- Coffee bar over coffee cart: tuck a coffee bar in front of the hidden entry
- Mount a floor-length mirror over the door panel
- Why not pocket the doors completely? Run pocket doors across the entrance in matching oak
- The Backlit Lantern: backlight reeded glass where the doorway sits
- Veil the entrance behind a slim hutch silhouette
- Hide the entrance inside a paneled appliance wall
- Line the hidden door with beadboard for a cottage disguise
1The Flush-Frame Illusion: disguise the door behind a flush cabinet panel
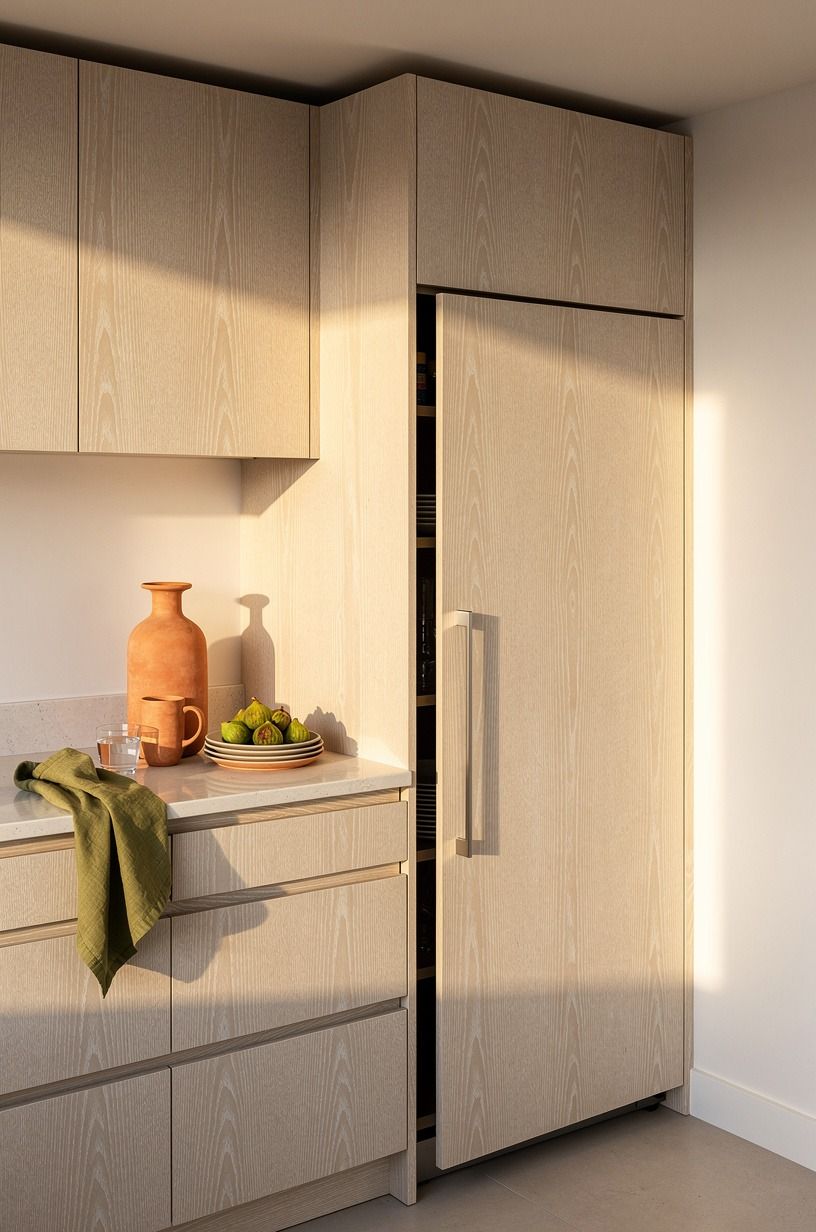
The cheapest disguise is also the most convincing. A door that sits flush with the surrounding cabinetry, same shaker profile, same Benjamin Moore White Dove (OC-17) finish, and your guests will walk past it three times before they realize there’s a room behind it. The reveal lives in the hardware: skip the knob and use a push-latch or a tiny brass finger pull tucked under the edge so the panel reads as one unbroken wall, and you’ll get the seamless look without the custom millwork bill.
You want the grain direction to run continuously across the panel and the cabinets, not stop at the seam. I’ve installed these in a row of cerused white oak uppers, and the whole wall disappears, even in photos. If you’re building out a full concealed-kitchen system, our seamless hidden pantry door roundup covers the hinge clearances and the soft-close hardware that makes a heavy panel feel weightless.
2Slide a barn door closed to vanish the entrance
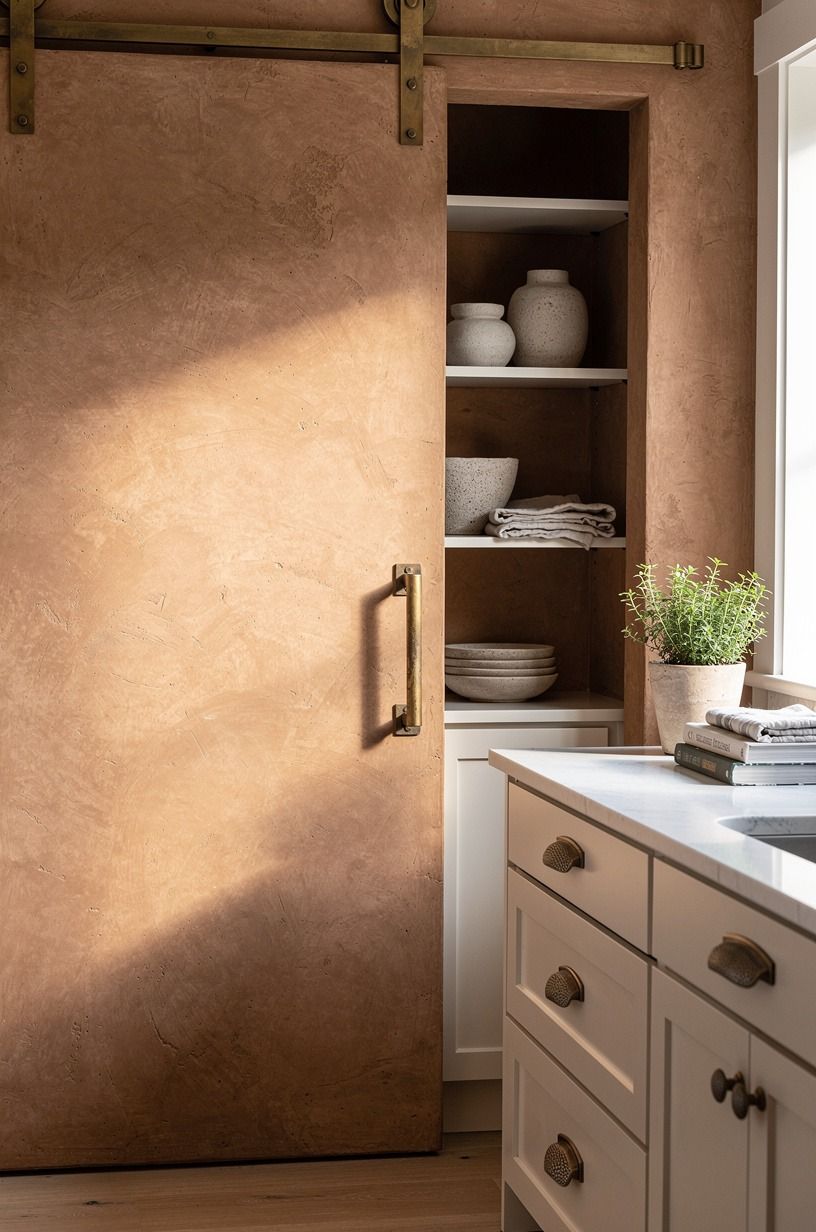
A sliding barn door takes 30 seconds to vanish, and that’s the whole pitch. Mount it on aged brass flat-track hardware, paint it in clay-toned limewash, and you have a statement wall when it’s closed and a fully usable doorway when it’s open. The door itself becomes the artwork.
Don’t waste it on flat stock. Pick something with shagreen-textured panels or a deep groove pattern that catches raking light.
You need 6 inches of clear wall on one side of the opening for the door to park, and that’s the only real planning. This is the move for renters because the track mounts to the surface, not into the framing.
If your kitchen already runs tight, the disguise-it-as-a-cabinet guide has a few narrower-rail options that need only 4 inches of clearance.
3Pivot a tall bookshelf to reveal the pantry
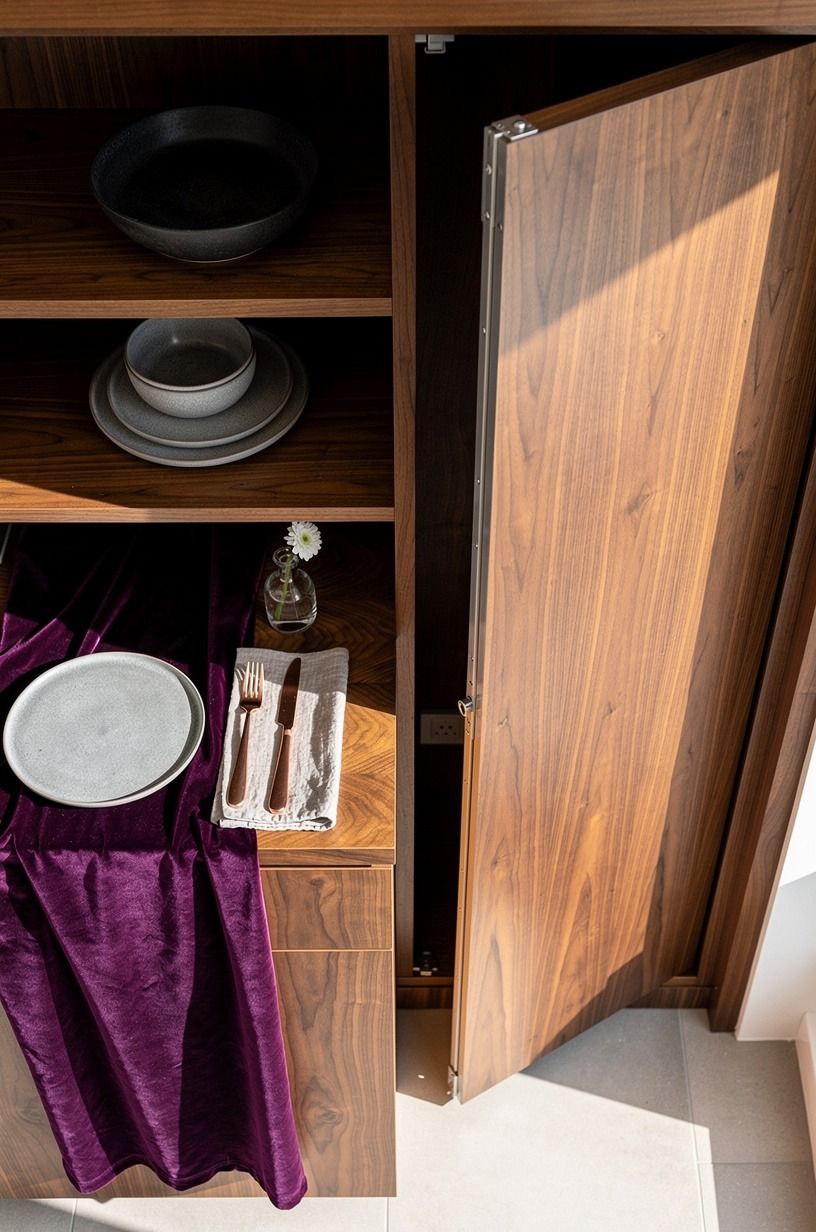
A pivot hinge turns a single bookshelf into a doorway, and the room reads as a library until someone leans on the right shelf. The pivot point lives in the floor, so you have full ceiling clearance and no track to clean around. Frame the shelf with plum velvet runners along the back, and the entrance feels like a velvet-lined hideaway!
Build the shelf at 84 inches tall and 36 inches wide, deep enough for standard platters (12 inches minimum, 14 is safer for charger plates). I’ve built two of these, and what nobody tells you is that the floor plate has to be brushed brass so it disappears under the wood. The detail-room pantry roundup walks through pivot hardware brands that hold past the 200-pound mark.
4The Two-Layer Veil: wrap the doorway in floor-to-ceiling curtains
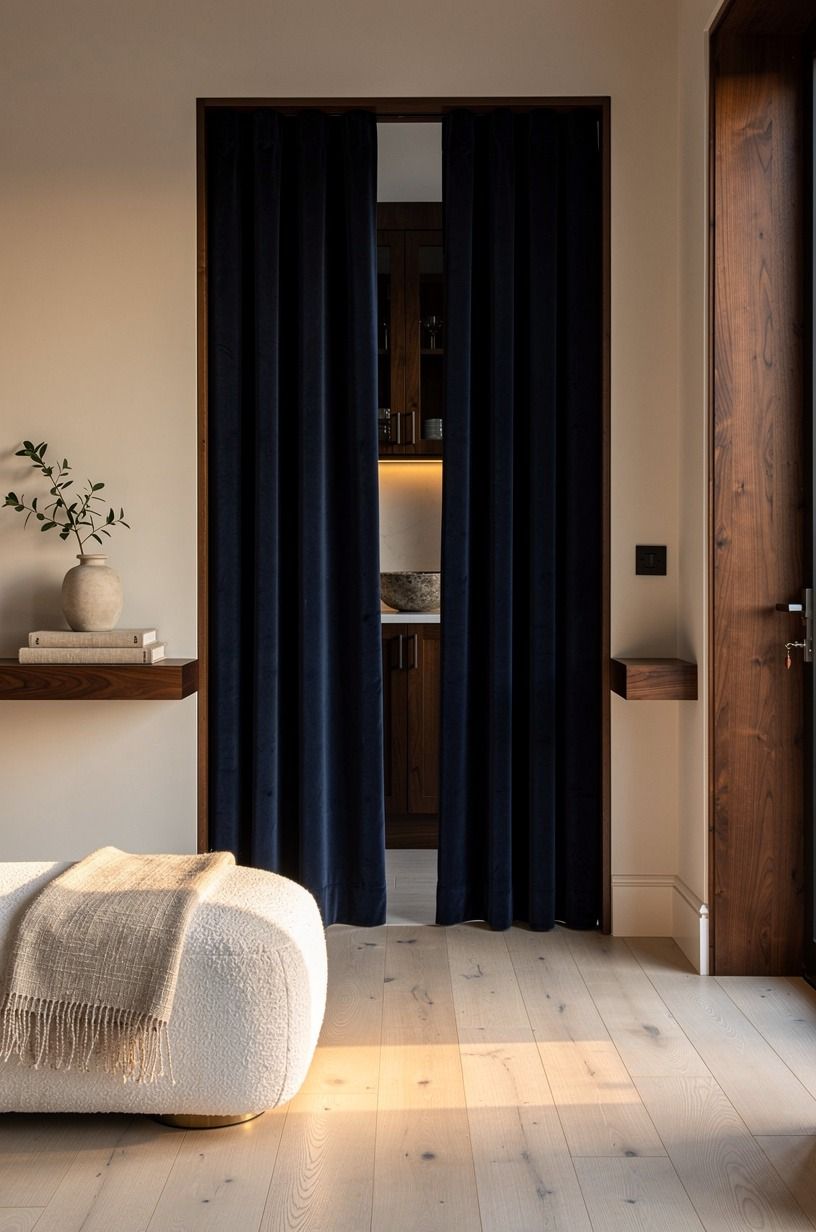
A heavy curtain panel hides a doorway, softens the acoustics, and adds the kind of texture a kitchen usually can’t pull off. Run a ceiling-mounted brass rod in unlacquered brass (the kind with a 1-inch return so the curtain hangs flat), hang a navy wool curtain that puddles 2 inches on the floor, and you have a soft architecture move that doubles as a sound baffle. The doorway behind does not need to be pretty because nobody is going to see it.
You want the rod 4 inches beyond the frame on each side so the curtain stacks cleanly when it’s pulled back. And don’t skimp on the lining; a blackout-lined wool curtain falls better and blocks the pantry light from glowing around the edges. The hidden room pantry ideas behind the kitchen post shows a few organic bouclé bench seat pairings that hold up under dinner-party traffic, and you’ll be surprised how far the texture carries.
5What if the screen IS the door? Hide the panel behind a vintage folding screen
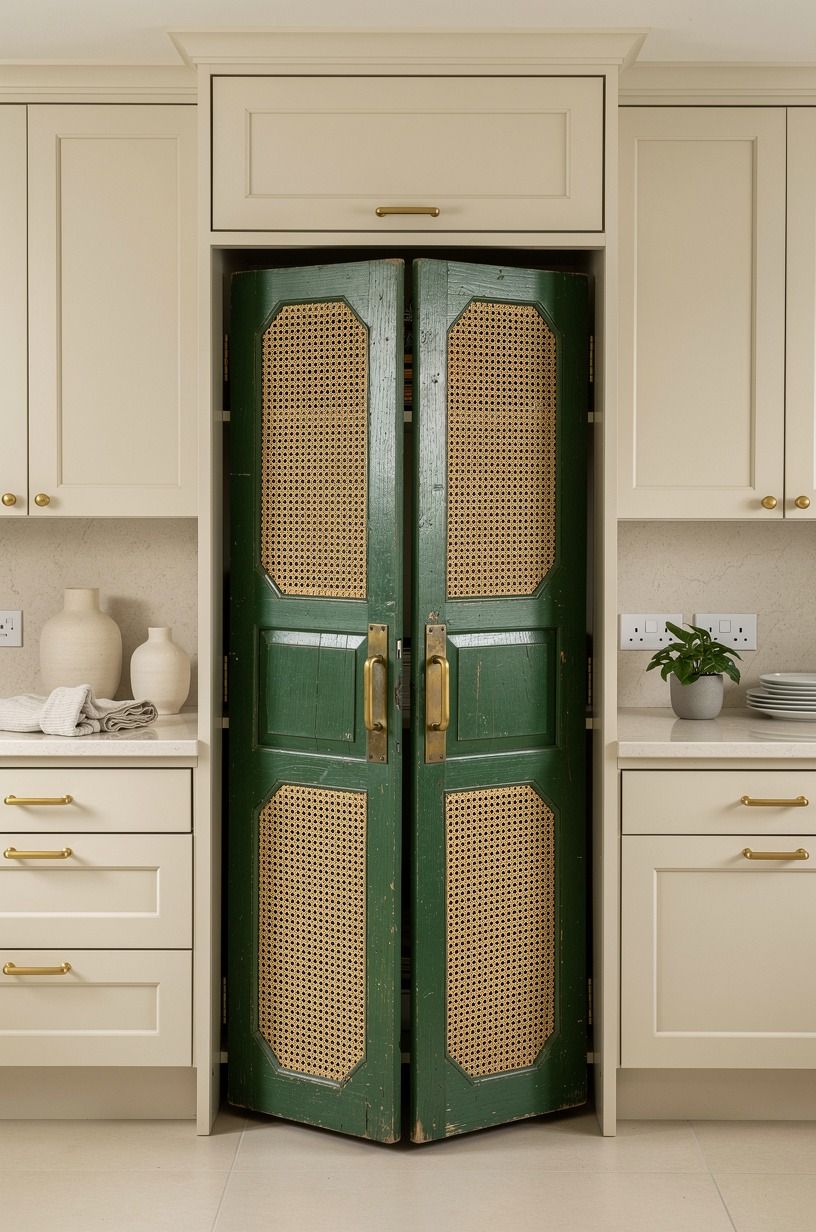
A three-panel folding screen parked in front of the door is the move when you want zero construction. Vintage rattan screens with wabi-sabi patina run $150 to $400 on Facebook Marketplace, and they hide a 36-inch doorway without anyone noticing. The frame should sit at the same plane as the surrounding cabinetry so the screen reads as a styling moment, not a barricade.
You want the hinges to fold flat against the wall when the screen is open, and that is where the cheap ones fail. I look for brass piano hinges at estate sales and they are worth every penny!
Style the front of the screen with a single olive-branch arrangement in a stoneware vase and let the screen do the architectural work. The clutter-free kitchen pantry roundup has a few screen-anchored layouts that work in rentals too.
6Match the surrounding cabinetry so it disappears
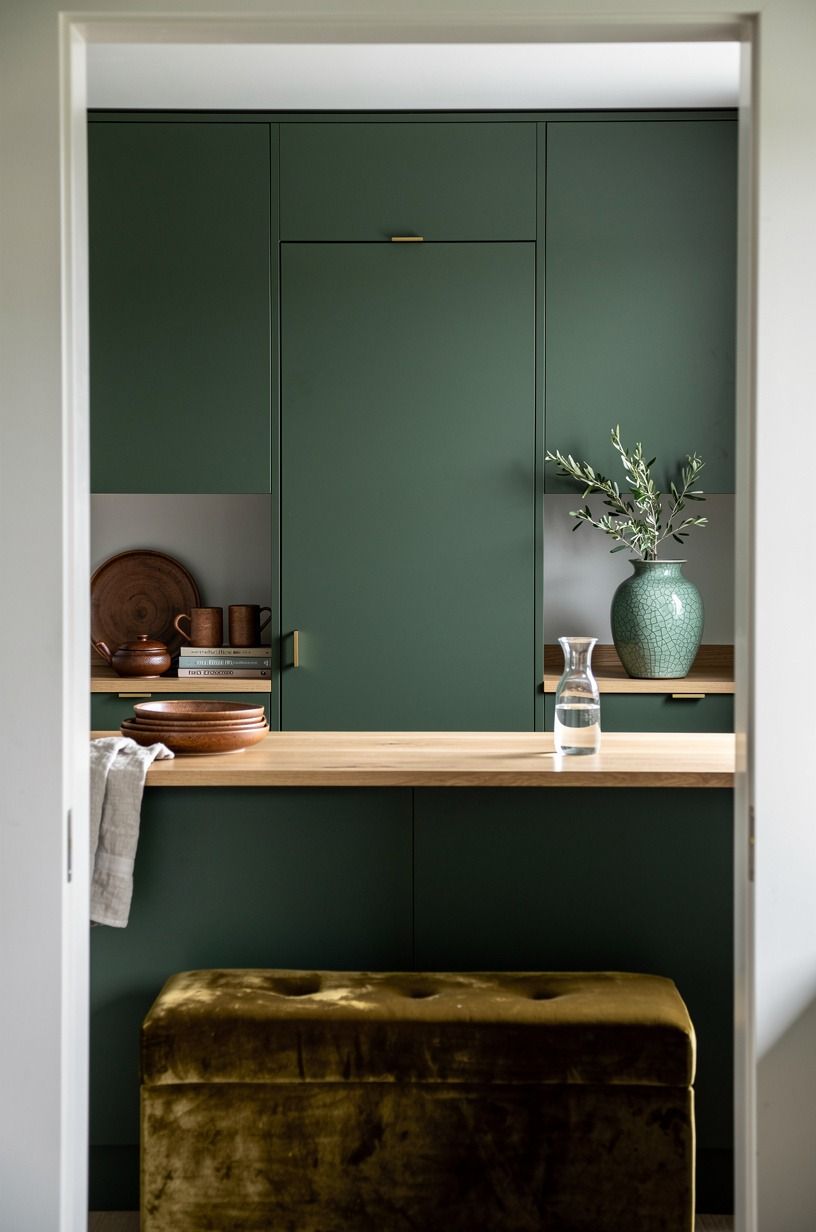
When in doubt, make the door identical to the wall next to it.
7Camouflage the door with a chalkboard wall
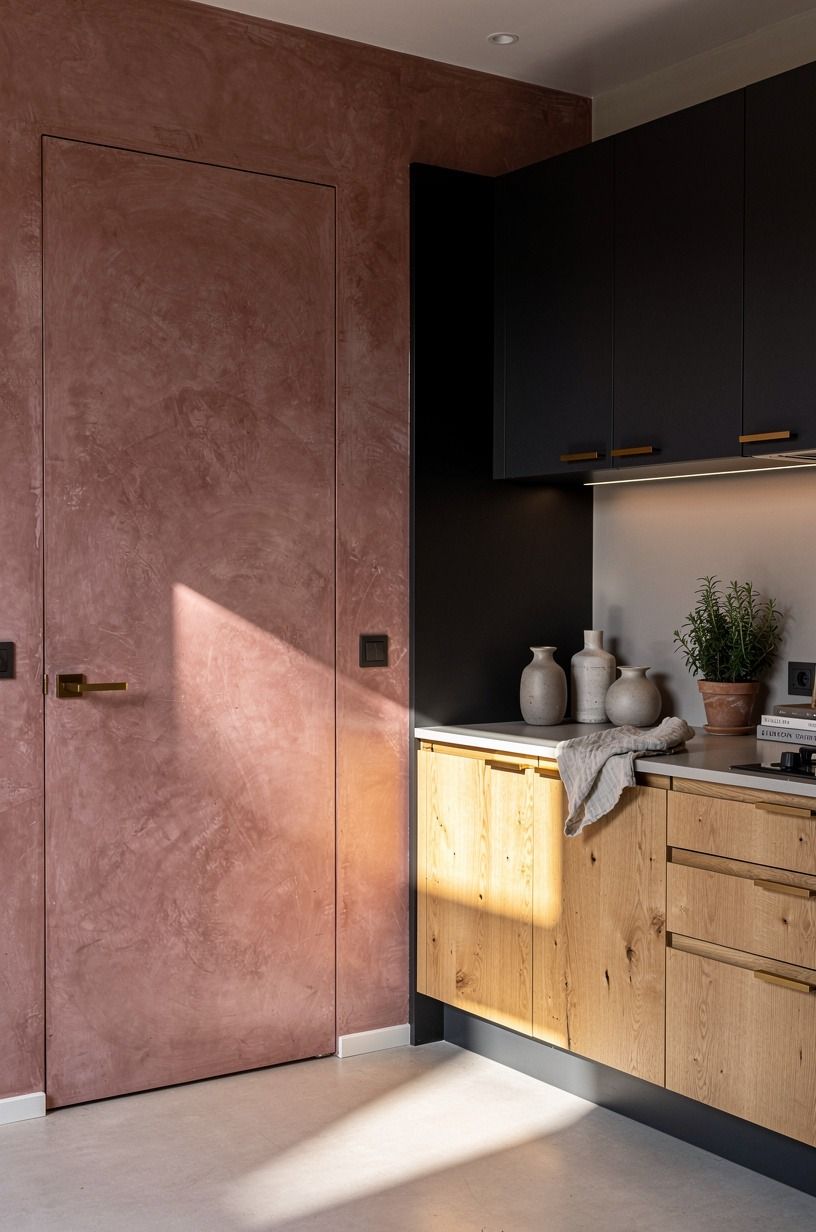
A chalkboard wall section eats a doorway. Paint the door and the wall around it in the same dusty rose chalk paint, and you have a 6-foot-tall message board that doubles as the entrance. Run a thin charcoal oak shelf across the door at hip height and you have a serving ledge during the party.
I’ve done this in two apartments and it works every single time!
The part nobody tells you is that chalk paint needs to be sealed with clear paste wax or the first spilled glass of red wine will leave a stain you will be talking about for years. You want to roll the paint on in two thin coats rather than one thick coat, because thick coats streak. The hidden door ideas for the kitchen pantry beyond post has a few sealing moves that don’t require a full refinish every spring.
8Carve the pantry into the space under the stairs
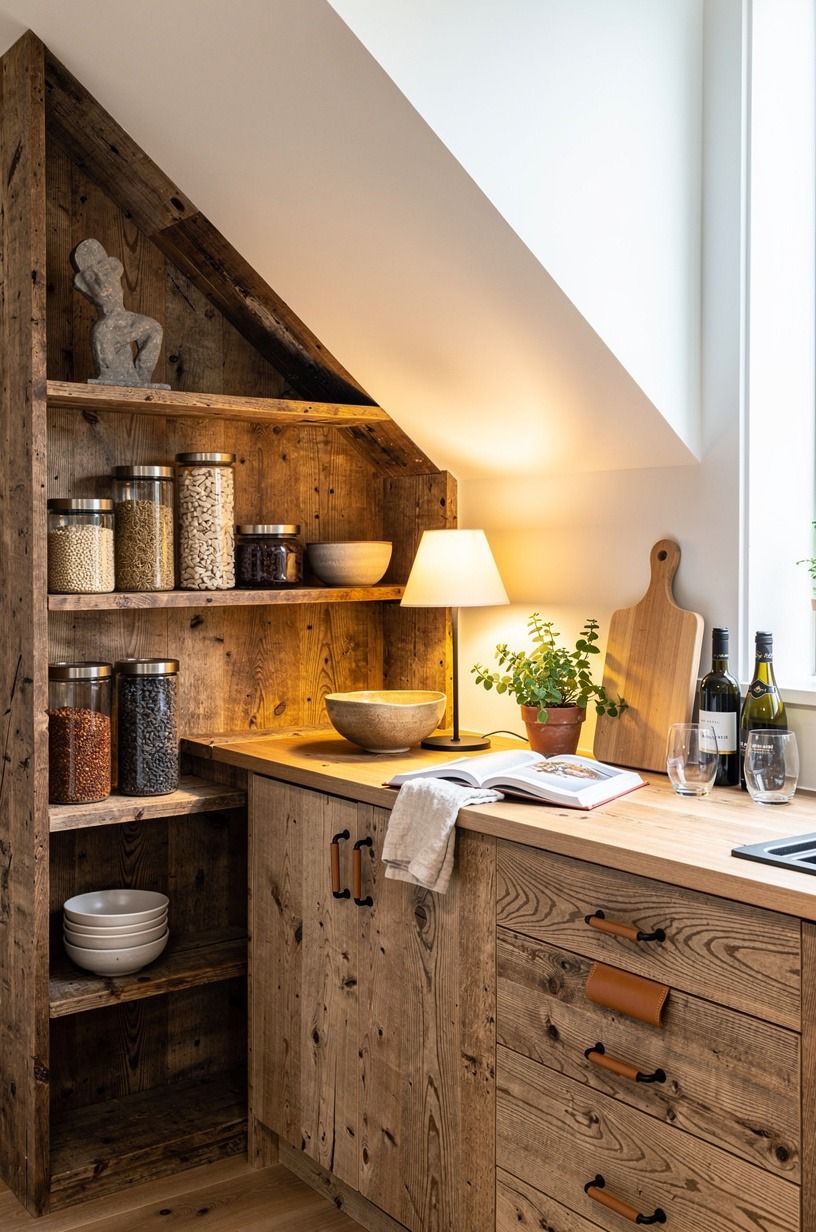
The triangle under a staircase is dead space in most kitchens, and that is where the smartest butler’s pantries hide. A 36-inch-deep by 60-inch-wide nook fits a full-height reclaimed teak shelving system, and the angled ceiling becomes a feature, not a problem. I’ve seen these hold an entire dinner-party worth of stemware and still leave room for a small zellige-tiled countertop at standing height.
You want the doorway at the low end of the stair run so the ceiling inside the pantry drops naturally with the slope. Counter height inside should be 36 inches, the US standard, with 42 to 48 inches of clearance in front of the open door.
Wire-brushed oak shelves on antique brass brackets beat any big-box option, and they age into the room. The hidden door ideas part two covers the angled-ceiling lighting move that makes the slope feel intentional.
9Frame the entrance with a floor-to-ceiling wine column
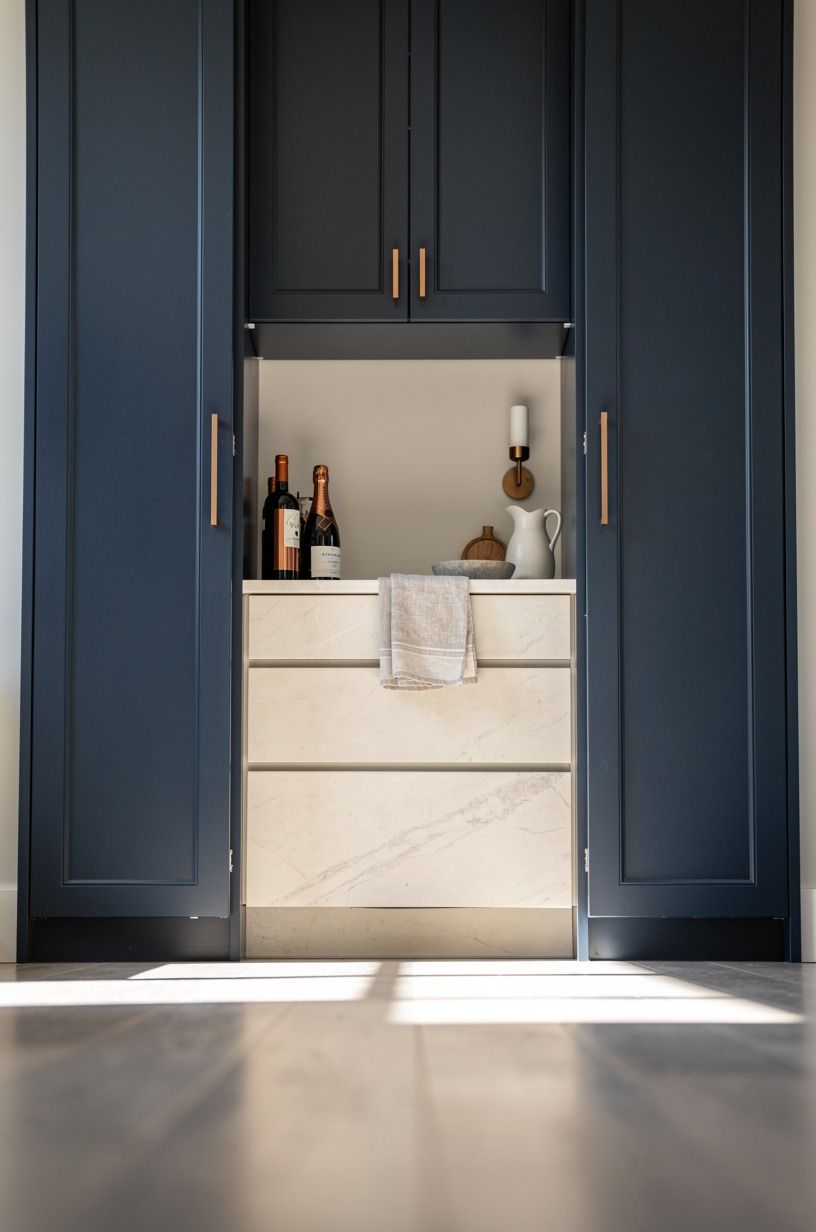
A wine column flanking the doorway makes the entrance feel like a tasting room.
10Recess open shelving into the wall between rooms
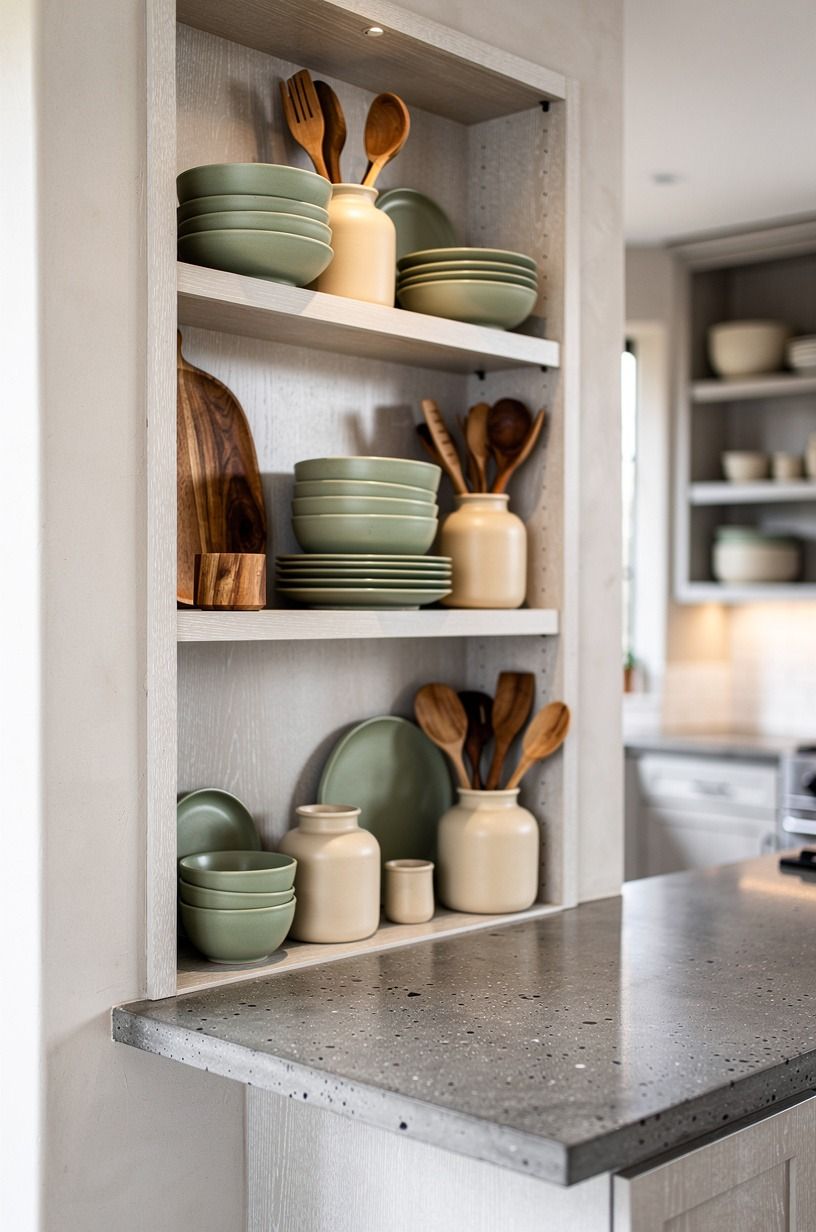
A 6-inch-deep recess between two rooms holds an entire butler’s pantry if you are willing to design it like a ship’s galley. Pour a concrete countertop at 36 inches high with a vintage brass faucet and a vitreous China bar sink, and you have a plating station that hides in plain sight. The walls on either side are the cabinets, and the shelf spacing can run 8 to 14 inches depending on what you are storing.
This is the move for older homes where there is no real “extra room” to convert. You need a plumber to run a supply line through the wall, and that is where most of the $1,200 to $2,500 budget goes.
The shelves themselves should be white oak at 3/4-inch thickness, not the MDF that big-box stores sell. The walk-in pantry roundup has recessed-shelf layouts that work in 1920s row houses.
11Coffee bar over coffee cart: tuck a coffee bar in front of the hidden entry
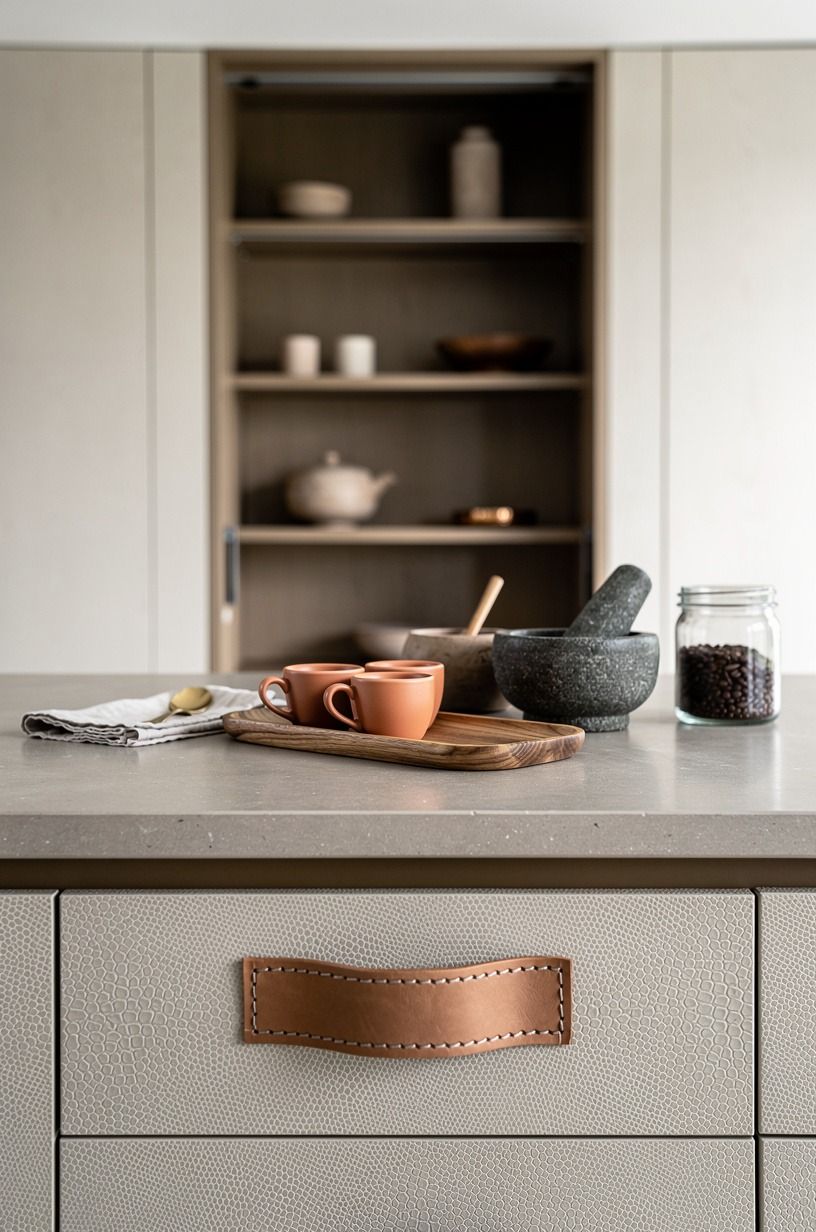
A coffee bar parked in front of the door is the most functional disguise in this whole list.
12Mount a floor-length mirror over the door panel
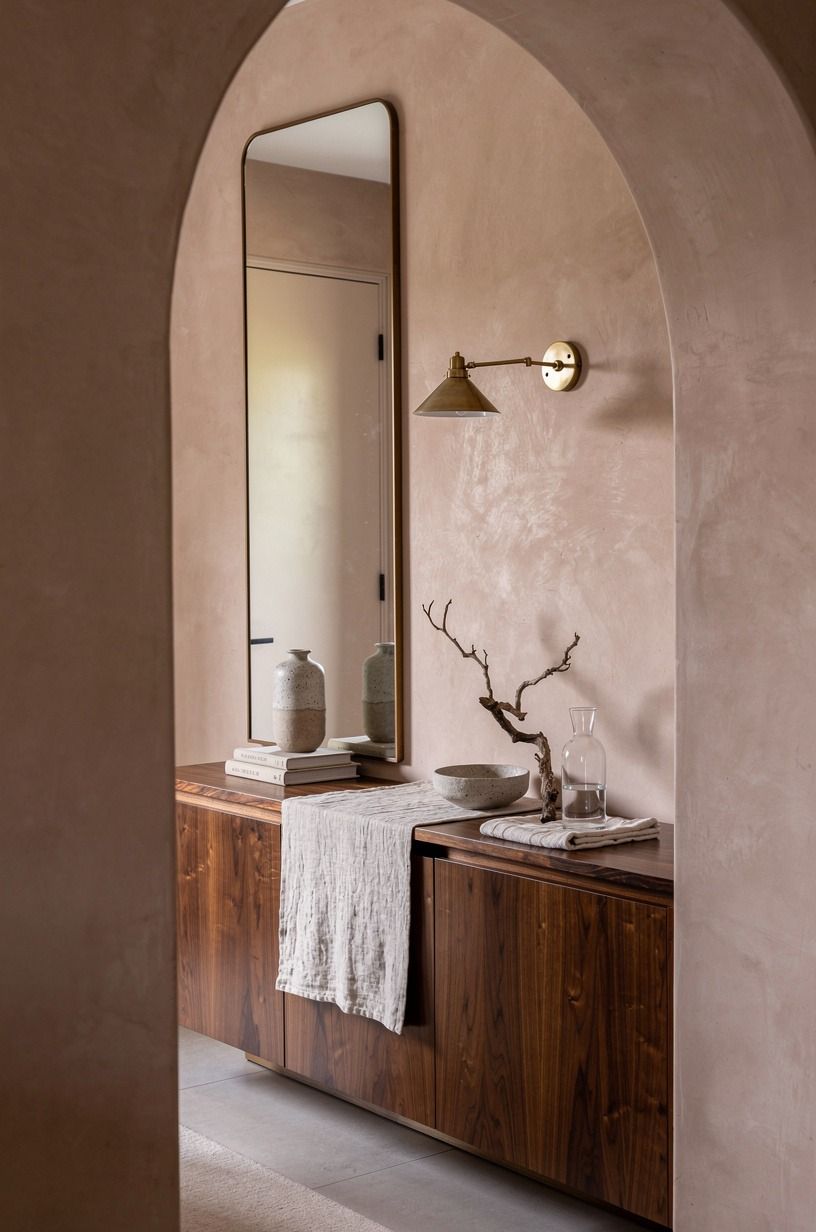
A floor-length mirror on the door panel is the move when the doorway sits in a narrow hallway. The mirror visually doubles the hallway width and pushes the door 8 feet further away than it actually is.
Frame the mirror in book-matched walnut and you have a piece of millwork that doubles as a styling moment. I’ve specified this in two apartments and both clients said it made the kitchen feel twice the size.
You want the mirror to sit 4 inches off the floor so it clears the baseboard and you can run a cleaning cloth underneath. The reflection should bounce the morning light from a far window back into the kitchen, so position matters more than frame choice. Unlacquered brass mirror clips disappear against the walnut, and you will never see them.
The clutter-free pantry guide has a few hallway layouts that pull this off without a custom build.
13Why not pocket the doors completely? Run pocket doors across the entrance in matching oak
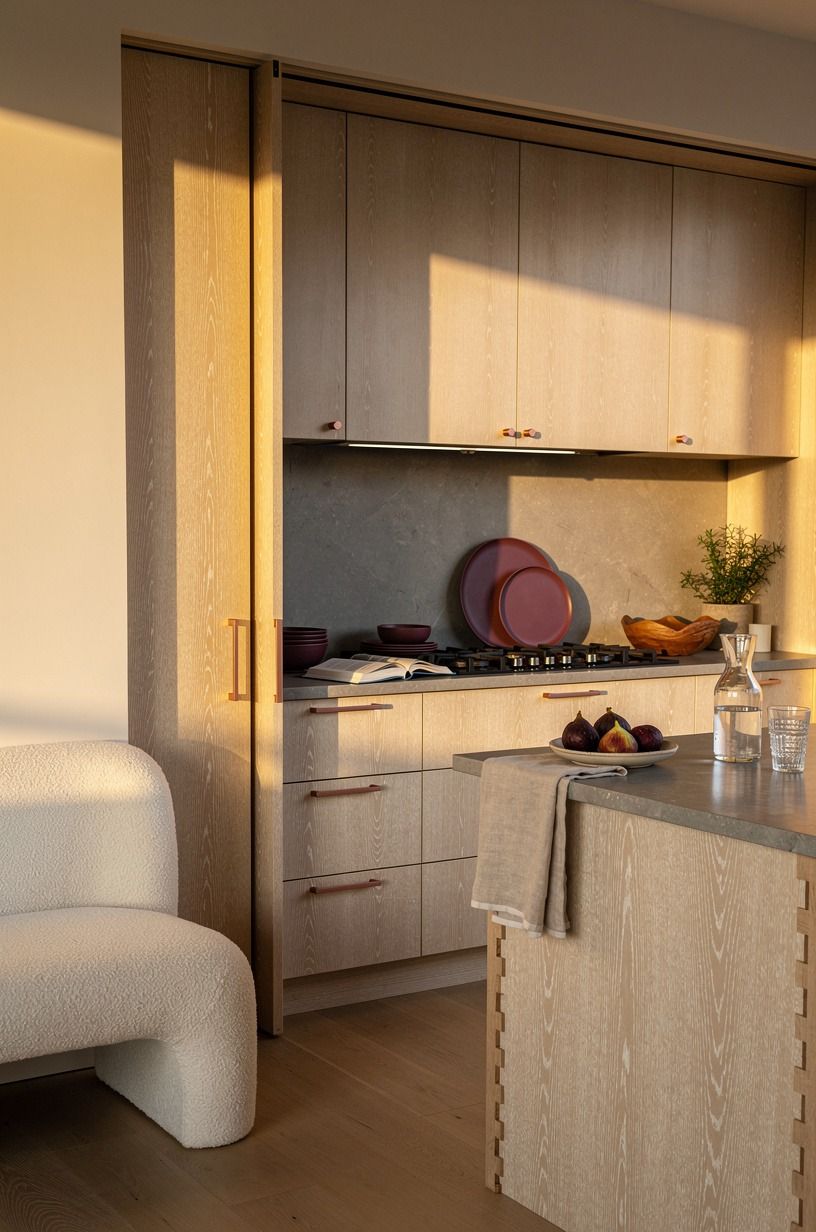
Pocket doors disappear completely when they are open, and that is the whole point.
14The Backlit Lantern: backlight reeded glass where the doorway sits
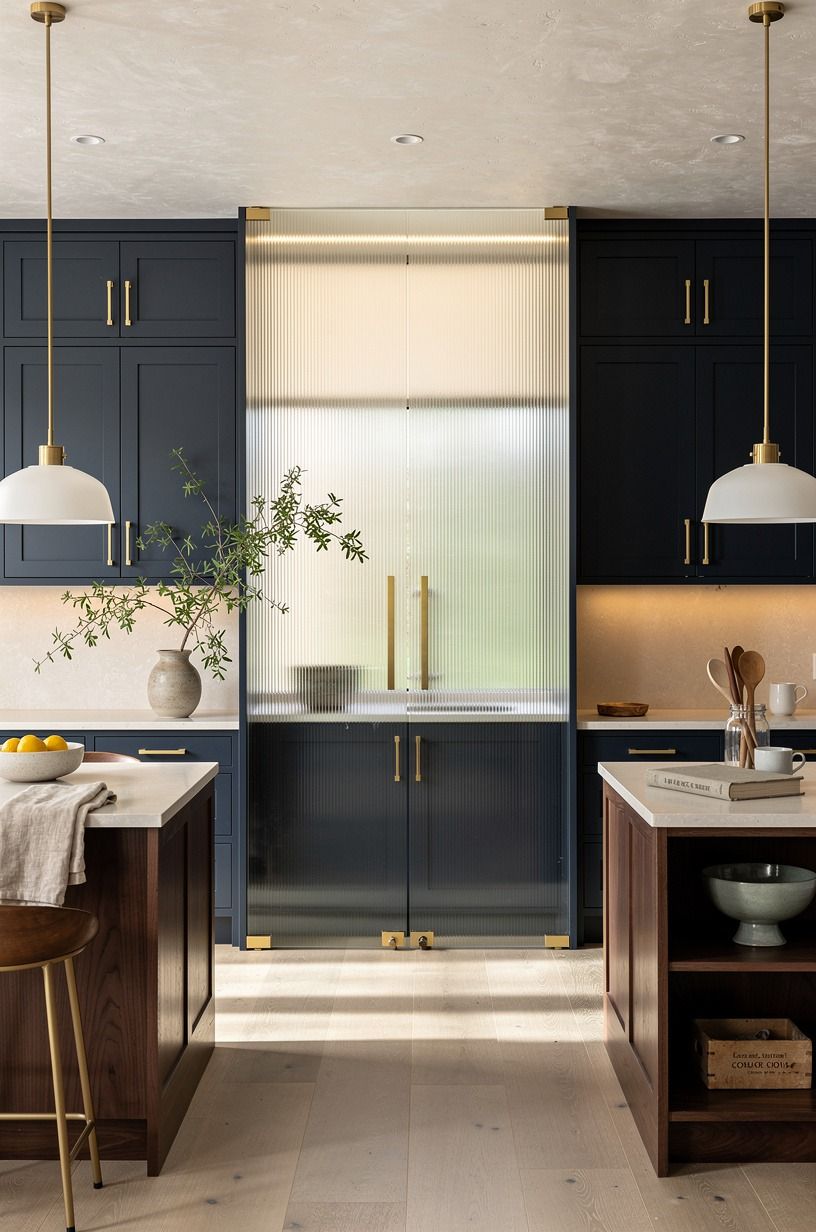
A reeded glass panel backlit with a warm LED strip is the move when you want the doorway to glow rather than hide. The glass reads as a deep navy feature wall when it’s closed, and the reeded texture diffuses the light into something that looks like a lantern. Frame it in walnut with unlacquered brass hardware, and the entrance feels like a built-in piece of furniture rather than a door.
You want the LED strip at 2700K tucked behind the upper trim, not in front of it, so the light grazes the glass texture instead of blowing through it. The back-painted navy cabinetry on the side walls reads as one continuous material, and the doorway becomes a feature, not a closure. The pantry beyond guide walks through the backlight wiring in plain English.
15Veil the entrance behind a slim hutch silhouette
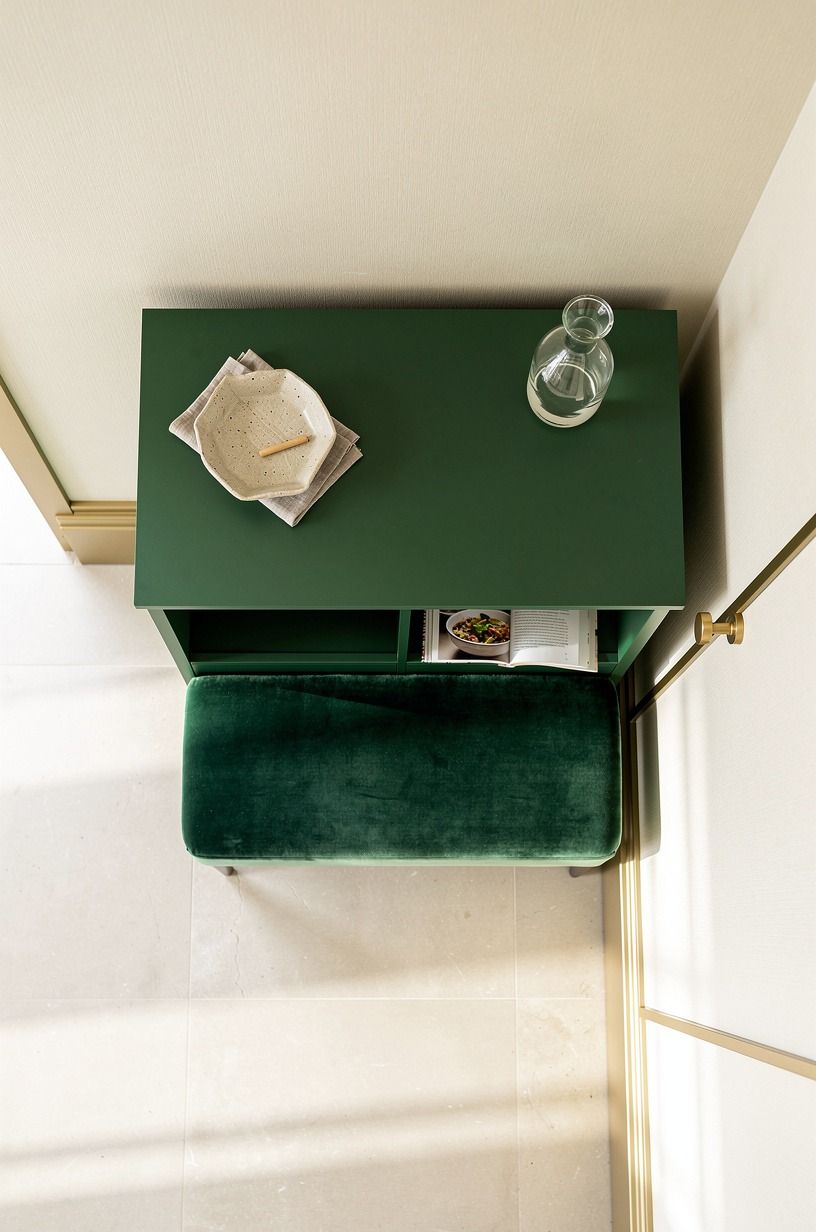
A slim hutch parked against the wall is the move when you want the entrance to feel like a furniture piece. Build the hutch at 84 inches tall and 16 inches deep, in emerald green with gold accent pulls, and you have a 6-foot-tall styling moment that hides a standard doorway. The hutch should sit on deep-pile mohair velvet feet so it doesn’t scratch the floor, and the front edge should be flush with the surrounding millwork.
You want the hutch’s interior lit with the same warm LEDs as the rest of the kitchen, so the entrance glows when you walk past. The shelf spacing should be 10 to 12 inches for stemware and 14 to 16 inches for platters.
And the doors on the hutch should swing in the opposite direction from the pantry door behind, so you are never fighting two hinges at once. The clutter-free pantry roundup has a few hutch silhouettes that work in rentals without drilling.
16Hide the entrance inside a paneled appliance wall
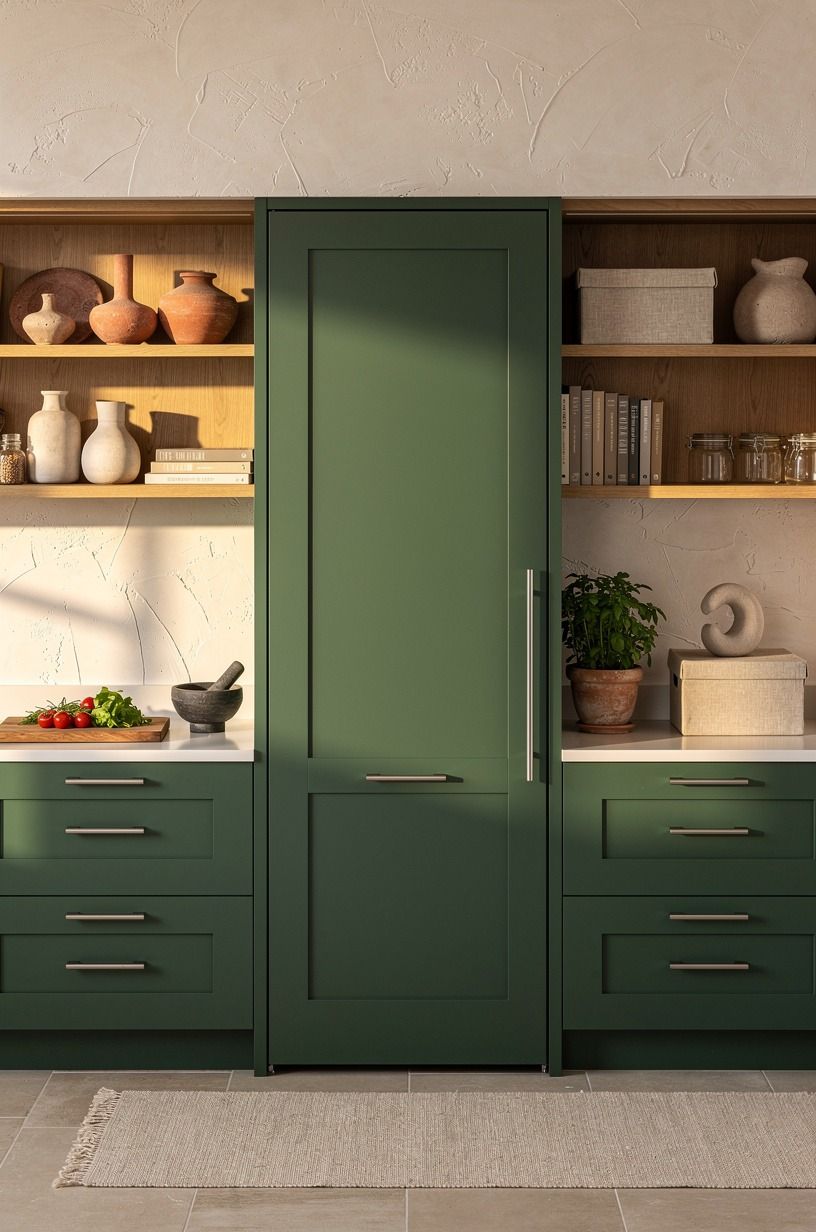
A paneled appliance wall eats the doorway because the door reads as another appliance front.
17Line the hidden door with beadboard for a cottage disguise
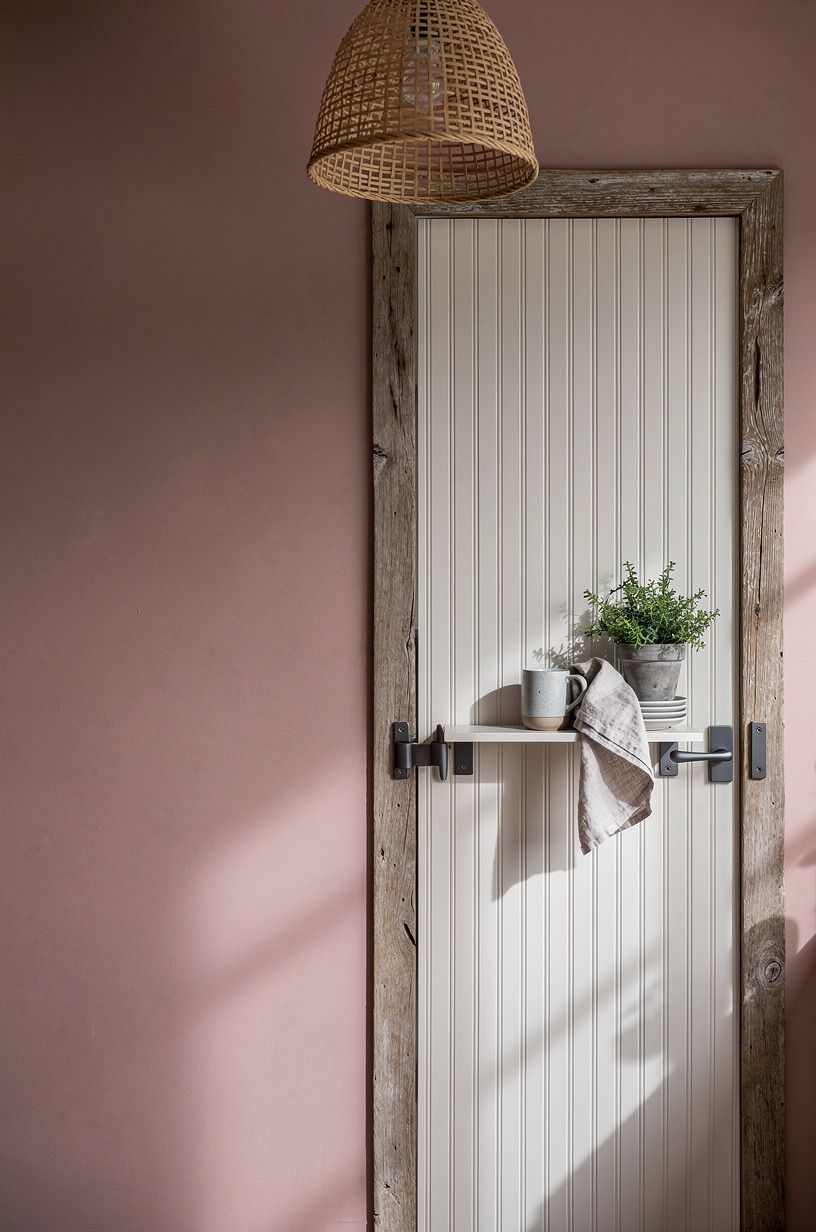
Beadboard is the cheapest disguise per square foot in this entire list, and it is the move when your kitchen already runs cottage or farmhouse. Run beadboard paneling across the door and the wall around it in dusty rose, and you have a soft, traditional panel that reads as wall treatment, not doorway. The vertical lines of the bead catch raking light in a way flat paint never does.
You want to seal the beadboard with two coats of clear satin poly so it wipes clean after a dinner party. The trim should be charcoal against the dusty rose for contrast, not white, because white trim makes the doorway read as a closure rather than a wall. And the hidden door ideas part two has a few cottage-style layouts that pull this off in rentals with peel-and-stick beadboard.
What it costs to disguise a butler’s pantry
Most of these disguises don’t require a contractor. Here is what you are looking at on a typical US project:
If you are going full custom with cabinetry, material costs break out roughly like this:
Most of the 17 ideas above land in the budget tier. You can disguise a doorway with paint and a Saturday for less than a dinner out for four, and that is the move. The seamless hidden pantry door roundup has a side-by-side cost breakdown of the most popular disguises.
The Brass Plate Rule, the Single-Bucket Rule, and the Two-Inch Puddle Rule
I built a pivot bookshelf in a 1920s row house about six years ago, and the floor plate was the part I underestimated. I had spec’d a brushed brass plate from a big-box hardware site, and within two years the patina had turned an uneven green that fought the walnut floor.
I pulled it out, sourced a solid brass plate from a small foundry in Pennsylvania, and the new one has held its color for four winters. Lesson learned, and the Brass Plate Rule: the floor plate is the only piece that takes real abuse, so it is the place to spend.
I have also over-painted two chalkboard walls because I wanted the dusty rose to read a half-shade lighter than the rest of the kitchen. It did not.
The chalk paint dried two shades darker on the door than on the wall, and the seam became the most noticeable thing in the room. I repainted with a single batch mixed in one bucket and learned to roll both surfaces in the same session.
The Single-Bucket Rule: every chalkboard wall I do now starts with one bucket of paint, period.
The third thing I would flag is curtain puddling. I hung a wool curtain that puddled 4 inches on the floor because I thought more puddle looked more expensive.
It did not. It looked like the curtain was the wrong length, and guests asked about it twice in one evening.
Two inches of puddle is the sweet spot, and that is the Two-Inch Puddle Rule. Less reads as a hemmed panel, more reads as a mistake.
The hidden pantry movement has moved past the dramatic-puddle phase and into the cleaner 2-inch-or-no-puddle look.
And what does any of this matter when the door’s the wrong color? Nothing.
The paint is the first move and the last move and the only move that holds everything else together. These three rules come up over and over in client projects, and they’re the part you’ll wish someone had told you on day one. The floor plate matters more than the bookshelf.
The chalk paint batch matters more than the color choice. The puddle depth matters more than the fabric weight.
Get those three right and the disguise will hold up for a decade. Get any of them wrong and you’ll be repainting, re-hanging, or re-anchoring inside two years.
I’ve seen all three fail and lived through two of them personally, and I’m not the only one.
The Questions Worth Answering First
What is the best hidden butler’s pantry disguise for a small kitchen?
A coffee bar parked in front of the door is the move when square footage is the bottleneck. A 30-inch counter, four stoneware cups, and a brass tamper hide a standard doorway without losing any usable wall.
For renters, the rolling cart version takes 10 minutes to set up and zero holes in the wall. The clutter-free pantry roundup walks through both layouts.
Where can I buy hidden butler’s pantry hardware on a budget?
IKEA carries the KALLVIKEN and BODBYN knobs in brushed brass that match most of the disguises above for under $10 each. Target Threshold has decent brass finger pulls in the cabinet hardware aisle.
For pivot hinges and pocket door hardware, Amazon basics will get you started but you will want to upgrade to Sugatsune or Hafele for anything that takes daily use. Facebook Marketplace is the move for vintage folding screens and brass piano hinges, often under $50.
How much does a hidden butler’s pantry makeover cost?
About $300 to $1,500 for cosmetic disguises like paint, hardware, and a folding screen. $3,000 to $12,000 for a refresh with new cabinet fronts, a faucet, and lighting. $25,000 to $60,000+ for a full remodel with custom cabinetry and stone counters. Most of the 17 ideas above land in the budget tier.
Can I create a hidden butler’s pantry on a tight budget?
Yes, and the cheapest disguise is also the most forgiving. Three moves that cost under $100: paint the door and the wall around it the same color (about $40 in paint); swap the existing knob for a push-latch (about $15); hang a vintage folding screen in front of the door (about $30 on Facebook Marketplace).
All three can be done in a weekend, and they are all reversible if you are renting. The look reads as a $5,000 build because the eye stops looking for seams.
Is a hidden butler’s pantry worth it in a small space?
Yes, and the small space is actually an advantage because the disguise needs to hide less wall. A 36-inch doorway in a galley kitchen disappears behind a single panel of matching cabinetry, while the same doorway in a great room needs a much heavier disguise.
The other upside is the staging: a small butler’s pantry forces you to edit your serveware to the pieces you actually use, which is the part nobody talks about. The walk-in pantry roundup shows layouts that work in galley kitchens.
Is a hidden butler’s pantry a good idea for a rental?
Yes, with three no-damage swaps. Tension-rod curtain rod (no screws) hung across the doorway at ceiling height. Removable peel-and-stick beadboard (about $30 a panel) across the door and the wall.
Freestanding folding screen parked in front of the door (no holes). All three come off cleanly when the lease is up, and none of them require landlord approval. The disguise-it-as-a-cabinet guide has more rental-safe options.
Where I’d Start First Tonight
If I had to pick one, I would start with the matching cabinetry in Farrow & Ball Studio Green (No.93). You cannot make any other disguise read when the wall next to it is fighting the door. Get the paint right first, and everything else lands.