I had one corner that always looked unfinished, but it was too visible to ignore. Every time I walked past it, I saw a lamp cord, a random chair leg, and just enough open floor to remind me the space could be better.
So I treated it like a tiny room instead of leftover square footage. The before was dead space, the after became a kid-sized adventure zone that felt playful, neat, and actually doable on a real budget.
Measure the corner before you buy anything
My before was embarrassingly ordinary: one skinny floor lamp, a basket with two broken crayons, and a chair that mostly collected laundry. The corner itself was useful, though, about 5 by 5 feet, which is a typical footprint for a kid zone that still leaves the room walkable.
I stopped thinking about toys and started thinking about stations. One theme, four jobs: a soft landing spot, a draw-on wall, one crawl challenge, and one low storage edge. That modular plan is the only reason this stayed under $100.
Build the floor first, because comfort decides whether kids use it
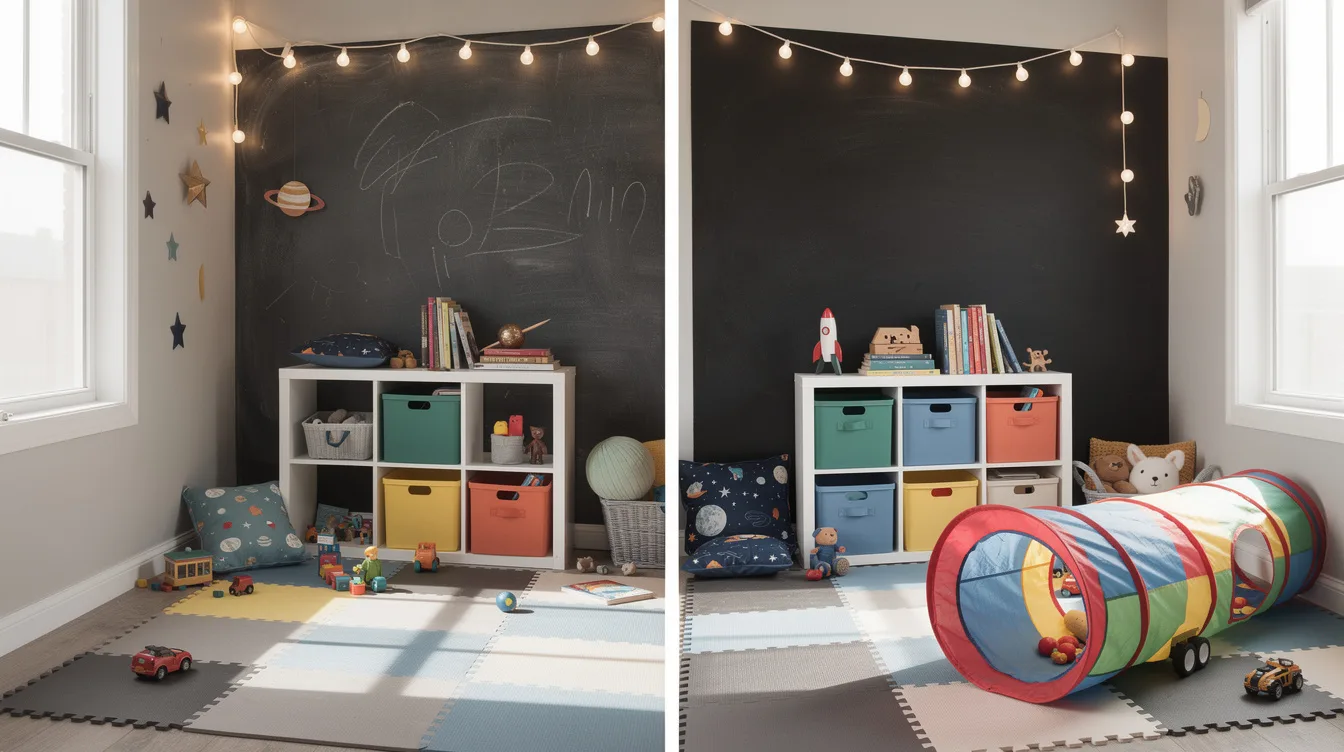
I started with foam tiles because a play corner that feels hard gets ignored fast. A typical set of Walmart EVA foam tiles, four 24 by 24 inch pieces, usually lands around $18 to $24, and that covers enough floor to visually claim the zone.
If you want one cleaner piece instead of puzzle edges, a folding mat from Amazon is often about $25 to $35. I prefer the tiles in small corners because they let you square off awkward baseboards and radiator edges without fighting the room.
I kept the mat area slightly smaller than the full corner, about 4 by 4 feet, so the space still looked intentional instead of padded wall to wall. That little border matters more than people think, especially in a bedroom or family room.
Paint a low command wall kids can actually reach
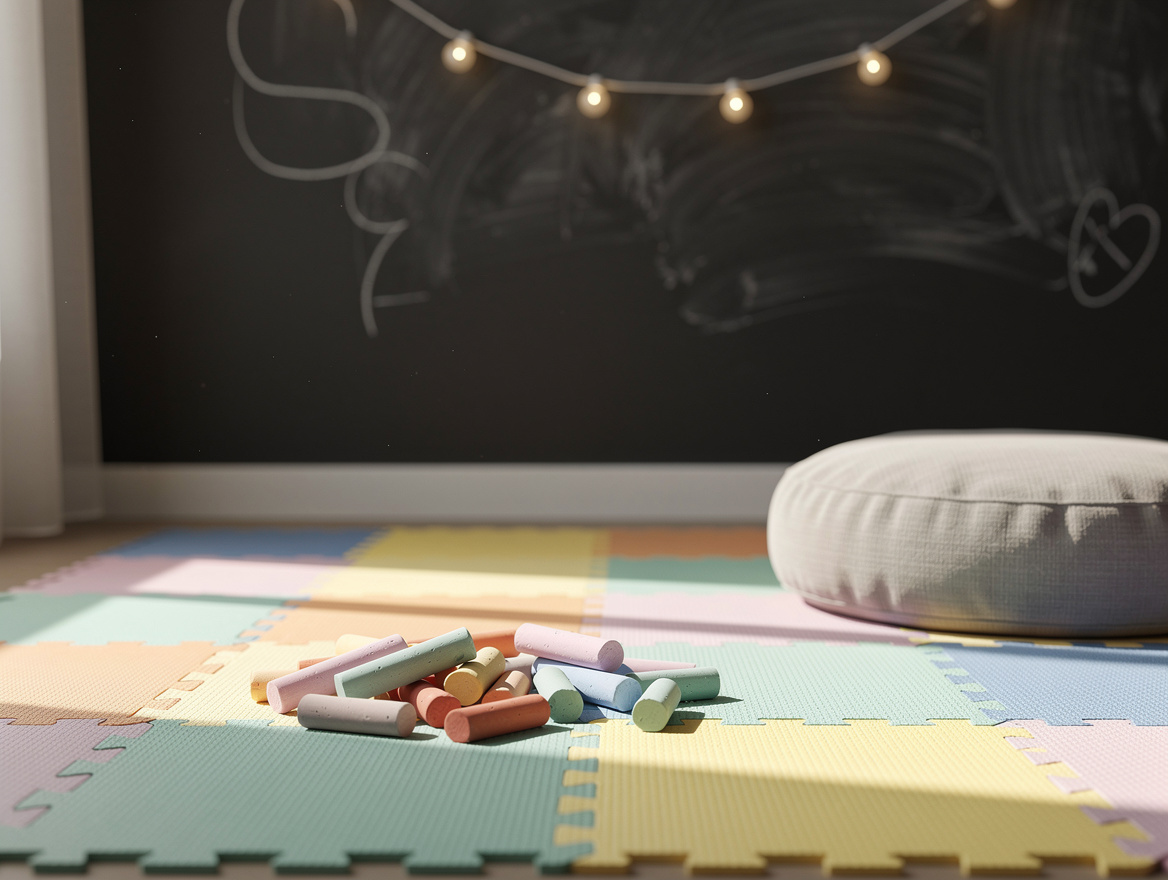
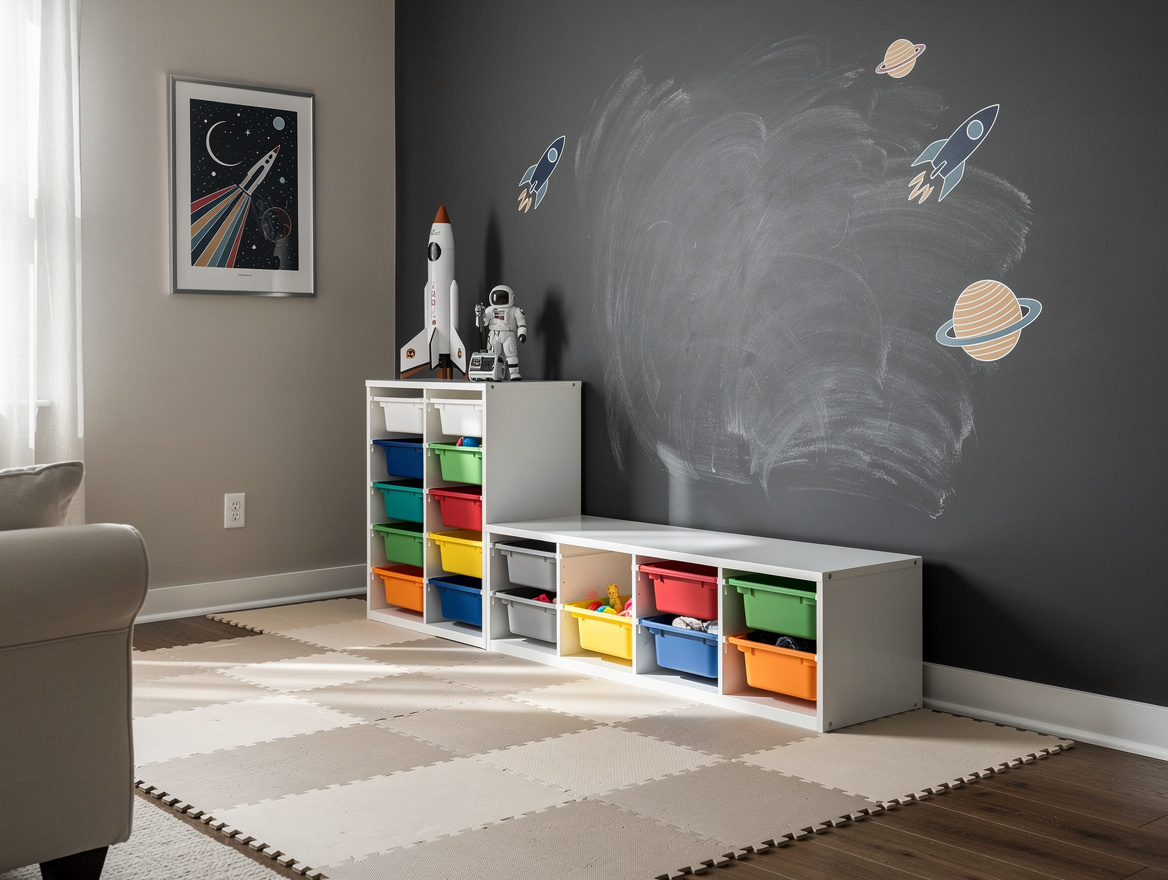
The wall changed everything. A can of Rust-Oleum chalkboard paint at Home Depot is typically $16 to $20, and one can covers far more than a single kid zone, so you only need a simple rectangle.
I painted mine about 48 inches wide and 36 inches high, starting roughly 16 inches off the floor. That height works for younger kids, and it keeps the drawing area from creeping all over the wall, which is my hard line in any shared room.
For supplies, a box of Crayola sidewalk chalk at Target is usually $5 to $8, and yes, I used sidewalk chalk indoors on the chalk wall because the chunky pieces are easier for small hands. Thin chalk looks tidy in photos, but it’s annoying in real life.
Add one crawl or balance station, not a whole obstacle course
This is where most people overspend. You do not need a tiny indoor playground, you need one moving piece that turns the corner into an adventure instead of a reading nook with extra props.
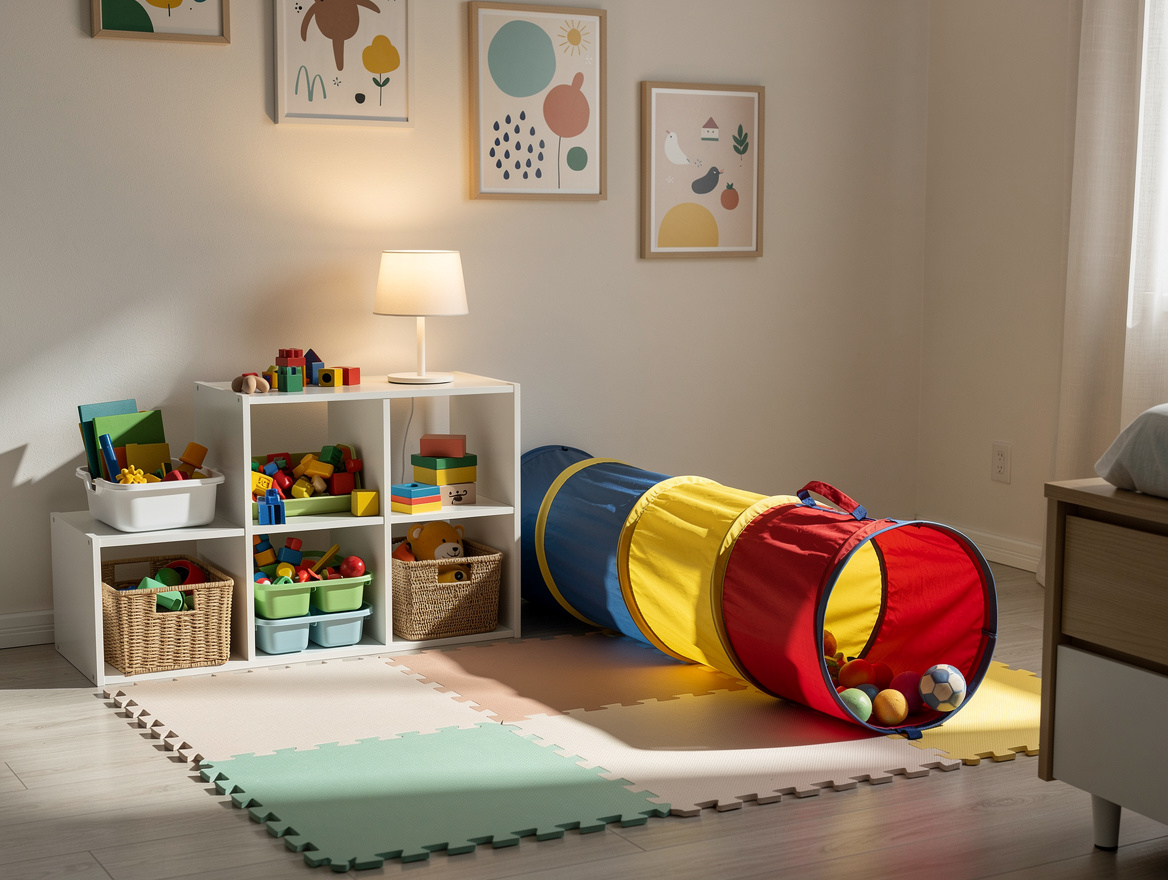
I used a pop-up play tunnel from Amazon, the kind that usually runs $20 to $25 and measures around 47 to 59 inches long. It gave the zone an instant mission feel, and it could collapse in seconds when I wanted the room back.
If your corner is tighter, make a balance path instead with painter’s tape and a pool noodle. A Target pool noodle is usually around $3 to $5 in warm-weather aisles, and taped onto the foam with a “lava floor” line around it, it gets more use than some bulky plastic climbers.
Use low storage as the wall that frames the zone
Storage had to do two jobs: hide clutter and define the edge. A low three-cube organizer from Target or Walmart is typically $20 to $30, and that price range is the sweet spot if you want the corner to look finished without blowing the whole budget.
I kept the depth around 11 to 12 inches so the floor stayed open. In a corner that’s roughly 5 feet per side, that still leaves a clear play pocket in the middle, which is what makes the after photo look calm instead of crowded.
I added two soft bins for “gear” and left one cube open for books and a flashlight. Closed storage is fine, but one visible shelf is smarter because kids need a cue to start playing the second they walk past it.
Finish with light, a cushion, and one theme that ties it together
The after only worked once I stopped mixing themes. I picked a mission-control feel, then added a string light set from IKEA or Walmart, typically $8 to $12, around the chalk wall and shelf line for a soft evening glow.
Then I dropped in one floor cushion and a poster pack. A simple space poster set from Amazon is usually about $10 to $15, and that was enough. Kids do not need layered wall styling, they need one idea they can understand in half a second.
My total came out in the typical $84 to $96 range: foam floor about $20, chalkboard wall and chalk about $24, tunnel about $22, storage about $24, lights about $10. That’s the version I’d recommend because it feels complete without crossing the under-$100 line.
Start with the floor and the wall, then add only one active element. If your budget gets tight, skip extra decor first, because the soft mat and reachable chalk zone do most of the work.
Mia Carter writes about small-space living and budget home makeovers. She has restyled three rentals and tests most ideas in her own 45 sqm flat.