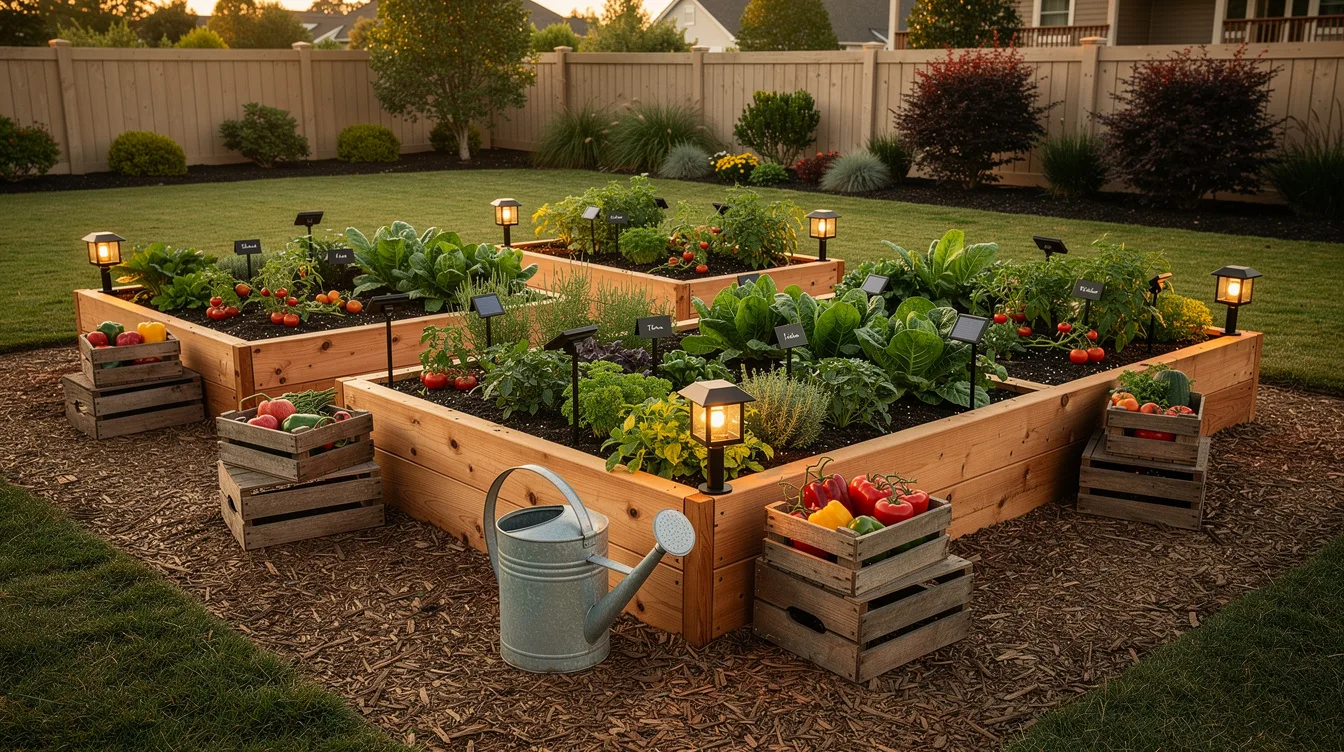
I can always tell when a raised-bed garden was built for function only. The soil is doing great, the tomatoes are happy, and the whole setup still looks like leftover lumber beside an air conditioner.
If you want that boutique farm-stand feeling, the answer usually is not more decor. It’s a handful of finish details that make the beds look planned, useful, and a little romantic without getting twee.
Wrap the Beds in Warm Cedar
A plain raised bed can look temporary fast, especially when the boards start reading as construction scraps. I like to reface the visible sides with cedar fence pickets because the grain has that produce-market warmth right away.
At Home Depot or Lowe’s, a typical 6-foot cedar picket is often around $4 to $6, which is a cheap visual upgrade compared with replacing the whole bed. Cedar weathers better than basic pine, and the slightly uneven tone actually helps the boutique-farm look instead of hurting it.
If your bed is already structurally sound, this is the first thing I’d do. New skin, same frame, far better payoff.
Cap the Edges With a Wider Ledge
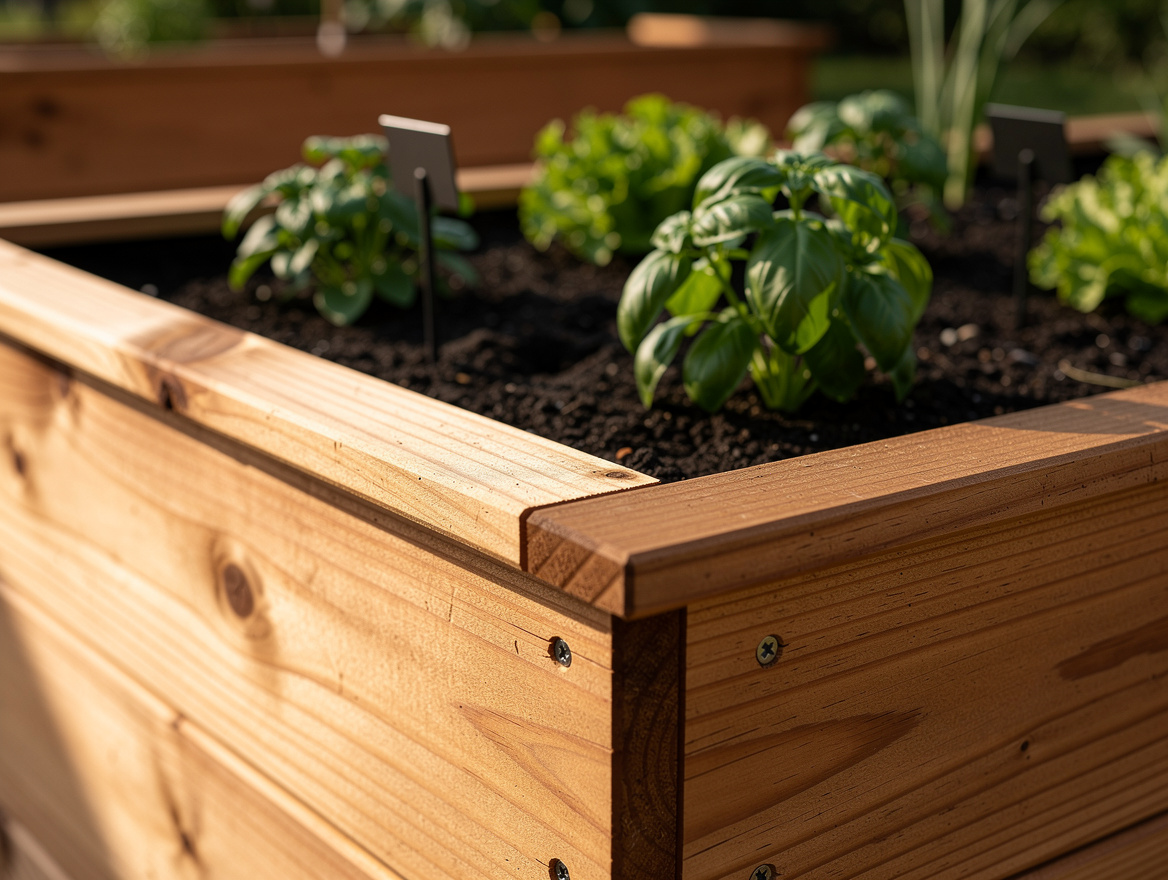
Skinny bed edges never look finished to me. A simple top cap in cedar boards, usually a 1×4 or 1×6, gives the whole bed a cleaner outline and makes it feel custom.
A wider ledge also has a job: it holds pruners, seed packets, or a morning coffee while you work. At Ace Hardware, the typical cost for cedar boards varies by region, but a small bed usually needs a modest amount of lumber, and that spend looks intentional instead of fussy.
This is one of those details people notice without knowing why the bed looks more expensive. It stops the boxy, utility-only look immediately.
Mulch the Paths Like a Real Market Garden
The raised beds are not the whole picture, the paths do a lot of the styling. Bare dirt reads messy, but a thick layer of pine bark mulch or natural wood chips gives the space that organized farm-row rhythm.
At Walmart and Home Depot, mulch bags are commonly around $3 to $5 each, and a small raised-bed zone often needs several for decent coverage. I prefer natural brown over dyed black here because it feels more edible, more relaxed, and less like commercial landscaping.
Keep the path width consistent, even if the garden is tiny. That symmetry is what makes it look edited.
Add Black Labels and Simple Plant Stakes
A boutique farm stand always tells you what you’re looking at, and your raised bed should do the same. Clean black metal plant labels or matte stake markers make basil, kale, and cut flowers feel like they belong to a system.
You can find basic garden markers on Amazon for a typical range of about $10 to $20 per set, depending on material and count. I would skip cute scripted signs or fake antique chalkboards, they slide into gift-shop territory fast.
Use one style only and repeat it across every bed. Repetition is what turns a collection of plants into a visual concept.
Stage One Corner With Crates and Harvest Tools
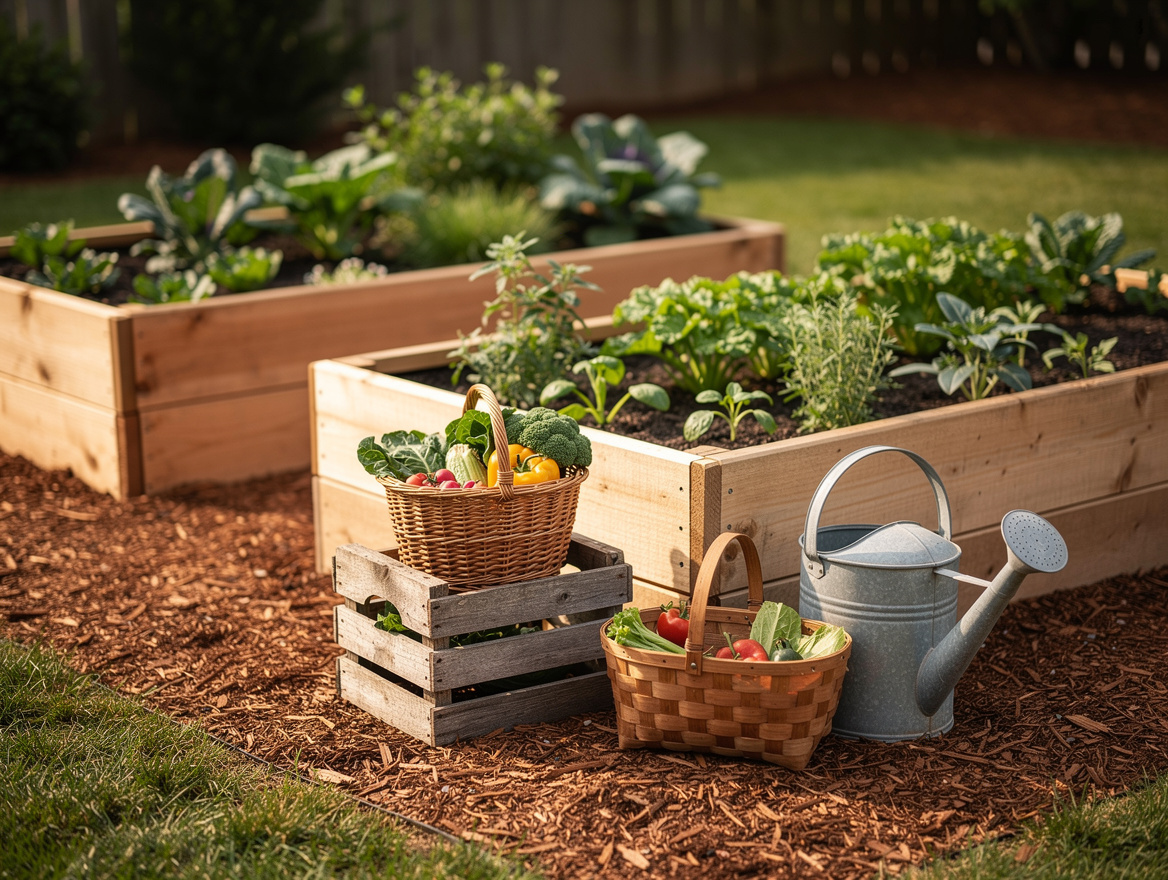
This is where the farm-stand mood really shows up. Tuck two stacked wood crates beside the beds and add a galvanized watering can, a twine spool, or a harvest basket that actually gets used.
At Target, Wayfair, or Amazon, decorative or utility crates often land in the $15 to $30 range each, which is enough to build a small vignette without making the space look staged for photos only. I like a slightly worn wood tone more than painted white, because white gets precious outdoors.
Keep it tight. One corner, a few useful objects, no random extras.
Light the Beds With Lanterns, Not String Chaos
A lot of backyard gardens lose the plot at dusk because the lighting gets overly busy. I would rather place two or three solar lanterns or low stake lights near the beds than run string lights everywhere.
At IKEA, Target, and Costco, solar garden lights or lantern sets often start around $20 and go up depending on size and finish. Warm light is the whole point here, cool white makes a vegetable bed feel like a parking lot edge.
Put the glow near the path entrance and at one focal corner. You want a gentle invitation, not a holiday display.
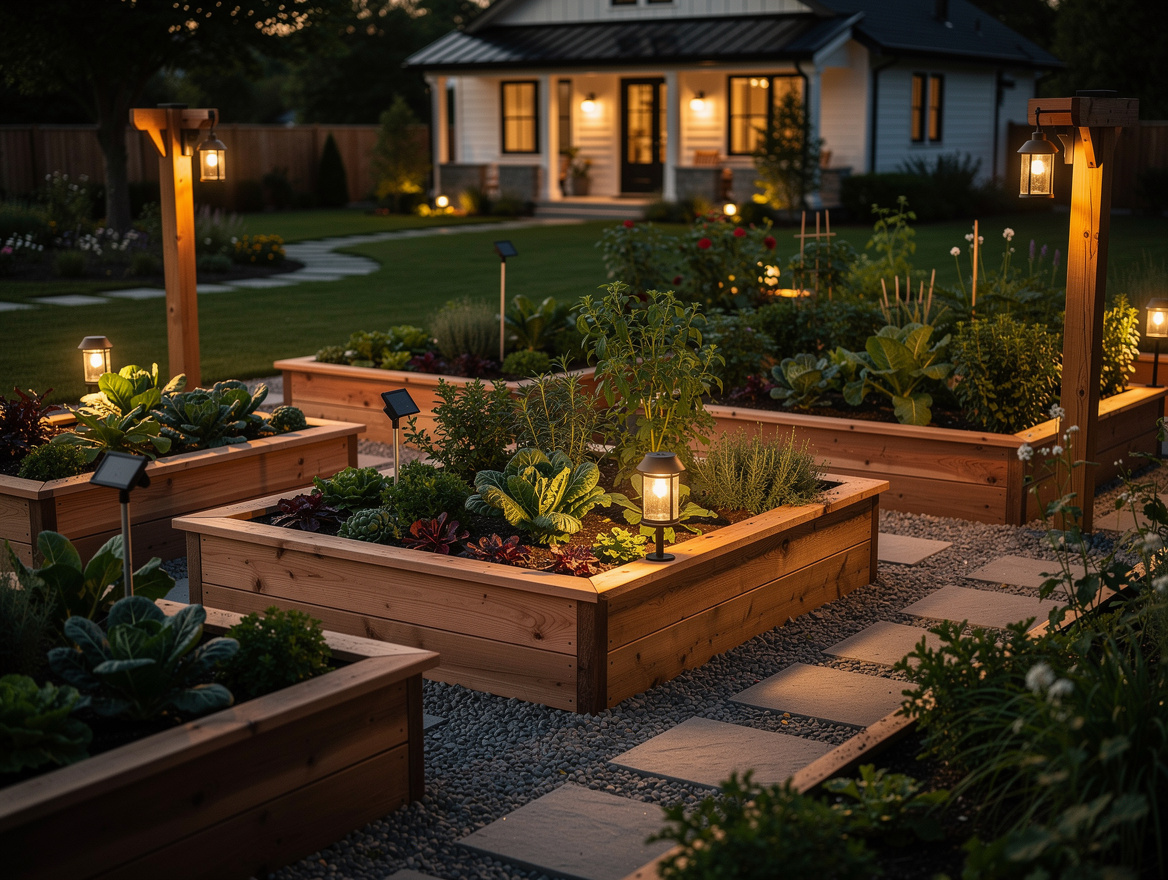
Start with the bed surface and the ground around it, not the accessories. Once the wood tone and the paths look right, every basket, label, and lantern suddenly makes sense.
Mia Carter writes about small-space living and budget home makeovers. She has restyled three rentals and tests most ideas in her own 45 sqm flat.