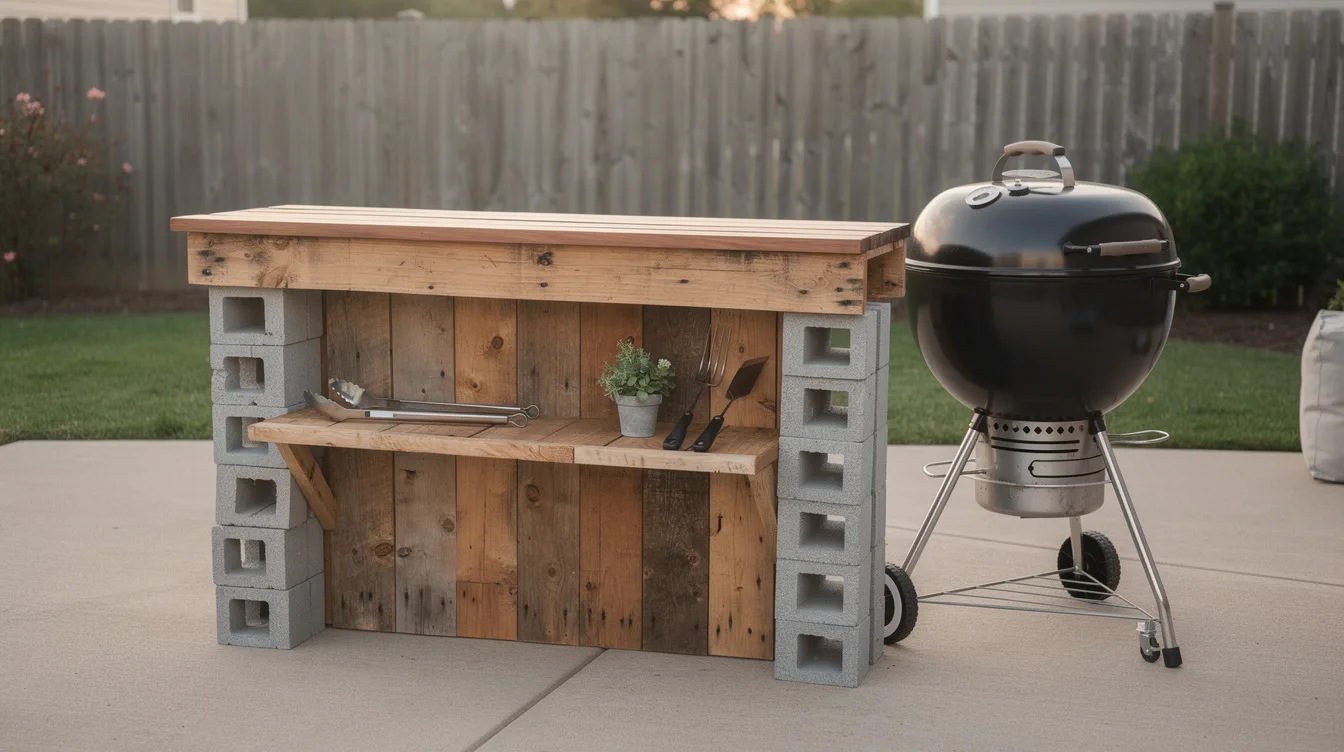
I got tired of balancing a tray of burger buns on the grill lid and setting tongs on a wobbly plastic side table. My patio is small, and every cookout turned into that same shuffle: plates on one chair, condiments on the ground, drinks wherever they fit.
I wanted a bar and grill station that looked intentional, but I also wanted to build it fast and with hand tools only. A couple of wood pallets, a screwdriver, sandpaper, and some patience ended up being enough.
Start With Heat-Safe Placement
The first thing I did was stop thinking about style and figure out where the grill could actually live. A grill station has to give the grill breathing room, and I left a clear gap so the pallet wood never sat right against the hot side.
I also placed the whole setup on a level patch of patio instead of grass. If your surface is uneven, a few concrete pavers from Home Depot, often around $2 to $4 each in a typical basic size, are a smarter fix than trying to shim everything later.
Pick Cleaner Pallets, Not Just Free Ones
I skipped the roughest freebies and looked for pallets with fewer cracked slats and less staining. That saved me time immediately, because every ugly board you “save” at pickup becomes extra scraping and sanding once you’re home.
I used two heat-treated pallets and checked for the HT stamp, which is the safer choice for a backyard build than anything chemically treated. Free is great, but I still think paying a small local fee for cleaner pallets is worth it if the boards are straighter and the project will sit where people eat.
Sand Only the Parts You Touch
I did not try to make pallet wood feel like indoor furniture. I focused on the top ledge, the front edge, and the spots where hands grab plates, because that’s where splinters actually ruin your mood.
A pack of 3M sanding sheets from Walmart or Lowe’s usually runs about $5 to $8, and hand sanding was slower than a power sander but totally manageable over a weekend. Coarse first, then medium grit, and stop when it feels clean enough, not perfect.
Use Blocks and Braces Instead of Fancy Joinery
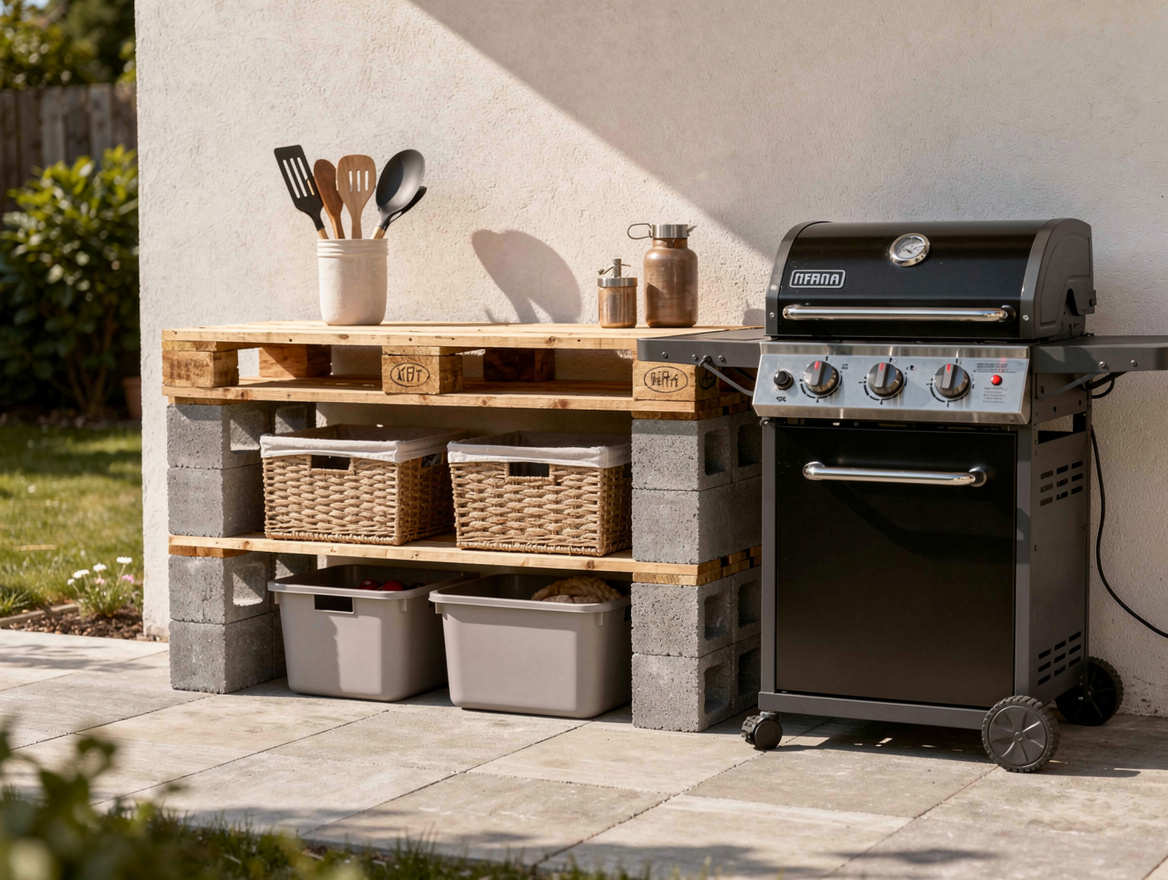
The build got easier when I stopped pretending I needed carpentry skills. I stood one pallet upright for the back, one for the front, then used stacked cinder blocks at the ends to create support points and instant shelf space.
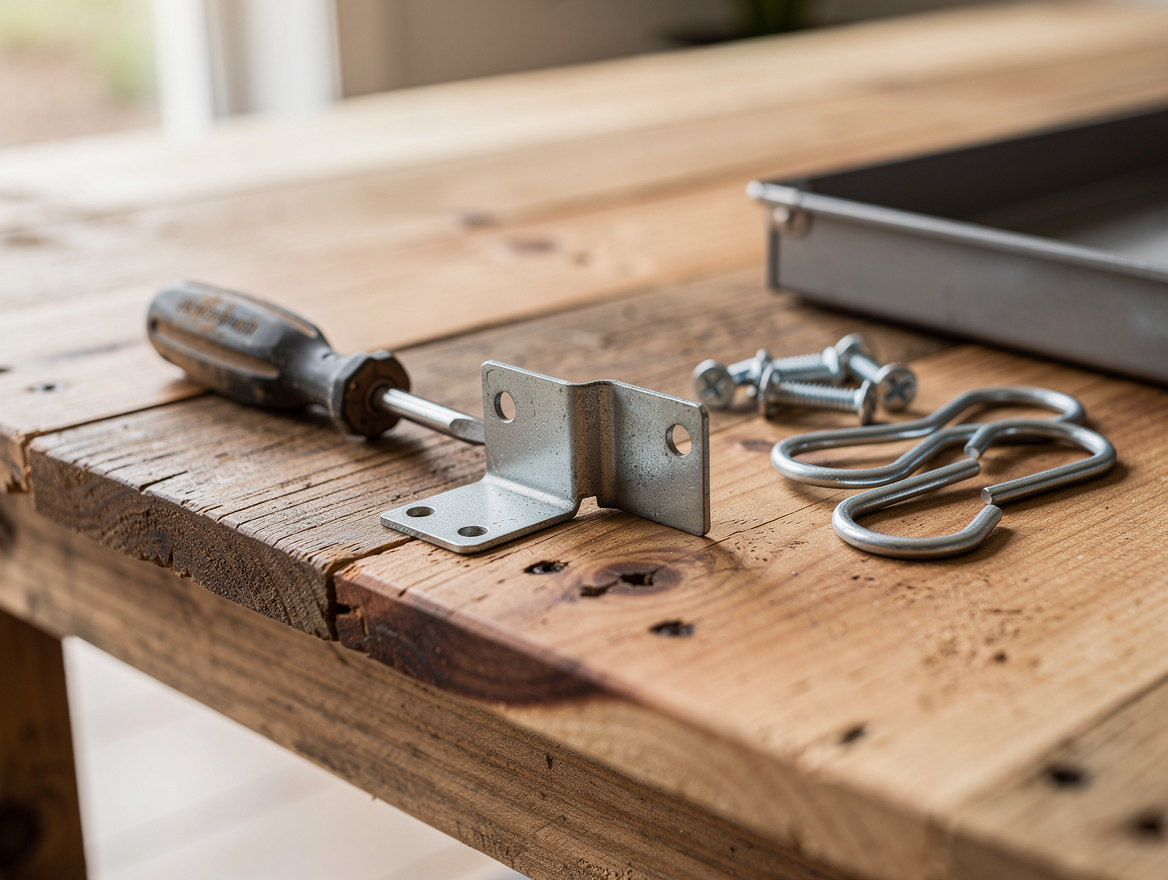
To keep the pallets from shifting, I added corner braces from Ace Hardware with a manual screwdriver. A typical small mending plate or brace can cost just a few dollars, and this is where I got the most stability for the least effort.
I know some people hate the look of exposed metal hardware, but I don’t. On a pallet project next to a grill, visible brackets feel honest and a lot less precious.
Make the Countertop Easy to Wipe Down
The top matters more than the frame because it’s where all the messy stuff happens. I used a row of sanded pallet slats for the dry prep side and added a removable outdoor serving tray from Target on top so spills would not soak straight into the wood.
For the section nearest the grill, I liked a more heat-tolerant layer. A small cement board panel or leftover tile set on the surface is a better idea than pretending sealed pallet wood should handle hot tools forever.
This was also the best place to be picky about height. Standard outdoor bar counters usually land around 40 to 42 inches, and mine ended up a bit lower, which I actually preferred because it made plating food easier than perching everything too high.
Add Storage That Keeps Cookout Clutter Moving
I didn’t need built-in cabinets. I needed places for paper towels, a cutting board, foil, and a bucket for drink bottles, so I treated the station like a working zone instead of a showroom piece.
A couple of S-hooks, a wire basket from IKEA, and a narrow storage bin from Walmart did most of the heavy lifting. Typical small accessories like these usually cost under $10 each, and they keep the top clear, which is the whole point of building the station in the first place.
I also slid a Costco cooler beside the block end instead of trying to force cold drink storage into the build. That decision kept the project lighter, faster, and a lot less awkward.
Seal the Wood, Then Let It Look Imperfect
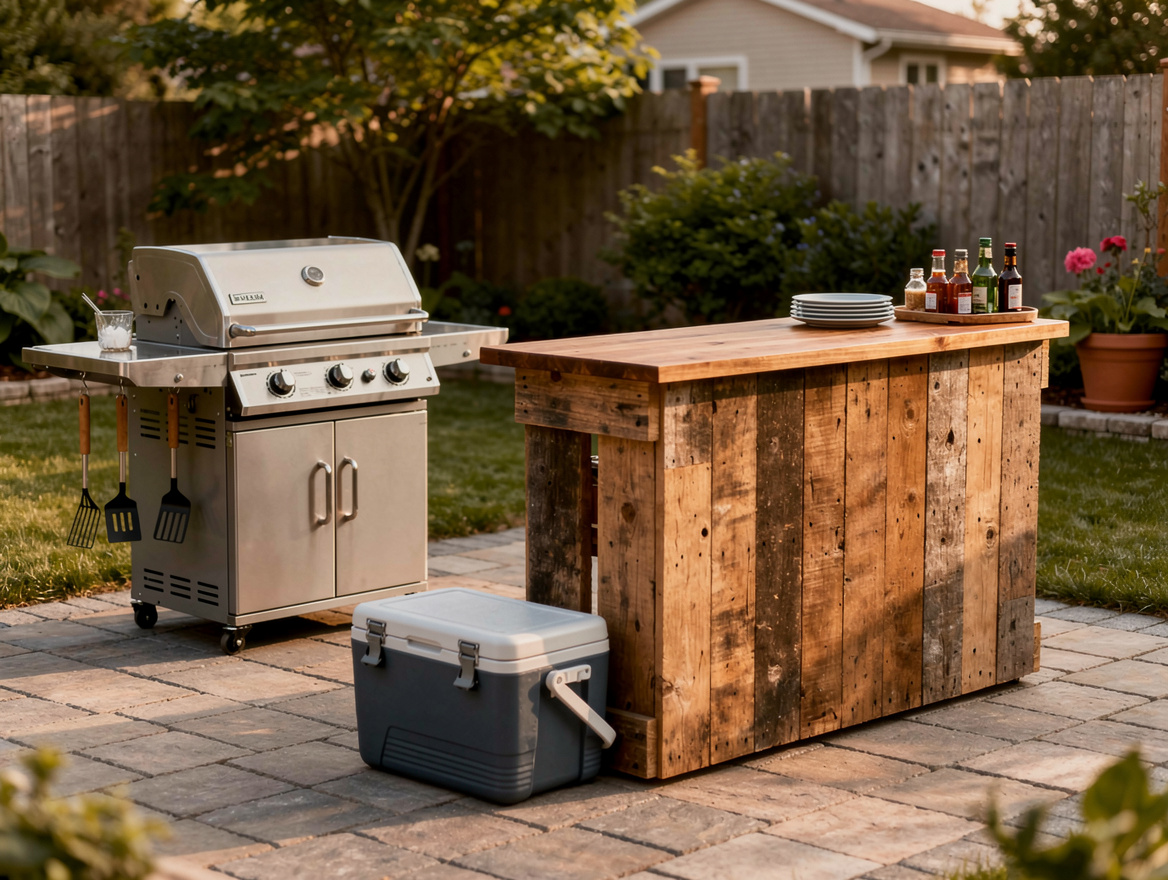
Once the structure felt solid, I brushed on an exterior clear sealer by hand and left the color alone. I didn’t want glossy fake-rustic wood, and I definitely didn’t want to paint over every mark that made the pallets look real.
A basic outdoor wood sealer from Home Depot or Lowe’s often falls in the $18 to $30 range for a typical can, and one coat was enough for my use. I think overfinishing is where a lot of DIY patio pieces start looking stiff instead of relaxed.
The final look still had knots, uneven grain, and a couple of old nail shadows. Next to a black charcoal grill and a stack of plain white plates, that roughness looked better than anything too polished.
What surprised me most was how much calmer cooking felt once I had one dedicated landing spot for food, tools, and drinks. The station did not need to be perfect, it just needed to stop the constant reaching and reshuffling.
If you want to try this yourself, start with the layout before you buy a single bracket. Get the grill distance right, test the height with a tray in your hands, and the rest of the build gets much easier.
Mia Carter writes about small-space living and budget home makeovers. She has restyled three rentals and tests most ideas in her own 45 sqm flat.