
The giveaway on ready-made bedding is rarely the label; it is the limp edge, loose fitted sheet, or duvet that stops short of the mattress.
On a queen bed, a finished duvet that is roughly 104 to 110 inches wide usually creates the fuller side drop that custom bedding suggests, especially when the frame is tall enough to show the drape.
The fix is a disciplined setup: build height underneath, fill the cover completely, and edit the top layer until every fold looks intentional.
Build a Taut Foundation
Measure the mattress depth before buying a fitted sheet, then choose one that reaches the corners without pooling beneath them; that tight base makes even a modest cotton fitted sheet read like part of a custom-made bed.
If the mattress looks skimpy from the side, add a typical 1 to 2 inch mattress pad or topper, which gives the profile more body and lets the next layer fall cleanly instead of collapsing against the frame.
For a crisp hotel surface, look for long-staple cotton percale in roughly the 200 to 400 thread-count range; its matte, structured finish looks composed, while sateen is smoother and subtly lustrous.
I would start at a US retailer such as Target or IKEA with a plain white percale foundation before spending on an inflated thread-count claim, because a tight edge is visible from the doorway and photographs with a cleaner line.
Size the Duvet for a Longer Drop
Give the duvet more side drop than a standard set usually provides: on a queen bed, a king-size duvet cover and insert can create a wider, more generous frame when the bed has breathing room from the walls.
For a queen, aim for a finished duvet that is roughly 104 to 110 inches wide; for a king, roughly 108 to 116 inches, adjusting for mattress thickness and frame height.
Before ordering an oversized duvet insert, compare the cover’s finished dimensions rather than trusting its size label, and check that the lower edge will land evenly on both sides when the bed is made.
A thin insert inside a large cover produces the opposite of luxury: a hollow center and limp edges, so choose a comparable-size down-alternative insert, or use two light or medium inserts for a rounded top without the weight of a winter layer.
Settle the Fill Before Styling
Once the insert is inside, fasten the corner ties if they are present and work the fill outward with both hands, especially along the bottom edge; a smooth cotton duvet cover should look full at the seams and soft in the center, without a bare strip where the insert has shifted.
Lift the cover from the top edge and give it a few firm shakes before laying it flat, a quick reset that helps the down-alternative comforter distribute evenly and keeps one side from looking heavier than the other.
Run your hand across the surface and pull the cover square to the mattress, because relaxed wrinkles can suit washed linen, but crooked seams make any fabric look inexpensive.
A cover that slides back toward the headboard will expose a thin, uneven band at the foot, so anchor the lower corners before you judge the styling.
Create One Deliberate Top Fold
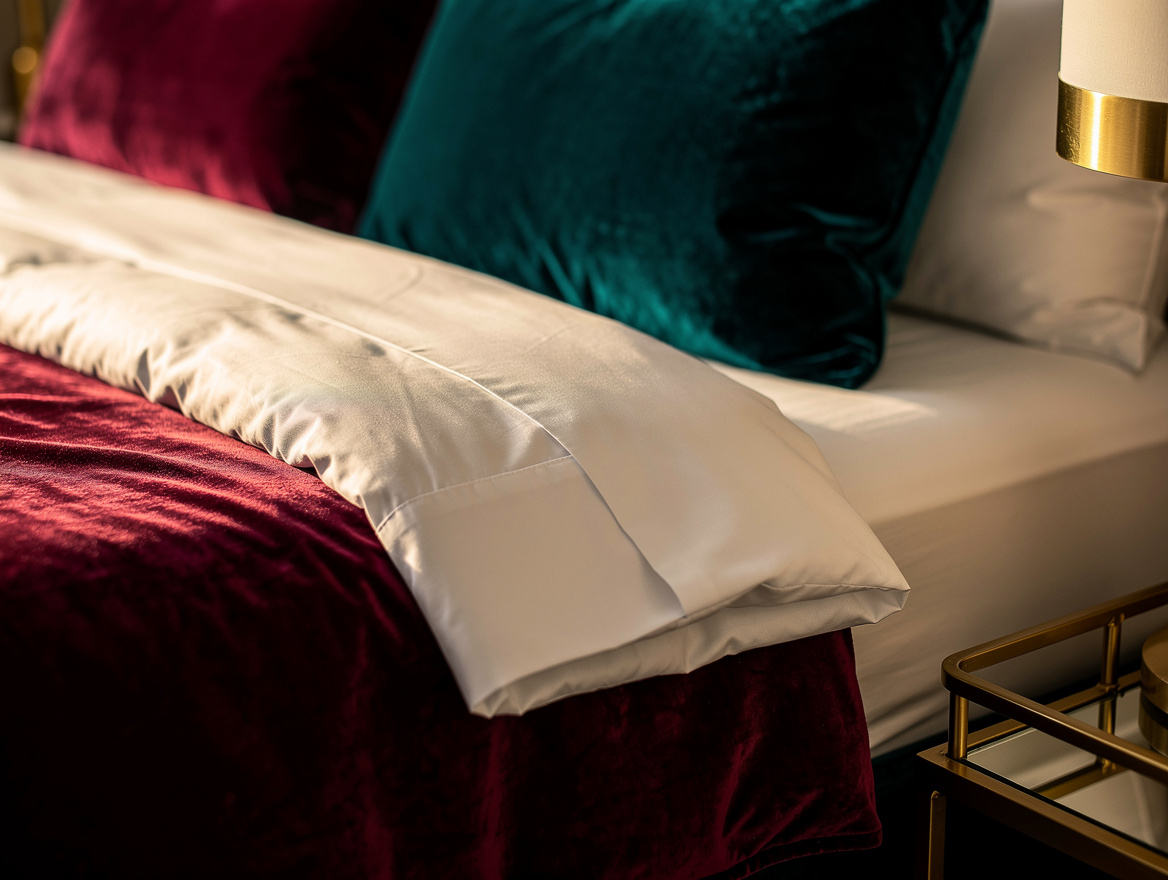
Make the bed normally, then fold the duvet’s top edge back by about 10 to 12 inches so a clean strip of sheet shows beneath it; that white percale sheet cuff gives the eye a crisp horizontal break and keeps a large plain duvet from reading as unfinished.
For more depth, place a quilted coverlet under the duvet, then fold both layers down together; the raised surface of a quilted cotton coverlet adds interest without another print, and I prefer that controlled relief to a stack of competing blankets.
At the foot, use one folded coverlet or throw as a horizontal runner, letting it overhang evenly or align exactly with the duvet edges; a channel-quilted cotton throw looks especially tailored when its channels run straight across the bed.
Keep the runner to one textile and one direction, because a horizontal line gives the bed a finished endpoint while a diagonal throw usually looks like it was dropped there.
Build the Pillow Stack by Scale
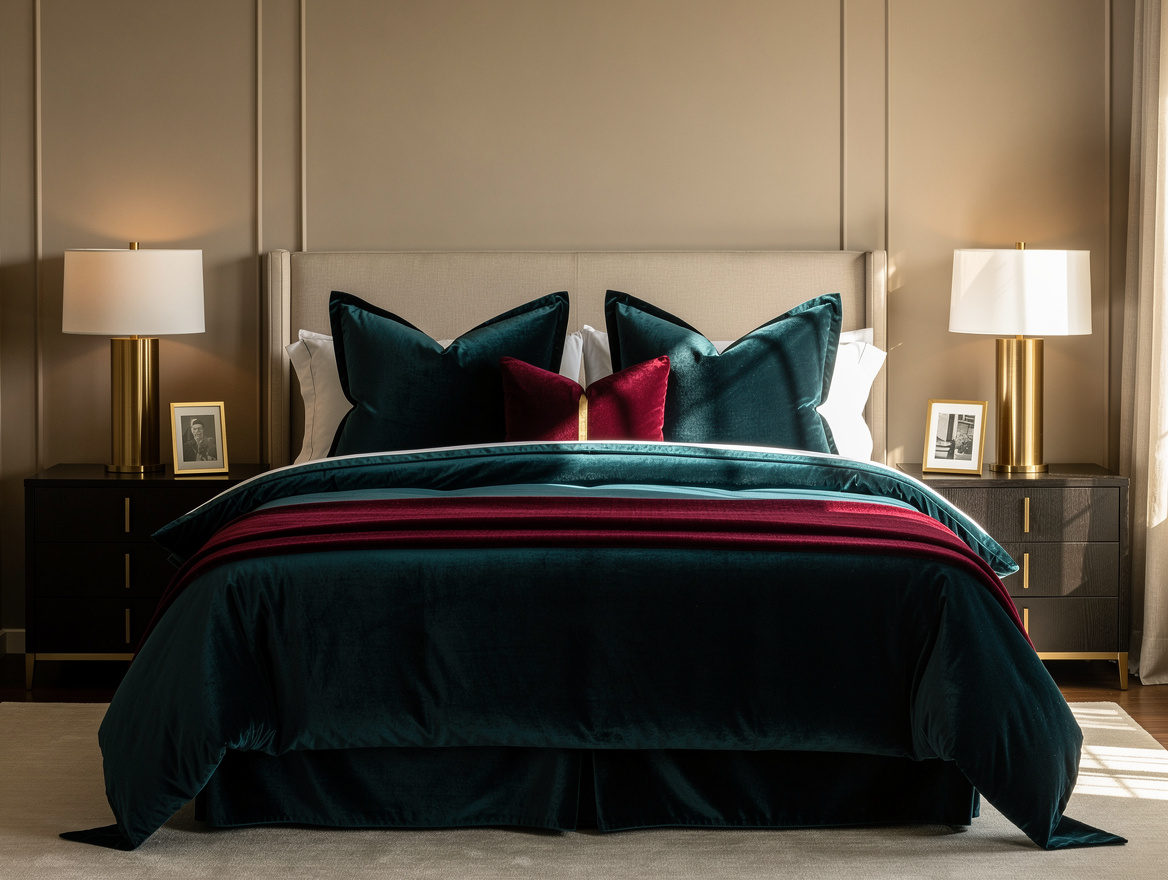
Build the pillow arrangement from largest at the back to smallest at the front, with sleeping pillows in the middle; a pair of European-size shams gives the bed a broad back line while keeping the arrangement useful.
Use inserts one size larger where practical: a feather-down pillow insert about 22 by 22 inches inside a cover about 20 by 20 inches makes the square look plump and professionally upholstered.
Finish with a single long linen lumbar pillow; a bed that needs a pile of unrelated decorative pillows to look finished is still relying on clutter.
Press the pillows back until their top edges make a consistent line with the headboard, then remove anything that fills the gap without serving the composition.
Edit Texture Into a Quiet Palette
Keep the palette quiet: white, ivory, oat, stone, mushroom, warm gray, deep chocolate, navy, or a muted mineral tone lets proportion do the talking; a white cotton percale sheet is a better anchor than a busy printed set because its matte surface makes the fold easy to read.
Choose a small vocabulary of textures, then stop: pair oatmeal washed linen with a channel-quilted cotton coverlet or brushed wool at the foot, letting the fabrics differ in hand rather than compete in pattern.
Skip shiny polyester, thin microfiber, cheap-looking faux fur, and coordinated bundles that flatten every layer into one finish; a single herringbone wool throw from Wayfair or Amazon can feel considered when it is folded with exact edge alignment.
Let the walls, nightstands, and lamps stay quiet as well, since a bed with tailored proportions needs visual space around it to register.

Begin with the fitted sheet and duvet insert: tighten the base and fill the cover before adding anything at the foot.
Then place one textured runner and leave the rest alone; the bed will look more expensive when its empty space feels intentional.
Mia Carter writes about small-space living and budget home makeovers. She has restyled three rentals and tests most ideas in her own 45 sqm flat.