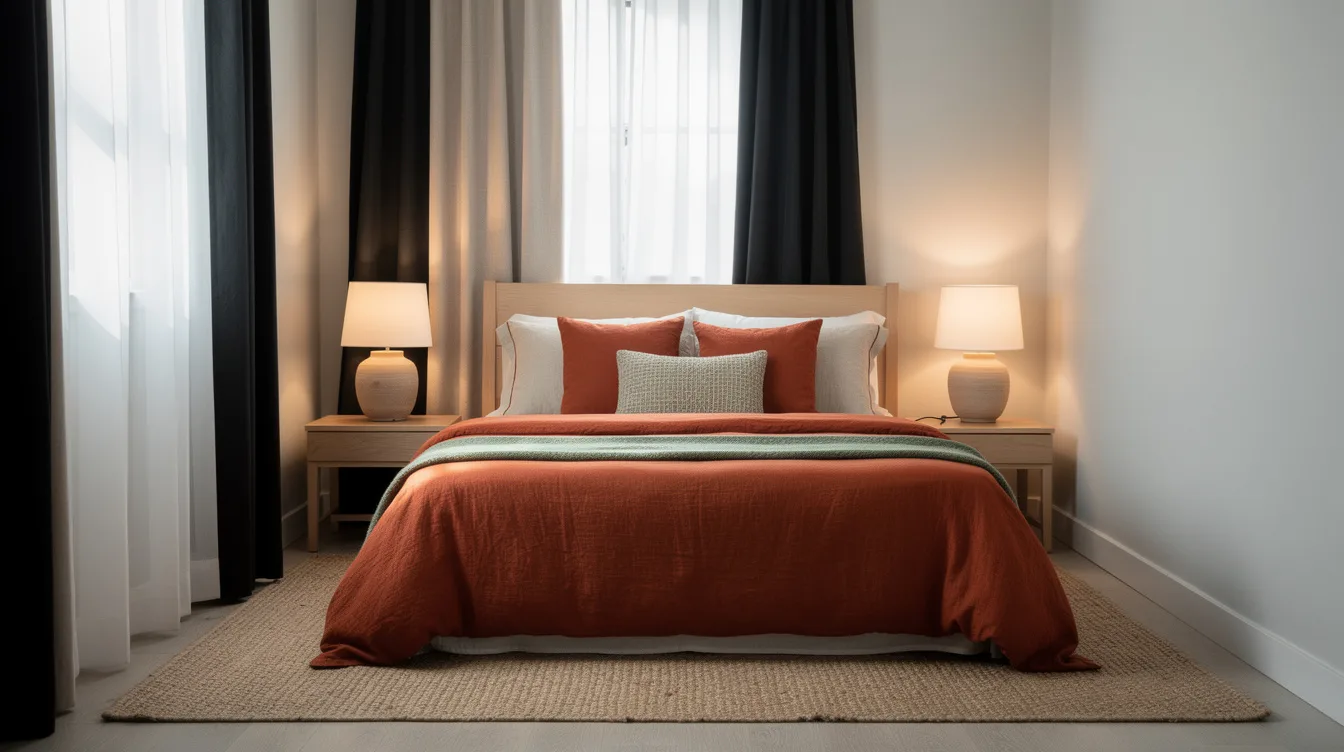
My bedroom is narrow enough that a single ceiling light made the bed feel harsh and the corners feel gloomy. In a typical 8-by-10-foot room, I found the right balance by treating daylight as the starting layer, then adding three or four controllable electric sources.
The goal is simple: softened brightness during the day, useful light when I need to move around, and darkness on demand at night. Once the window treatment and controls worked together, the room finally supported both waking up and winding down.
Soften Daylight Before Adding Bulbs
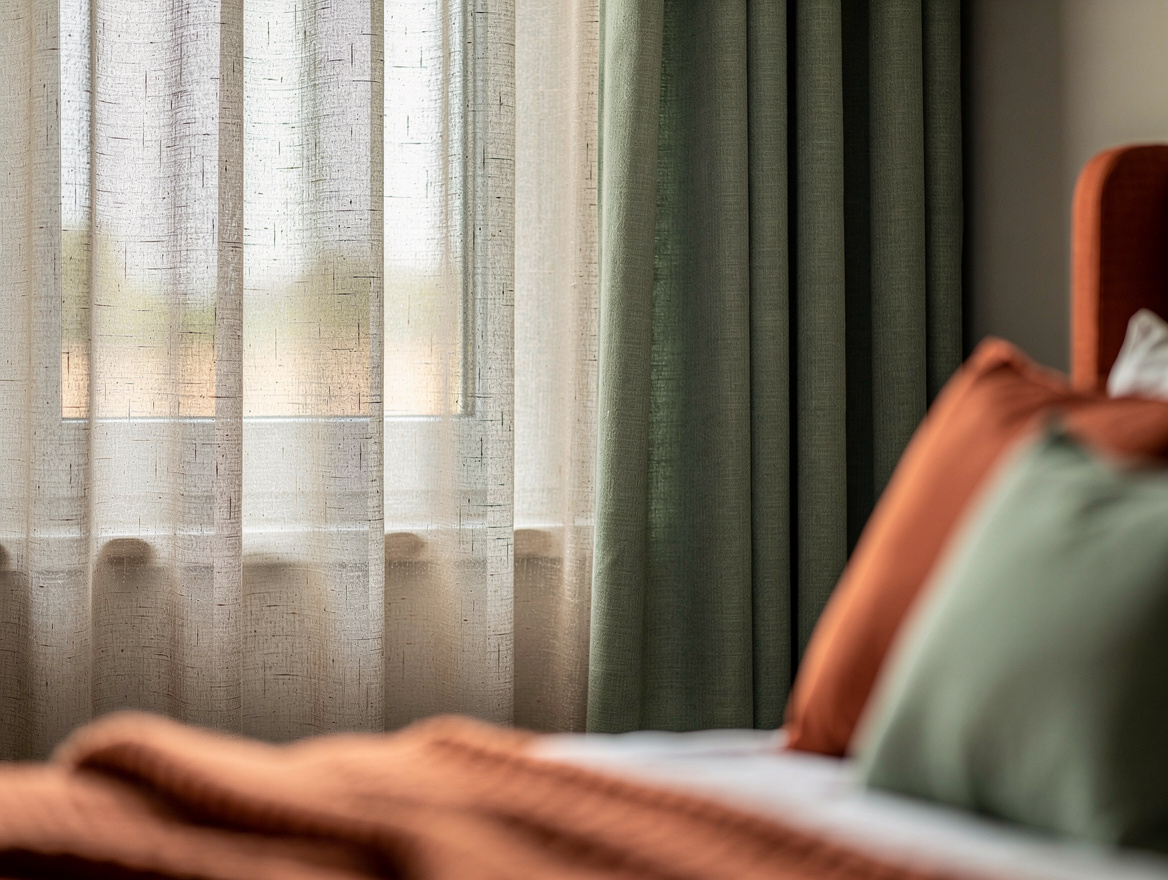
I started with the window because every electric-light decision felt wrong while harsh sun was bouncing off the walls. White linen-look curtains soften glare, préservé daytime brightness, and make a narrow room feel calmer.
Hang the curtain rod about 8 to 12 inches wider than the window on each side, then place it roughly 4 to 6 inches above the frame. That extra height keeps the window from feeling cramped.
For a window roughly 40 inches wide, use a rod around 63 to 79 inches long and panels totaling about 94 to 126 inches wide. I prefer generous fabric because skimpy panels leave bright side gaps and look unfinished.
Build Darkness for Sleep
Daylight should guide the room during the day, but sleep needs a different setting. Blackout polyester drapes or a lined cellular shade can block streetlights, early sunrise, and the glowing distractions outside the window.
Extend the blackout layer about 4 to 8 inches beyond both sides of the window, and let the curtain width total roughly 1.5 to 2 times the rod width. Side coverage matters as much as the fabric itself.
In a compact bedroom, an IKEA TRIPPEVALS-style blackout cellular blind is a practical choice because it takes little visual space. Comparable U.S. Widths typically cost about $60 to $80, depending on size.
Layer General Light for Tasks
One central ceiling fixture made my bedroom feel flat and overly bright at the same time. I added a controllable source for dressing, cleaning, and finding things, then kept it separate from the softer lights near the bed.
A flush-mount fixture with a frosted diffuser spreads light more evenly than a bare bulb. Frosted glass is my preference here because it reduces sharp shadows without making the room feel dim.
Keep this general layer on its own dimmer or smart switch. The brightest setting should be useful for practical tasks, while the lower setting should never compete with the warm light used for winding down.
Keep Bedside Light Low and Warm
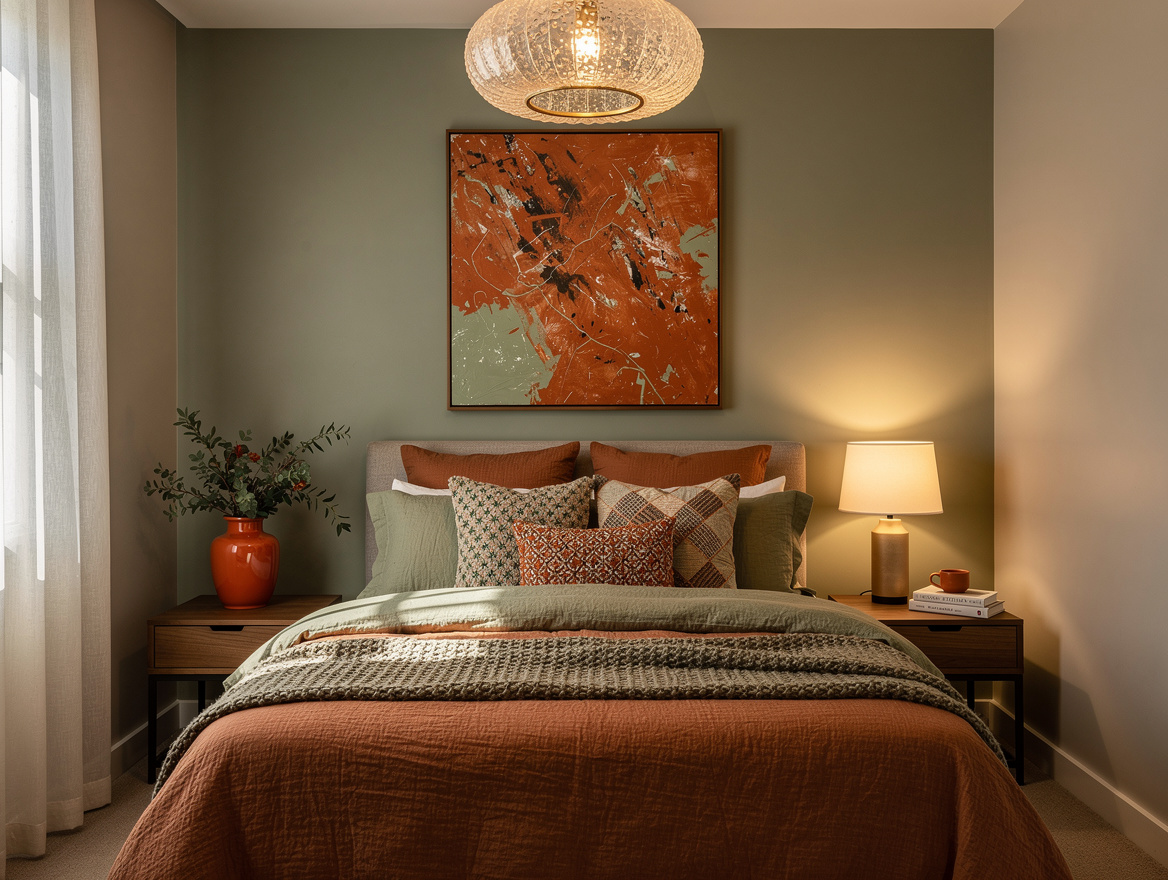
Bedside light needs to help you read without announcing that the day is still in progress. I use a small lamp with an opaque shade and a warm-white LED bulb placed below eye level.
A lamp on each nightstand is helpful when the bed is shared, but one well-positioned lamp can work in a small room. Choose a shade that directs light downward and away from the pillow.
Keep the bedside layer independently dimmable, with a typical lamp and bulb setup costing about $20 to $50 when bought from a U.S. Retailer such as Target or Home Depot. My firm rule: the bed should be the dimmest zone after sunset.
Set the Room to Follow Your Routine
The best bedroom-lighting balance becomes easier when the controls follow a simple rhythm: daylight first, brighter electric light for tasks, then low warm light before sleep. Smart dimmer switches can automate that sequence, but ordinary labeled switches work just as well.
Use one control for the ceiling fixture, another for the bedside lamps, and a separate control for the blackout layer if the shade supports it. Avoid one master switch that turns everything on at full brightness.
In the morning, open the sheer layer before turning on electric lights. At night, close the blackout layer and leave only the bedside light running for the final part of your routine.
Tune the Setup to the Window
Window direction changes the balance more than most people expect. A west-facing room benefits from solar screen fabric during the afternoon, while a north-facing room should keep its daytime layer as open and bright as possible.
East-facing windows need strong blackout coverage if sunrise wakes you too early. For a streetlight-facing window, pair a light-filtering daytime shade with blackout curtains that return well past the frame.
For a typical 8-by-10-foot bedroom, one window and roughly three to four intentional electric-light sources are usually enough. More fixtures rarely solve a control problem, and every added bulb creates another glare point to manage.
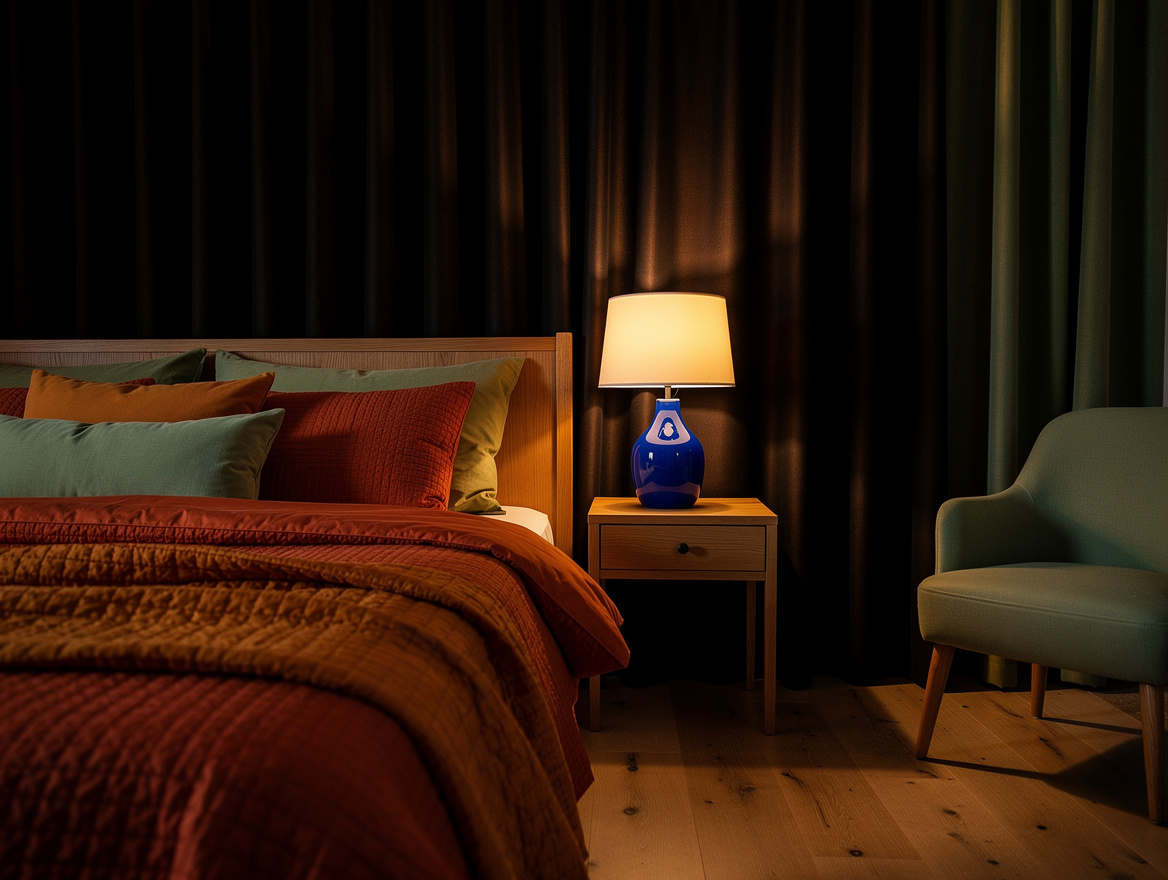
Start with the window, then install the dimmest bedside light you can comfortably read by. That order gives the room a natural daytime rhythm and keeps nighttime brightness from taking over.
Mia Carter writes about small-space living and budget home makeovers. She has restyled three rentals and tests most ideas in her own 45 sqm flat.