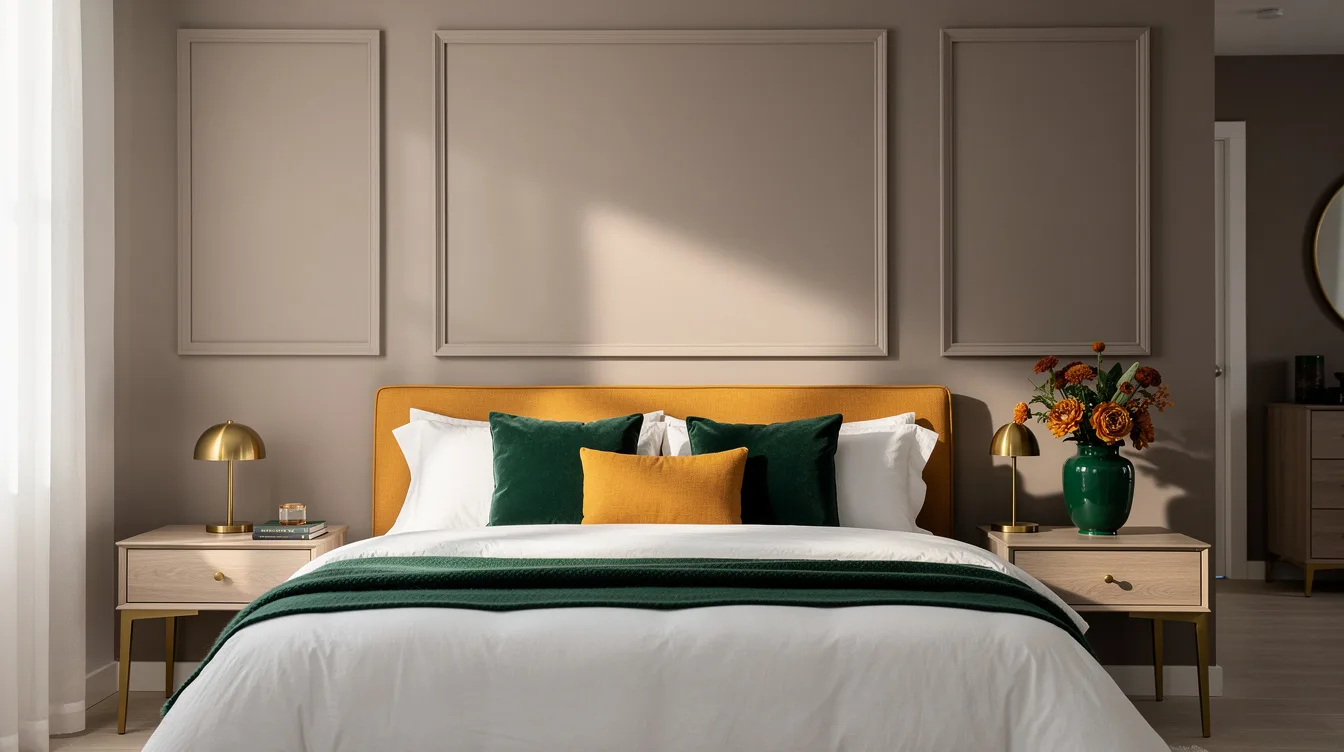
In my last rental, a roughly 485-square-foot apartment, the bed faced a blank wall that made the entire bedroom feel temporary.
I tested a framed molding layout behind the mattress, using the wall itself as a headboard and keeping the rest of the room quiet.
The result looked more finished than a thin ceiling strip, cost far less than built-in millwork, and could come down when the lease ended.
Frame the Wall Behind the Bed
In a rental, lightweight molding can create the presence of a built-in headboard without bringing in a heavy furniture piece.
I prefer one large rectangle centered behind the bed, although three evenly spaced vertical panels can give the room a sharper hotel-style rhythm.
The opinionated move is to decorate only this wall, because a focused architectural detail feels intentional while molding on every surface can make a rental feel busy.
Size the Boxes to the Mattress
For a typical 54-inch or 63-inch bed, make the full composition about 87 to 110 inches wide and roughly 47 to 63 inches high.
Keep about 3 to 5 inches between panels, with about 6 to 12 inches between the outside frame and the neighboring walls.
A three-panel arrangement often works best when the center panel is about 35 to 43 inches wide and each side panel is roughly 18 to 28 inches wide, depending on the wall.
Choose Rigid Profiles Over Sticky Strips
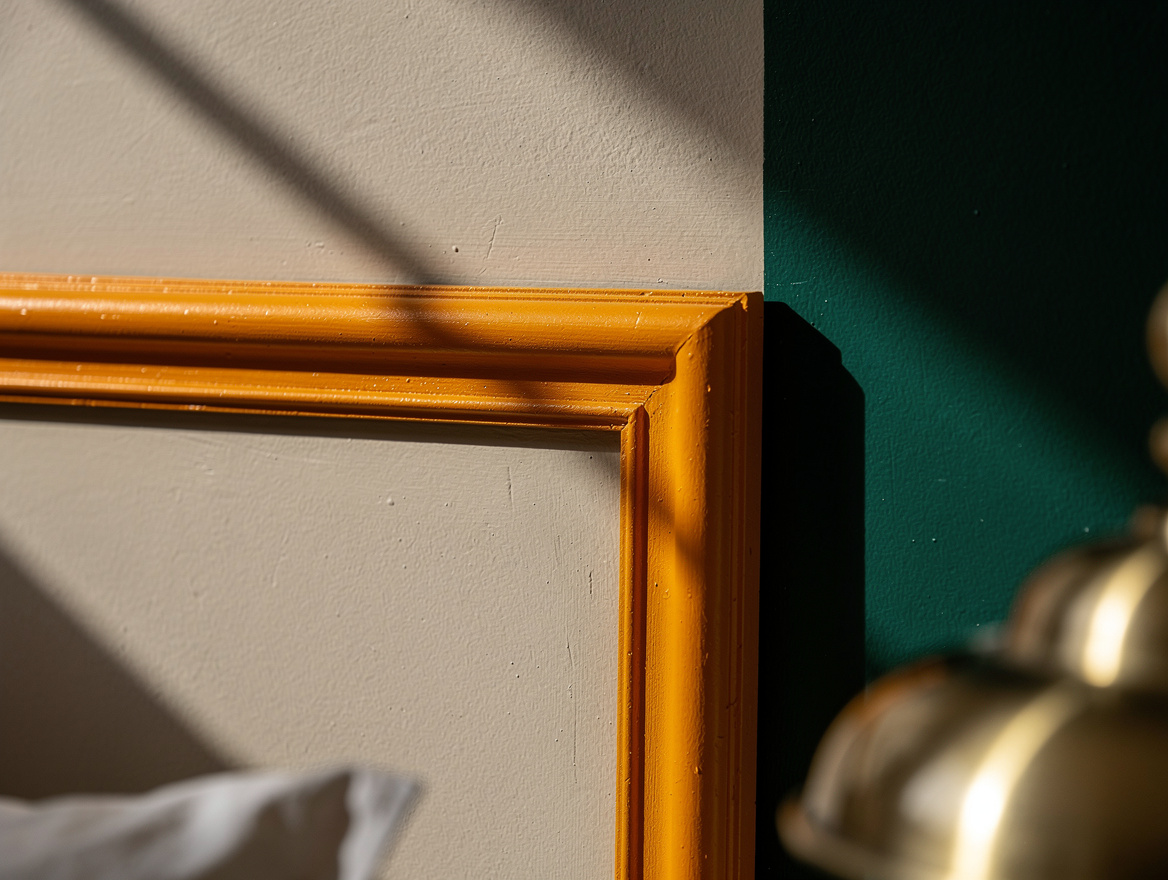
Polystyrene molding is my budget favorite because it weighs little, cuts easily, and can usually keep a one-wall project in a typical $35 to $100 planning range before unusual tools or repairs.
Home Depot and Lowe’s carry lightweight trim profiles, while a flexible self-adhesive TPE strip is better understood as a graphic line than true architectural molding.
A typical strip may measure only about 0.6 inch square and come in a roughly 10-foot roll, so it is simple to test but too shallow for the convincing shadow line a bedroom needs.
Paint the Molding Into the Wall
Paint the frame and wall in the same warm beige, greige, smoky olive, blue-gray, or muted terracotta family so the detail reads through shadow rather than contrast.
A slightly darker version of the wall color adds depth without turning the bed wall into a graphic poster.
Use the same finish on the trim and wall when possible; a tonal surface looks more expensive than glossy white molding pasted onto a flat rental wall.

Finish the Bedside Composition
Once the paint dries, place the bed in front of the lower portion of the composition and let the panels act as its architectural backdrop.
Matte-black sconces, slim nightstands, and a restrained duvet keep the frame visible instead of burying it under oversized furniture.
For a softer room, add oak nightstands and one textured lamp, but leave enough open wall around the molding for the proportions to remain legible.
Remove It Without Leaving a Mess
Before attaching anything, mark the layout with painter’s tape and check the centerline from the doorway, the foot of the bed, and the main walking path.
Use a removable mounting adhesive where the wall finish allows it, then seal small gaps with acrylic caulk and save a labeled sample of the paint for move-out repairs.
Wall filler and a careful sanding pass are usually all a renter needs after removal, which makes this focused project far less demanding than installed paneling.

Start with painter’s tape, one centered frame, and a tonal paint sample before buying trim. That small test will tell you whether the wall needs one strong rectangle or three slimmer panels.
Mia Carter writes about small-space living and budget home makeovers. She has restyled three rentals and tests most ideas in her own 45 sqm flat.