
A simple charcuterie board can look polished with one board, three textures, and about $100 to $300 for a generous setup. I’ve overfilled boards before, and it looked less inviting, not more. These ideas keep your choices clear, your table warm, and your first board far less fussy!
- Layer the Three-Texture Rule for an Easy Charcuterie Board
- Anchor Simple Charcuterie Board Ideas With One Hero Cheese
- Fold the Salami Into a Soft Fan
- Build a Sweet-Salty Corner for Charcuterie Beginners
- Arrange an Easy Charcuterie Board Around a Round Cheese
- Mix Two Woods Instead of Matching Everything
- Use Three Heights for a More Inviting Board
- Frame the Board With Fresh Fruit
- Add a Pickle-and-Olive Strip for Balance
- Float Crackers Around the Edges
- Choose a Soft Palette With White Dove and Fig
- Make a Personal Board Instead of One Giant Spread
- Use the Honest Budget Board
- Paint the Backdrop Before You Style the Food
- Serve the Board With the Three-Source Light Stack
1Layer the Three-Texture Rule for an Easy Charcuterie Board
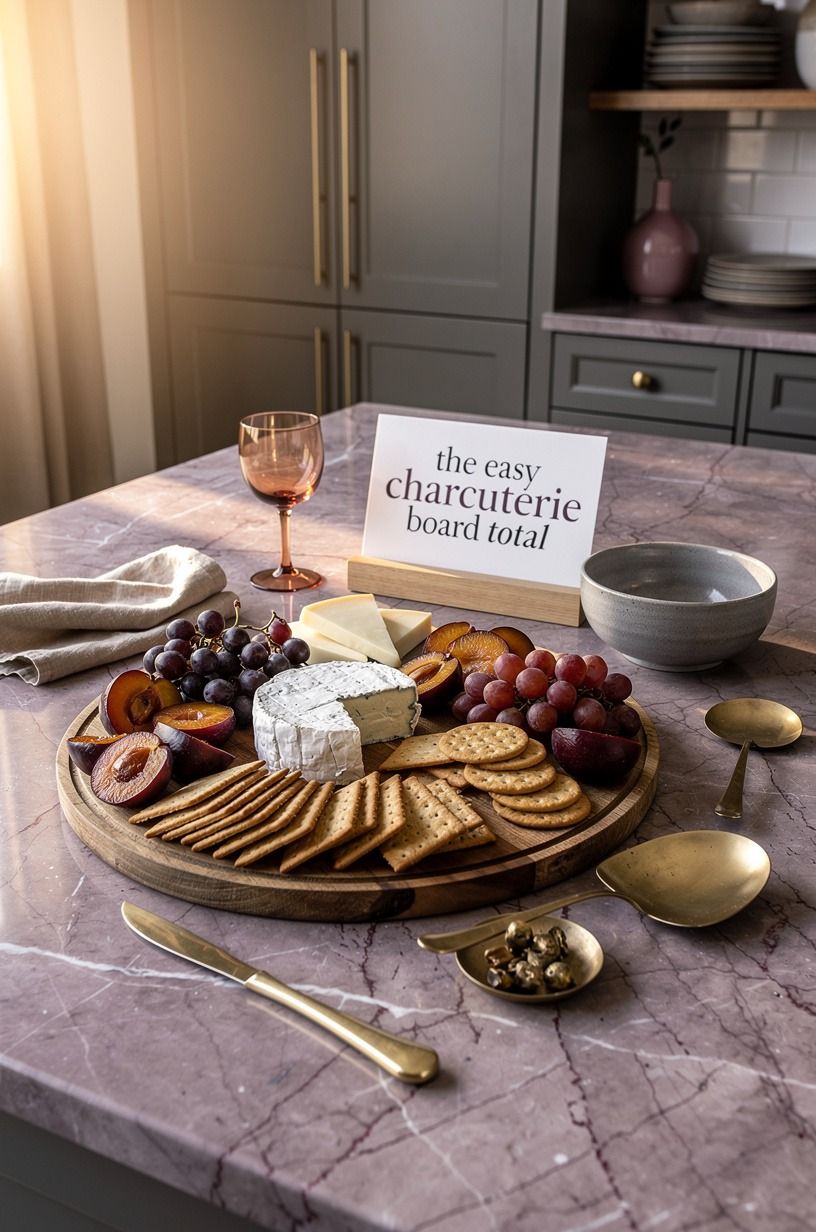
Start with one soft item, one firm item, and one crisp item. A wedge of aged cheddar, folded salami, and seeded crackers give your board contrast without asking you to understand every cheese category.
You don’t need twelve ingredients. You need three textures people can recognize quickly.
Set the soft cheese near the center, then build the firmer pieces around it. Add a small bowl of olives or cornichons so your board has a bright, briny bite.
And leave open space around each group. If you’re new to arranging food, that breathing room will make your board look intentional instead of crowded.
I like this approach because you can repeat it with whatever you already own. Belgian endive leaves add a cool, crisp edge, while a few slices of pear bring gentle sweetness. For another beginner-friendly board with a different mood, look at this 15-minute Aperol spritz board.
You’ll see how a limited palette can still feel generous.
2Anchor Simple Charcuterie Board Ideas With One Hero Cheese
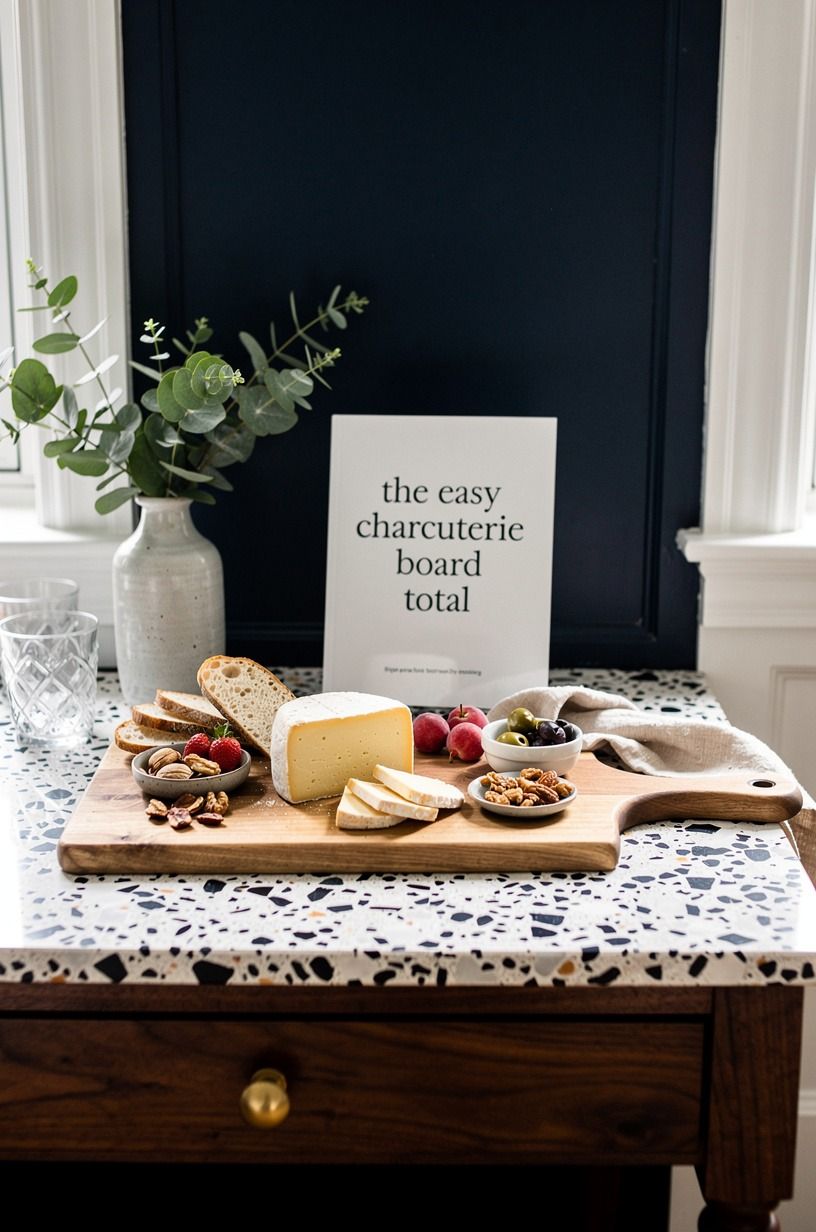
Choose one cheese that deserves attention, then let everything else support it.
3Fold the Salami Into a Soft Fan
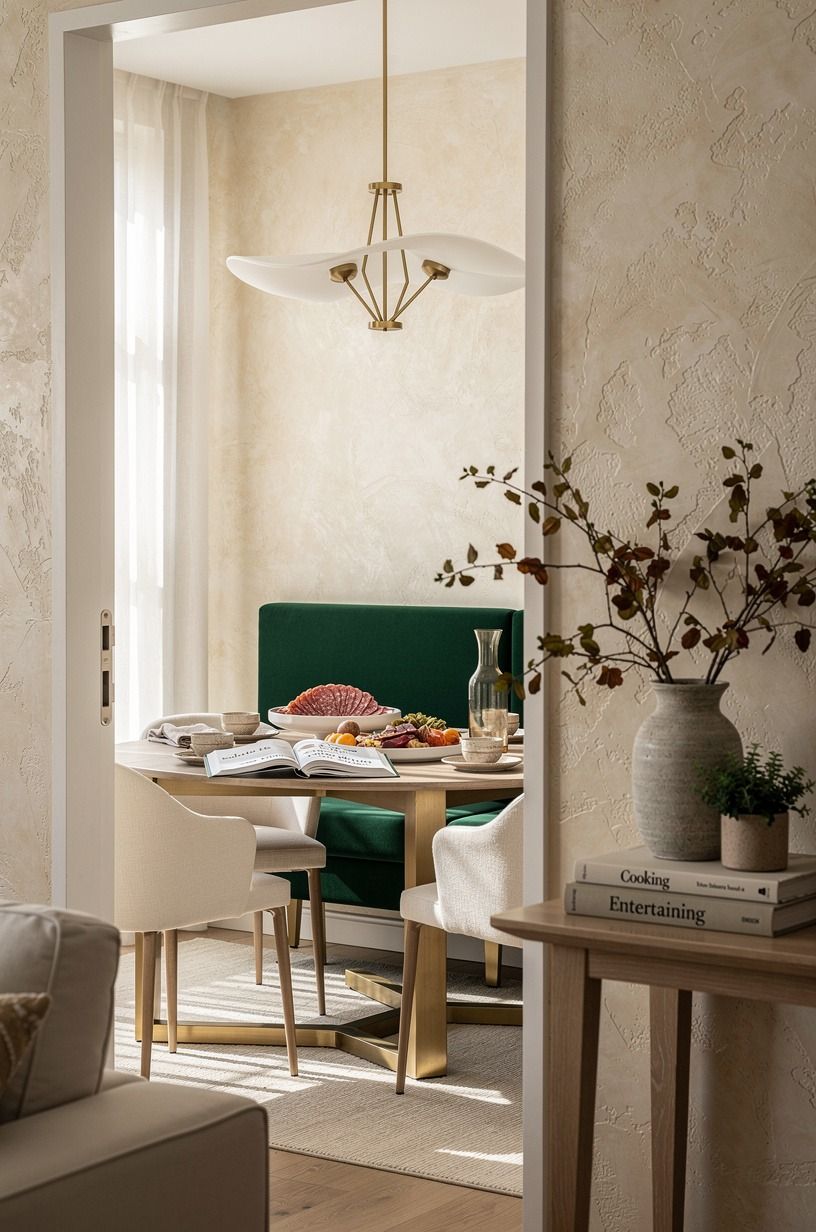
Fold each slice of Genoa salami in half, then fold it again so it makes a loose triangle. Stand several pieces together in a fan beside the cheese. This takes less than a minute, but it gives your board height and movement without requiring decorative tools or complicated styling.
You can use peppered salami, prosciutto, or thin-sliced soppressata, but don’t pile every meat together. Keep one flavor family in one area so guests can tell what they’re choosing. I made the mistake of scattering meat across the whole board once, and people kept reaching over the cheese with greasy fingers.
Add a few cornichons at the base of the fan. Their sharp vinegar cuts through the richness, while Tuscan rosemary crackers make the arrangement feel rustic and warm. If you want a visual reference for a beginner project built around a compact format, this 10-gallon beginner guide is a surprisingly useful reminder that small scale can still have layers.
4Build a Sweet-Salty Corner for Charcuterie Beginners
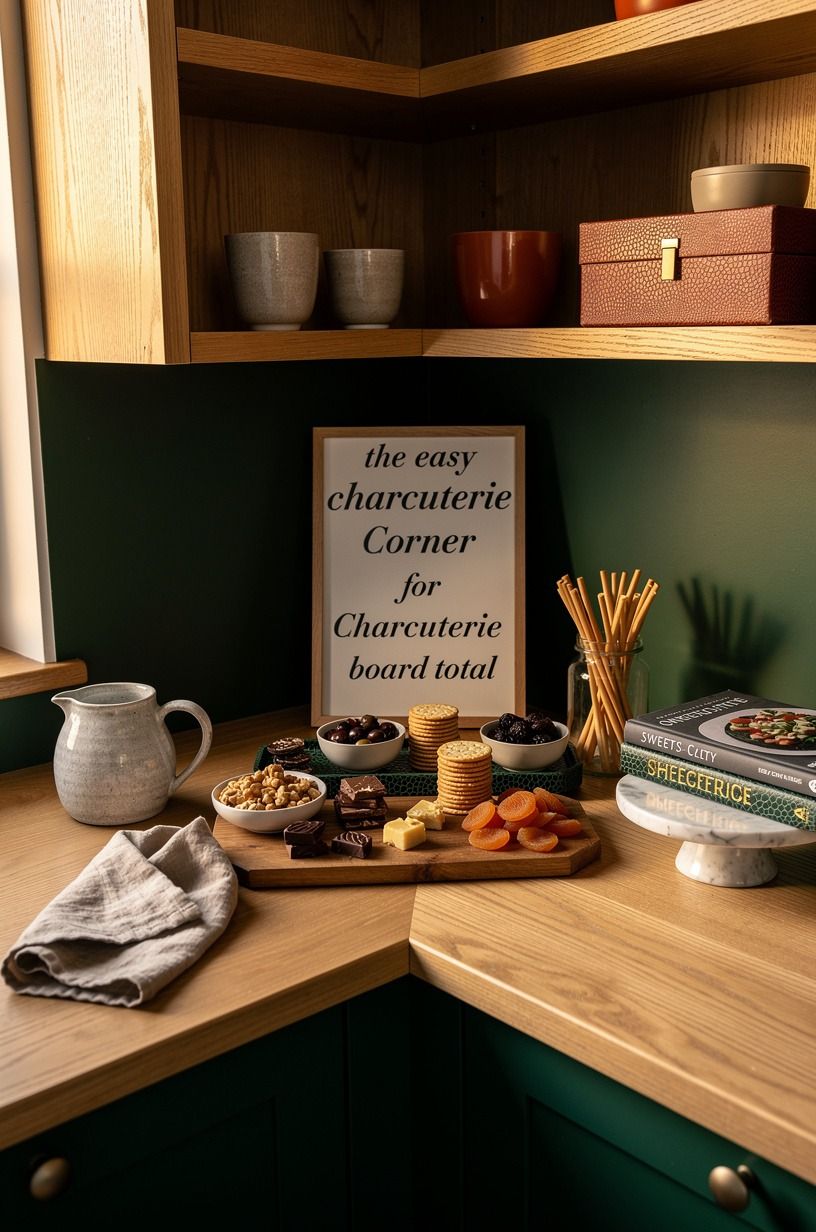
Give your board one corner that leans sweet, then balance it with salt.
5Arrange an Easy Charcuterie Board Around a Round Cheese
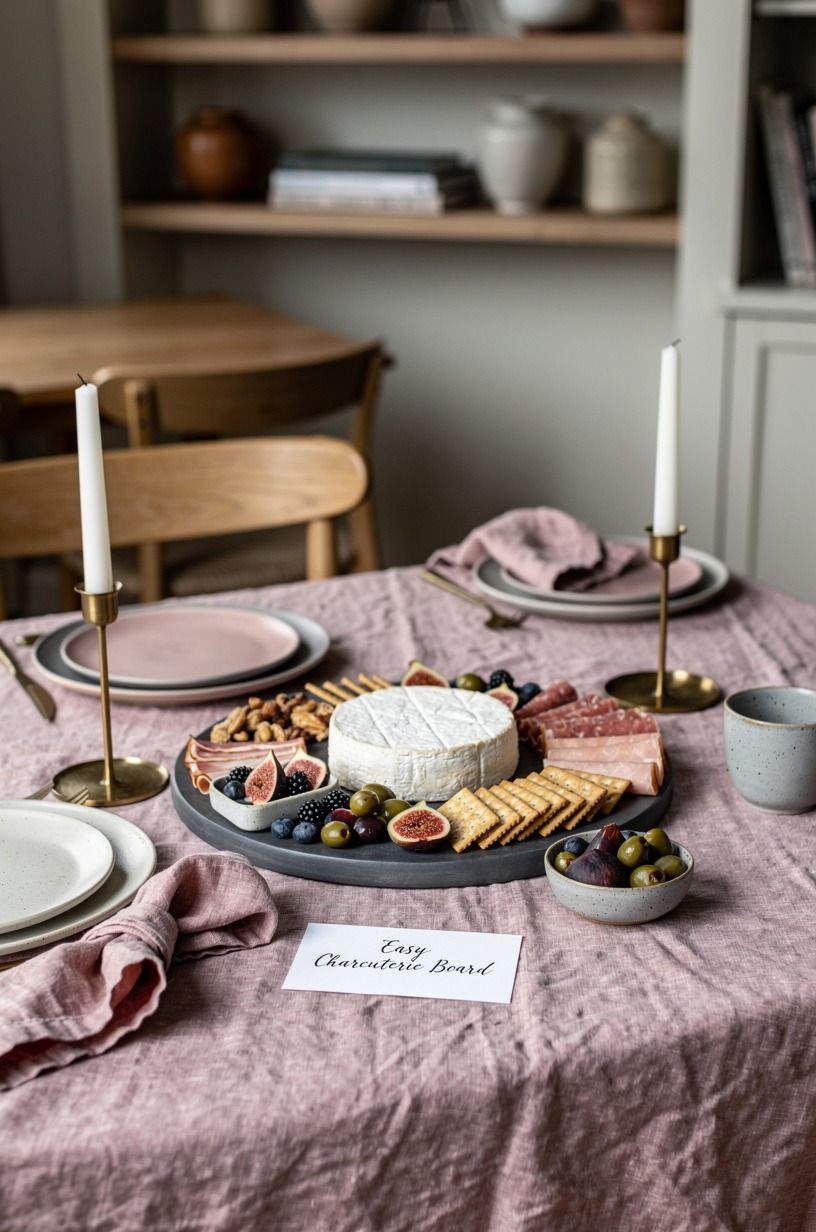
A round cheese creates an instant anchor, especially if you’re working with a rectangular board set over washed Belgian linen. Set a small Camembert wheel near one end, then let crackers, grapes, and sliced meat curve around it. The eye follows that circular path, so your arrangement will look finished before every inch is filled.
Cut a shallow cross into the top if you plan to bake the cheese, but don’t do that until you’re ready to serve. A cool cheese board should stay clean and simple. Place a few rosemary sprigs nearby for scent, not as something people have to move before eating.
I wouldn’t use a large pile of crackers here. They flatten the shape and make the center look busy.
Choose thin water crackers and let the washed Belgian linen remain visible around the board. If you’re styling a long table, a quiet circular arrangement will keep the food from competing with your glasses and plates.
6Mix Two Woods Instead of Matching Everything
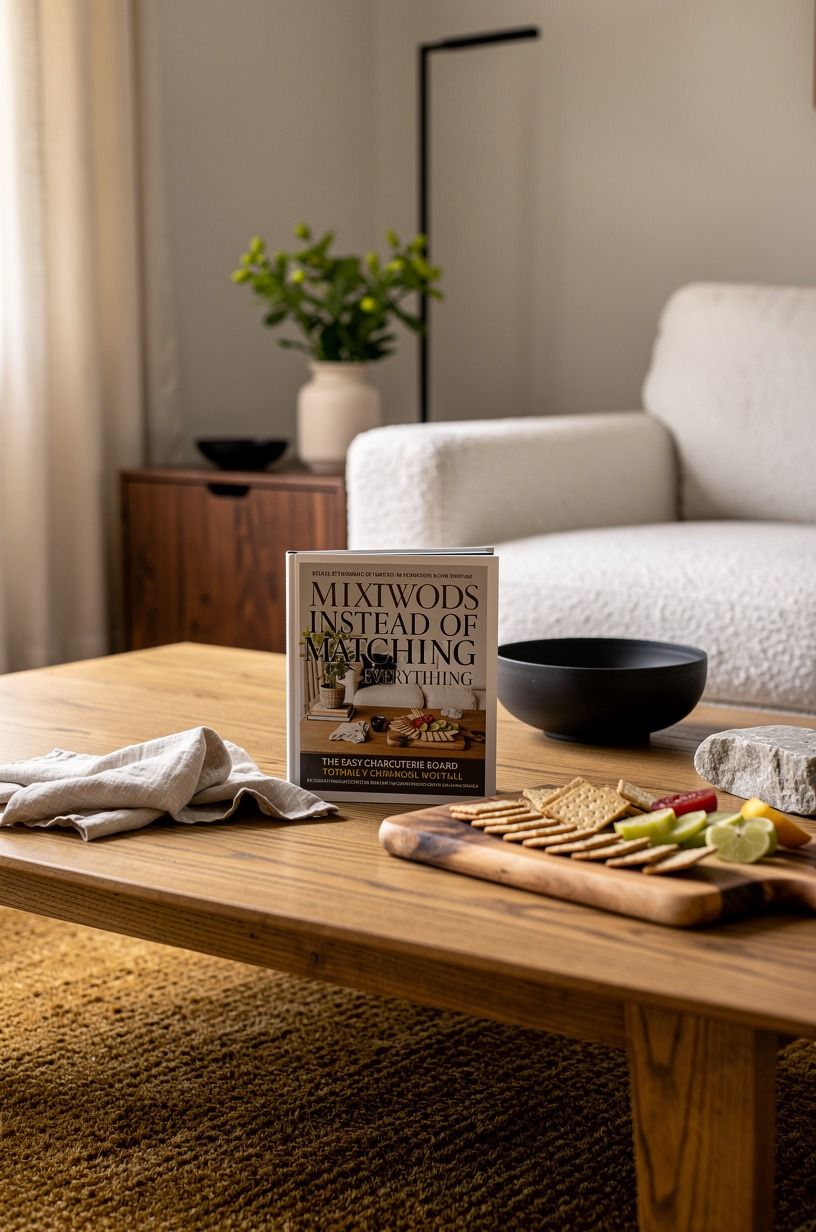
Use a warm-white board in one wood tone with a camel-toned bowl in another, then soften the setting with organic bouclé. Black accents, such as a dark serving tray or knife handle, keep the mix grounded.
7Use Three Heights for a More Inviting Board
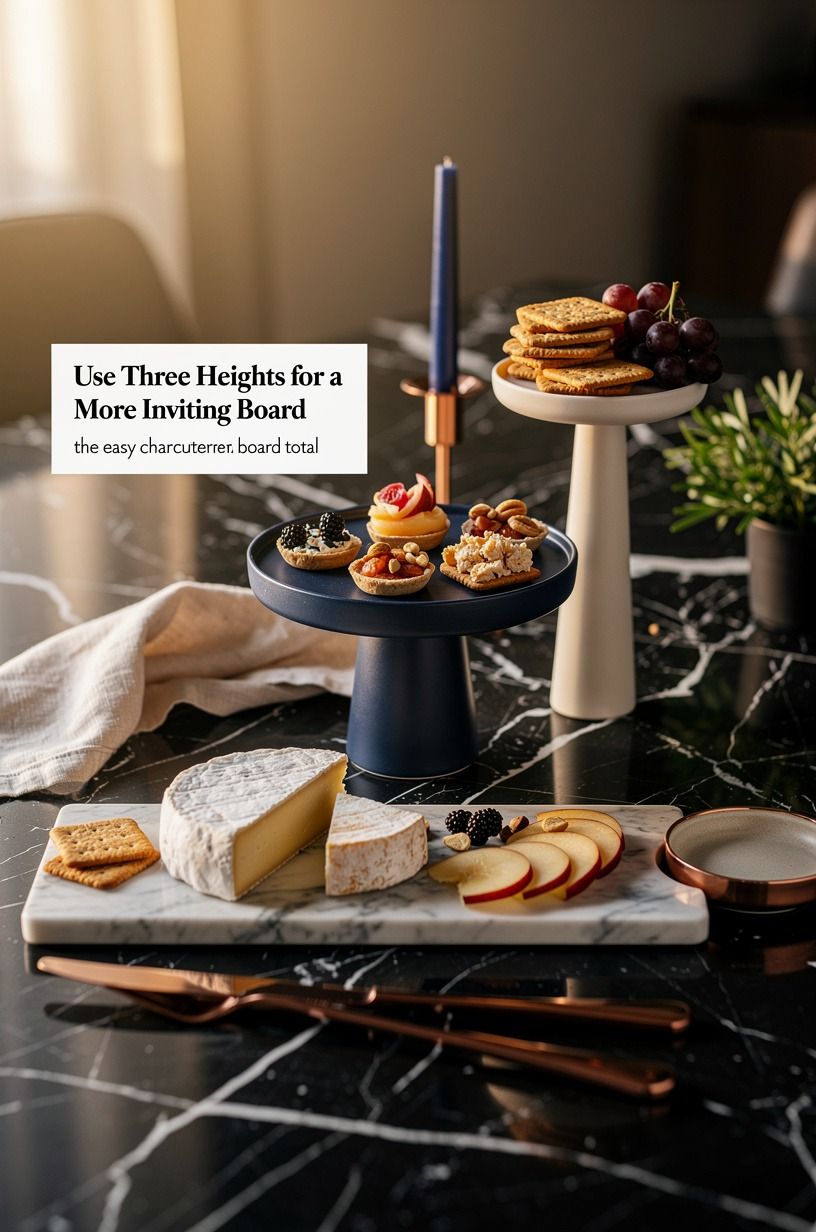
Flat food can look dull, even when the ingredients are good. Add a low bowl, a medium cheese wedge, and one taller folded-meat fan. This Three-Height Stack gives your eye somewhere to travel, and you won’t need flowers or extra decorations to make the board feel abundant.
A small Nero Marquina marble bowl with white veining works for olives, mustard, or almonds. Put it near the back third of the board, then arrange crackers lower in front. Your tallest element should stay near an edge so guests can reach across the board without knocking it over.
I prefer this arrangement over stacking every item into towers. Towers look impressive for five minutes, but they’re awkward when people start serving themselves.
Keep the height useful. And if your board still feels sparse, add grapes in a loose cluster rather than filling every empty patch with random crackers.
8Frame the Board With Fresh Fruit
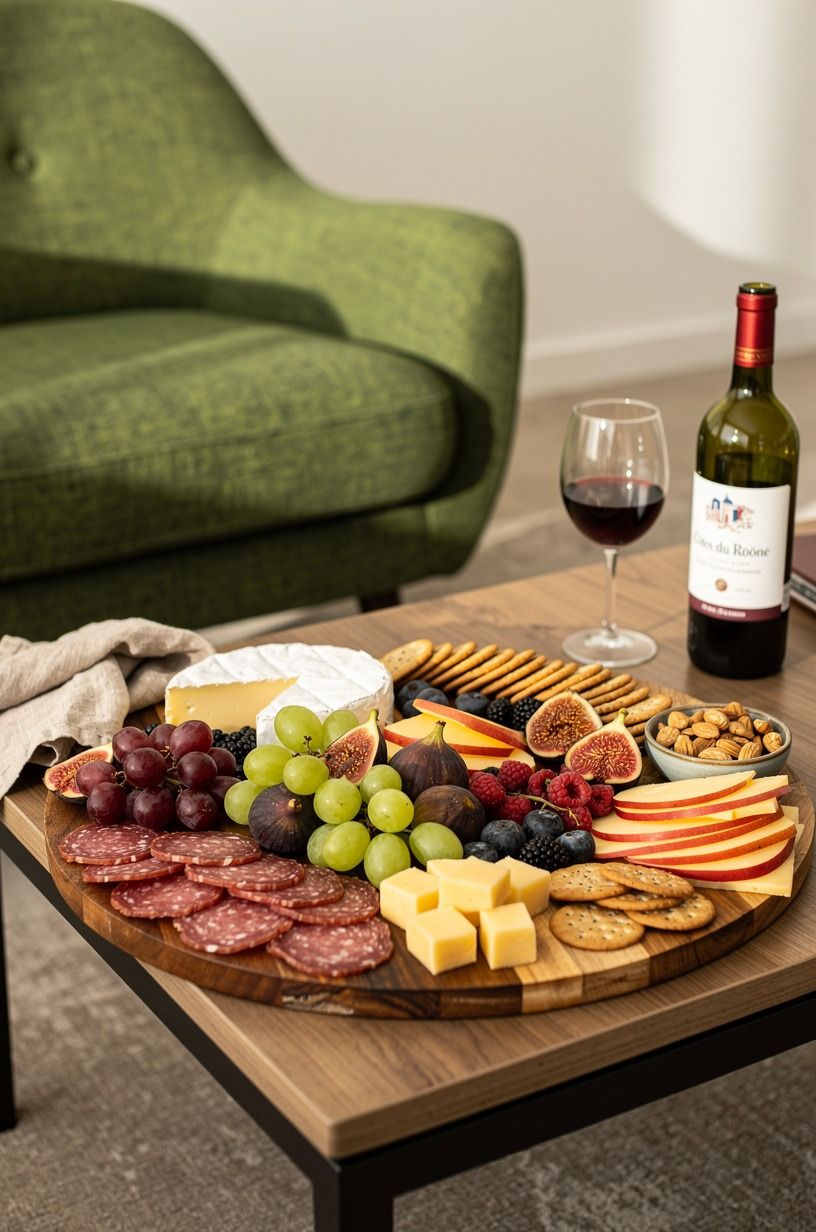
Use fruit as a border, not as decoration scattered without a plan. A line of seedless red grapes can soften one long edge, while pear slices can sit beside a mild cheese. The rich color makes the board feel warm, and the fruit gives guests a fresh break from salty ingredients.
Cut apples and pears just before serving, then brush them lightly with lemon juice if they’ll sit for a while. You don’t need a dramatic fruit arrangement.
Two kinds are enough, especially when one is sliced and one stays whole. If you’re making a small board, use grapes and clementine segments rather than a full fruit assortment.
This is where your board can feel seasonal without becoming themed. In fall, add a few figs. In warmer months, use strawberries.
I wouldn’t add watermelon because it releases too much liquid and can make crackers soft. For a place-inspired color reference, this pink stone town guide has the kind of blush-and-green palette that works beautifully with fruit.
9Add a Pickle-and-Olive Strip for Balance
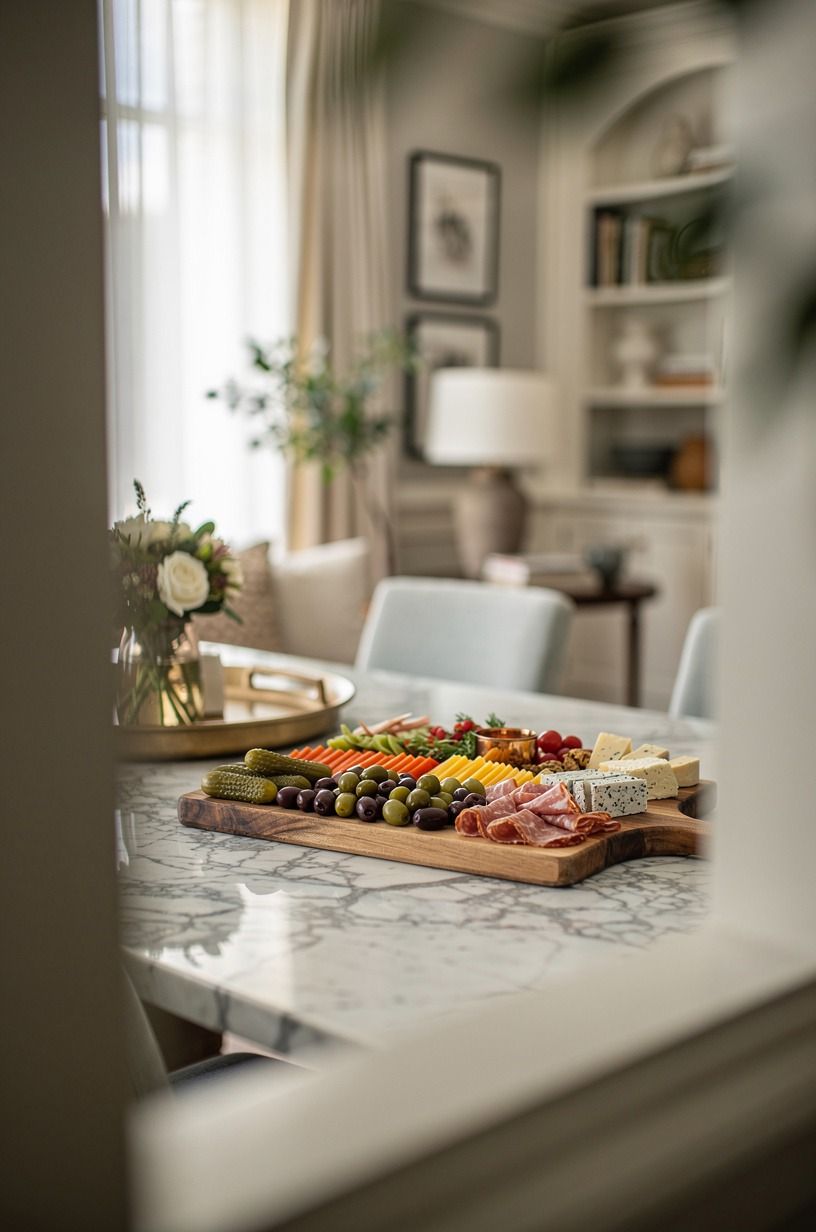
Create a narrow strip of Castelvetrano olives, cornichons, and pickled onions along one side of your board.
10Float Crackers Around the Edges
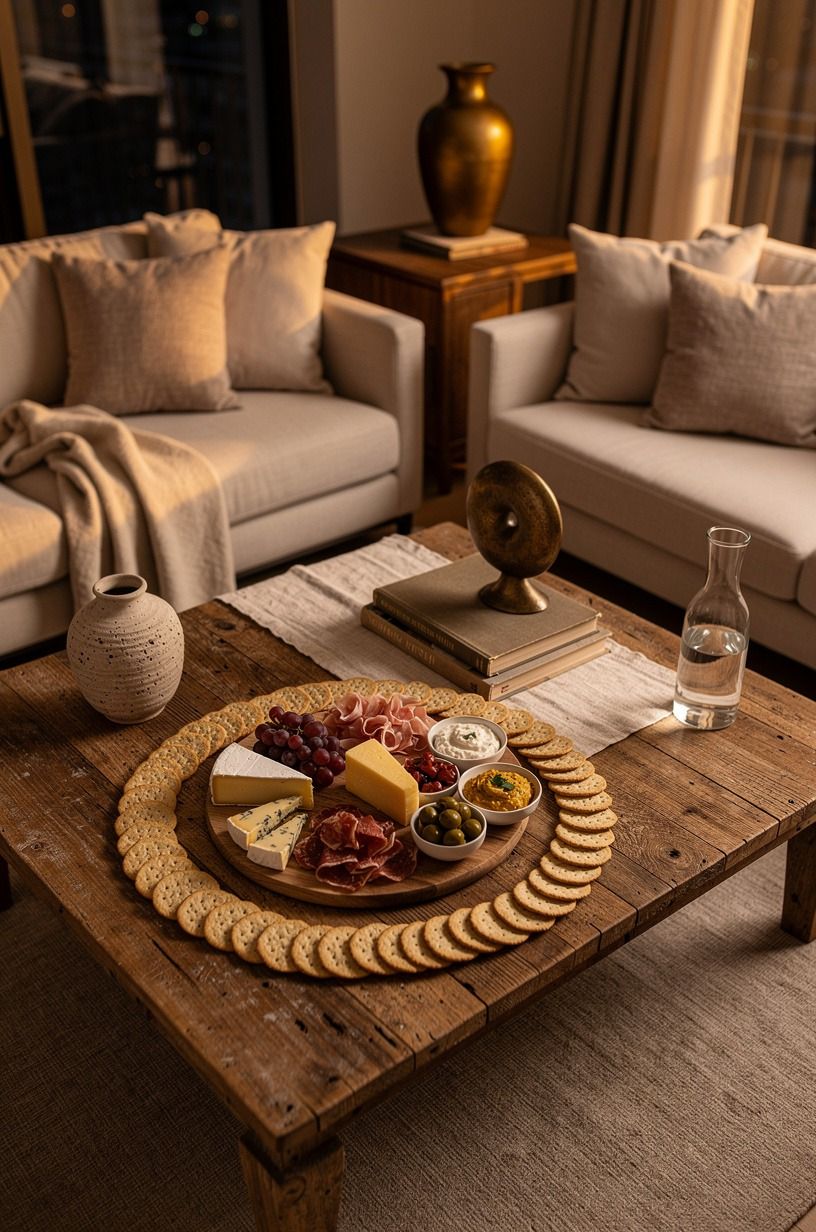
Rather than placing every cracker in a neat stack, spread rosemary flatbread crackers around the outer edge of the board. A few can overlap, while others can point toward the cheese. This makes the board feel generous without using more food, and you can refill the crackers without disturbing the center.
Choose two shapes at most. A round water cracker and one long seeded cracker will give you enough variety. If you’re using a soft cheese, place several crackers close by so guests won’t have to carry a loaded knife across the board.
I wouldn’t use a deep cracker pile unless you’re serving a very large crowd. It hides the food and makes your board look heavier. The edge arrangement feels lighter, more relaxed, and more welcoming.
For another beginner layout that uses a clear perimeter, this small aquarium guide shows how a defined edge can make a small arrangement feel complete.
11Choose a Soft Palette With White Dove and Fig
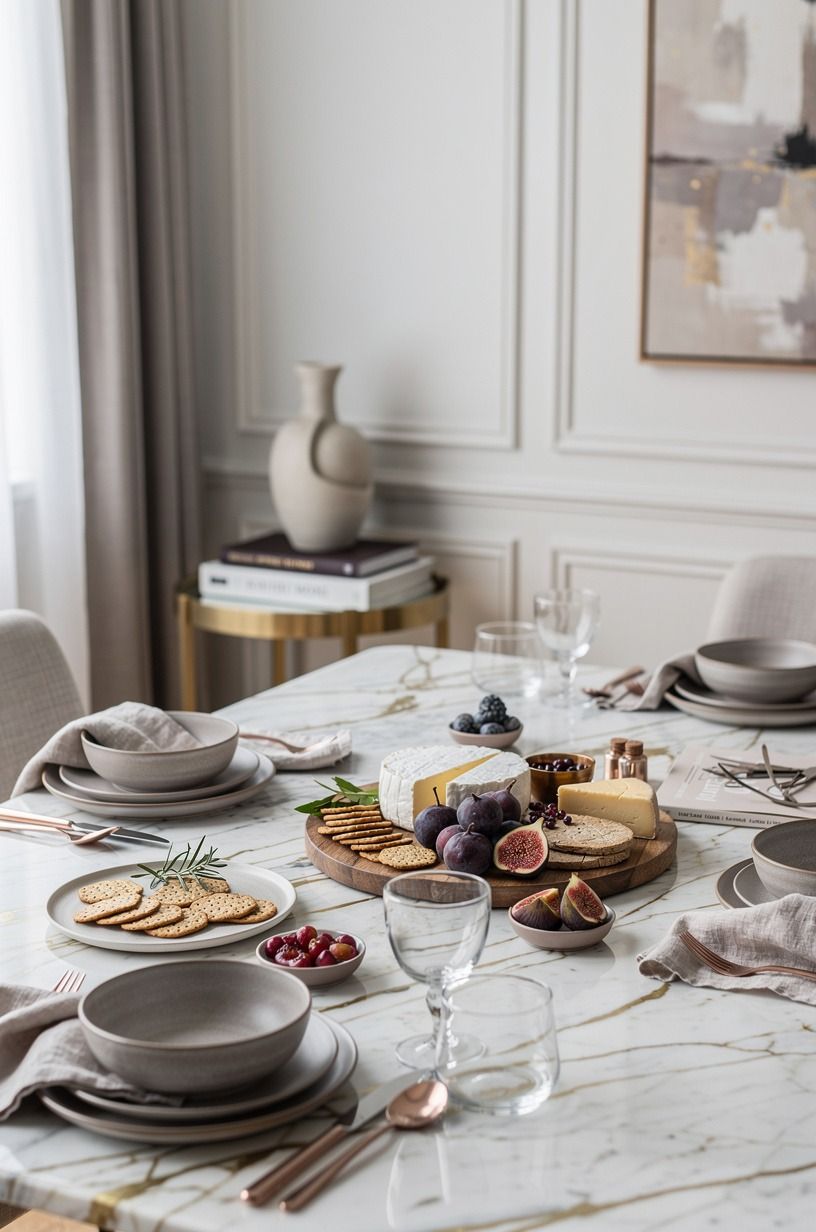
If you want a calm, elegant board, limit the colors to plum, soft gray, and rose gold.
12Make a Personal Board Instead of One Giant Spread
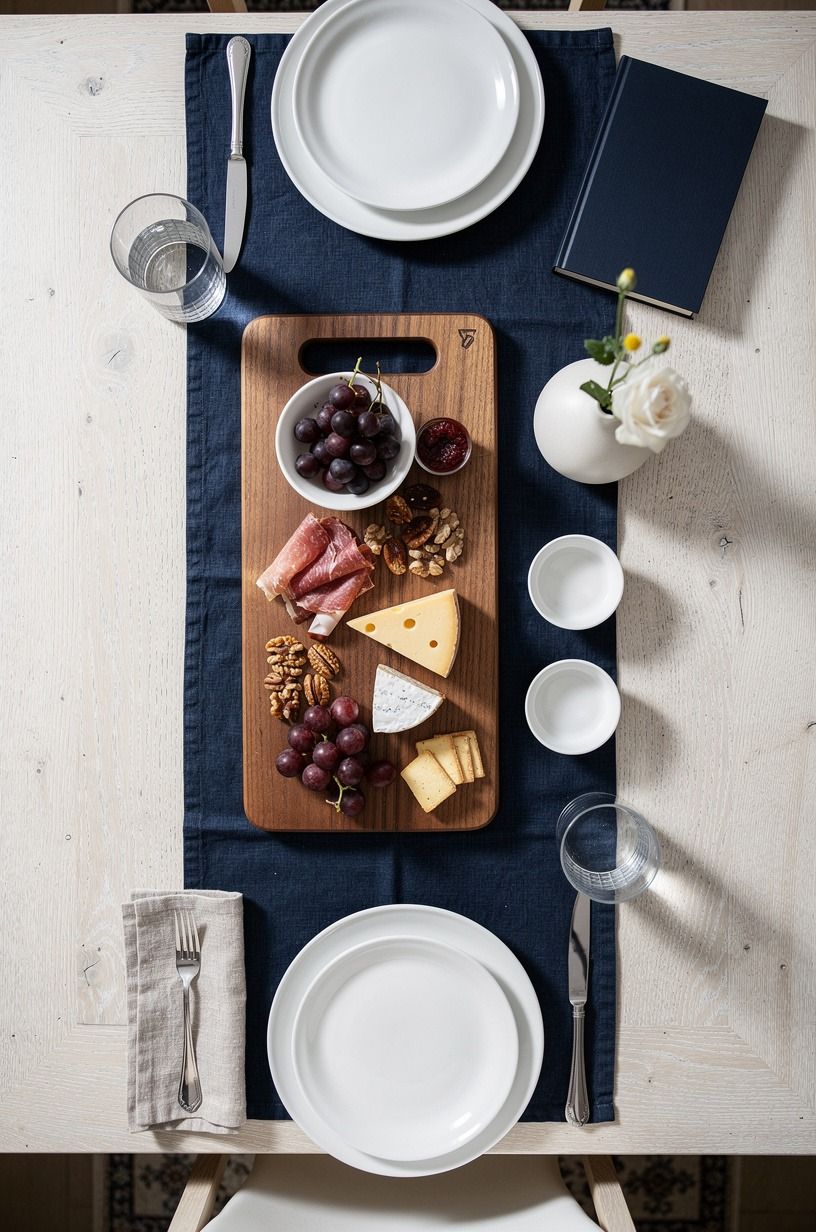
Give each person a small plate or board with the same basic formula: one cheese, one meat, one fruit, one crisp item, and one little sweet bite. This Personal Board Method works well when you don’t know whether everyone likes blue cheese, olives, or strong mustard.
Use small cerused white-oak plates or shallow ceramic dishes. You can prepare them ahead, cover them, and bring them out when people sit down. Your guests won’t have to reach over one another, and you won’t spend the whole evening rebuilding a shared board.
I like this option for a quiet dinner because it feels thoughtful without feeling formal. If you’re hosting five people, keep the portions visually balanced rather than trying to make every plate identical. And if one guest avoids dairy, give that person extra fruit, hummus, and roasted vegetables so their plate still feels complete.
13Use the Honest Budget Board
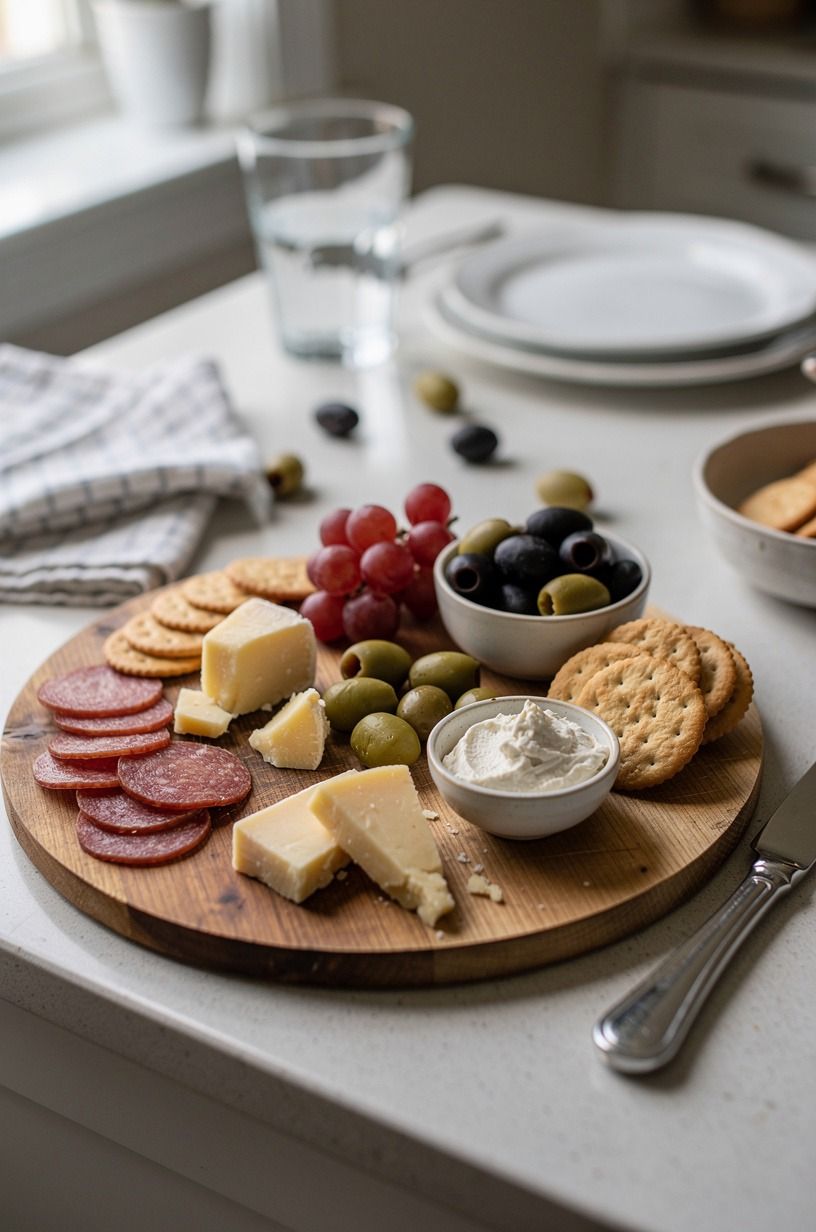
A beginner board can be affordable, but the surrounding room can change the total cost quickly. Start with what you own: a cutting board, small bowls, a clean linen, and a sharp knife. Then spend on one ingredient you’ll be excited to taste, such as aged Gouda or a small wedge of imported cheese.
The table below is a broad US decorating benchmark from the supplied planning data. It applies to the dining area around your board rather than the food itself, but it helps you see where a larger hosting refresh can land.
For the board itself, keep your first attempt simple and use the food budget for freshness. You don’t need a new dining set.
A warm tablecloth, a backlit translucent onyx accent, and a few seasonal ingredients can change the mood quickly. If you’re also planning a small room update, this quiet village inspiration is a good reminder that texture often matters more than quantity.
14Paint the Backdrop Before You Style the Food
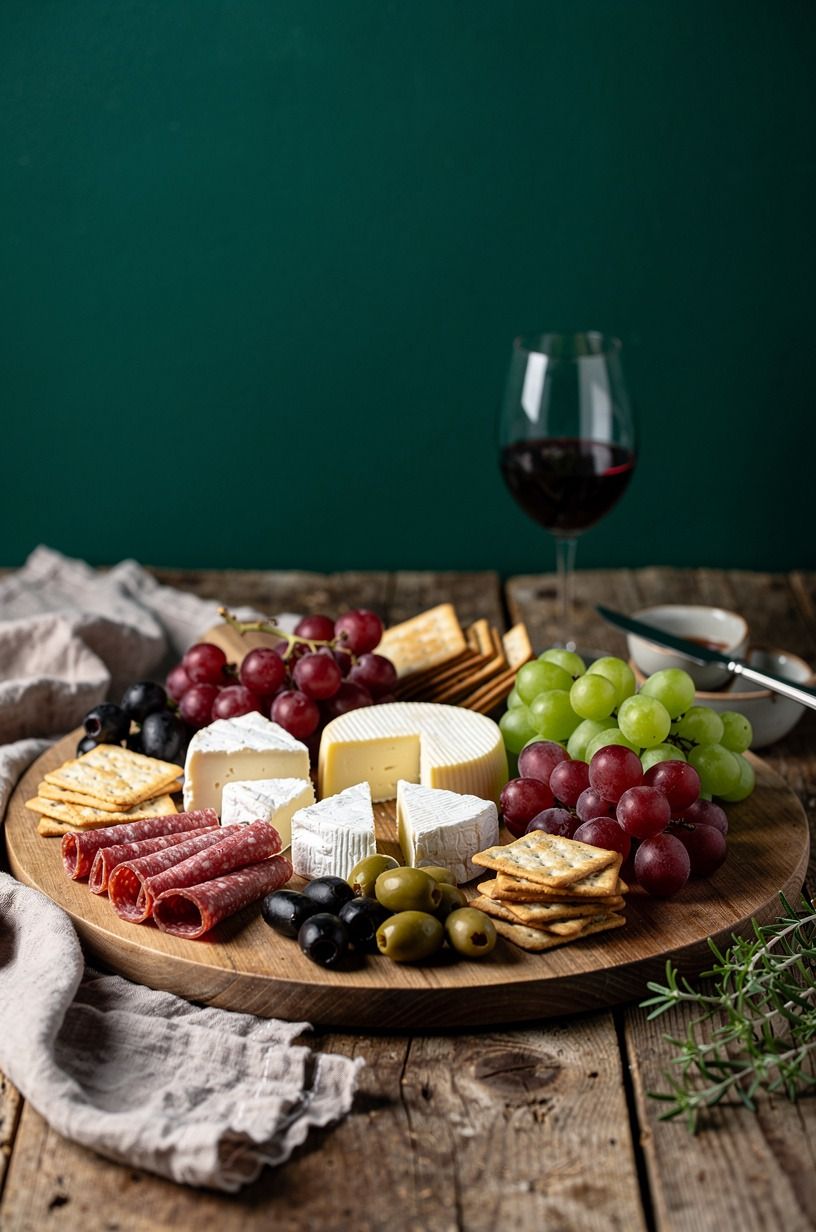
Your charcuterie board will look different against a forest-green wall, rust-colored accents, or book-matched walnut.
15Serve the Board With the Three-Source Light Stack
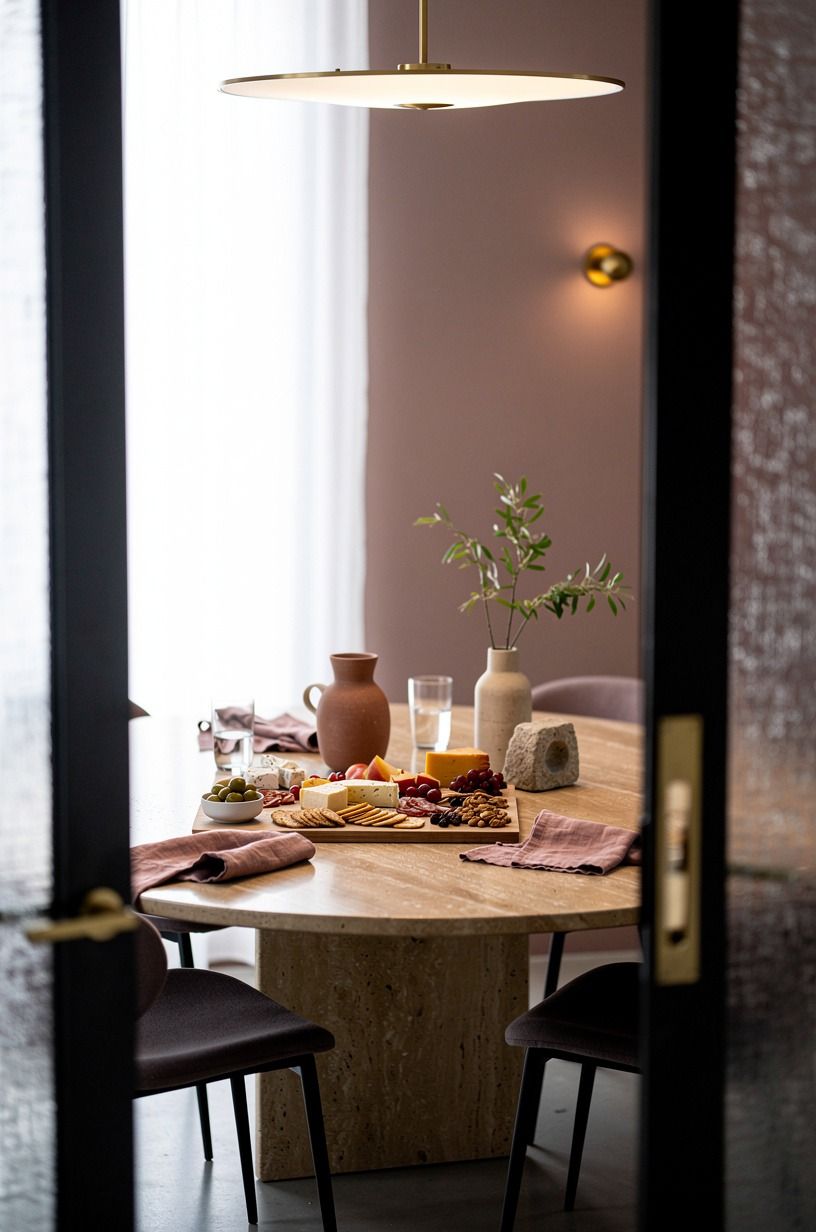
The best board can look tired under one harsh ceiling fixture. Use three sources of light: overhead, task, and ambient. A small lamp, a dining pendant, and one low candle create the Three-Source Light Stack, and your food will look warmer without any elaborate styling.
Keep the candle in a short warm travertine holder so guests can see over it. Place the lamp far enough away that the cord won’t cross the serving area. Your brightest light should help people reach and cut safely, while the softer sources create the relaxed mood.
And don’t use a blue-white bulb over the table. It drains the warmth from cheese, bread, and wood. I learned that after serving an otherwise lovely board under a bright kitchen strip, and everything looked gray.
For another lighting and color mood reference, this Zanzibar lagoon feature shows how soft blue and sandy neutrals can still feel inviting when the contrast is controlled.
The Board-Building Rule I Wish I’d Known
I used to think a generous charcuterie board meant buying more. More cheeses, more meats, more tiny bowls, more garnish.
The result was usually crowded, expensive, and strangely hard to eat. People hovered over it because there was no clear place to start. Now I build around one decision first: what should the board feel like when someone takes the first bite?
If I want a warm, rustic table, I choose aged cheese, seeded crackers, dried fruit, and a wooden board with visible grain. If I want something lighter, I use fresh fruit, mild cheese, pale linen, and one sharp pickle.
The food doesn’t need to perform five different moods at once. Your board will look more thoughtful when every ingredient supports the same direction.
I also stopped treating the center as sacred. The center is useful, but it doesn’t have to hold the biggest cheese. Sometimes the best arrangement starts at one edge and moves in a curve.
Sometimes a small personal board works better than one grand spread. Why make guests reach across three layers of food when you can give them a plate that feels easy?
The part I care about most is generosity without waste. Use what you’ll eat, keep wet foods contained, and let one ingredient carry the visual weight.
I don’t want a board that looks untouched because nobody knows what to pick. I want a board with a missing wedge of cheese, crumbs near the crackers, and one olive bowl that needs refilling.
That’s when the styling has done its job.
The Questions I Get Asked Most
What is the best easy charcuterie board for a small table?
A personal board with Brie, folded salami, grapes, crackers, and one small bowl is the best choice for a small table. Compact portions keep guests from reaching across one another. A shallow IKEA tray can work well, especially when you leave a visible wood border.
Where can I buy charcuterie pieces on a budget?
Look at Target, IKEA, Wayfair, Facebook Marketplace, and local thrift stores for boards, bowls, and linen. Secondhand wood often looks more welcoming than a matching set. For a food-and-drink variation, save this Aperol spritz board.
How much does a charcuterie board makeover cost?
A full food-and-table refresh usually runs about $100 to $300, depending on the cheese and serving pieces. Free upgrades include using your own cutting board, folding napkins neatly, and grouping ingredients by color.
Can I create a charcuterie board on a budget?
Yes, and you can start with three cheeses or meats you already enjoy, one fresh fruit, and crackers. Budget-friendly styling means using small bowls from your kitchen, a clean tea towel, and one ingredient with a strong color.
Is a charcuterie board worth it in a small space?
Yes, because a small board can make a table feel welcoming without taking over the room. A narrow rectangular board works best beside plates. Keep the tallest item near one end so people can still pass dishes comfortably.
Is a charcuterie board a good idea for a rental?
Yes, especially when you style the table instead of changing the room. Removable details such as a linen runner, battery candle, peel-and-stick wall color sample, and tension-rod curtain can add atmosphere without permanent work.
Where I’d Start First
If I had to pick one, I’d start with the three-texture board. Cheese, folded salami, and crisp crackers give you contrast before you buy anything fancy. Pin this idea for later and build around one fresh fruit when you’re ready to host.