
DIY Christmas ornaments that look store bought come down to clean shapes, restrained color, and one finish that catches the light. I’ve made plenty that looked crafty in the wrong way. This guide fixes that with sixteen steps you can follow in order, from choosing the base to styling the finished tree. The difference is patience!
- ✓ Start with a restrained palette for DIY Christmas ornaments
- ✓ Choose smooth bases before textured ones
- ✓ Paint the first coat with the Three-Brush Rule
Before you start, gather smooth ornaments, craft paint, fine brushes, ribbon, twine, glue, scissors, paper, and a protected work surface. Your hands don’t need to be perfect, but your materials should be consistent. A quick look at these Christmas tree theme ideas for a designer look can help you choose a color story before you buy anything.
- Start with a restrained palette for DIY Christmas ornaments
- Choose smooth bases before textured ones
- Paint the first coat with the Three-Brush Rule
- Cut paper shapes for the Paper Inlay Method
- Build the Two-Wood Rule with natural grain
- Layer linen and ribbon without making bulk
- Add a raised detail with the Texture Lift
- Why Stamp Stars with the Small Mark Strategy?
- Shape felt into soft woodland ornaments
- Frame a tiny scene with the Window Ornament
- Mix matte and gloss with the Finish Balance
- Wrap yarn around a simple form
- Create a painted border instead of adding clutter
- Hang handmade ornaments for tree depth
- Balance store bought pieces with DIY pieces
- Photograph the finished ornament craft ideas
1Start with a restrained palette for DIY Christmas ornaments
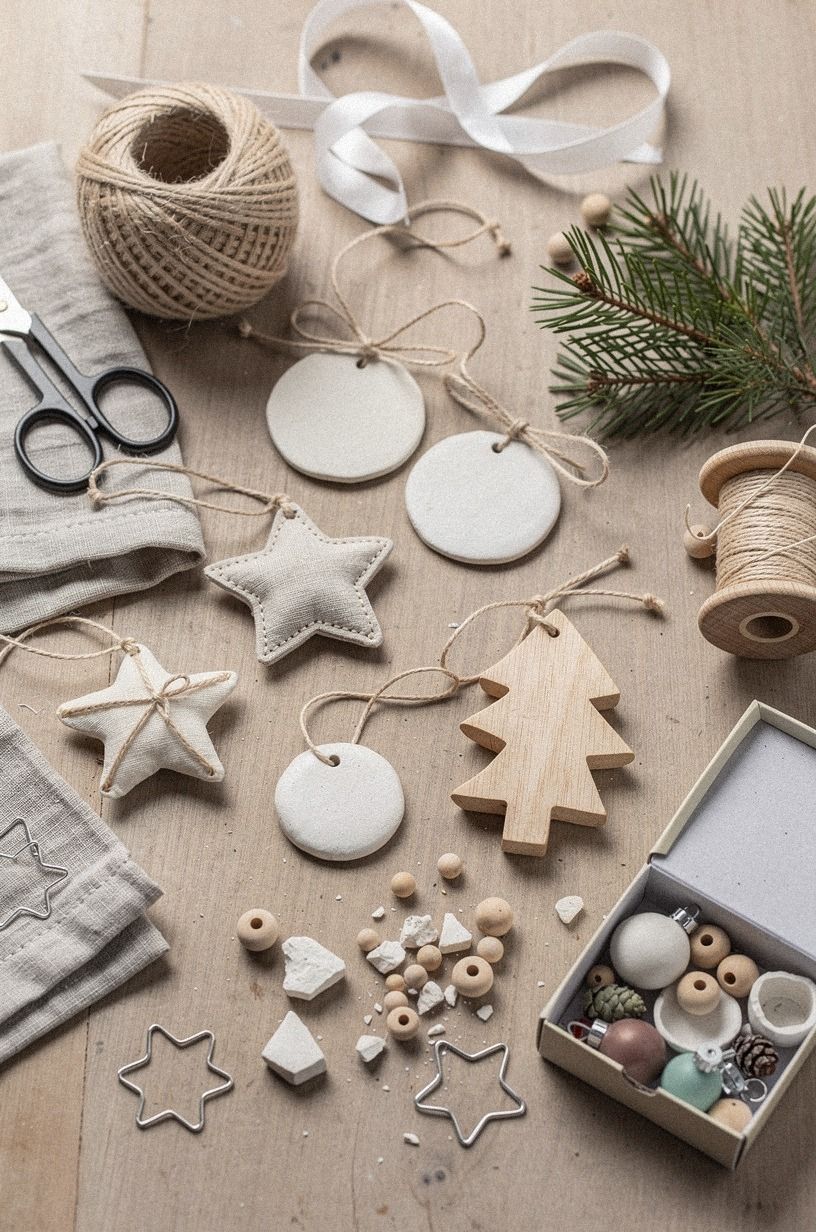
Begin with terracotta, stone, and olive. I’d choose Farrow & Ball Red Earth No.64, muted olive, and a soft stone shade for a warm, elegant tree. You’ll get more polish from repeating three tones than from collecting every bright color in the craft aisle.
Your ornaments should look related, even when their shapes differ.
Paint chips, wrapping scraps, and a ribbon sample can help you test the palette in daylight. If your room already has book-matched walnut, let that natural grain become part of the color story. I made the mistake of adding too many competing tones once, and the ornaments seemed to float apart from the rest of the room.
For your first group, keep the background light and the details sparse. Benjamin Moore Stone Hearth 984 would work beautifully beside terracotta and olive, especially if you’re making handmade ornaments for a tree with natural greenery.
You don’t need more color. You need repetition.
For another calm direction, pair clay, olive, and stone. This Christmas mantel decor guide uses a similar grounded palette, and the same approach works beautifully on a tree.
2Choose smooth bases before textured ones
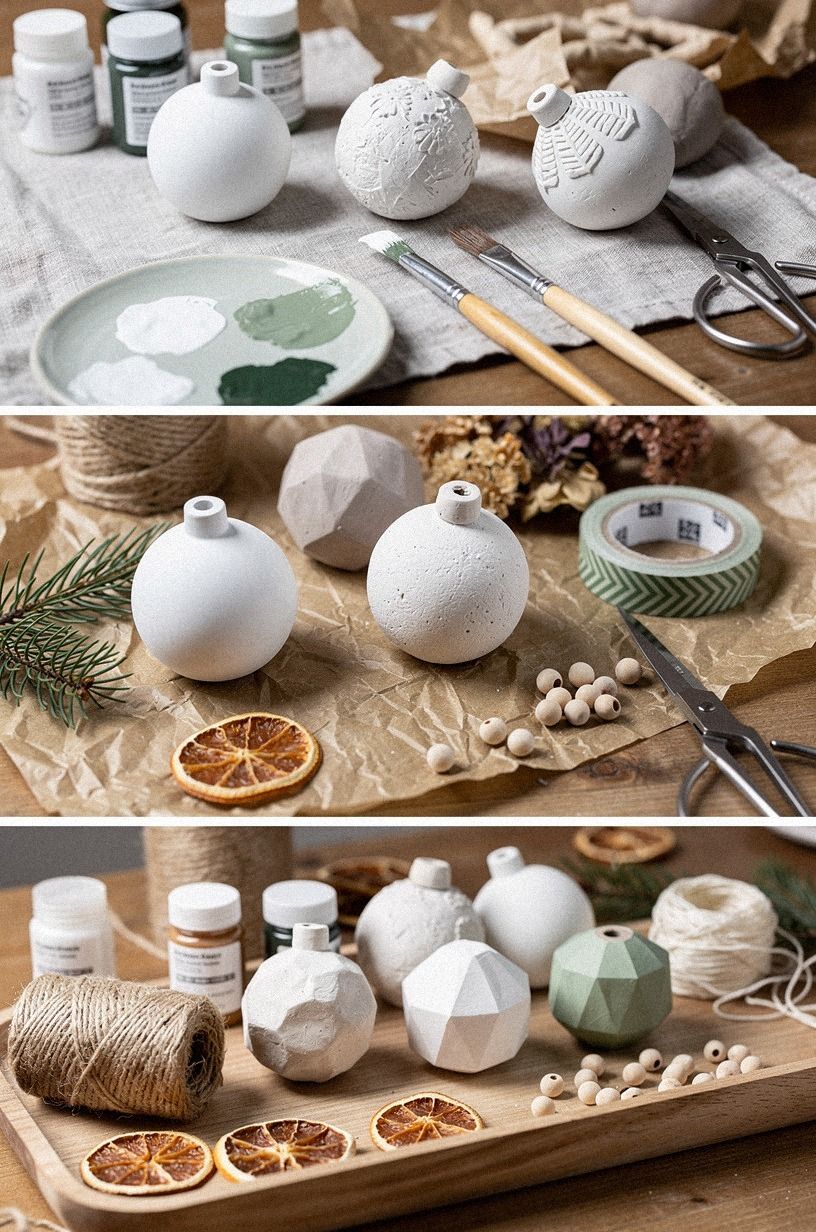
Select clean warm travertine, wood, glass, or papier-mâché bases before you reach for rough foam. A smooth warm travertine ornament gives your paint a quiet surface, so you can see the brushwork instead of fighting bumps. If you’re shopping on a budget, look at Target, IKEA, or a local thrift store for plain shapes you can repaint.
Hold each base in your hand and check its silhouette. Your eye will forgive a simple circle with excellent color, but it won’t forgive a lopsided shape covered in busy decoration. I’d skip novelty forms unless the outline is unmistakable from across the room.
You can borrow a little restraint from this Christmas mantel decor guide. The same rule applies to ornaments: choose one strong shape, one tactile surface, and one small detail. A clay base with linen ribbon and an aged brass loop feels refined without looking precious.
A travertine disk, a shallow arch, or a rounded stone form will give you more control than a complicated molded figure. Clean foundations make inexpensive materials feel intentional.
3Paint the first coat with the Three-Brush Rule

Lay down a thin base coat with a flat brush, then let it dry before you judge the color. Plum, soft grey, and a restrained rose-gold detail work beautifully with an unlacquered brass loop, which will develop character as it gains patina.
4Cut paper shapes for the Paper Inlay Method
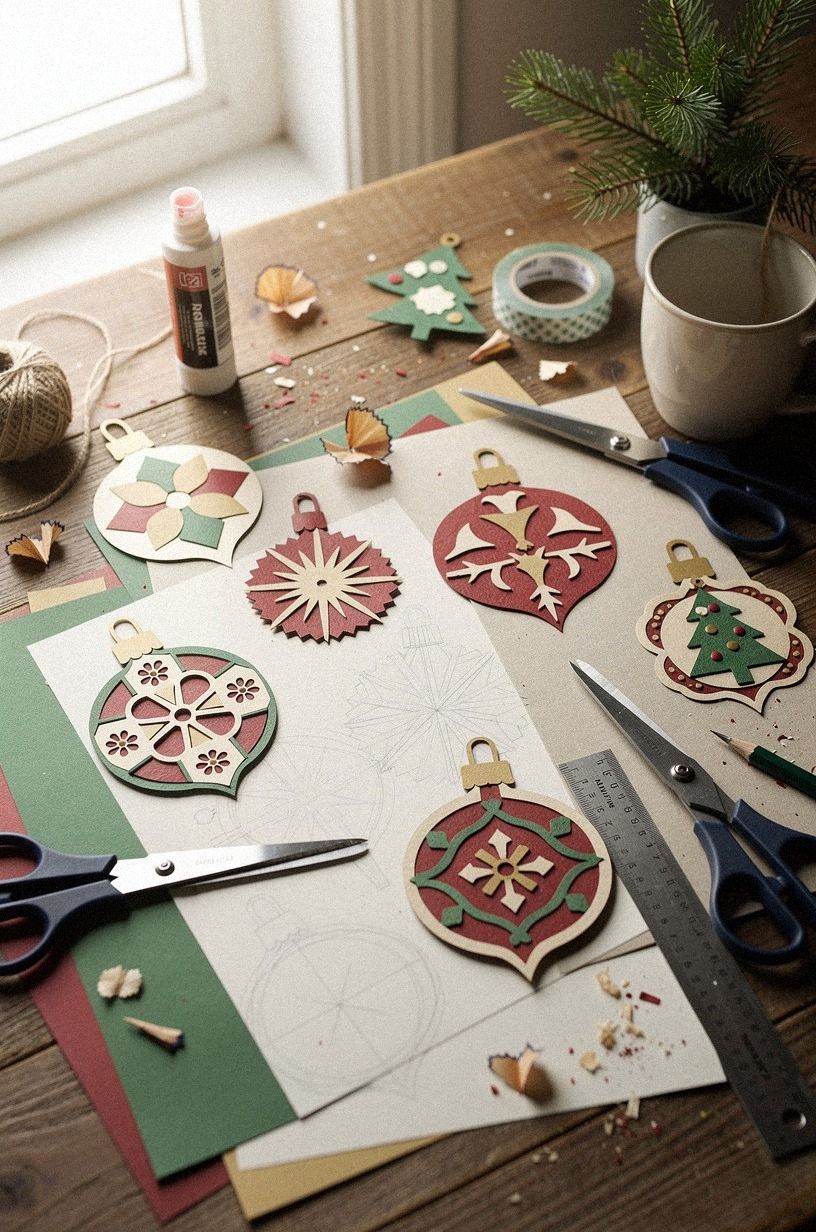
Choose a small botanical, star, or arch shape and trace it onto thick paper. Your paper should have enough body to hold glue without curling.
Cut slowly with sharp scissors, then press the shape beneath a book for a few minutes if it bends. Clean edges make this inexpensive idea look surprisingly sophisticated.
Brush a very thin layer of glue onto the ornament, set the paper down, and smooth from the center outward. You’re aiming for a flat surface with no cloudy glue around the border. A tiny crease can look intentional if the paper has a handmade fiber, but a wrinkled edge usually reads unfinished.
Use navy, white, and walnut if your room includes an oversized-chip terrazzo surface or another strong material. I’d avoid a loud holiday pattern because it competes with the silhouette. For more homemade inspiration, browse these handmade gifts that feel more valuable than store bought alternatives.
Your ornament can carry that same personal quality without becoming fussy.
A small deckled paper edge can add warmth, while a crisp cut shape feels more modern. Choose one direction and repeat it across two or three pieces.
5Build the Two-Wood Rule with natural grain
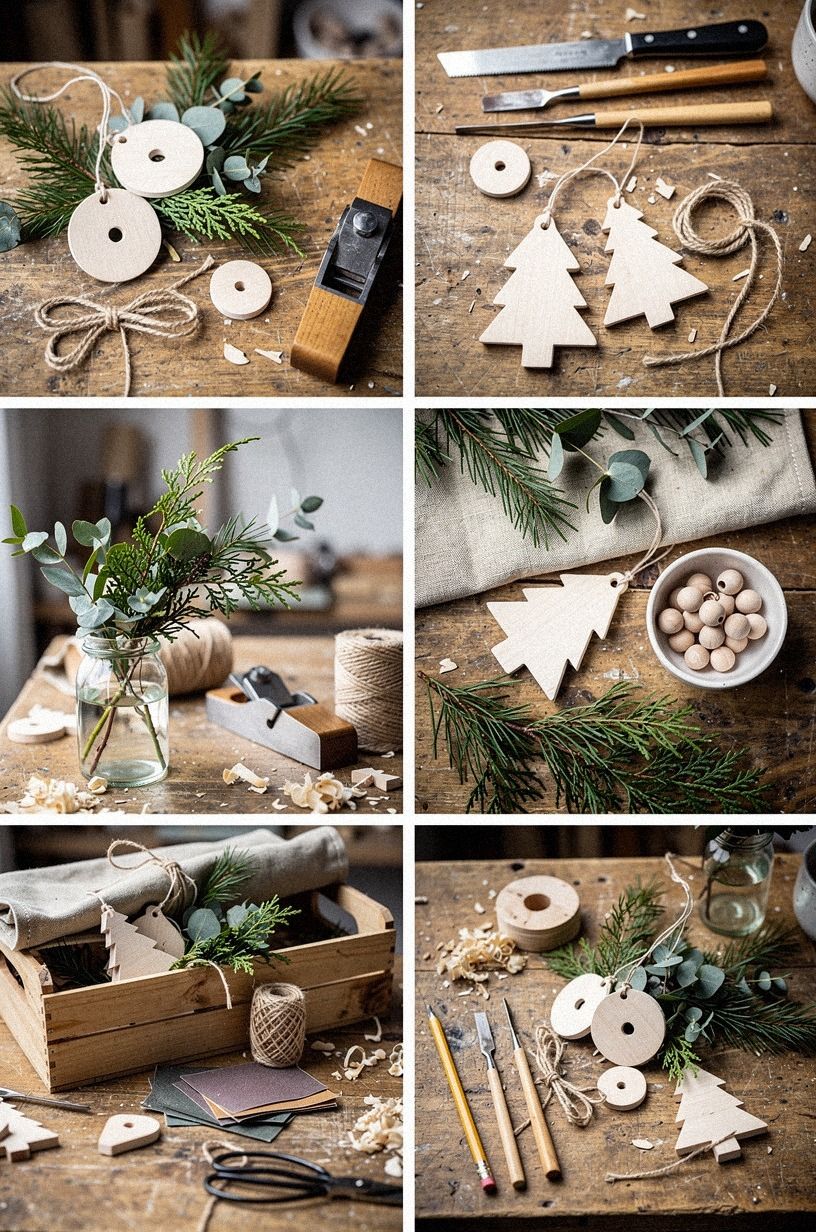
Choose two wood tones, not five. An emerald-painted wood shape beside a cream piece with a hand-applied Venetian plaster accent creates contrast while keeping your tree calm. You can leave one base raw and stain the other, or paint a narrow border around the lighter piece.
Your finish should let the grain remain visible.
Rub a small amount of water-based stain into the wood, then wipe it back before it dries. You’ll want to test the underside first because porous wood absorbs color unevenly. If your base looks blotchy, cover it with a thin cream wash instead of adding more stain.
I’d skip high-gloss varnish here. The point is the grain, and a shiny surface makes it look like plastic.
This Christmas dinner table setting guide uses the same quiet contrast between wood, textile, and metal. Your tree can borrow that grounded feeling.
An emerald finish looks rich beside cream, while a soft gold detail warms the arrangement. Both can look polished when the surrounding colors stay restrained.
6Layer linen and ribbon without making bulk
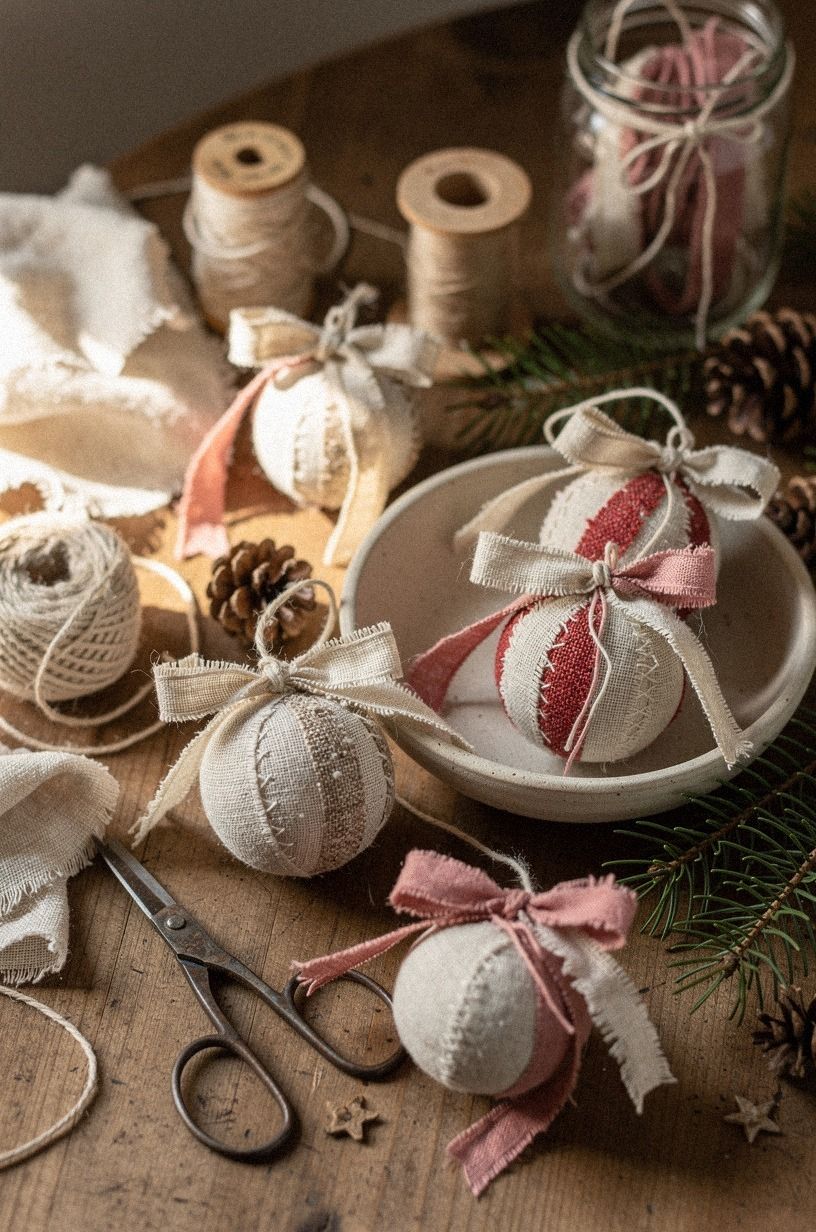
Cut a short length of forest-green or rust linen ribbon and add a small shagreen accent near the knot.
7Add a raised detail with the Texture Lift
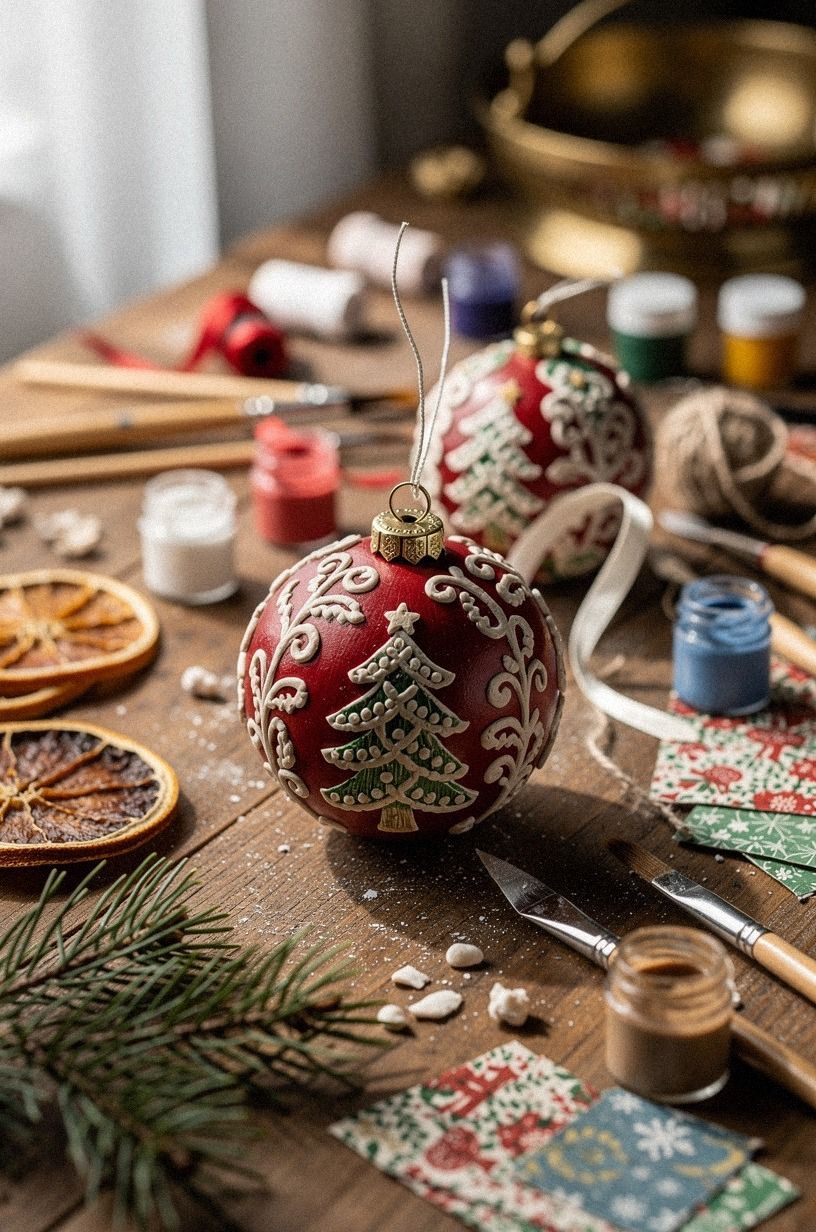
Use dimensional paste, thick paint, or a tiny amount of modeling compound to create one raised line. Your detail might be a crescent, a leaf vein, or a simple scallop. Keep the mark broad enough to read from a distance, then sand the edge gently after it dries.
You’ll want to practice on cardboard first. If your line wobbles, that’s fine when the pattern is organic. A shaky geometric stripe is harder to disguise, so I’d choose leaves or branches if you’re new to raised decoration.
Paint the dried texture in dusty rose or charcoal, then lightly brush the highest points with a brass-toned second color. The light will skim the surface and give you depth without glitter. That quiet relief is more elegant than covering the entire ornament in sparkle, and it’s easier for you to repeat.
A washed Belgian linen backing works especially well with a raised detail and restrained color. Keep this technique for a few focal ornaments so the tree retains a calm rhythm.
8Why Stamp Stars with the Small Mark Strategy?
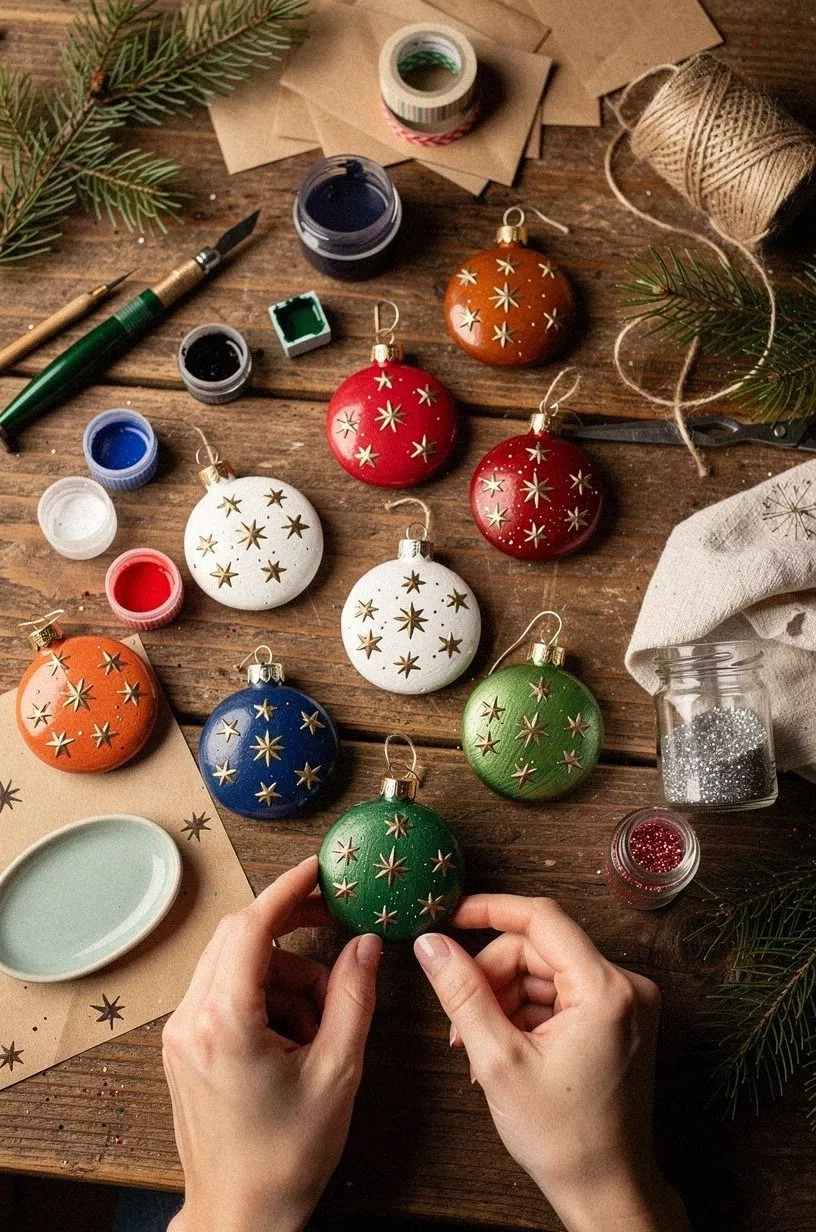
Select one tiny stamp or carve a simple star into a soft block. Repeat the mark in warm white, camel, and black accents on an organic bouclé-backed piece.
9Shape felt into soft woodland ornaments
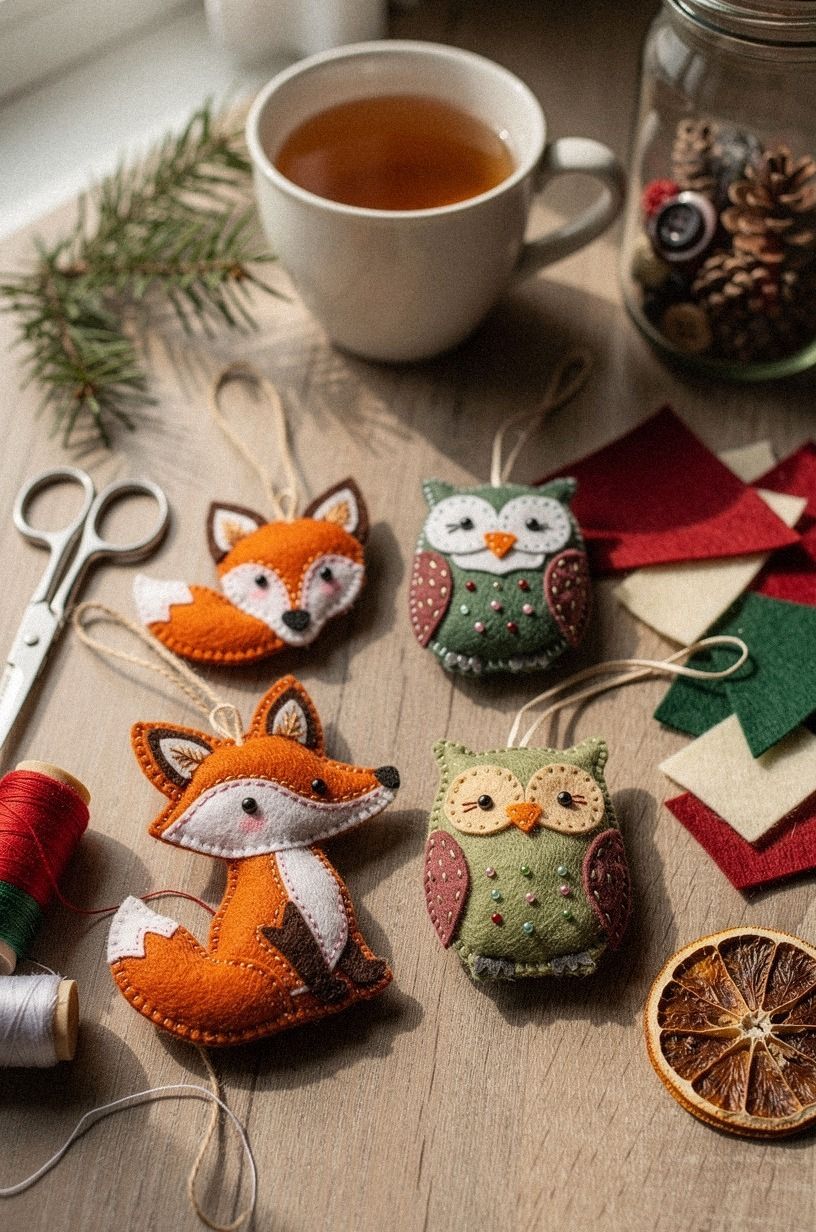
Cut felt into a simple pine tree, mitten, mushroom, or house. Your wool felt should be dense enough that the edges don’t shed immediately. Stack two colors only if the silhouette stays clear.
A midnight blue tree with an ivory center can look charming against dark branches.
Use a small amount of fabric glue around the edge, then press the layers under a book while they dry. You’ll get a flatter finish than you would by piling glue into the middle. If you’re adding beads, use only a few and keep them close to the center.
I’d avoid making every felt ornament cute in a different way. Choose one woodland language and repeat it.
Your tree will feel more sophisticated if three shapes share the same palette and stitching, especially beside a dark Nero Marquina marble surface with white veins. A single copper wool thread can give the collection a warm point of contrast.
The most beautiful felt pieces have an uncomplicated outline. A mushroom cap, a pointed roof, or a small evergreen reads instantly from across the room.
10Frame a tiny scene with the Window Ornament
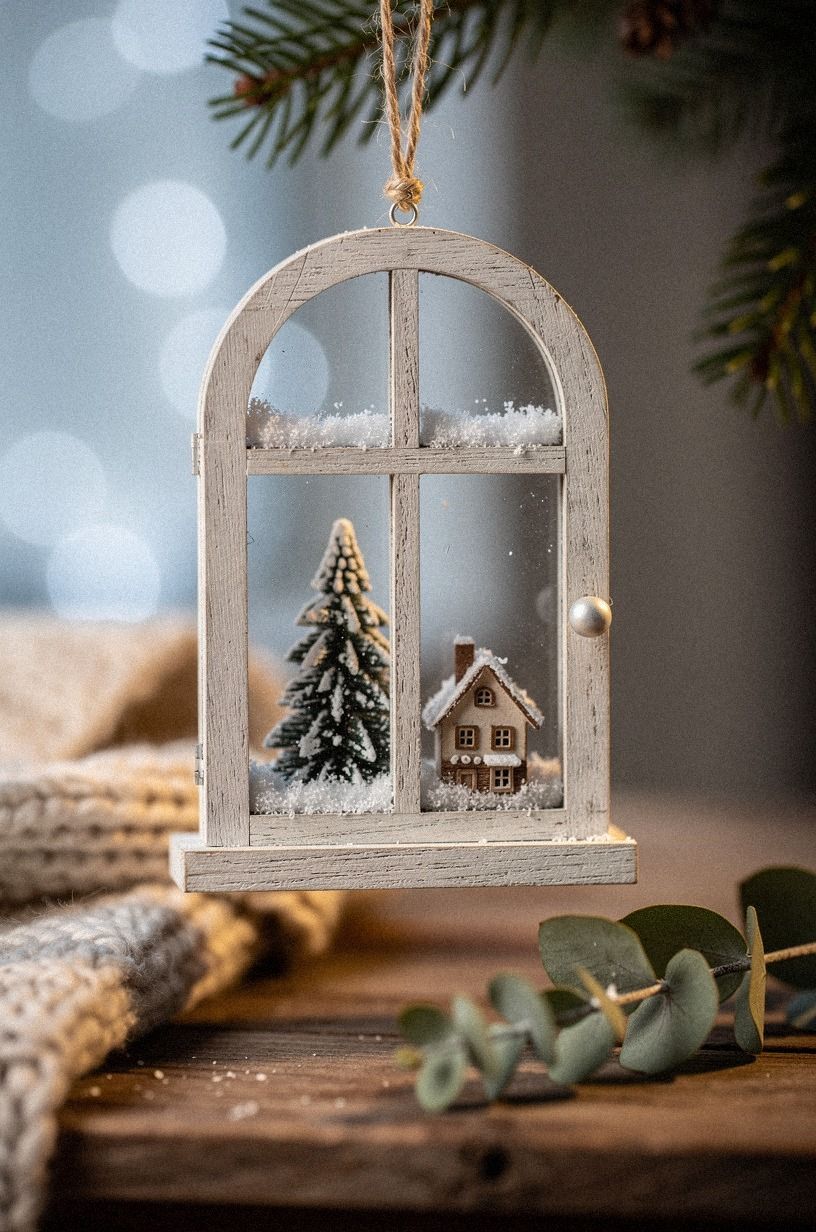
Paint a small border on a flat wood or stone base, leaving a clear center for a miniature scene. Your arched window frame could hold a sage-green tree, a paper moon, or a scrap of deep-pile mohair velvet. Keep the scene simple enough that you can understand it from several feet away.
Start with the background, then add one middle layer and one foreground mark. You’re building depth, not an entire landscape.
A warm cream sky, a natural wood tree, and a pale ground line can be enough. I’d skip tiny houses unless you enjoy precise detail work.
The painted edge gives your ornament a finished boundary, which is why this technique looks more expensive than it is. If your room has a storybook feeling, repeat the arch shape in two or three pieces. Your display will feel collected rather than randomly assembled.
A quiet winter scene can become the most memorable detail on the tree. Pair it with a Christmas dinner table setting idea if you want the same palette to travel through the room.
11Mix matte and gloss with the Finish Balance
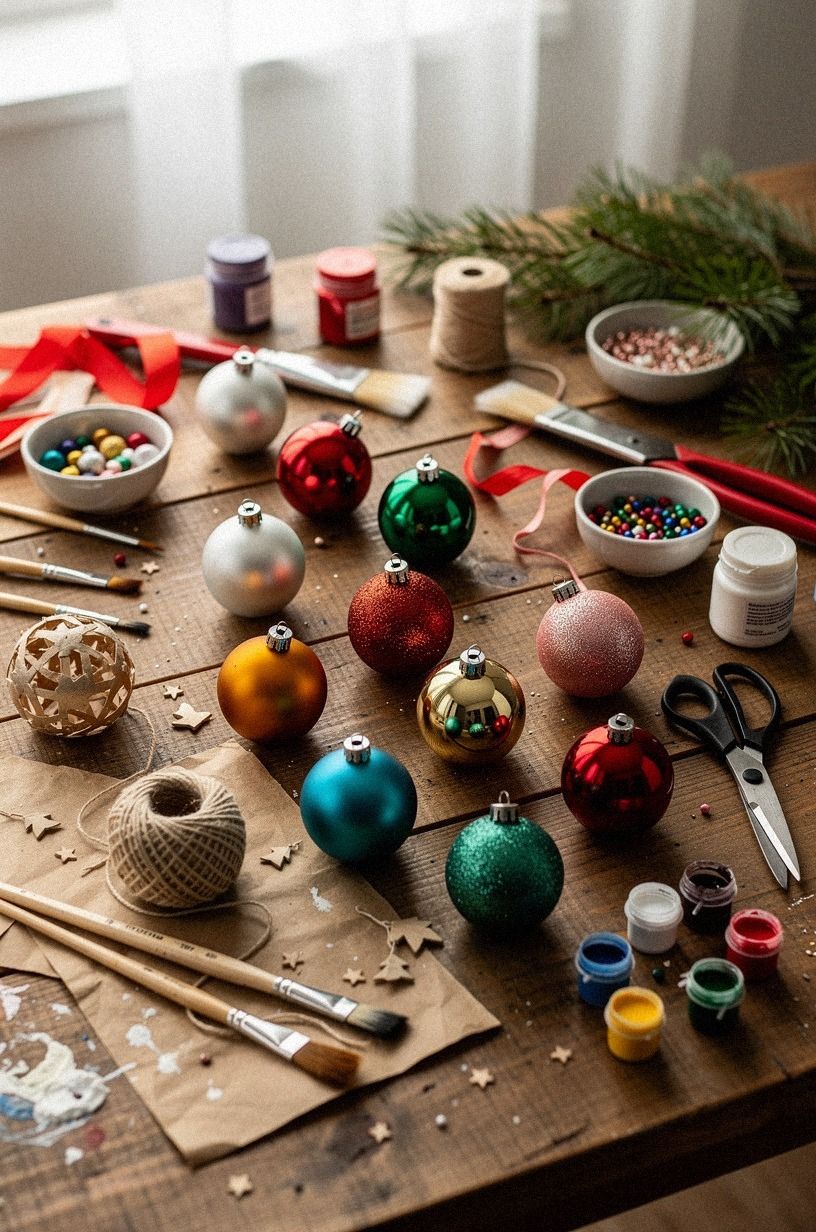
Paint one section terracotta and leave another section a soft stone shade. Your gloss accent might be a stripe, a dot, or the inner curve of a star. A little Carrara marble-inspired grey veining can give the design movement when the lights come on, especially beside olive details.
You’ll need patience here because glossy paint shows fingerprints. Hold the ornament by its loop, and let each coat dry before turning it. If you’re working with children, let them decorate the matte sections while you handle the fine finish later.
And resist the urge to make every ornament shine. I’d use gloss on perhaps a few focal pieces, then keep the rest chalky or satin. A tree with no contrast can look flat, while a tree covered in shine can feel loud.
Your eye needs a quiet place to rest.
A satin varnish can bridge the two surfaces when the contrast feels too strong. A small reflection can transform the whole tree!
12Wrap yarn around a simple form
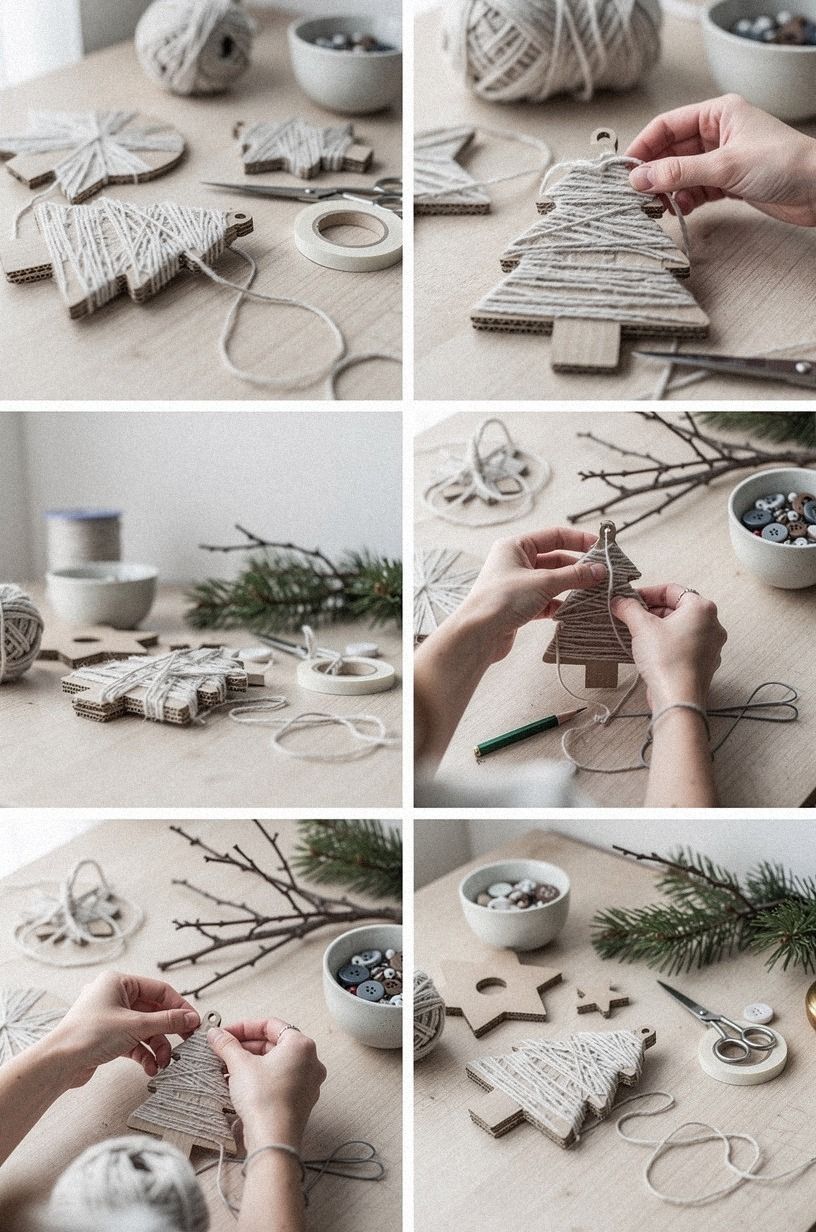
Choose a cardboard or reclaimed weathered teak shape with clean edges, then wrap linen yarn around it in even passes. Your first rows set the direction, so keep them tight and parallel. Add a dot of glue at the beginning and end, but don’t soak the yarn or it will stiffen.
You can change direction to create a diagonal panel or a small color block. If you’re using two shades, overlap them neatly at the back rather than cutting both across the front. That hidden join keeps the visible surface calm.
I’d use clay or soft linen tones before stark white, then add an aged brass loop for warmth. Your yarn ornament will feel especially inviting beside reclaimed teak. For another handmade texture idea, look at this sparkling infusion made with three ingredients, where simple materials do the visual work.
A soft linen blend keeps the shape flatter and cleaner. Choose the fiber according to the mood you want.
13Create a painted border instead of adding clutter
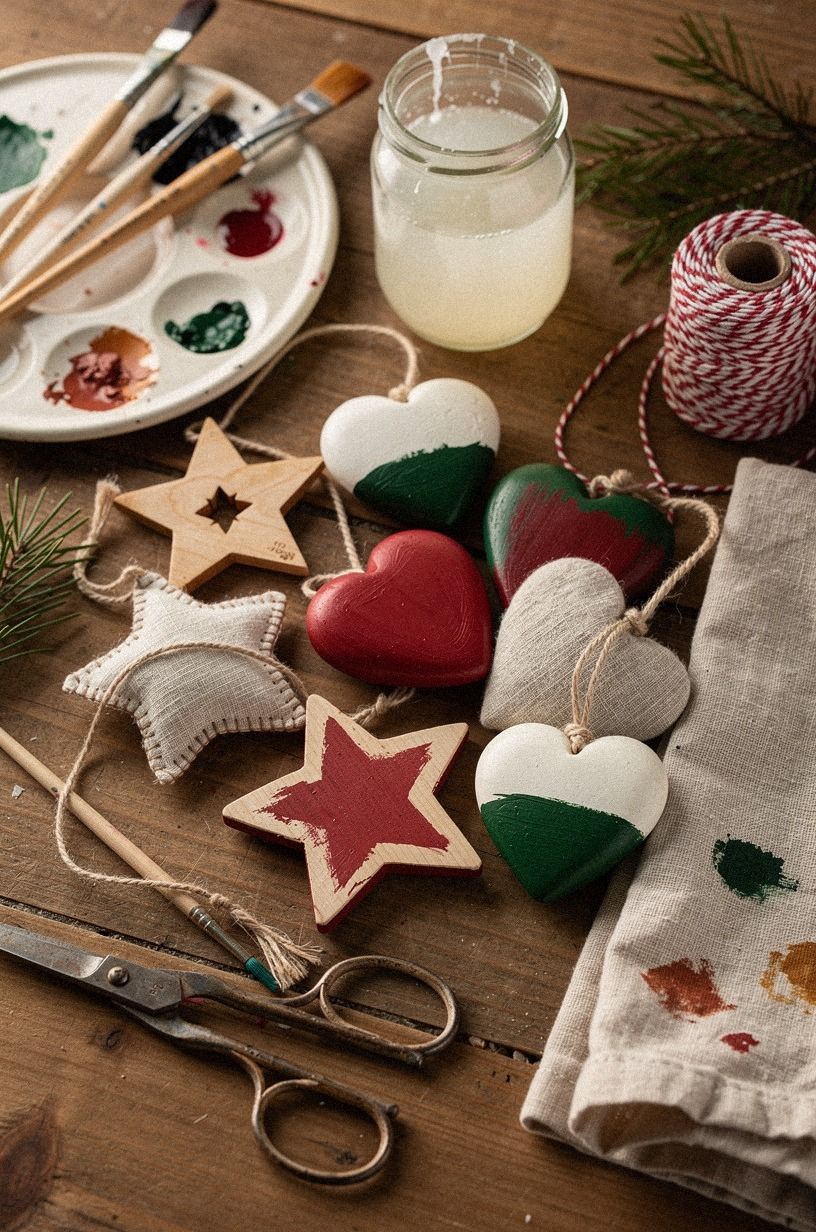
Choose one border shape and repeat it around the edge. Your rose-gold fine-line border could be a chain of leaves, dots, or short curved strokes.
Paint the center plum or grey, then let the border provide the detail. A Calacatta marble-inspired vein with a touch of gold can make even a plain disk feel finished.
Use a liner brush and thin paint slightly so it moves smoothly. You’ll want your elbow supported on the table, especially if you’re working on a small curve. Turn the ornament instead of twisting your wrist, and pause whenever your hand starts to tighten.
A border is a better choice than adding beads, sequins, and glitter all at once. I’d skip the extra decoration because the edge already frames the piece. Your ornament should reward a closer look without demanding attention from every branch.
A plum outline looks rich against grey, while a rose-gold line feels warm and festive. Repeat the same border on three pieces for a polished collection.
14Hang handmade ornaments for tree depth
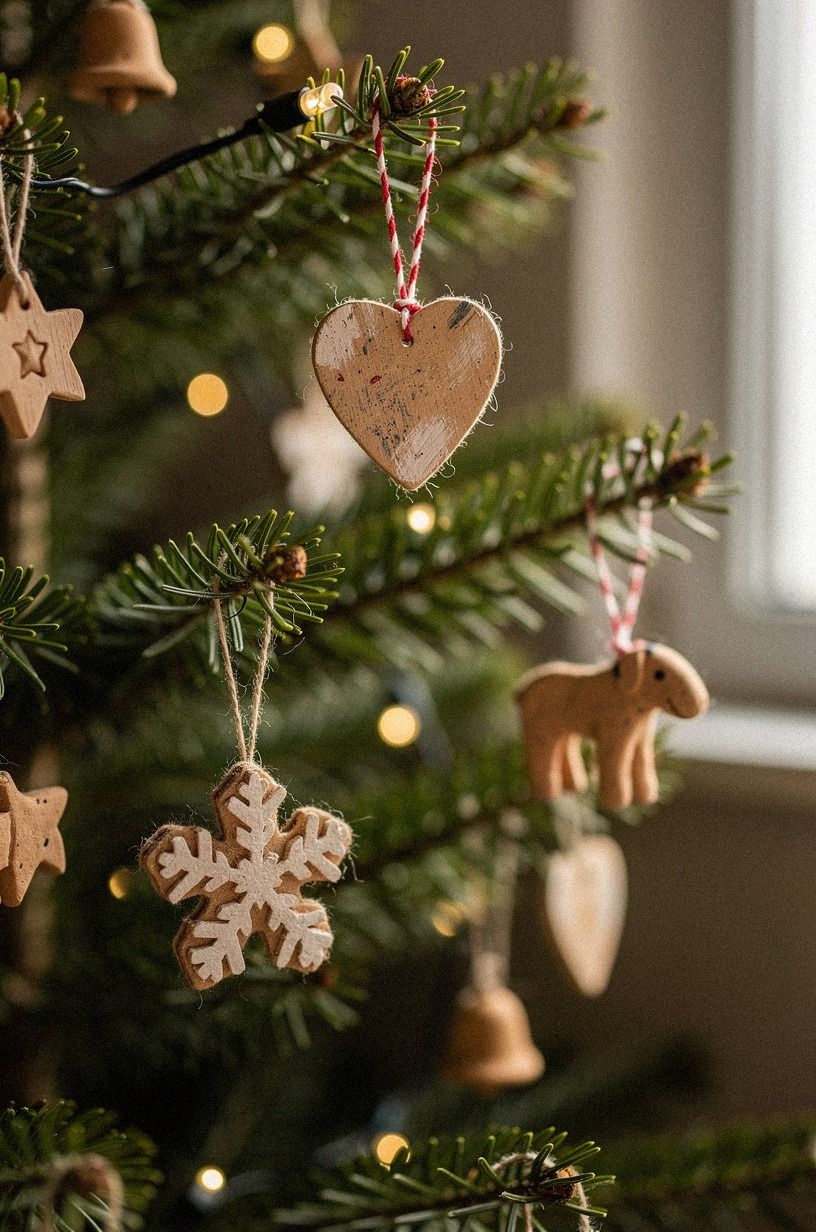
Attach a loop that matches the ornament’s material. Your waxed cotton cord suits navy, white, and walnut pieces, while a cerused white oak base gives the collection a pale, textured foundation. Keep the loop long enough for the piece to hang freely, but avoid a large knot that becomes the first thing you notice.
Place larger ornaments deeper inside the tree and smaller pieces toward the tips. You’re creating depth with spacing, not stuffing every open branch. If your tree is narrow, let a few ornaments hang slightly outside the silhouette so the display feels airy.
This is also the moment to use your mattress and bed styling guide for a useful visual principle: lift and layering change how a room reads. Your ornaments need similar variation in height, texture, and distance.
A long velvet loop adds drama to a larger piece, while thin cord disappears behind a delicate shape. Check each knot before you place the ornament on the tree.
15Balance store bought pieces with DIY pieces
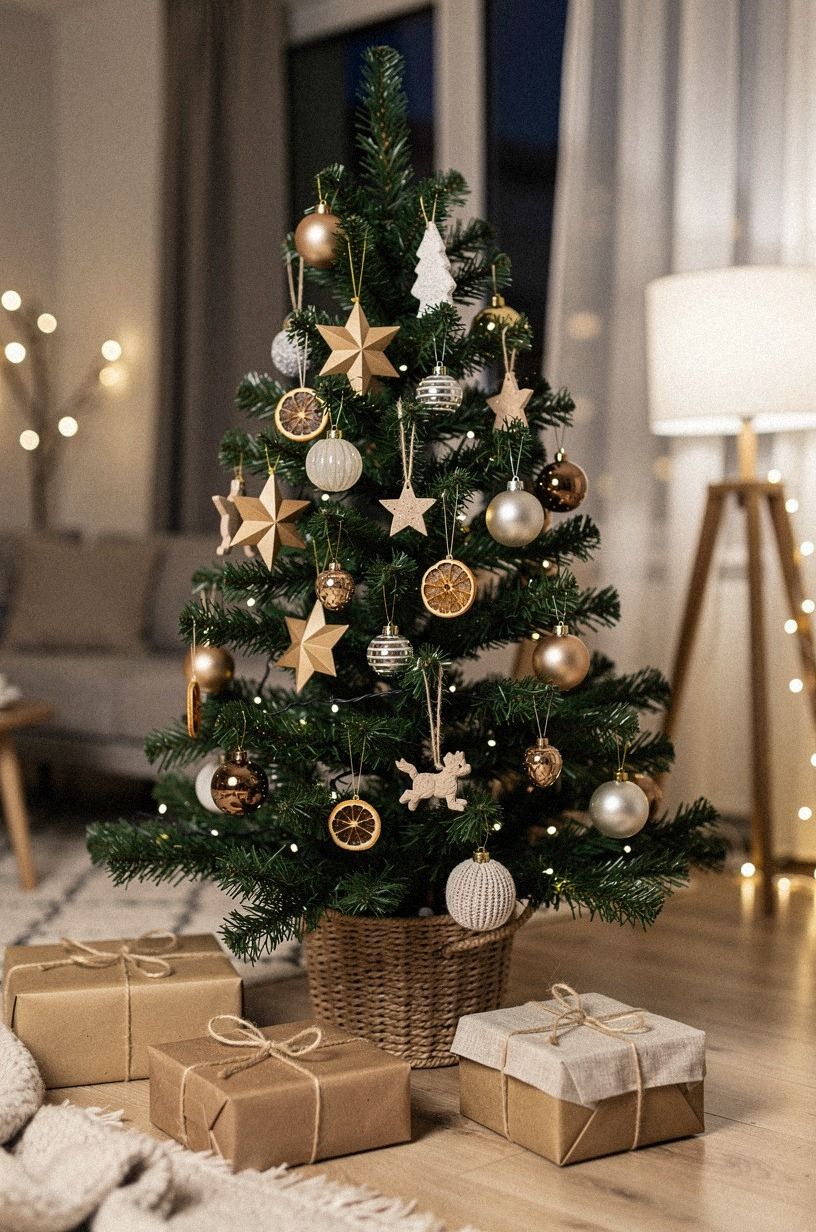
Mix your handmade ornaments with only a few purchased pieces that share an emerald, gold, and cream palette. One backlit translucent onyx accent can add glow without overwhelming the handmade pieces.
16Photograph the finished ornament craft ideas
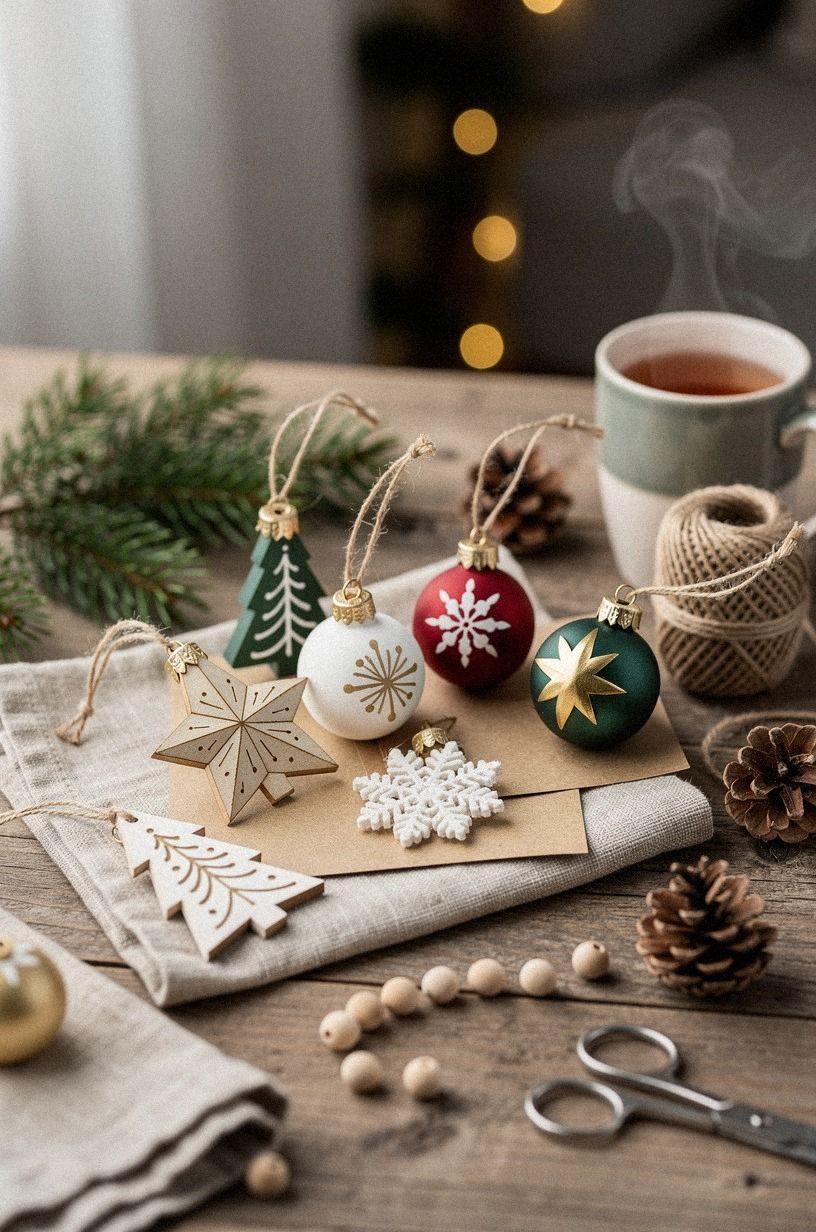
Set one ornament near a window and photograph it before you hang the entire tree. A natural oak background will show whether the colors work together, while the room’s light will reveal raised texture and brush marks. Take one detail image and one image of the full tree.
If the ornament disappears in the full-tree view, increase contrast rather than adding more decoration. A darker ribbon, lighter border, or stronger silhouette may solve the problem. You’ll learn more from a quick photograph than from holding the piece under harsh ceiling light.
Use the same test for your finished tree. I’d photograph it with the lights on and off, because some surfaces change completely after sunset. Your best pieces should hold their shape in both views, and the full display should feel warm, elegant, and personal.
A book-matched walnut surface will reveal whether the forest green, rust, and natural oak details are working together. You can also compare the finished tree with the layered styling in this Christmas dinner table setting guide. The goal is atmosphere, not a crowded photograph.
What These DIY Christmas Ornaments Cost
The ornament materials can be gathered slowly from craft supplies, thrifted pieces, and leftovers you already own. For a small group, expect to spend roughly $15-$40 on paint, bases, ribbon, and adhesive. A more ambitious collection with specialty finishes may reach $60-$120.
A budget project can rely on cardboard, paper scraps, leftover paint, and thrifted ornaments. If you’re refreshing the whole corner around the tree, broader room costs will naturally be higher. These Christmas tree theme ideas can help you settle the direction before you buy supplies.
You don’t need an expensive purchase to make the collection feel luxurious. Consistent shapes, careful edges, and a restrained palette will do more than a basket full of novelty supplies.
Why Handmade Ornaments Feel More Personal Now
People are tired of holiday rooms that look copied from one catalog. Your handmade ornaments bring back the small evidence of a person choosing paper, paint, and ribbon with care.
That doesn’t mean everything needs to look rustic. A clean stone base with a precise border can feel just as modern as a purchased ornament.
I’ve gone back and forth on this because polished holiday decor is satisfying. Still, the pieces I remember are the ones with a slightly uneven brush line or a ribbon I found in an old drawer. They make the tree feel connected to your life instead of staged for one photograph.
A restrained palette helps the handmade quality look deliberate. Farrow & Ball Red Earth No.64, Benjamin Moore Stone Hearth 984, and olive details can sit together without shouting. If you’re styling a full room, these Christmas tree theme ideas can help you keep the larger composition calm.
That balance feels especially appealing when the rest of the room is polished. A few hand-painted details add soul without making the display feel chaotic.
The Questions I Get Asked Most
What is the best DIY Christmas ornament style for a small space?
Painted wood ornaments are the best choice because they’re light, flat, and easy to repeat. Choose matte painted wood with one raised detail, then keep your tree palette narrow. You’ll get visual texture without bulky shapes, and your small space won’t feel crowded.
Where can I buy supplies for handmade ornaments on a budget?
Look at IKEA, Wayfair, Target, thrift stores, and Facebook Marketplace for plain bases and leftover ribbon. Your best finds may be unfinished wood, ceramic pieces, or old ornaments with good shapes. Skip damaged glitter and focus on surfaces you can repaint.
How much does a DIY Christmas ornament project cost?
A small project can use supplies you already own, while a larger collection may fall within the typical $40-$120 range. Your free materials include paper scraps, leftover ribbon, cardboard, and paint from another project. A thrifted glass ornament can also become an elegant focal piece.
Can I create store bought looking ornaments on a budget?
Yes, and your best moves are simple: repeat one palette, use smooth bases, and finish each piece cleanly. Thin paint coats cost less than adding layers of decoration, while thrifted shapes can give you the structure of expensive ornaments without a large purchase.
Are handmade ornaments worth it in a small space?
Yes, because small spaces benefit from repeated color and texture more than from a large quantity of decor. Hang your strongest pieces at different depths, then leave a little branch space around them. The tree will feel airy instead of packed.
Are DIY Christmas ornaments a good idea for a rental?
Yes, especially when you use lightweight pieces and removable hooks. Choose waxed cotton loops, paper, felt, and painted wood instead of heavy glass. Your renter-friendly display can sit on a tabletop tree, a tension rod arrangement, or a removable wall branch.
Where I’d Start First
If I had to pick one step, I’d start with the restrained palette. Your ornaments can have different shapes, but repeated color makes them feel like a collection instead of leftovers.
Paint one test piece tonight, let it dry, and hang it where you’ll see it. You’ll know the direction immediately!