
The short answer: professional-looking charcuterie comes from three heights, two textures, and a little empty space. I used to pile everything in the center and call it done. It looked crowded, and nobody could reach the cheese. Now I build outward from one anchor, and you can do it before guests arrive!
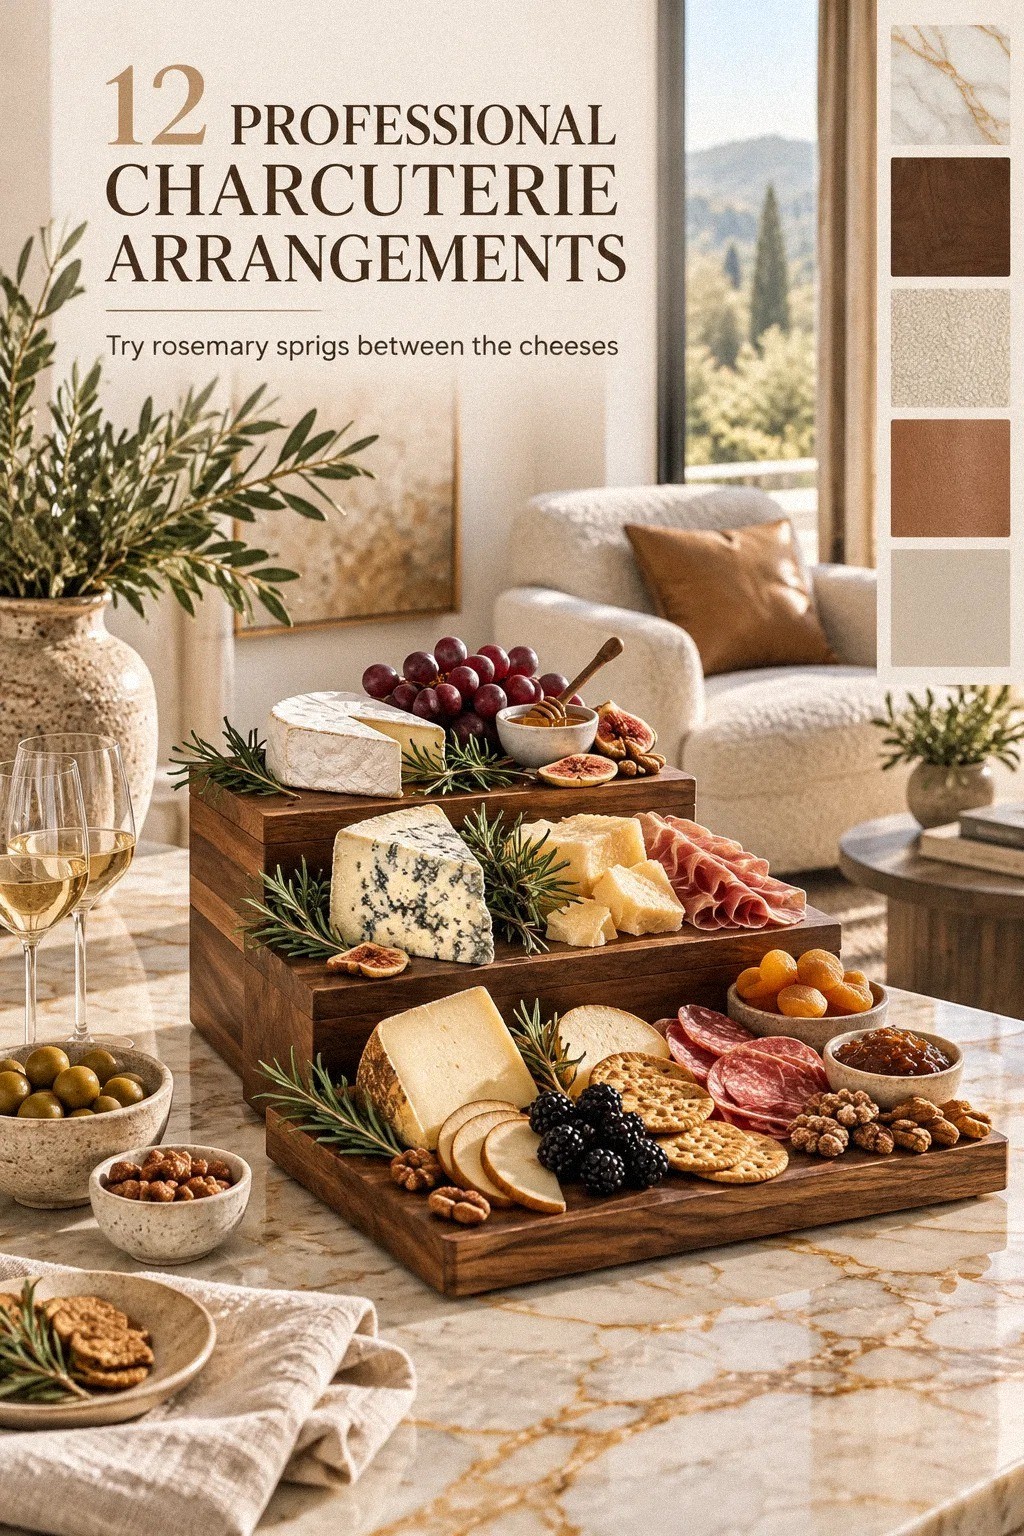
- Build the Three-Height Board
- Choose a Salami River
- Anchor the Board With One Wedge
- Mix Soft Cheese With a Crisp Break
- Place Fruit in Small Color Clusters
- Use the Empty-Space Rule
- Fold the Crackers Into Fan Shapes
- Add One Unexpected Savory Bite
- Frame the Board With Fresh Herbs
- Set a Budget Before You Shop
- Ask What Your Guests Can Reach
- Style the Table Around the Board
1Build the Three-Height Board
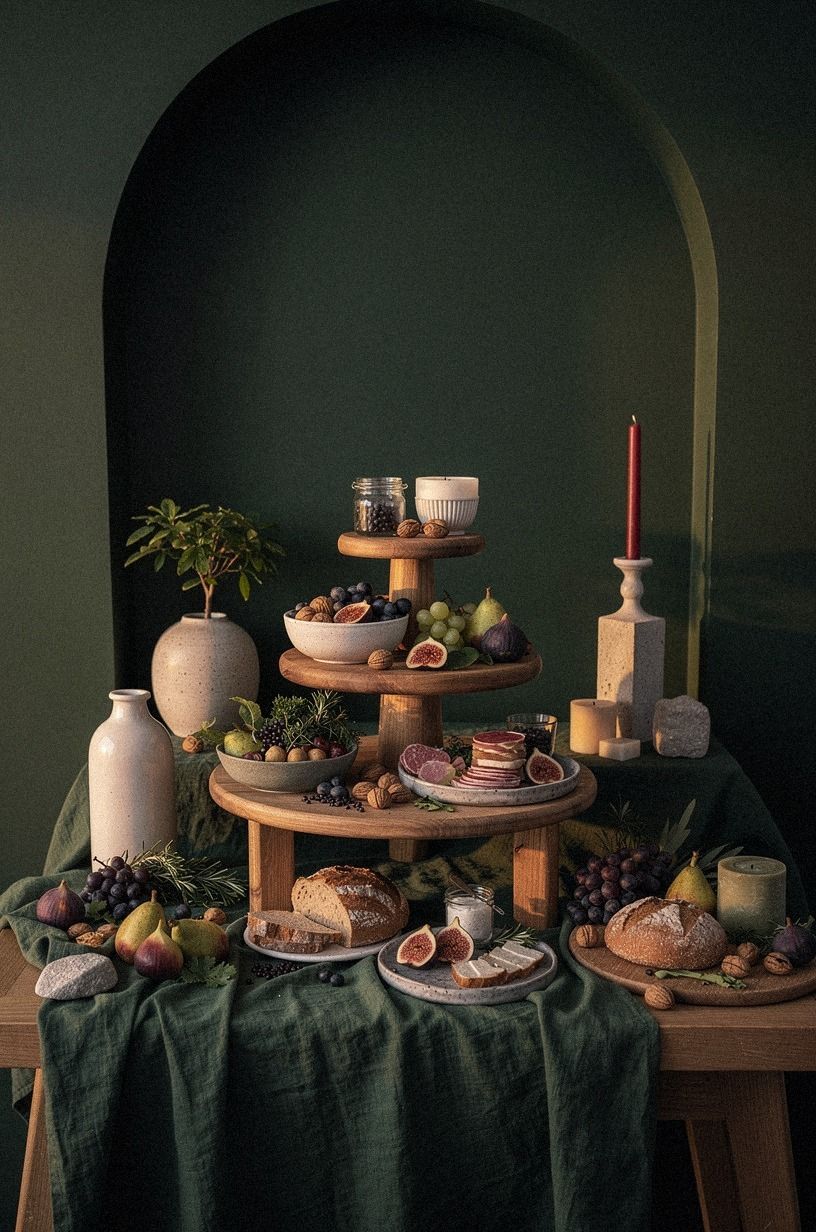
Start with three clear levels so your charcuterie board layout has movement. Put a small bowl or ramekin in the center, lean a wedge of cheese beside it, then let folded salami and grapes fill the lower plane.
You don’t need expensive servingware. A natural oak board, a shallow ceramic dish, and one raised bowl set over washed Belgian linen can create enough height for your eye to travel.
I like the middle height best because it keeps the board easy to eat from. If you’re using a large natural oak tray, leave the front edge low so your guests can grab food without reaching over a tower.
The tall item should be useful, not decorative clutter. And if your board still looks flat, add a small stack of crackers underneath one corner.
You’ll see the difference immediately.
Typical cost by tier (US averages):
2Choose a Salami River
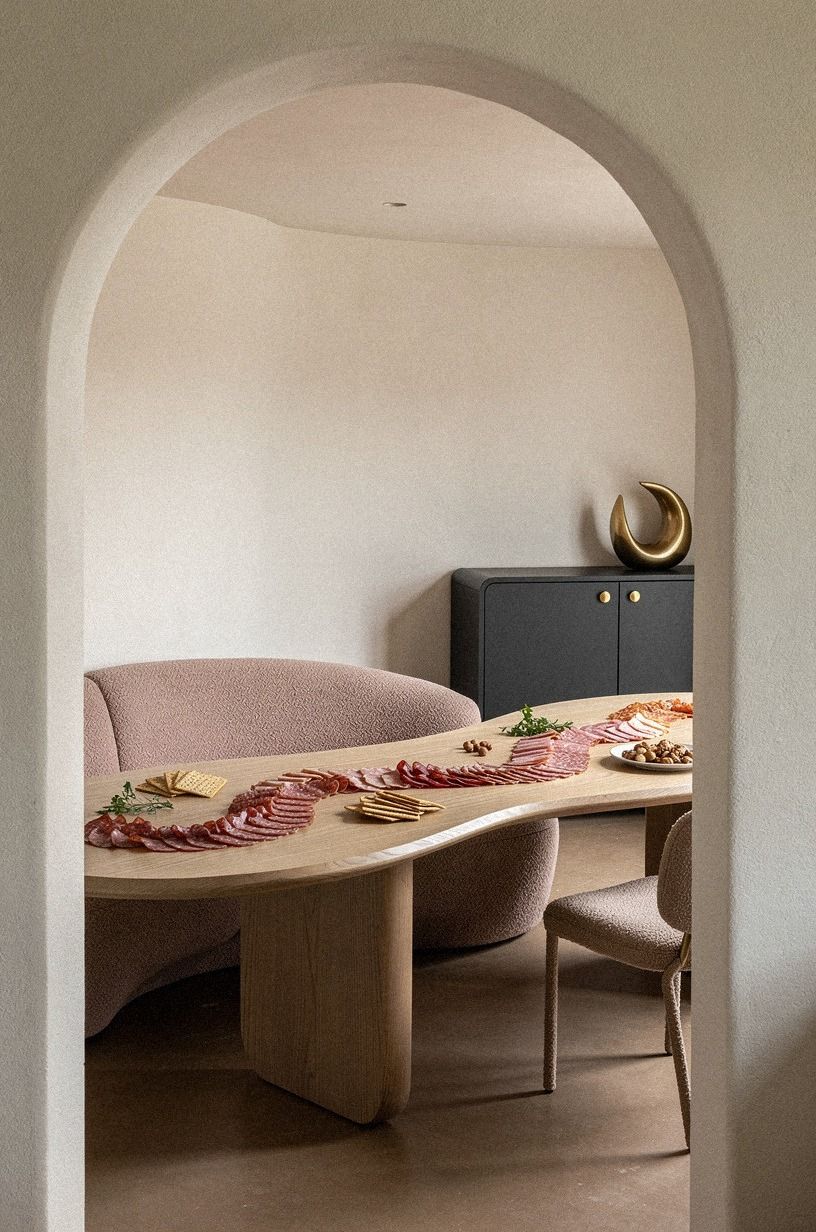
The salami river technique is my favorite way to make a board look generous without buying more food.
3Anchor the Board With One Wedge
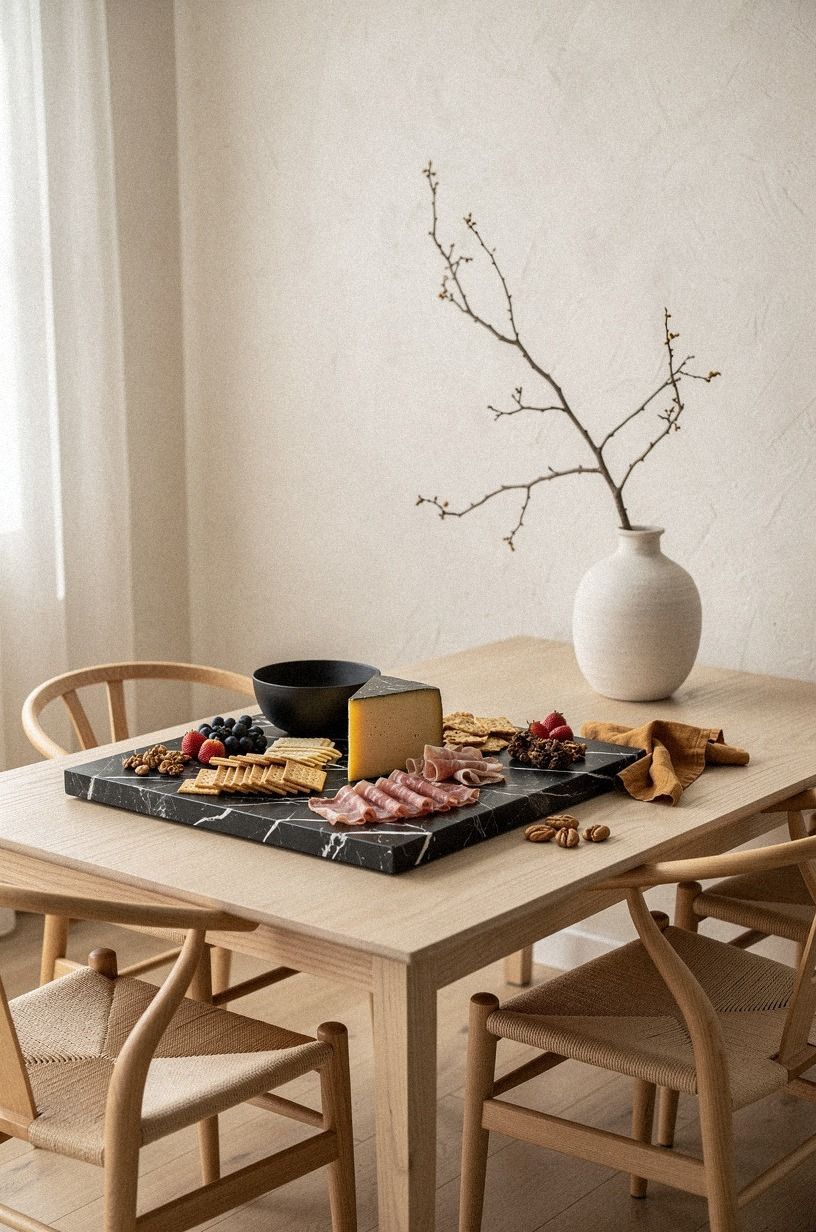
One strong cheese shape gives you a starting point for how to arrange charcuterie board ingredients. Choose a wedge with a visible rind, such as aged manchego, and place it slightly off-center. Slice away a small section so guests know where to begin.
I used to put every cheese in a neat row, but that made the board look like a grocery display instead of something ready for friends.
Your second cheese should have a different silhouette. A round brie wheel beside the wedge creates contrast, while a few cubes can fill the space between them.
Don’t crowd the cheeses with crackers yet. Leave room around each one so you can see the color and texture.
The wedge is the visual anchor, and your other foods should support it rather than compete with it.
And if you’re serving near a dining table, place the board where every guest can reach at least one corner. A gorgeous setup that needs to be passed around all night isn’t useful.
4Mix Soft Cheese With a Crisp Break
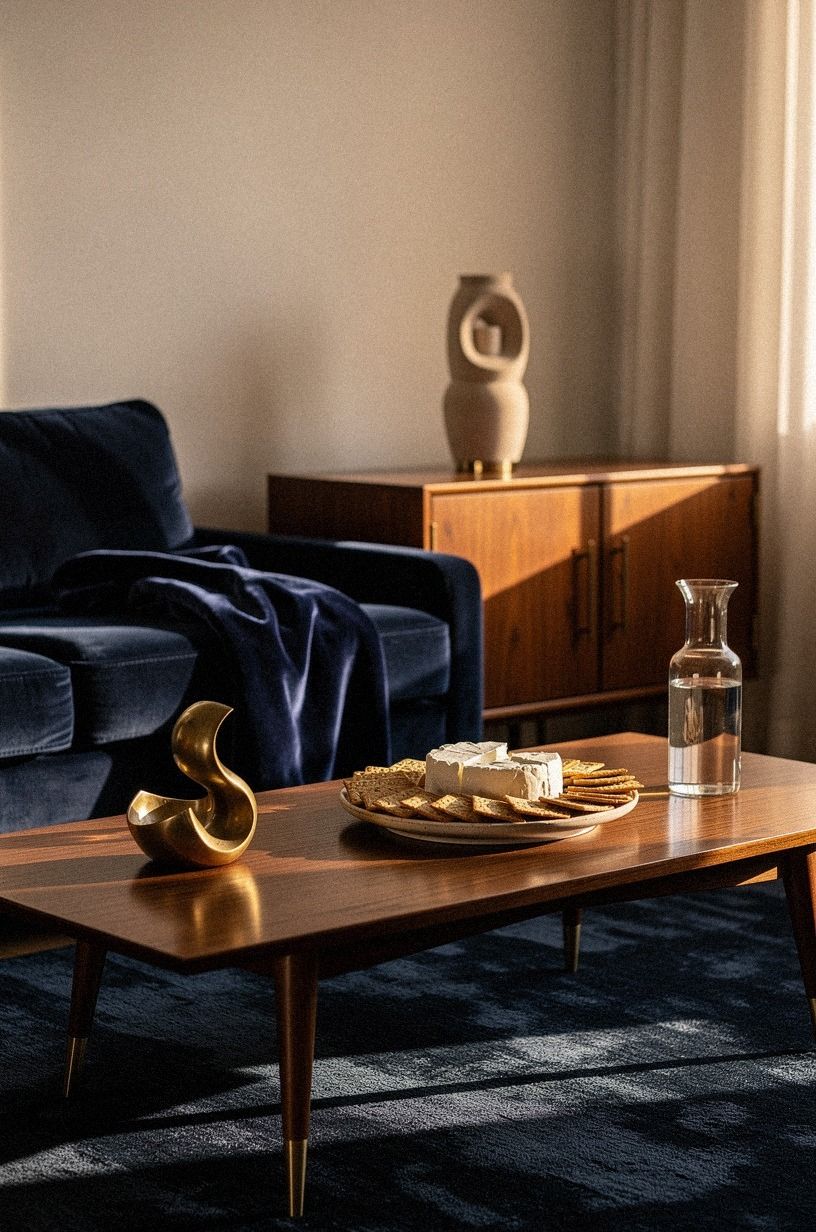
Texture matters more than color when you want a welcoming, sophisticated board. Pair a soft cheese with something crisp, such as toasted baguette slices, seeded crackers, or thin apple wedges. The contrast keeps each bite interesting, and it helps your board feel intentional without looking overly arranged.
I prefer a deep-pile mohair velvet runner in midnight blue beneath the serving area because the rich texture makes ivory cheese look softer and warmer. You can use a plain white platter with a copper-toned accent, too, especially if your fruit is dark.
A bright board with pale cheese and red grapes feels cheerful. A dark board with pear, figs, and rosemary feels moody.
Choose one direction before you begin, or your colors will start arguing with each other.
If you’re unsure which textures belong together, think in pairs: creamy and crisp, salty and sweet, smooth and nubby. Your guests won’t name the formula, but they’ll notice that every bite works.
5Place Fruit in Small Color Clusters
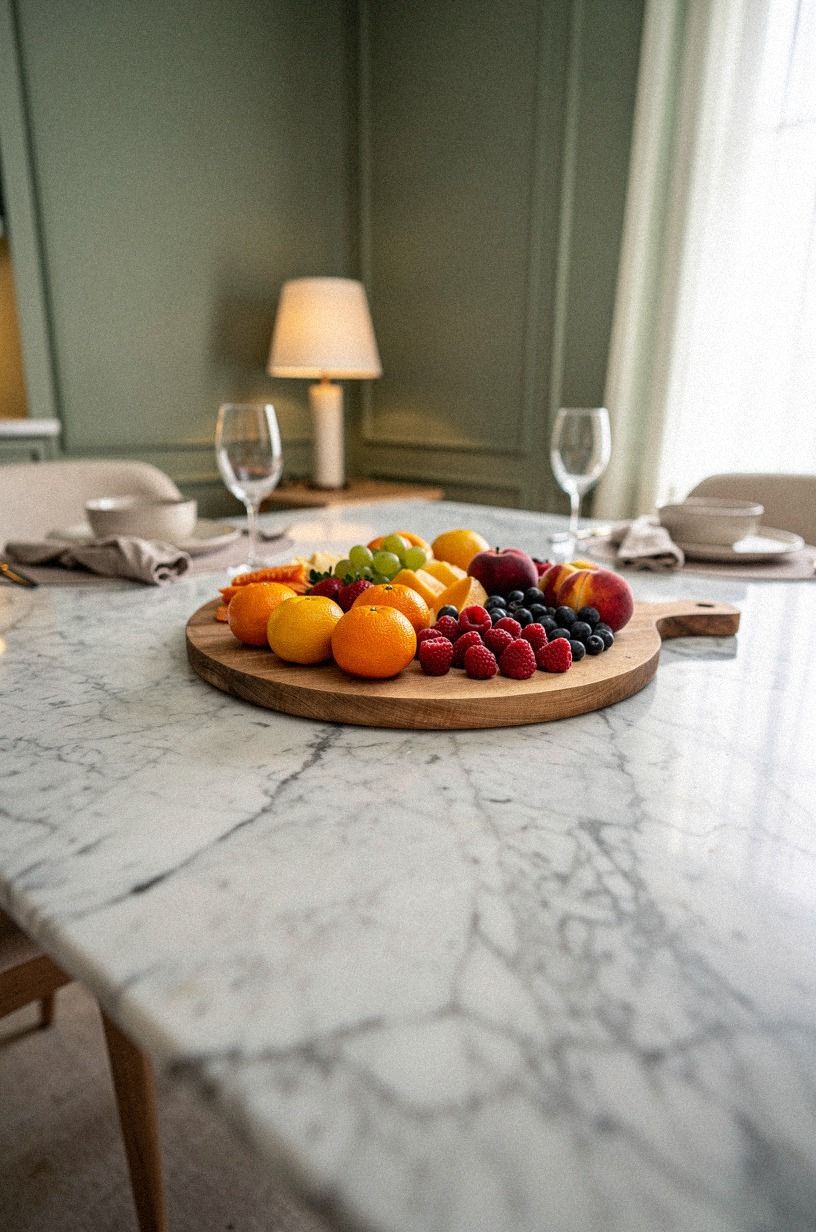
Fruit should appear in small clusters, not in one large pile. Tuck three or four grapes beside the cheese, add pear slices near the crackers, and let dried apricots bridge the gap between two larger ingredients. This makes the board look full while keeping the colors scattered in a controlled way.
A Carrara marble serving surface with subtle grey veining can soften the whole scene, especially if you’re using polished glassware. I wouldn’t mix every fruit color you can find.
Green grapes, pear, and pale dried apricots are enough for a sage green, warm cream, and natural wood palette. If you want something brighter, choose berries as the accent and keep the rest restrained.
You don’t have to make every cluster identical. One group can be loose and another can be tucked close to the bowl.
That variation is what keeps your board from looking assembled by a machine. But make sure your fruit is easy to pick up.
Sticky, buried fruit becomes decoration nobody eats.
For a gathering where your outfit matters as much as the table, this simple party look guide has the same polished-but-relaxed spirit.
6Use the Empty-Space Rule
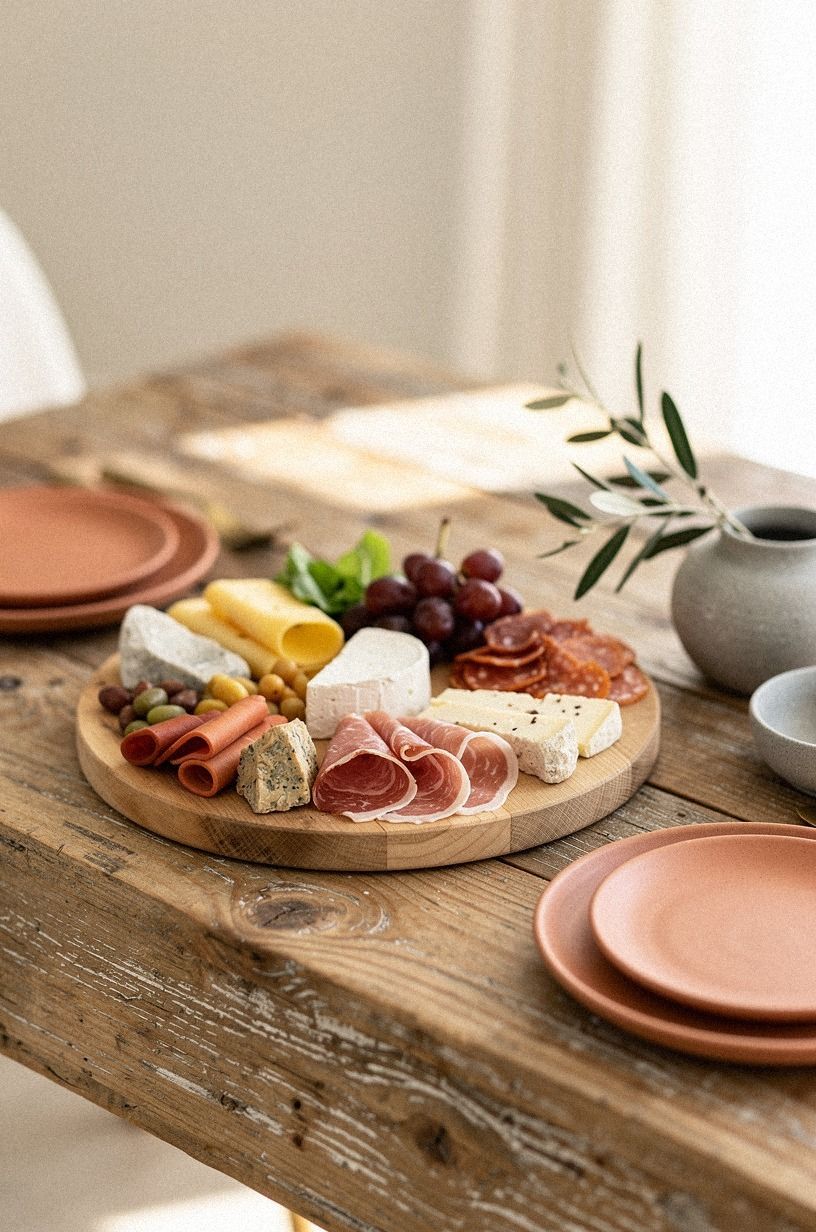
Empty space is part of the arrangement. Leave a narrow gap between the bowl, cheese, and fruit so each food has a clear landing place. I learned this after making one board so crowded that the crackers broke every time someone reached for a grape.
It looked abundant in one moment and worked terribly in real life.
The Three-Source Light Stack helps when you’re serving in a dim room. Use overhead light, task light near the food, and a soft ambient lamp so guests can see what they’re taking. You don’t need a dramatic fixture.
A warm table lamp, reclaimed weathered teak, and terracotta, stone, or olive accents will keep the table inviting without making it feel like a buffet line.
If you’re styling a larger room, keep the board within the brightest comfortable pool of light. Your guests will naturally gather there, and you’ll avoid the strange shadow that makes cured meat look dull.
Leave space for small plates, too. Your board needs breathing room around it, not only inside it.
7Fold the Crackers Into Fan Shapes
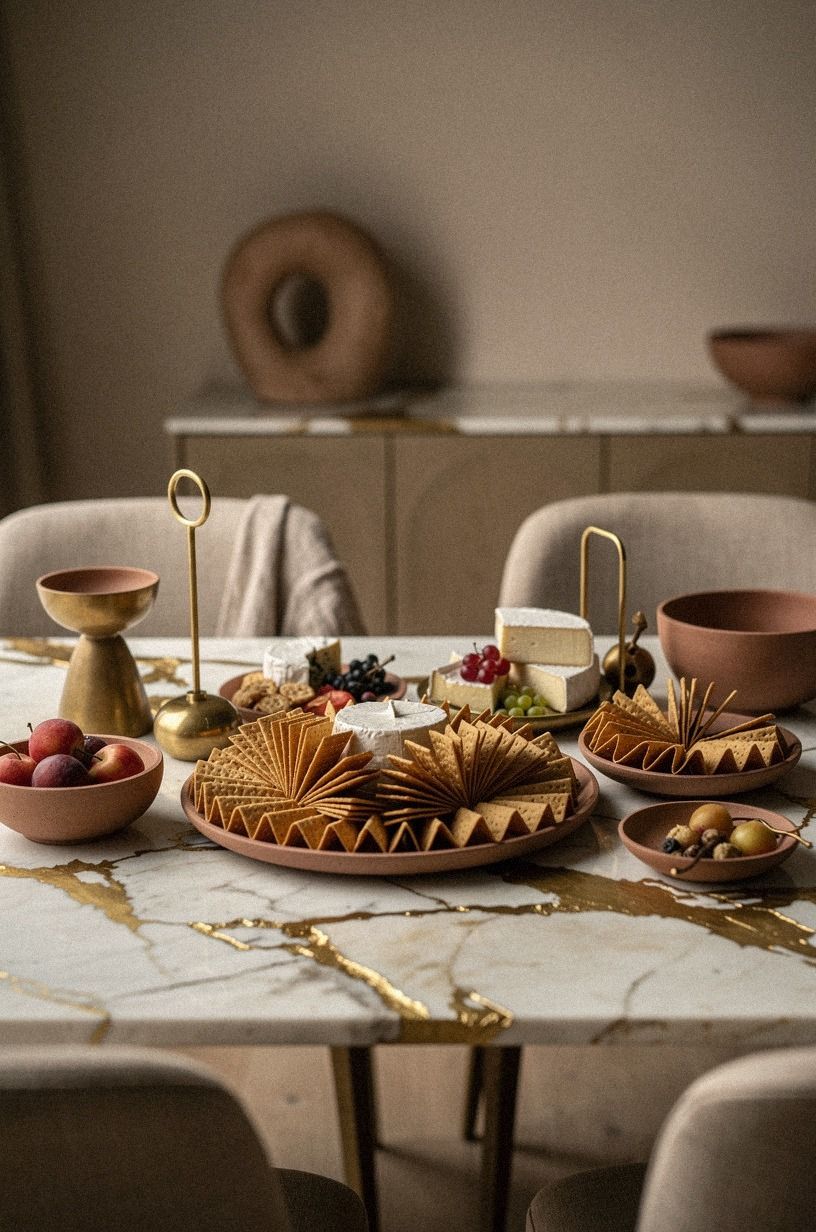
Crackers look more generous when you group them into loose fans. Start with five or six pieces, overlap them slightly, and curve the group around a bowl or cheese. A second fan can point in another direction, which gives your charcuterie board tips a subtle sense of motion.
Choose one plain cracker and one textured option, such as rosemary sourdough crisps. I wouldn’t buy four varieties unless you know your guests want them.
Too many shapes create visual noise, and the crackers usually go stale before anyone finishes them. A clay-toned board with linen and aged brass already gives you contrast, so the food can stay restrained.
Your fans should stay low enough that people can lift one without knocking over the next. If you’re working on a round Calacatta marble board with gold veining, follow the curve of the edge.
On a rectangle, use the crackers to create a diagonal from one corner toward the center. That small decision can make a basic setup feel much more refined.
You can borrow the same principle from these professional styling ideas: repeat a shape, then let it change slightly.
8Add One Unexpected Savory Bite
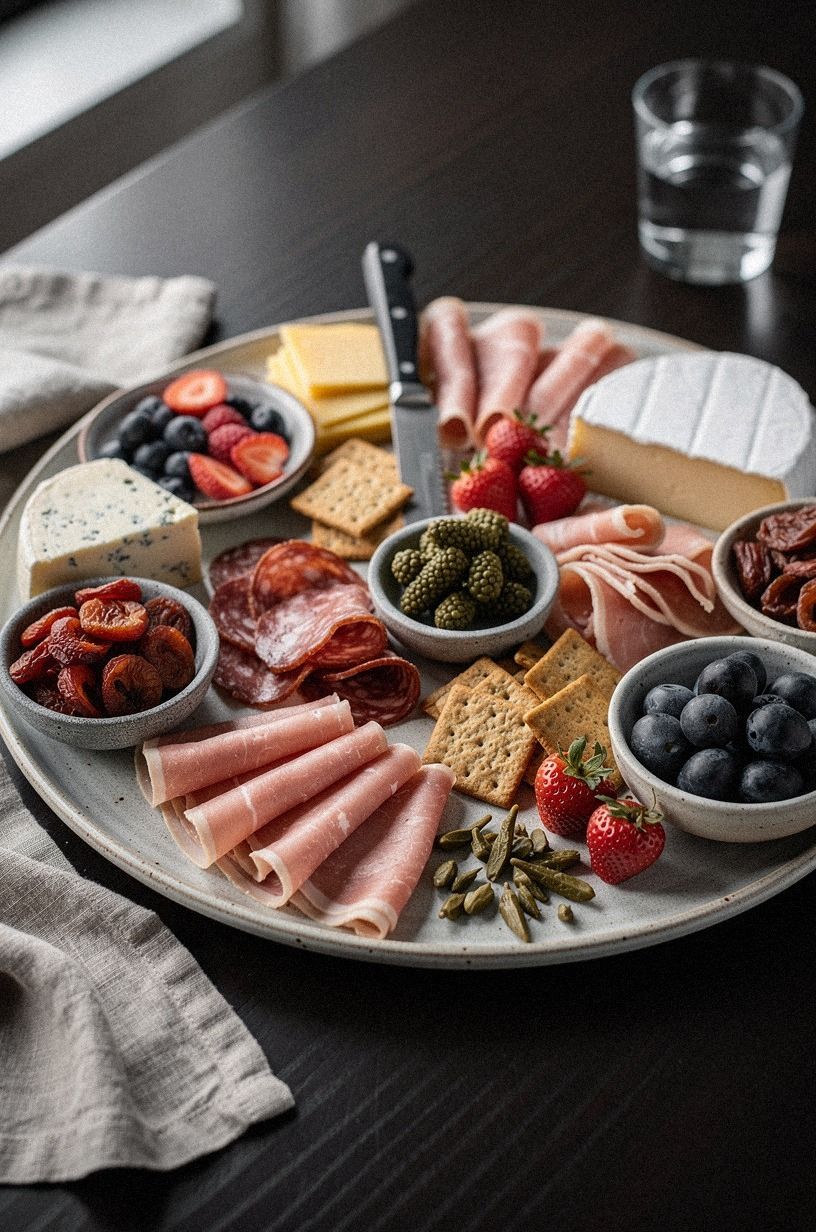
A professional board needs one ingredient guests don’t expect. Try cornichons, roasted almonds, marinated olives, or a small spoonful of pepper jelly. The surprise should be easy to understand and easy to eat.
You don’t need a complicated recipe, and you shouldn’t add something merely because it looks unusual.
I reach for castelvetrano olives because their pale green color gives a clean break against a cerused white oak board. If you want the palette to feel moodier, add plum, grey, and one rose-gold accent.
You can use the olives in a small dish or place them in a curved line around the cheese. If you’re serving children, keep the olives away from the edge and provide a familiar alternative nearby. A good host thinks about the hand reaching for the food, not only the arrangement.
And don’t hide the unexpected bite under herbs. Guests need to recognize what they’re choosing.
Put a small spoon beside anything oily, sticky, or brined so your tablecloth survives the first ten minutes. That practical detail is what makes the board feel genuinely inviting.
For another color-placement idea you can use when setting a table, see this guide to strategic color placement.
9Frame the Board With Fresh Herbs
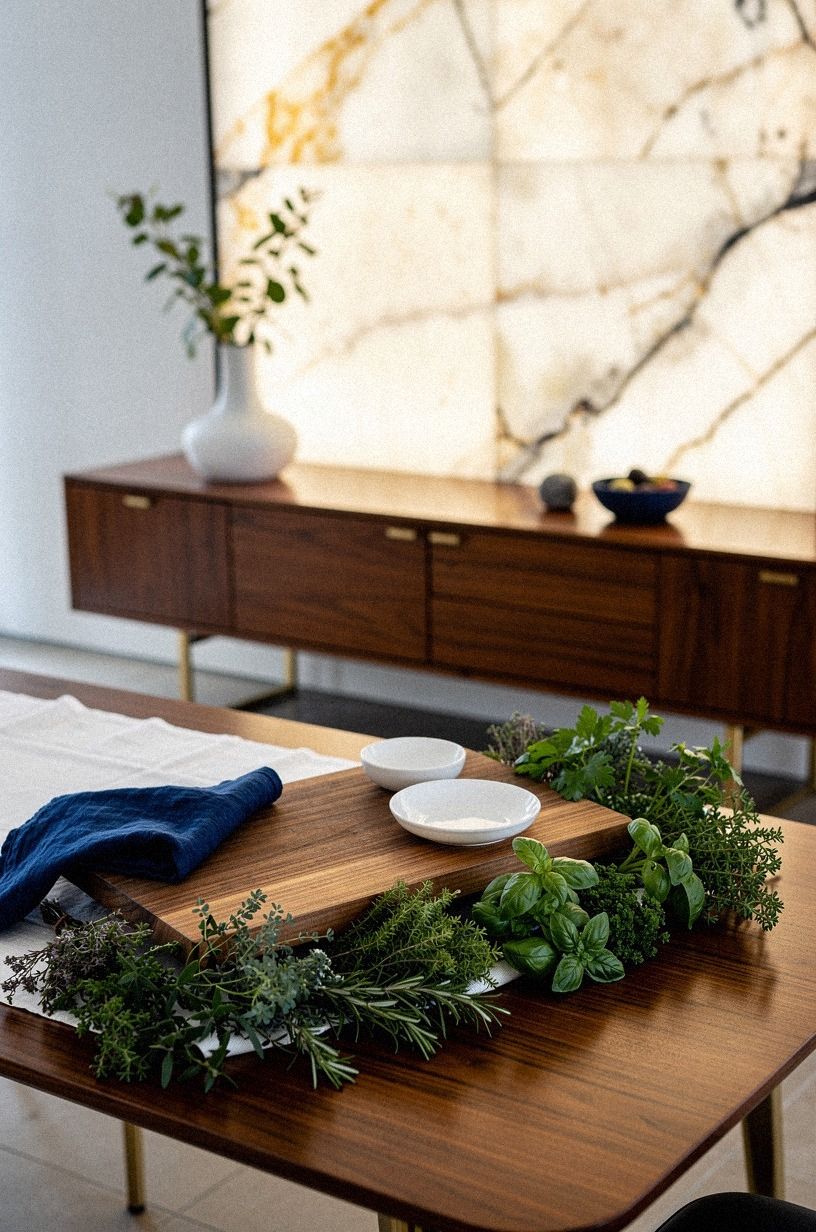
Fresh herbs work best as a loose frame, not a green carpet. Tuck rosemary near the edge, place thyme beside a wedge, and let a few leaves touch the board without covering the food. The scent should arrive before the guest takes a bite, but it shouldn’t dominate the cheese.
A walnut board set against backlit translucent onyx looks especially good with rosemary because the dark wood repeats the herb’s muted green. I wouldn’t use mint with every ingredient.
It reads sweet and bright, while rosemary, sage, and thyme feel more savory and grounded. Match the herb to the flavor story you’re building.
Your herbs can also solve awkward gaps. If one corner looks bare, add a short sprig there instead of forcing in another pile of crackers. If you’re using flowers, keep them in a separate vase rather than placing stems directly beside food.
That keeps the board clean and lets your guests serve themselves without brushing against petals.
A relaxed host outfit can use the same kind of restrained detail. This guide to an expensive-looking budget style is a useful reminder that one strong accent often beats five competing ones.
10Set a Budget Before You Shop
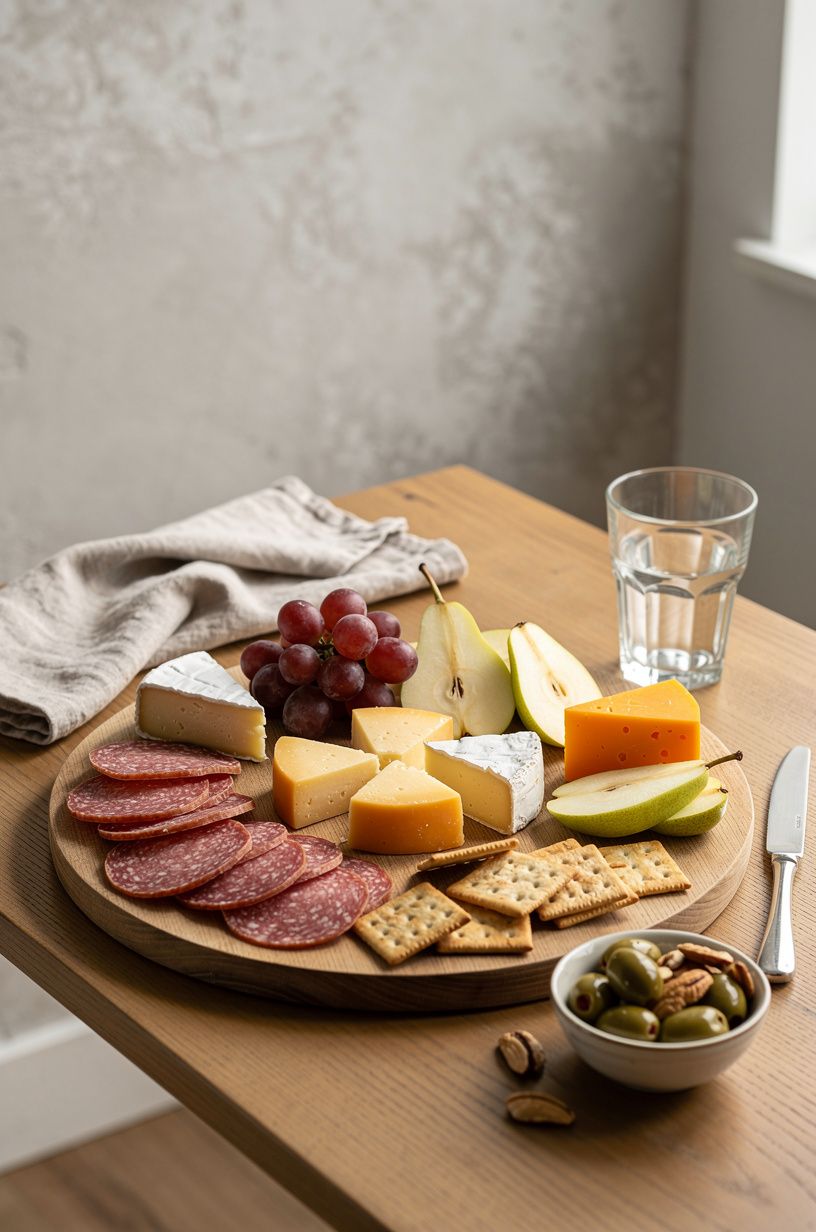
Your board doesn’t need a premium ingredient in every position. An emerald, gold, and cream palette on book-matched walnut can feel considered even when the food is simple.
11Ask What Your Guests Can Reach
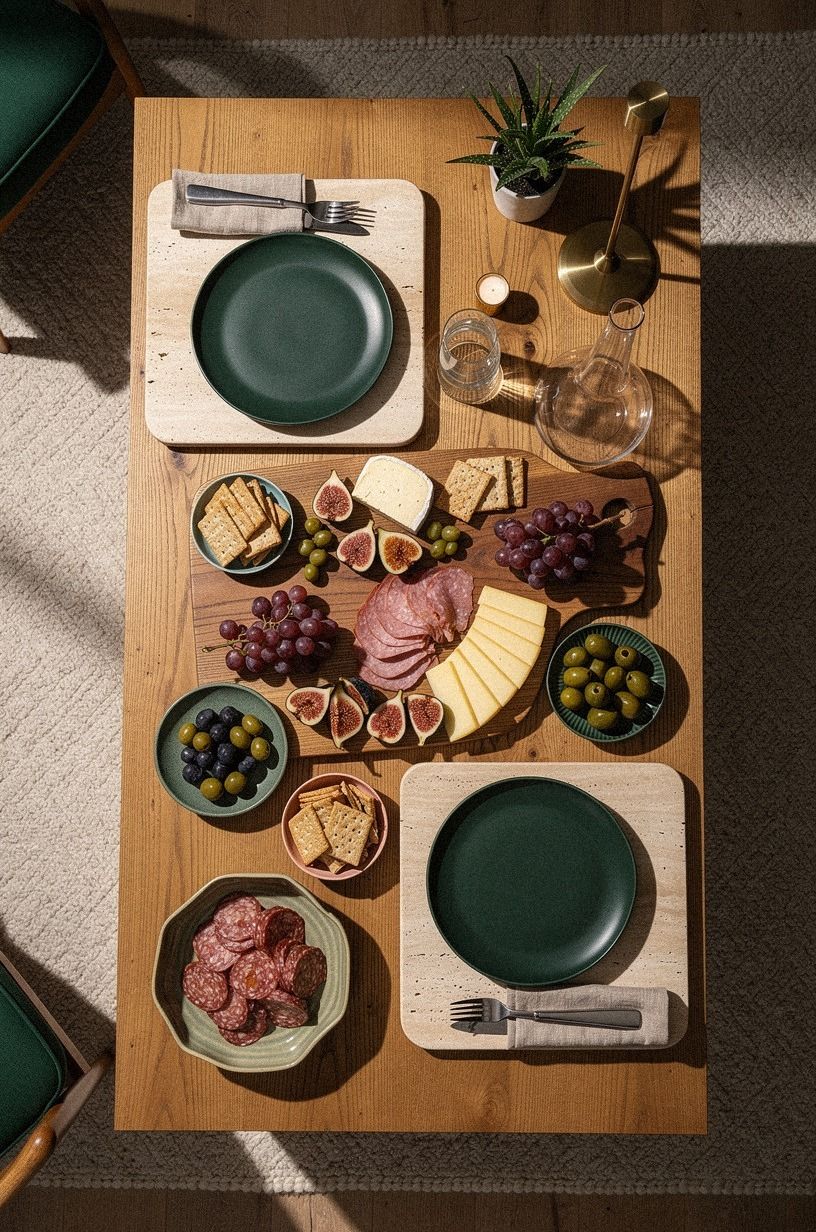
Is your board beautiful if half your guests can’t reach the brie? That question changed how I arrange food.
Put the most popular items near the outer edge, including crackers, grapes, and sliced cheese. Keep sticky condiments in shallow bowls and place small knives beside them, not across the table.
The Reachable-Corner Method works well for a long table. Put one board at each end if you have enough food, or rotate the board during the evening so nobody has to lean across a centerpiece. Your arrangement should support conversation, not interrupt it.
I prefer a low setup because guests can see one another over it.
If you’re serving in a rental or small apartment, use a narrow natural oak serving plank on a warm travertine surface instead of a broad round board. It can sit against the wall until you’re ready, then move beside the drinks.
You don’t need a separate buffet to make your hosting feel generous. You need a path for hands, plates, and conversation.
If your party look needs to change from daytime to evening, these 15 sunglasses styling ideas offer a similar lesson in using one adaptable piece well.
12Style the Table Around the Board
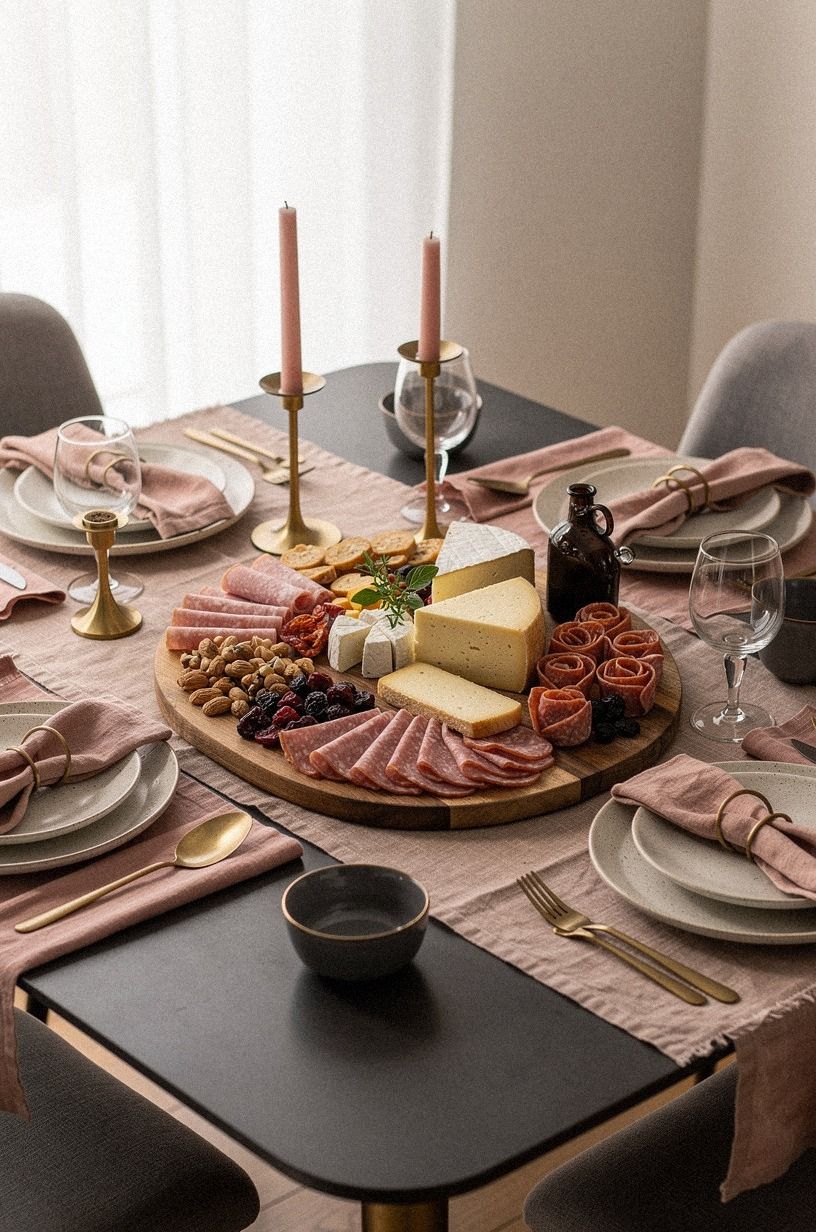
Your charcuterie board shouldn’t float alone on an unrelated table. Repeat dusty rose, charcoal, or unlacquered brass in the napkins, flowers, or glasses so the full setting feels calm and connected.
Benjamin Moore First Light 2102-70 keeps the background dusty rose, while Farrow & Ball Railings No.31 gives the room a charcoal anchor. Unlacquered brass developing a patina adds the warm metal note.
I like warm wood with cream napkins and one dark accent, such as a black candlestick or smoked glass. You can hang nearby art with its center about 57 to 60 inches from the floor, which keeps the wall balanced behind the table. If curtains frame the room, place the rod 4 to 6 inches above the window frame and let the fabric reach the floor.
But don’t decorate every surface. One vase, one lamp, and the board are enough. A table that feels comfortable will make your food look more generous, and your guests will settle in faster.
For a final hosting detail that feels polished without being stiff, this party-ready outfit guide is a good companion.
What I Learned After Making Too Many Boards
I’ve made charcuterie boards that looked wonderful from one side and felt awkward from every chair around the table. The problem was never a missing ingredient. I had treated the board like a flat picture instead of a shared meal.
Once I started checking reach, knife placement, and the height of each item, the whole experience changed. Your board needs to work at hand level, not only as a centerpiece.
The most useful rule I’ve kept is simple: give every ingredient a job. Cheese anchors the arrangement.
Meat creates a path. Fruit brings color and sweetness.
Crackers provide structure. A small bowl holds the messy item.
When you know what each food is doing, you won’t keep adding things to fill an empty patch.
I also stopped chasing the idea that a professional board needs rare ingredients. Article Sven tan leather has nothing to do with food, but the same design principle applies to a serving area: one considered material can make ordinary pieces feel intentional.
Choose one board texture, one strong color, and one food with personality. That’s enough.
My own mistake was buying too much variety and not enough quantity of the foods people truly wanted. Guests reached for the same cheese, and the decorative extras remained untouched.
Now I watch the first ten minutes. If a bowl empties quickly, I refill it.
If something sits untouched, I don’t defend it. I change the plan.
This is why a charcuterie setup is worth doing even in a small space. You can learn what your guests enjoy without committing to a permanent dining-room makeover.
If you’re planning a more complete entertaining corner, this petite styling guide reinforces the value of proportion and thoughtful placement. A small table can feel generous when every inch has a reason.
What People Always Want to Know
What is the best arrangement for a small charcuterie board?
The best arrangement uses one anchor cheese, one small bowl, and three compact food groups. A clear center path keeps your board easy to reach. A shallow natural oak tray works well because its edges are low and its surface is wide enough for crackers, fruit, and sliced meat without forcing everything into a pile.
Where can I buy serving pieces on a budget?
You can find useful boards and bowls at IKEA, Wayfair, and Target, then fill gaps through Facebook Marketplace or a thrift shop. Second-hand wood trays often have the right proportions. Check for cracks, strong odors, and surfaces that can’t be cleaned before you buy.
How much does a charcuterie setup cost?
A small setup can stay near $100 to $300 if you use dishes and boards you already own. A broader entertaining-space refresh can range from $200-$800 at the budget tier, depending on paint, textiles, art, and organization. Start with food and serving pieces before buying décor.
Can I create this look on a budget?
Yes, and you can begin with three low-cost moves: use a cutting board as the base, fold supermarket salami into a river, and group fruit in small clusters. Existing dishes can replace specialty bowls. Your arrangement matters more than a matching set.
Is a charcuterie board worth it in a small space?
Yes, because a small board encourages editing. Choose one narrow plank, keep the food low, and place it where everyone can reach it. A compact layout often feels more generous than a huge board covered in items nobody can identify.
Is this a good idea for a rental?
Yes. Use a removable table runner, tension-rod curtains, and freestanding lamps instead of drilling or wiring.
No-damage styling can still feel warm when you repeat one paint color, one wood tone, and one soft textile. Your serving board can become the room’s movable focal point.
What color should I use for the table backdrop?
Start with the room you have. Benjamin Moore First Light 2102-70 brings a dusty rose note, while Farrow & Ball Railings No.31 adds charcoal contrast. Unlacquered brass with a developing patina warms the setting without competing with fruit, cheese, or wood.
Where I’d Start First
If I had to pick one, I’d start with the three-height board. It gives every ingredient a place, keeps the center reachable, and makes ordinary cheese look considered. Pin the three-height layout for later and save this party styling idea before your next gathering.