
Brunch drink stations work best when guests can pour, garnish, and refill without asking for help. A tiered tray, clear carafes, and one marked landing zone create an airy setup in under an hour. The right details make hosting feel calmer, warmer, and more welcoming. Start with flow, then add color.
- Style a tiered tray with citrus garnishes
- Why a vintage bar cart earns its place
- The Three-Carafe Signal
- Where should the chalkboard menu hang?
- Build a mimosa wall with labeled bottles
- Layer patterned napkins beneath every glass
- Let the mirrored tray define the syrup zone
- Cold brew needs a separate landing zone
- Frame the self-serve bar with linen curtains
- Keep the floral centerpiece beside the pitchers
- The Three-Vase Rhythm for straws
- Paint a dedicated beverage nook soft sage
- Reserve a lower shelf for refill supplies
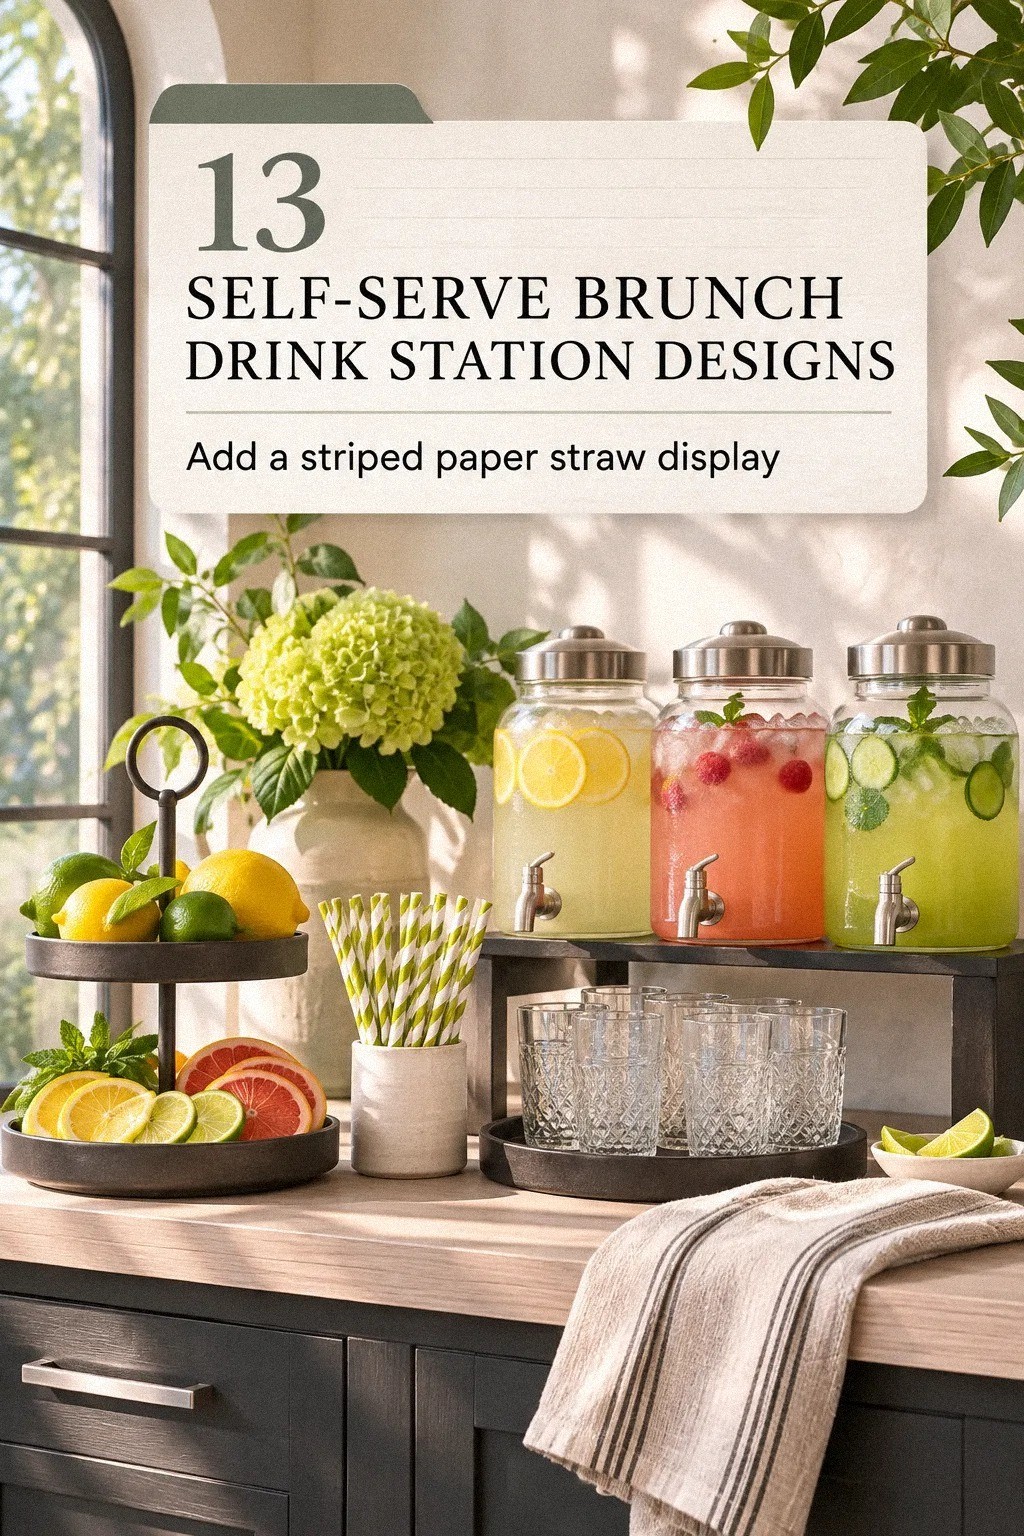
1Style a tiered tray with citrus garnishes
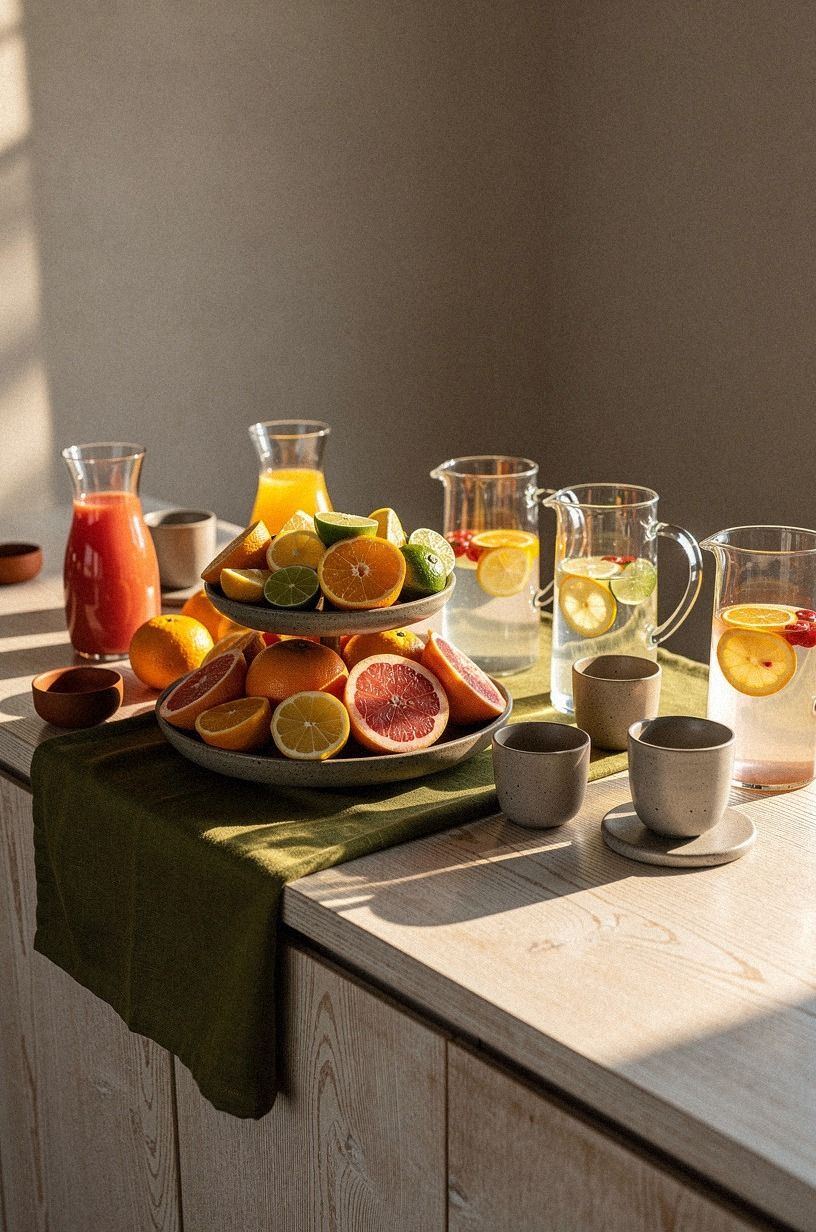
A tiered tray gives your brunch drink station vertical structure while keeping the tabletop open for glasses and napkins. Choose cerused white oak for warm grain, then pair it with terracotta bowls, honed stone coasters, and olive-toned greenery. You’ll want the lowest level for cups, the middle for citrus, and the top for small labels or stirrers.
That order keeps the items guests reach for most within easy reach.
Use oranges, lemons, and limes in separate bowls so the colors read clearly across the station. A few rosemary sprigs add an earthy note, while a Belgian flax linen runner softens the hard tray edges.
Don’t pile everything into one dish, because guests won’t know whether the fruit is a garnish or decoration. You’ll notice the station feels calmer when every item has a clear job.
A stoneware citrus bowl can replace a wooden bowl when the table needs more weight. If the station sits beside snacks, connect both areas with a self serve candy station using the same terracotta palette. You’ll create a more coherent setup without adding another color family.
Typical brunch station cost:
2Why a vintage bar cart earns its place
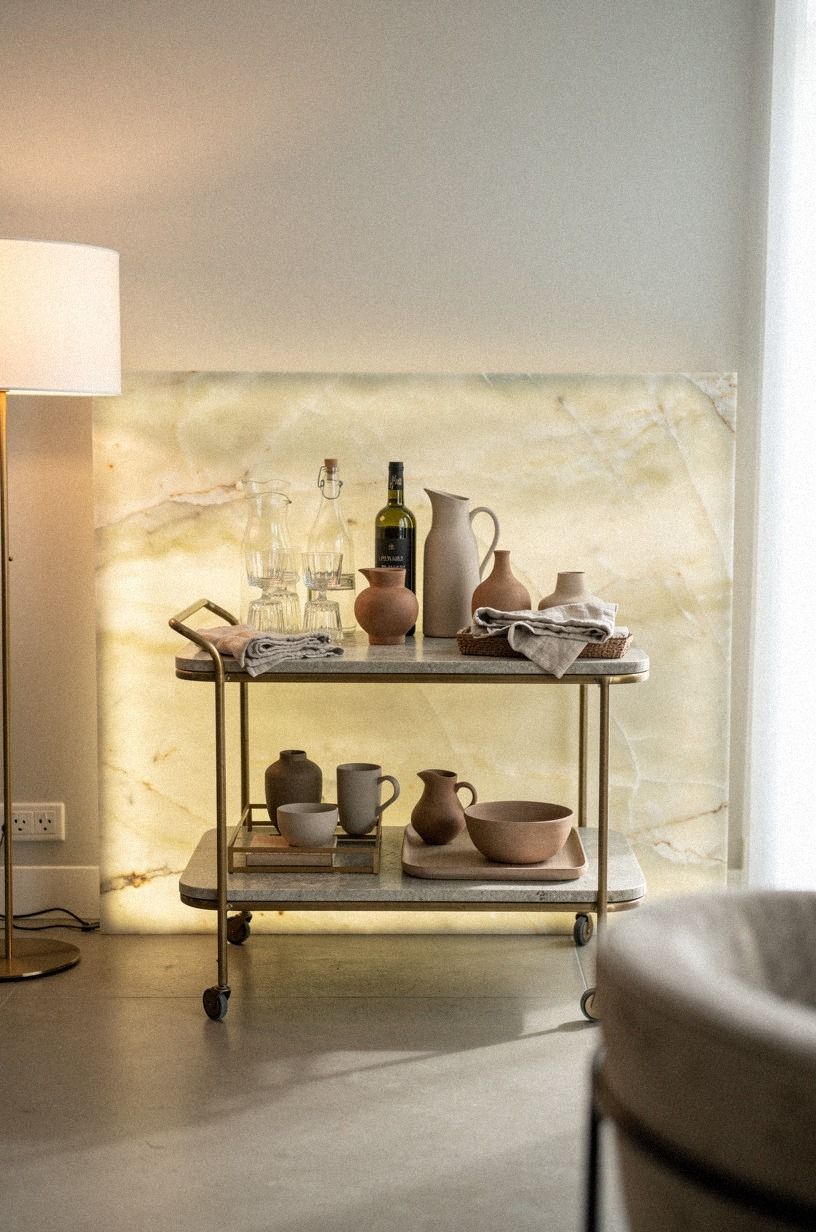
A vintage bar cart turns a loose collection of pitchers into a defined self-serve brunch zone. Look for aged brass rails, pale clay accents, linen details, and a backlit translucent onyx panel that echoes the rest of the room. You’ll need two levels at minimum: the upper shelf for active pouring and the lower shelf for backup glasses, unopened bottles, and folded napkins.
That division keeps the surface inviting instead of crowded.
Choose a cart with wheels only when the floor is level and the casters lock firmly. A narrow aged brass bar cart works well near a dining table, while a deeper wood version suits a kitchen island.
Don’t place the cart directly in front of a doorway, even when the light looks excellent. Guests won’t enjoy squeezing past it, and the station can’t feel relaxed when traffic interrupts every pour.
A small washed linen cloth can cover one lower shelf without hiding the supplies. Keep the top surface mostly visible, because the open space helps guests understand where to stand. You’ll get a charming, practical station that can be refreshed quickly when the first pitcher runs low.
3The Three-Carafe Signal
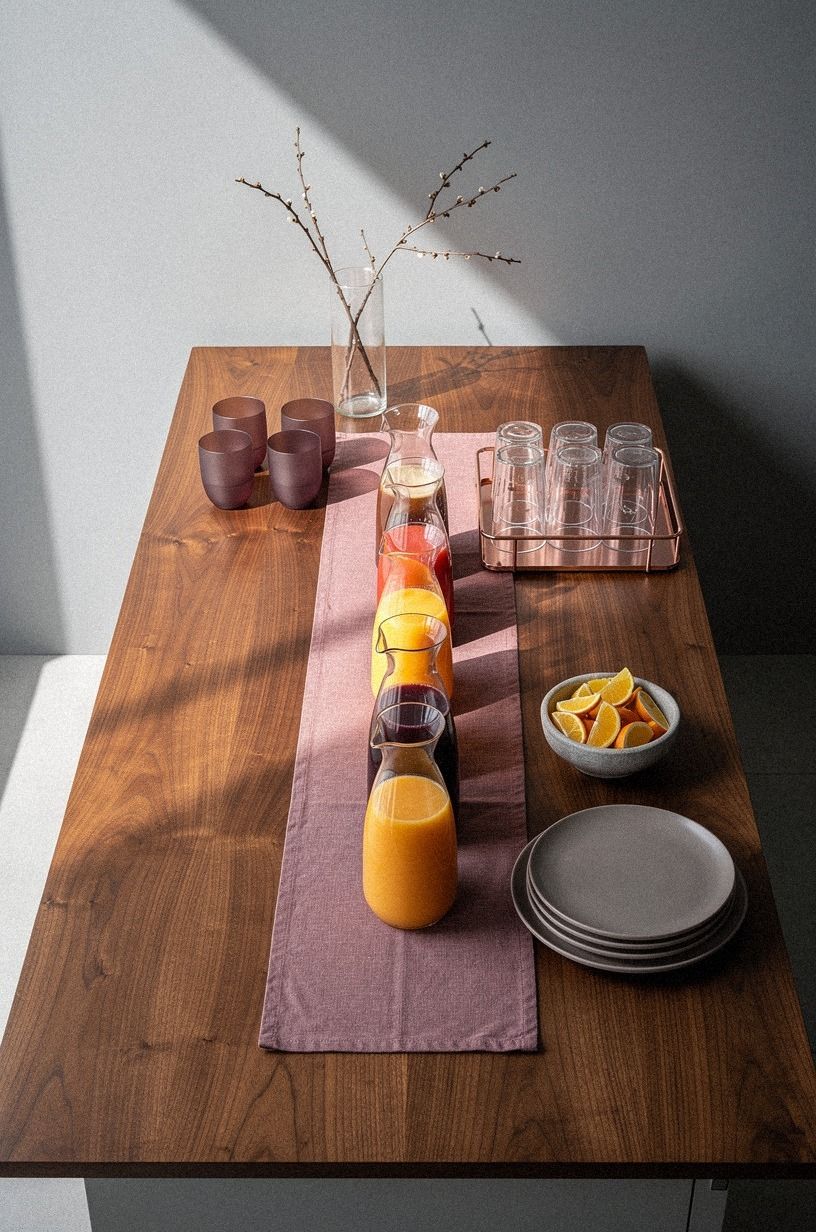
Matching carafes make a drink station look refined without requiring elaborate styling.
4Where should the chalkboard menu hang?
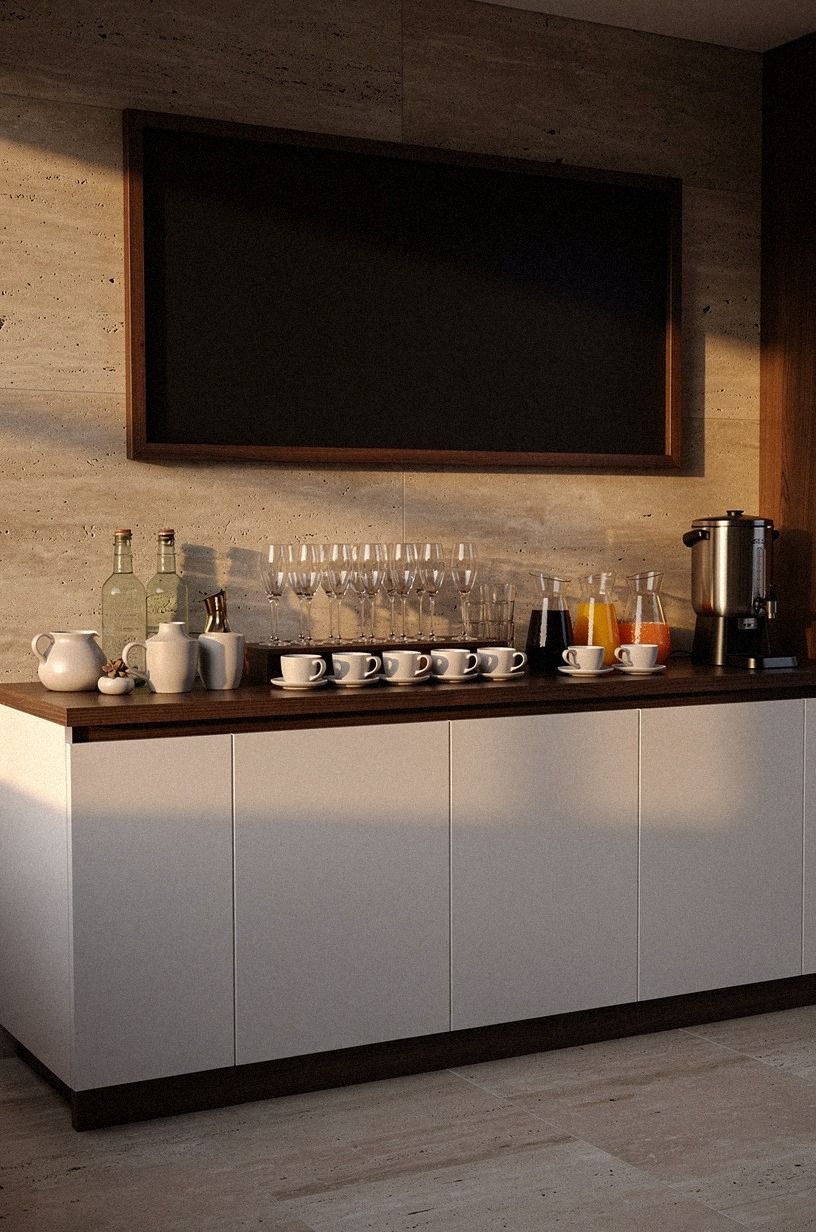
A chalkboard menu tells guests what each pitcher contains before they start opening bottles and lifting lids. Hang it above the station with the writing centered around 57 to 60 inches from the floor, which keeps the main message near eye level for most adults. The navy, white, and walnut palette feels crisp against warm travertine when the lettering stays simple.
Write only the essentials: drink name, garnish, and whether the option is sparkling or still. You’ll create a more polished look with three lines than with a crowded list of every ingredient.
A warm travertine ledge beneath the board can hold chalk, a small eraser, and one decorative bud vase. Don’t use glossy chalk markers on an untreated board, because cleanup can leave a cloudy film.
A narrow frame in walnut veneer will connect the sign to the drinkware and keep the navy from feeling too formal. You shouldn’t place the sign so high that guests need to tilt their heads back. The board should guide traffic, and you’ll get better results when the message can be read while standing near the first glass.
When the station shares a room with desserts, repeat the lettering style on a small card near the sweets. That echo makes the brunch feel intentional without adding another large decorative object.
5Build a mimosa wall with labeled bottles
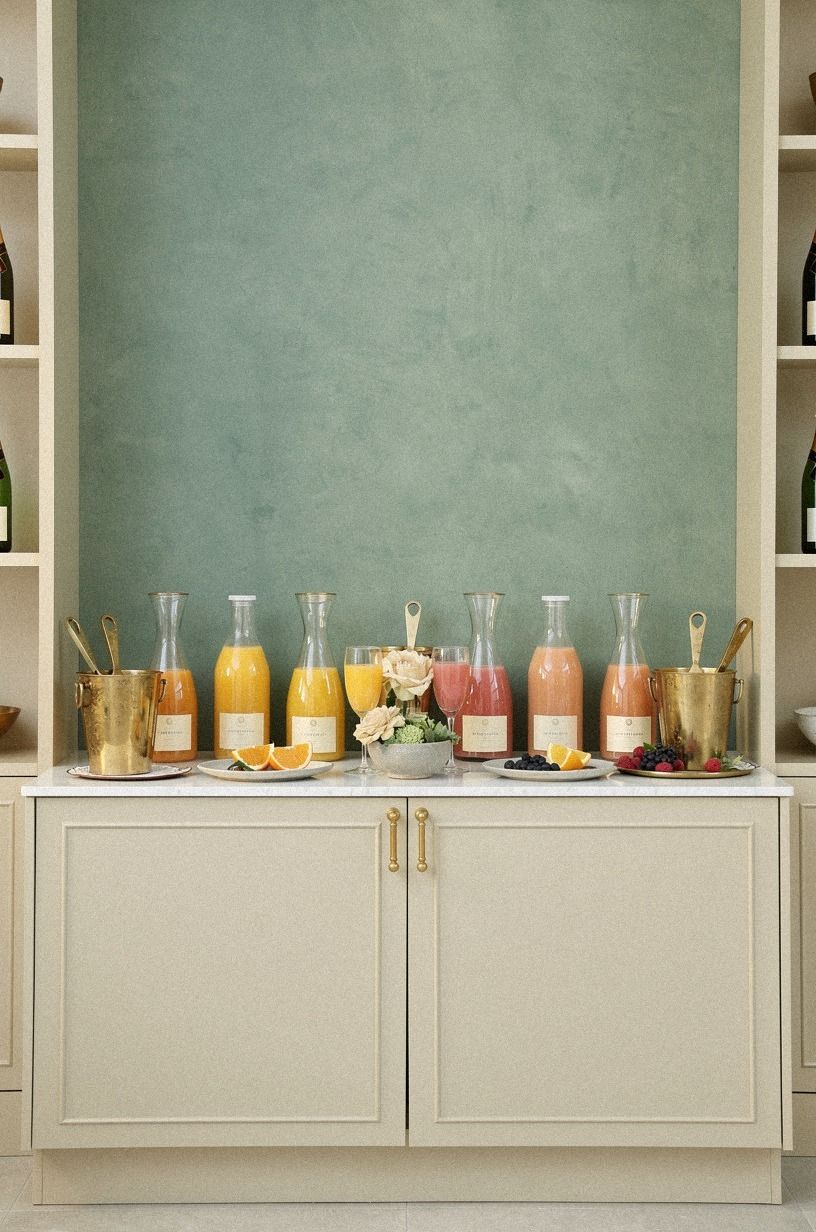
A mimosa wall creates height and turns simple bottles into the main display. Arrange the bottles against an emerald, gold, and cream palette, using unlacquered brass labels or rails that can develop a warm patina over time.
6Layer patterned napkins beneath every glass
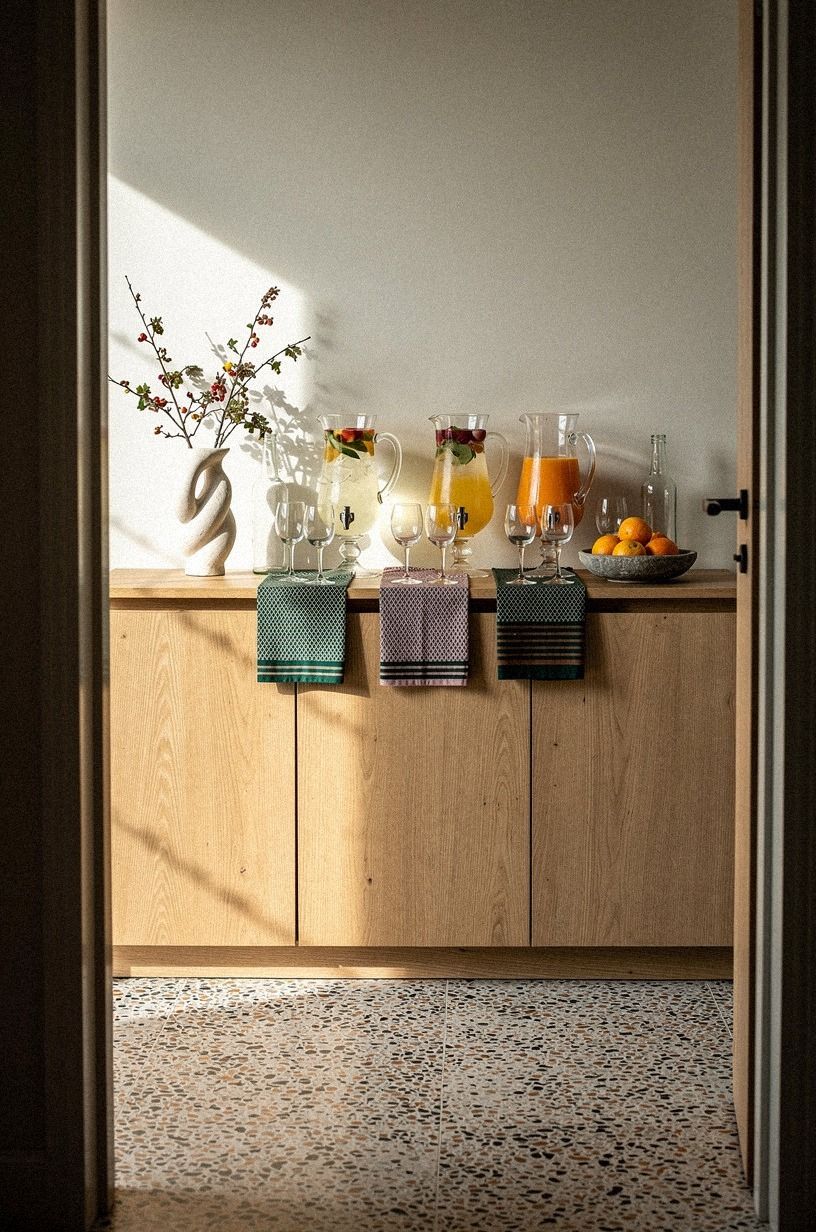
Patterned napkins bring movement to a drink station that might otherwise rely on bottles and pitchers for visual interest. For a forest green, rust, and natural oak palette, choose block prints, narrow stripes, or small botanical marks. A stack beneath the glasses creates a soft landing zone and makes the station feel warm before a single drink is poured.
Use napkins with enough body to hold their shape, such as 600gsm Turkish cotton or a sturdy linen blend. Fold them into rectangles when the station has limited depth. You’ll save space, and guests can pull one napkin without disturbing the entire stack.
Don’t mix five unrelated patterns, because the display won’t feel inviting when every textile competes for attention.
Place the napkins beside the glasses, not underneath a pitcher. A natural oak board can separate the drinkware from the fruit and give the arrangement a grounded edge. When the table is narrow, keep one stack at each end so guests don’t reach across the whole setup.
The strongest pattern is the one that connects to another room detail, such as rust-colored stems or green foliage. That repeat makes the palette feel sophisticated without requiring matching pieces. For a nearby snack area, the same self serve candy station can repeat the napkin color and keep the party styling connected.
7Let the mirrored tray define the syrup zone
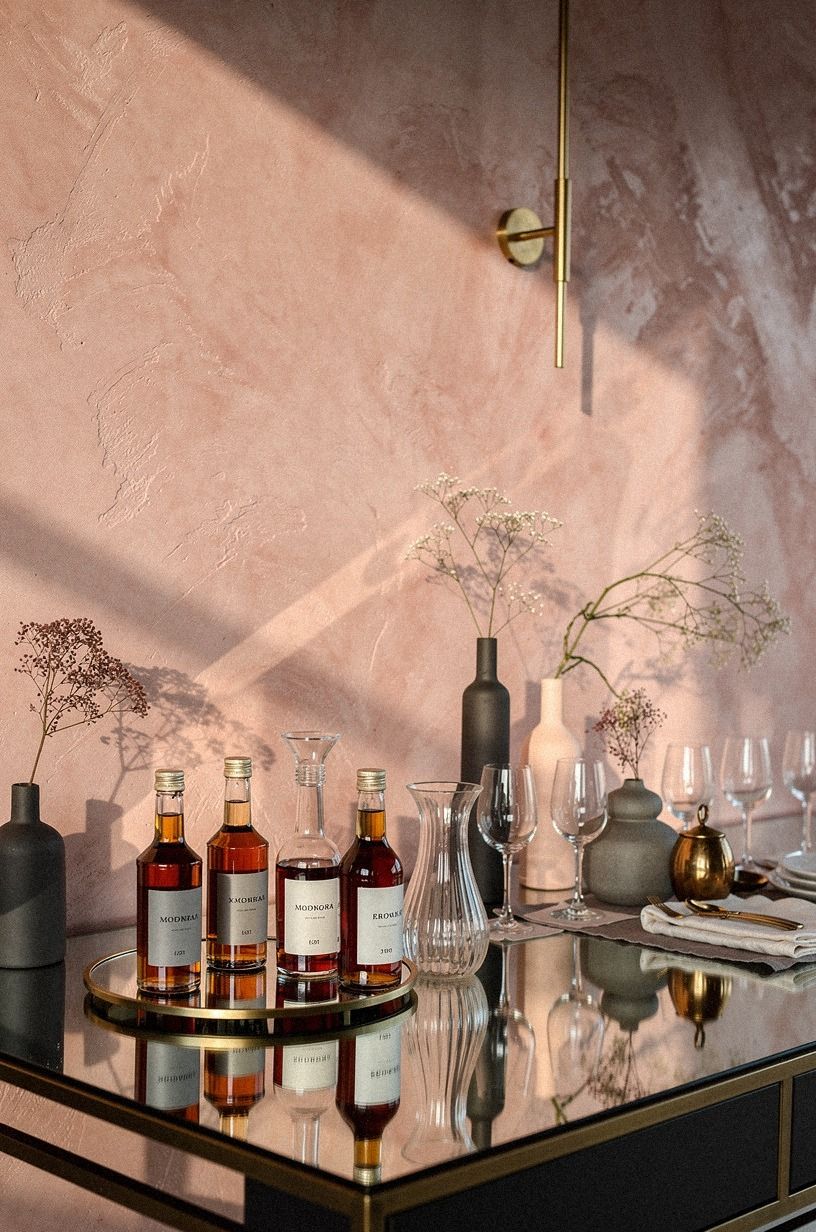
A mirrored tray gives small syrup bottles more presence and makes a dusty rose, charcoal, and brass palette feel luminous. Place it against hand-applied Venetian plaster so the textured surface balances the reflective tray.
8Cold brew needs a separate landing zone
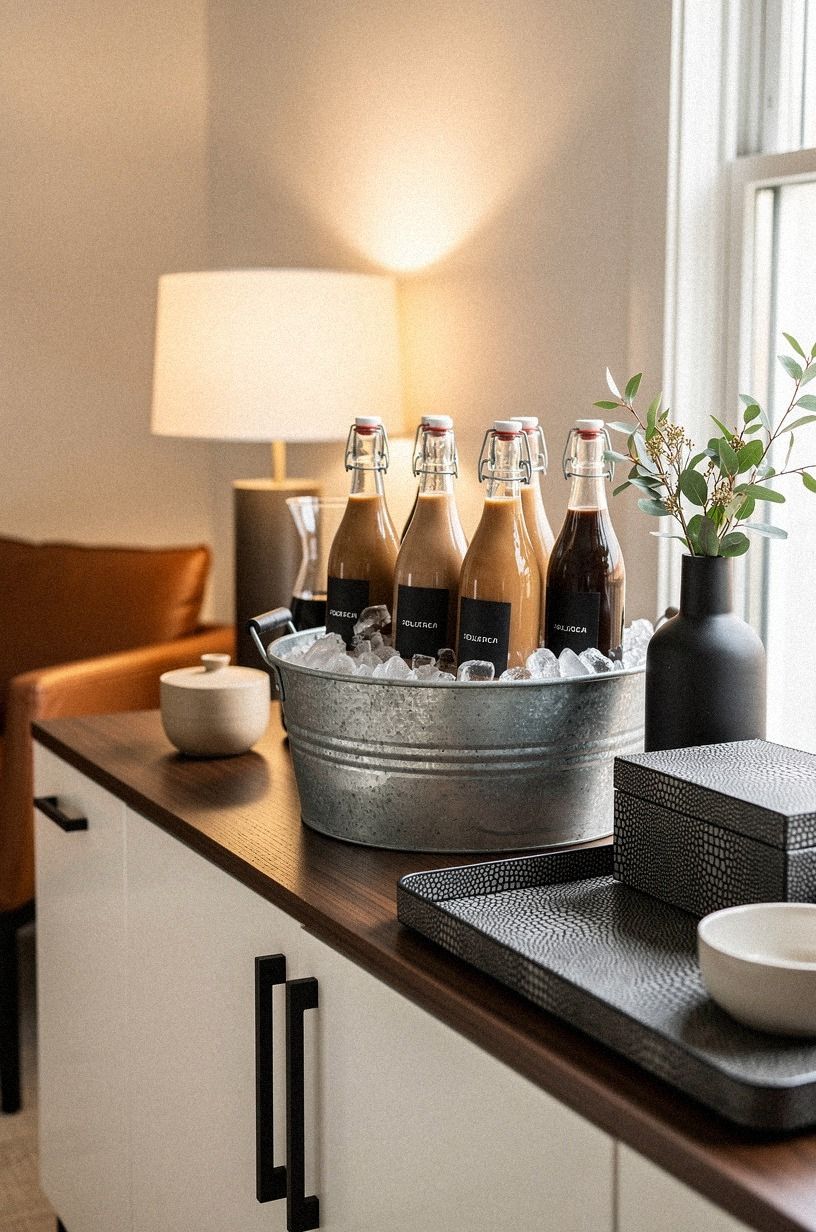
A galvanized tub keeps iced coffee visually separate from juices and sparkling drinks, which helps guests choose quickly. Use a warm white cloth beneath the tub, then add camel leather details and black labels for contrast. The station can sit slightly behind the main drink area, because iced coffee works well as a secondary option rather than the central display.
Fill the tub with ice, then nest in sealed bottles or lidded jars of cold brew. A shagreen serving tray beside the tub can hold cream, oat milk, and simple syrup without making the setup feel like a café counter. You’ll want the add-ins grouped together, since guests often build coffee in a different order than fruit drinks.
Don’t place delicate glass directly against the galvanized metal. Use a folded towel or silicone liner underneath, and keep a small waste bowl nearby for used stirrers. The arrangement feels rustic and calming when the metal is balanced with soft fabric and warm leather.
Skip the oversized tub when the brunch table is compact. A smaller galvanized container will still deliver the relaxed effect while leaving room for glasses and plates. You’ll gain better movement and won’t need to refill a large bed of melting ice.
9Frame the self-serve bar with linen curtains
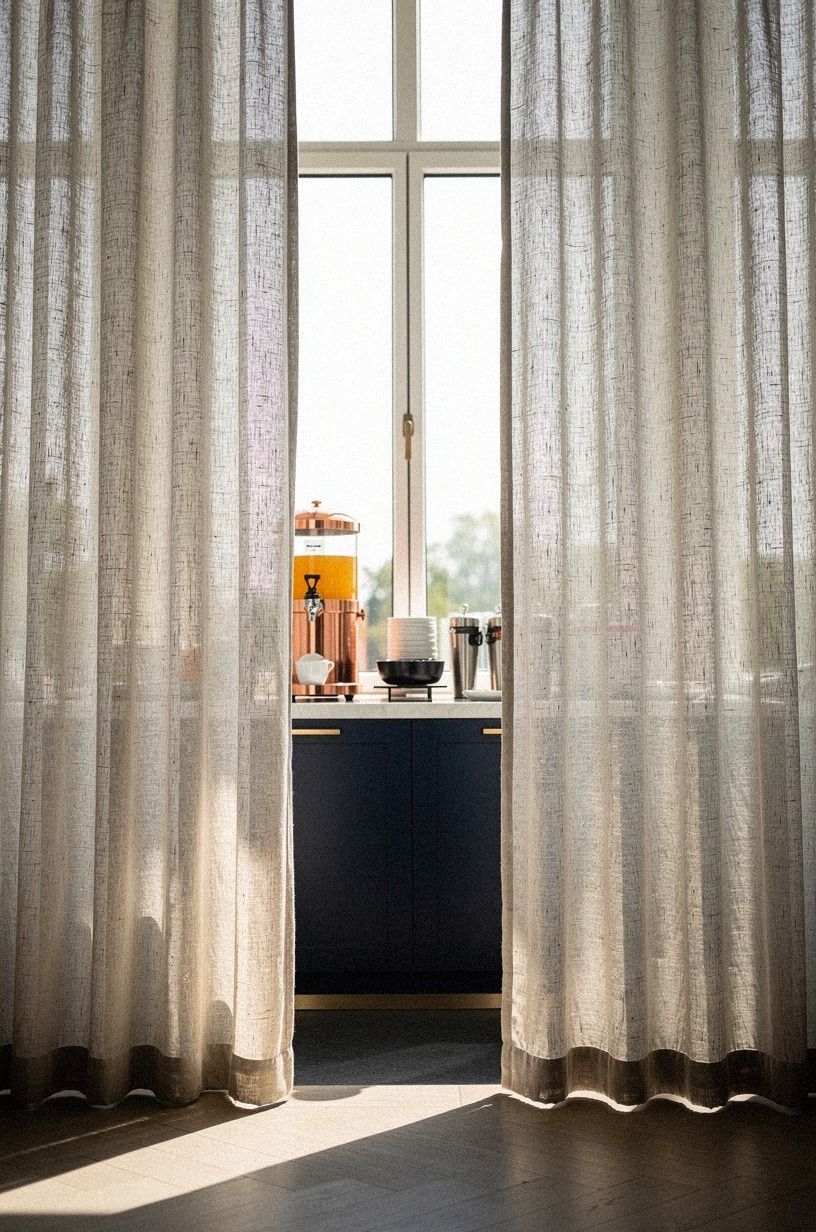
Linen curtains can define a self-serve bar without adding walls or bulky furniture. Hang a tension rod 4 to 6 inches above the frame or opening, then let the panels fall close to the floor. A midnight blue, copper, and ivory palette feels moody but welcoming when paired with washed Belgian flax linen.
Keep the curtains open during service and tie them back with leather or copper loops. You’ll create a clear entrance while still giving the station a finished frame. Don’t let the fabric pool around bottles or electrical cords, because the lower edge can catch spills and create a safety problem.
A narrow console behind the curtains gives the setup hidden storage for extra glasses and refill supplies. Copper hooks can hold towels or small baskets on the side, but heavy items shouldn’t hang from a tension rod. The whole arrangement should feel gentle and airy, not like a crowded closet.
This approach works well in a rental because it adds softness without drilling. When the brunch ends, the curtains can close to hide remaining bottles until cleanup is finished. You’ll also gain a visually quieter room while guests move toward dessert.
10Keep the floral centerpiece beside the pitchers
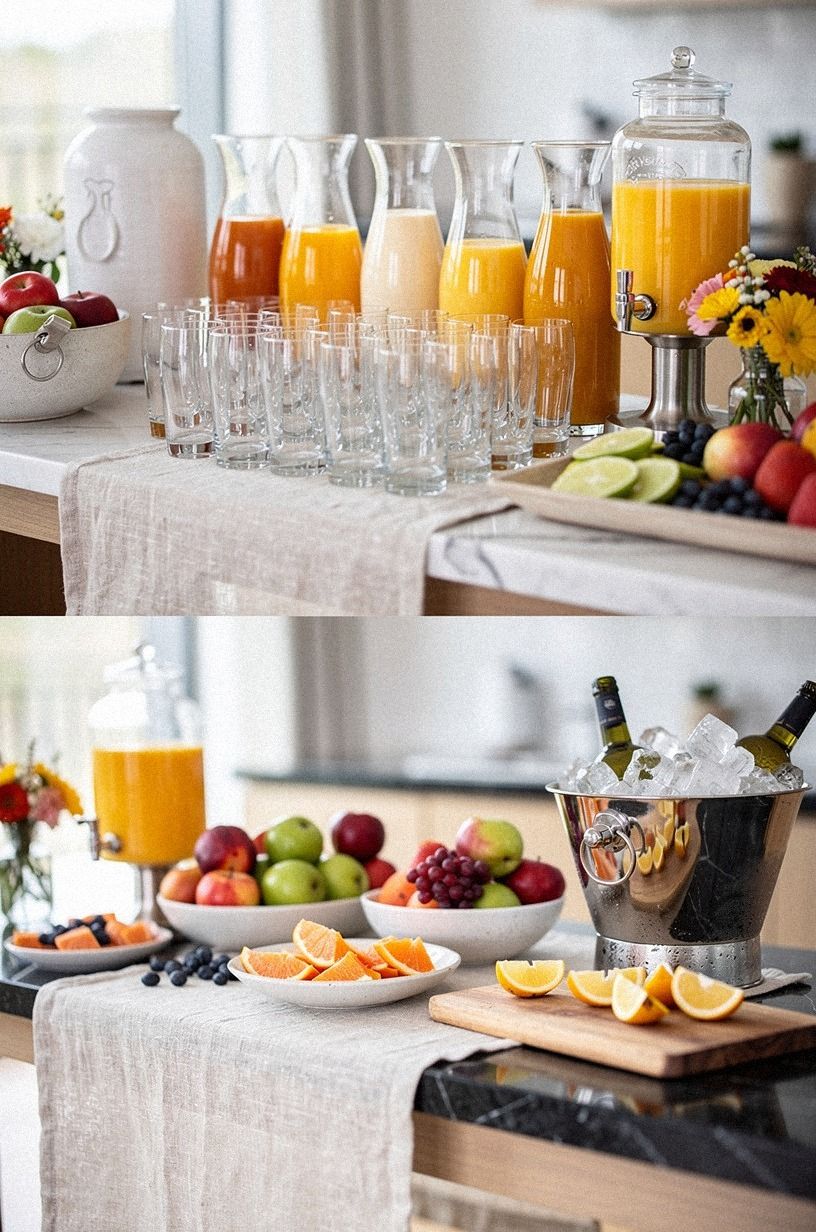
A floral centerpiece adds height and life beside the pitchers, but it shouldn’t block the pour. Choose warm cream blooms in a simple vessel with natural wood nearby, then let an organic bouclé accent add softness without competing with the drinks.
11The Three-Vase Rhythm for straws
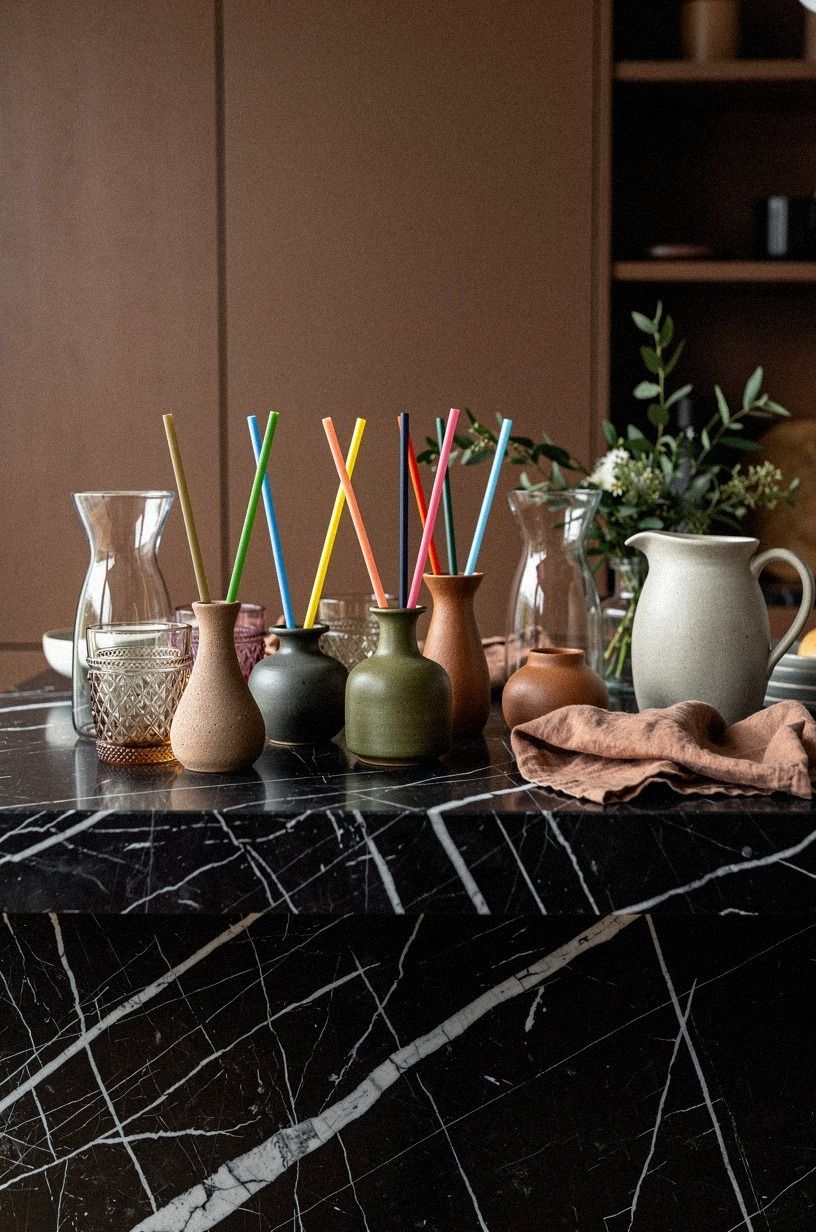
Ceramic bud vases turn straws into a decorative detail while keeping them easy to grab. For a terracotta, stone, and olive palette, use three small vessels with varied heights and Nero Marquina black accents nearby. Group paper straws by color so guests can see the choices without opening a drawer.
Set the tallest vase at the back, the shortest near the front, and leave enough space between them for fingers. You’ll want the straws cut or folded only when the drinkware is short, since a straw that leans too far can look untidy. Don’t use delicate dried stems in the same vases, because guests may confuse decoration with drinking supplies.
A stoneware bud vase gives the station a tactile, earthy note, while olive paper straws soften the black marble reference. Keep a small dish beneath the vases for wrappers or used stirrers. The display becomes charming when practical pieces stay visible instead of hiding behind flowers.
Why make guests search for small essentials when three clear vessels can solve the problem? The arrangement takes minutes, and you’ll make the whole self-serve brunch move more smoothly.
12Paint a dedicated beverage nook soft sage
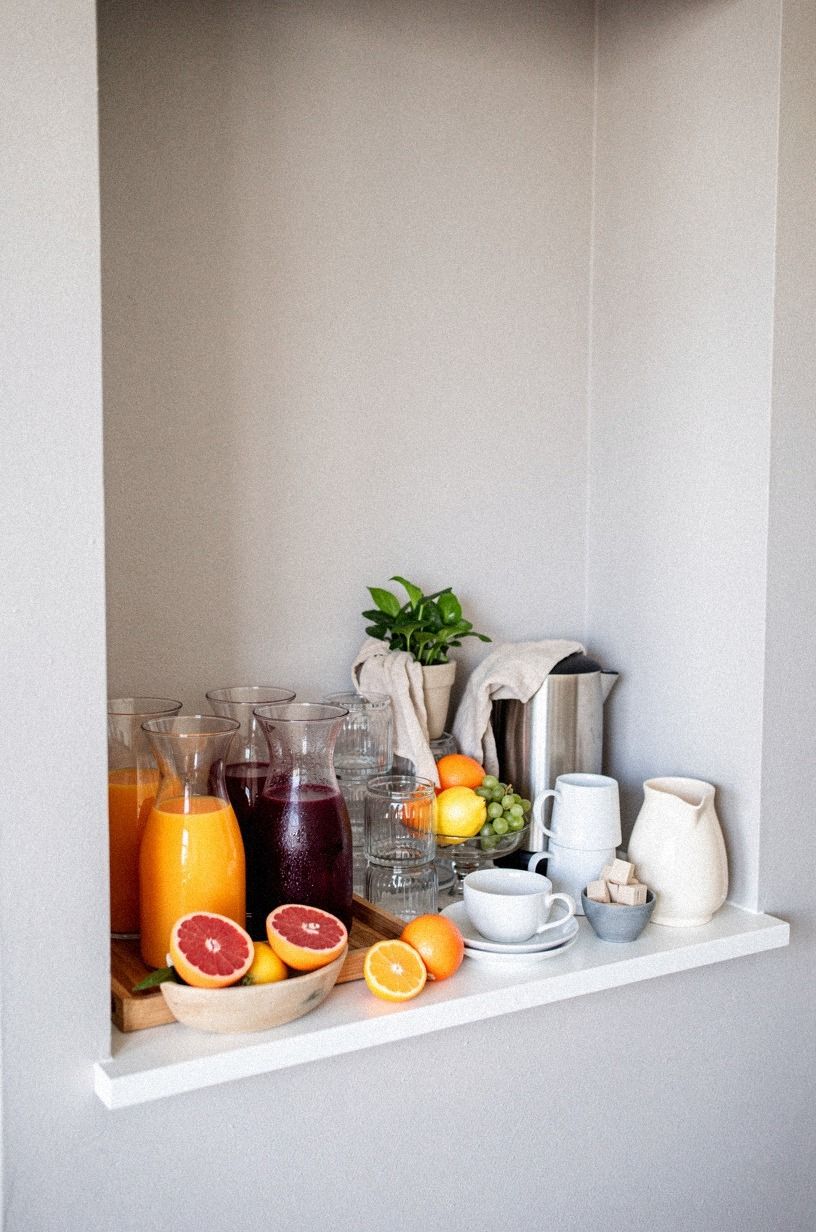
A dedicated beverage nook can make a small station feel intentional rather than temporary. Soft sage works with clay, linen, and aged brass, especially when the surrounding materials include deep-pile mohair velvet or another tactile neutral. Benjamin Moore White Dove OC-17 on nearby trim can keep the corner light, while Farrow & Ball Pigeon No.25 offers a deeper grey-green alternative.
Use the nook for the cart, carafes, and a narrow shelf instead of spreading drinks across several surfaces. You’ll want the paint to define the station visually, but the area should still connect with the dining room. Don’t paint a tiny corner an overly dark shade unless the space has strong natural light, because the drinks and labels may disappear into the background.
Add one small lamp with a warm bulb when the nook serves guests after sunset. Three lighting sources per room, overhead, task, and ambient, help the area feel welcoming instead of flat. A soft sage wall can do more for the setup than five extra decorative objects, because it gives every future arrangement a consistent backdrop.
The effect is peaceful, practical, and easy to change with seasonal linens. It also works for renters when removable wall covering offers a safer alternative to paint. You’ll keep the same visual destination without making permanent changes.
13Reserve a lower shelf for refill supplies
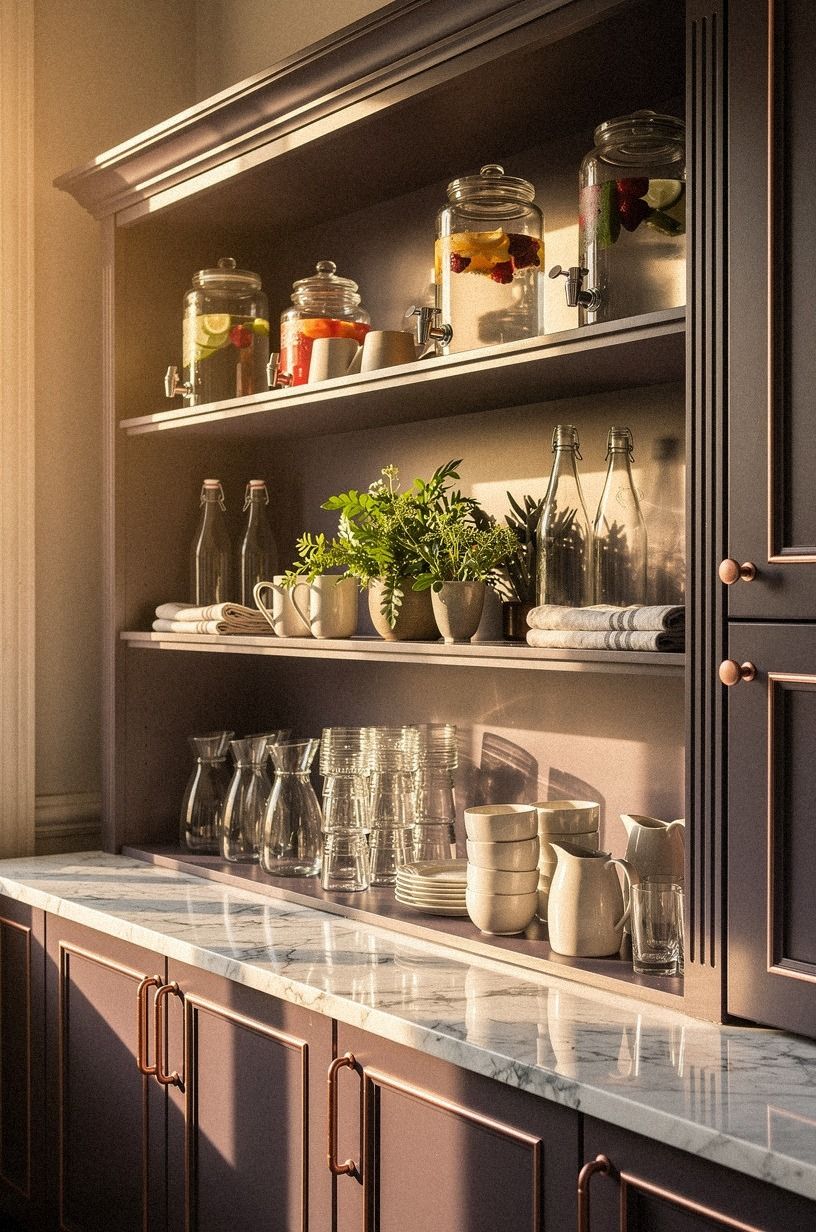
A lower shelf keeps extra cups, napkins, juice, and ice tools available without crowding the main serving surface. For a plum, grey, and rose gold palette, use Carrara marble with subtle grey veining on the upper level and woven bins below. The marble gives the station a polished edge, while the baskets make backup supplies feel orderly.
Label each basket by category rather than by individual item. “Glasses,” “napkins,” and “refills” are easy to understand when guests need to help themselves.
You’ll want the most frequently needed supplies in the center, with rarely used extras toward the back. Don’t store open food beneath a dripping pitcher, because the lower shelf should remain clean and dry.
A rose gold wire basket can hold sealed stirrers, while a grey linen bin hides spare towels. Leave some empty space so a guest can return an item without balancing everything precariously. That breathing room makes the station feel refined and keeps the setup functional through a long brunch.
Use the lower shelf as a quiet reset point. When a carafe runs low, the replacement is already close, and the host won’t need to disappear into the kitchen. You’ll keep the gathering moving while the serving area stays presentable.
Why This Setup Works Better Than a Crowded Drink Table
A self-serve brunch bar succeeds because it answers small questions before guests need to ask them. Clear labels explain the drinks.
Height changes show where to reach. Trays contain drips, baskets hide backups, and open space tells guests where a glass can land.
Those choices create a calming rhythm without requiring expensive furniture or elaborate recipes.
The strongest setups also separate active service from visual decoration. A floral arrangement can sit beside the pitchers, but it shouldn’t block them.
Syrups can look refined on a mirrored tray, but each bottle still needs a readable label. This balance matters because a station that looks polished but slows down guests isn’t doing its job.
A drink station is also a form of room planning. The cart, shelf, or nook becomes a small destination, which keeps traffic away from the kitchen work zone.
That’s why even a narrow console can feel inviting when the supplies are arranged by sequence. Guests arrive, choose a glass, pour a drink, add a garnish, and step away. Nothing dramatic is required.
For a related gathering setup, budget food and drink station ideas can help with practical serving zones and low-cost organization. The same principles apply: visible choices, reachable refills, and enough empty surface to keep movement comfortable.
The Questions Worth Answering First
What is the best brunch drink station setup for a small space?
A narrow bar cart or console with two levels is the strongest choice for a small brunch drink station. Keep pitchers on top and supplies below, then add one slim basket nearby for refills.
You’ll gain clear vertical storage without taking over the table. A tray can contain garnish bowls and prevent small items from spreading.
Where can you buy brunch drink station pieces on a budget?
Major home retailers, online marketplaces, and department stores offer useful carts, trays, carafes, and baskets at varied prices. Facebook Marketplace and thrift shops can provide aged brass carts or wood trays for less.
Look for solid construction, cleanable surfaces, and wheels that lock before choosing a second-hand piece. You’ll often find better value in one durable cart than in several tiny accessories.
How much does a brunch drink station makeover cost?
A simple setup can cost about $100 to $300 when the table or cart already exists. Free citrus bowls, borrowed glassware, and reused jars lower the total.
The biggest difference comes from choosing one strong tray or cart instead of buying many small decorations. You’ll create a more useful station when every purchase supports pouring, labeling, or refilling.
Can a brunch drink station work on a budget?
Yes, and three low-cost moves make the largest difference: reuse jars as juice carafes, fold existing napkins beneath the glasses, and group supplies on one tray. A labeled serving zone looks intentional even when the furniture and drinkware come from different rooms. You don’t need matching pieces when the colors and functions repeat.
Is a brunch drink station worth it in a small space?
Yes, because a small area makes the station easier to understand and easier to refill. Use a narrow surface, keep the most-used items at hand, and move backup supplies below.
You’ll gain better traffic flow without needing a separate room or large table. A wall shelf can add height when floor space is limited.
Is a brunch drink station a good idea for a rental?
Yes. A tension rod with linen panels, removable labels, and a freestanding cart create a polished station without permanent changes.
Peel-and-stick hooks can hold towels, while a removable wall covering can define the beverage nook when paint isn’t allowed. You’ll be able to change the arrangement later without repairing the wall.
Where to Start First
Start with the vintage bar cart. Its two levels solve the biggest hosting problem, separating active pouring from backup supplies while giving every color and material a clear place.
Add citrus, labels, and one soft textile afterward. You’ll have a functional base before adding decorative details, and you won’t need to rebuild the station when the guest list changes.