
These 16 cheese board pairings make a simple at-home gathering feel warm, balanced, and easy to serve. The best boards combine creamy, firm, salty, sweet, crisp, and bright elements, then give each one enough room to stand out. No oversized spread is required. A thoughtful board can work beautifully on a small table.
- Slice pear beside creamy brie for fresh contrast
- Prosciutto: How to fold roses around firm cheeses
- Pair honeycomb with aged cheddar for golden sweetness
- Why apple works with sharp blue cheese
- Anchor soft cheeses in small ceramic bowls
- Crackers and gouda: Build overlapping rows
- Scatter toasted nuts around crumbly goat cheese
- Fig jam: Where a central dipping dish belongs
- Arrange grapes between cheese wedges
- Rosemary meets manchego
- Washed rind: Which corner works best?
- Dark chocolate versus salty parmesan shards
- Use pickled vegetables to brighten rich cheese
- Camembert and salami: Shape a loose frame
- Create height with stacked cheese slices
- Finish with edible flower accents
1Slice pear beside creamy brie for fresh contrast
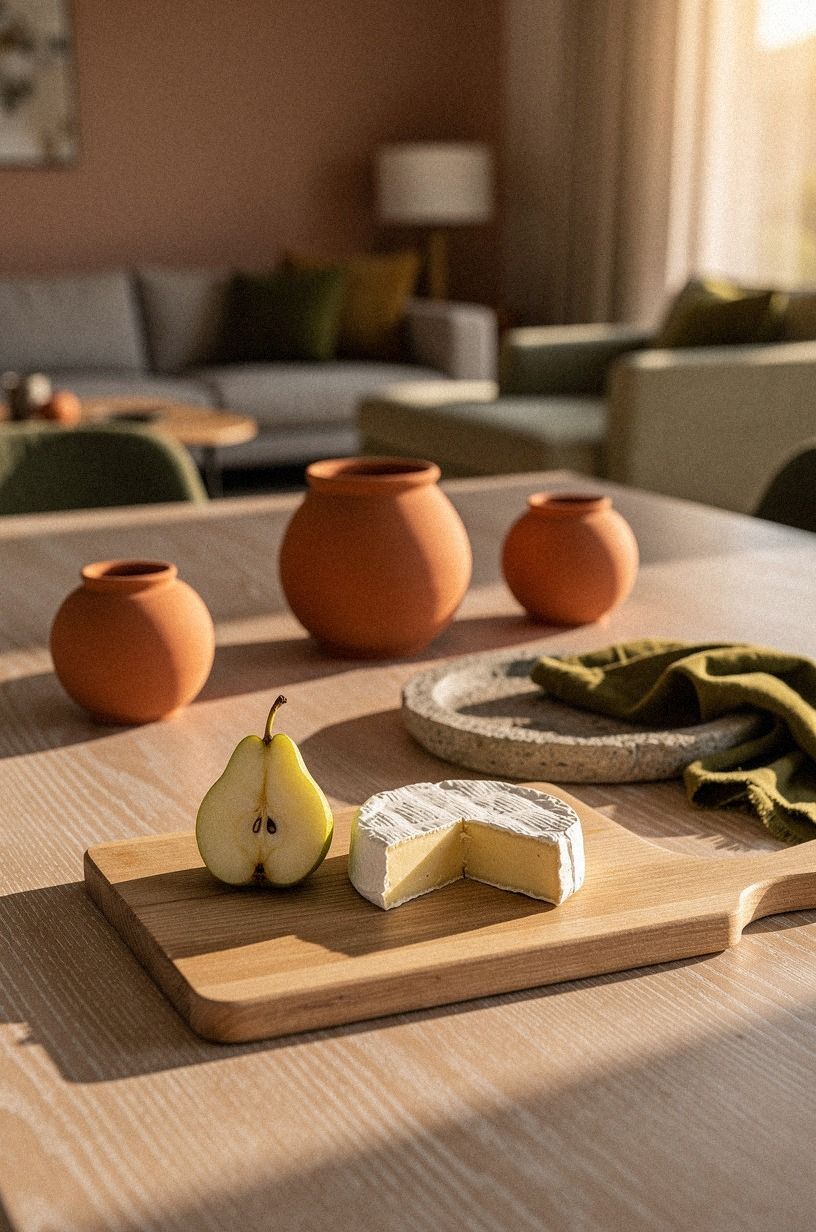
Pear and brie bring a soft, fresh opening combination to a cheese board. Slice the pear lengthwise, then place each piece beside a wedge of creamy brie so the pale colors sit against a cerused white oak board. The terracotta, stone, and olive palette feels earthy without looking heavy, while pear adds a clean, juicy break between bites.
You’ll want the pear slices to stay visible instead of hiding beneath crackers. A small ceramic ramekin of toasted seeds can fill an empty corner, while a folded linen napkin keeps the arrangement relaxed.
Don’t overcrowd the center. The board should look generous, not packed.
A 3/4-inch solid cerused white oak serving board gives the cheese enough contrast, especially beside warm terracotta dishes. If you’re styling a small table, leave about one-third of the board open around the brie. That negative space makes the pairing easier to understand and keeps guests from reaching across the entire spread.
For a compact starting point, save these pear and brie pairing details. This is a strong-value combination when the budget needs to stay modest!
2Prosciutto: How to fold roses around firm cheeses
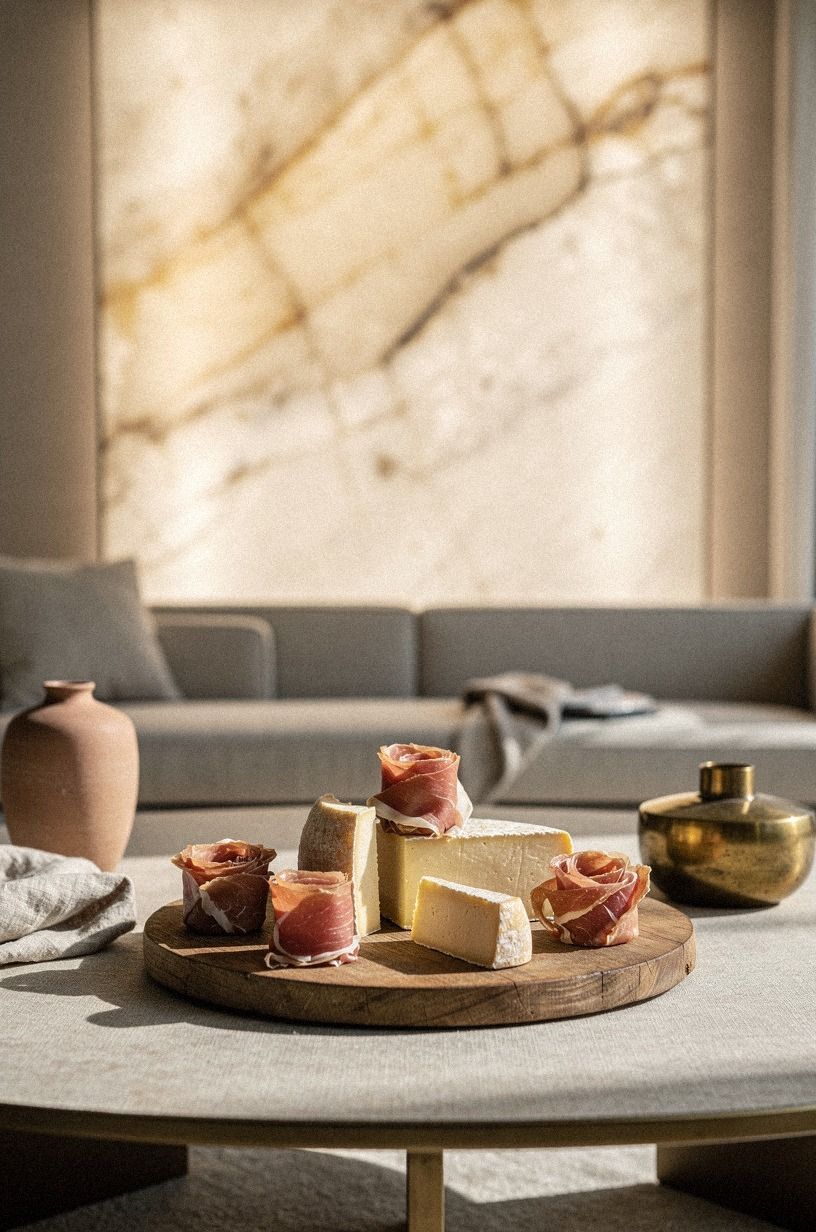
Prosciutto roses make firm cheeses look more inviting without requiring elaborate styling. Fold each slice into loose petals, then place the roses beside firm wedges on a clay, linen, and aged brass palette. A backlit translucent onyx surface adds a soft glow beneath the arrangement without making the food feel overly formal.
3Pair honeycomb with aged cheddar for golden sweetness
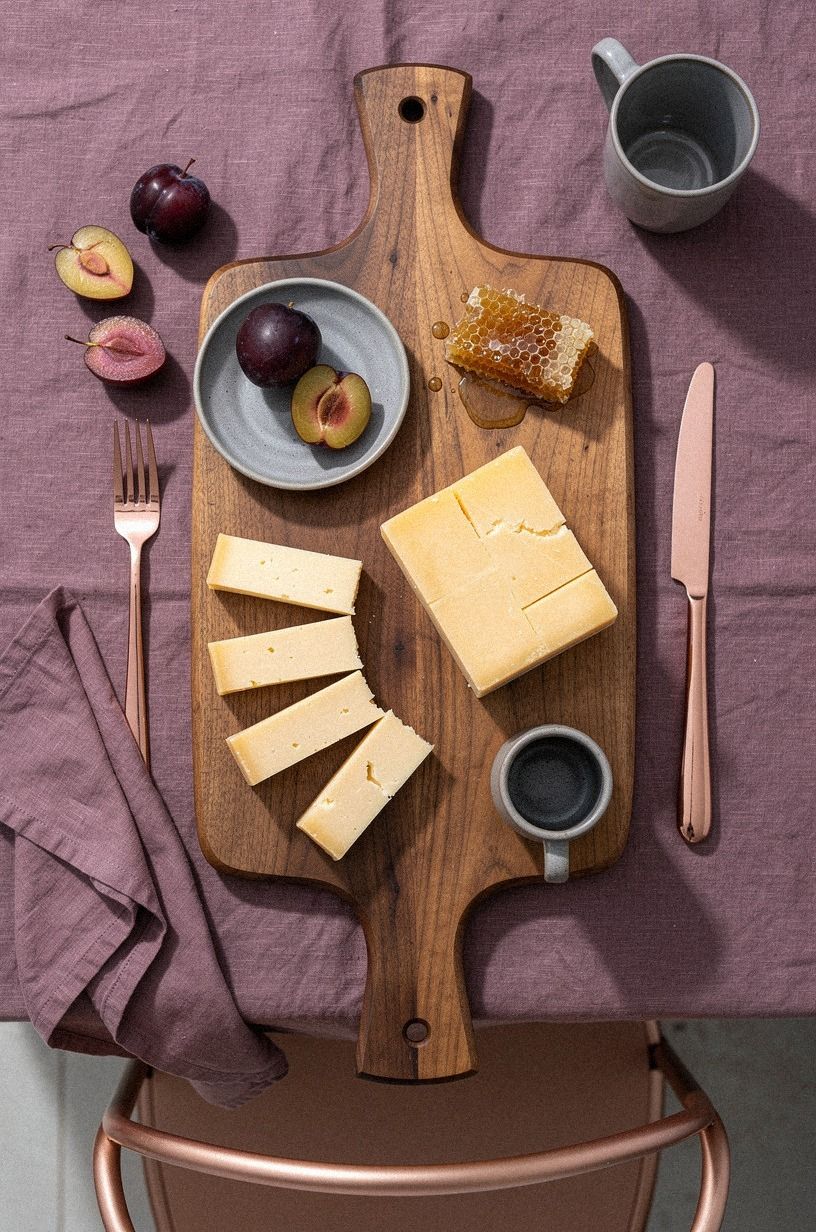
Honeycomb and aged cheddar create a bold sweet-salty pairing with almost no extra effort. Cut the cheddar into irregular blocks rather than identical cubes, then set the honeycomb beside it on a plum, grey, and rose-gold board. A book-matched walnut surface adds depth behind the uneven shapes, while the golden honey gives the composition a bright focal point.
You’ll want the aged cheddar to stay firm enough for guests to pick up easily. A rose-gold cheese fork adds a subtle glint beside the honeycomb, but the metal shouldn’t dominate the food. Keep the arrangement low and broad, especially if the board sits near a dark tabletop.
A few grey stoneware crackers or a muted linen cloth keep the pairing from becoming too sweet in appearance. If you’re serving wine, a dry white or sparkling option can cut through the cheddar’s richness. That contrast works!
Pair this combination with the honeycomb and aged cheddar arrangement, then repeat the same honeycomb placement on the opposite side if the board feels unbalanced. This gives you more value from one small section.
4Why apple works with sharp blue cheese
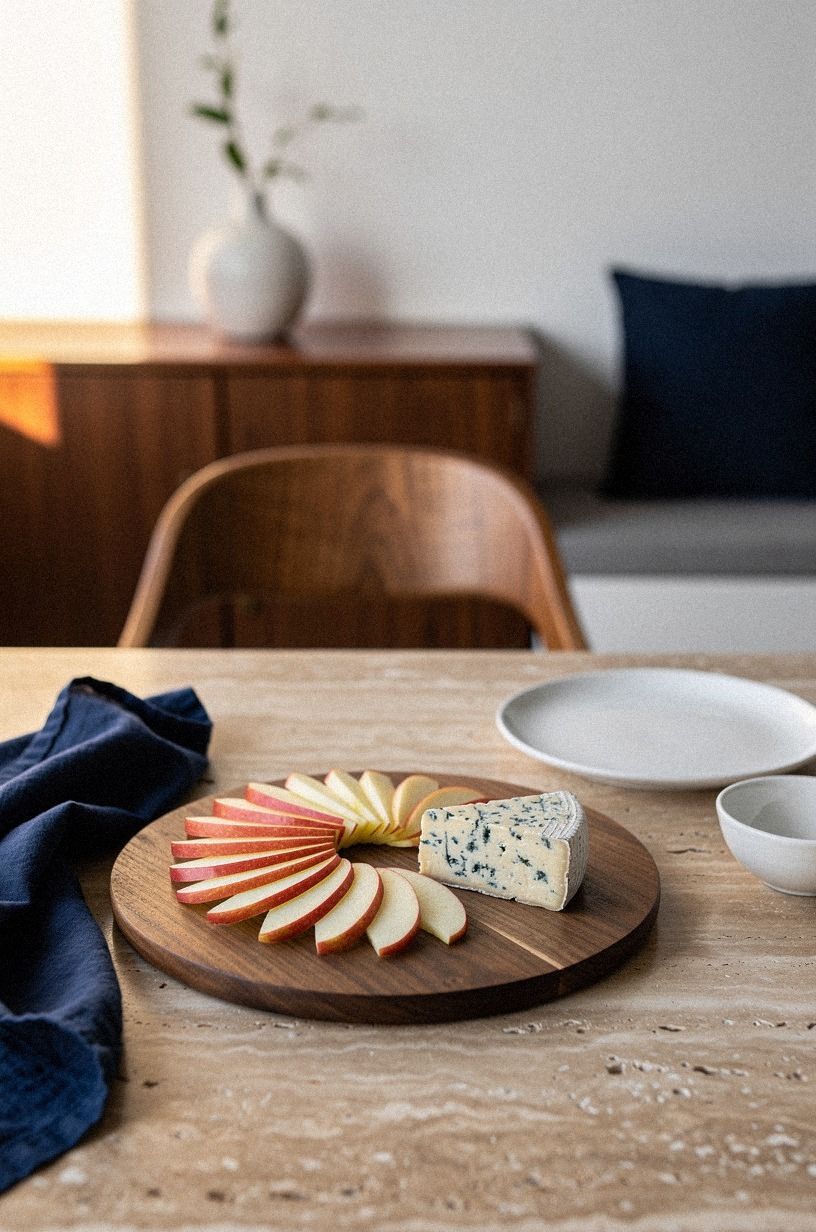
Sharp blue cheese needs a crisp, fresh partner, and thin apple slices provide a clean snap. Fan the slices along the cheese, leaving enough room for guests to lift one without disturbing the rest of the board.
5Anchor soft cheeses in small ceramic bowls
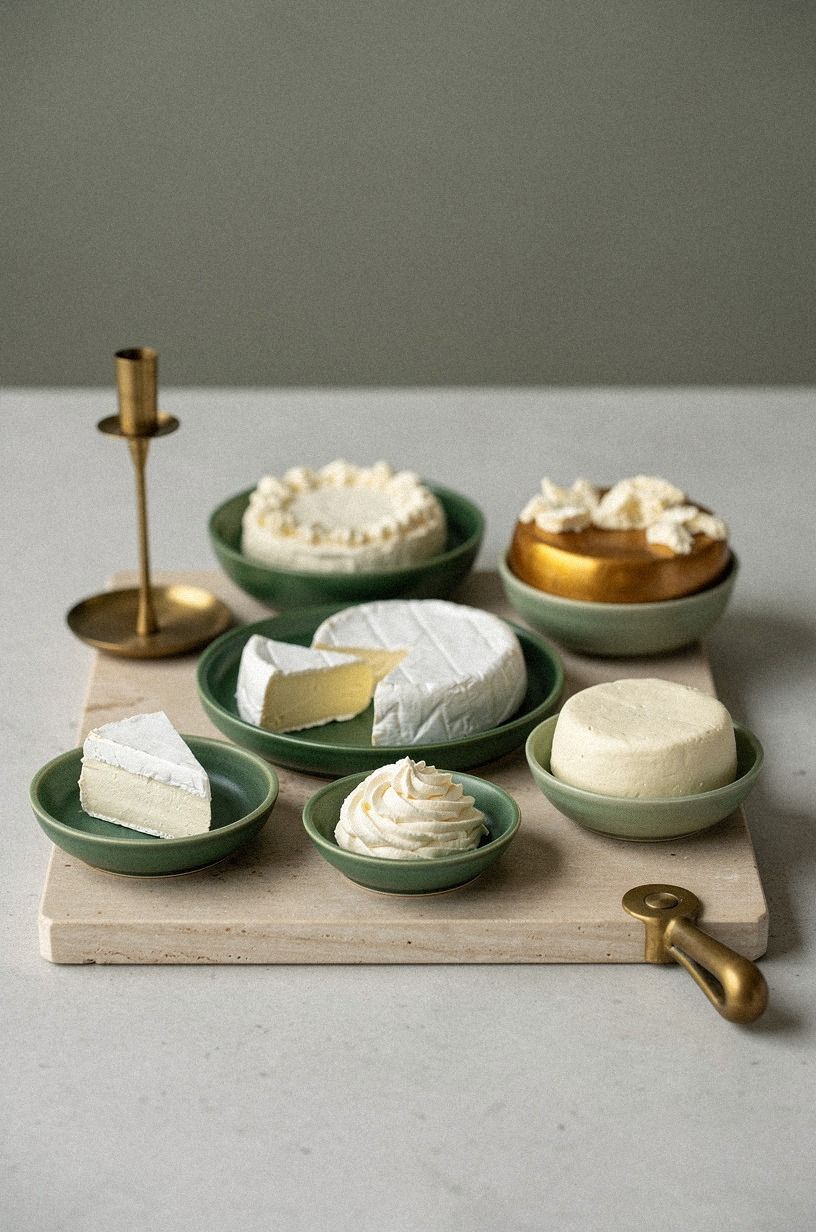
Soft cheeses can spread across a board quickly, so small ceramic bowls create useful boundaries. Set whipped goat cheese, mascarpone, or a soft herb cheese in separate dishes, then arrange them within an emerald, gold, and cream palette. Unlacquered brass details keep the setting warm while cream ceramics soften darker green accents.
You’ll want each bowl to have its own small companion. A spoonful of fig preserve beside one bowl, a few crackers beside another, and a cluster of grapes near the third make the board easier to read. Don’t place every garnish in the center.
A 600gsm Turkish cotton napkin gives the setting a substantial, tactile layer without adding another strong color. If you’re hosting in a compact dining area, use three small bowls instead of one large dish. The portions stay tidy, and guests won’t need to lean across the board.
Use these soft cheese bowl styling ideas when the board needs cleaner zones. Reusing bowls already in the kitchen improves the overall value and keeps the cost under control.
6Crackers and gouda: Build overlapping rows
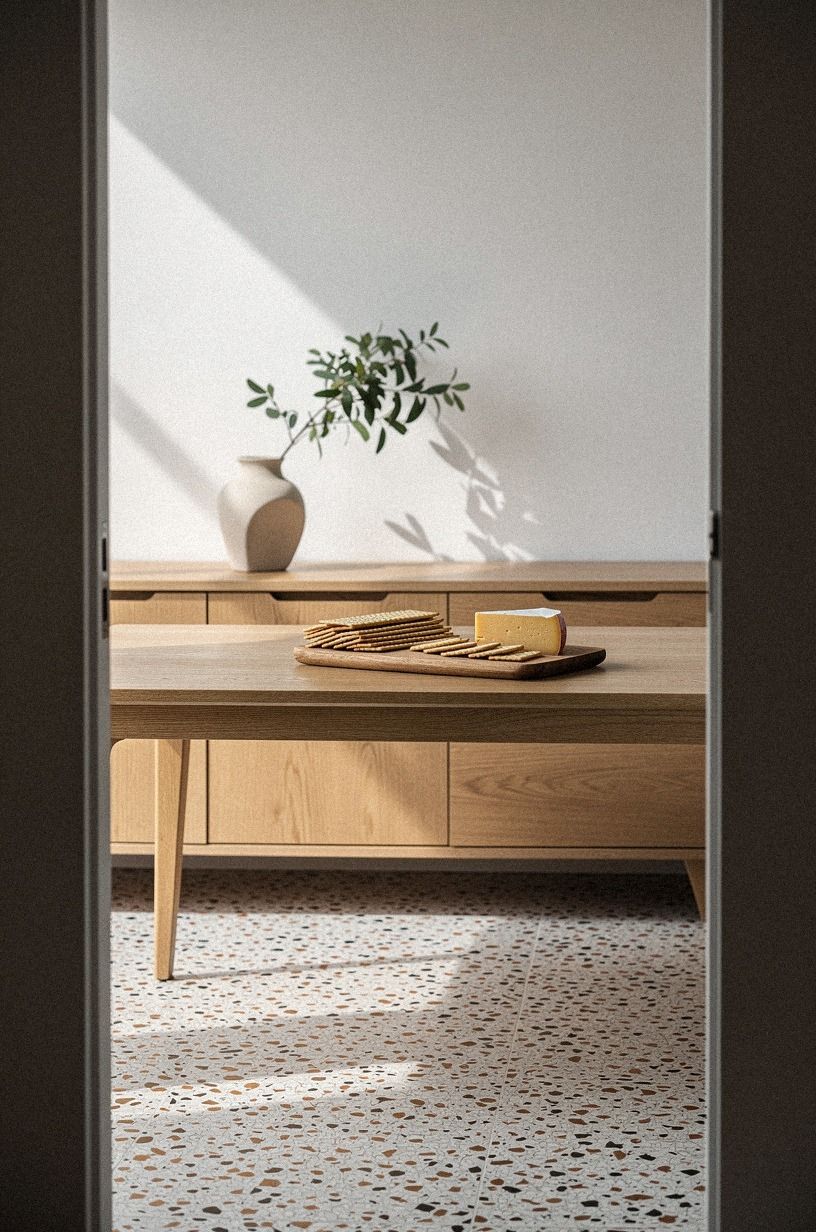
Overlapping cracker rows make a board feel full without using more food. Arrange the crackers beside gouda in short lines, with each row slightly offset from the next. The forest green, rust, and natural oak palette feels welcoming, especially against an oversized-chip terrazzo surface.
You’ll want at least two cracker shapes, but the flavors should remain quiet. A seeded square and a plain water cracker are enough beside gouda. Oversized-chip terrazzo gives the arrangement a grounded backdrop, while rust-colored napkins can echo the cheese’s warm undertones.
Don’t build the rows too high. Guests need to lift one cracker without disturbing the next six.
A low, overlapping arrangement works better than a vertical stack because it keeps the board practical. If you’re using a long table, repeat the pattern near both ends so the spread feels accessible from every seat.
This approach is especially worth it when the budget is tight. More visible surface area comes from the layout, not from buying extra food.
7Scatter toasted nuts around crumbly goat cheese
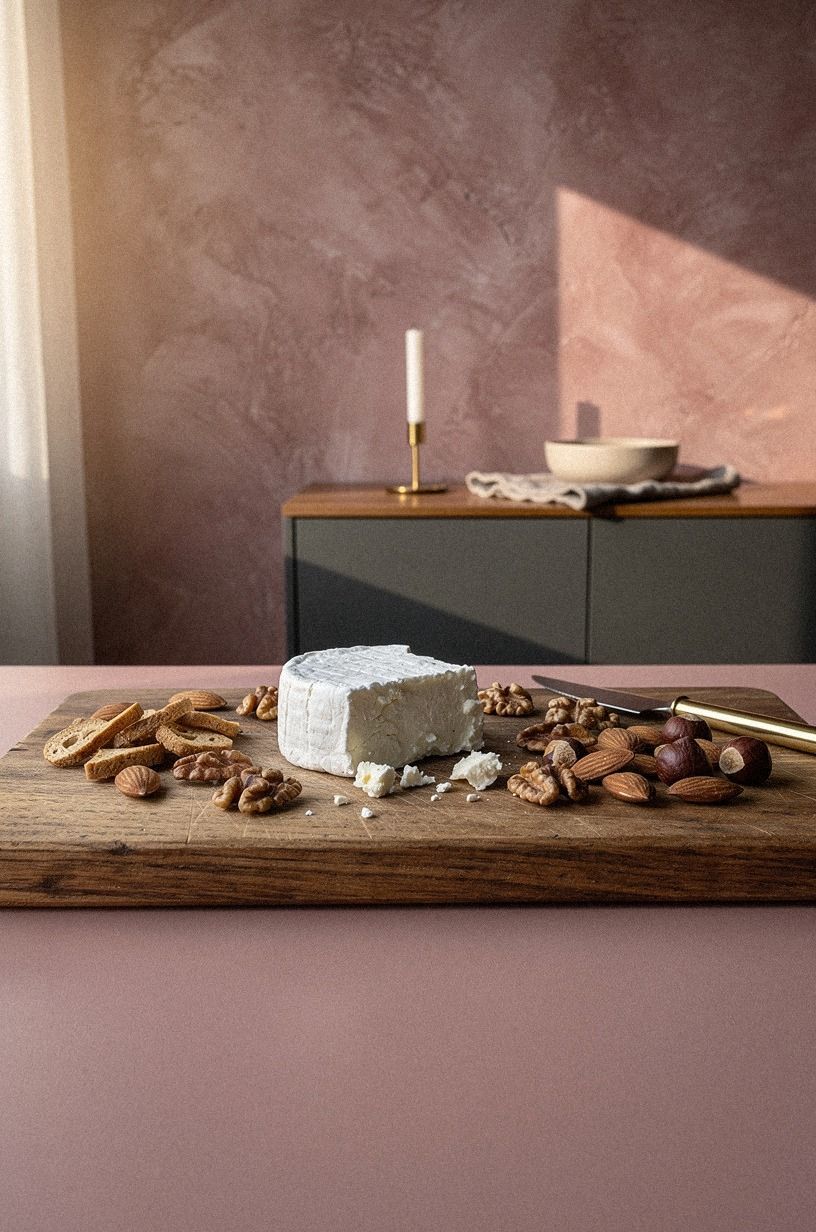
Toasted nuts add crunch around a crumbly goat cheese, but the scatter needs control. Use small clusters rather than spreading nuts across the entire board. The dusty rose, charcoal, and brass palette gives the pairing a soft, moody backdrop, while hand-applied Venetian plaster adds tactile depth beneath the arrangement.
You’ll get the best contrast from almonds, pecans, or hazelnuts with visible toasted edges. A shallow charcoal-toned dish creates a strong anchor without looking formal. Keep the goat cheese in a compact log or mound, then place the nuts on two sides.
Don’t mix sweet preserves into every component. A small spoonful of apricot jam is enough, and clearer flavor separation makes each bite easier to understand. The board should offer several paths through the meal, not one blended bite.
The toasted nut and goat cheese pairing works especially well on a compact board. It delivers strong texture and color value without requiring specialty serving pieces.
8Fig jam: Where a central dipping dish belongs
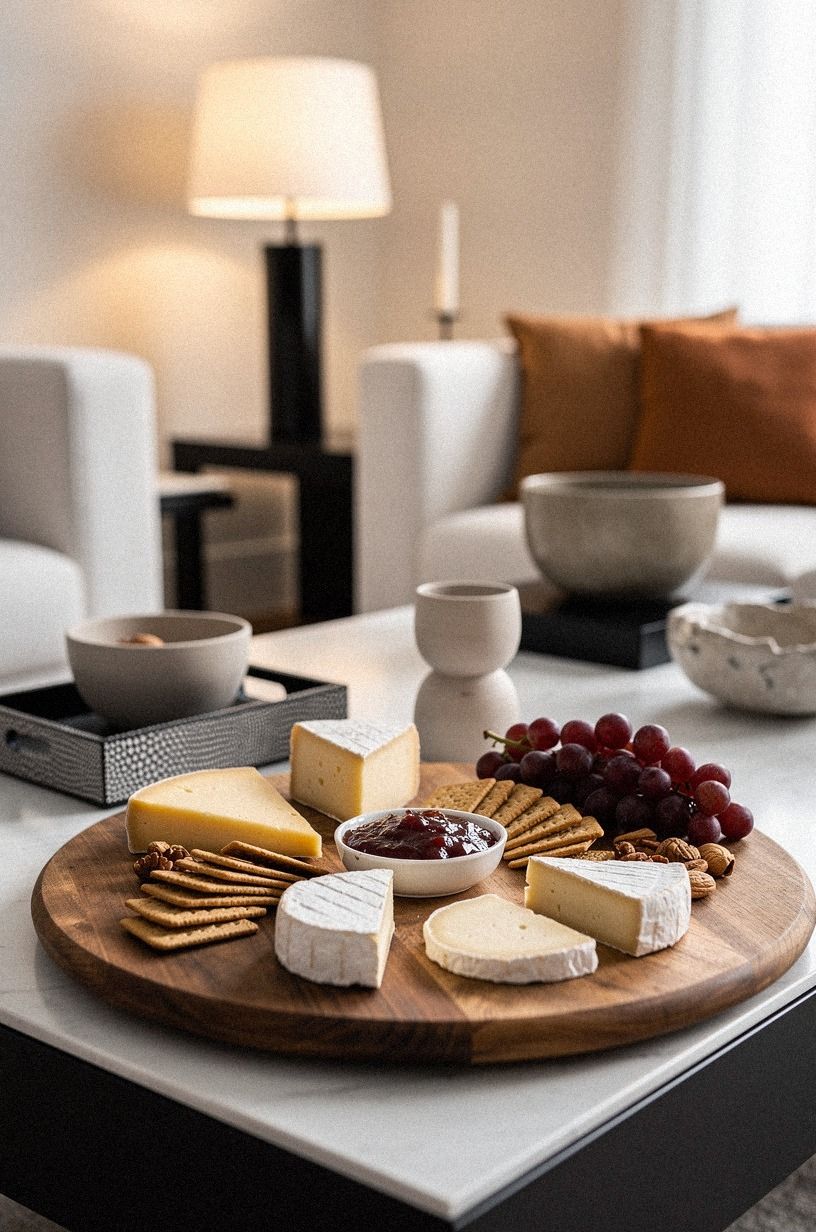
A central dipping dish gives fig jam the role of a visual and edible anchor. Place it between wedges of mild cheese, then arrange crackers and fruit outward in a loose sunburst. Warm white, camel, and black accents suit shagreen accessories, natural wood, and a low black ceramic bowl.
You’ll want the dish to be wide enough for easy dipping but shallow enough for guests to see the jam. A shagreen serving tray adds texture around the edges, though a plain wood board works just as well. Keep the cheese pieces close to the jam, because distance makes the pairing less obvious.
Don’t let the preserve touch every ingredient. One central dish gives you contrast, color, and a clear serving point. A small black bowl can hold fig jam without making the arrangement feel formal.
For better budget value, buy one preserve and use it in two clearly separated areas. The fig jam dipping dish layout keeps the board organized without adding more decoration.
9Arrange grapes between cheese wedges
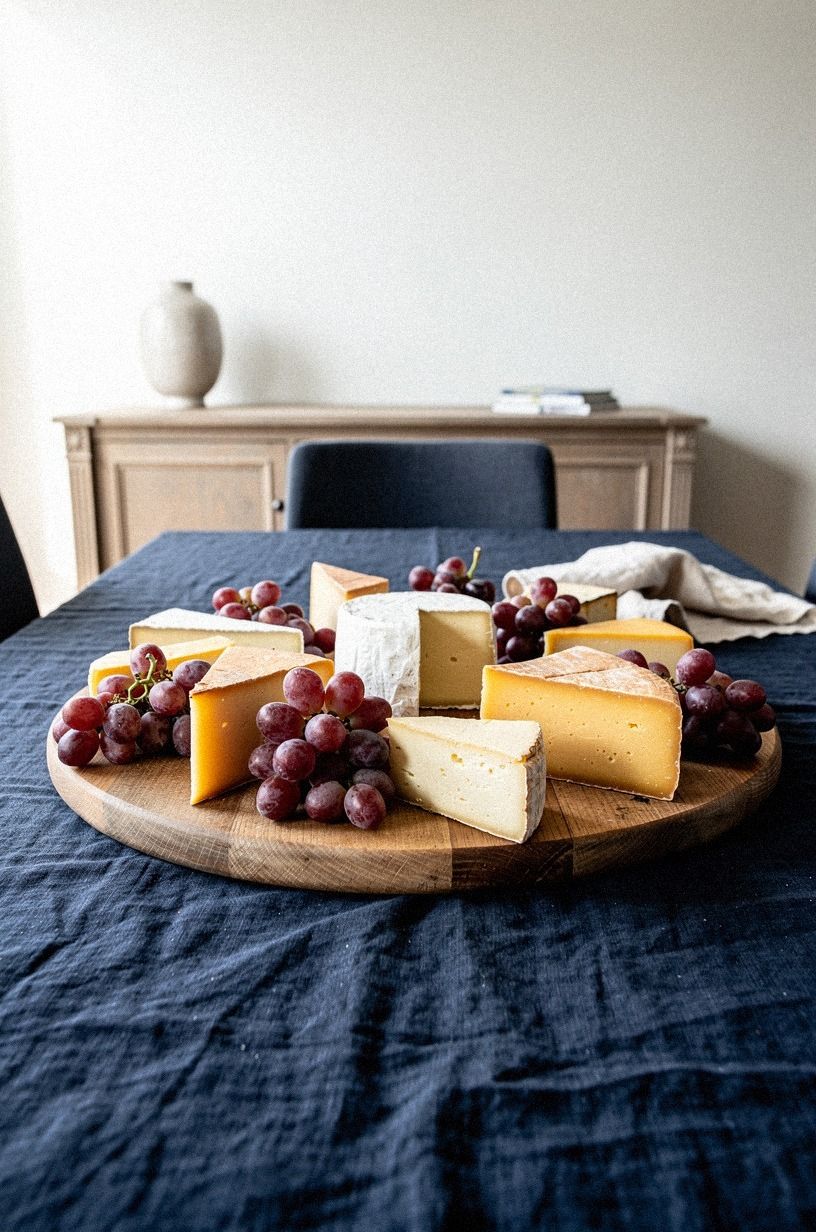
Grapes work best in small clusters tucked between cheese wedges. Separate a few stems so guests can lift them without pulling fruit across the board. Midnight blue, copper, and ivory create a dramatic backdrop, especially beside washed Belgian linen with a lived-in texture.
You’ll want the cheese wedges to remain the strongest shapes. Set the grapes into the gaps, then add plain crackers along the outer edge.
Copper serving tongs bring a warm flash of color, but too much metal can distract from the food. Keep the remaining accessories matte and quiet.
Green and red grapes offer enough variation without making the arrangement noisy. If you’re serving a dry red wine, darker grapes can echo the glass and help the whole board feel connected.
See the grape cluster placement method for an easy way to fill empty spaces. This is a practical choice when the board needs more color without increasing the cost significantly.
10Rosemary meets manchego
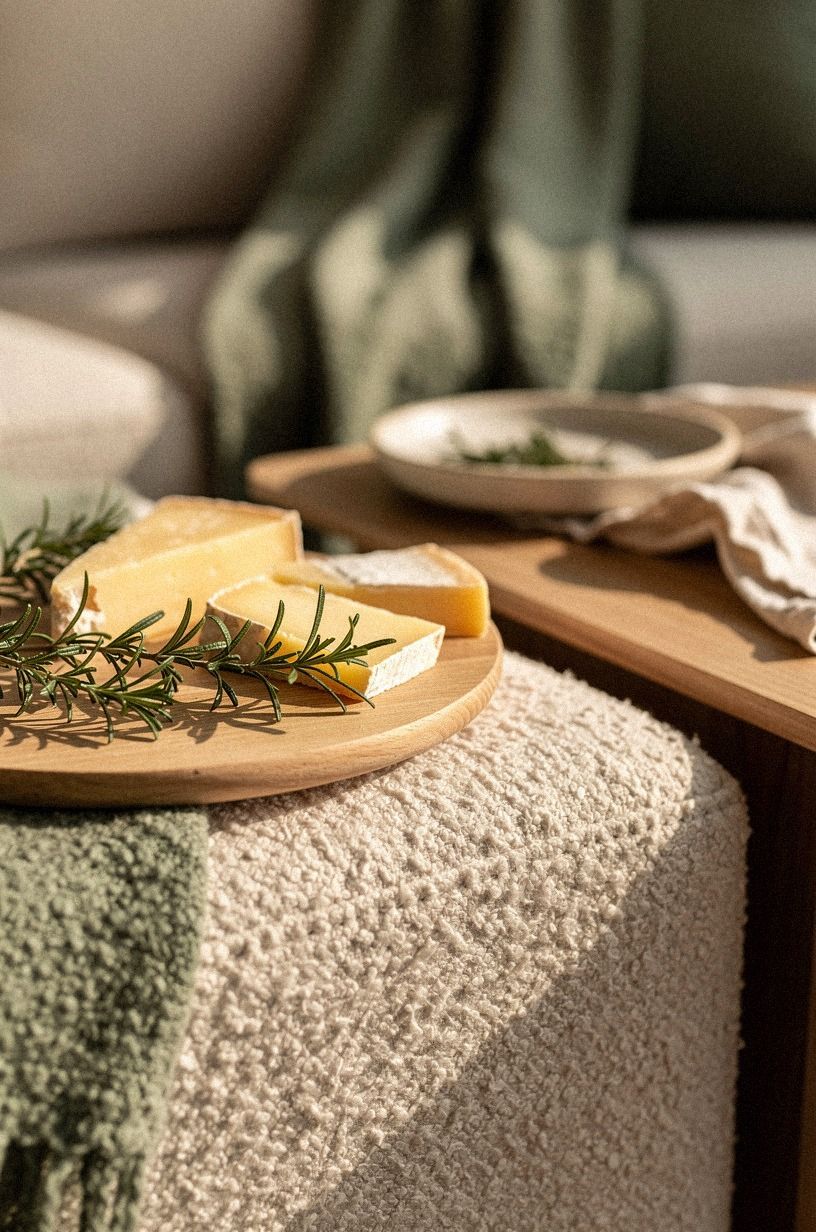
Rosemary adds a fragrant, organic accent beside earthy manchego. Arrange a few sprigs along the edge of the cheese, leaving the leaves easy to identify and remove.
11Washed rind: Which corner works best?
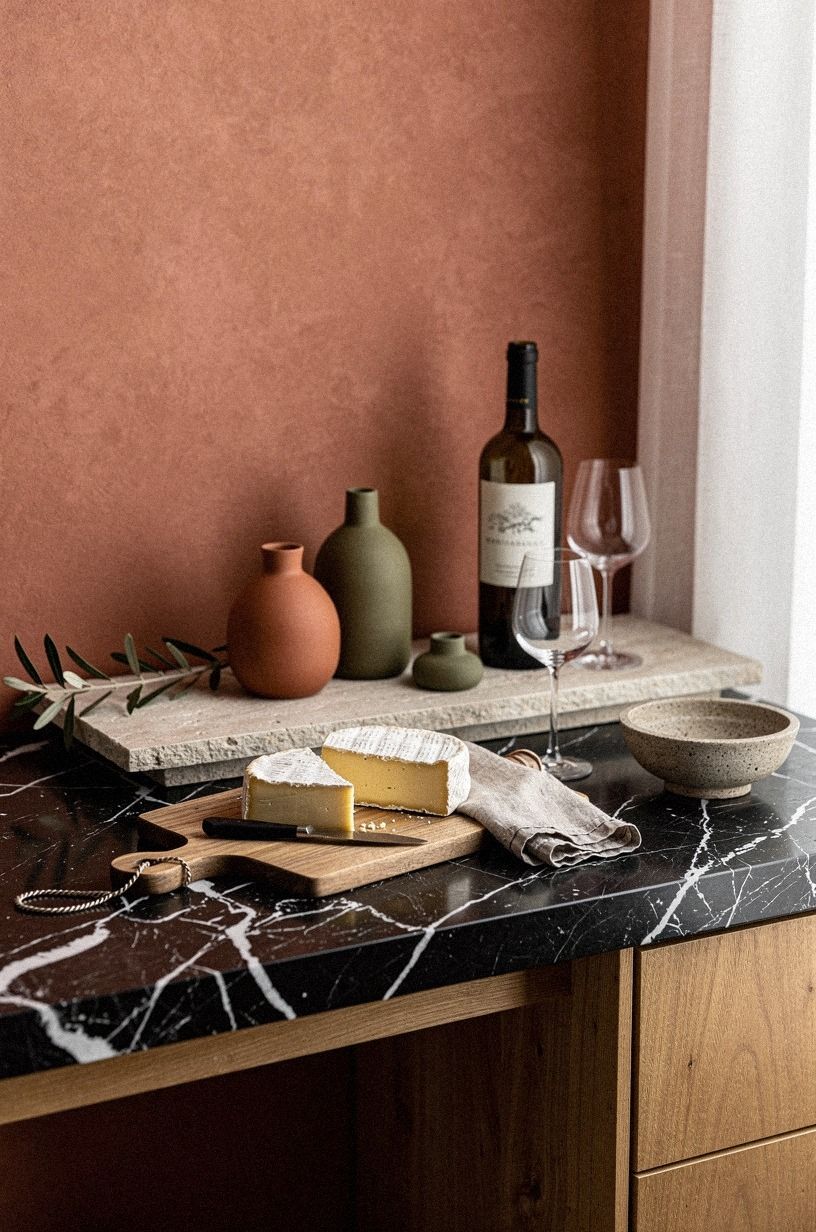
Washed rind cheese deserves its own corner because the aroma can be assertive. Place it near a small cup of mustard, a few slices of pear, and sturdy crackers. The terracotta, stone, and olive palette works beautifully with Nero Marquina accents, whose dark veining adds a graphic note beside the pale cheese.
You’ll want the strongest cheese near the edge of the board, not buried in the middle. That placement lets guests choose it deliberately and keeps its aroma from dominating every nearby ingredient. A low stone dish gives the section structure without making the board feel divided.
Don’t pair washed rind cheese with too many sweet ingredients. One spoonful of mustard or quince paste is enough. If you’re planning a wine and cheese board, offer a fuller white or lighter red with enough body to meet the cheese.
For a more intentional layout, follow the washed rind cheese corner plan. This small zoning choice is worth it when guests prefer different levels of intensity.
12Dark chocolate versus salty parmesan shards
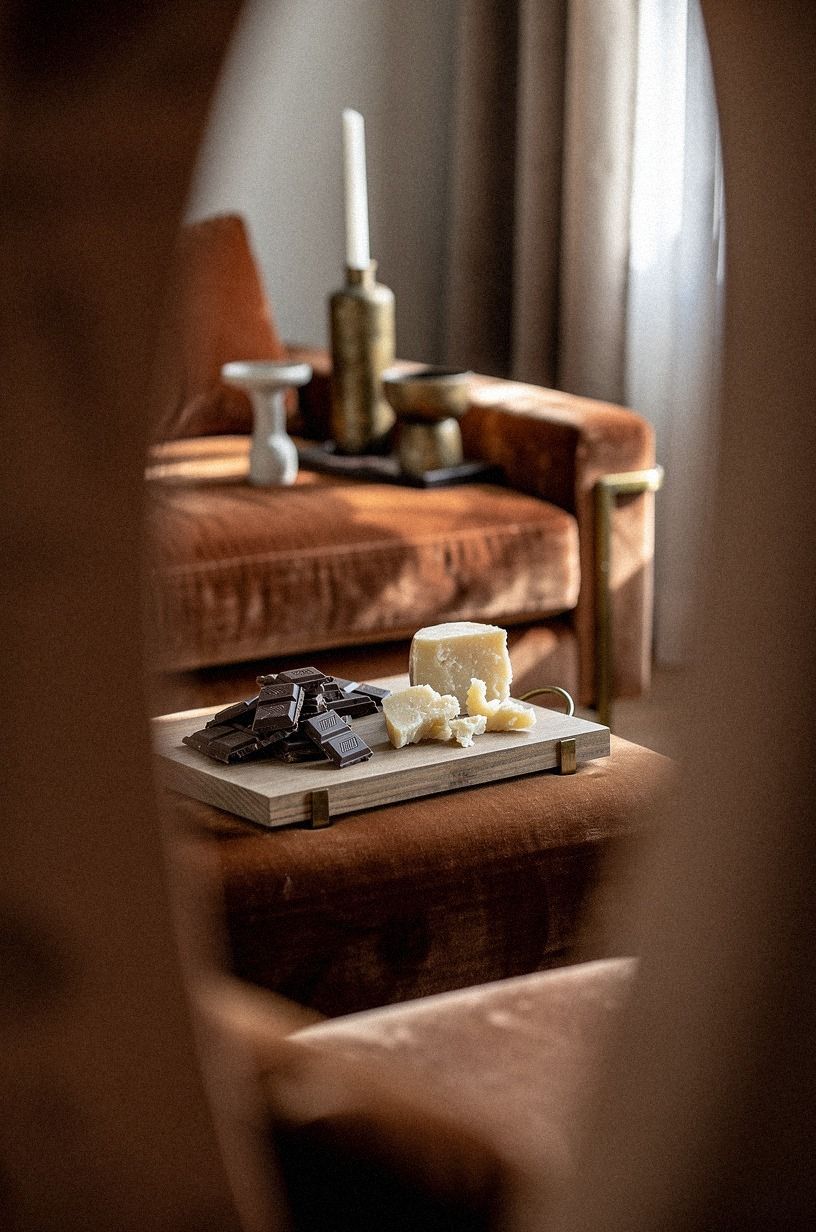
Dark chocolate and parmesan create a surprisingly satisfying contrast. Place a few chocolate pieces beside irregular parmesan shards, keeping both flavors distinct so guests can combine them as desired.
13Use pickled vegetables to brighten rich cheese
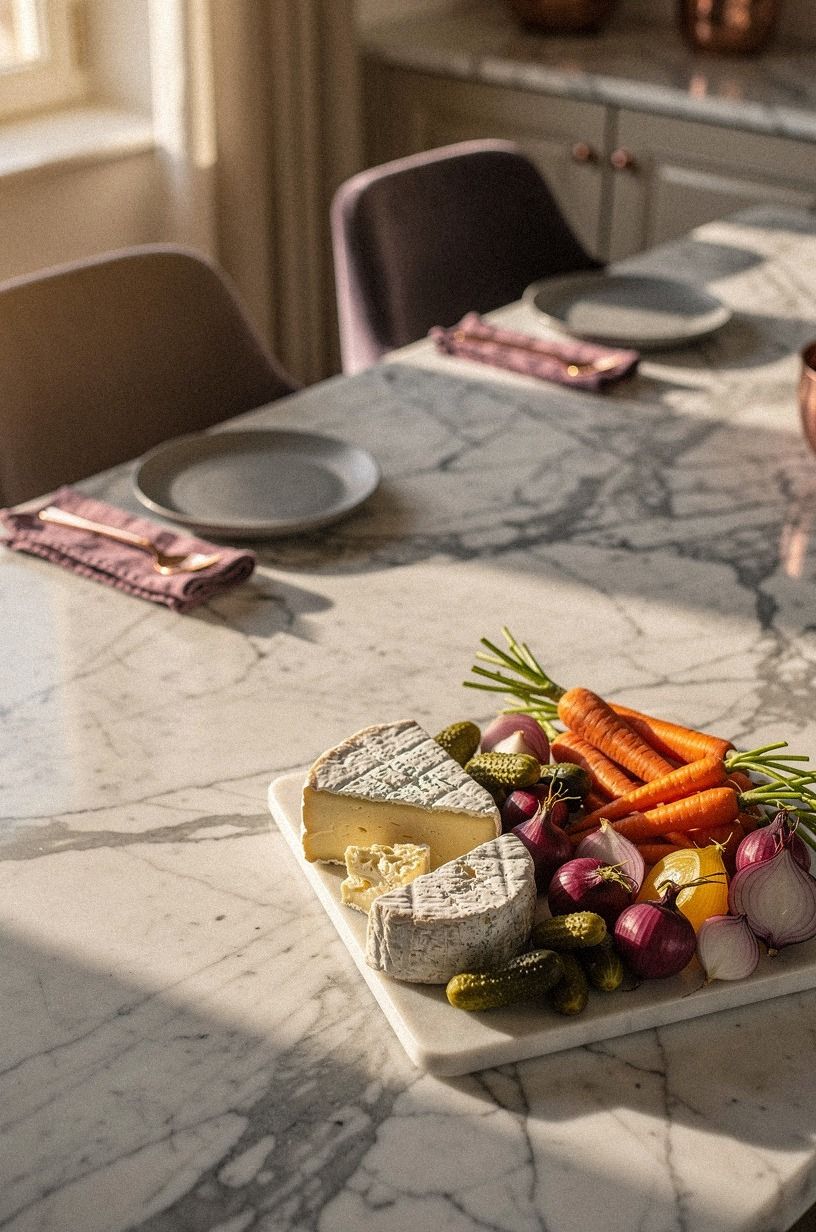
Pickled vegetables give rich cheese the sharp lift it needs. Arrange a few pieces of carrot, cauliflower, or cucumber in a small dish, then place them beside a creamy or aged cheese. The plum, grey, and rose-gold palette feels sophisticated, while Carrara marble with soft veining keeps the board bright.
You’ll want the vegetables drained well before they reach the board. Excess brine can soften crackers and stain pale cheeses. A Carrara marble tile creates a cool surface, so balance it with a dusty rose napkin or warm wooden knife handle.
Don’t place pickled vegetables directly against soft cheese. A small bowl protects the texture and makes serving easier. The acidity clears the palate after a rich bite, so guests can return to the cheese without the flavors becoming dull.
The pickled vegetable and rich cheese pairing adds brightness without extra decoration. It also gives a budget board a more complete flavor range with one inexpensive jar.
14Camembert and salami: Shape a loose frame
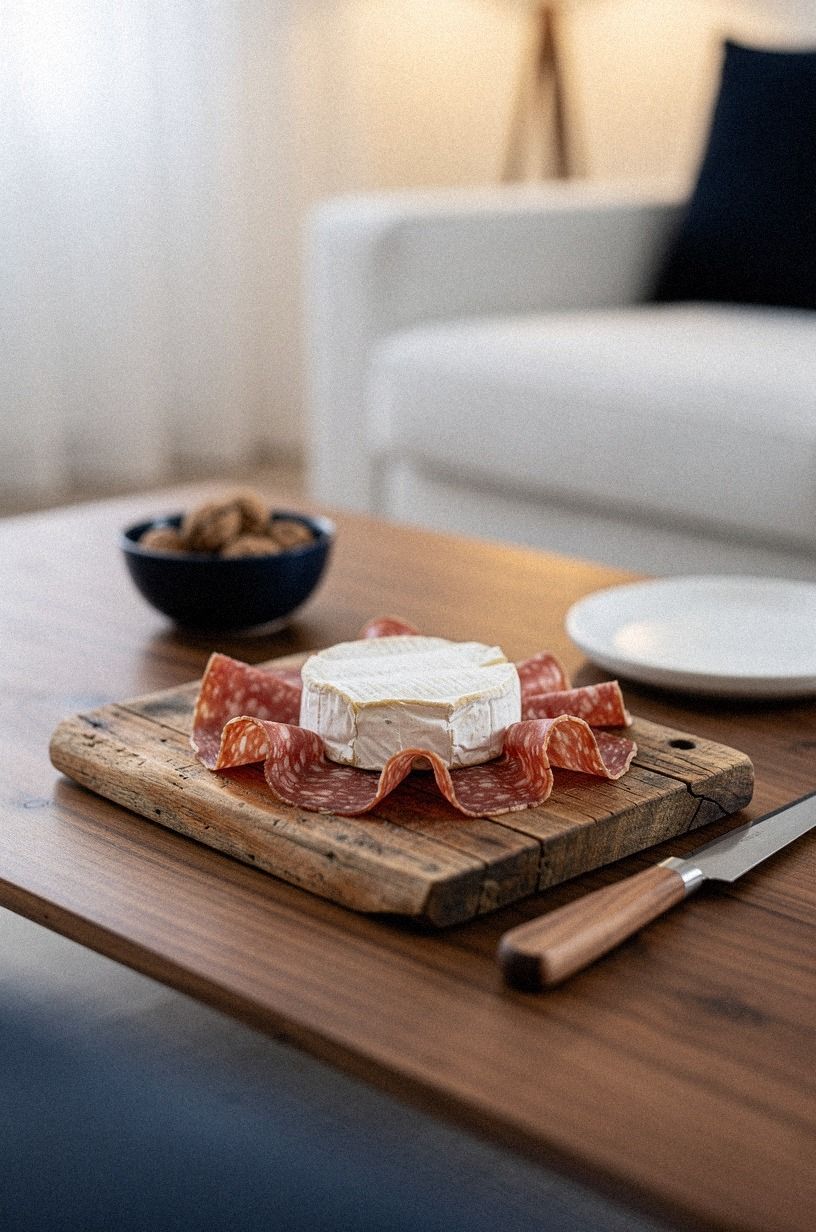
Salami ribbons create a strong frame around a wheel of camembert. Fold each slice in half, then tuck the edges into loose curves rather than tight circles. The navy, white, and walnut palette feels polished, while reclaimed weathered teak keeps the board from becoming too formal.
You’ll want the camembert to remain visible at the center. Leave its rind intact, and set a small knife beside it rather than cutting the wheel before serving. Reclaimed weathered teak adds marks and grain that make the smooth salami look more tactile.
Don’t build the salami ring too close to the cheese. A narrow gap gives guests room to cut and prevents the board from looking crowded. If you’re serving a larger group, repeat the ribbon shape near the opposite edge with a second firm cheese.
The camembert and salami frame arrangement is worth it when one central cheese needs to look more substantial without buying a larger wheel.
15Create height with stacked cheese slices
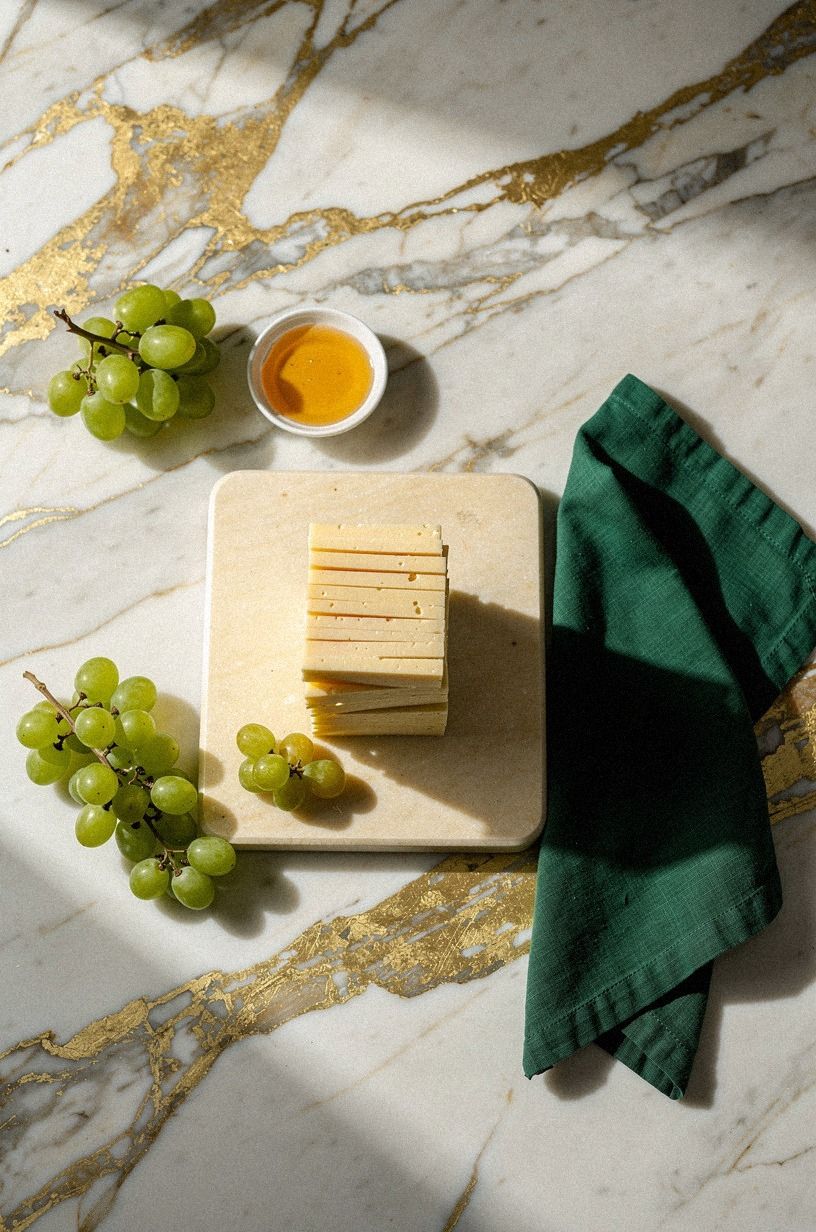
Stacked cheese slices add height without requiring a tiered stand. Place three or four slices of semi-firm cheese in a loose leaning stack, then support the base with crackers or dried fruit. The emerald, gold, and cream palette feels elegant, especially against Calacatta marble with warm veining.
You’ll want the stack to remain stable when guests begin serving themselves. A Calacatta marble slab gives the arrangement a polished foundation, but a thick ceramic platter can work too. Keep the slices broad enough to pick up with a knife and avoid stacking more than a few layers.
Don’t make every item vertical. One elevated section is enough to guide the eye across the board. If you’re styling a long table, keep the tallest point near the center and let the surrounding ingredients descend gradually.
Save the stacked cheese height technique for the board’s main focal point. This gives you strong visual value from ordinary slices and a serving plate already in the cupboard.
16Finish with edible flower accents
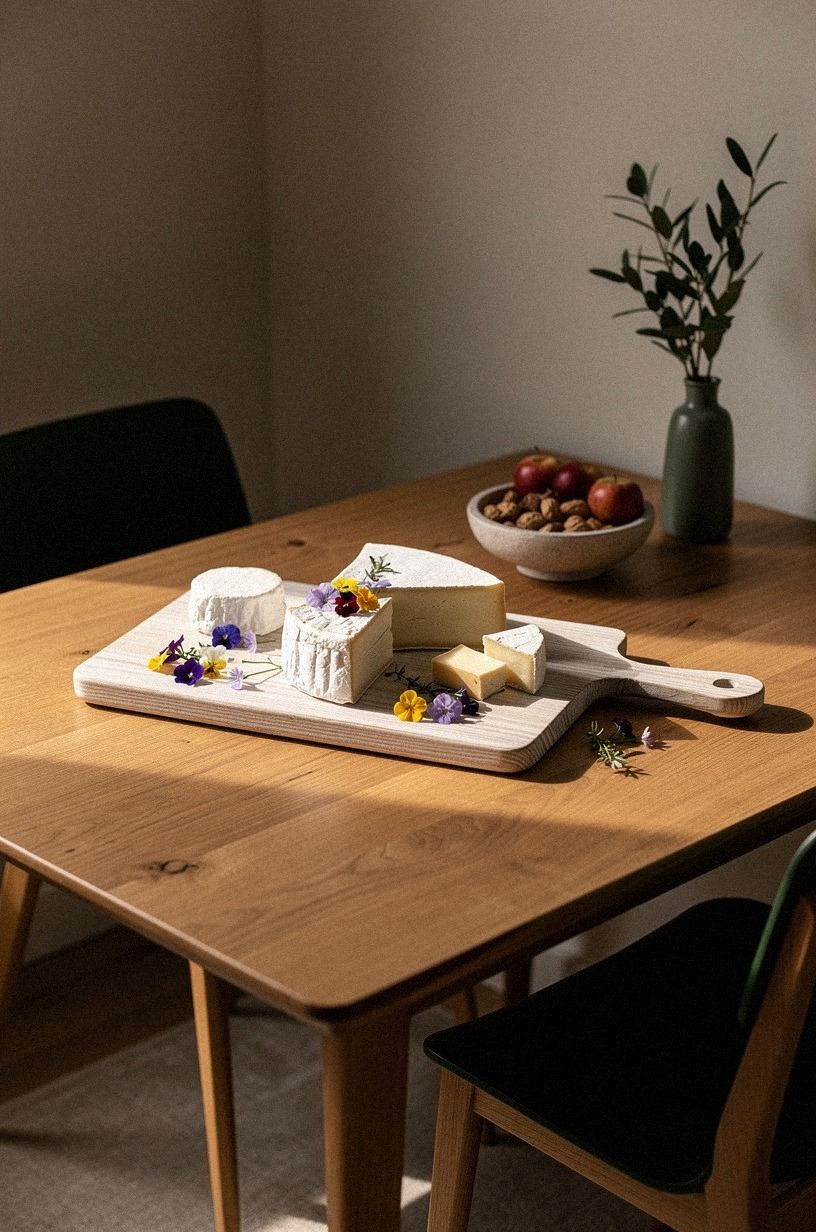
Edible flowers work best as a final accent, not as the main arrangement. Tuck a few blossoms near firm cheese, grapes, or crackers, then repeat the color in a folded napkin. Forest green, rust, and natural oak create a welcoming backdrop, while cerused white oak keeps the floral detail grounded.
You’ll want flowers that are clearly food-safe and free from decorative chemicals. Keep them away from wet preserves, and place them where guests can identify them easily. A small cluster near one corner often looks more natural than flowers scattered across every open space.
Don’t let the flowers hide the pairings. The cheese, fruit, crackers, and preserves should still read at a glance. If you’re finishing the board just before guests arrive, add the flowers last so the colors stay fresh.
The Three-Texture Rule for a Better Board
A cheese board becomes easier to enjoy when every section offers a clear change in texture. Creamy brie, crisp pear, and firm crackers create a simple path through the first pairing. Later, crumbly goat cheese, toasted nuts, and pickled vegetables create a sharper, more layered experience.
You don’t need twelve ingredients in every corner.
The strongest boards also respect visual breathing room. Give soft cheese a dish, firm cheese a clear cutting zone, and fruit enough space to stay recognizable.
A board that looks slightly unfinished often serves better than one packed edge to edge. Guests can reach each item, and you’ll avoid the awkward pileup that happens when crackers cover the cheese.
For the room around the board, three light sources can keep the table inviting: overhead light, task light, and ambient light. Warm lamps work better than a single bright ceiling fixture. If you’re hanging art nearby, keep its center around 57 to 60 inches from the floor so the wall feels balanced without competing with the food.
A practical cost range helps set expectations before shopping:
This breakdown makes the value easier to judge. A larger purchase is worth it when the board will serve several gatherings, while a low-cost setup works well for a single evening.
What People Always Want to Know
What is the best cheese board pairing for a small cheese board?
Pear with brie and apple with blue cheese are reliable choices because fresh fruit balances rich cheese. A compact Article board can hold both pairings, a few crackers, and one small dish without feeling crowded. You’ll get variety without needing a large serving surface, and the value remains strong for a small gathering.
Where can you buy cheese board pieces on a budget?
Target, Wayfair, and thrift stores offer affordable boards, bowls, and small serving utensils. Secondhand wood boards can work well after careful cleaning and food-safe conditioning.
You don’t need a matching set, and mixed ceramics often look more welcoming than identical pieces. Compare cost, size, and storage before buying.
How much does a cheese board makeover cost?
A simple setup can cost about $33 to $163, depending on the cheese, fruit, serving board, and utensils. Existing kitchen pieces can keep the cost lower.
A plate, clean cutting board, and small bowls may already provide everything needed for a polished gathering. That makes the project worth it when the goal is atmosphere without a large purchase.
Can you create a cheese board on a budget?
Yes, and you can start with three cheeses, two crackers, one fruit, and one preserve. Seasonal fruit usually gives the best value. Reuse small bowls, cut cheese into varied shapes, and add herbs from the kitchen for a welcoming board without unnecessary purchases.
A clear layout can make a modest budget look much more generous.
Is a cheese board worth it in a small space?
Yes, because a compact board keeps the gathering centered and reduces the need for multiple serving dishes. One oval board can fit on a narrow dining table or kitchen island.
Leave a clear area for cutting, then place drinks on a separate tray. The cost stays reasonable when existing dishes do most of the work.
Is a cheese board a good idea for a rental?
Yes. Choose a freestanding board, removable table linens, and small ceramic dishes instead of permanent changes.
Peel-and-stick styling can support the surrounding room, while a tension rod or removable hook can hold a textile without damaging the walls. These temporary choices offer good value because they can move with you.
Where to Start First
If one pairing deserves priority, start with pear beside creamy brie. The fresh fruit cuts through the richness, the colors read clearly in photos, and the combination works on almost any board size.
Pin this simple pear and brie centerpiece for later, then build around it with one firm cheese and one salty accent. When the budget is limited, this pairing delivers the clearest value with the least effort.