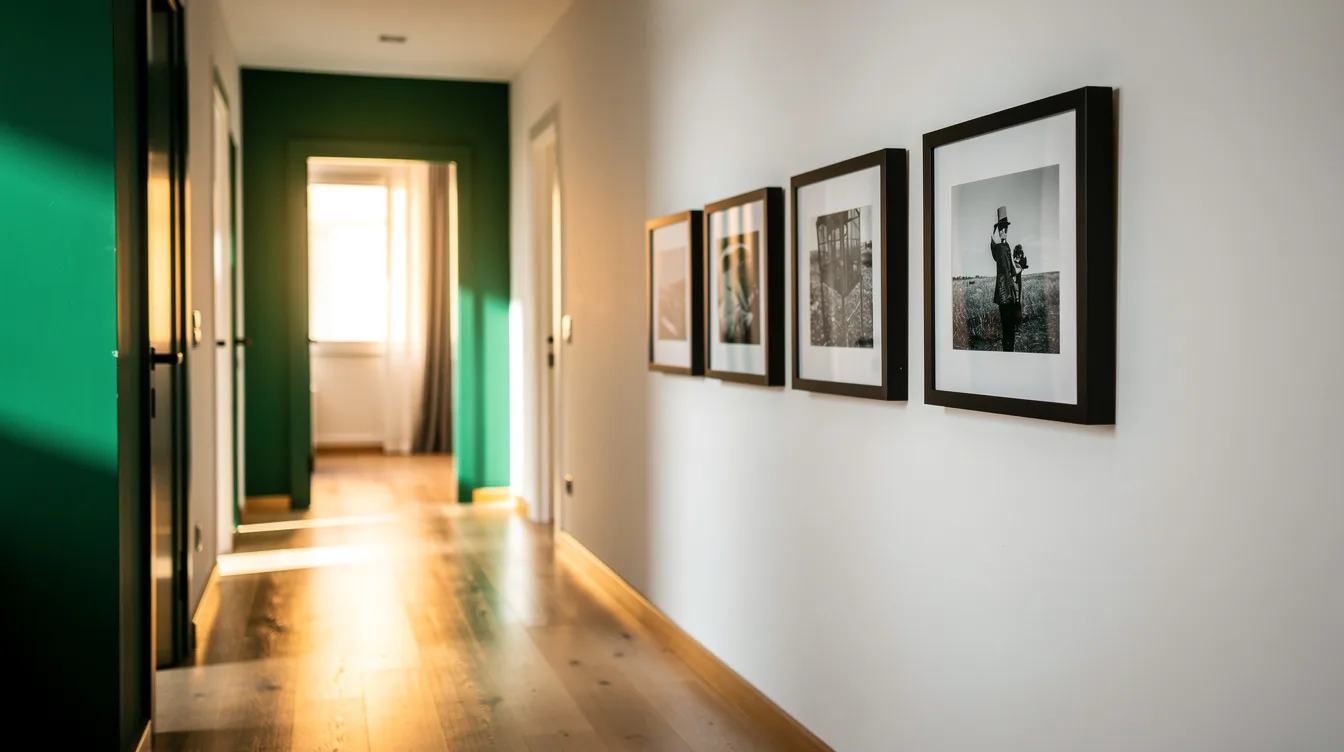
My hallway is 14 feet long and just under 40 inches wide, and for two years it stayed blank because every gallery wall I attempted made it feel narrower. Then I hung five IKEA RIBBA 8×10 frames in one row, spaced about 2.5 inches apart, and the whole corridor changed. Here’s exactly what worked, what flopped, and what I’d skip.
Start With One Line, Not a Scatter
My hallway is barely 40 inches wide, and my first attempt looked like a yard sale nailed to drywall. Random frames, random gaps, no logic.
The fix was embarrassingly simple: one single horizontal row of 5 frames. In a narrow corridor, a clean line reads as intentional, while a scattered cluster reads as clutter you can bump into.
I kept the spacing at about 2.5 inches between frames. Tighter than that feels cramped, wider than 3 inches and the pieces stop talking to each other.
Hang Everything on a 57-Inch Centerline
The rule designers repeat endlessly is a visual center around 57 to 60 inches from the floor, and it earned its reputation. I marked 58 inches with painter’s tape and hung every frame to that line.
In a very tight hallway where shoulders brush the wall, nudge it up an inch or two. Mine sits at about 59 inches because my hallway is bump-prone, and nothing has been knocked crooked since.
One centerline, every frame. That’s the whole trick. The moment one piece floats high or low, the wall stops reading as one composition.
Pick Small-to-Medium Frames Only
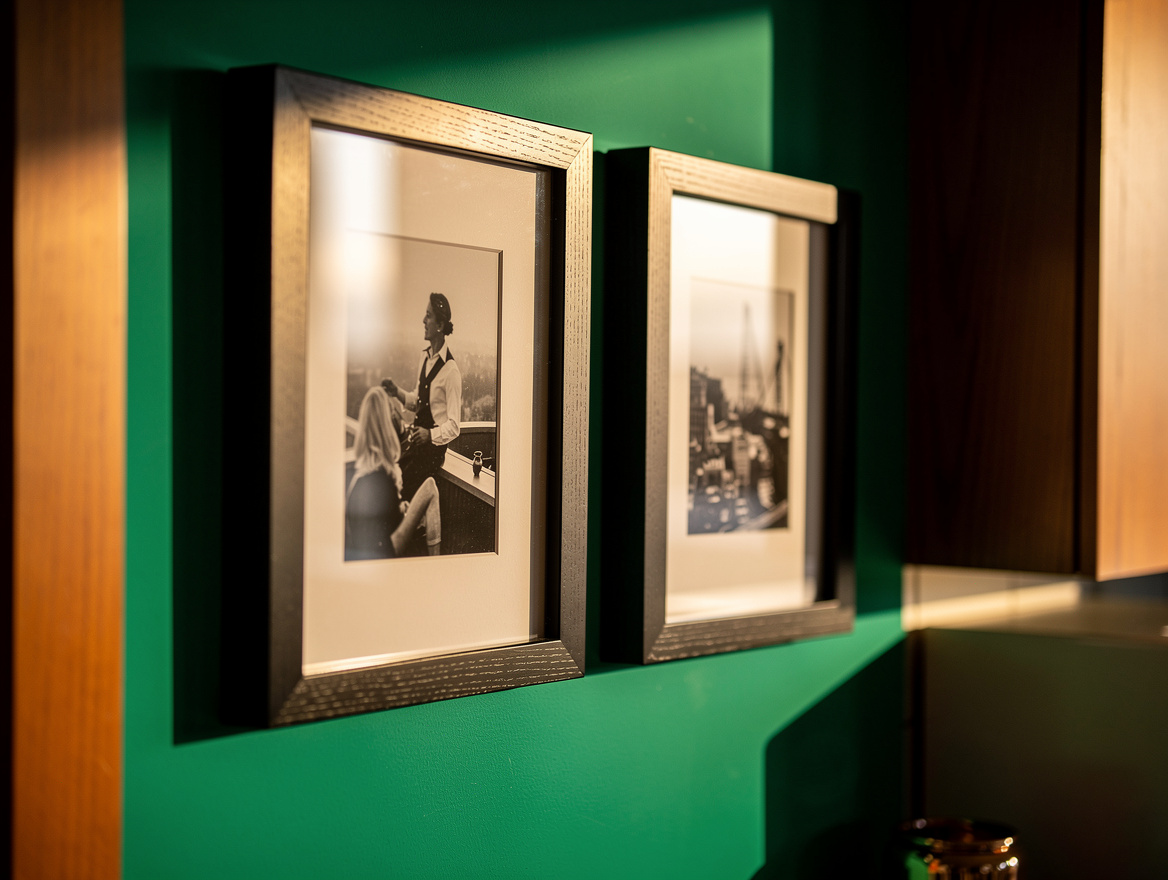
I tested a 20×28 frame in my hallway and it felt like a billboard at arm’s length. The comfortable sizes for a narrow run are roughly 5×7, 8×10, and 12×16 inches.
A 16×20 is typically the largest frame that still feels right on a long hallway wall, and honestly it works best saved for the end wall, not the side.
My final lineup: three IKEA RIBBA 8×10 frames flanked by two 5x7s. IKEA’s RIBBA line runs from 5×7 up to 20×28, so building a matching set is easy and cheap, with smaller frames often landing around a few dollars each depending on your region.
Try Peel-and-Stick Tiles If You Rent
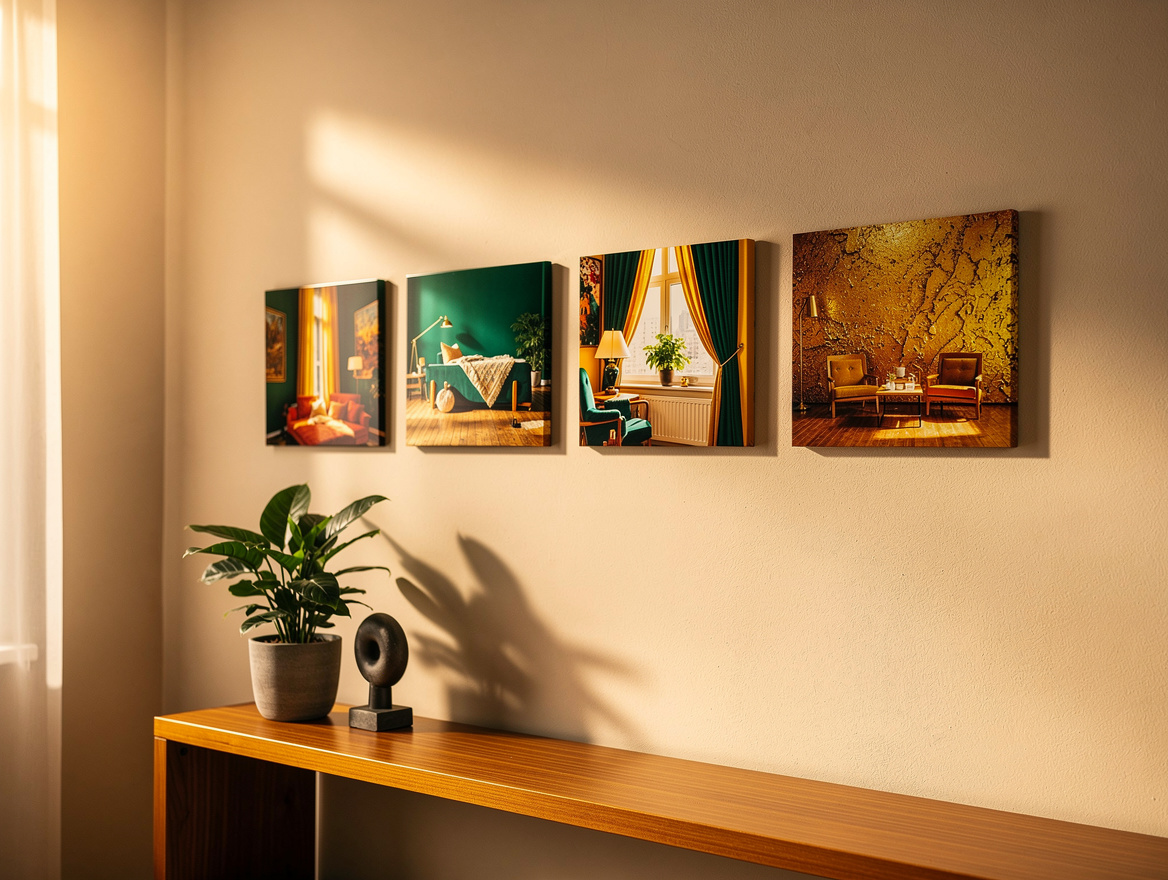
Two rentals ago I lost part of a deposit over nail holes, so this time I went half renter-safe. Mixtiles are 8×8-inch photo tiles with removable adhesive, typically about $15 each at full price, and a 3-tile set runs roughly $48.
Six tiles in a single row took me under 20 minutes, no level, no hammer, no regrets. They also come in larger formats up to about 27×36 inches if you ever want a statement piece elsewhere.
My honest take: they look slightly less premium than a matted wood frame, but for a hallway you’ll rearrange, the trade-off is worth it.
Anchor the End Wall With One Big Piece
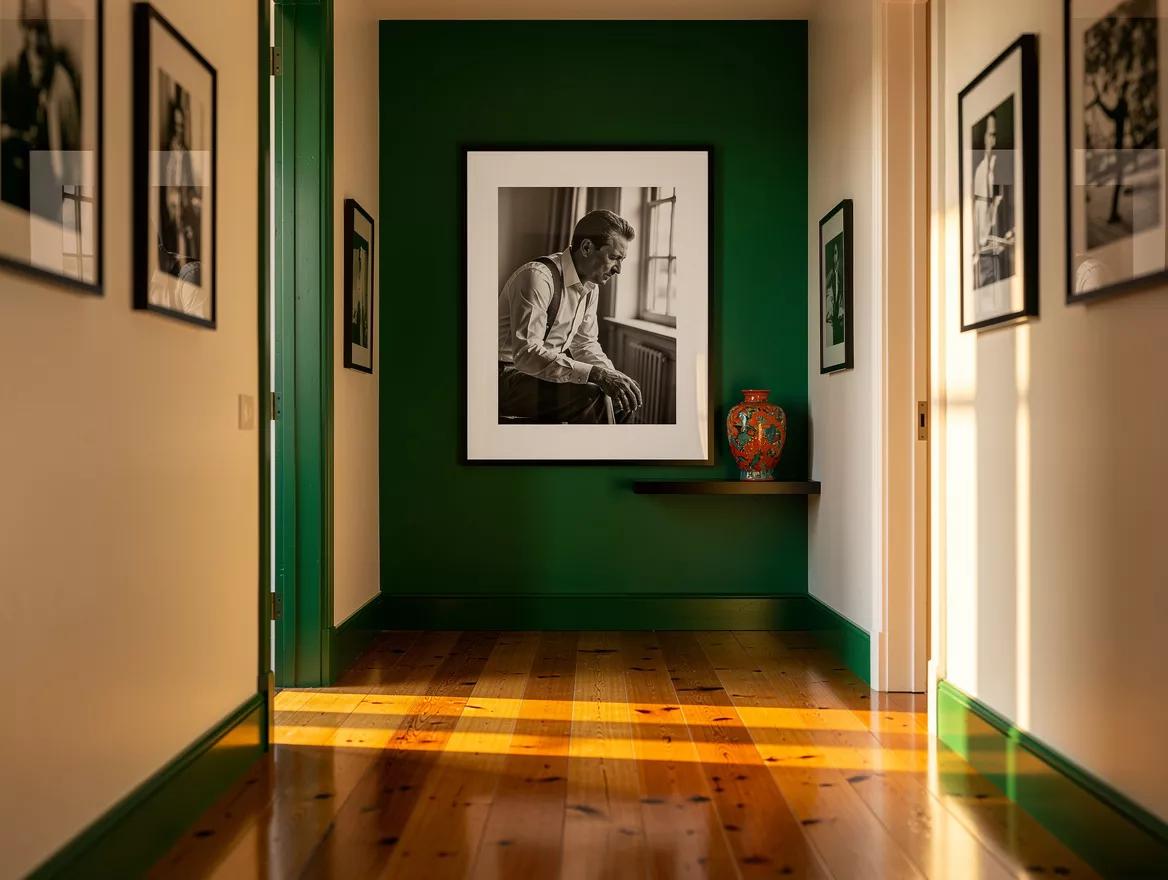
A narrow hallway is a sightline. Whatever hangs at the far end is what you see the whole walk down, so I put my single largest piece there: a 16×20 black-and-white print in a slim black wood frame.
That one anchor does the heavy lifting. The smaller 8×10 frames along the side wall then feel like supporting cast instead of competition.
Keep the anchor in the same frame color as the row. Mine are all matte black MDF, and the repetition is what makes the corridor feel designed rather than decorated.
Keep Frames and Photos Cohesive
The mistake I see in most hallway galleries is five frame finishes and a rainbow of photo colors. In a space you view from two feet away, every mismatch is loud.
I printed everything in black and white, used white mats, and stuck to one frame color. Soft neutrals work too, but pick a lane and stay in it.
A 2×2 or 3×3 tight grid also works if your wall is flat and uninterrupted, and it reads tidier than a salon-style jumble. Chunky grid, one finish, consistent gaps. Boring ingredients, striking result.
Measure the Walk, Then the Wall
Last practical note: slim profiles only. Wood and painted MDF frames under an inch deep keep the corridor passable, and lightweight tiles keep your landlord calm.
Budget roughly what I spent: five RIBBA-style frames with prints came in around a typical $60 to $80 total, while the six-tile Mixtiles row cost about $90 at full price. Either route beats the $200-plus quotes I’ve seen for custom framing a hallway set.
Start with three frames on one centerline before you commit to a full wall. If those three look right, the rest is just repetition.
Mia Carter writes about small-space living and budget home makeovers. She has restyled three rentals and tests most ideas in her own 45 sqm flat.