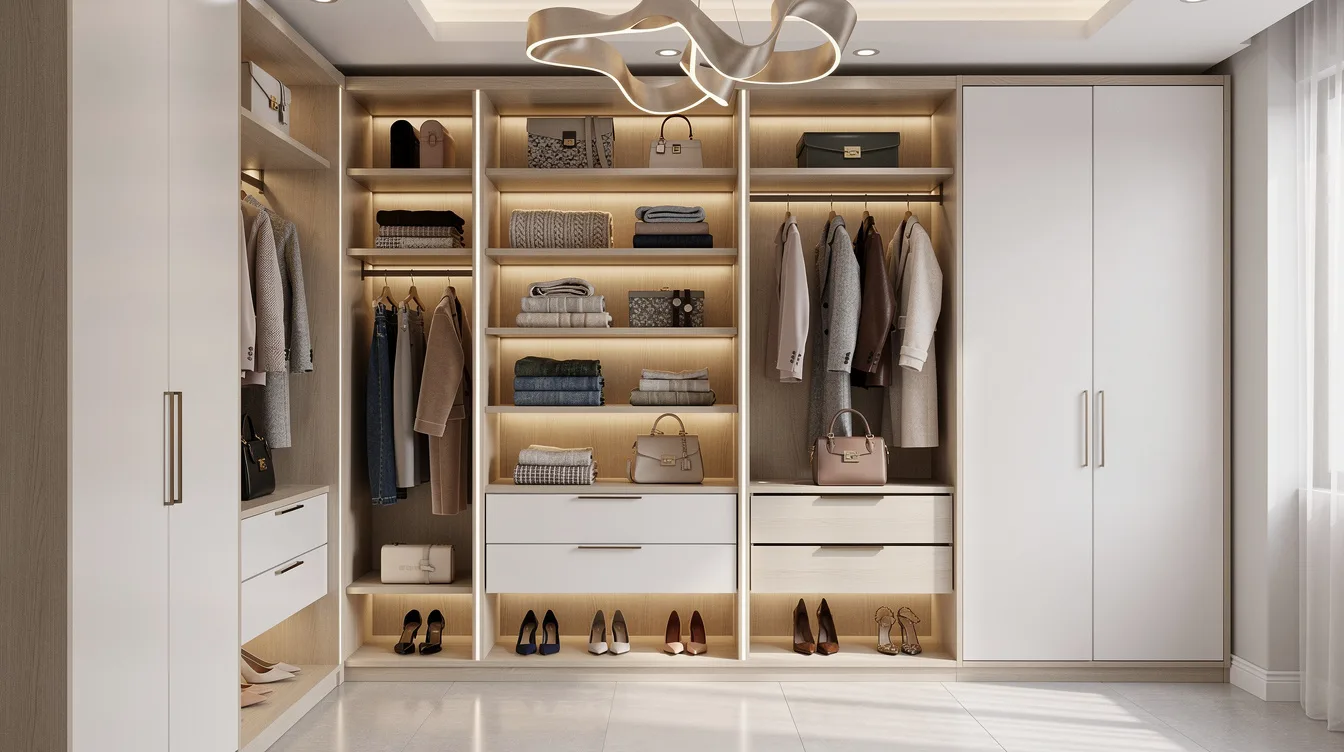
I got tired of getting dressed in a closet that made every color look wrong. The worst moment was holding a black sweater under the single overhead bulb and realizing it was actually dark green.
I didn’t need a full renovation, I needed better light in the right places. Once I treated the closet more like a dressing area than a storage box, the whole space started making sense.
Start With a Ceiling Light That Feels Intentional
My old closet had one dim builder bulb in the middle, and it made navy look black and beige look muddy. Swapping it for a Wayfair semi-flush ceiling light changed the mood before I added anything else.
I like a warm-neutral range, typically 2700K to 3500K, because it flatters fabric and skin without turning the space yellow. For a walk-in, an average decorative fixture around 16 to 31 inches wide usually feels right, and I think anything too tiny looks cheap fast.
Run Vertical Light Where Clothes Actually Hang
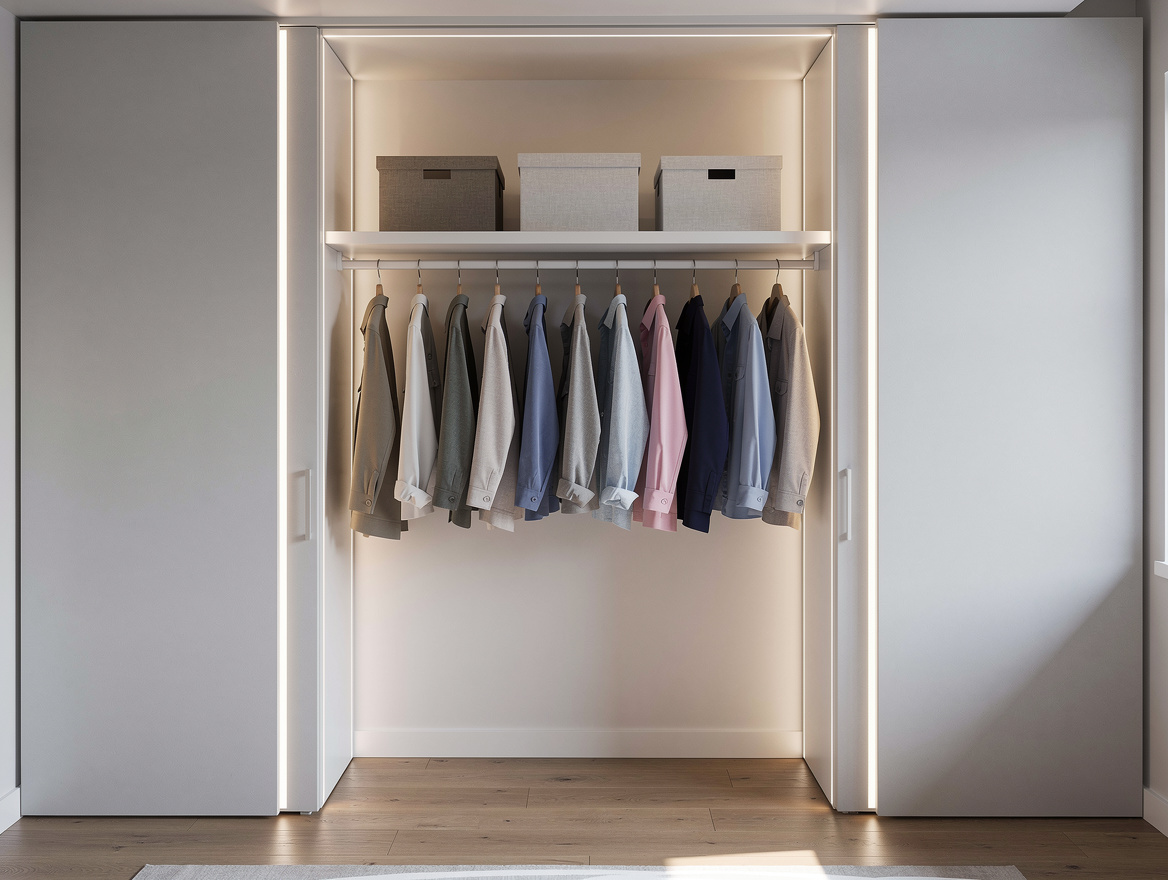
The biggest visual upgrade came from adding LED strip lights in aluminum channels down the closet sides, not across the floor. That puts light on shirts, dresses, and jackets instead of wasting it at your feet.
For taller sections, I found that a typical 6.5 to 8 foot vertical run per side gives that boutique effect people keep chasing. If you can choose, go for CRI 90 or higher, because low-CRI lighting makes even good clothes look tired.
Tuck Light Under Shelves to Fix Dark Corners
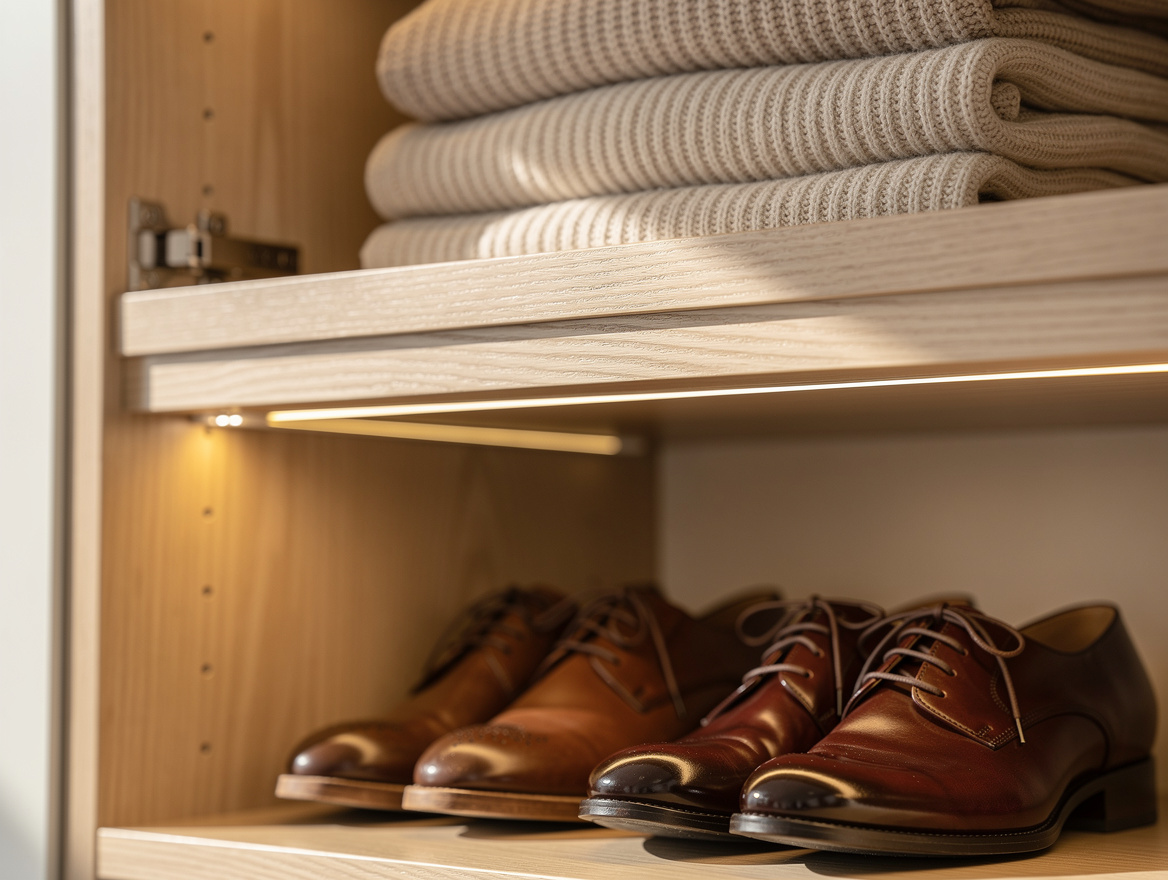
My shoe shelves were the worst part, especially the back corners, so I added Amazon rechargeable light bars underneath each shelf. One bar for every 24 to 32 inch section was usually enough, and the whole area stopped feeling like a cave.
This is also the easiest upgrade for renters. A basic setup with adhesive bars and a sensor typically lands around $30 to $60 per closet, and that price-to-payoff ratio is hard to beat.
Use Motion Sensors So the Closet Turns On for You
I didn’t want one more switch to think about at 6:30 in the morning, so I added motion sensor puck lights and door-activated lighting where it made sense. The closet now turns on the second I open it, which feels more polished than any fancy finish I could have bought.
Automation is what makes simple lighting feel expensive. I think a decent sensor matters more than chasing the brightest strip on the shelf, because convenience is what you notice every single day.
Mix a Decorative Fixture With Task Lighting
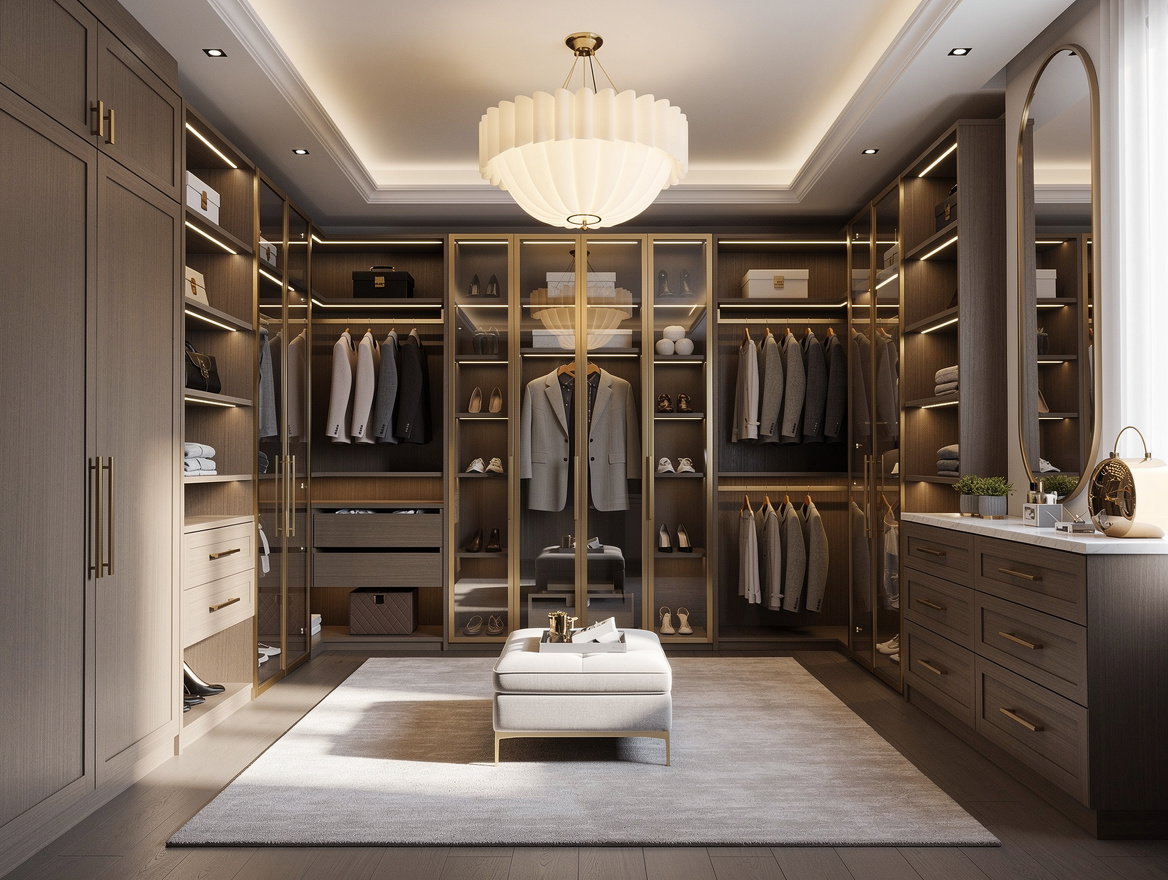
In larger closets, I stopped treating overhead lighting as the whole plan and started layering. A Home Depot flush mount or small pendant handles the room, then strips and shelf lights do the work close to the clothes.
That layered approach is also the most realistic budget path. Simple kits can cost about $35 to $55, while a more built-in wardrobe with channels, drivers, and controls typically climbs into the $90 to $275 range before labor.
Spend More Only Where Built-Ins Deserve It
If you have custom cabinetry, integrated IKEA wardrobe lighting or a similar built-in system is worth considering because exposed adhesive strips can look temporary on expensive millwork. Hidden profiles with diffusers give a cleaner line and cut that dotted LED look I really don’t like.
For a fully lit custom closet, typical spending can range from roughly $550 to $1,650 once you add shelf lighting, hanging-rail lighting, transformers, and controls. I would only go that far on a 10 to 13 foot wardrobe wall or a true walk-in, because that’s where the finish level actually shows.
If you’re deciding where to begin, add one warm, high-CRI light bar under your most-used shelf and one motion sensor first. You’ll know within a day whether your closet needs a quick fix or a full layered plan.
Mia Carter writes about small-space living and budget home makeovers. She has restyled three rentals and tests most ideas in her own 45 sqm flat.