
I got tired of dragging a leaky cooler across the patio while the handles dug into my fingers and a trail of meltwater followed behind me. I wanted something that held more drinks, looked better next to the grill, and could still roll across pavers without feeling like a workout.
The good news is this build does not need a workshop or a big budget. A small galvanized stock tank, a basic rolling base, and a couple of insulation fixes can realistically land under $100 if you keep the size modest.
Start With a Tank Size You Can Actually Move
The smartest place to save money is the tank itself. A 40-gallon galvanized stock tank is the sweet spot because the typical size, about 48 x 24 x 12 inches, is big enough for bottles and cans but still manageable on a rolling base.
I would skip oversized farm tubs for this project. Once you fill a bigger tank with ice and drinks, the weight climbs fast, and your cheap wheels stop feeling like a bargain.
If you want the easiest under-$100 path, shop Home Depot, Lowe’s, or Amazon for a small trough-style tank in the $40 to $70 range. That price band is realistic in 2026 for simple galvanized or plastic options, especially if you are flexible on finish.
Mount It on a Base That Rolls Without Drama
A low furniture dolly is my favorite base because it keeps the center of gravity down. A typical dolly from Amazon or Walmart usually lands around $20 to $35, and that is enough for a small tank if the weight rating is decent.
A garden wagon also works, but I only like it if you already own one. Buying a wagon new can eat too much of the budget, and the bulky frame often makes the whole thing look more utility cart than ice bar.
If your patio has thresholds or rough stone, a compact hand truck can make more sense than tiny caster wheels. It is less polished visually, but it moves a loaded tank far better than a flimsy decorative cart.
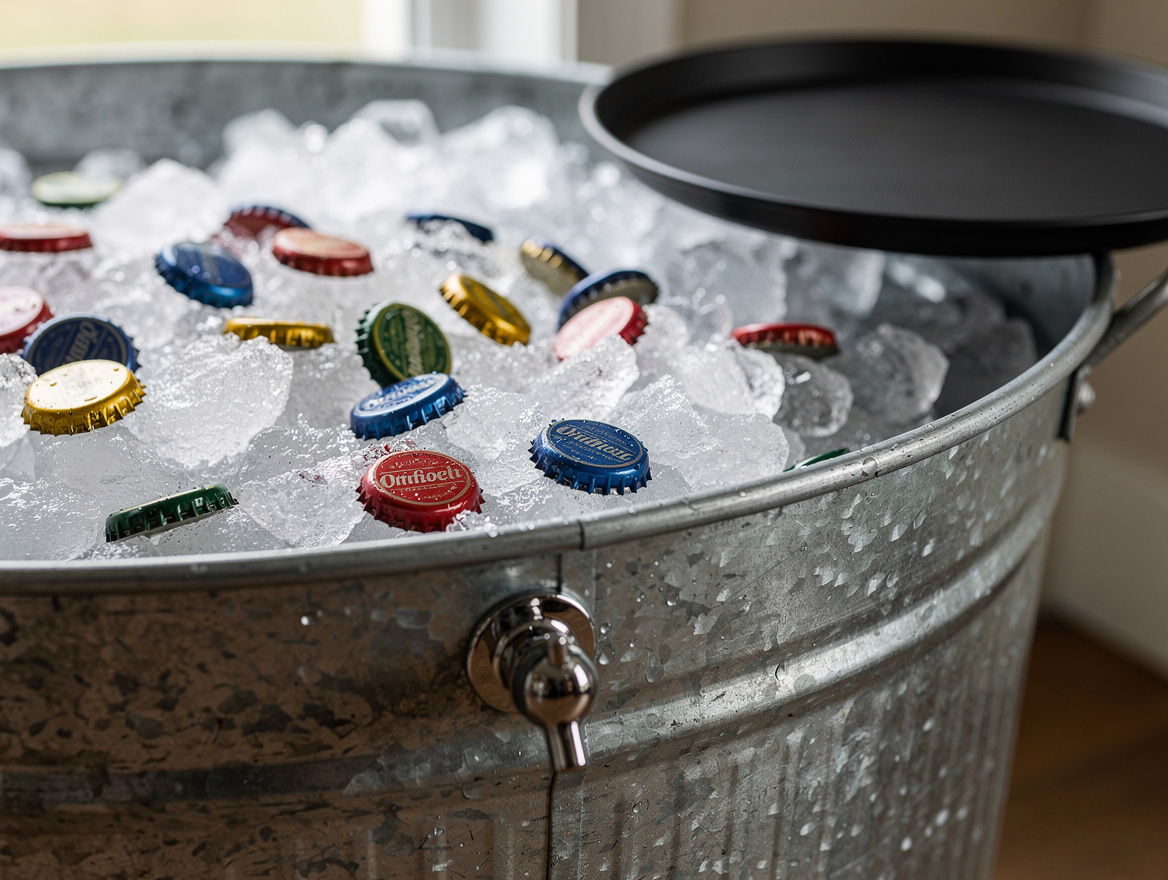
Insulate the Sides So the Ice Lasts Past Lunch
This is the part people skip, and it is why their setup turns into cold soup too fast. Lining the outside or underside with foam board insulation and a layer of reflective foil is a cheap upgrade that usually costs about $10 to $20 total from Lowe’s or Ace Hardware.
I would not overbuild it. You are not making a freezer, you are just slowing the melt enough to get through a long cookout without dumping in a second bag of ice halfway through.
For a metal tank, insulation matters more because galvanized steel gives up its chill fast in direct sun. Plastic tanks hold temperature a bit better, but small galvanized tubs still win on looks every time.
Use the Drain Instead of Fighting Meltwater
If your tank has a built-in drain or spigot, use it. That is one reason a small galvanized trough with a plug is so practical for drink service, because you can empty meltwater without tipping the whole thing over.
If there is no drain, a simple bulkhead fitting and a careful drill hole solve the problem for about $5 to $10 in hardware from Ace Hardware or Home Depot. I would place it low on one short side so you can slide a bucket under it.
Do not ignore drainage just because the tank looks rugged. The first time you try to dump a heavy mix of ice water and glass bottles, the charm disappears fast.
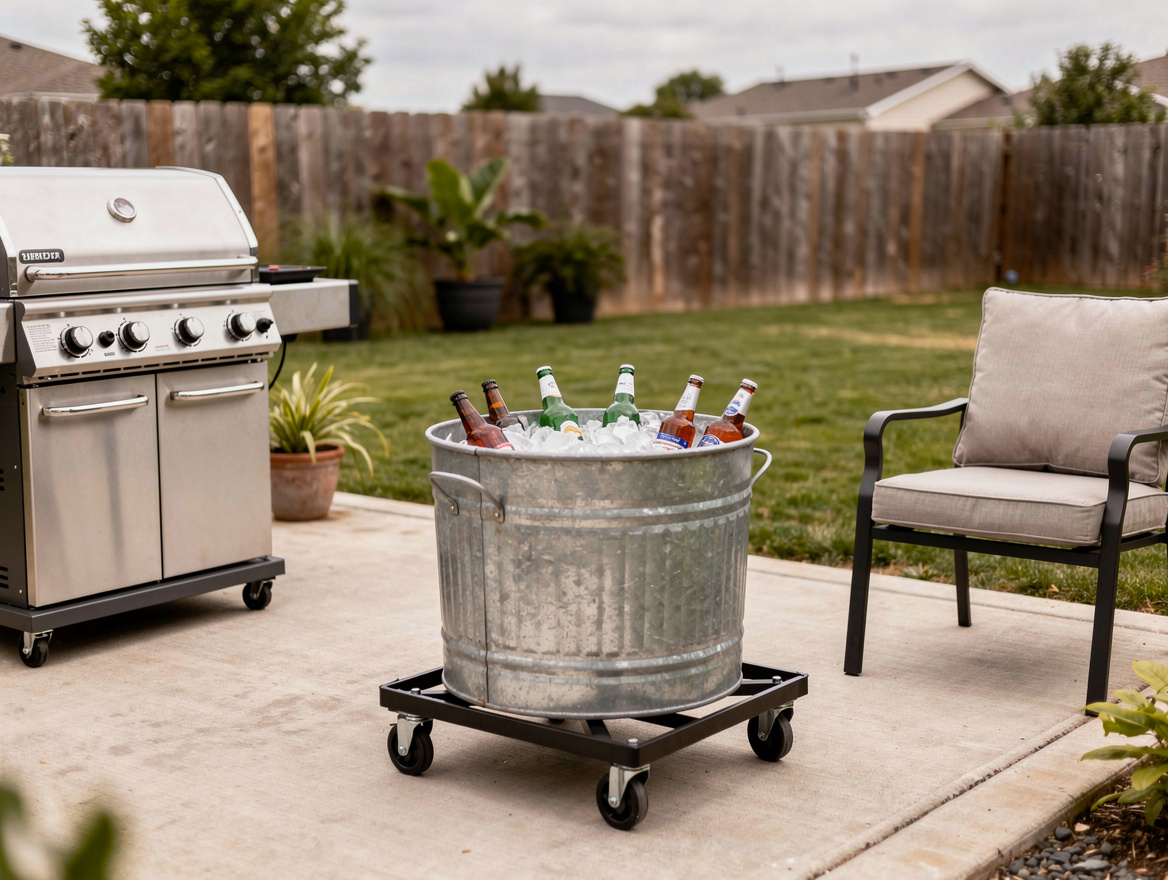
Secure the Tank Before You Load It With Ice
The tank needs to stay planted on the base, especially when one side gets lighter as people grab drinks. A pair of ratchet straps or metal brackets is usually enough, and the hardware cost is small compared with the mess of a full tank shifting mid-roll.
I like a simple wood dolly with a non-slip pad between the base and the stock tank. You do not need fancy carpentry, just a stable platform that keeps metal from skating on smooth boards.
If you are using a hand truck, strap the tank tight and test it empty first. A rolling ice bar should feel solid, not like a backyard science project that might pitch forward on the first bump.
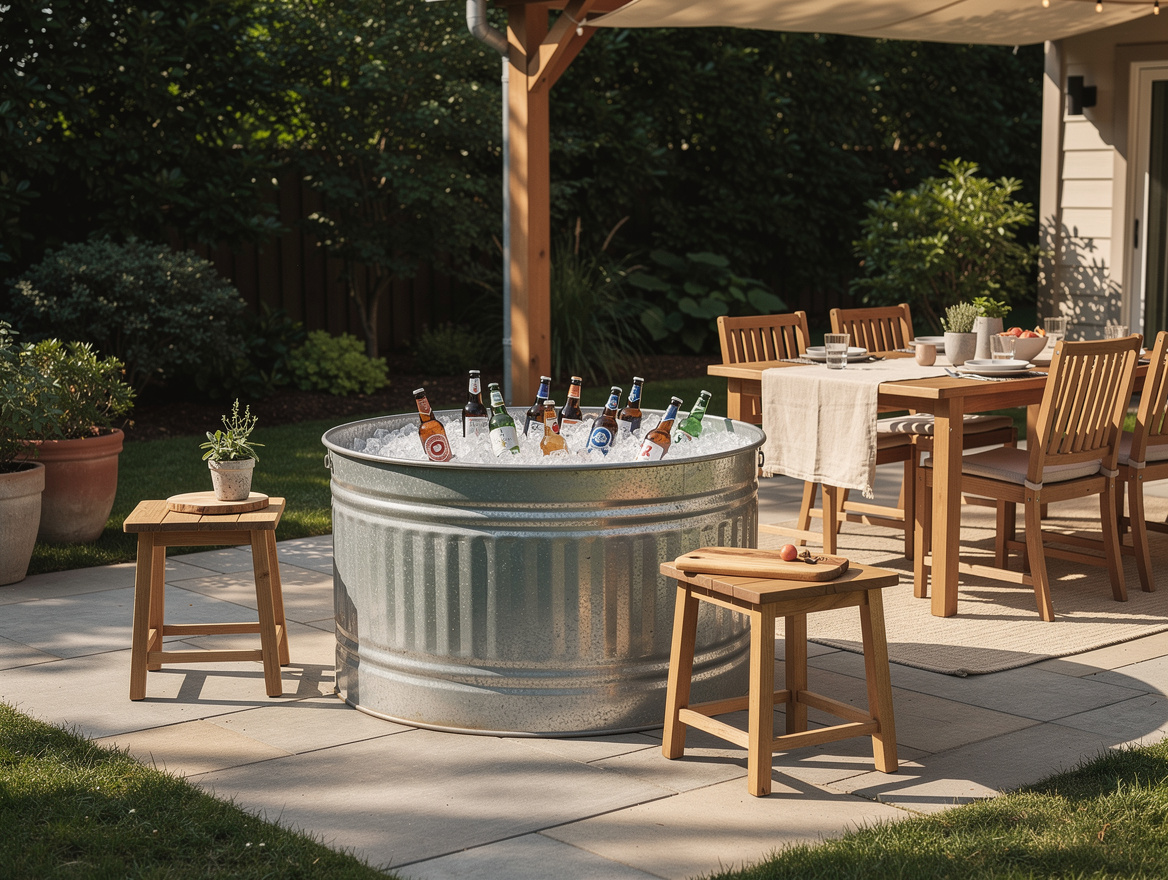
Style It Like a Bar, Not a Feed Trough
This project looks good when you stop pretending it is indoor decor and lean into the utility look. A matte black outdoor tray, a stack of clear cups, and one teak cutting board for limes or bottle openers do more than a pile of random accessories.
I would keep the palette tight. Galvanized metal, black, white, and one natural wood tone feel clean and intentional, while bright plastic extras can make the setup look cheap fast.
For add-ons, Target and Wayfair are useful for simple outdoor bar pieces, and IKEA usually has inexpensive bins or trays that help organize cans, mixers, and towels. You do not need much, because the tank itself already has presence.
One more practical call: park it in shade whenever you can. The most stylish ice bar in full afternoon sun still turns into a warm puddle sooner than you want.
I would buy the tank first, then match the base to its footprint instead of doing it backward. Get the rolling part right, add a drain plan, and the rest is just making a hardworking outdoor ice bar look intentional.
Mia Carter writes about small-space living and budget home makeovers. She has restyled three rentals and tests most ideas in her own 45 sqm flat.