My first outdoor kitchen was a rusted grill on a folding table that collapsed mid-burger. I almost hired a contractor for a $15,000 built-in before I realized: a serious grill cart, then a second one, gets you 80% of the function for maybe 5% of the cost. Here’s the exact progression I used, with real brands, typical prices, and the mistakes I made so you don’t have to.
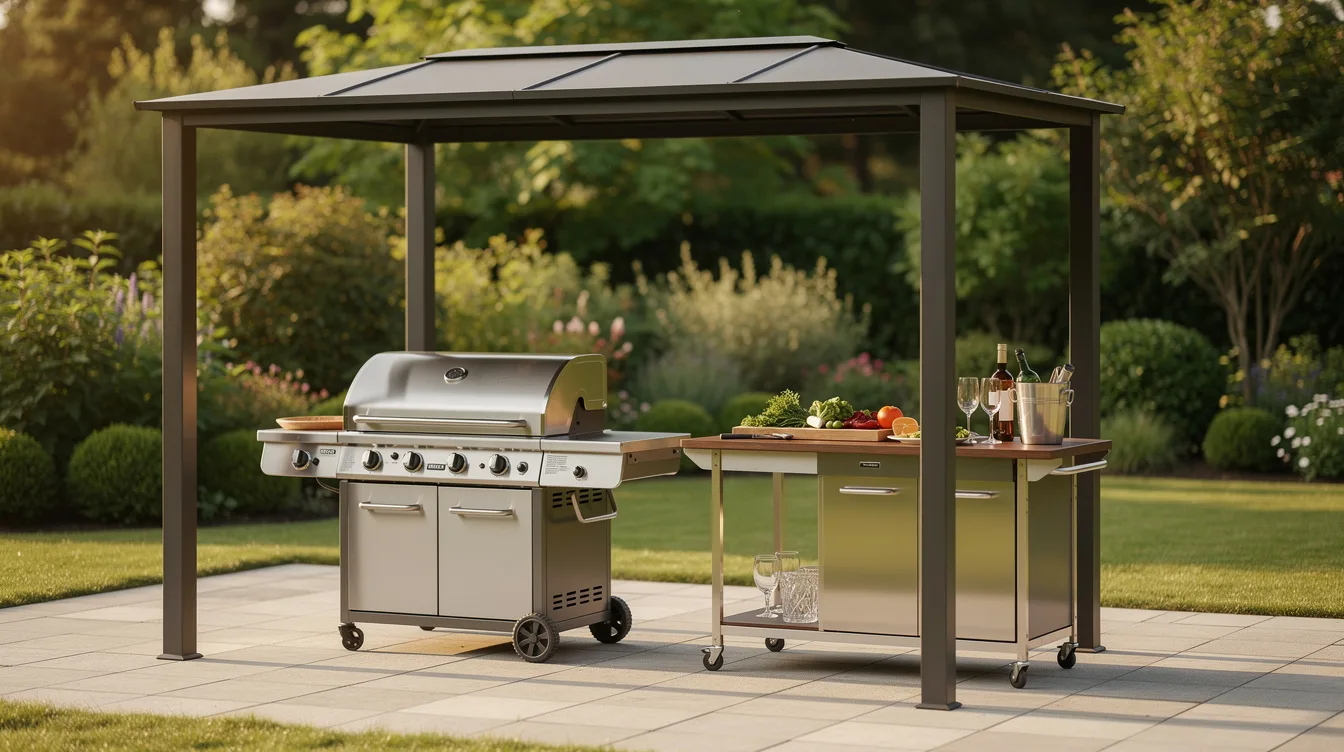
Pick a Cart That Earns Its Spot
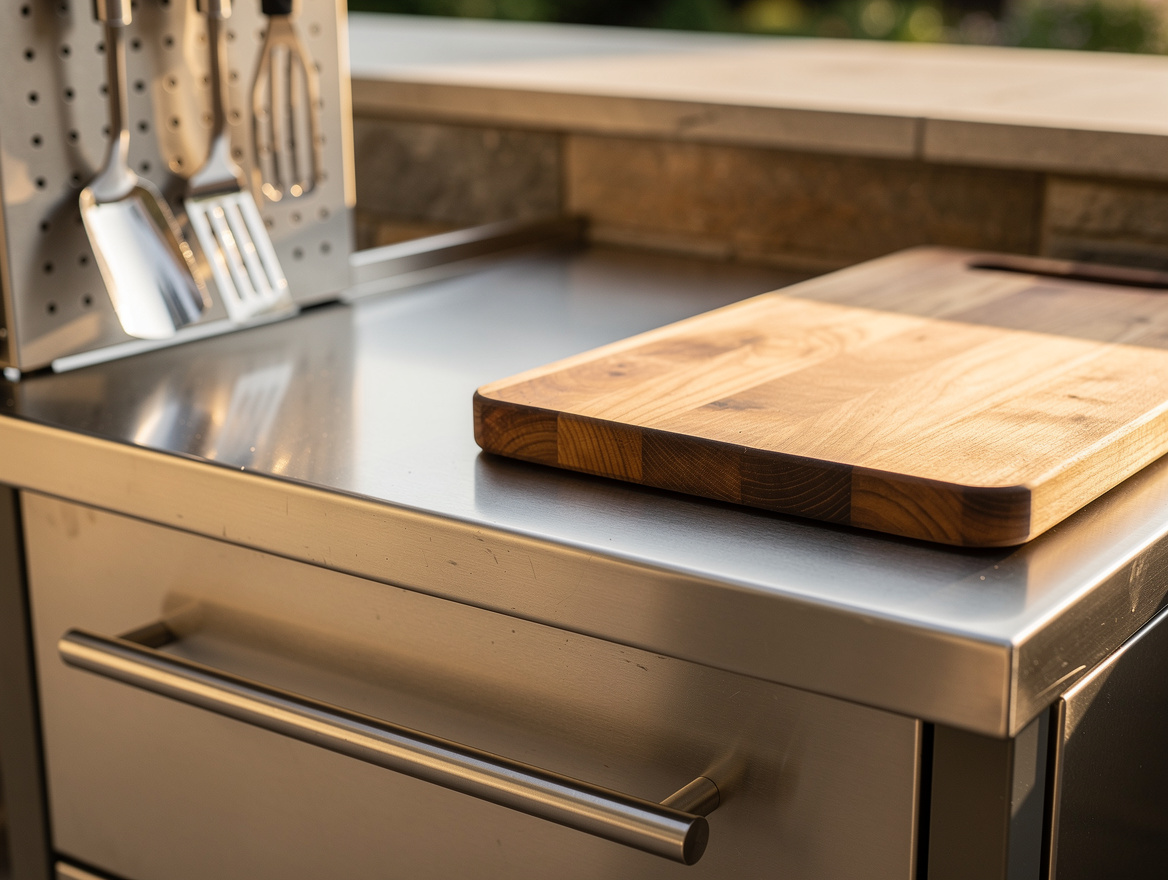
My first outdoor kitchen was a $89 Walmart steel cart that rusted out in one season. Lesson learned: start with powder-coated steel or stainless, lockable wheels, and at least one shelf below. The Royal Gourmet PC3403S runs about $280, $380 at Home Depot and gives you 40.79″ L × 23.35″ W of stainless worktop plus cabinet storage.
That’s actual prep space, not just a grill stand.
Generic Amazon carts hit $65, $160 for basic powder-coated models. The upgrade to stainless pays off if you grill twice a week. Typical sweet spot: $150, $400 for a cart you’ll keep past year two.
Lock Down Your Work Zone
You need 18, 24″ of flat counter beside the grill minimum. I cheaped out once with 12″ and nearly dropped a hot sheet pan on my foot. The foldable PE rattan carts at IKEA and Wayfair, around $200, $350, hit 63.9″ L with a flip-up wing that doubles prep space without eating patio square footage.
Look for a lower shelf rated for a 20-lb propane tank. Carts that hide the tank inside a cabinet look cleaner, but open shelves vent better. Your call.
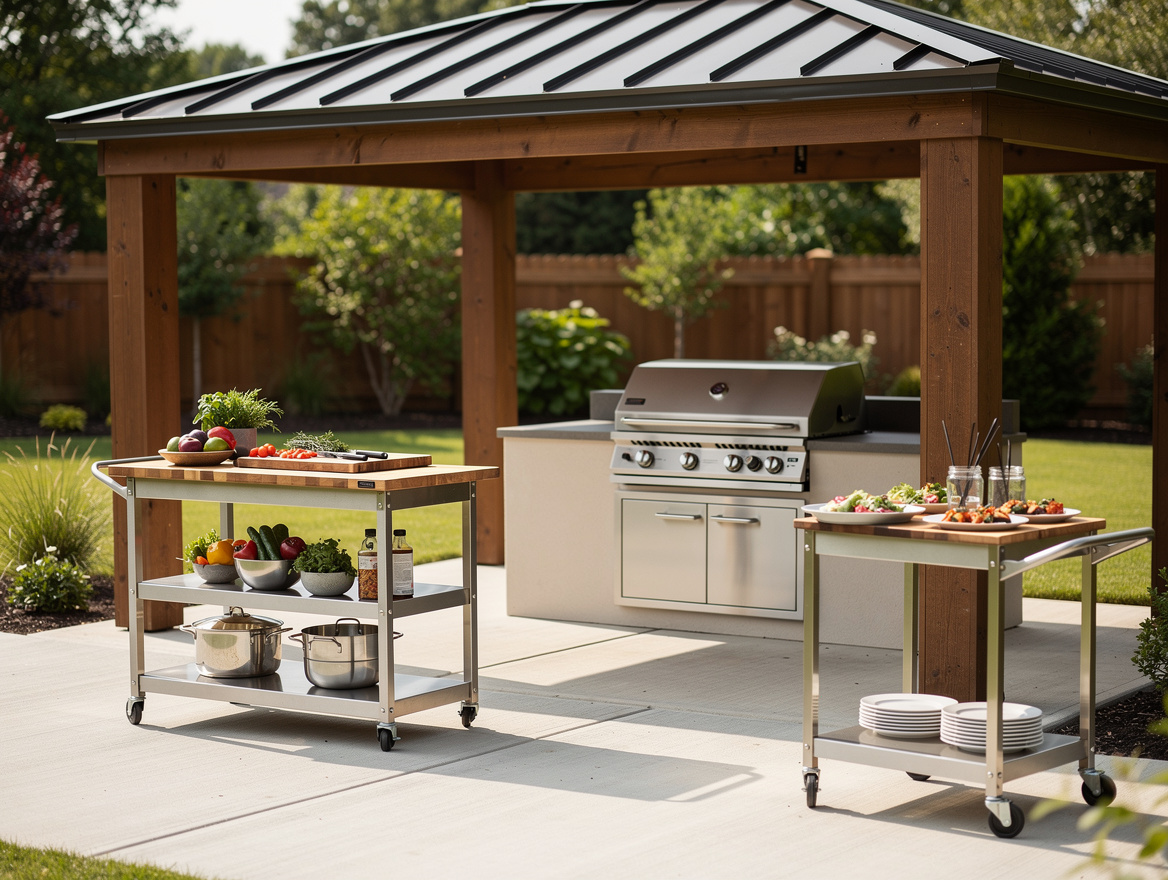
Add a Second Cart, Not a Built-In
Two carts beat one $3,000 island every time if you’re renting or might move. I paired my Royal Gourmet with a $120 Target stainless prep cart as a raw-ingredient station. Total layout: 7, 8 feet of kitchen line, under $500.
Restaurant-supply stainless tables from Amazon or WebstaurantStore work too. A 24″ × 48″ NSF table runs $90, $140, survives weather, and cleans with a hose. Ugly?
Throw a cedar cutting board on top.
Stack Vertical Storage
Carts eat floor space fast. I bolted a $35 Home Depot steel pegboard to my fence behind the grill zone. Hooks hold spatulas, thermometers, grill gloves.
A $25 Amazon Basics magnetic knife strip lives on the cart’s side panel. No drawer needed.
Above-cart shelving: the IKEA OMAR wire system at $50, $80 fits tight spots and doesn’t rot. I keep plates and oil in Target Room Essentials plastic bins, $8 each, stackable, rain-proof.
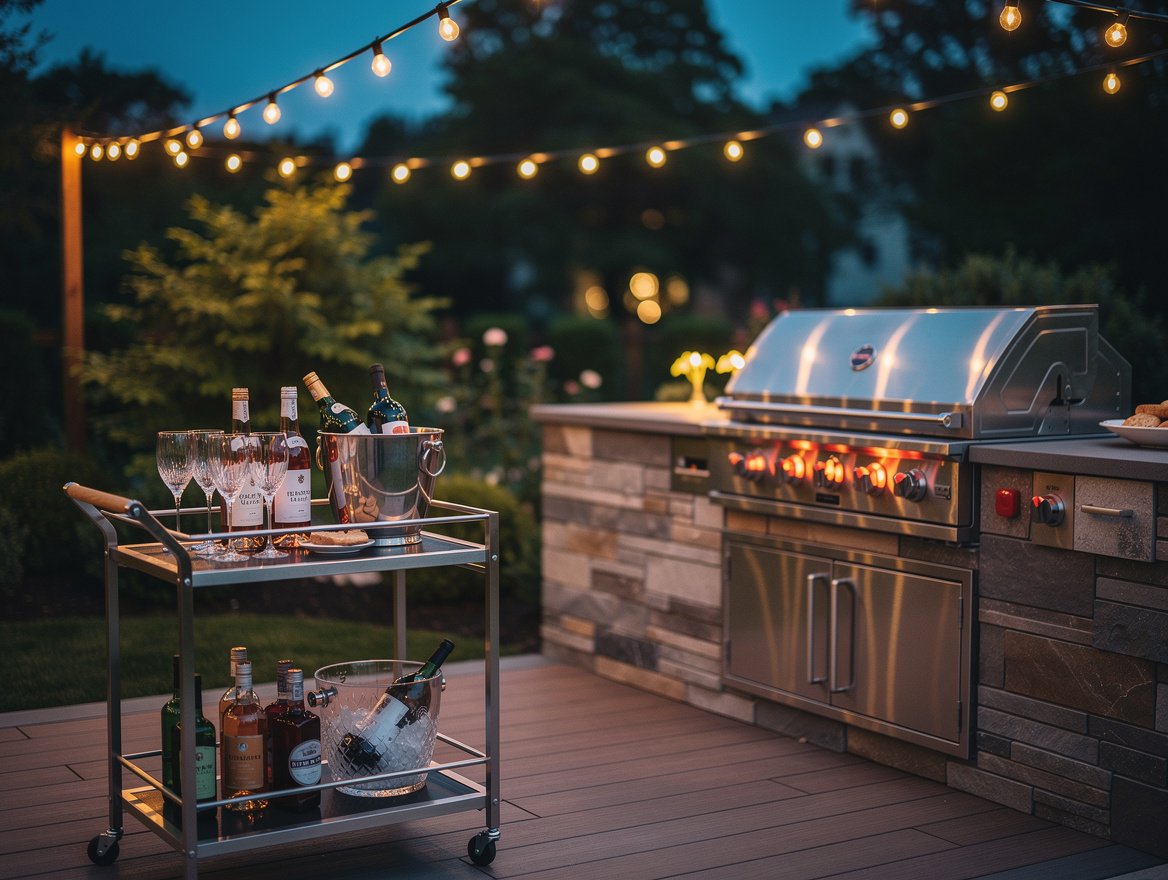
Build a Mini Bar on the Cheap
My third cart became a drink station. A $90 Wayfair rattan bar cart with a lower ice bucket shelf sits near the table. Guests don’t crowd the cook.
I added a $12 Lowe’s cedar cutting board as a drop-in bar top for slicing limes. Total bar module: under $120.
Skip the cart with built-in wine rack. Dead space. Flat surface wins every time.
Protect and Extend the Season
Two years in, I added a $180 Amazon Basics grill gazebo, 8 ft × 5 ft, steel frame, fabric roof. It covers both carts and the grill, no permit needed. Carts stay drier, I grill in light rain.
For winter, $25 Home Depot duck covers per cart. Stainless wipes down in spring. The gazebo folds flat if we need the yard open.
Flexibility I wouldn’t get with poured concrete and tile.
Know When to Stop Adding
My current setup: two carts, one gazebo, wall storage, $680 total over three years. It does 90% of what a $12,000 built-in would. The 10% I’m missing?
A sink and a fridge. A $45 Costco beverage cooler on the bar cart handles drinks. A hose and a basin handle cleanup.
If I had to pick one upgrade, I’d start with the second cart. Two zones, prep and serve, changes everything about how you cook outside.
If I had to pick one place to start, I’d grab a stainless cart with real storage and lockable wheels from Home Depot or Amazon, then force myself to cook ten meals on it before buying anything else. The second cart, and the outdoor kitchen, follows naturally.
Mia Carter writes about small-space living and budget home makeovers. She has restyled three rentals and tests most ideas in her own 45 sqm flat.