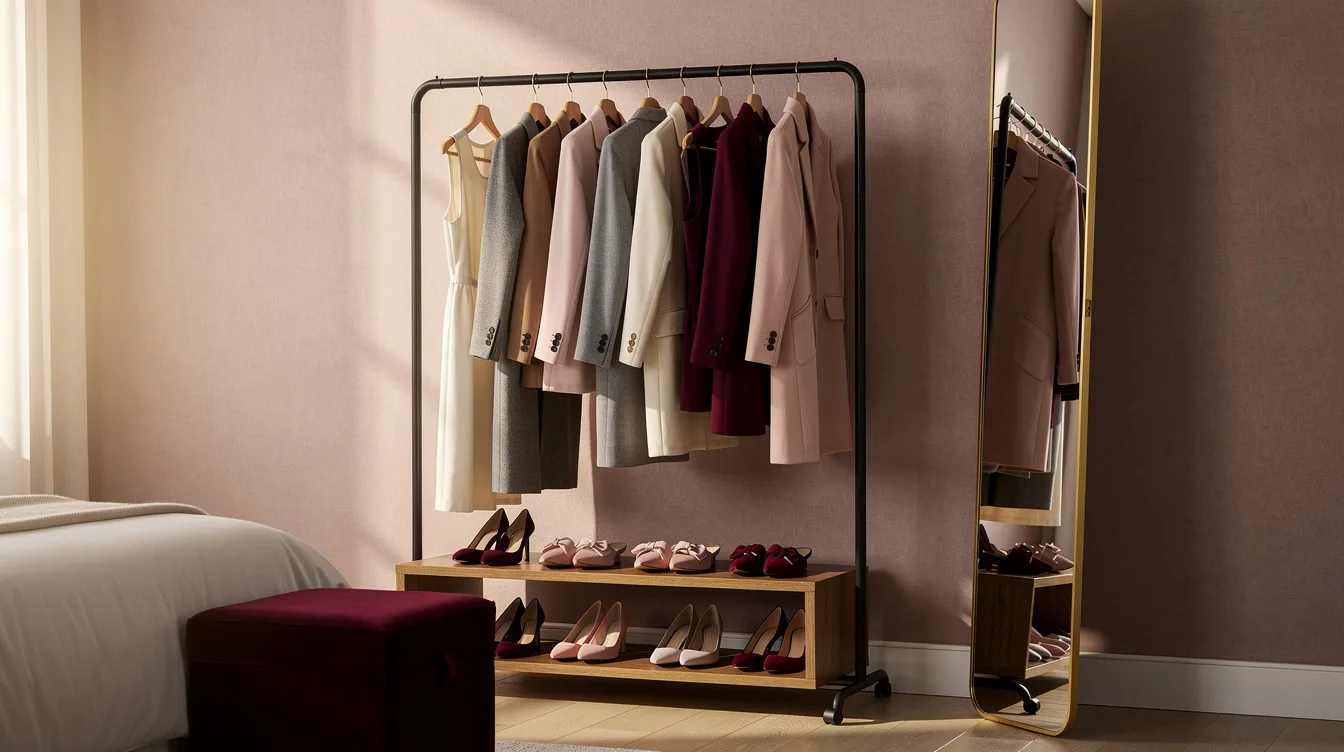
The first thing you see in a small bedroom should not be a tangled rail of yesterday’s outfits. A garment rack can become a useful open wardrobe zone when the hanging section, storage, shoes, mirror, and light each have a clear job.
A compact rack measuring about 99 centimeters wide can hold a focused daily wardrobe without swallowing the room. The real design mistake is treating open storage as permission to display everything.
When the visible edit is tight and the clutter is contained, even a budget setup feels like part of the room rather than an unfinished closet.
Edit the Rail Before Buying More Storage
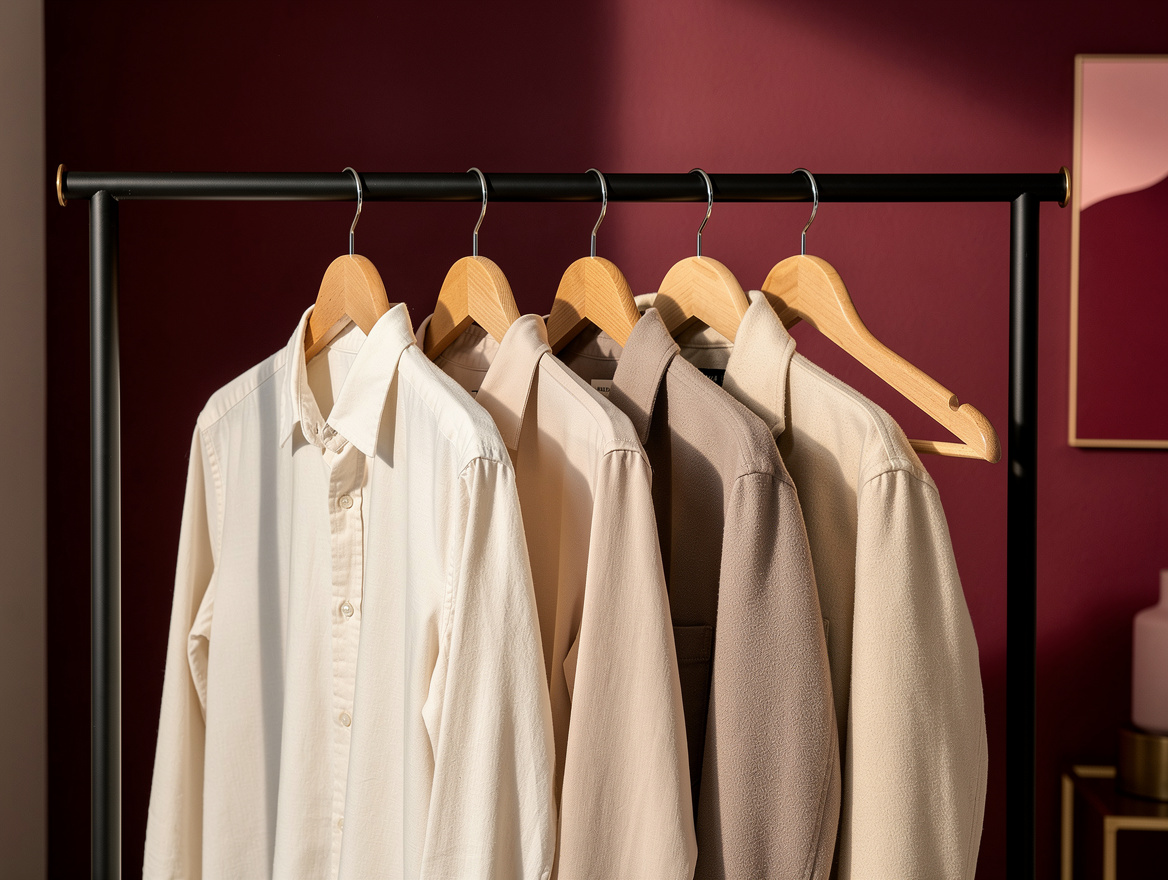
The rail should carry the clothes you reach for each week, roughly 20 to 35 hanging pieces, rather than every jacket you own. Wooden hangers keep shirts, trousers, and light jackets aligned, making the open wardrobe look deliberate.
A compact IKEA MULIG measures about 99 by 46 by 152 centimeters and is rated for about 20 kilograms; the reference price is around €9.99. That footprint works well in a studio, guest room, or rental where every inch matters.
Add two opaque boxes and narrow shoe trays below the rail, then store sleepwear, gym clothes, laundry, and off-season pieces elsewhere. A practical starter setup typically runs around €65 to €130 before a mirror, depending on the storage pieces you choose.
Give the Rack a Furniture Finish
A rack that remains visible every day needs a stronger visual presence than a temporary clothes rail. I prefer matte-black steel because it gives pale walls an outline and pairs naturally with wood, cane, or woven storage.
The more complete IKEA GRÅFJÄLLET includes shoe storage and measures about 90 by 36 by 175 centimeters, with a reference price around €69.99. It looks closer to a compact furniture piece, which makes it the better choice for a bedroom where the wardrobe stays exposed.
Keep the displayed clothing within a controlled color range, such as denim, cream, charcoal, and one accent shade. A visible oak shelf above the rail can hold folded knits, a small box, or one useful accessory without turning the top into a dumping ground.
Hide the Pieces That Create Visual Noise
Open storage works because the eye can quickly understand it, so underwear, socks, cables, and half-folded sleepwear should disappear. Use opaque storage bins for anything that looks fussy or arrives in mismatched packaging.
Place a narrow drawer unit beside the rack instead of forcing folded clothes onto the hanging bar. A simple Target fabric bin can hold scarves and belts, while a lidded box above the rail handles seasonal accessories.
Leave some breathing room between folded stacks and the ceiling. My firm rule is to fill the rack only after the hidden storage has a job, because visible overflow makes even a well-priced setup feel temporary.
Build a Clear Dressing Path
Allow about 80 to 90 centimeters of open space in front of the rack so you can stand, open drawers, and change clothes without turning sideways. A full-length mirror at one end makes the zone function like a small dressing area instead of a freestanding rail.
Keep the mirror close enough to reflect the clothing but far enough away that the rail does not block its view. A typical Amazon mirror can lean against the wall, which is useful in a rental where drilling is not an option.
Add warm light near the upper rail, especially if the rack sits in a dark corner. A short warm LED strip or a plug-in lamp makes color matching easier and gives the clothes a softer appearance at night.
Match Hanging Space to Clothing Length
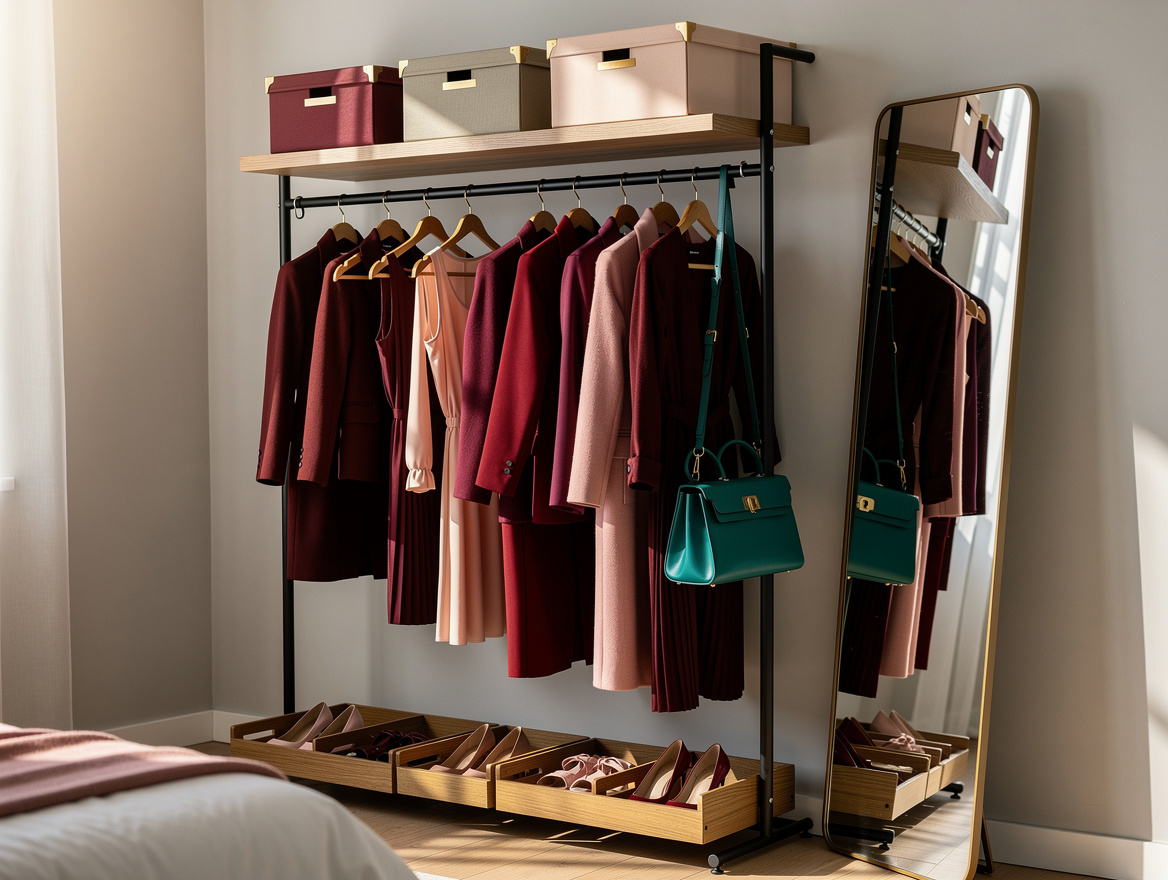
Sort the rail by garment length before choosing the final layout. Long coats, dresses, and jackets need one clear hanging section, while shirts and folded trousers can share a double-hang rail when the rack has enough vertical height.
For a fuller open wardrobe, plan about 80 to 100 centimeters for long-hang clothing, another 80 to 120 centimeters for shorter garments, and roughly 40 to 80 centimeters for folded storage. Powder-coated steel is the sensible material here because it handles daily use without looking delicate.
Keep shoes in a low row rather than scattering them around the room. A slim wooden bench gives boots a place to sit beneath the rail and provides a useful surface for dressing without adding another bulky cabinet.
Anchor the Zone With Light and Texture
A garment rack looks intentional when it has a visual boundary. Set it against one wall, repeat one finish in the nearby mirror or lamp, and use black metal hardware to connect the separate pieces.
A typical zone needs about 100 to 140 centimeters of wall width, 45 to 55 centimeters of depth, and roughly 175 to 190 centimeters of height. If you add a mirror and a drawer unit, reserve around 160 to 220 centimeters of total wall length so the area does not feel squeezed.
Finish with one tactile layer, such as a woven basket or a washable runner under the rack. The goal is a calm landing spot for tomorrow’s clothes, not a display of every item you own.
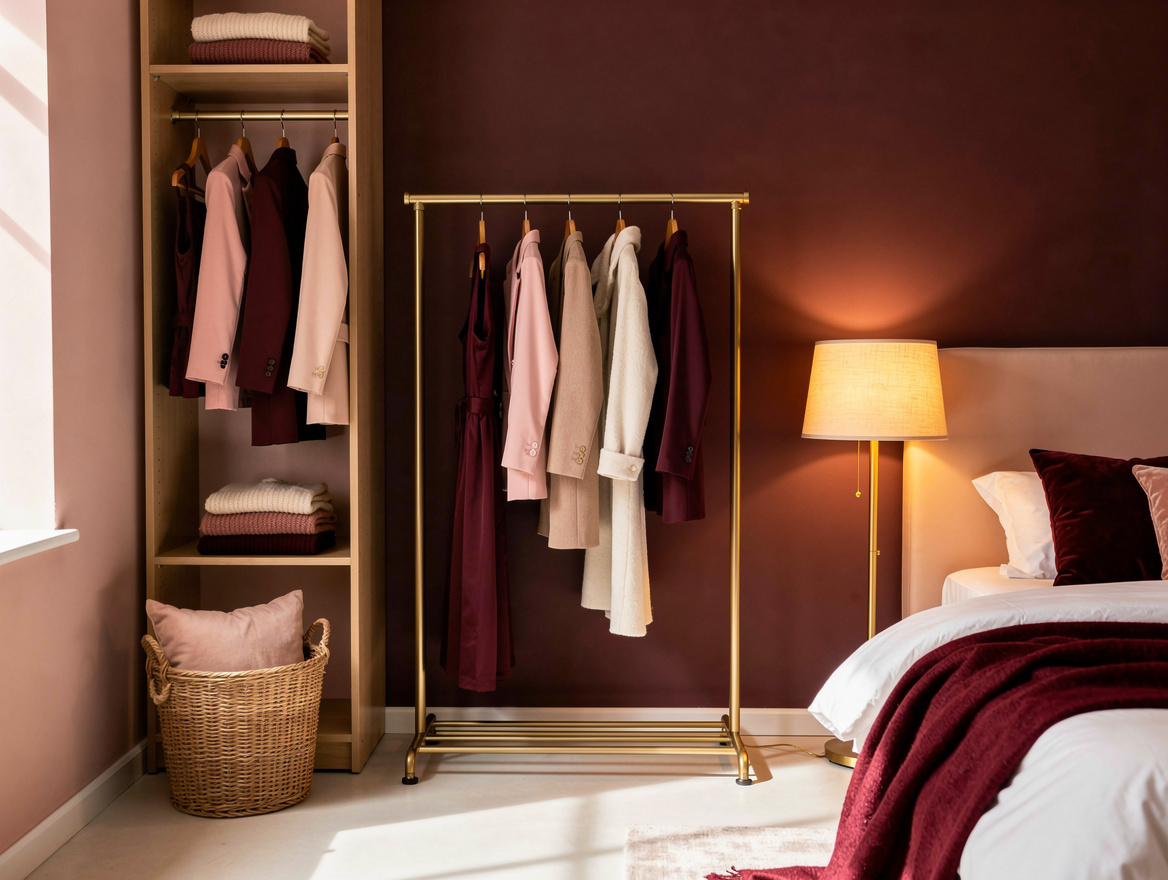
Start by removing half the clothes from the rail, then add hidden storage and light around what remains. The rack will look finished when getting dressed takes less effort than putting everything away.
Mia Carter writes about small-space living and budget home makeovers. She has restyled three rentals and tests most ideas in her own 45 sqm flat.