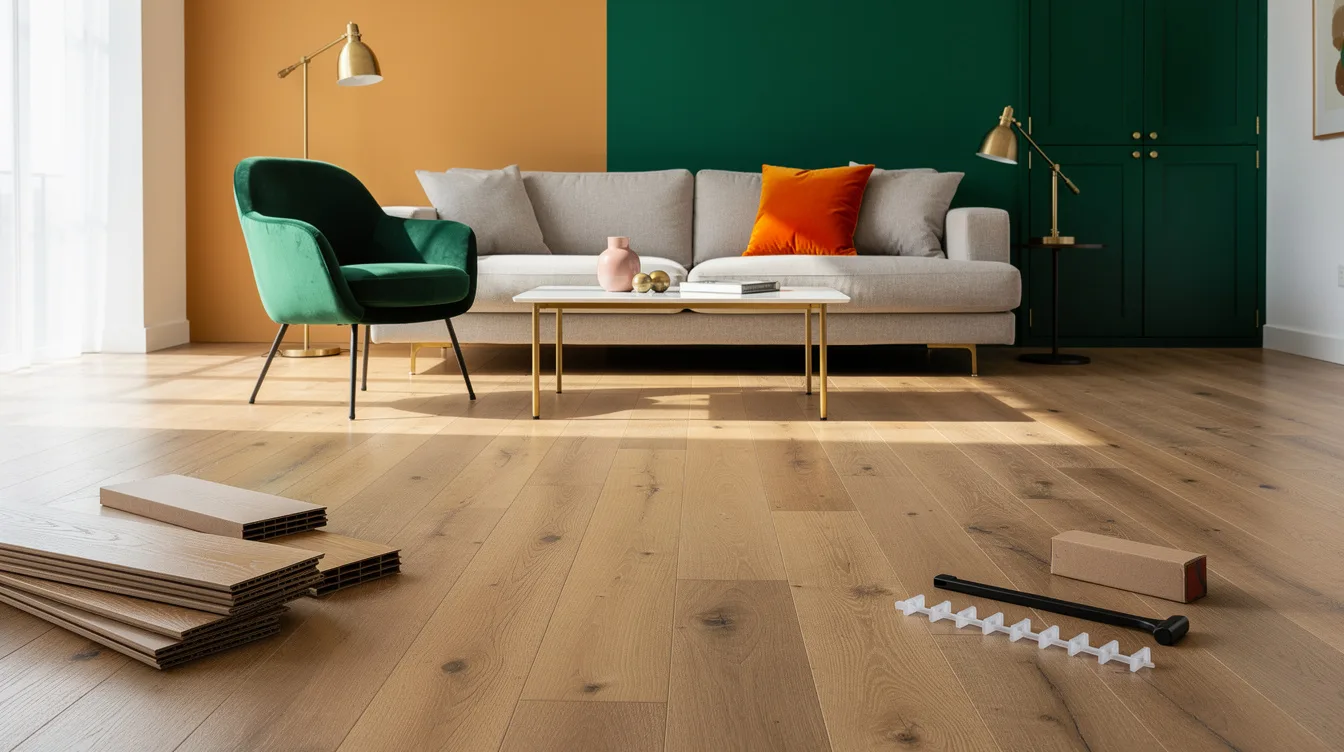
A tired floor can drag down the whole room, even when the sofa is fine and the walls are freshly painted. In a typical space of about 215 square feet, a DIY floor refresh can cost roughly $450 to $1,100 in materials, which is why choosing the right method matters.
The best move right now is not one single product for every room. I would use floating plank flooring for the areas you live in most, then save paint, stencil, or peel-and-stick for the smaller zones where speed and budget matter more.
Cover Big Rooms With Click Planks
For living rooms and bedrooms, I would start with click-lock LVP before anything else. It gives you the biggest visual reset for the least mess, and typical 2026 options run about $2 to $5.50 per square foot depending on thickness and wear layer.
A plank around 7 to 9 inches wide and roughly 48 inches long usually looks more current than tiny strips. That scale reads calmer on the floor, especially in average suburban rooms where busy grain can make everything feel cheaper.
Home Depot and Lowe’s both carry DIY-friendly floating floors that can go over existing hard surfaces when the base is flat enough. I like this route because you skip demolition, you skip dust, and the room looks finished in a way paint alone rarely does.
Measure the Surface Before You Buy Anything
The smartest floor makeover starts with a tape measure, not a shopping cart. A typical room of about 215 square feet can land somewhere around $450 to $1,100 in materials, so one bad estimate gets expensive fast.
Check for humps, broken tile corners, and soft spots before you order underlayment foam or planks. Floating floors forgive a dated look, but they do not forgive a wavy base.
I would also dry-plan your layout so you do not end up with a skinny final row by the wall. That one detail separates a weekend DIY from a floor that always looks slightly off.
Use Peel-and-Stick Only Where It Actually Wins
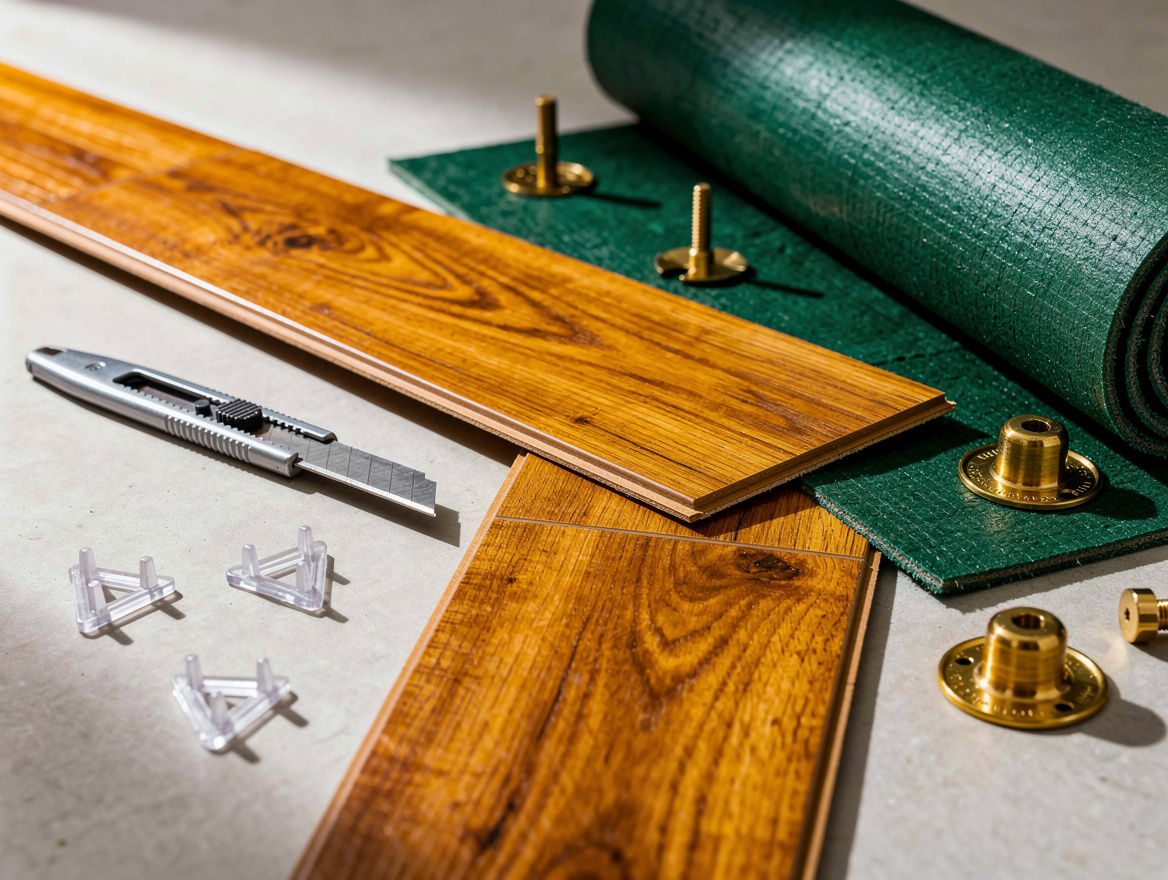
Small zones are where peel-and-stick vinyl tile still earns its keep. In an entry, laundry corner, mud nook, or rental kitchen, a material that costs about $1 to $2 per square foot can solve an eyesore without turning into a full renovation.
The classic sizes, around 12 by 12 inches or 18 by 18 inches, are easy to cut and easy to replace later. I would not use them in a large open living area because the seams tend to give the budget away.
Amazon, Walmart, and Target all have renter-friendly options for small footprints, and that is exactly how I would use them. Keep the pattern simple, keep the room compact, and they can look surprisingly clean.
Paint or Stencil the Worst Tile, Do Not Rip It Out
When the tile is ugly but still solid, floor paint is the cheapest visual rescue on this list. A paint-and-stencil approach usually lands around $0.50 to $1.50 per square foot once you spread primer, paint, and sealer across the room.
This works best in bathrooms, laundry rooms, enclosed porches, and other smaller spaces where you want character more than resale theater. The finish has to be sealed well, but the payoff is real when the old pattern is what makes the whole room feel stuck.
I would buy the supplies from Ace Hardware or Home Depot and spend more time on prep than on the stencil itself. A rushed paint job chips early, and nothing looks sadder than a clever pattern over a dirty surface.
Finish the Edges So the Floor Looks Intentional
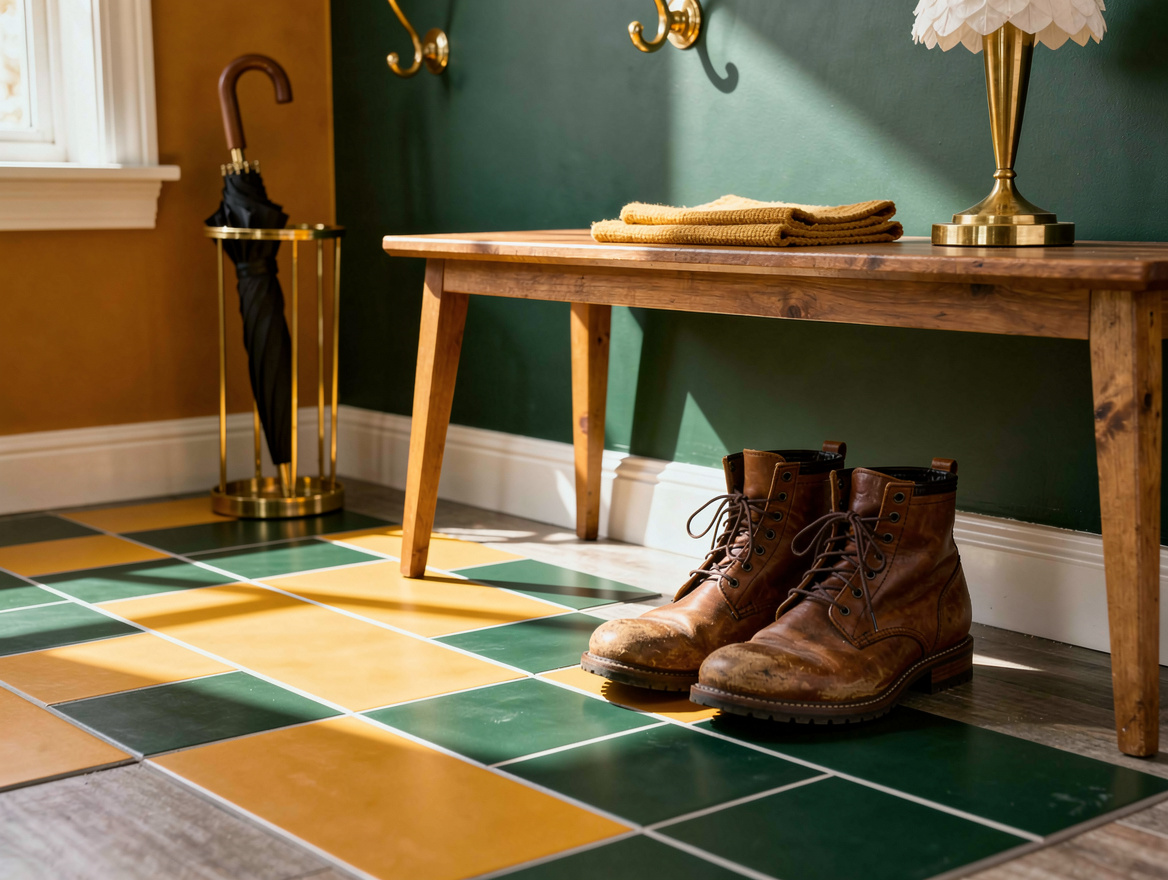
Most DIY floors fail at the perimeter, not in the middle. A decent field of planks can still look amateur if you ignore T-molding, thresholds, and expansion gaps.
This is where people get cheap in the wrong place. Spend the extra money on matching trim pieces, stair noses if needed, and clean transition strips at doorways, because those details are what your eye reads every single day.
quarter-round trim can help when baseboards stay in place, but I think removing and reinstalling the baseboard usually looks better. It takes longer, yet the room instantly loses that flip-house feeling.
Buy for Wear Layer and Thickness, Not Fake Character
Do not get distracted by trendy names and overworked rustic finishes. For LVP, a wear layer around 12 to 20 mil and total thickness around 4.5 to 6.5 mm is a more useful guide than whatever marketing phrase sits on the box.
For laminate, roughly 8 to 12 mm usually feels sturdier underfoot than thinner budget boards. I would take a quieter, simpler oak-look plank over a hyper-distressed style every time because calm floors give you more freedom with rugs and furniture.
Costco, Lowe’s, and Wayfair can all be good sources when the specs are right, but I would still order samples if possible. Floor color changes fast between a website, a store aisle, and natural light at 3 p.m. In your actual room.
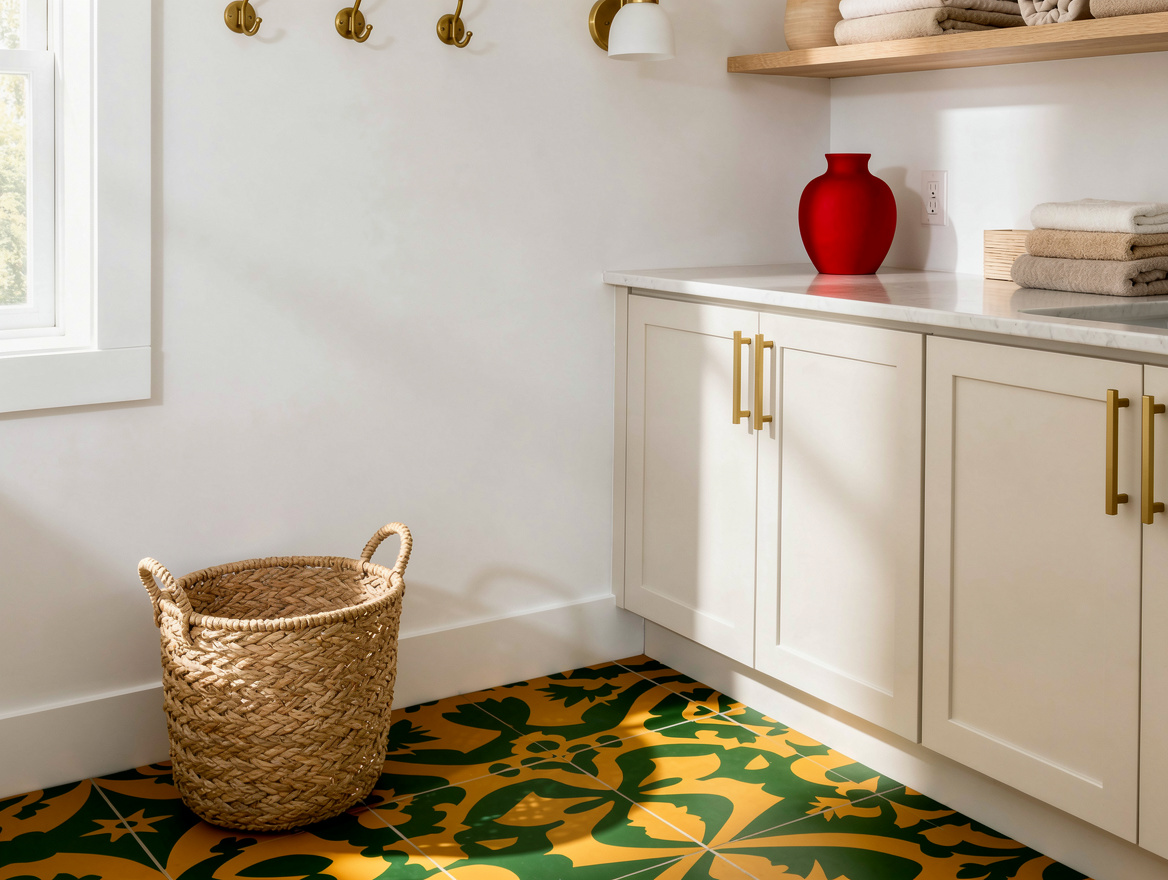
Start with the room you see first when you walk in, then match the method to the traffic level instead of forcing one solution everywhere. A solid entry floor makeover often does more for the house than chasing the biggest room first.
Mia Carter writes about small-space living and budget home makeovers. She has restyled three rentals and tests most ideas in her own 45 sqm flat.