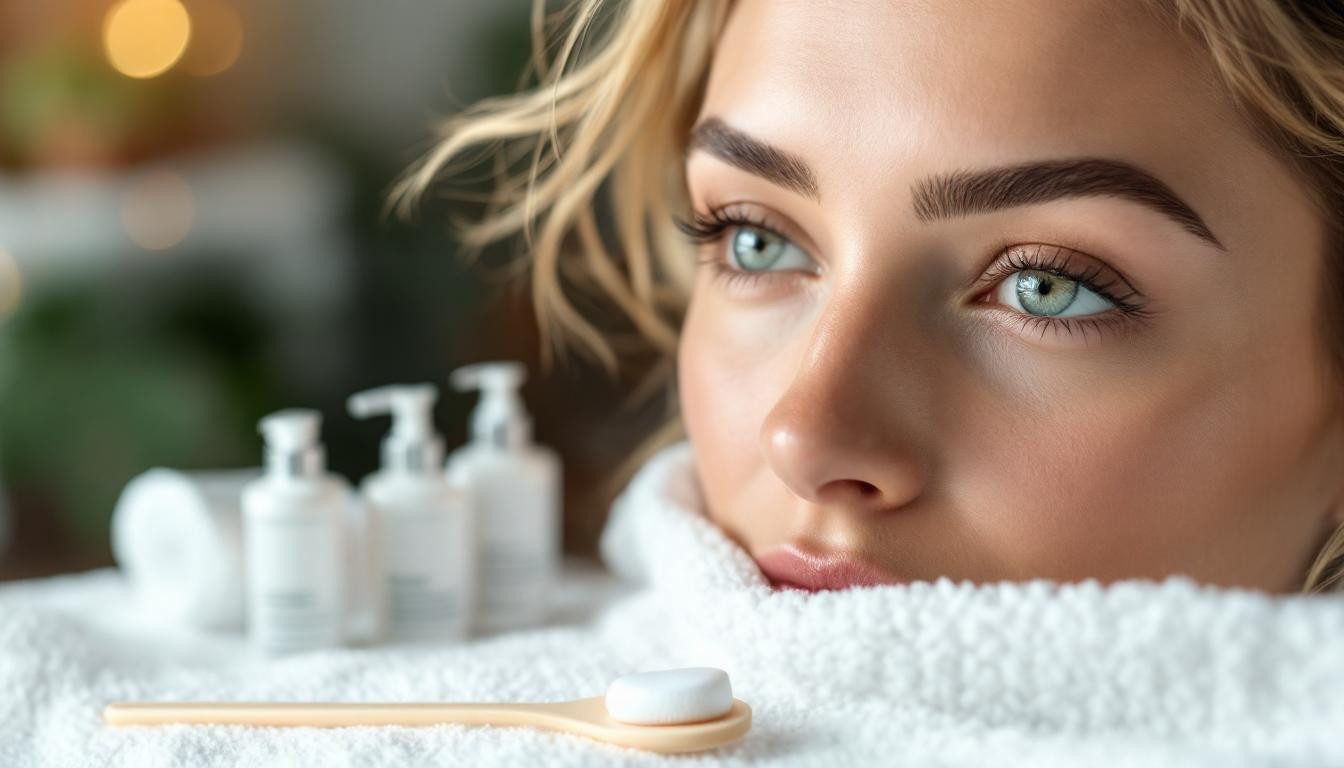
Ever wondered why some microbladed brows heal perfectly while others fade quickly or become infected? The secret lies in meticulous aftercare. As someone who’s helped countless clients navigate this delicate healing process, I’ve seen firsthand how proper post-procedure care makes all the difference between stunning, long-lasting results and disappointment.
The critical first 24 hours after microblading
Your microblading journey doesn’t end when you leave the salon—it’s just beginning. Dermatologist Dr. Elena Winters explains, “Those first 24 hours are crucial because the skin barrier has been compromised, making it particularly vulnerable to bacterial infection and pigment loss.”
Keep the area completely dry during this initial period. Blot the brows gently with a clean paper towel every few hours to absorb excess lymph fluid, which prevents heavy scabbing and ensures better pigment retention.
Your daily aftercare ritual for optimal healing
Establishing a consistent aftercare routine is essential for maintaining those crisp, defined strokes. Think of your healing brows as delicate seedlings that need the perfect balance of care—not too much, not too little.
“I tell my clients to imagine their new brows as a fresh tattoo on very thin, sensitive skin. The gentler you are during healing, the more vibrant and defined your results will be,” shares Jessica Martinez, master microblading artist at Arch Perfection Studio.
The moisture balance: avoiding the dry vs. over-moisturized trap
Finding the right moisture balance is tricky but essential. Too dry, and your skin cracks, affecting pigment retention. Too moist, and you risk infection or blurred strokes. A thin layer of recommended aftercare ointment applied with clean fingertips provides the perfect environment for healing.
I once had a client who liberally applied coconut oil to her fresh microblading, thinking more moisture meant better healing. Unfortunately, this excessive moisture caused her pigment to blur significantly, requiring extensive correction work.
Preventing infection without compromising results
The healing skin becomes a potential gateway for bacteria. Follow these infection-prevention essentials:
- Wash hands thoroughly before touching the area
- Avoid makeup and skincare products near the brows for 14 days
- Skip swimming pools, hot tubs, and saunas during healing
- Sleep on a clean pillowcase, changing it daily if possible
The surprising impact of diet on microblading healing
What you eat directly affects how well your brows heal. Proper hydration and a diet rich in healing nutrients accelerate recovery and improve pigment retention. Some clients have noticed that reducing sodium intake significantly decreased post-procedure swelling, leading to crisper, more defined results.
Navigating the flaking phase without panic
Around day 5-7, your brows will begin flaking. This natural process often causes alarm, but it’s actually a sign of proper healing. The key is letting those flakes fall naturally, like autumn leaves dropping from a tree—picking or scratching will remove pigment along with the scabs.
Long-term care for lasting results
Once fully healed, protect your investment with these maintenance tips:
- Apply SPF 30+ sunscreen daily to prevent fading
- Avoid harsh exfoliants and check skincare ingredients that may accelerate fading
- Schedule a touch-up session 6-8 weeks after initial healing
Remember that even with perfect aftercare, some fading is natural. Most clients find that following a consistent routine makes all the difference in maintaining those picture-perfect brows between touch-ups.
Are you ready to ensure your microblading investment pays off with beautiful, infection-free results? Your brows deserve this level of attention—they frame your face and express your emotions every single day. Treat them with care, and they’ll reward you with years of effortless beauty.
