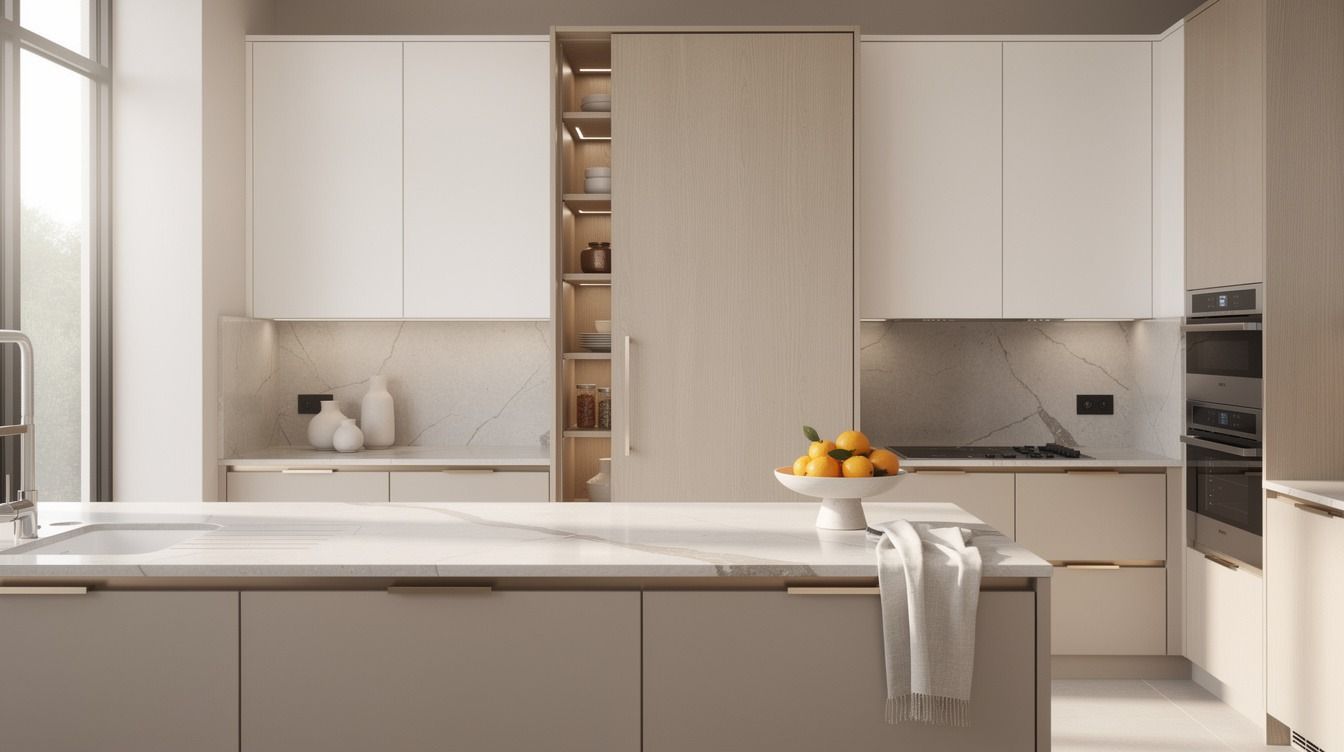
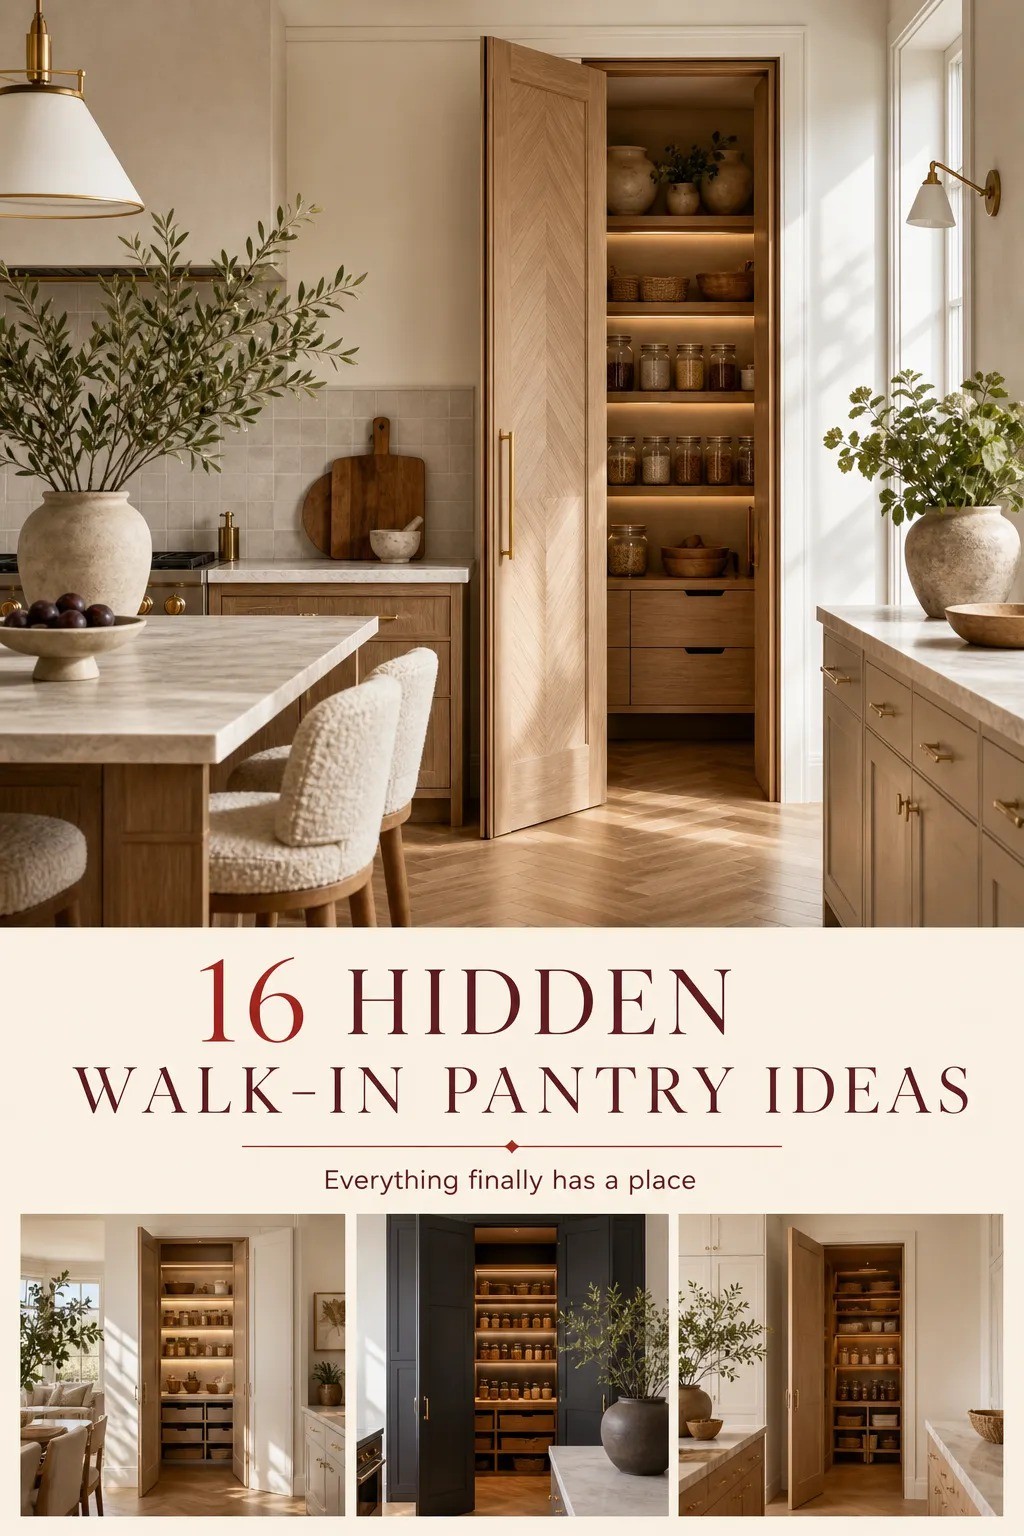
Hidden walk-in pantry ideas work best when you plan the shell first, and a typical cosmetic kitchen update lands around $300 to $1,500 in the US. I learned that the hard way after trying to style storage before fixing the door line, and the whole thing kept reading like an afterthought. If you want a walk-in pantry from kitchen access that disappears when it’s closed, the order matters.
And the order matters more than most people think. A lot. Honestly, the cost of getting it wrong is bigger than the budget for getting it right.
I’ve watched homeowners blow $8,000 on a remodel because they painted the door last, then realized the new pantry face shouted louder than the rest of the kitchen.
- Start with a cabinet-matched concealed pantry door
- Where should a hidden pantry door actually land?
- Frame the doorway with full-height kitchen panels
- Paint the hidden door in matching cabinetry
- Add push-latch hardware for a seamless reveal
- Run floor tile straight into the pantry
- What does shallow entry shelving actually look like?
- Layer deep storage along the back wall
- Install vertical dividers for trays and boards
- Hang brass rails for baskets and towels
- Tuck small appliances behind pocket doors
- How much does pantry lighting actually add?
- Style glass jars on the eye-level shelf
- What’s the smartest way to reach upper storage?
- Hide outlets inside a baking station
- Finish with one beautiful countertop zone
1Start with a cabinet-matched concealed pantry door
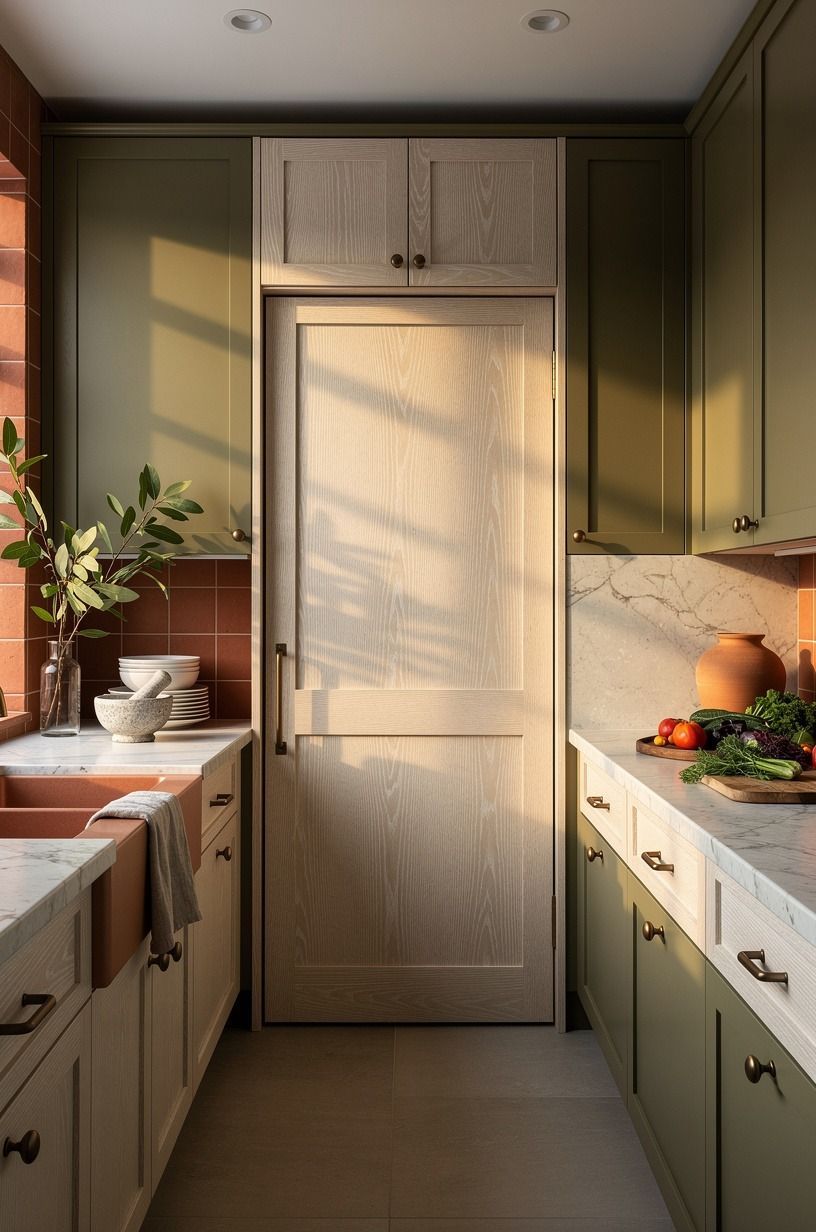
Your hidden kitchen pantry walk-in starts at the door, because if the door reads like a door, the illusion is over before you even stock the first jar. I like beginning with a slab that can take the same profile, paint, and panel detail as the surrounding fronts, especially in a kitchen with olive-painted shaker cabinetry and warm terracotta tile underfoot. When the face matches, your eye keeps moving instead of stopping at the opening, and that’s the whole point of a concealed pantry door treatment.
You don’t need a giant build here, but you do need discipline. Match the stile width, copy the rail spacing, and keep the reveal lines identical to the nearby cabinet run.
If the rest of the kitchen uses a painted finish like Sherwin-Williams Evergreen Fog SW 9130, carry it straight onto the concealed door and stop treating the pantry like a separate room. I once tested a slightly glossier pantry finish because I thought it would wipe down better.
Bad call. The light caught it every single time, and I had to repaint inside a month.
If you’re still deciding how hidden you want the entrance to feel, this behind-the-kitchen pantry approach is a smart reference because it keeps the visual line calm and cozy. For most kitchens, a cosmetic tier is enough to get the look started without breaking the budget, and the door is one of the highest value moves per dollar in the whole project!
2Where should a hidden pantry door actually land?
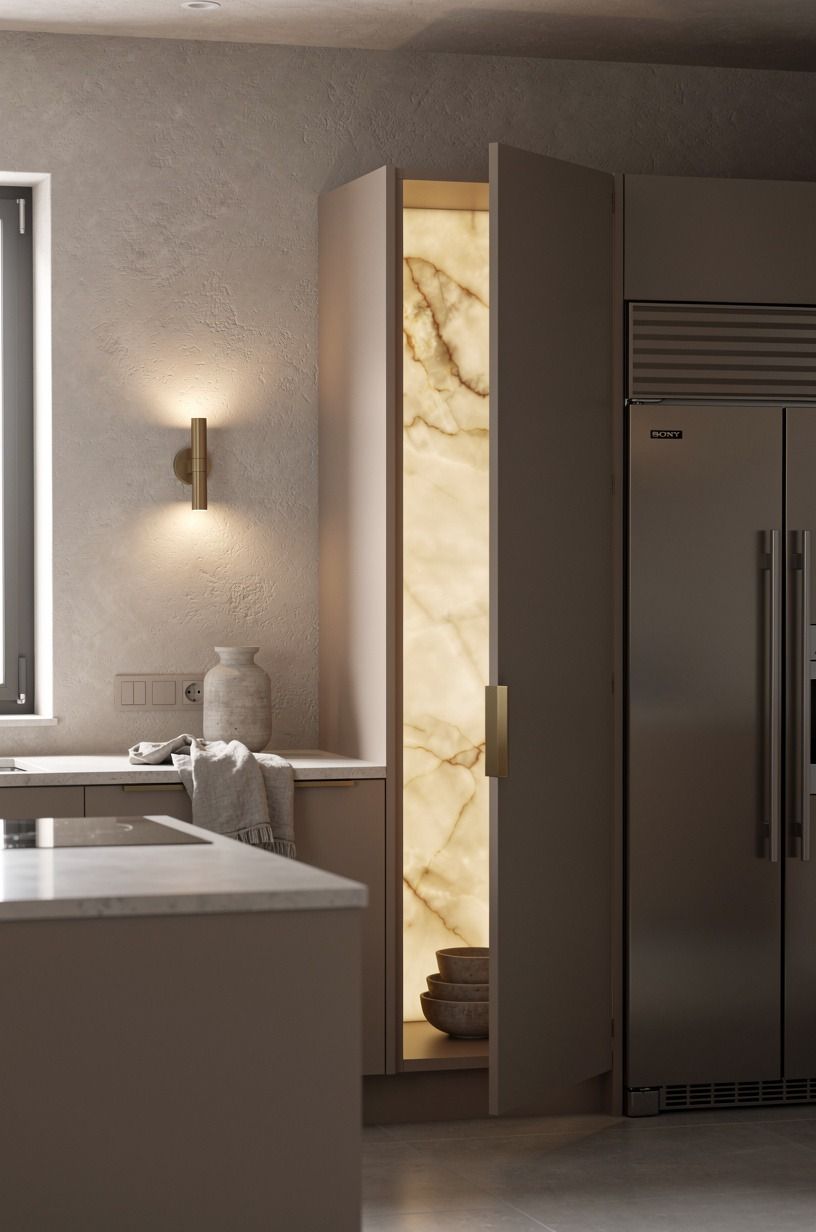
Next, place the concealed opening where a full-height interruption already makes sense to you.
3Frame the doorway with full-height kitchen panels
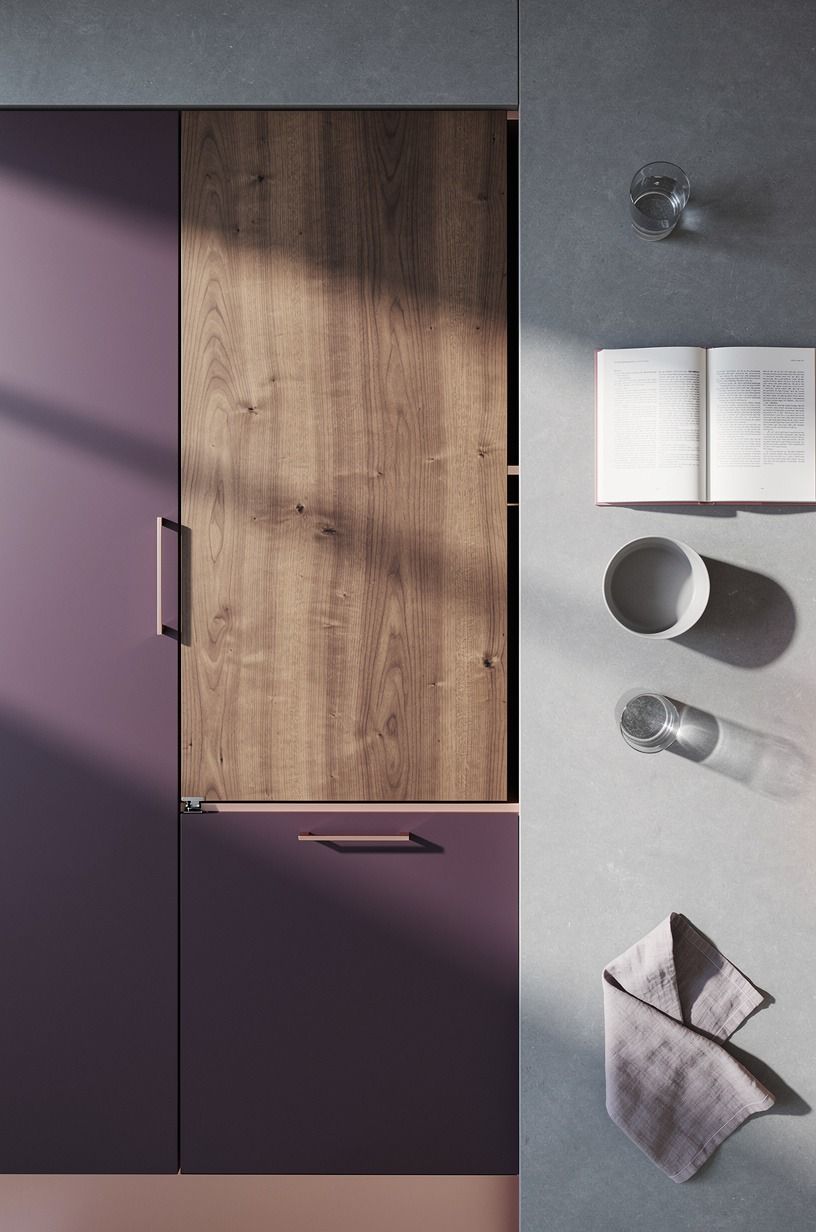
Once the location is set, give the opening architectural cover. Full-height panels are what make a concealed pantry feel built-in, especially when you use them from floor to crown in a walk-in pantry from kitchen layout with tall storage nearby. I think of this as the Panel Wrap Rule: if the eye can read one uninterrupted skin, you win.
Book-matched grain helps if you’re using wood veneer, but painted kitchens benefit too. Let the surrounding faces rise in one continuous field, then hide the jamb inside that panel language with rift-cut white oak veneer or painted MDF cut to the same thickness as the cabinet end panels.
You don’t want a fussy trim package here. I’d skip decorative casing, honestly, because casing tells the truth about where a room begins, and the whole point is to blur that line into a soft, timeless transition.
If you like the quieter look of integrated hidden entries, this behind-the-kitchen hidden pantry guide shows why full-height cladding pays off. Keep the panel rhythm consistent on both sides of the opening or you’ll create a visual hiccup you can’t unsee. The bold cabinet faces keep the room dramatic without trying.
4Paint the hidden door in matching cabinetry
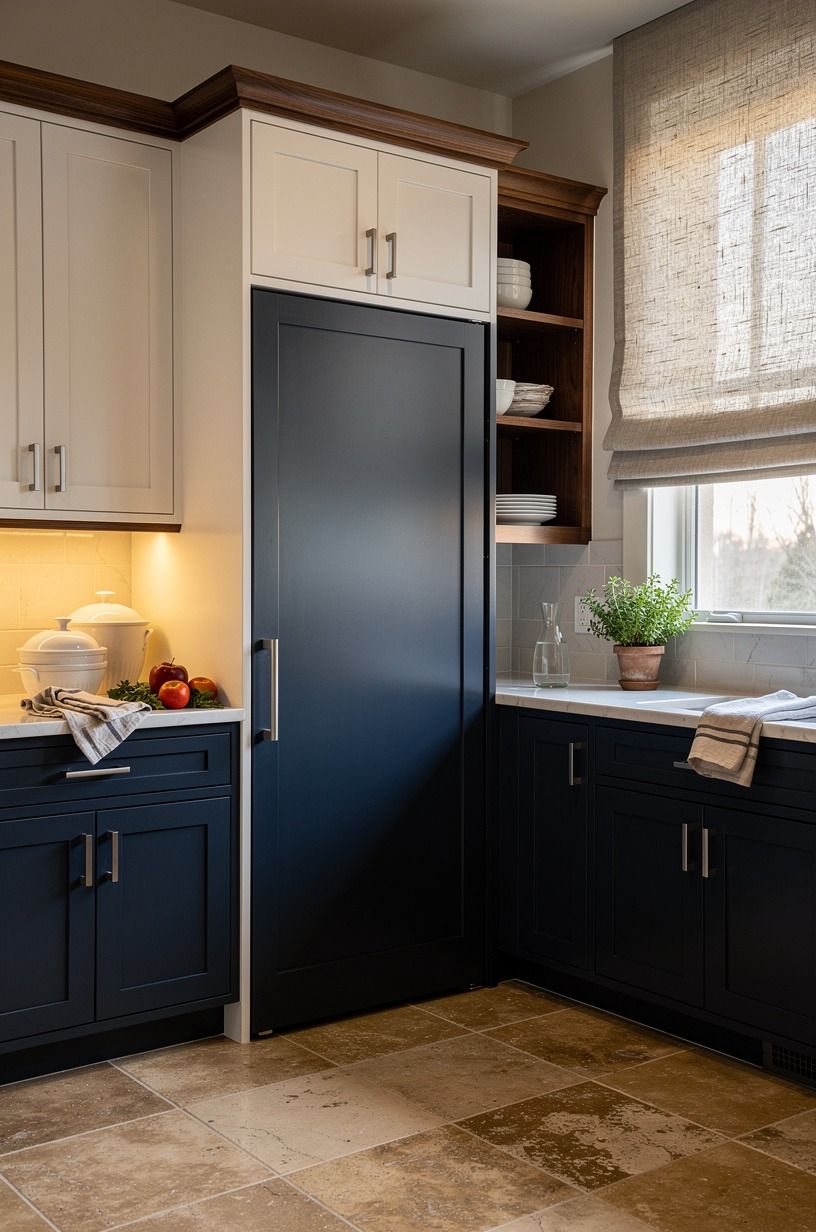
Color is where so many concealed pantries fall apart. You can have the right door slab, the right hinges, and the right panel profile, but if the pantry face misses the kitchen color by even one undertone, your amazing pantry walk-in suddenly looks patched on. That’s why I always sample the actual kitchen finish on the pantry face, not a close-enough swatch.
In a navy and white kitchen, a hidden door finished in Benjamin Moore White Dove OC-17 only works if the adjacent cabinets already live in that soft warm white. In a deeper palette, Farrow & Ball Studio Green No. 93 gives you that old-house depth, but only if you carry it onto the nearby fronts and not just the door alone.
Don’t split the difference with a custom almost-match because you got nervous. An almost-match is easier to notice than a bold exact color, and that’s worth the small splurge on a sample pot of Aura Bath & Spa in the real sheen.
If you’re comparing painted concealment ideas, this hidden pantry entry reference is worth saving for later. Your goal isn’t to decorate the door. It’s to erase it, and a soft, well-matched finish is affordable peace.
5Add push-latch hardware for a seamless reveal
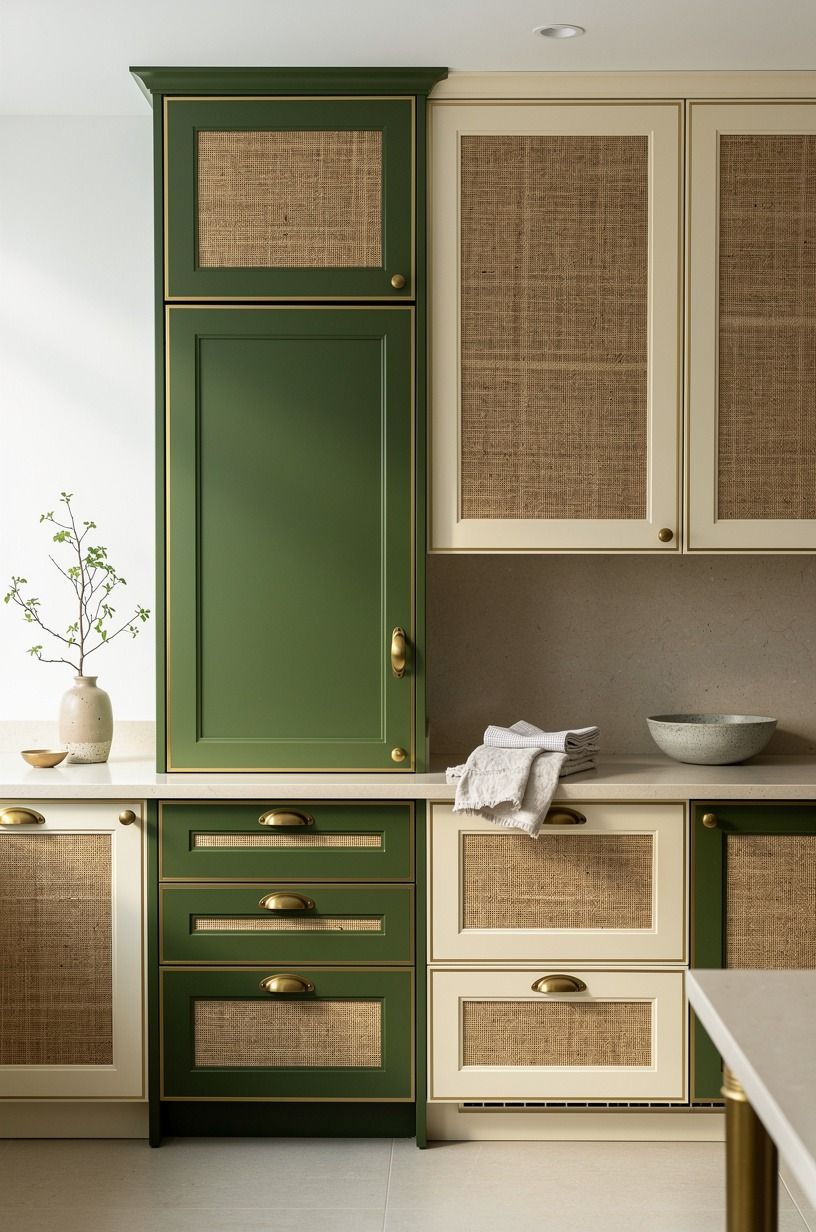
Hardware can ruin a hidden pantry in five seconds, so this is where you stop being sentimental about pretty knobs.
6Run floor tile straight into the pantry
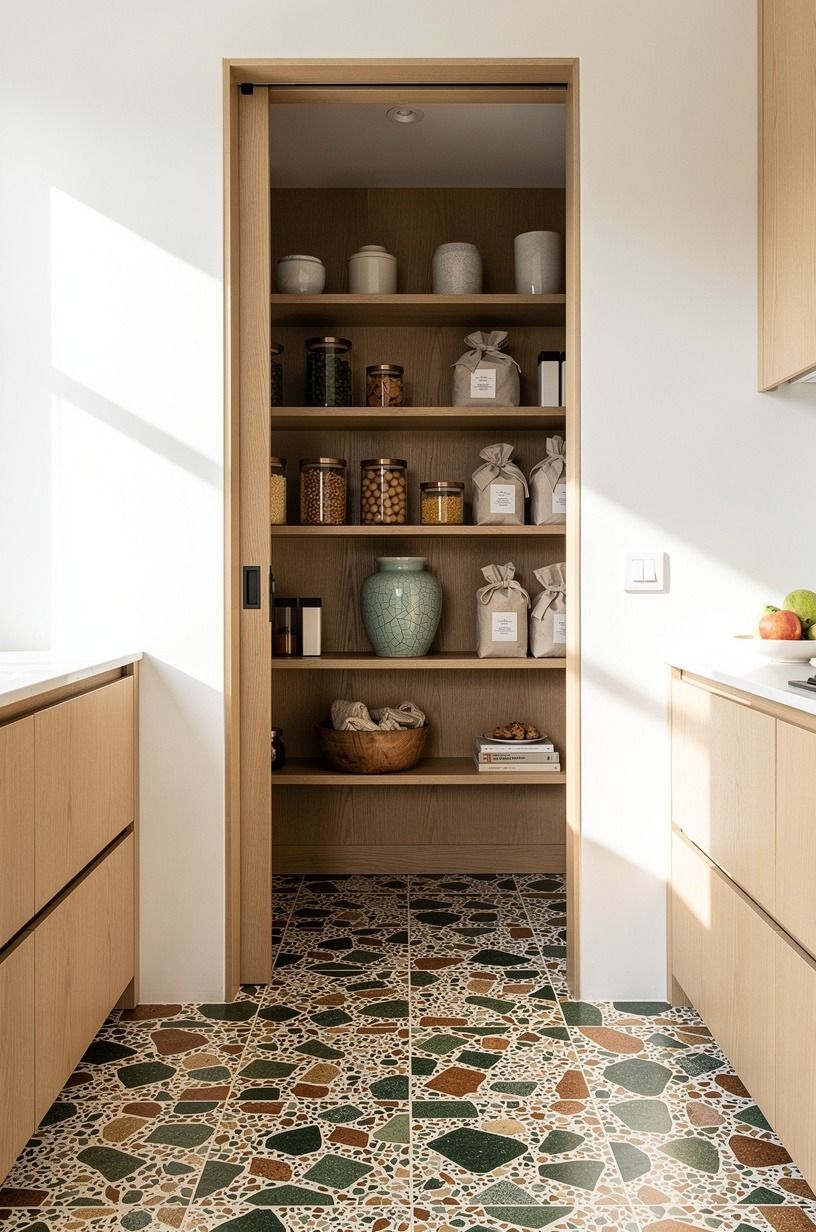
The floor should not announce the transition. When the tile runs straight through the doorway, your eye reads one continuous kitchen plane and the pantry feels discovered rather than attached. That matters even more in a hidden kitchen pantry walk-in because the floor is often what gives the room away first.
Use the same tile, the same grout color, and the same layout direction through the opening. If the main kitchen has terracotta-look porcelain tile, don’t switch to builder-grade sheet vinyl inside the pantry just because nobody is supposed to see it.
You will see it, and the break in texture changes how the room feels under your feet. I made this mistake in a laundry pantry once.
The cheap flooring saved a few hundred dollars and made the whole project feel cheaper every single day, which is the opposite of the cozy vibe you paid for.
This continuous-floor hidden pantry idea gets the logic right. Keep the grout joints aligned as they cross the threshold, and your pantry will feel like it was always there. If you want a soft, earthy look that ages well, honed travertine with natural pitting handles the traffic beautifully.
7What does shallow entry shelving actually look like?
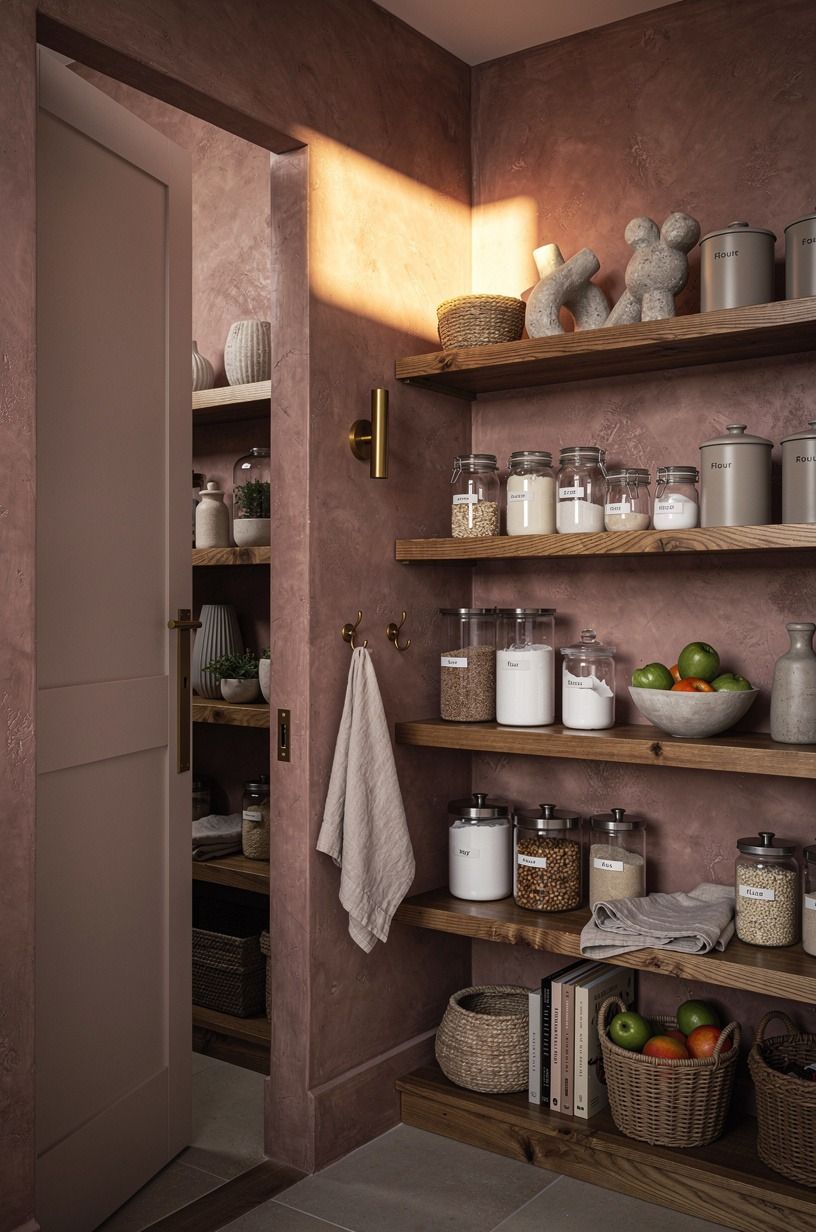
As soon as the door swings open, you want useful storage without a claustrophobic first impression. Shallow shelves of 8 to 12 inches deep give you the everyday landing zone for olive oil, salt, pepper, the tea canister, and the toasterlinens that get used at breakfast. If you go deeper on the first run, your entry feels like a tunnel.
Think of the entrance shelves as a gentle, bright display layer instead of a working pantry. Jars here, not bulk bins.
A folded linen here, not spare toilet paper. Reserve the bulk storage for the back wall and the side walls; the entry shelves are the warm front of the house the guest sees when you swing the door wide.
If you want visual backup on what this looks like in real kitchens, this hidden pantry layout behind the kitchen shows a few entry-shelf treatments that stay airy and welcoming.
8Layer deep storage along the back wall
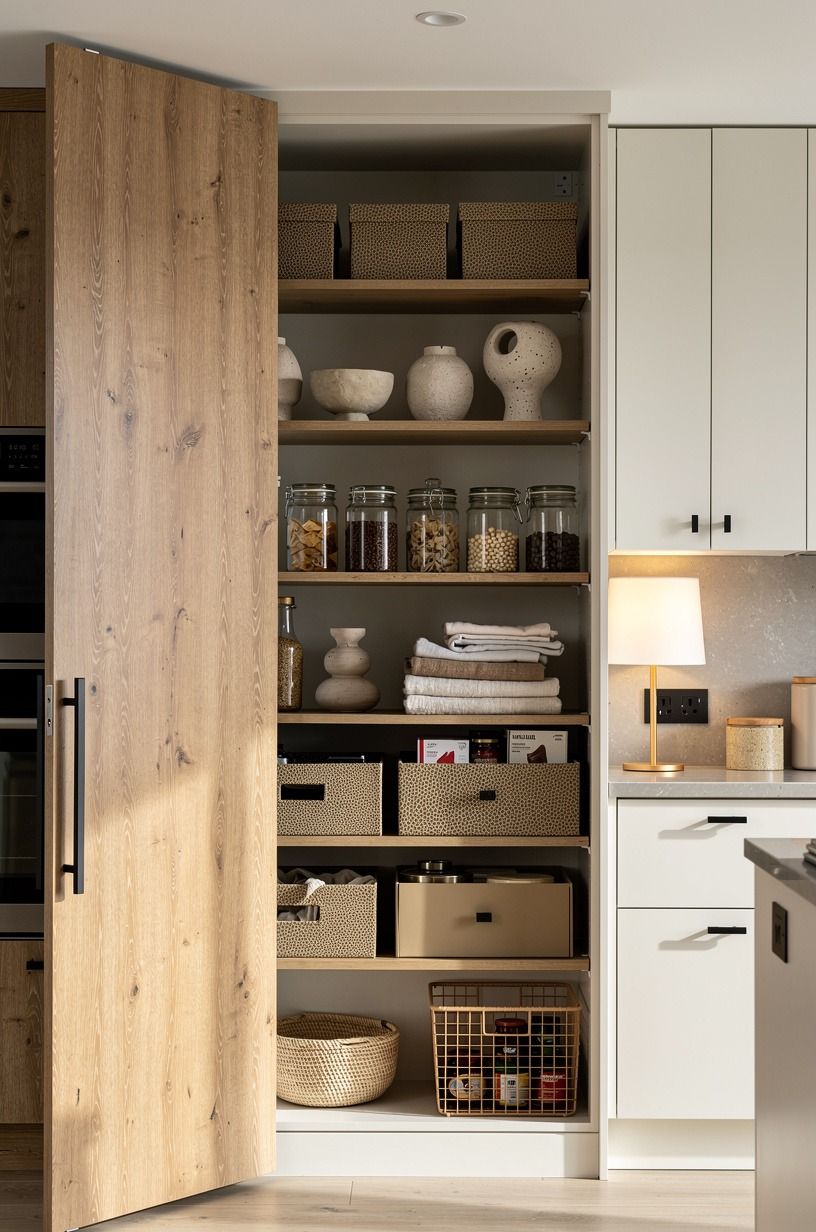
Save the heavier storage for the back wall where the room can handle real depth. That’s where you stack bulk bins, serving platters, extra appliances, cases of sparkling water, and the unglamorous stuff that still needs a home. For an amazing pantry walk-in, I think of this as the Back-Wall Depth Rule: conceal the volume, don’t crowd the entrance.
Go deeper here, usually 16 to 20 inches, and group the storage by weight and frequency. Put the daily goods at chest height, the heavier backups lower, and the occasional stock-up items above shoulder level.
In a warm white and camel pantry, a row of white oak deep shelves against the back wall keeps the room feeling softer than melamine alone. If you’re choosing between one deep run or deep shelves on both side walls, I’d start with one back wall first.
Two deep side walls can make even a generous pantry feel like a tunnel, and you’ll regret it every time you reach for a sheet pan.
This hidden pantry layout behind the kitchen is helpful if you need to picture that shift from shallow front storage to deeper rear storage. It’s a small planning move, but it changes how the whole room breathes, and the rich, layered look is the whole payoff.
9Install vertical dividers for trays and boards
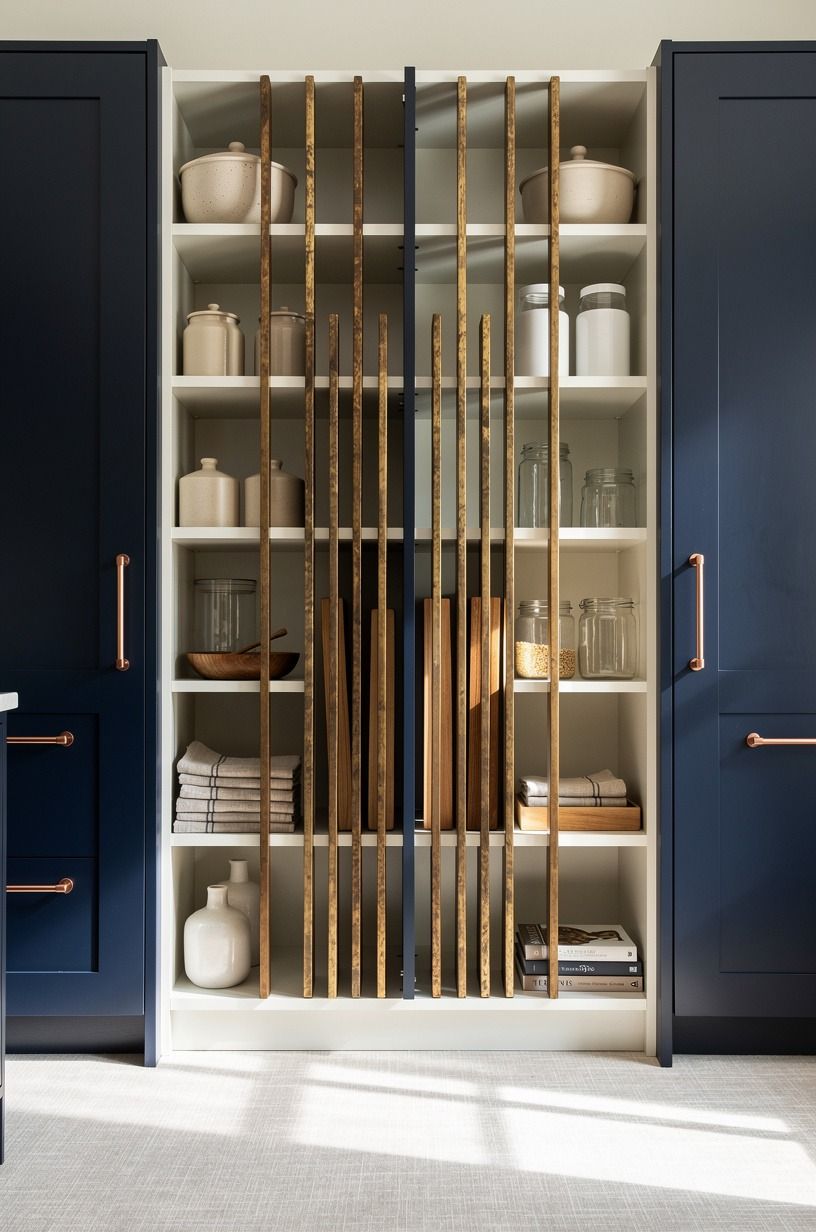
Flat things become a mess faster than almost anything else in a pantry.
10Hang brass rails for baskets and towels
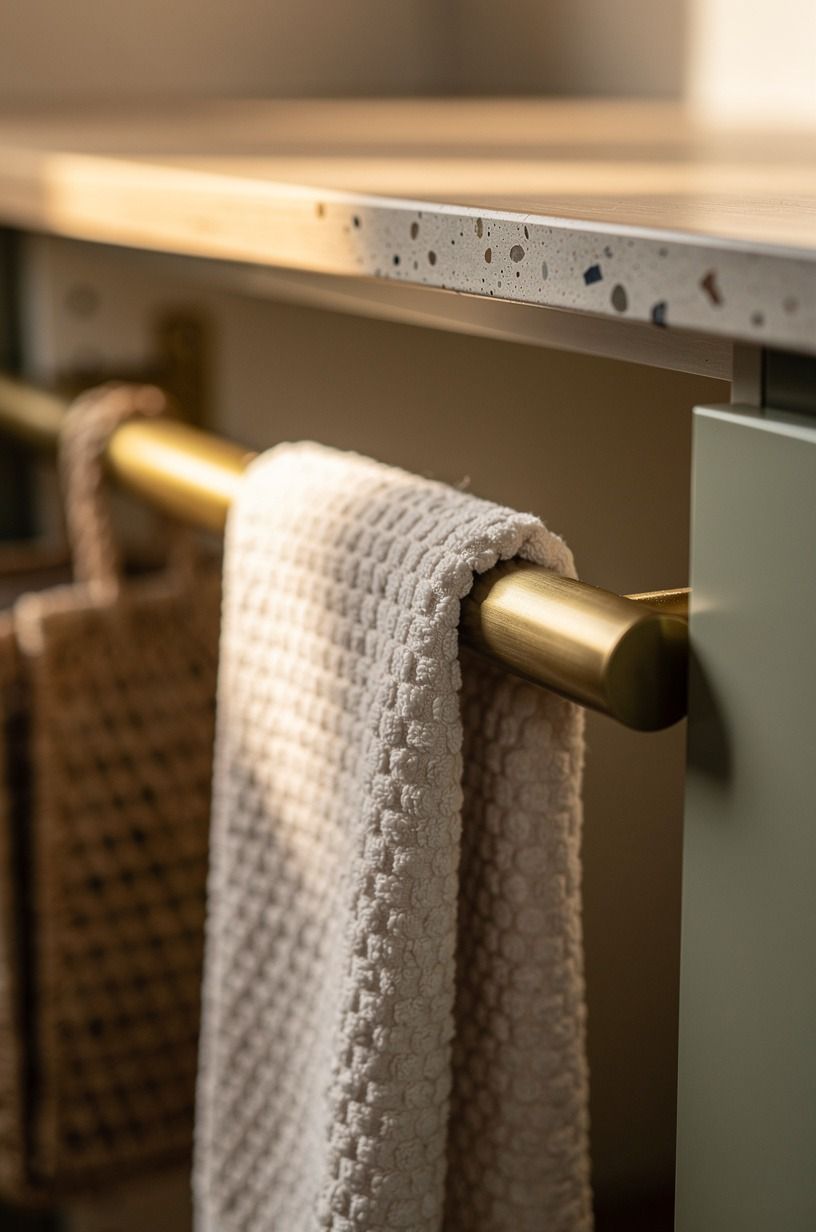
This is where the pantry starts feeling like a room you meant to design, not just a closet that got lucky. A slim rail gives you one more vertical layer for hand towels, market baskets, or small hanging bins, and it adds warmth without taking up shelf depth. In a hidden kitchen pantry walk-in, that’s a great trade for the budget.
I like an unlacquered finish because aged brass rail hardware softens over time and picks up the kind of patina that makes a kitchen feel lived-in. Mount it where your hand naturally lands, usually below eye level on a free side wall or just above a counter return, then keep the accessories simple. One basket for produce, one towel, maybe a paper bag hook.
But more than that and the rail turns into clutter.
If you love the softer old-money side of hidden utility spaces, this behind-the-kitchen pantry reference shows why one refined metal note goes further than five decorative ones. Less really can feel richer here! A single unlacquered brass bar from Rejuvenation runs about $60 to $120, well within budget for almost any pantry refresh.
11Tuck small appliances behind pocket doors
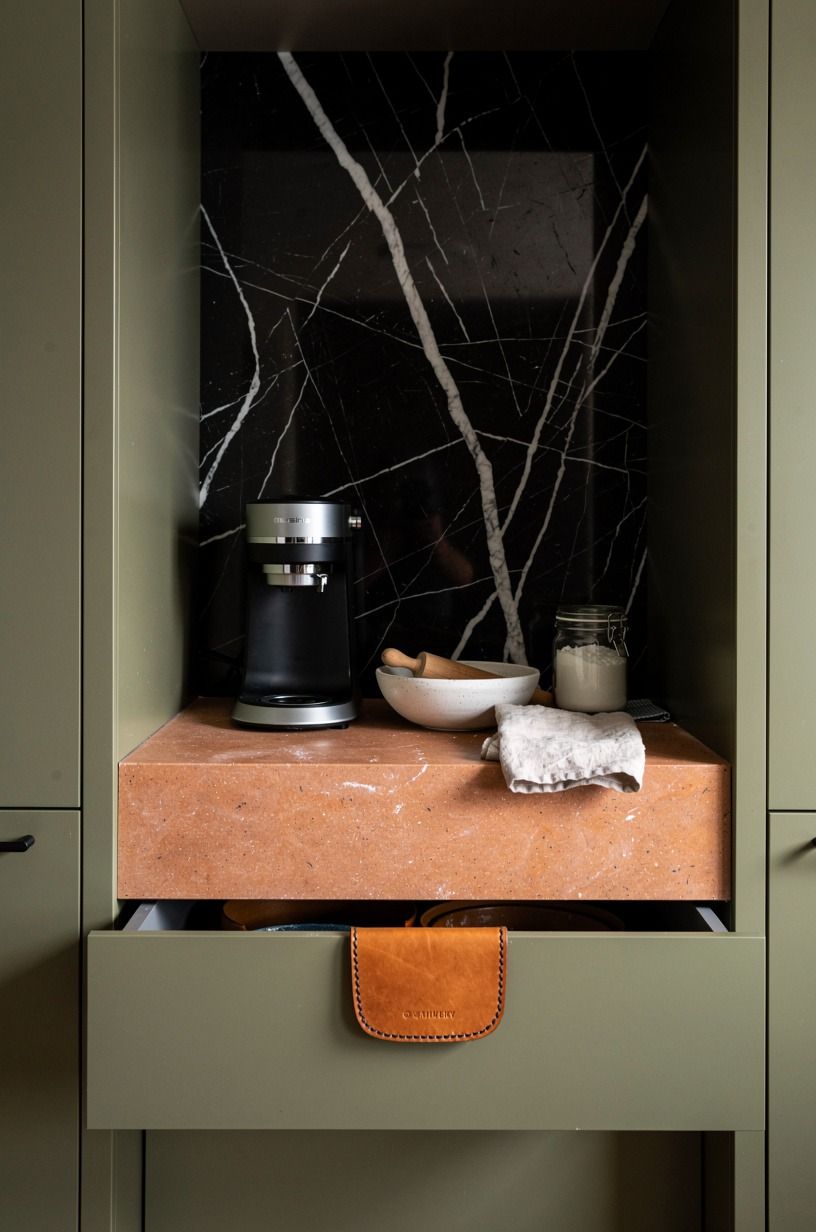
If you bake often, give yourself one contained appliance zone and hide the visual noise when you’re done.
12How much does pantry lighting actually add?
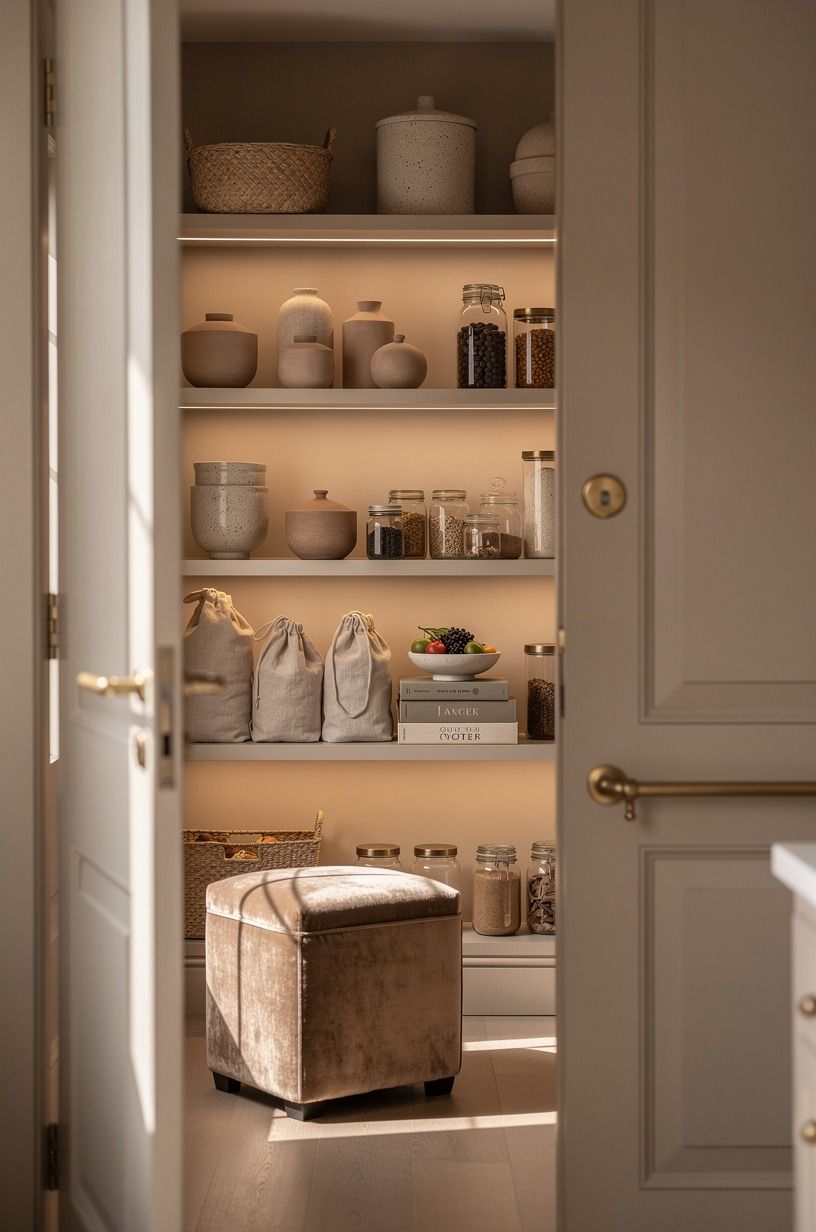
Lighting decides whether the pantry feels premium or purely practical, and it’s one of the most affordable ways to add value to any hidden pantry project. Plan for three layers: warm overhead at 2700K for serious tasks, a soft under-shelf strip on motion, and one accent puck lighting your eye-level shelf. The total cost stays under $120 in most cases if you use Puck lights with 12V drivers from WAC Lighting or simple LED strips on a wall switch.
Wire it on its own switch. Trust me, you’ll thank yourself every time you pop the door at midnight for a glass of water and don’t want to wake the rest of the house. Recessed 4-inch LED wafers running 10W each give you a generous, soft wash without heating up the small space!
This walk-in pantry concealed behind the kitchen shows a good layering reference. The right lighting turns a hidden pantry into a warm, intimate moment every time you swing the door, and that’s the value buyers feel before they ever open a cabinet.
13Style glass jars on the eye-level shelf
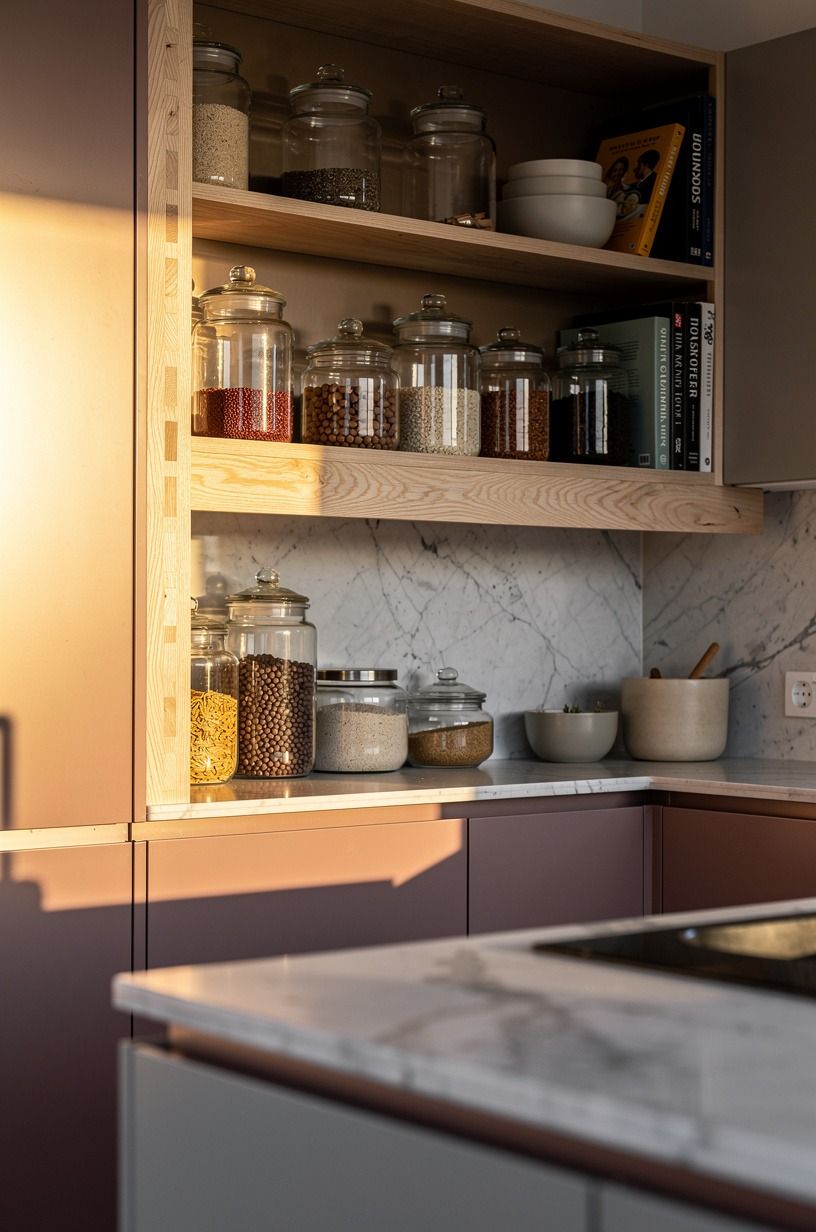
Once the bones are right, style only the shelf you can see first.
14What’s the smartest way to reach upper storage?
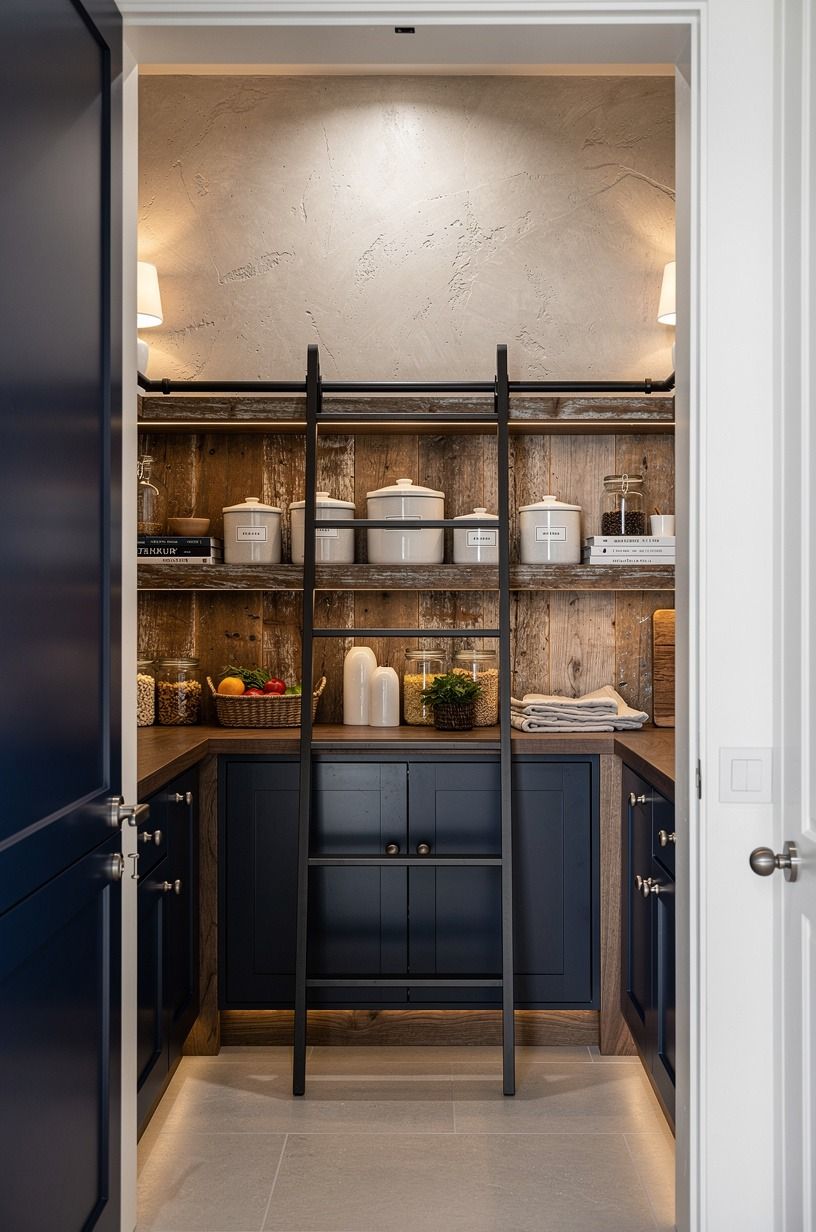
Upper storage is useful only if you can reach it without turning the pantry into a hazard. The cleanest move is a slim library-style ladder rail mounted to the front face, paired with a Forbes & Lomax antique brass rolling ladder kit that hooks and rolls instead of swinging out. It’s a quieter detail than a full library setup, but it solves the same problem, and the cost for a 6-foot run lands around $300 to $600 depending on finish.
If a rail ladder feels like too much hardware, an acacia library stool under $150 paired with a low shelf at shoulder height is the budget-friendly move. Keep the upper shelves for occasional stock-up items so you’re not up there daily.
This behind-the-kitchen pantry storage reference shows how a softer ladder keeps the warm look you actually paid for.
15Hide outlets inside a baking station
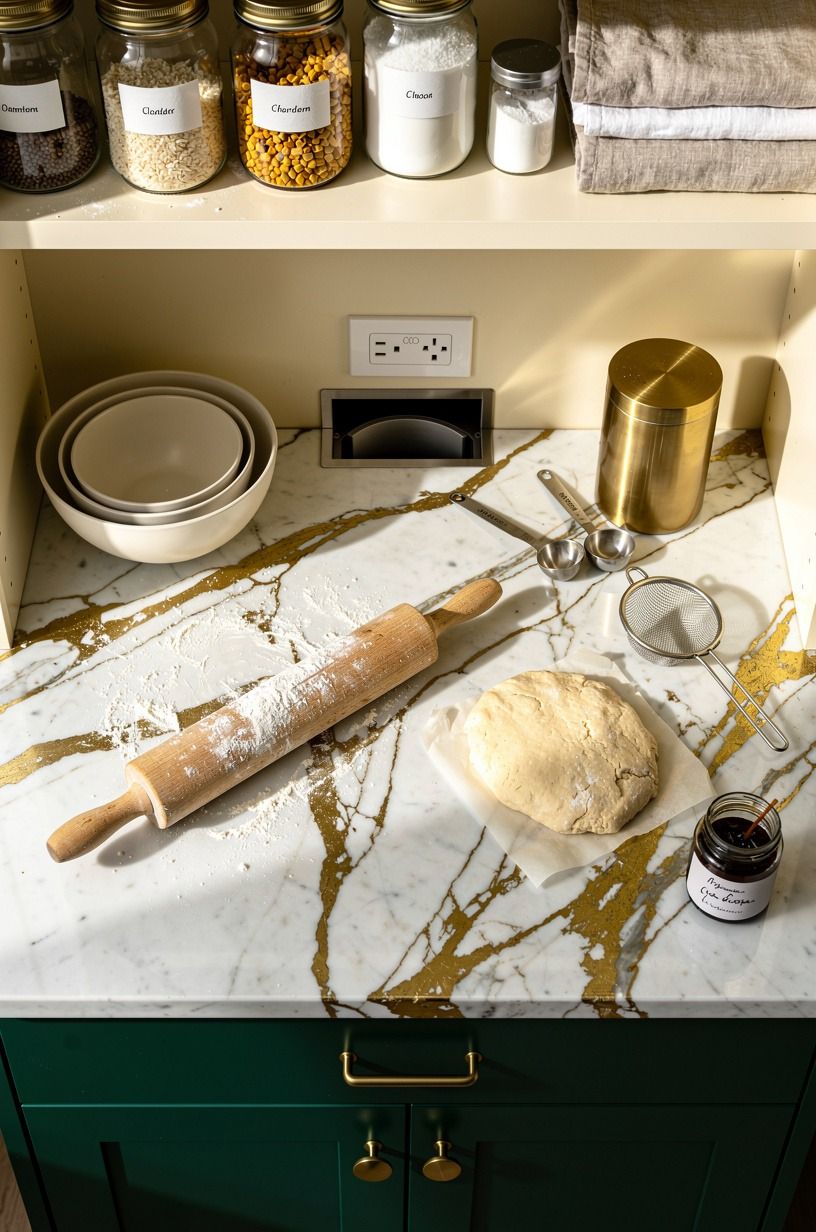
Power belongs where the work happens, but it shouldn’t hijack the look of the room.
16Finish with one beautiful countertop zone
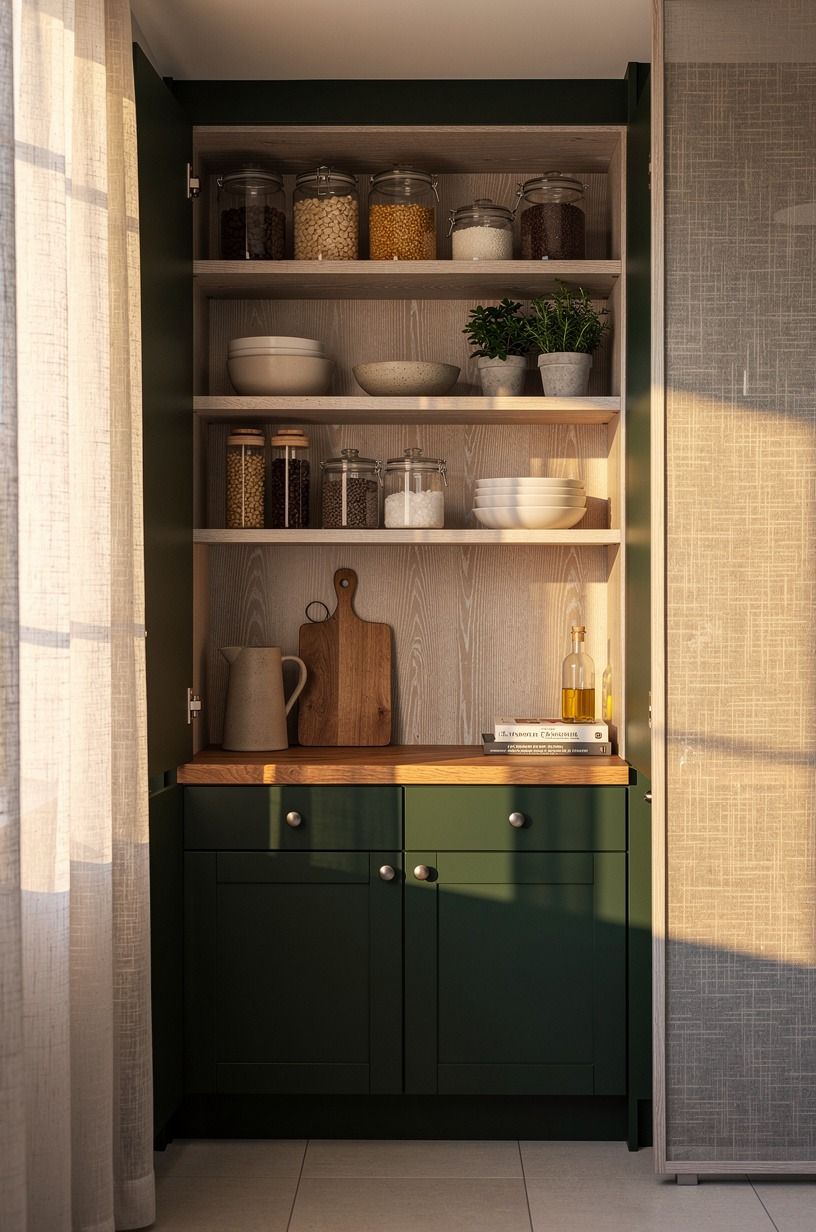
The last step is the one that keeps the pantry from feeling purely utilitarian. Give yourself one finished countertop zone that can hold flowers, a bowl of citrus, a cookbook stand, or the coffee setup you use every morning. In an amazing pantry walk-in, this is the emotional payoff that ties the whole room to the rest of the house.
I like one continuous surface in quartz or laminate, depending on budget, with enough depth to be useful and enough breathing room to stay pretty. A forest green pantry with quartz countertop in warm white feels polished fast, but even a laminate top can look excellent if the edges are clean and the clutter is controlled.
If you’re debating where to spend, I’d put more money into the counter and lighting before I overspend on decorative baskets. Those two surfaces shape the room every time you open the door, and the rich, layered look pays back the price every single morning you use it.
This hidden pantry room behind the kitchen is a good reminder that a single styled landing zone is enough. You don’t need more decor.
You need one spot that makes you want to step inside. That’s the part that changes everything!
Why does this hidden pantry plan actually work?
What I like about hidden walk-in pantry ideas is that they’re not really about hiding food. They’re about protecting the kitchen from visual drag, and that’s where the real value sits. Once you understand that, the planning gets easier.
You stop asking whether the pantry should be cute and start asking what the main kitchen needs to feel calm when you’re tired, unloading groceries, or trying to make dinner while everyone is in your way. That’s the real test.
I’ve seen people throw money at the wrong part of this project over and over. They buy the pretty jars first.
They order the fancy brass handle for the concealed door, which defeats the whole point. They choose deep shelves everywhere because more storage sounds smarter, then wonder why the room feels cramped the minute the door opens.
I get it, because those mistakes sound logical on paper. In person, they make the pantry feel like a utility closet hiding inside a nice kitchen instead of an extension of the room.
If I were guiding you through this from scratch, I’d tell you to protect three things above all: the disguise, the floor line, and the first view. The disguise means the door, paint, and panel rhythm must match the kitchen completely.
The floor line means the tile can’t change at the threshold unless you want to announce the transition. And the first view means the entrance shelves need to stay shallower than your instinct says, because air matters as much as storage. That’s the part people don’t believe until they stand in the room.
The nice thing is you don’t need a celebrity budget to get the effect. A cosmetic kitchen tier at $300 to $1,500 can do a lot if you choose paint, hardware, and continuity moves carefully, while bigger remodel money only pays off if the layout is already right. Honestly, the worth-it tier for most hidden pantries falls between $1,200 and $4,000, including paint, hardware, lighting, and a single counter zone.
And I’d rather see you spend on the concealed door logic, warm lighting, and one durable counter than burn cash on trendy extras that won’t fix a clumsy plan. A hidden pantry should feel inevitable, almost like the house kept one more room to itself until you noticed. When it lands, that’s exactly how it feels, and the whole kitchen looks tranquil for it.
A Few Things Worth Answering
What is the best hidden walk-in pantry idea for a small kitchen?
The best move is a cabinet-matched concealed door plus shallow 8 to 12 inch entry shelving. That pairing saves visual space while giving you real storage, and it works especially well when the pantry opens beside a refrigerator wall instead of interrupting the prettiest run. A standalone glass display cabinet on the opposite side frames the hiding act nicely.
Where can I buy hidden walk-in pantry pieces on a budget?
Start with IKEA, Target Threshold, and Wayfair for shelves, baskets, and basic pantry hardware. Then check Facebook Marketplace for ladders, stools, and wood trays. I also keep an eye out for secondhand cabinet pulls because aged finishes often look better than brand-new cheap ones, and the affordable route lands around $200-$500 for the whole kit.
How much does a hidden walk-in pantry makeover cost?
Most cosmetic versions cost about $300 to $1,500, while bigger refreshes climb into the low thousands. Paint, peel-and-stick backsplash, and shelf styling are the cheaper wins, and the price stays affordable for almost any remodel budget. New cabinetry, stone counters, and appliance work are what push the total much higher, and that’s where you have to ask whether the room earns the spend.
Can I create a hidden walk-in pantry on a budget?
Yes, and you can get far with paint, push latches, and shelf editing. Keep the existing cabinet shell, match the door color exactly, run the same flooring through the opening, and style just one eye-level shelf instead of buying a full set of containers. Total cost under $500 is realistic for the cosmetic tier.
Is a hidden walk-in pantry worth it in a small space?
Yes, especially if your kitchen feels visually busy. Small spaces benefit from concealment because the closed door removes packaging and countertop overflow from view. Keep the entry near the refrigerator wall and protect 42 to 48 inches of aisle clearance if an island sits nearby, and the value comes back every single day.
Is a hidden walk-in pantry a good idea for a rental?
Yes, as long as you focus on low-commitment upgrades. Think removable lighting, freestanding shelves, matching paint only if your lease allows it, and peel-and-stick backsplash behind a temporary appliance zone. You can still get the feel without rebuilding the wall, and the cost stays under $300 for most renters.
The Concealment Rule for Hidden Pantries
Before you commit a single dollar, sketch three tiers and ask which one fits the way you cook. Tier one, cosmetic ($300-$1,500): paint, hardware, peel-and-stick backsplash, and shelf styling only.
Covers about seventy percent of what people want from a hidden pantry and adds the smallest hit to your remodel budget. Tier two, refresh ($3,000-$12,000): repainted fronts, new faucet, updated lighting, and a laminate counter. Worth it if your cabinets are still solid but tired.
Tier three, remodel ($25,000-$60,000+): all-new cabinets, stone counter, and appliance work. Only worth it if the existing layout is fighting you.
The honest move is to spend at the lowest tier that solves the problem, then live with it for a season before stepping up.
If you’d rather skip the planning detours, this behind-the-kitchen pantry cost reference breaks the same tiers down with closer numbers. Pick the tier that matches your kitchen’s bones, not your ambitions. That’s the move that holds up at resale.
Where I’d Start First
If I had to pick one step, I’d start with the cabinet-matched concealed door. If that face misses, every other upgrade has to fight it. Get the disguise right first, and the tile, shelves, and lighting suddenly make sense, and the whole project feels worth it from day one.