
My laptop was balanced on a wobbly side table, and every breeze sent a dry leaf straight onto the keyboard. The space was barely bigger than a doormat, with hot concrete underfoot and nowhere to set coffee without risking a spill.
I didn’t need a deck, a pergola, or a permit headache. I needed a small setup that felt usable at 9 a.m., not abandoned by 9:20.
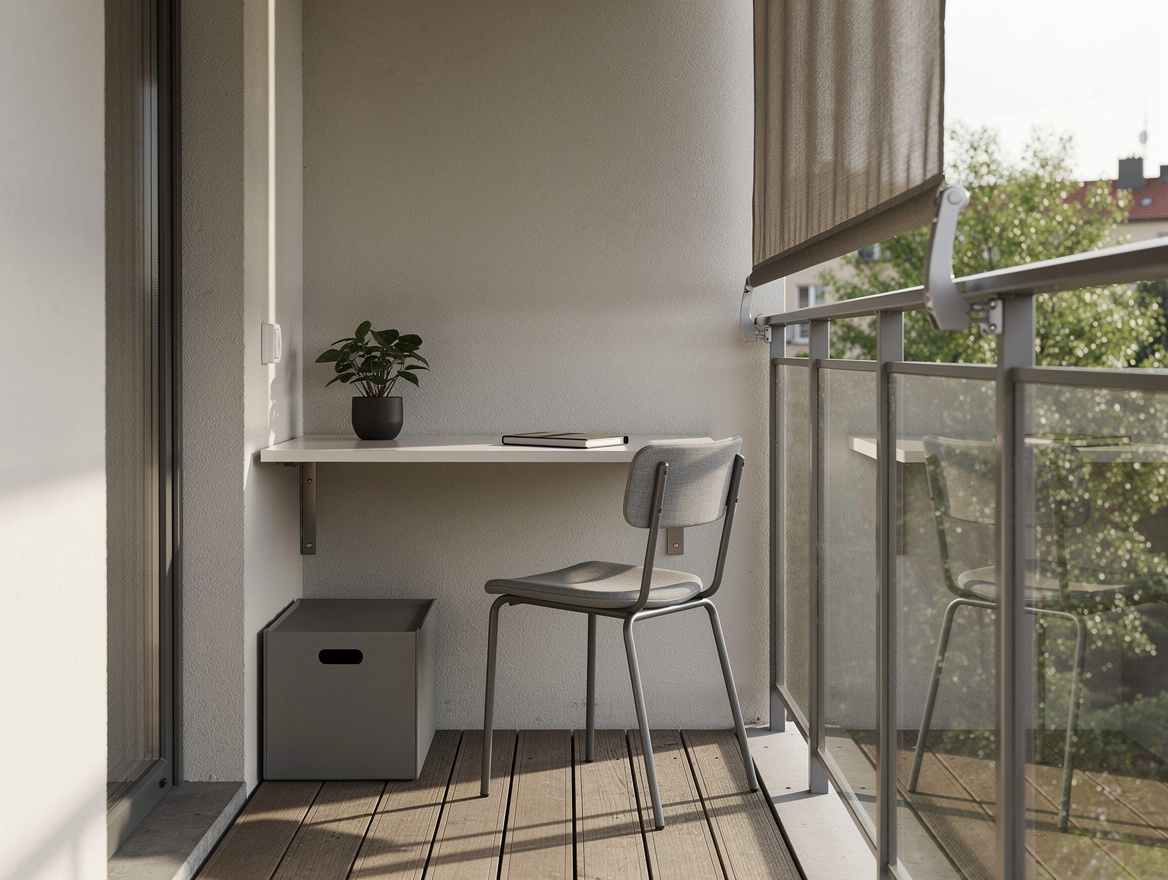
Start by measuring the spot you actually use
I stopped pretending I would spread out across the whole patio and measured the footprint where my chair could pull in and out without scraping the wall. In a tiny setup, an honest rectangle is better than a fantasy lounge.
A typical small workspace outside fits inside about 4 by 6 feet, and that number matters because it keeps you from overspending on pieces that swallow the area. I think this is the step most people skip, and it is exactly why tiny outdoor zones end up looking cluttered fast.
Anchor the ground with an outdoor rug
The biggest visual fix came from adding a Walmart outdoor rug under the chair and table. A typical 5-by-7 polypropylene outdoor rug at Walmart usually lands around $20 to $30, and that one move made the corner feel intentional instead of temporary.
Polypropylene is the right call here because it dries quickly and doesn’t ask for babying. I would not waste money on anything plush outside when the whole point is easy cleanup and a clear work zone.
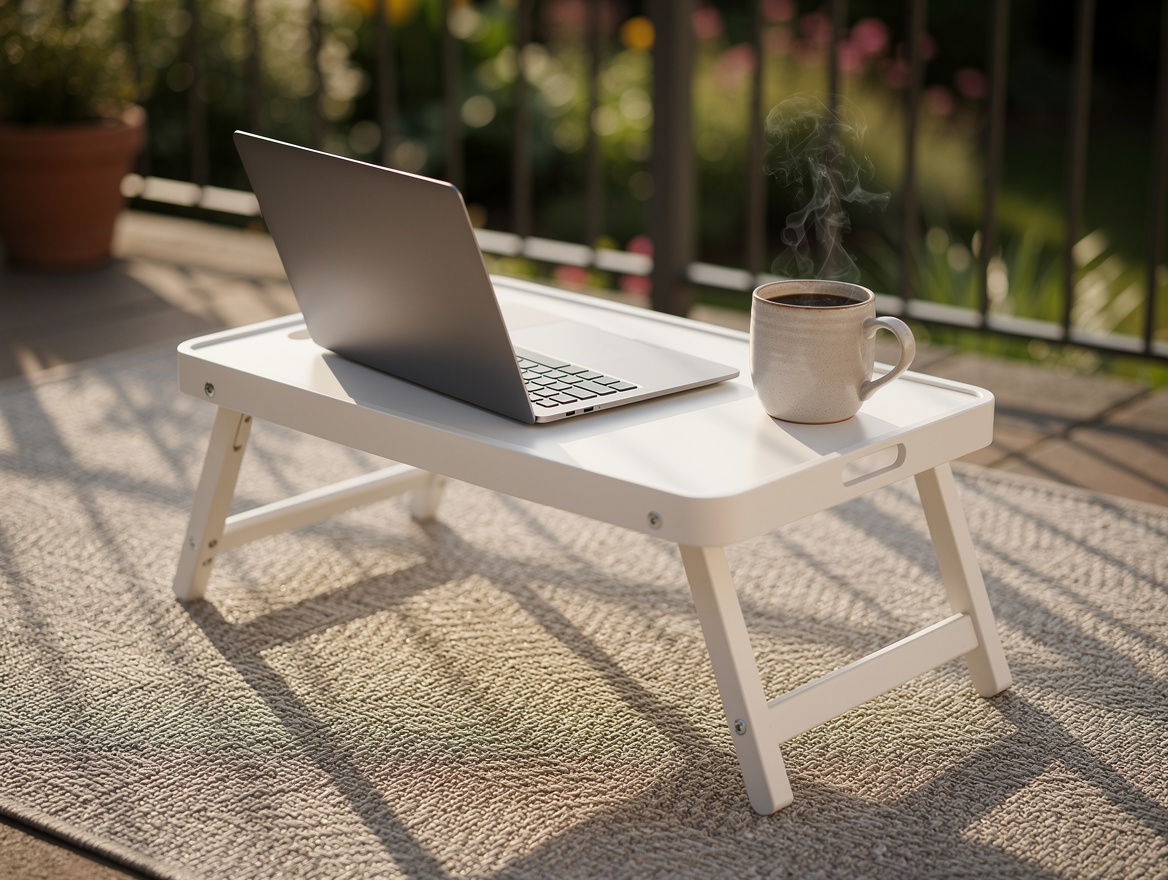
Swap in a foldable surface instead of building anything
I skipped shelves, rail attachments, and every project that starts with a drill bit. A small Target folding tray table usually costs about $15 to $25, and it gave me a real place for a laptop, notebook, and water bottle without turning this into a weekend construction job.
This is where the zero-permit part stays real: everything is movable. If it folds, lifts, or tucks behind a chair, you’re solving the problem without creating a new one.
Use vertical shade, not a permanent cover
My screen glare was awful in the afternoon, so I added shade with a clamp-on option instead of chasing a full roof solution. A basic Amazon clamp umbrella or clip-on sun shade can run around $15 to $20, and it is a smarter buy than a bulky canopy when the workspace is truly tiny.
I like temporary shade because you can angle it where the sun actually hits. A fixed cover sounds serious, but on a small patio or balcony it often eats space and looks heavier than the setup deserves.
Add one weather-safe storage piece for the mess
The before version failed because every session ended with chargers, pens, and sticky notes scattered on the chair. A small IKEA storage box in plastic or powder-coated metal usually sits in the $5 to $10 range, and it keeps the work stuff together without making the area look like a supply closet.
I only wanted one box, not a stack. Too much storage outdoors invites junk, and a tiny workspace gets ugly the minute it starts doubling as random household overflow.
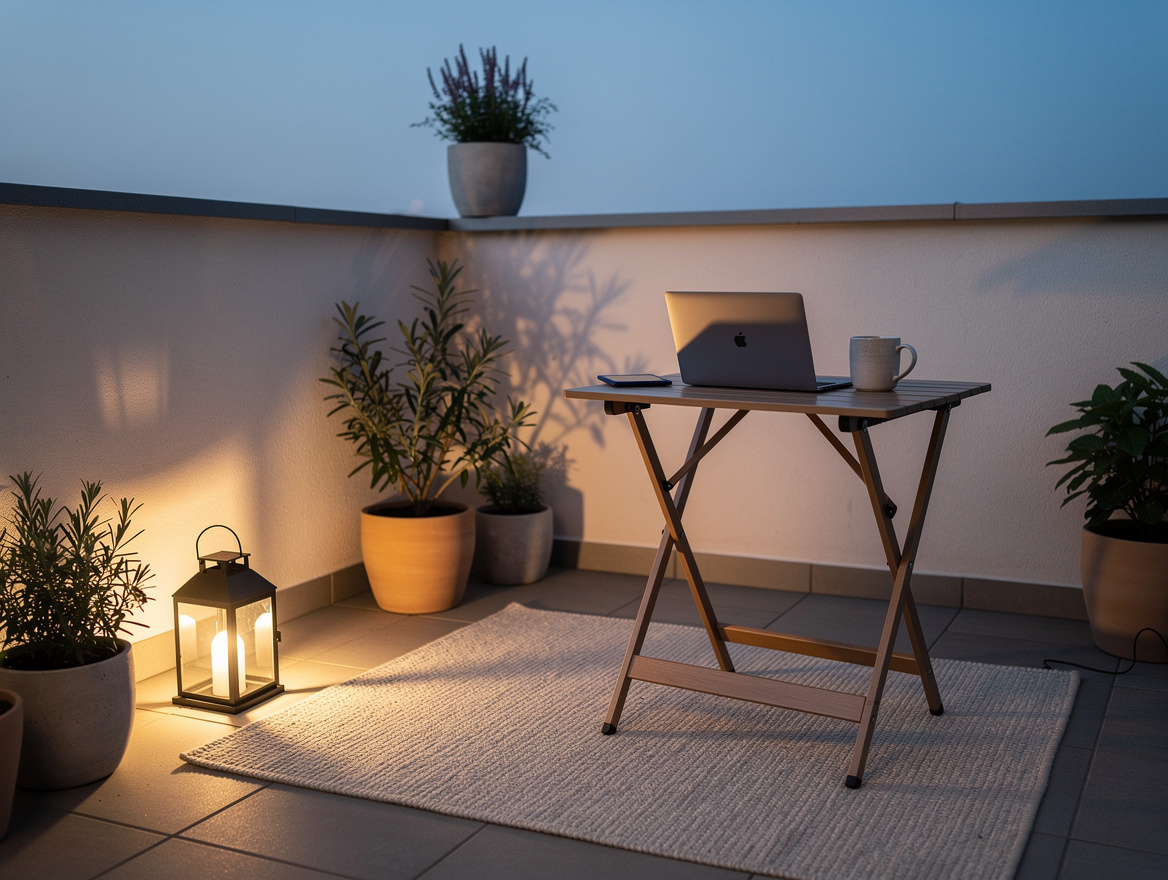
Finish with one light source that earns its spot
I added a single Lowe’s solar lantern because I wanted the corner to work past sunset without extension cords. Basic outdoor solar lights or lanterns often cost about $8 to $15, and one warm light was enough to make late emails feel calm instead of bleak.
One light is plenty in a compact setup. I strongly prefer a portable lantern over string lights here because it gives you usable task glow and doesn’t make a work corner feel like a party backdrop.
Keep the total under control with a hard spending split
My budget worked because I treated the setup like three essentials, not a shopping spree: ground, surface, shade. A typical split looks like $25 for the rug, $15 for the table, and $10 for a storage box or light if you already own one of the other pieces.
If you need all four categories at once, buy secondhand for the table or wait on the lantern. The smartest tiny makeover is the one that fixes comfort first, because a cute setup you avoid using is still wasted money.
Begin with the floor, then the tabletop. Once those two pieces are working, you’ll know whether the next dollar should go to shade or storage, and that order keeps the whole refresh practical and cheap.
Mia Carter writes about small-space living and budget home makeovers. She has restyled three rentals and tests most ideas in her own 45 sqm flat.