There’s something so deeply satisfying about creating your own granola bars from scratch. When I was a young apprentice at my first restaurant job, the pastry chef would make these incredible sunflower seed granola bars for staff meal. We’d devour them during our brief breaks, grateful for something nutritious that could power us through the dinner rush. Today, I’m sharing my adaptation of that recipe—a perfect balance of crunchy, chewy, sweet, and nutty flavors that brings me back to those early kitchen days.
The Heritage of Homemade Granola Bars 📖
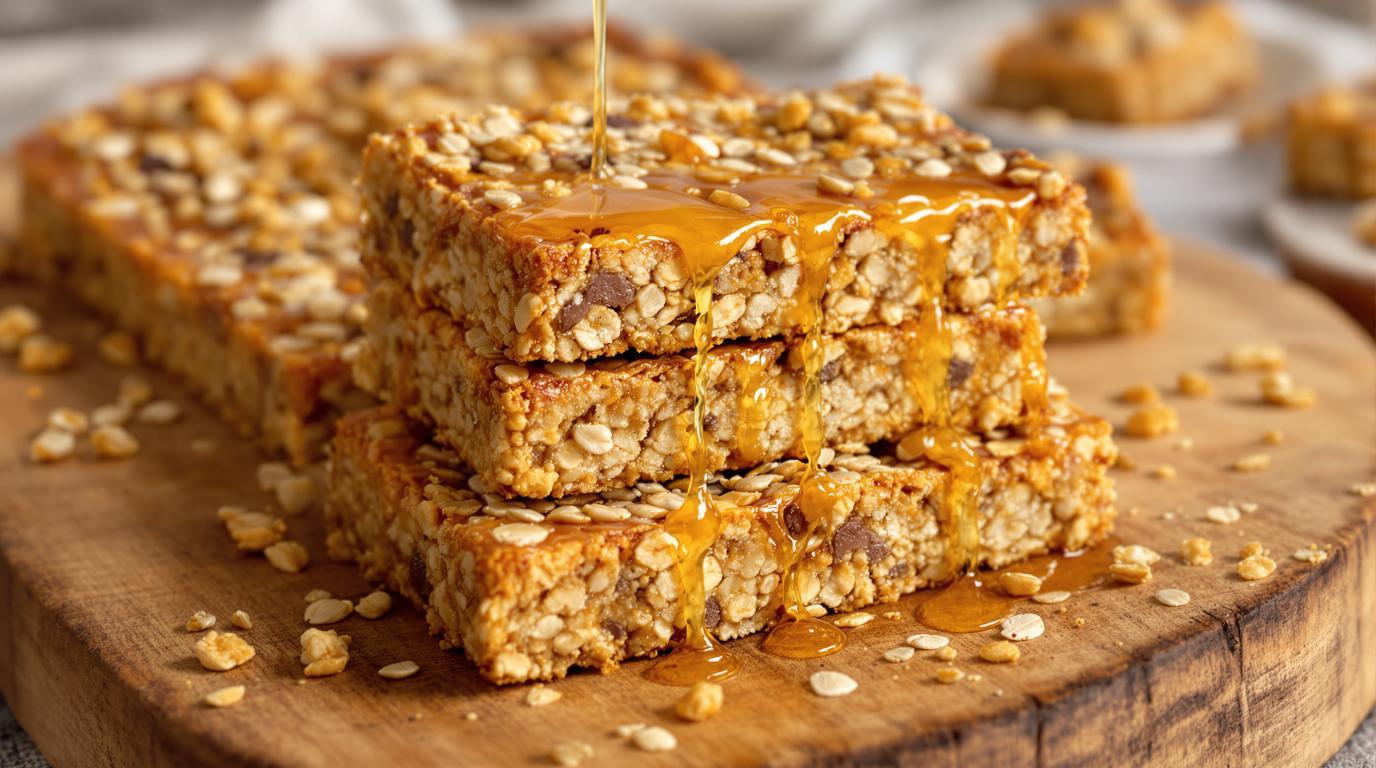
Long before commercial granola bars lined supermarket shelves, home cooks were baking batches of these wholesome treats. The tradition of combining toasted oats with honey dates back generations, particularly in farming communities where portable, energy-dense foods were essential for long days in the fields. The addition of sunflower seeds—rich in vitamin E and healthy fats—brings a distinctly Eastern European influence to this classic recipe.
What makes these bars special is their perfect texture: crisp edges giving way to a slightly chewy center. This comes from the careful balance of honey and fat, along with proper baking technique.
Essential Ingredients 🧾
• 3 cups (270g) rolled oats (not quick-cooking)
• 1 cup (140g) raw sunflower seeds
• ½ cup (120ml) honey
• ¼ cup (60ml) coconut oil or unsalted butter, melted
• ½ teaspoon fine sea salt
• 1 teaspoon vanilla extract
• Optional: ½ cup chopped nuts (almonds or walnuts work beautifully)
• Optional: ¼ cup flaxseed meal for extra nutrition
• Optional: ½ cup dried fruit (cranberries, raisins, or chopped apricots)
Grandmother’s Method 📝
1. Preheat your oven to 350°F (175°C). Line a 9×13-inch baking pan with parchment paper, leaving overhang on the sides for easy removal.
2. Spread the oats and sunflower seeds on a separate baking sheet and toast in the oven for 8-10 minutes, stirring once halfway through. This pre-toasting step develops a deeper, nuttier flavor that makes all the difference.
3. In a small saucepan, gently warm the honey and coconut oil (or butter) until completely melted and combined. Remove from heat and stir in the vanilla extract.
4. In a large bowl, combine the toasted oats, sunflower seeds, salt, and any optional add-ins. Pour the warm honey mixture over everything and stir thoroughly until all dry ingredients are evenly coated.
5. Transfer the mixture to your prepared baking pan. Here’s where technique matters: use a piece of parchment paper to press the mixture down very firmly. The more compact it is, the better your bars will hold together.
6. Bake for 15-20 minutes until the edges turn golden brown. The center might still seem soft, but it will firm up during cooling.
7. Allow the pan to cool completely on a wire rack before lifting out the entire slab using the parchment overhang. For the cleanest cuts, refrigerate for 30 minutes before slicing into bars.
Chef’s Note: The success of these bars hinges on two critical steps: toasting the oats and seeds beforehand, and pressing the mixture very firmly into the pan. If your bars crumble after cutting, they likely weren’t pressed firmly enough before baking.
Professional Techniques for Home Success 🤫
When cutting these bars, use a sharp chef’s knife and press straight down rather than sawing. For perfectly even portions, I measure and score the top lightly before cutting all the way through.
If you prefer a less sweet bar, reduce the honey to ⅓ cup and add 2 tablespoons of water to maintain moisture. For those avoiding honey, pure maple syrup makes an excellent substitute, though the flavor profile will shift slightly toward a woodsier note.
Store these bars in an airtight container with parchment between layers. They’ll keep at room temperature for up to a week, or freeze them individually wrapped for up to three months—perfect for grabbing on busy mornings or pairing with homemade pistachio ice cream for a special treat.
Serving Suggestions 🍽️
These versatile bars shine alongside blackberry basil sparkling water for a refreshing snack, or alongside caprese skewers for a light lunch. They also make delightful companions to morning yogurt or afternoon tea.
For dessert, try crumbling a bar over frozen avocado mousse or serve alongside homemade ice pops for a contrasting texture experience.
There’s something deeply reassuring about making your own granola bars—knowing exactly what goes into them and connecting with the timeless tradition of creating nourishing food from simple ingredients. As my grandmother always said, “The hands that make your food infuse it with love.” I hope these bars bring as much joy to your kitchen as they have to mine over the years.