I still remember the first time I encountered date bark while traveling through Morocco. The bustling markets of Marrakech were filled with vendors selling dates in every form imaginable, but it was an elderly woman crafting sweet treats from pressed dates that caught my attention. Today’s recipe pays homage to those traditional techniques while incorporating dark chocolate for a sophisticated twist. The beauty of this no-bake treat lies in its simplicity—just a few quality ingredients transforming into something magical.
The Magic of Medjool Dates 📖
Medjool dates aren’t just any dates—they’re often called the “king of dates” for good reason. Their natural caramel-like sweetness creates the perfect foundation for this bark. When pressed together, they form a chewy, candy-like base that rivals any processed sweet. I’ve found that room-temperature dates work best, as they’re easier to pit and press into that crucial even layer.
Chef’s Note: When selecting dates, look for ones that are plump and glossy. If they’ve hardened slightly, soak them in warm water for 5 minutes to restore their softness before patting dry.
Essential Ingredients 🧾
- 24 Medjool dates (about 1½ cups), pitted
- ½ cup natural peanut butter (120g)
- ¾ cup almonds (105g), roughly chopped
- 4 oz dark chocolate (70-85% cacao), chopped
- ½ tsp flaky sea salt
- Optional: ¼ tsp cinnamon or orange zest
If you’re looking for alternatives to peanut butter, tahini creates a more Mediterranean version that pairs beautifully with the dates, much like you’d find in a Mediterranean-inspired dish. For those with nut allergies, sunflower seed butter works wonderfully as a substitute.
Creating the Perfect Bark 📝
- Prepare the base: Line a 9×13 inch baking sheet with parchment paper. Arrange pitted dates close together, then press firmly with damp hands or the bottom of a glass until you have an even layer about ¼ inch thick.
- Add the middle layers: Warm peanut butter slightly (30 seconds in the microwave) until easily spreadable. Using an offset spatula, spread evenly over the date layer. Sprinkle chopped almonds, pressing gently so they adhere.
- Create the chocolate topping: Melt chocolate using a double boiler or in 20-second microwave intervals, stirring between each. Pour over the almond layer, spreading to completely cover the surface. Sprinkle with sea salt while chocolate is still wet.
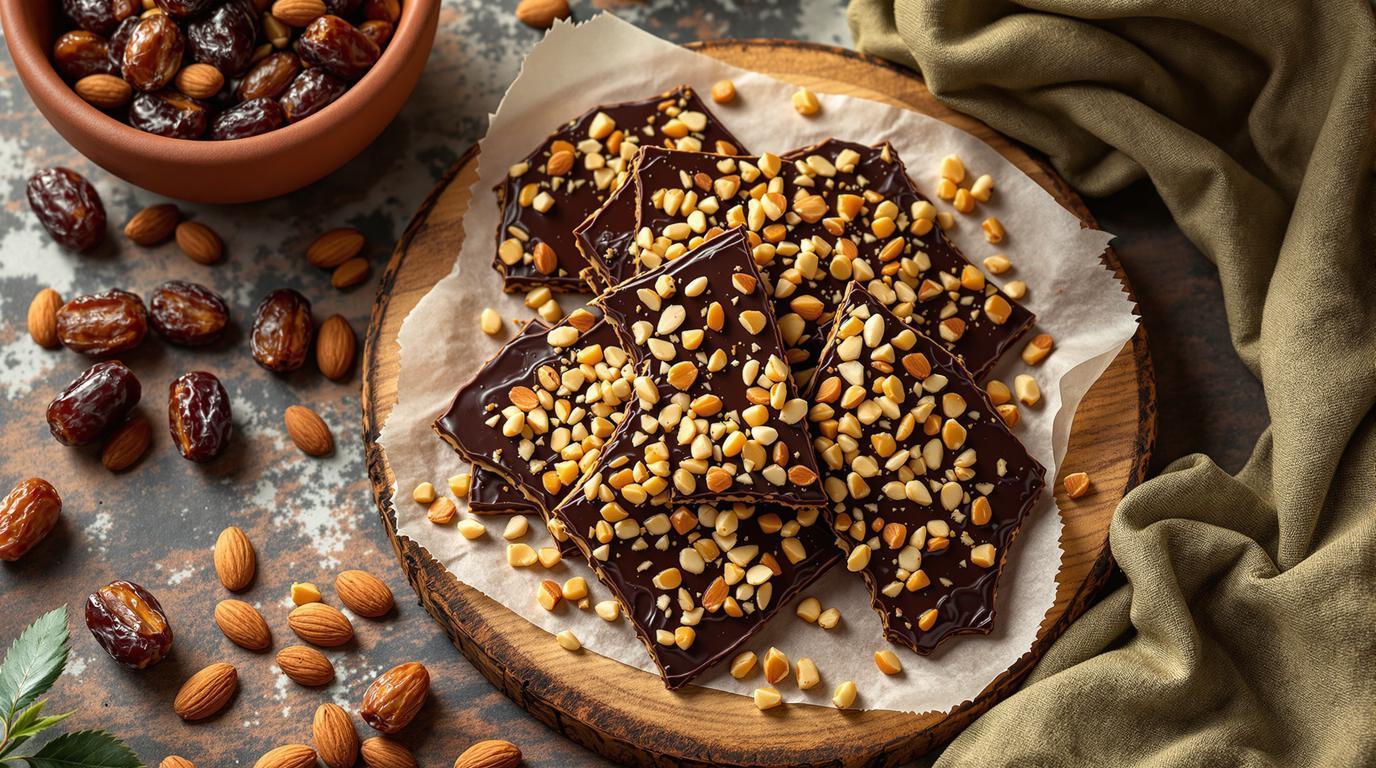
- Set and slice: Refrigerate for at least 30 minutes or freeze for 15 minutes until chocolate is set. Cut or break into irregular pieces for a rustic presentation.
Chef’s Secret Techniques 🤫
The key to perfect date bark lies in the pressing technique. I learned from an old pastry chef that using slightly damp hands prevents sticking while creating the ideal compressed texture. For the chocolate layer, adding a teaspoon of coconut oil creates a smoother finish that cracks beautifully when broken—a technique I picked up working at a chocolatier in Belgium.
For a more complex flavor profile, toast your almonds at 350°F (175°C) for 8 minutes before chopping. This simple step adds tremendous depth, similar to what you’ll find in a grilled dessert where heat transforms ordinary ingredients into something extraordinary.
Serving & Presentation Tips 🍽️
Date bark makes a stunning addition to dessert platters. I like to arrange irregular pieces vertically in a small jar or layered between parchment on a wooden board. The contrast between the dark chocolate and golden dates creates visual appeal reminiscent of a carefully layered trifle.
For the ultimate indulgence, pair with a small scoop of vanilla bean ice cream or serve alongside an espresso. The bark will keep for two weeks in an airtight container in the refrigerator, though in my kitchen, it rarely lasts more than a few days!
Like its distant cousin, the chocolate avocado mousse, this date bark proves that sometimes the simplest recipes create the most memorable treats. There’s something profoundly satisfying about transforming humble ingredients into something that connects us to culinary traditions while creating new memories around your own table. I hope this recipe brings as much joy to your kitchen as it has to mine over the years.